
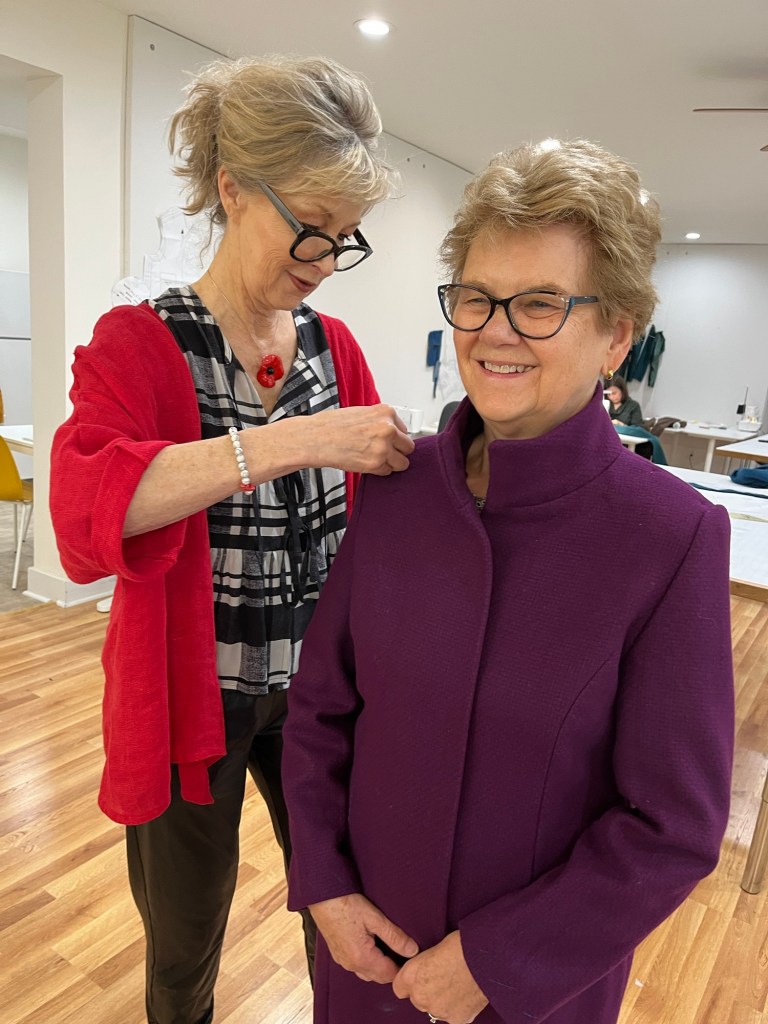
Debbie and I flew to Seattle to take the Stylemaker Coat Class in October. It filled up quickly-thanks to Debbie for getting us signed up early! The class was taught by Karen Dolen of #intostitches fame.
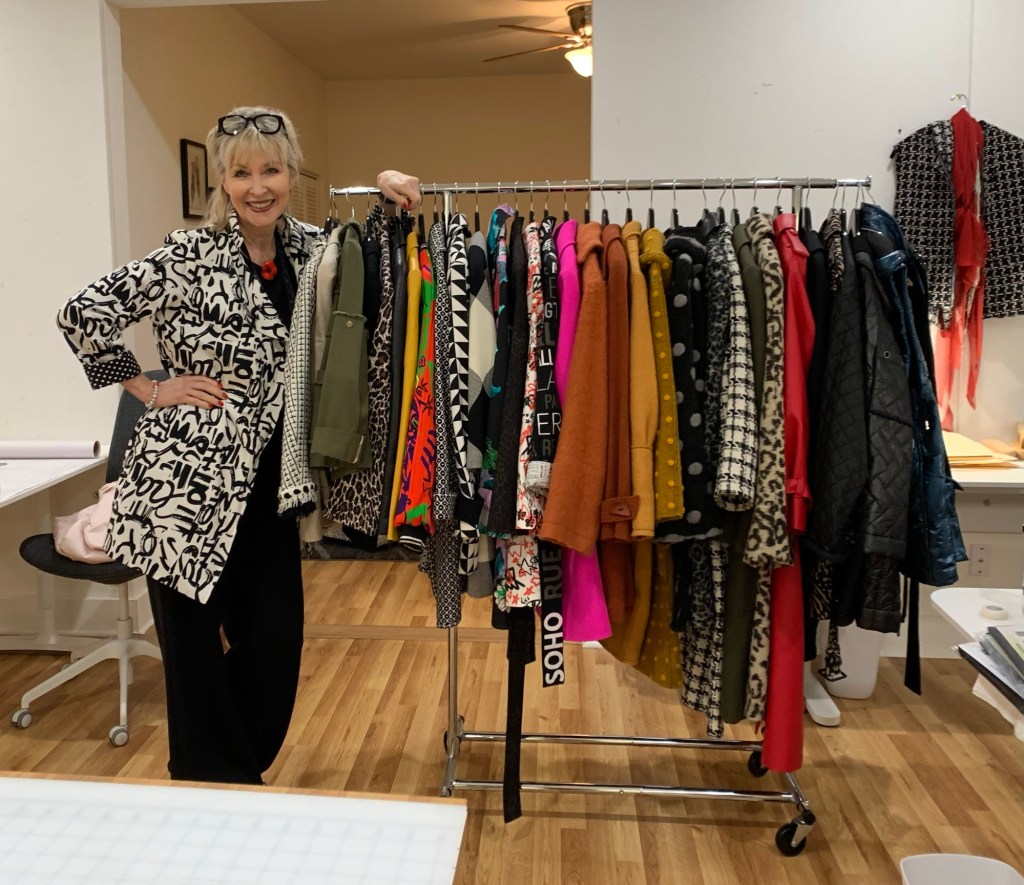
Our goal was to get our coats as close to finished as possible so we had already cut out and interfaced our coat pieces. Debbie and I made wearable muslins in October so we were pretty confident that fit wouldn’t be an issue.


Did I say we ate well, slept well and wanted for nothing?!?! It was a wonderful retreat, couldn’t have asked for better teacher, peers, food, lodging, etc. We both got our coat linings bagged and returned to Minnesota to add buttons, buttonholes, press and snip threads. Success!

Here is the write up from Garment Sewing Group sheets:
Debbie’s Garments:
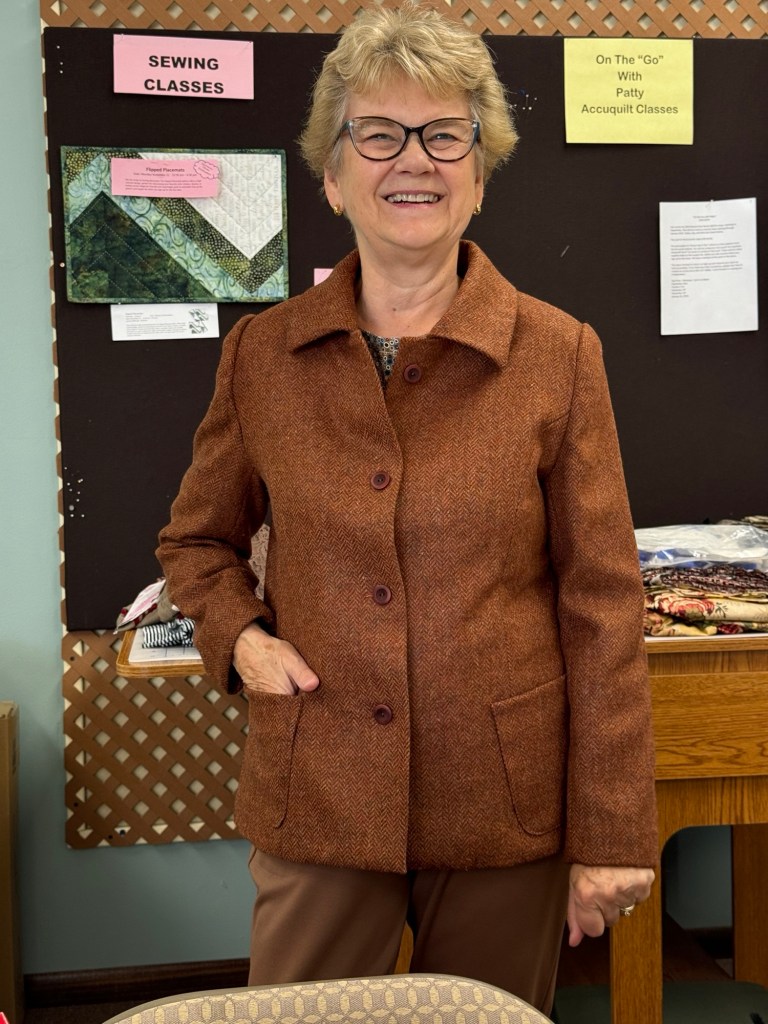
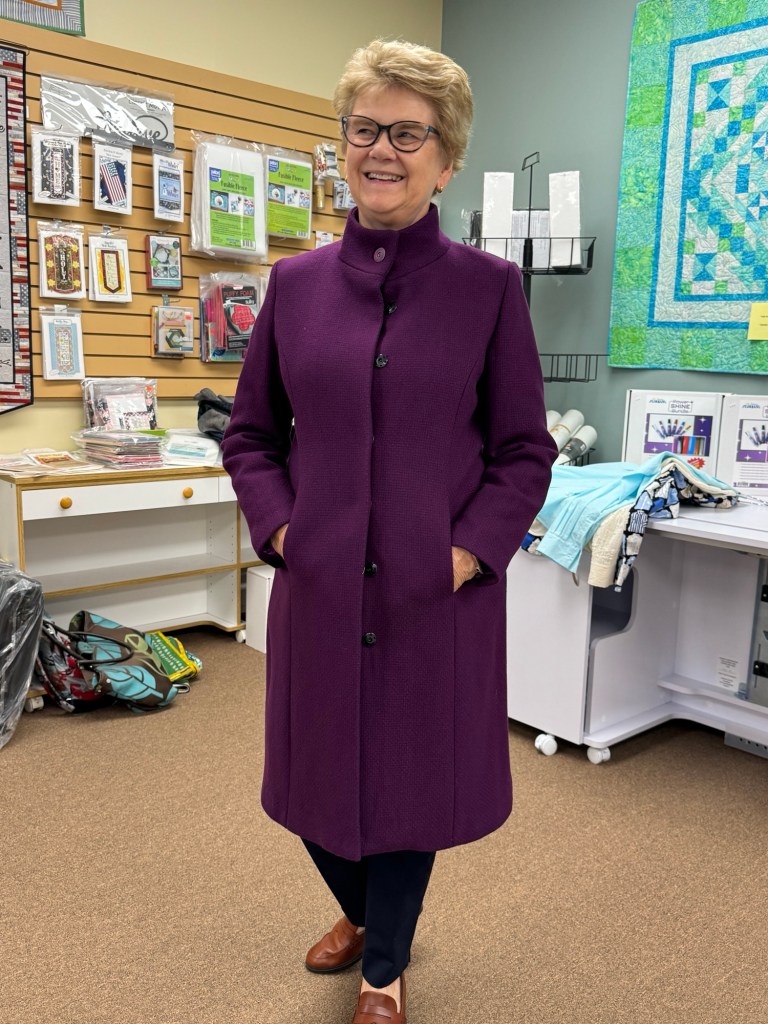
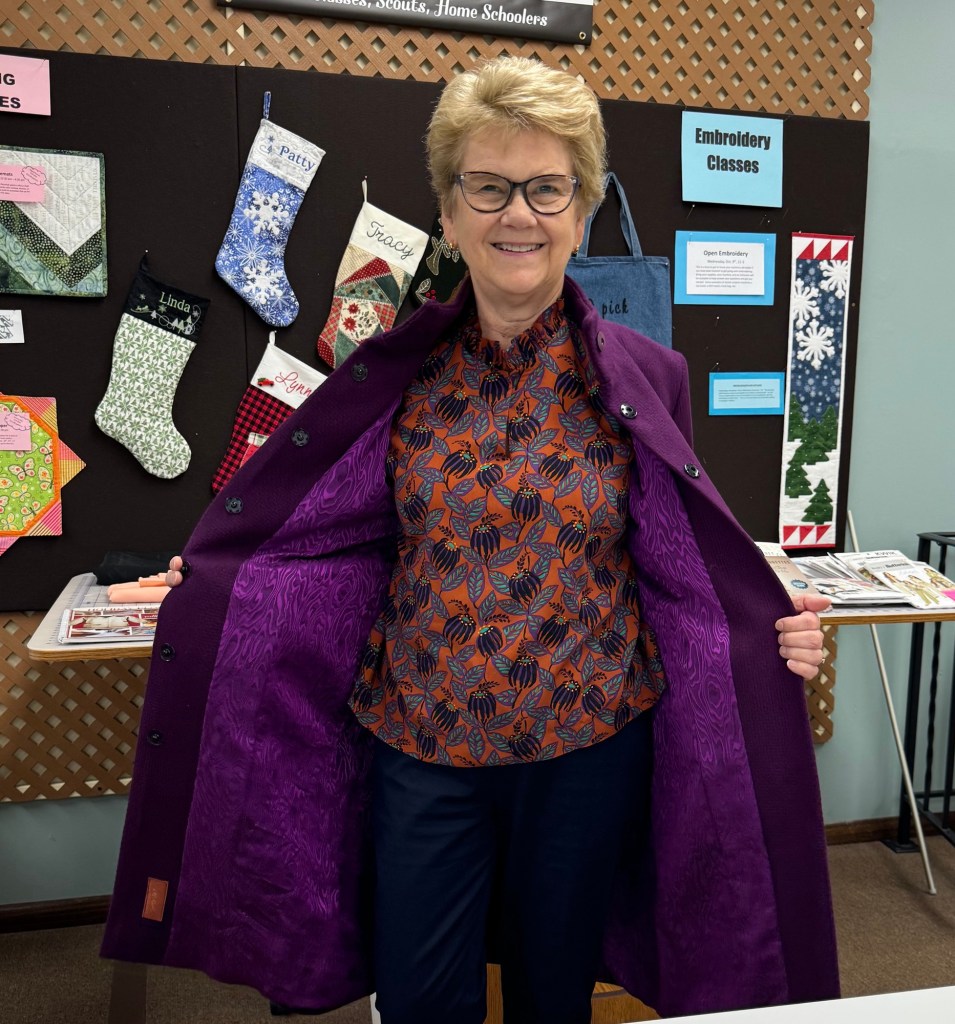
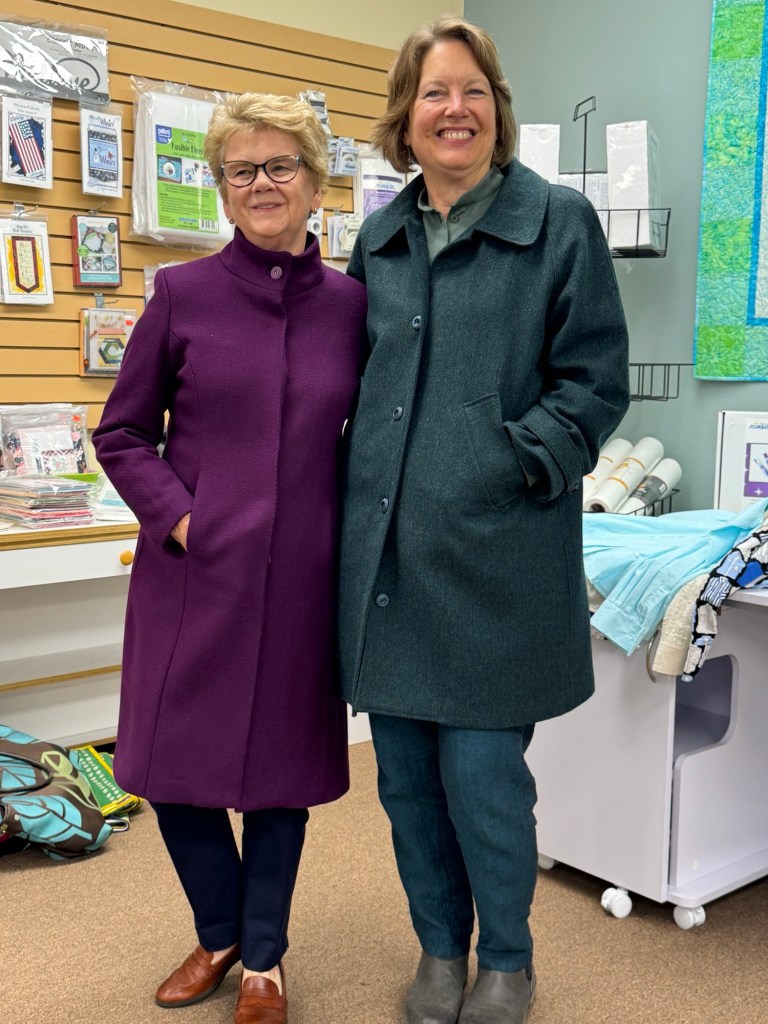
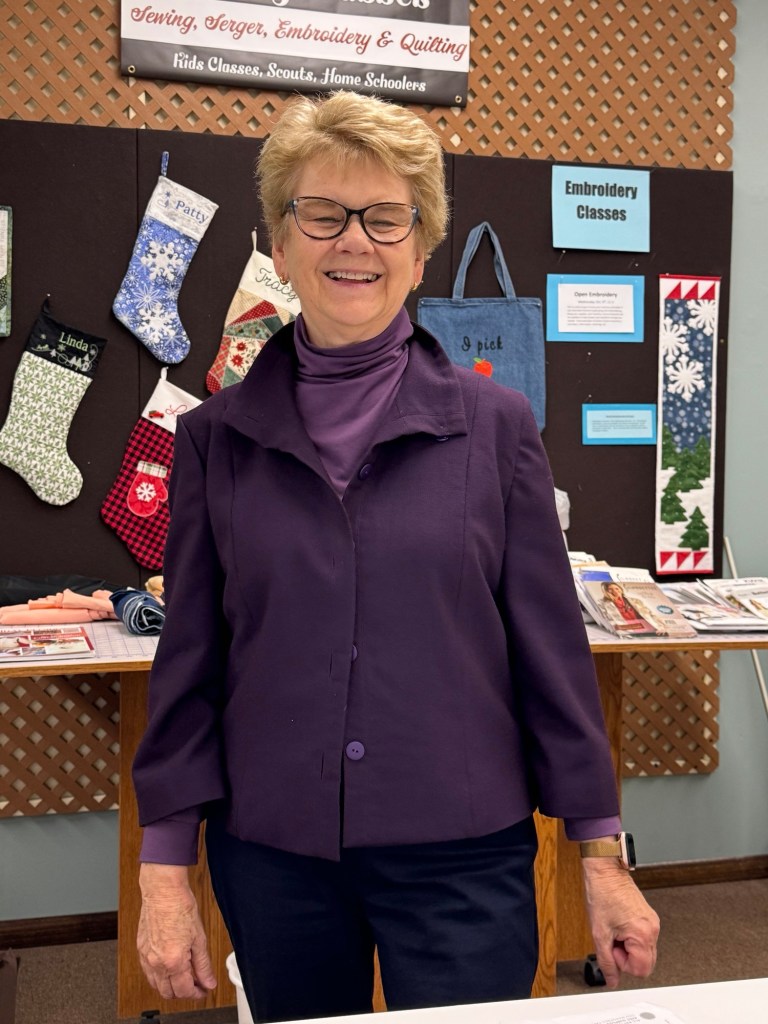
Purple Winter Coat
Burda 6461, View A
Textured wool with silk/wool lining
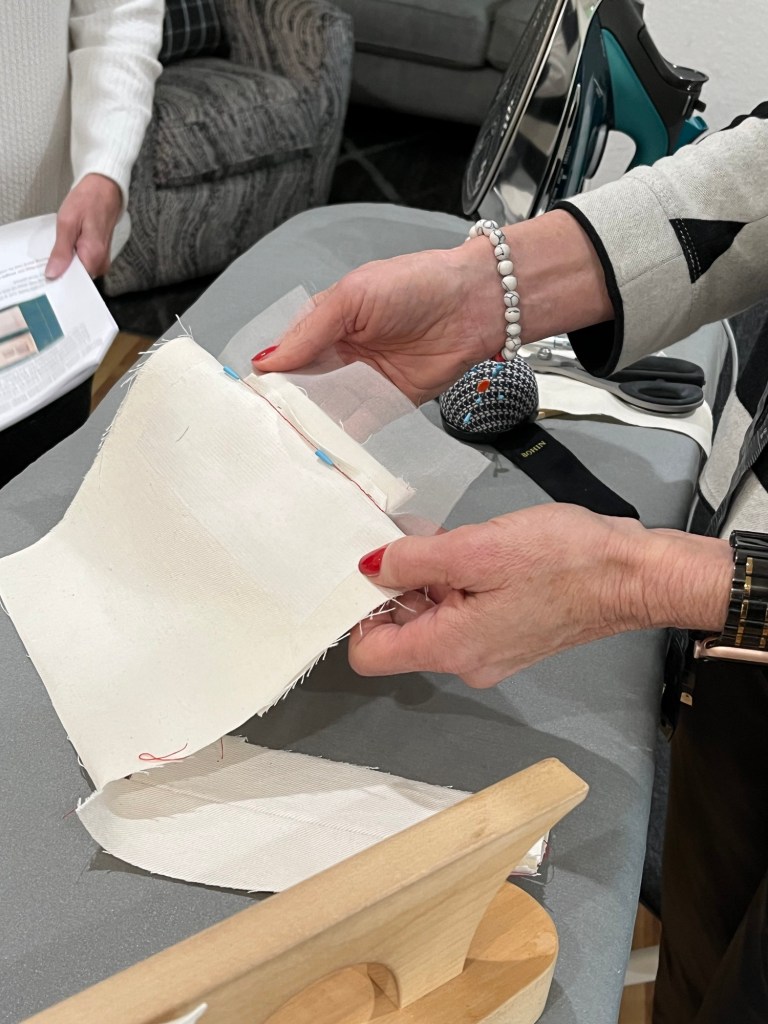
1. The majority construction for this coat was done at Style Maker’s Retreat. Before the retreat I cut out the main fabric, applied all the interfacing and carefully marked all pattern pieces.
2. For October GSG I made view B from this pattern – short jacket with different collar – as a wearable muslin. This allowed me to tweak some fitting issues and focus on new and challenging construction techniques such as bound buttonholes, welt pockets, hem and facing lining, tabs and anchoring pockets while at the retreat. I learned so much!
3. If I made this coat or another one anytime soon I would make a few changes:
1. Add a hidden button placket – not fond of the snaps.
2. Change fold over front facing to sew on – I think the center front would be more “crisp.”
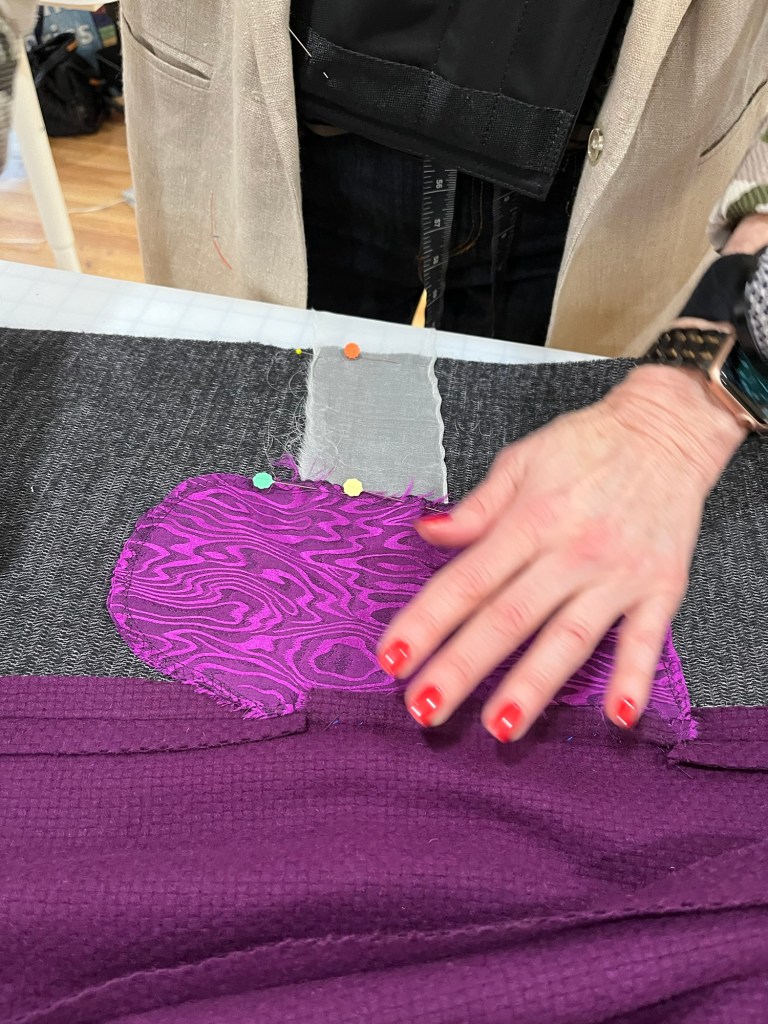
3. Increase the size of the pocket bag.
4. The coat retreat was a great experience.
*Hem/Lining finish link: elenapatternstudio – also found on Pinterest
*Continuous Binding link: https://www.youtube.com/watch?v=j4NHseVkF30&t=153s
*Tab Construction: Pinterest – henim0702
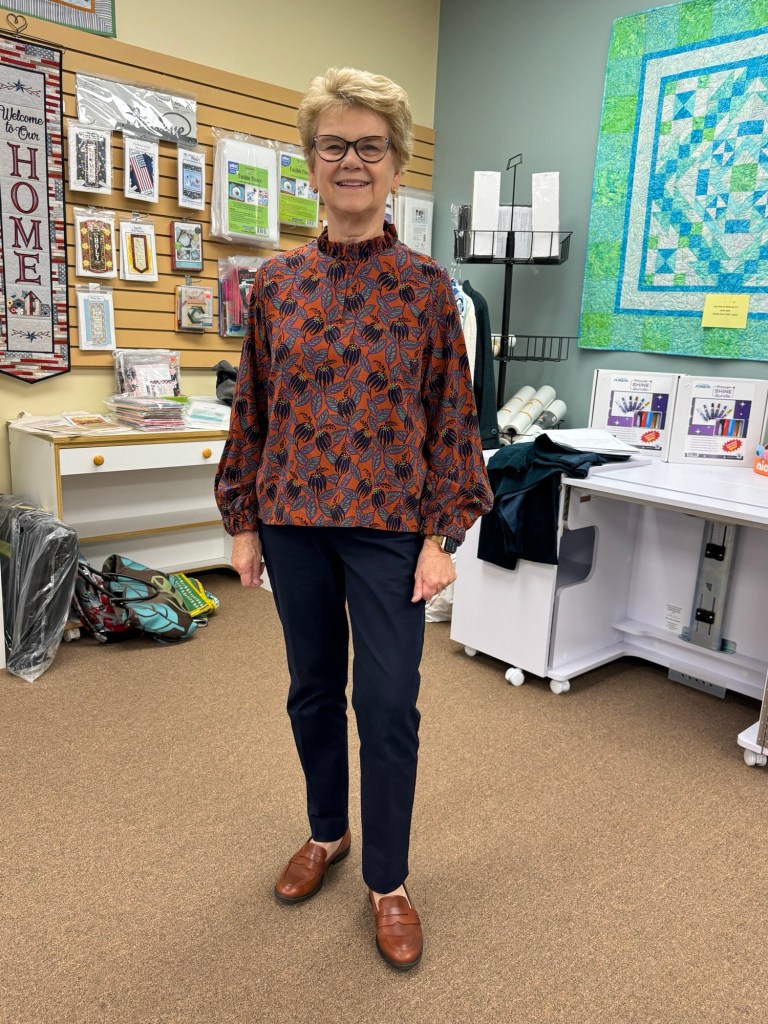
Purple Print Frill Blouse
Burda 6146, View A neckline with view B sleeves
Rayon
1. I petited between shoulder and bust on front, back and sleeve. The front and back were shortened one inch between bust and waist. I shortened the sleeves two inches in length.
2. I omitted the front neck tie and added a snap for closure.
3. I found the pattern and directions frustrating at times. The pattern piece for the frill was too short to get a decent gathering look so I increased the length. The front facing is too long from the front opening and as a result it doesn’t want to stay put – too fussy.
4. I will make this again with some changes – I love the fabric.
Purple Turtleneck
Christine Johnson Travel Trio #331
94% Bamboo and 10%D (Fibers which are dyeable with disperse dyes, e.g. , polyester, nylon, acrylic, secondary acetate and cellulose triacetate.). In other words be sure to wash your fabric!
1. Another TNT pattern for me, especially when I am short on fabric and time!
2. I have petited this pattern between shoulder and bust, bust and waist – it is a curvy fit. I also removed two inches from length.
3. I had enough fabric to make the sleeves long which works for me for layering and the colder weather.
4. I am finding that I am not a fan of bamboo for garments due to too much wrinkling and pilling. I will continue to use this pattern but not the fabric.
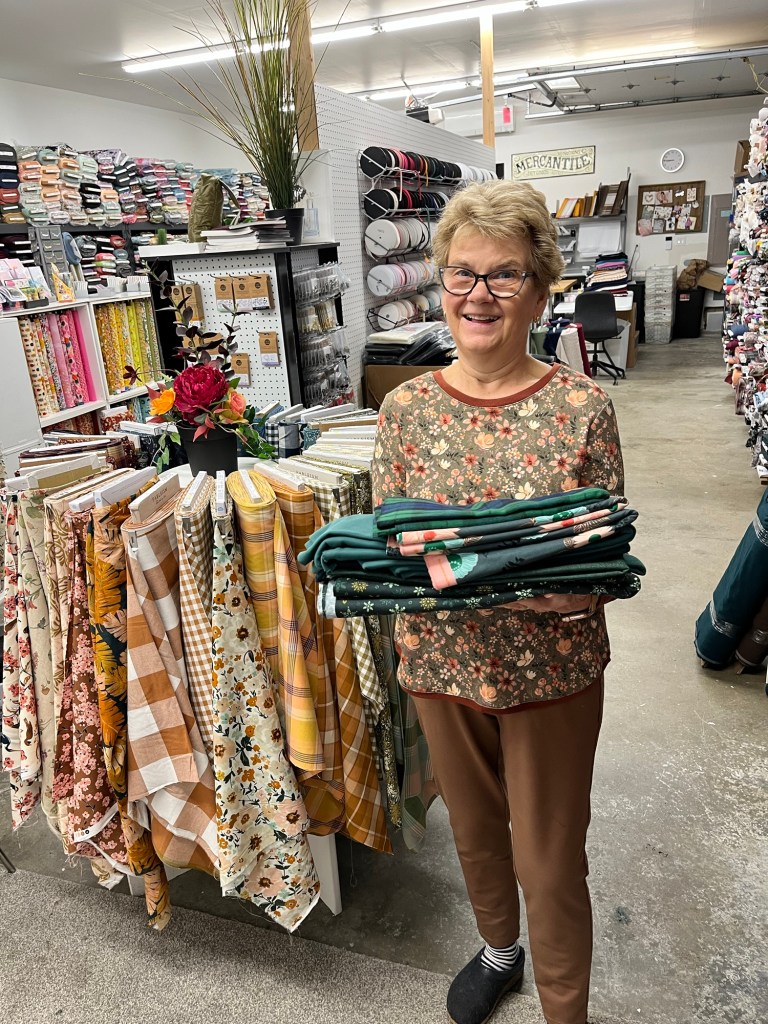
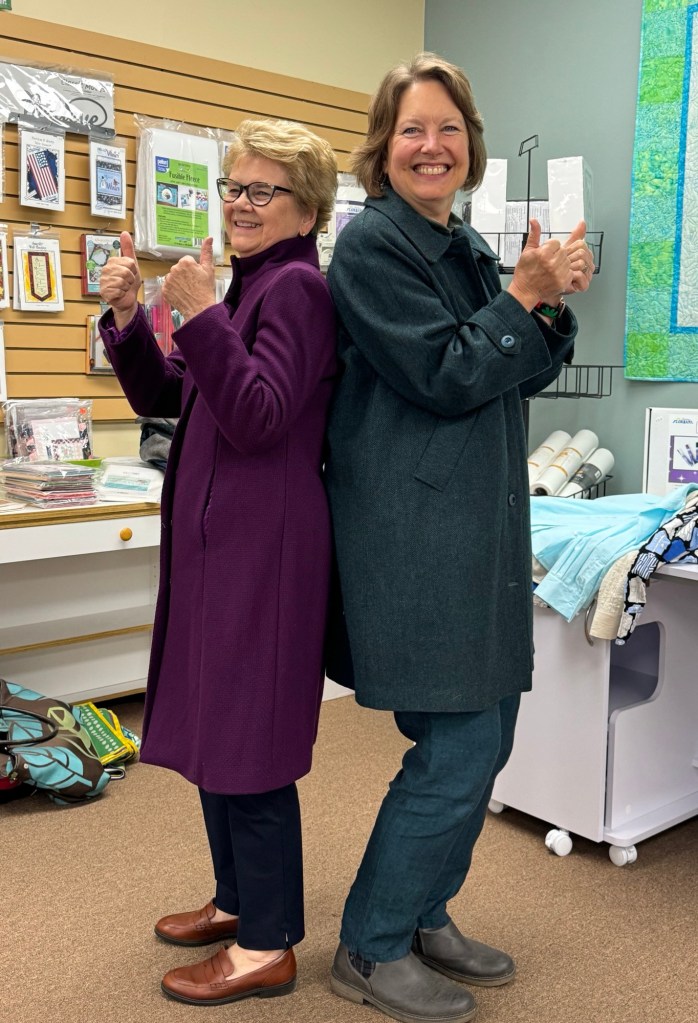
Kristin’s Garments:
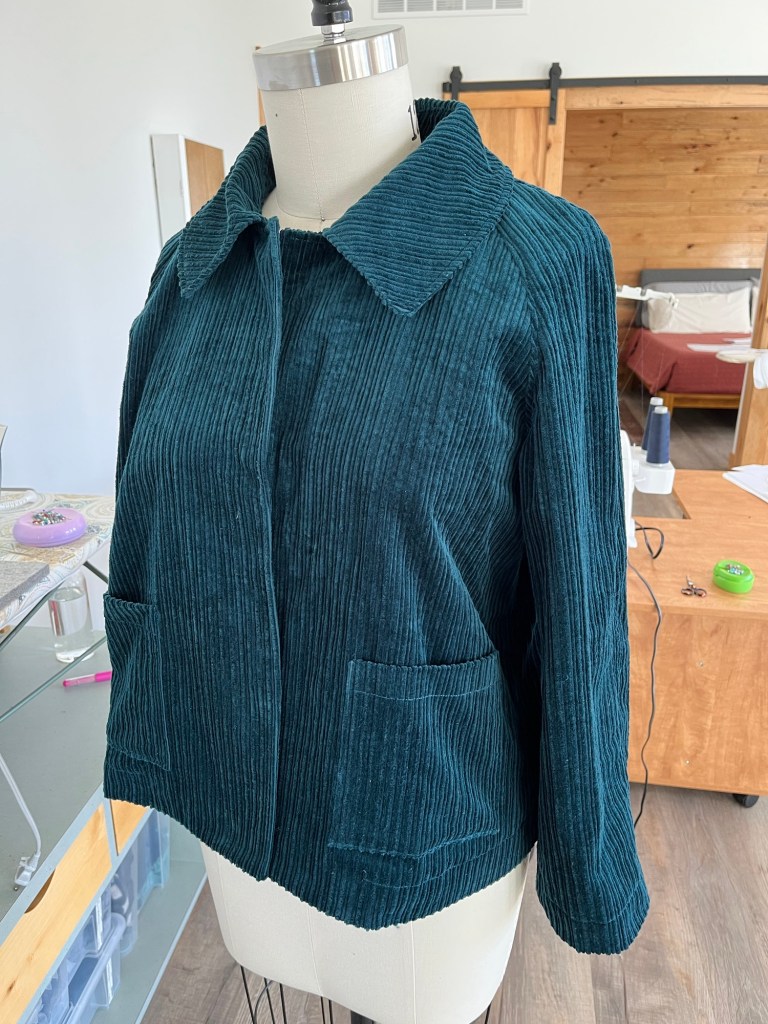
Raglan Wool Coat
The Assembly Line Car Coat
Wool with silk stretch lining (and flannel lined pockets!)
1. After making a short corduroy version last month I went up a size to give me more room for layering. Also added a center back seam and more length in the upper back with some success but could have used even more length.
2. As Debbie did, the coat was cut and interfaced throughout when I left for the retreat.
3. The wool was wonderful to work with if not a little thick at some turned corners. The silk lining was slippery but that’s what I needed.
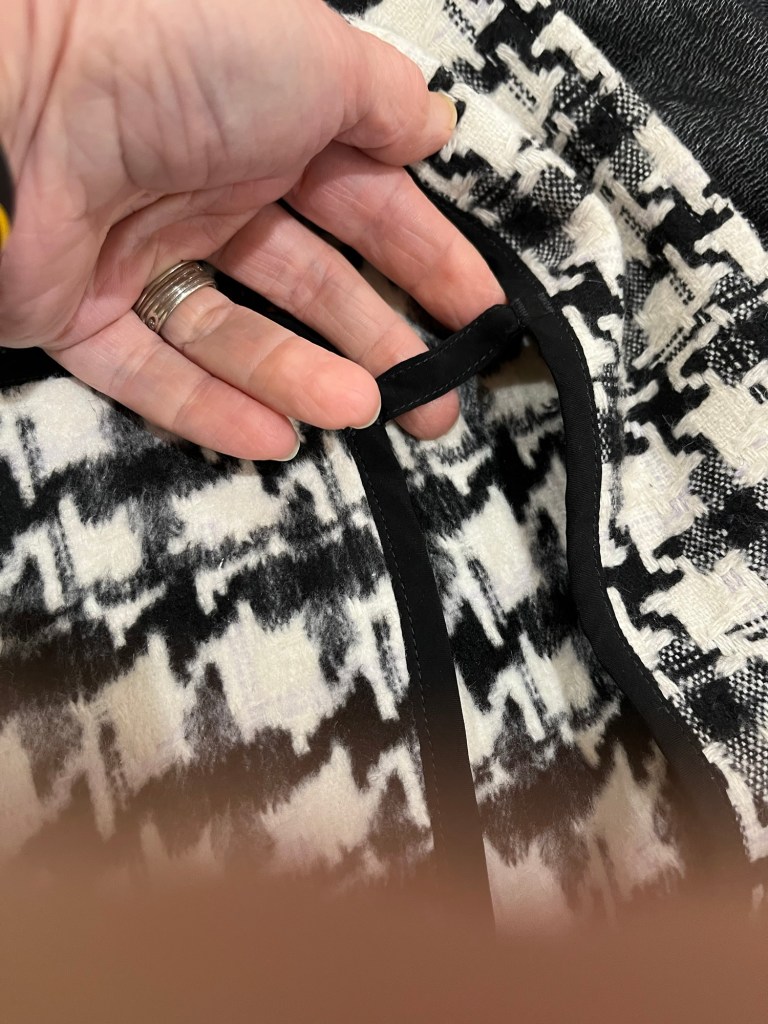
4. Welt pockets were great. Added tabs to close sleeves a bit.
5. I didn’t change construction of collar to coat as planned because I got a crisper corner with the method in the pattern.
6. Making a coat makes almost every other garment seem simple!!
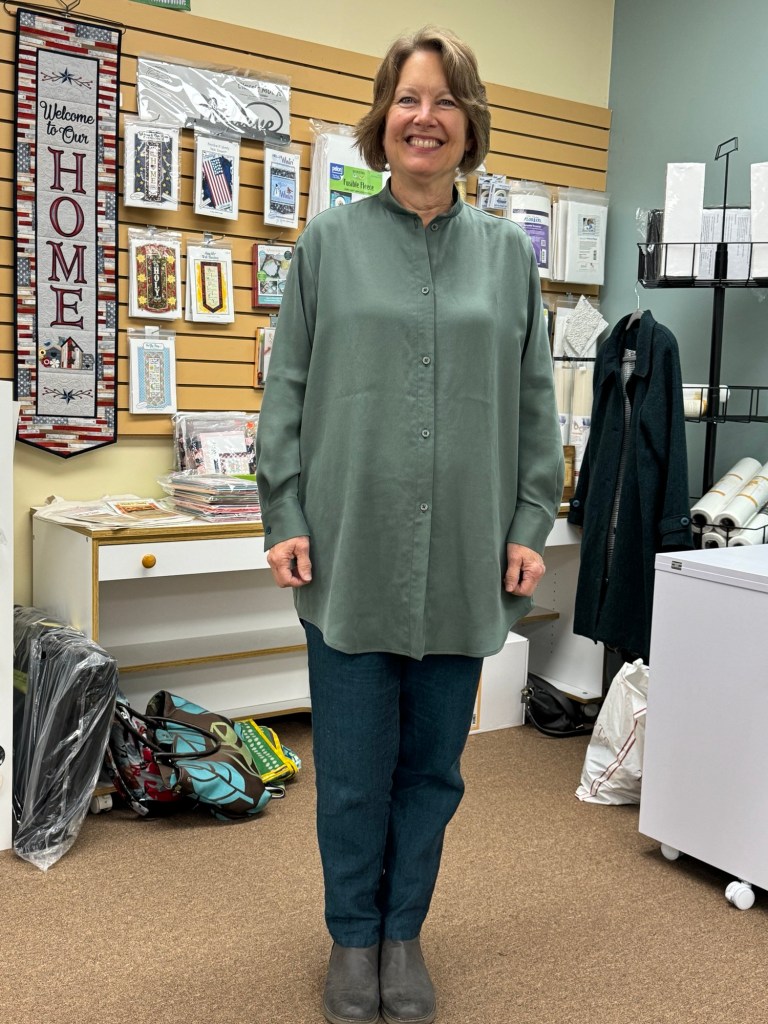
Final Boyfriend Shirt
The Assembly Line Oversized Shirt
Rayon twill
1. First off, I love the fabric. This was the third in a trio of patterns that came out all about the same time-
1. Closet Core Jenna Shirt
2. Maker’s Atelier The Shirt
3. Assembly Line Oversized Shirt
2. Pattern directions were good but not without error. Some words used are awkward but I am a fan of some of their patterns. The fabric gives this a great drape. I made just a stand collar with this pattern and omitted side seam pockets.
3. It was fun to make so many different looks with a change in fabric for these shirts. You may see one of them in a shacket soon!
December GSG
Wednesday, December 11, 10:30, The Sewing Lounge, St. Paul
Thursday, December 12, 10:30, Creative Sewing, Apple Valley and Fabric Swap
Saturday, December 14, 10:30, Lakes Makerie, Minneapolis
Other Classes:
Sew Social: Thursdays, 1-4 pm, Creative Sewing, Apple Valley, Nov. 14, 21, Dec. 5, 12
Open Studio: Wednesdays, 1-4 pm, Lakes Makerie, Mpls., Nov. 13, 20, Dec. 4, 11
