
It takes a village, right? So thankful for all who pitched in and understood so I could take care of grandbabies!
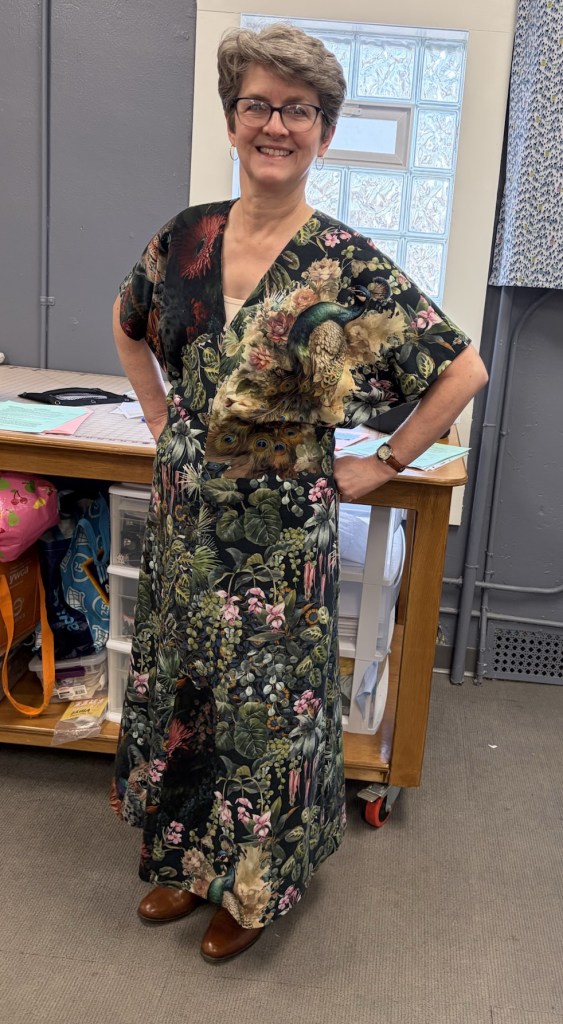
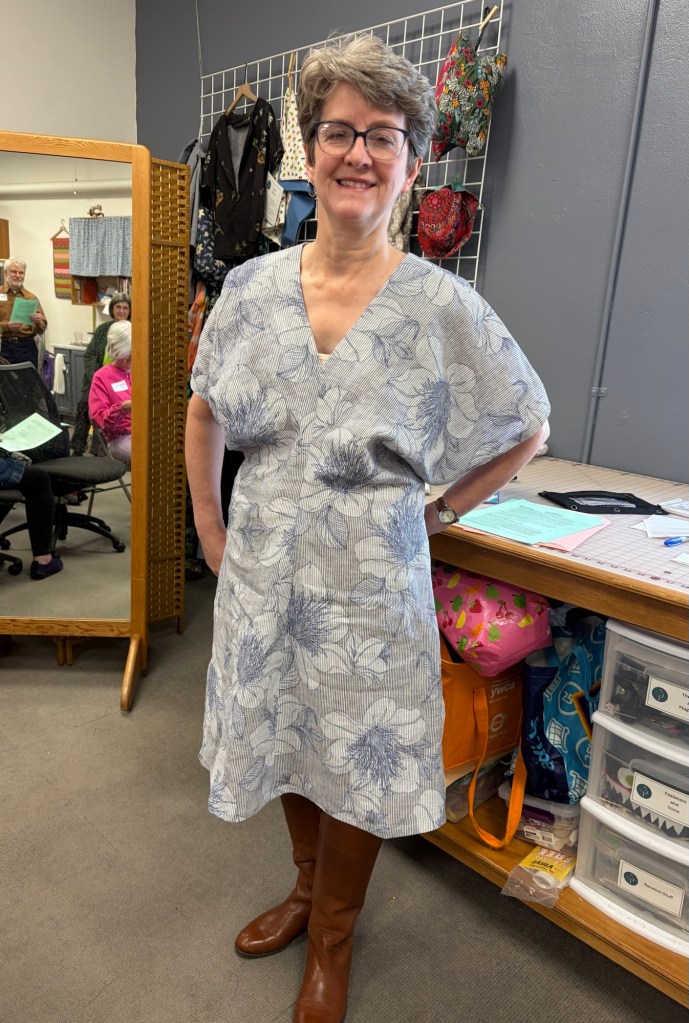
Debbie’s Garments:
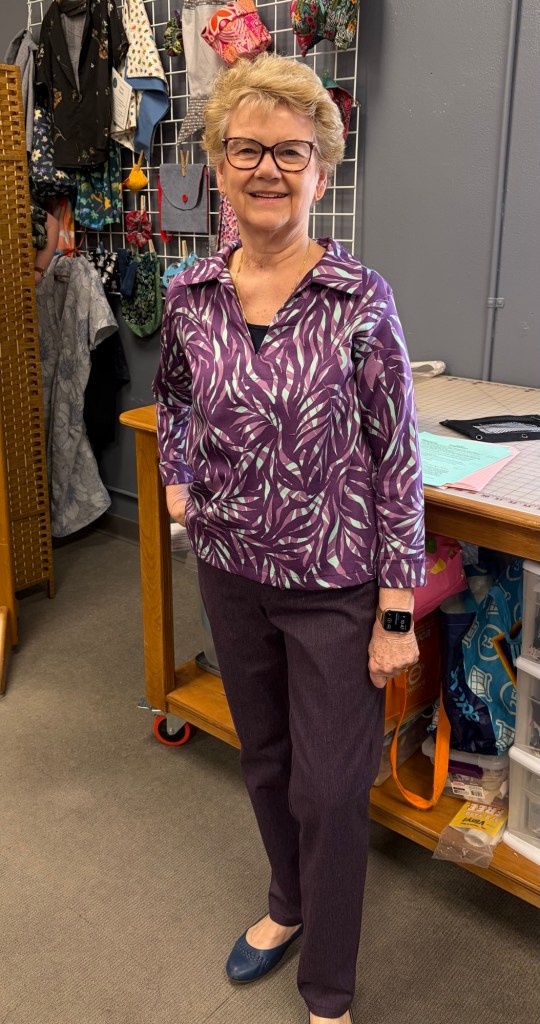
The pattern is designed for a 5ft., 7” body – needless to say I need to make lots of length adjustments. Also her measurements are based on upper bust numbers because there is no shaping to the top.
I decreased length between the shoulder and armhole, between the waist and bust and at hemline. I also shortened the sleeve length.
I did a narrow shoulder adjustment even though the shoulder is slightly dropped.
I do like the design of this top – it has sleeve and length variations. It slips over the head without buttons or a placket. There is a center front seam variation as well a specific Full Bust pattern piece.
The construction methods for her patterns are great. There aren’t any hand sewing techniques and she has “an integrated” cuff method where the hem is part of the construction.
The top is an easy, quick sew and even though I had some difficulty deciding what size to make and the V-neck is a little too deep it is a great patten in all aspects.
Purple Jeans–see photo above-
This is a TNT (Tried and True) pattern for me.
The fabric was from a swap and I thought it would complement my Popover Top.
It had been awhile since I made this pattern and I found that I needed to make some fit changes so technically it is a muslin.
I also didn’t have quite enough fabric so I made the waist band out of a ponte fabric scrap and eliminated pockets.
5. This pattern is a keeper but I really need to reconsider sizing before I make it again.
Barb’s Garments: Spring Capsule in Navy as Neutral

My inspiration was the Sewing Workshop’s March Sew Confident project. I am not a member of Sew Confident 2026.
Modified as follows: shorten the pants 2″, or as desired, and eliminate the front vents and facings. Baste the ends of ½ of a ponytail holder 3 and ½ inches from finished lower edge to the side/back leg piece to form a loop for a button. Stitch a 1″ strip of contrasting fabric down front of leg using a 1/4″ SA joining the front and back pieces. Press both seams toward the center. Topstitch the seam without the loop. Back patch pockets: Using New Look 6703 or pocket of choice. Cut horizontally on decorative stitching line and sew a 1″ strip of contrast fabric between the new top and bottom w 5/8″ SA and topstitch. Finish pockets per directions. Stitch in place at desired placement. Sew a button on each pocket. Construct per Urban pattern, Sew button at end of ponytail holder loop and another 2″ out towards the sides for optional pleat effect.
Sewing Workshop Mimosa Top/Vest in navy linen-photo above
1. No pattern changes. This was my first “make” of this pattern. Catching the edge of the band on the underside was tricky for me.
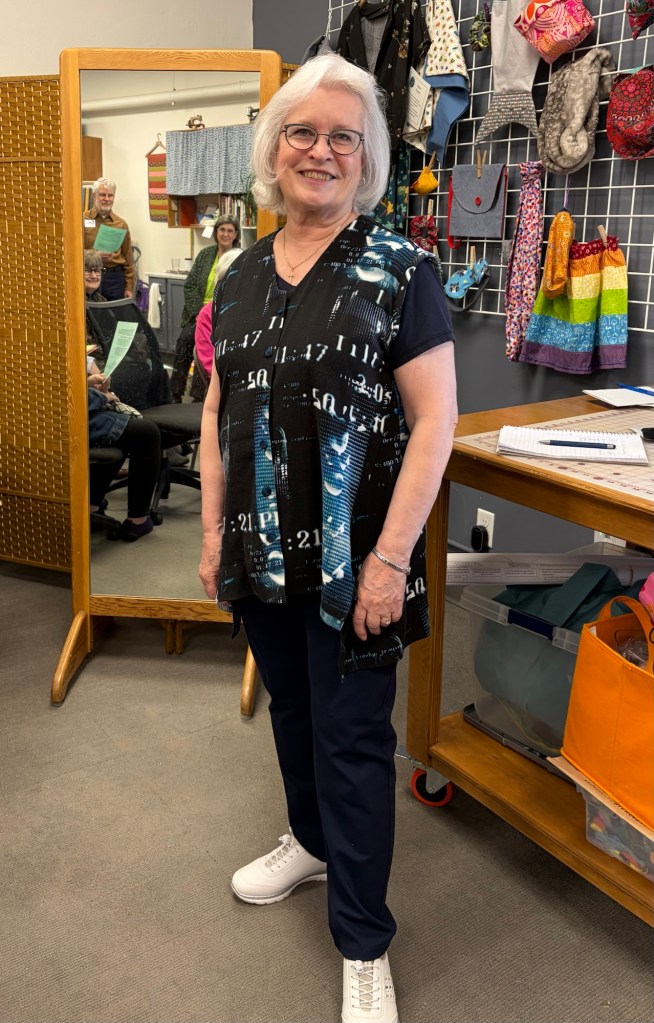
1. I used the Mix-It top pattern laying it over the Liberty front and traced a new front. I omitted the collar. I lengthened the new front and the Liberty back piece 2″ at the S/L line. I shortened the sleeves 8″. I followed the Mix-It front neckline and facing instructions. Then I continued with the Liberty instructions. I used a 2″ wide bias strip of self-fabric to bind the armholes. I have 6 buttonholes and buttons in my vest/top.
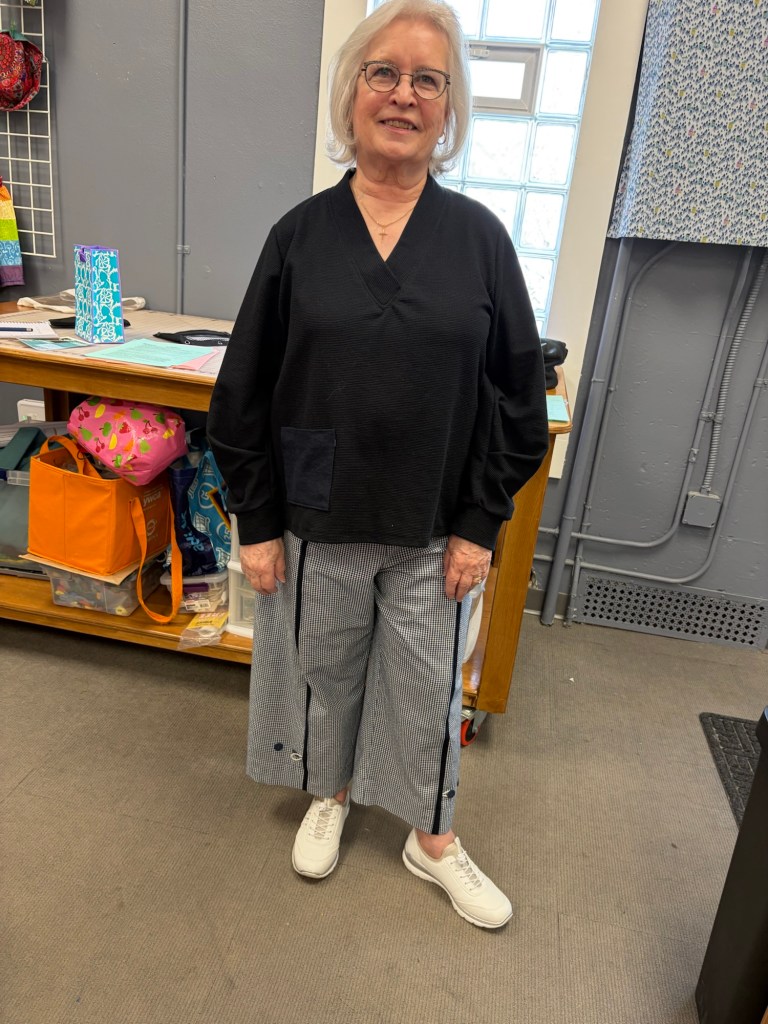
1. I made a forward shoulder adjustment to the Marceau top. I shortened the sleeves 3″. I created a new front by placing the right front pattern piece on the fold. Repeat with right back pattern piece to create a new back. Using the Sew House Seven Tabor view 4 neckline, I matched the “point” of the neck/shoulder of the front of both patterns to make new neckline. This raises the back neckline 1 and 1/4″. I cut out the “V” on the front using the Tabor front neckline. I constructed the front per Tabor and using the wide neckline band. I finished the construction using Marceau pattern.
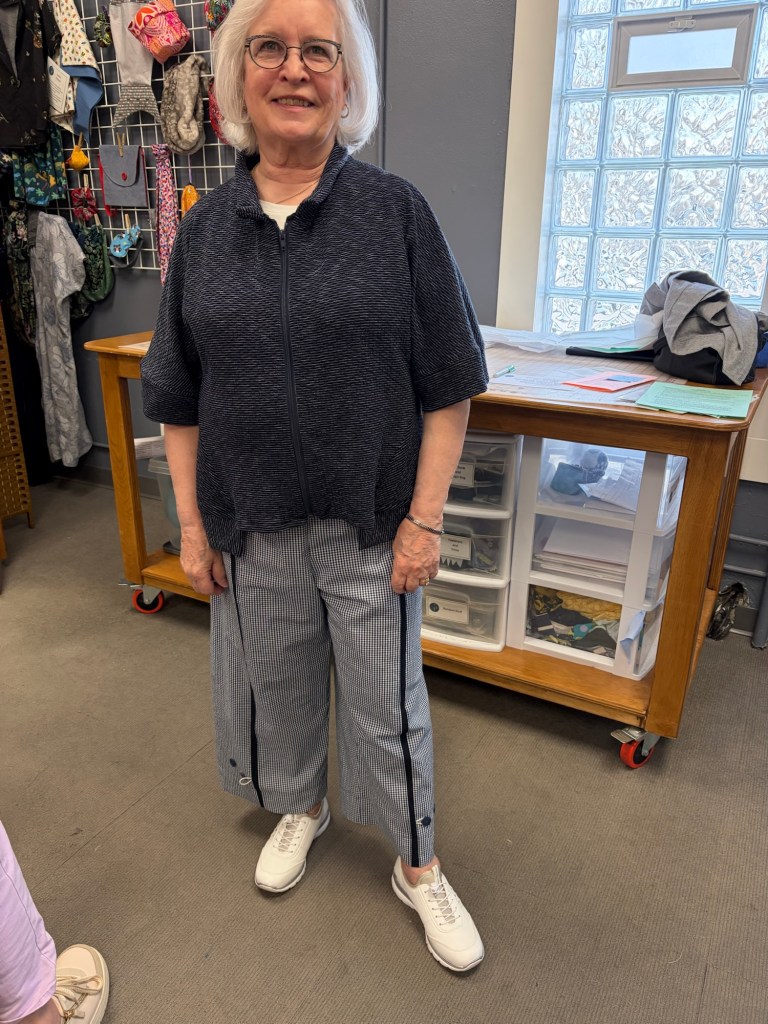
1. I tried using the instructions from the blog for this variation on the Sewing Workshop website. My problem was that my fabric had an undesirable back that I didn’t want to show. I cut the collar according to the blog and shortened the top of the facing to 2” shorter than the adjusted collar. Follow sewing instruction of the blog. I omitted topstitching the front facing as instructed. Collar: fold right sides tog and stitch ends enclosing the facing, trim, and turn. Stitch down collar to jacket back. I finished my jacket by topstitching the front facings along the finished raw edge.
Kristin’s Garments:
The knit version is cut at the midi version. The woven is shorter by about 8”.
The knit version is very comfortable to wear. The woven version needs to sit at waist or you will lose the blouse effect which means the woven fabric will fit very close.
There are separate pattern pieces for woven vs. knit. The bodice of woven is at less of a bias than the knit and the woven is wider from waist down.
The pattern instructions recommend hand stitching hems to continue the luxurious feel of the dress but I wasn’t going for luxe so I machine stitched 🙂
May-cohost Karen Sweet
Saturday, May 9, Open Studio Sewing, Mpls.
Wednesday, May 13, Ginny’s, Rochester
Thursday, May 14, Creative Sewing, Apple Valley
Also note: June meetings are all one week later-June 17, 18 and 20
