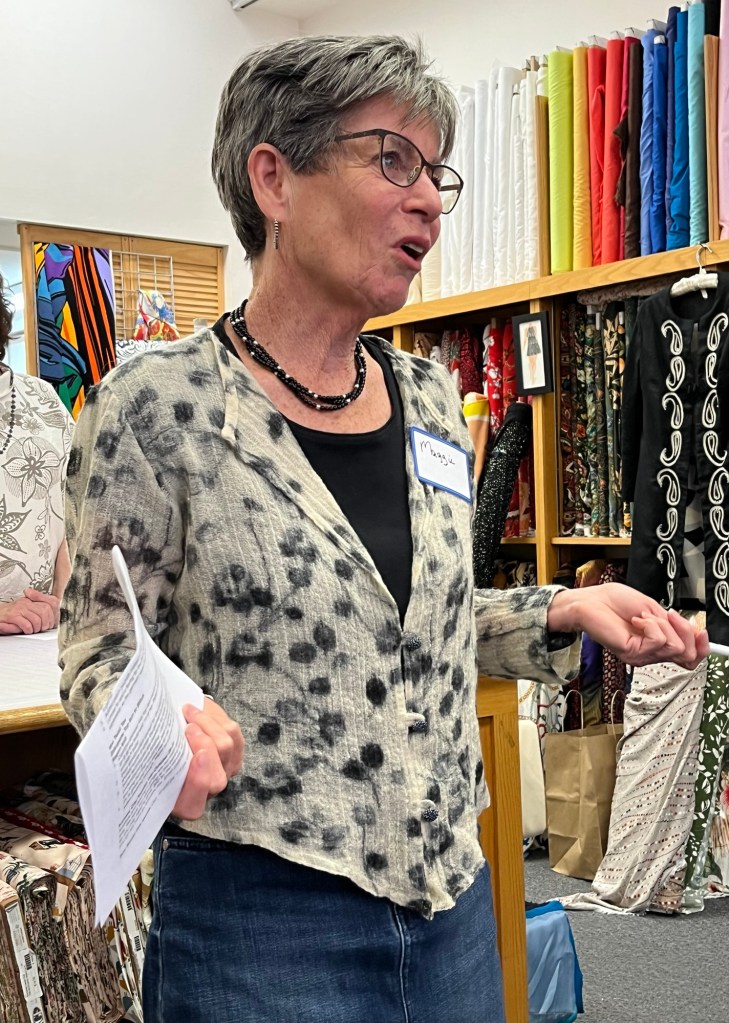
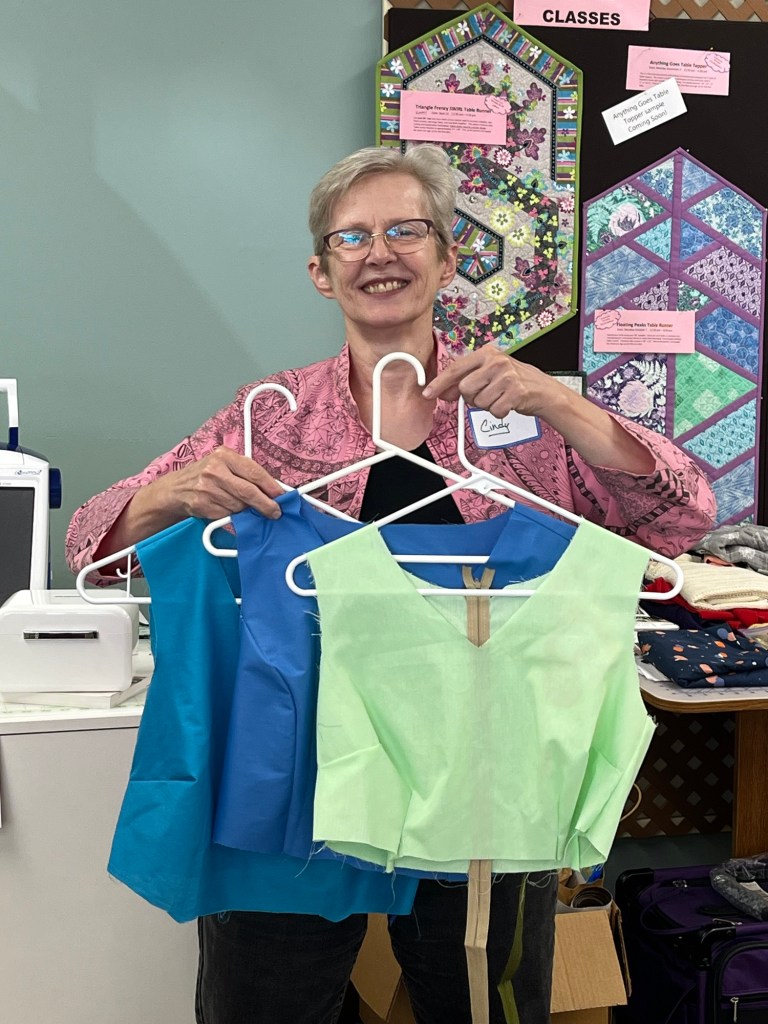
Here is the last of the meetings for October-scroll down for Debbie and Kristin garments and notes:

October 2024
Garment Sewing Group
Debbie’s Garments:
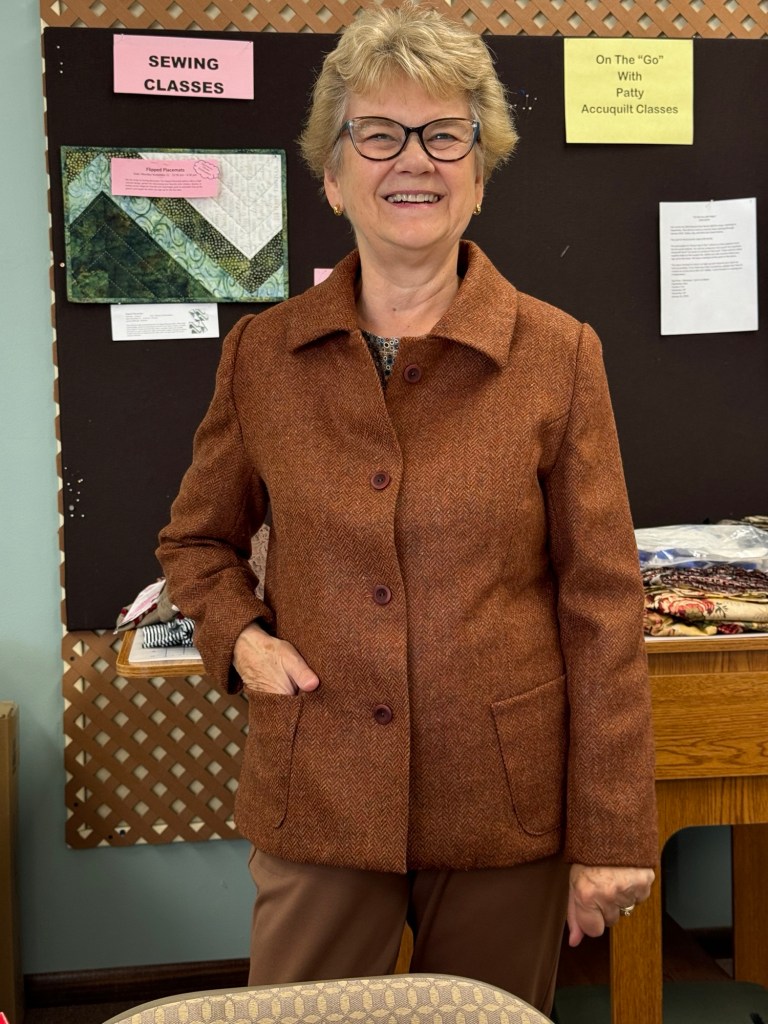
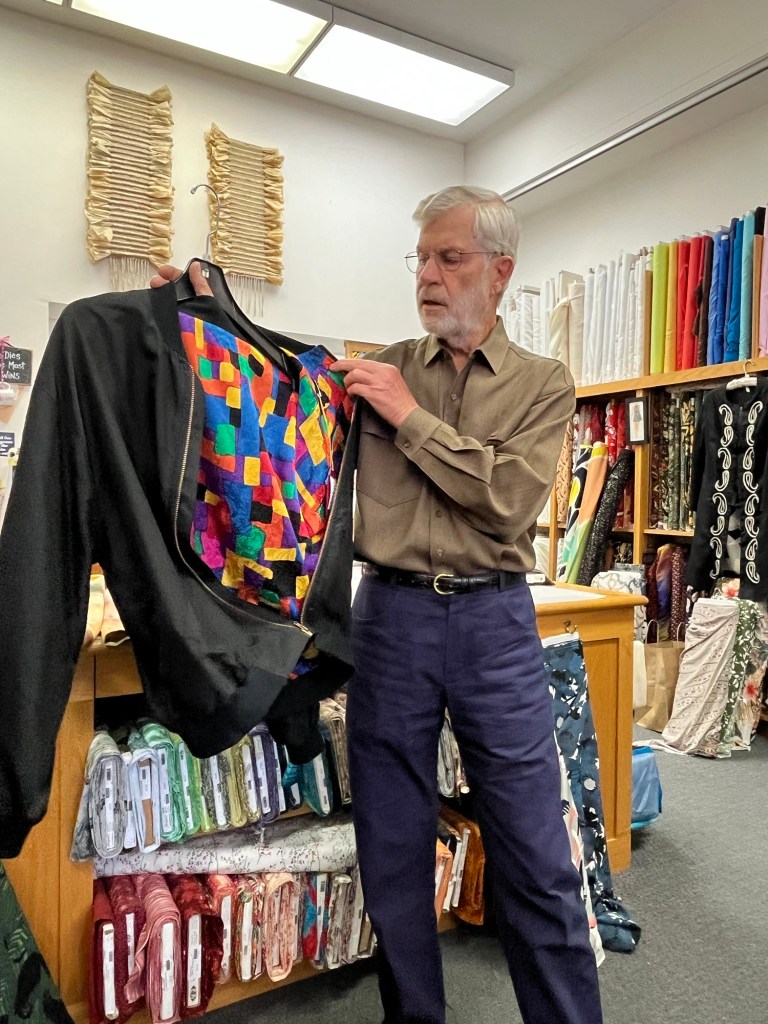
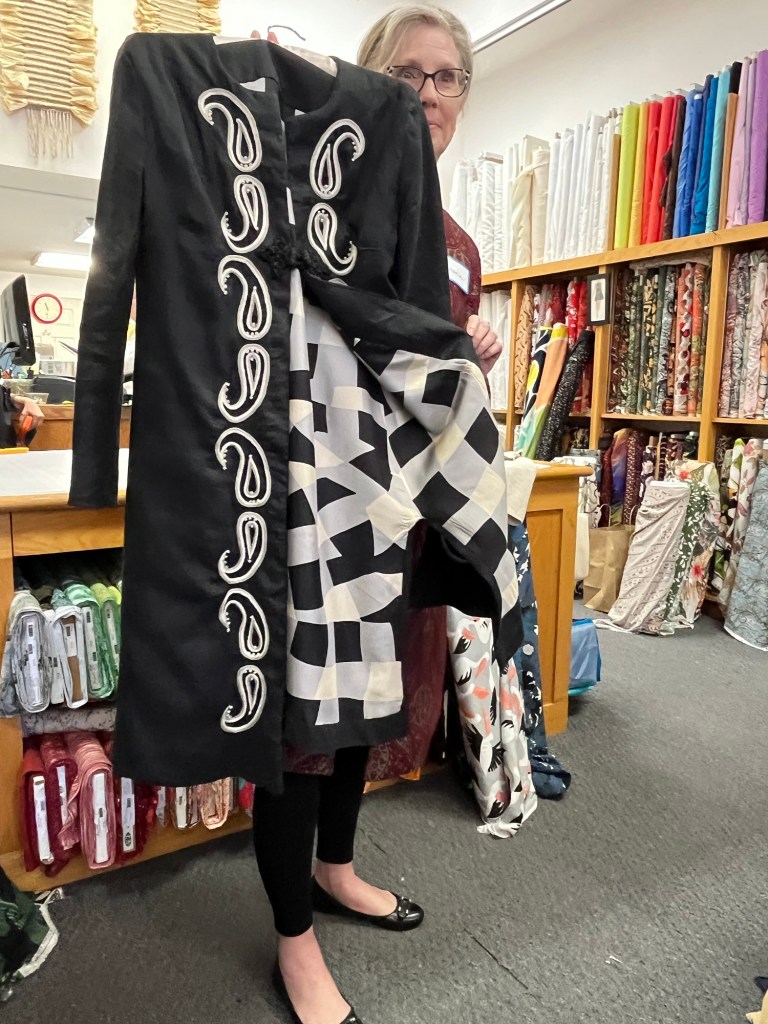
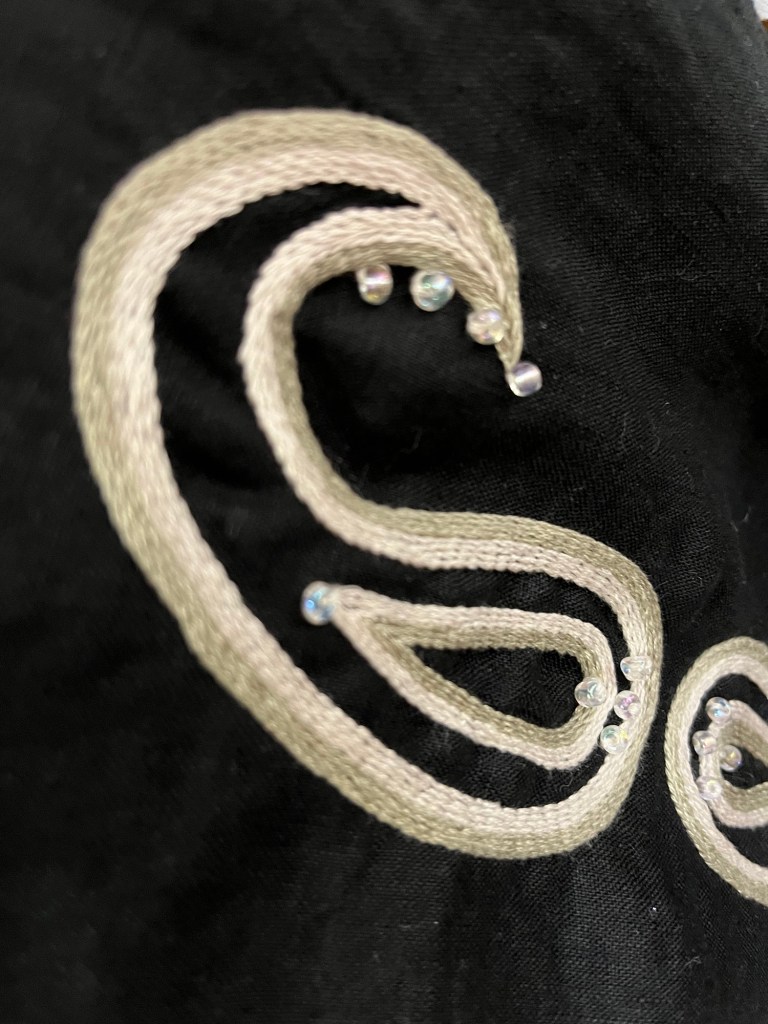
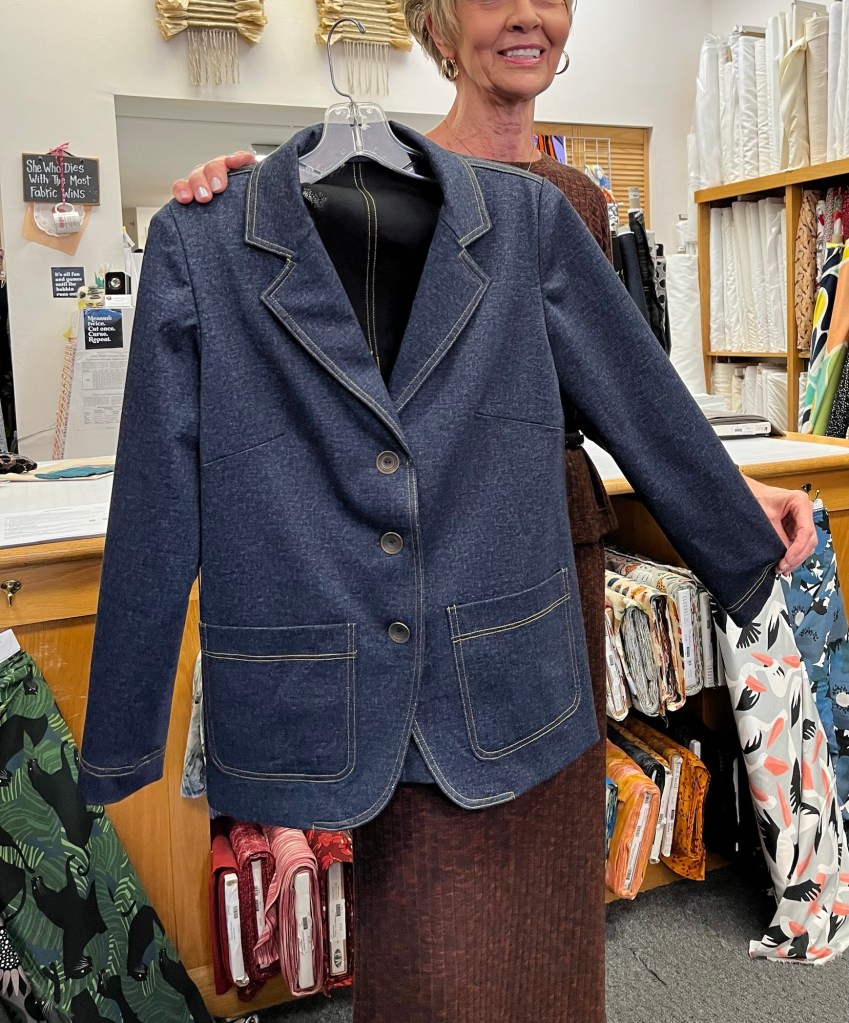
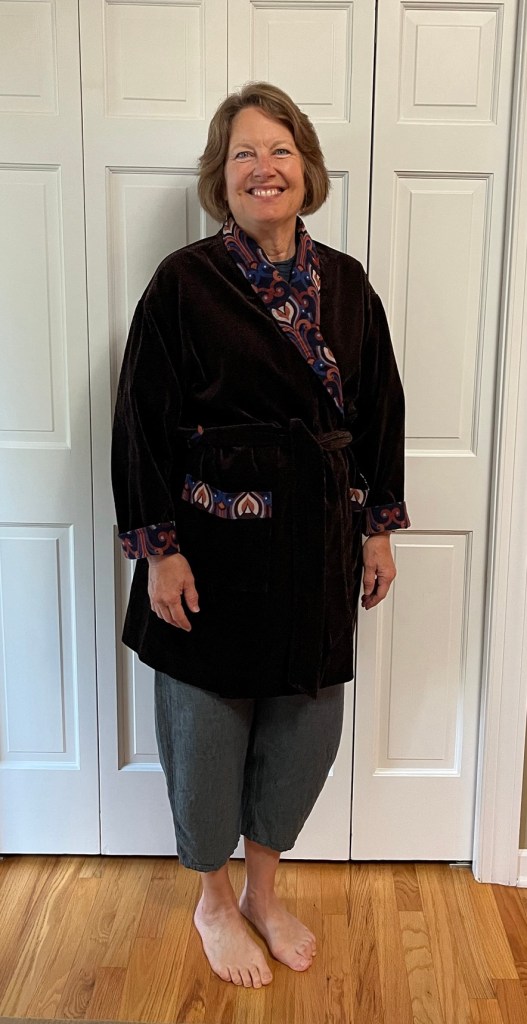
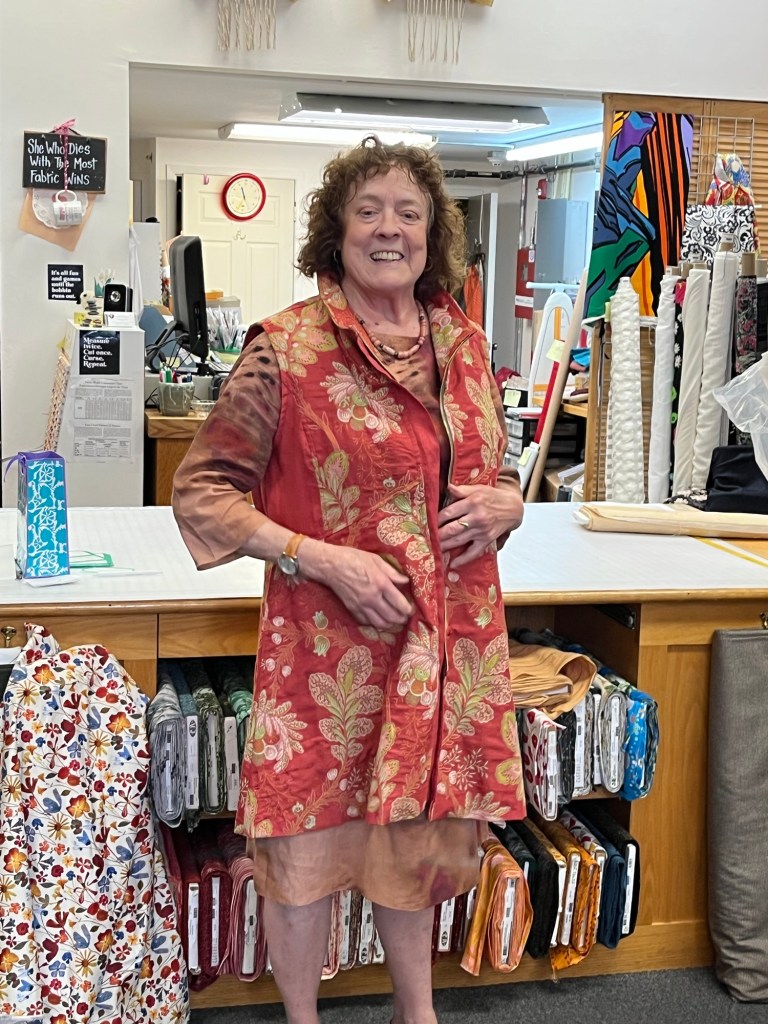
1. This fabric was gifted to me and I felt it was a great opportunity to use for fit and construction techniques for View A from the same pattern.
2. For fit I did not shorten between shoulder and bust but did shorten 1 inch between waist and hip and 1 inch between hip and hem. I shortened the sleeve length by 2 inches. I also did a narrow shoulder adjustment.
3. I used “soft” tailoring techniques only adding a sleeve head, shoulder pads and interfacing to all hems.
4. For my next make I will interface entire front, upper back and sleeve cap. I will also make a greater narrow shoulder adjustment. The sleeve cap has too much ease so I will also remove some of that before cutting out View A.
5. Although Burda patterns can be skimpy in directions, words, photos and notches, the jacket went together fairly easy and quickly.
6. I did enjoy the process and I am looking forward to making view A.

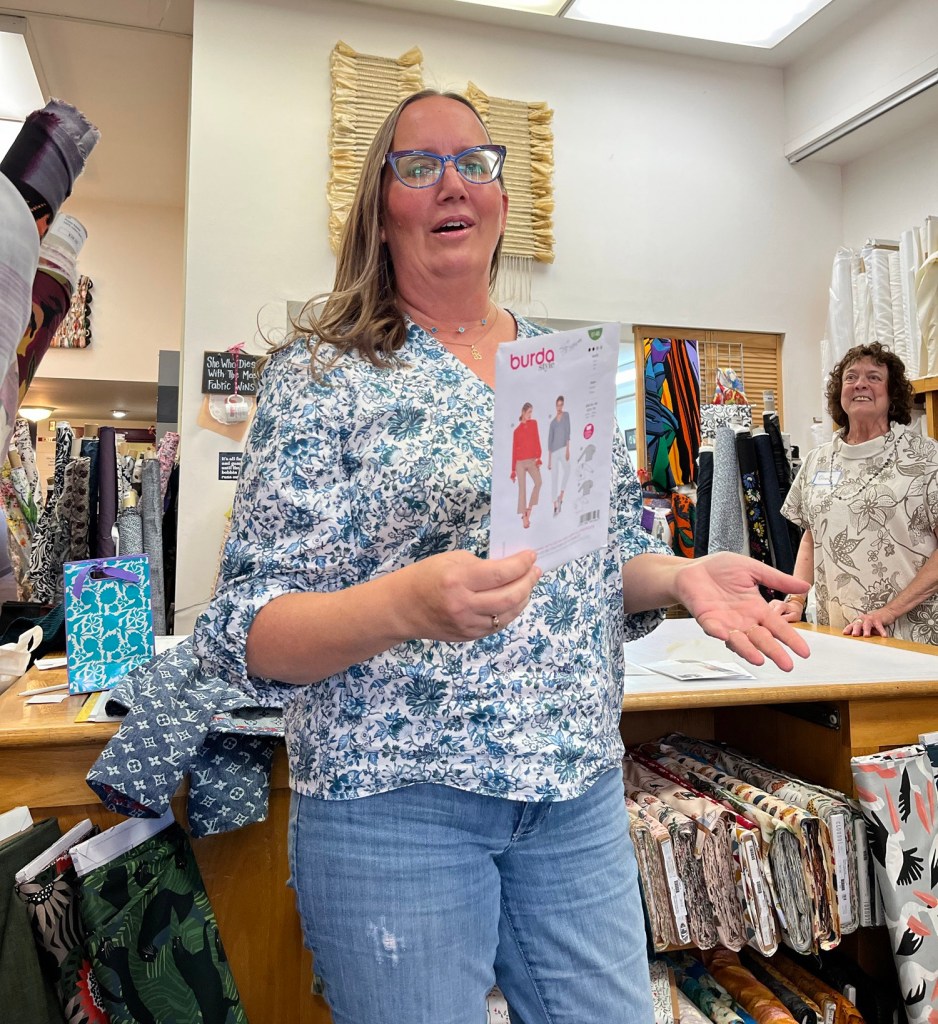
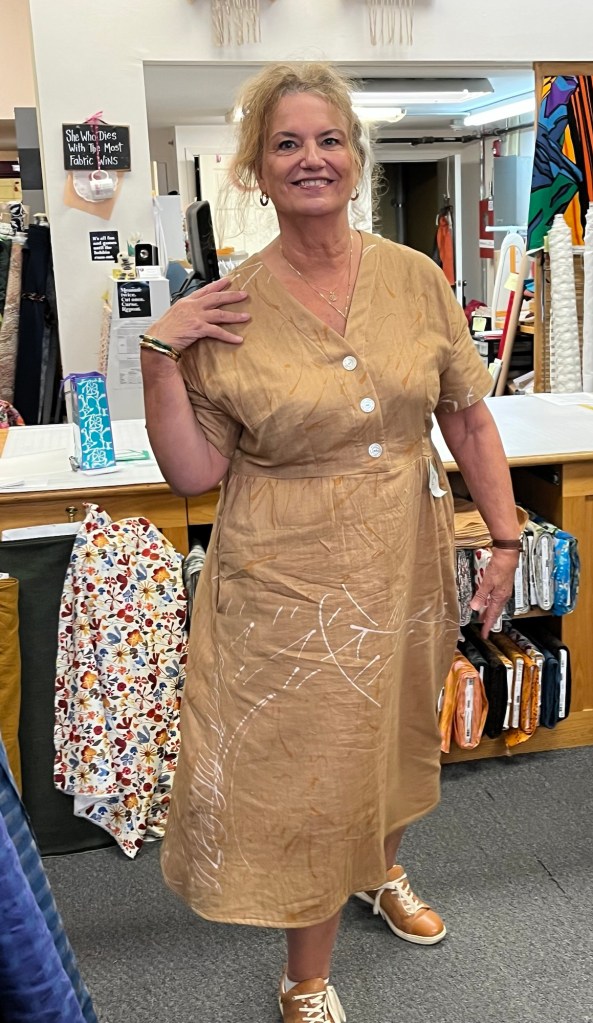
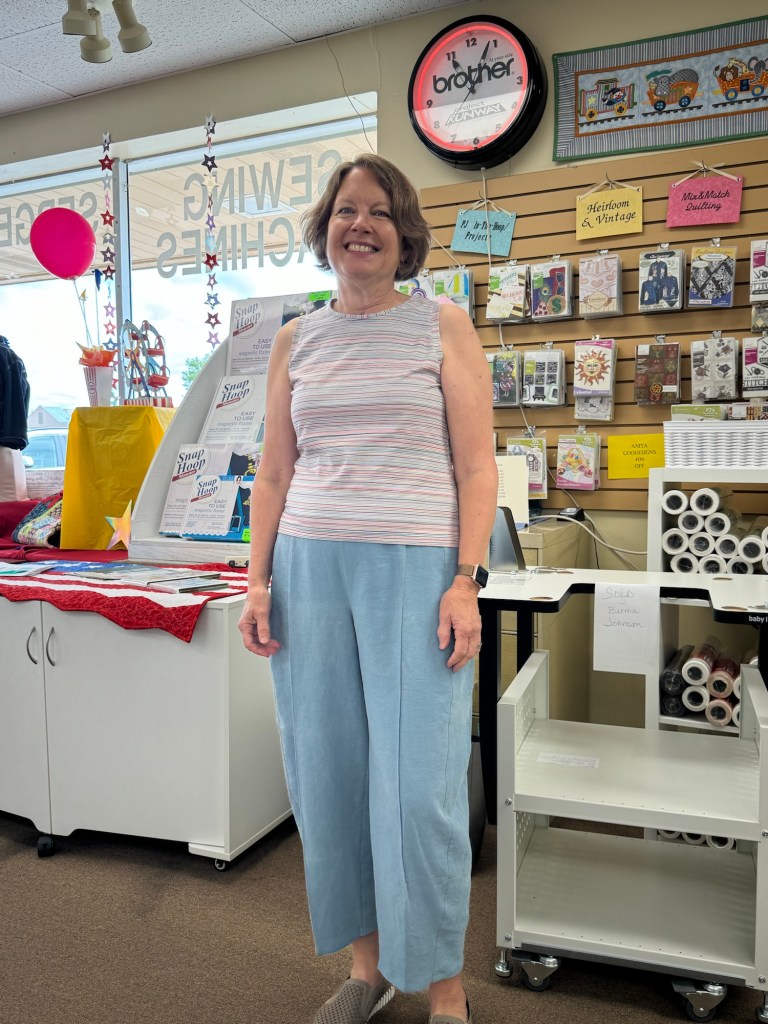
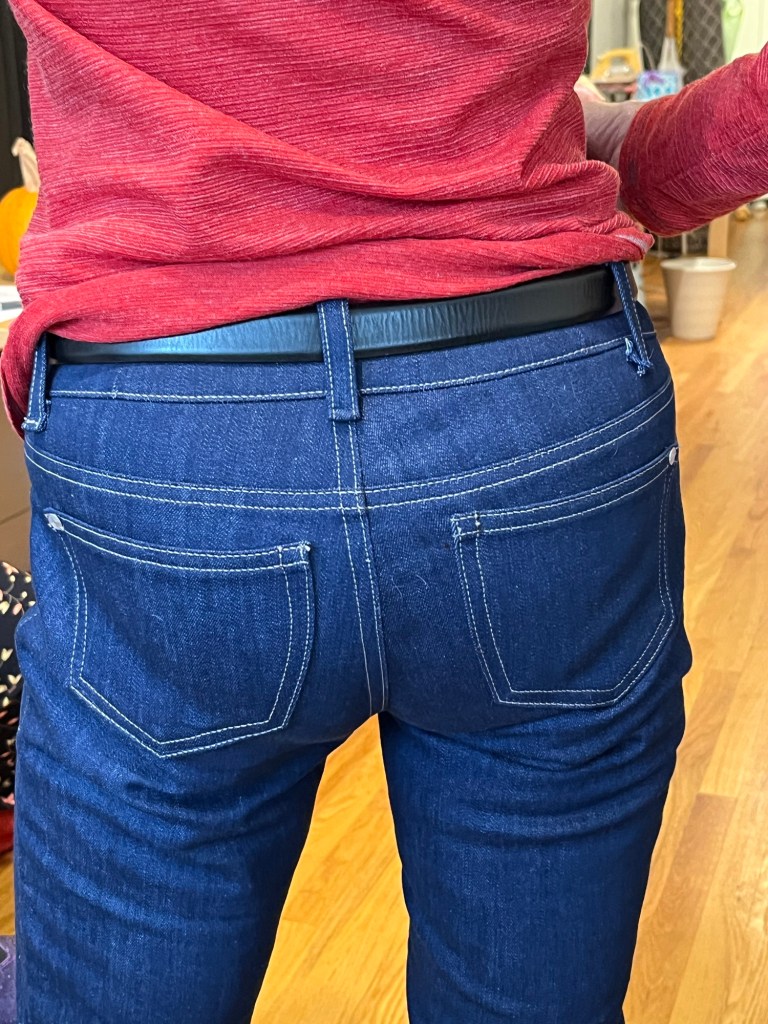
1. This is a TNT pant pattern for me and how much I like and wear these pants depends on the fabric. The linen/viscose fabric is okay but I think I prefer a more structured fabric.
2. I eliminate the pieced waistband and make it one piece. I also eliminate the faux zipper and waist tie.
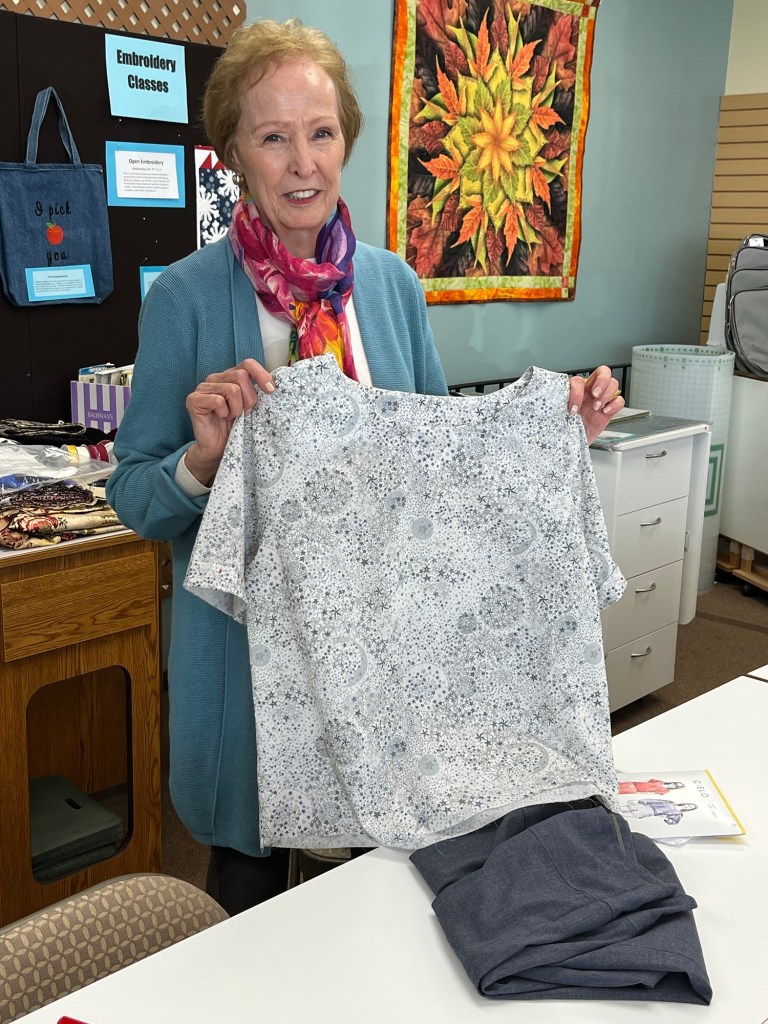
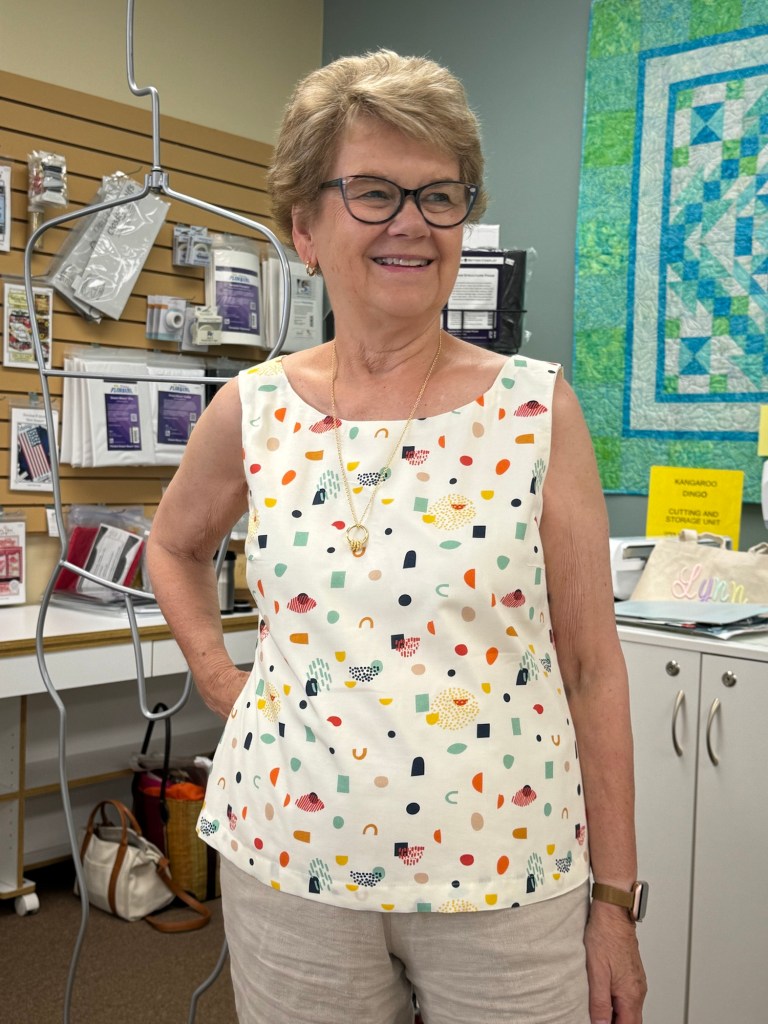
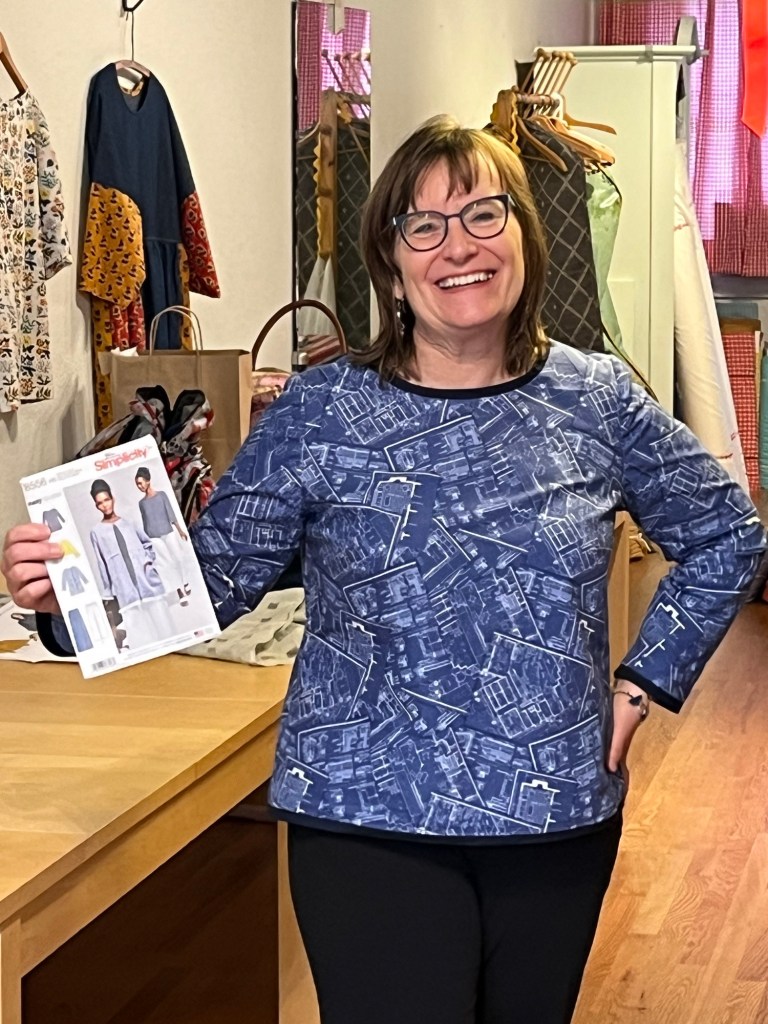
Graphic Print V-Neck Top Jalie 2682
1. Another Jalie TNT pattern for me.
2. I raised the neckline on this make due to the fall weather.
3. Due to 1/4” sa and serging I topstitched the seams to prevent curling and more comfort while wearing.
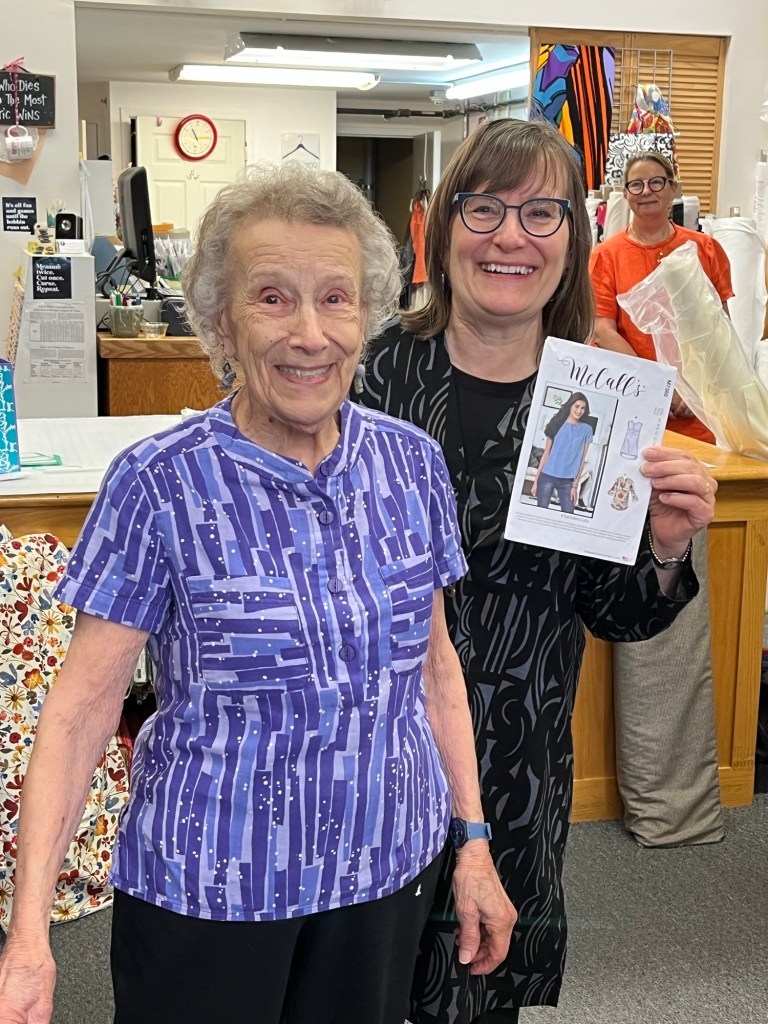
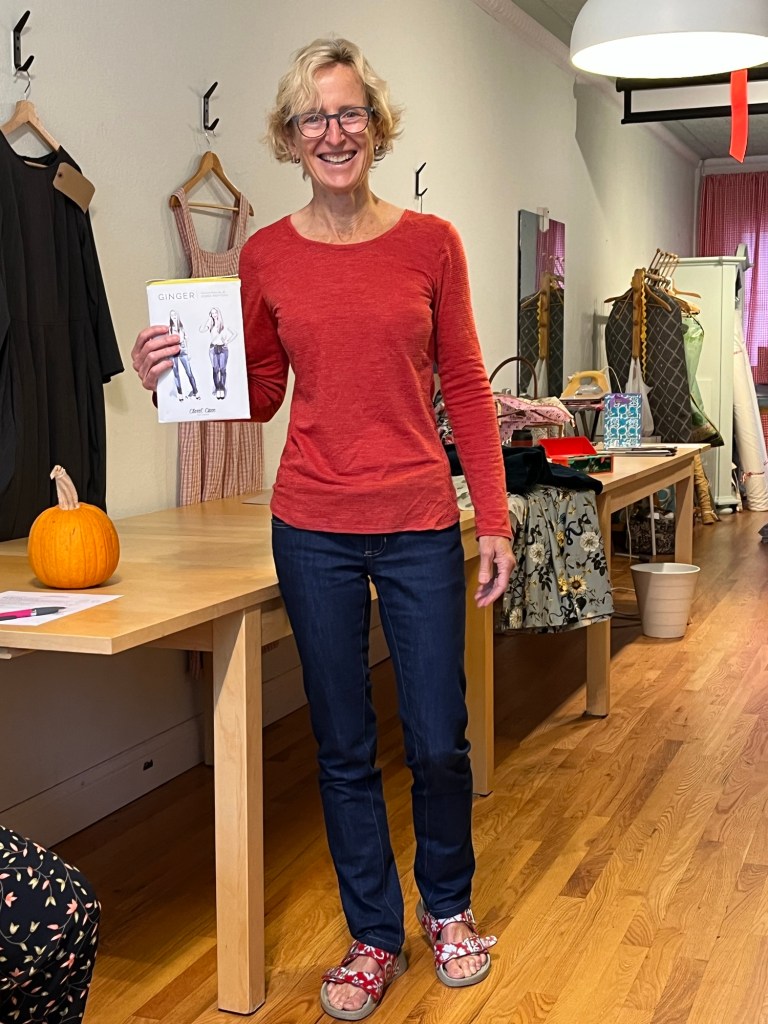
1. Another TNT pattern. After making my wool jacket it was a nice break to stitch up a few basics to add to my wardrobe. Easy is quick and fun. Now I am ready for a more challenging garment make for November.
November Garment Sewing Group
Saturday, November 9, 10:30, Sewing Lounge, St. Paul
Wednesday, November 13, 10:30, Lakes Makerie, Minneapolis
Thursday, November 14, 10:30, Creative Sewing, Apple Valley
Sew Social this month: Oct. 10 and 24, 1-4 pm, Creative Sewing, Apple Valley
Kristin’s Garments:
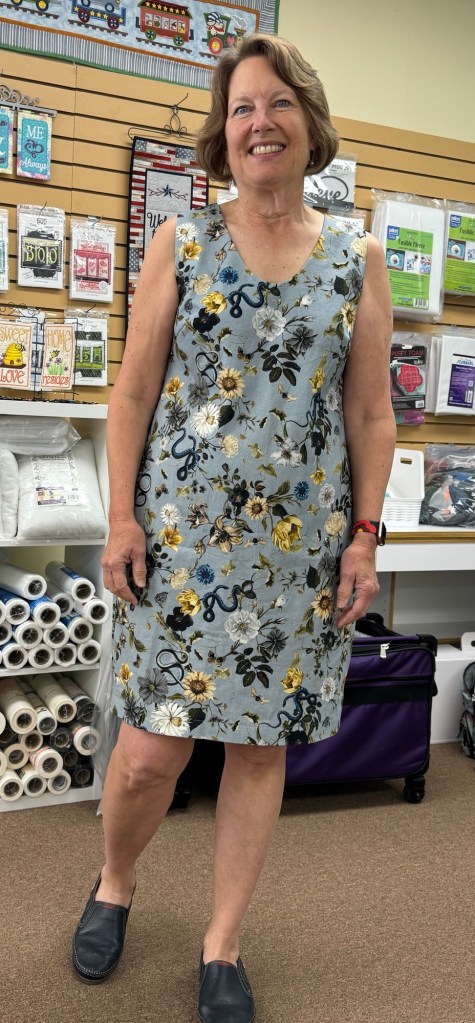
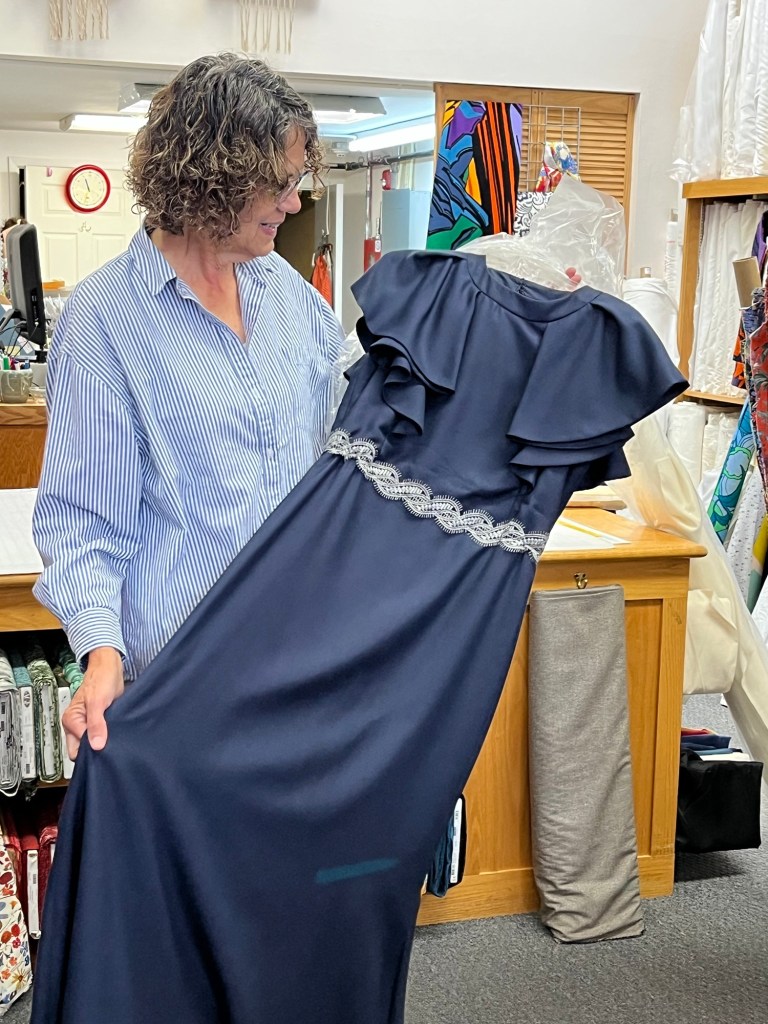
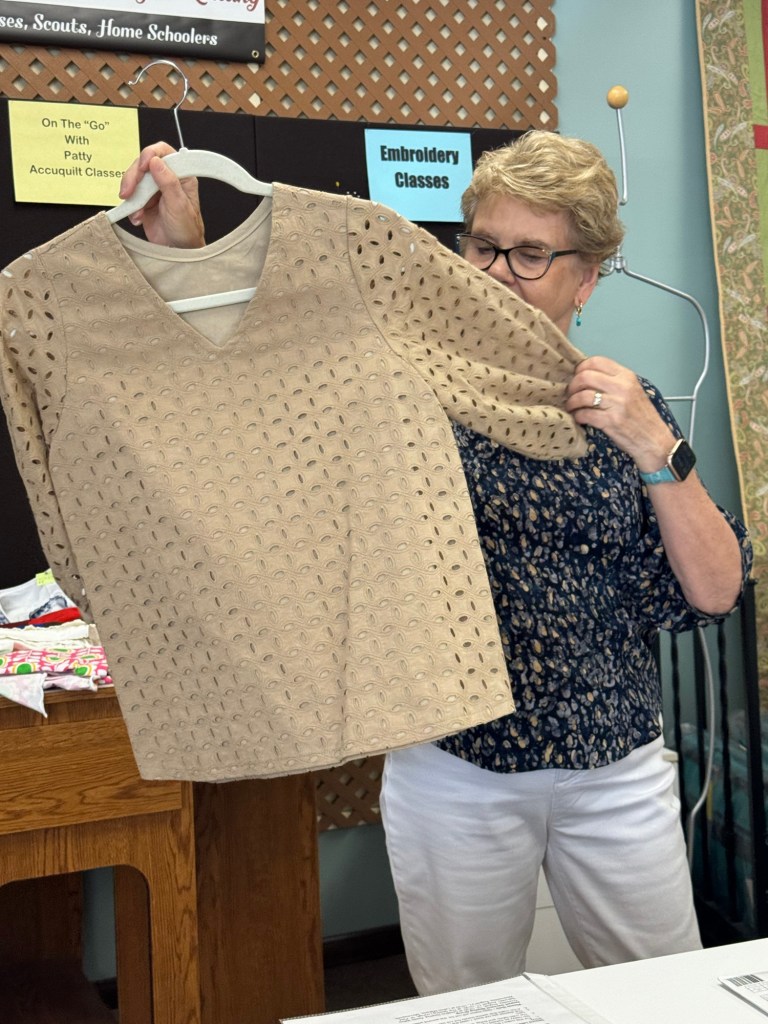
1. Pattern has a lining that goes past bust so I made that first for a fit muslin. Cut out a size 16.
2. Decided to make seam allowance 3/8” instead of 5/8” at neckline and also cut for highest neckline (it wasn’t much of a difference between sizes). Kept the 5/8” seam allowance for armholes.
3. Omitted back zip but would stitch neck closed and put zipper below to keep things neat.
4. Adjusted for my hips. Back darts gave nice shaping but fit seemed problematic in lots of places.
5. Resewed the side seams at 1/4” and all problems went away-Yeay!!
6. Definitely a keeper pattern for wearing and fitting.
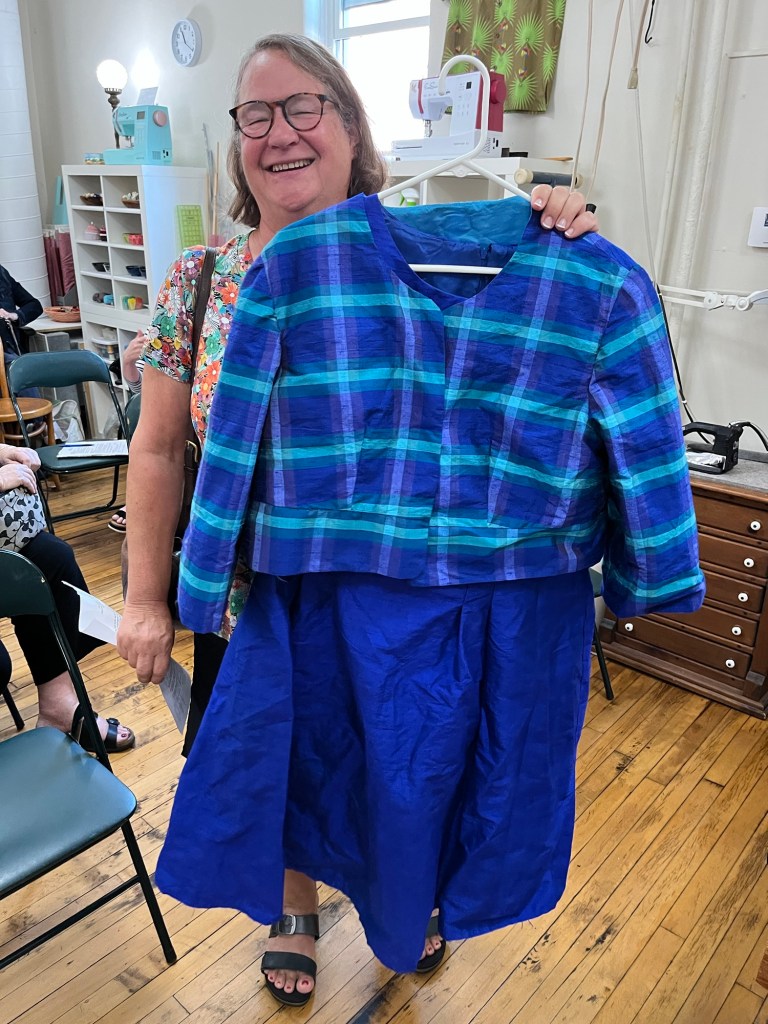
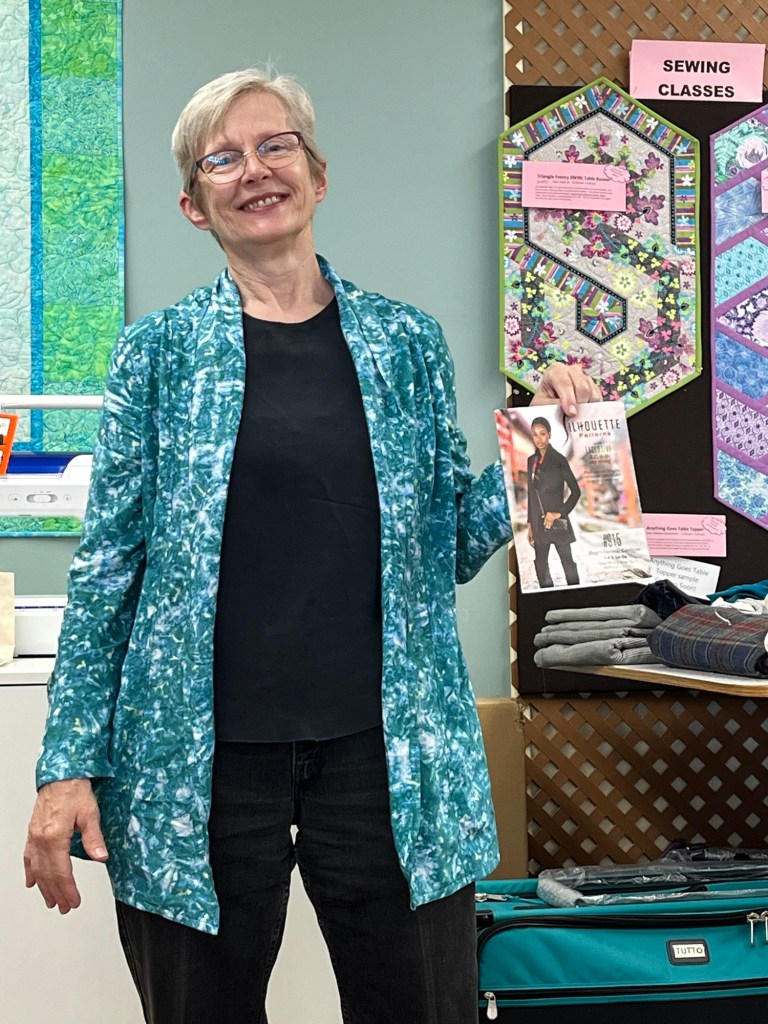
7. Wore the sheath with Vogue 9347 window pane jacket.
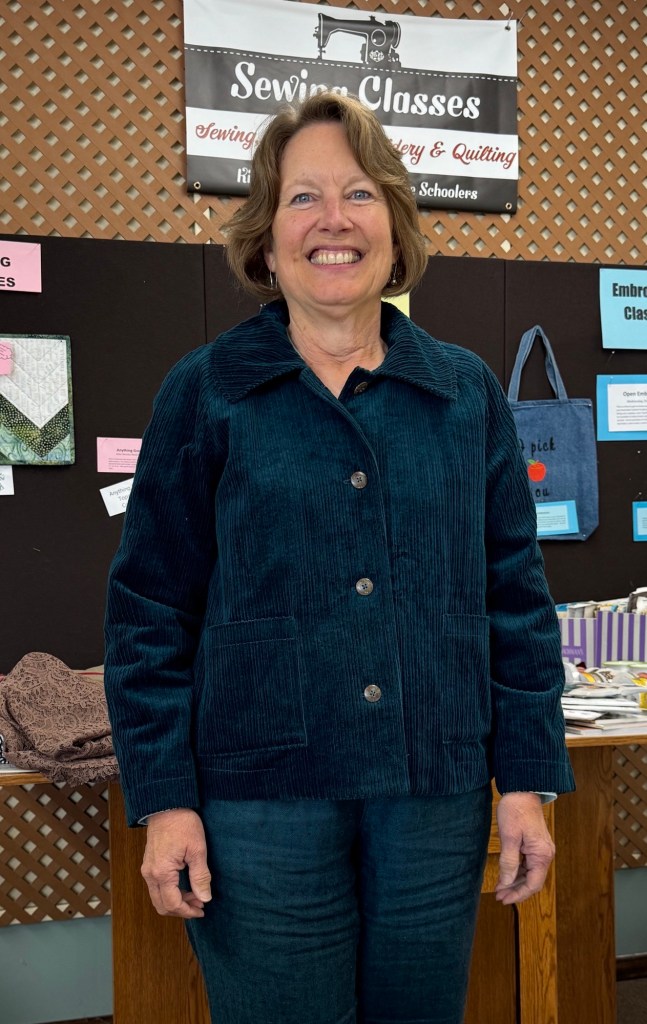
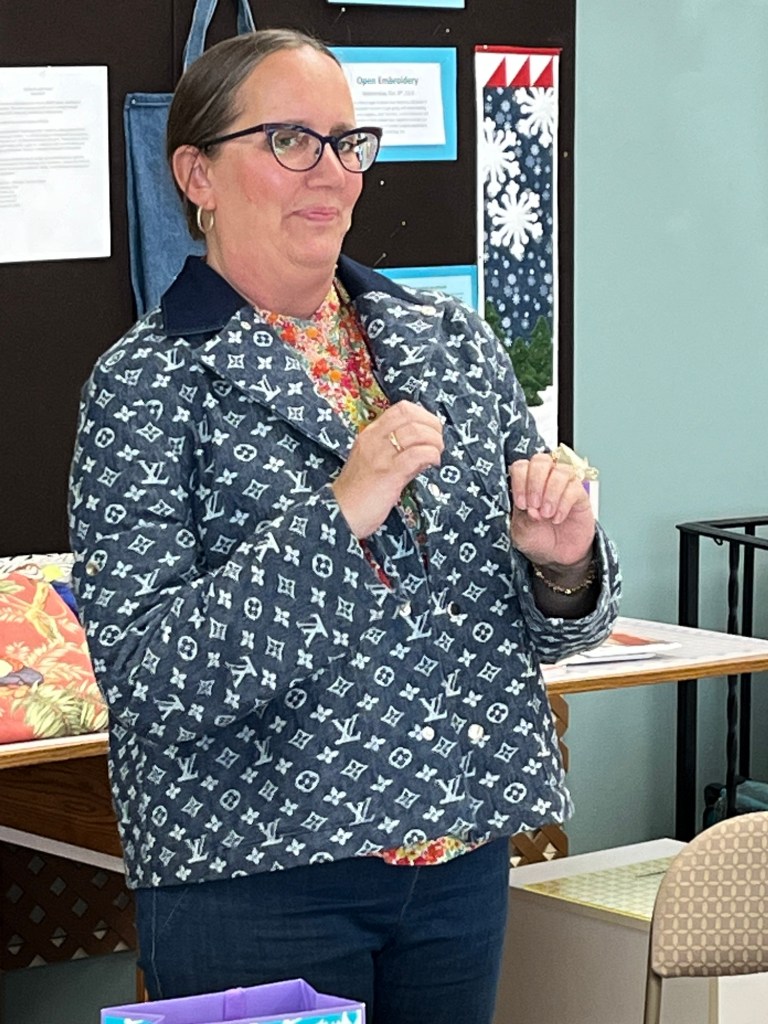
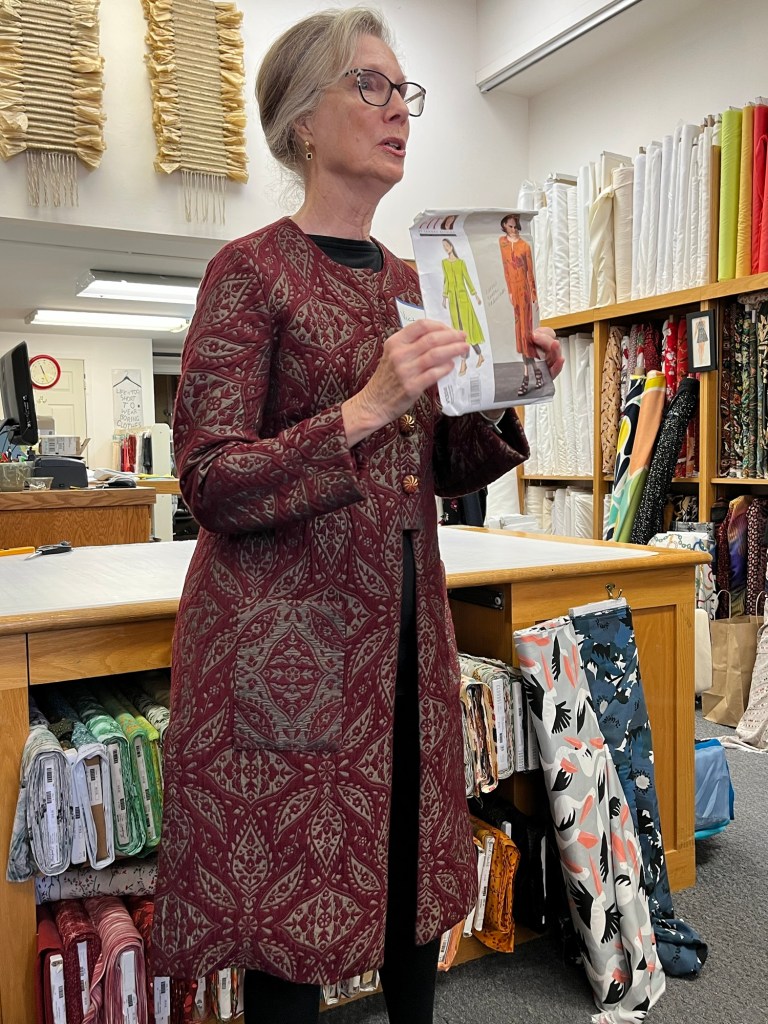
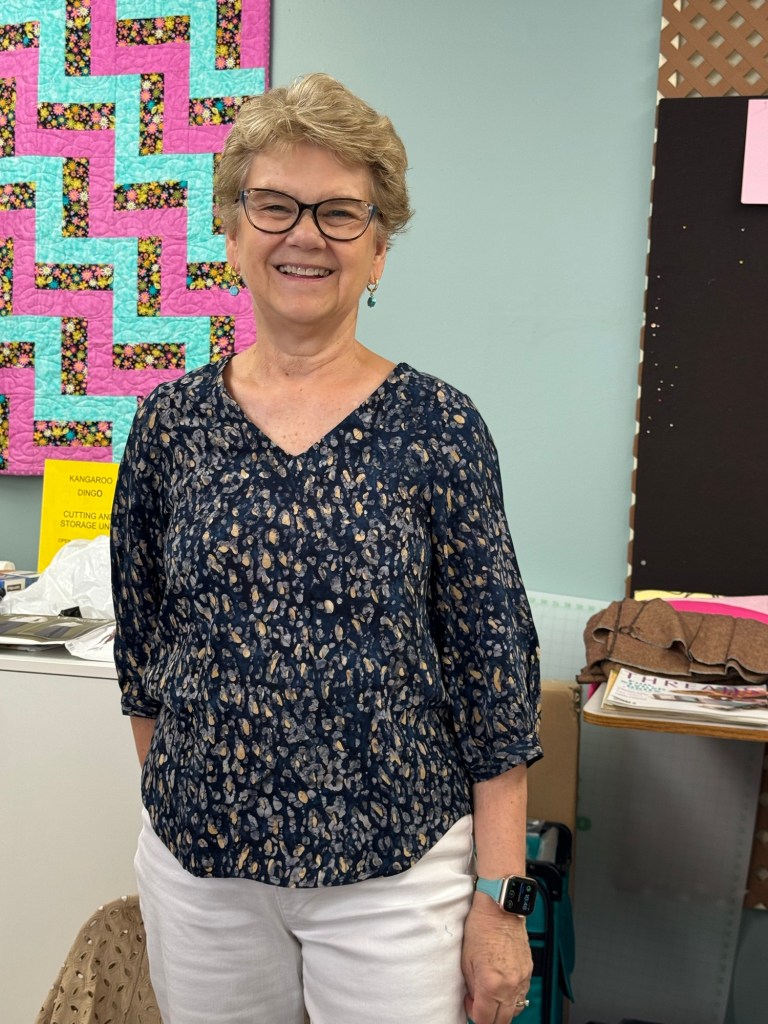
1. Made size Medium to pattern except for length. Collar has a partial back stand. Pattern includes lining or facings for no lining.
2. Other than a few marking notches being off or nonexistent the pattern went together very well and instructions were good although some of the language isn’t what we’re used to: face to face instead of right sides together.
3. Added patch pockets instead of welt.
4. I chose to add a facing for the back neck and wish I would have assembled the lining separately so the garment wasn’t so bulky at neck seam-next time!

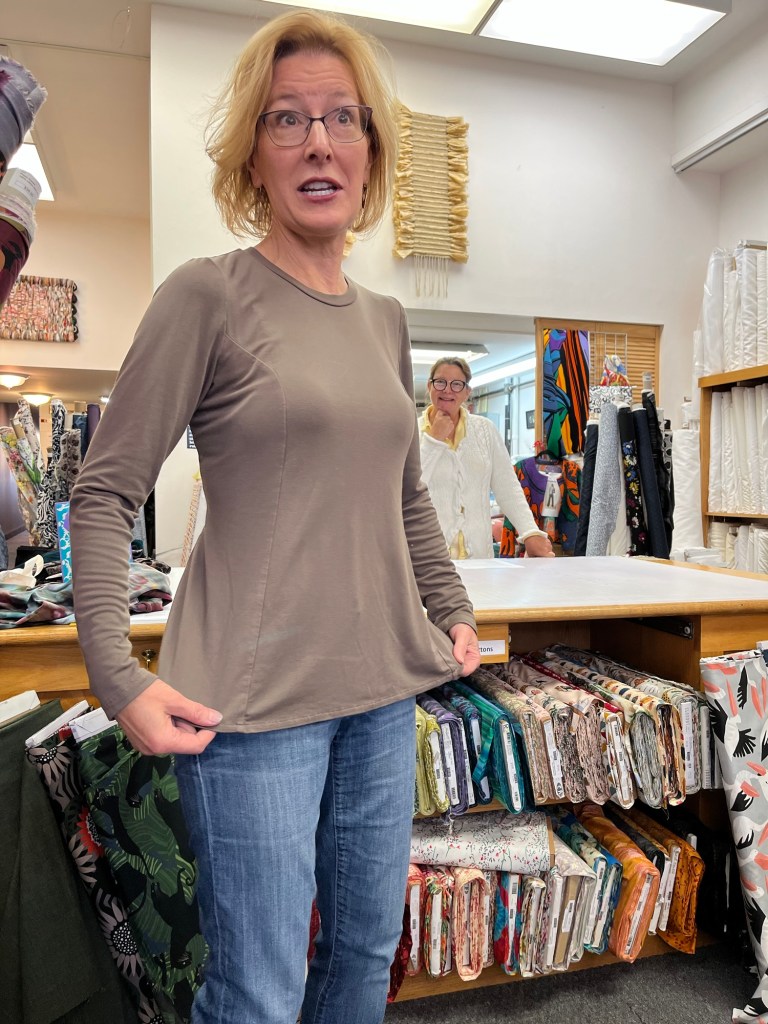
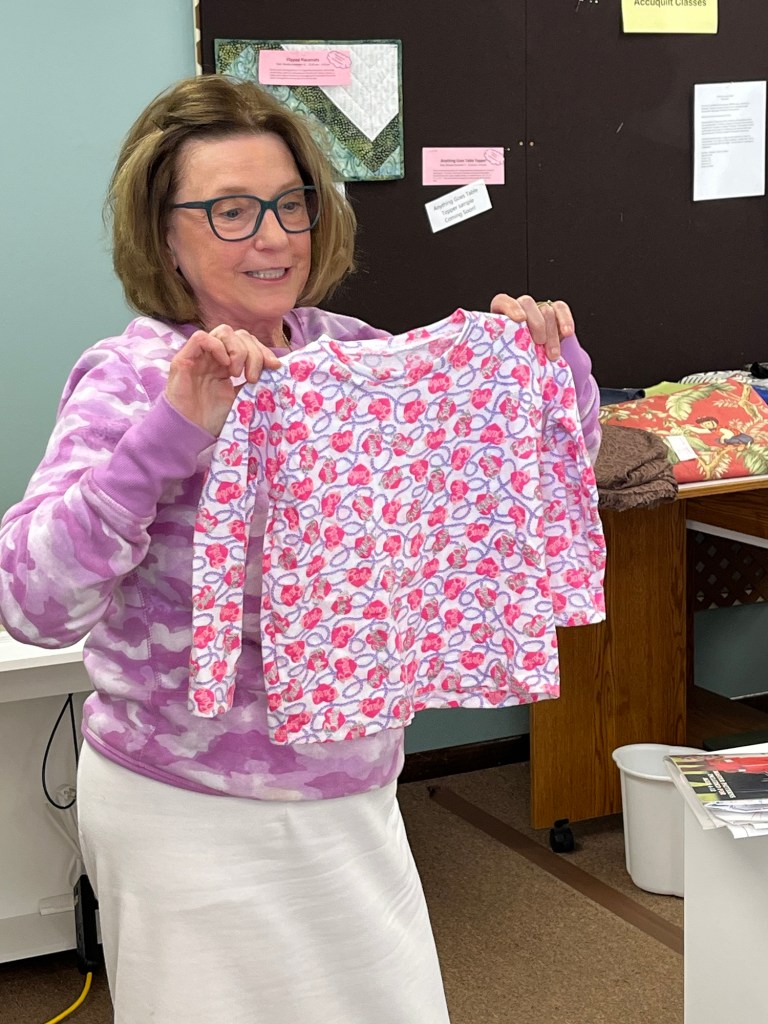
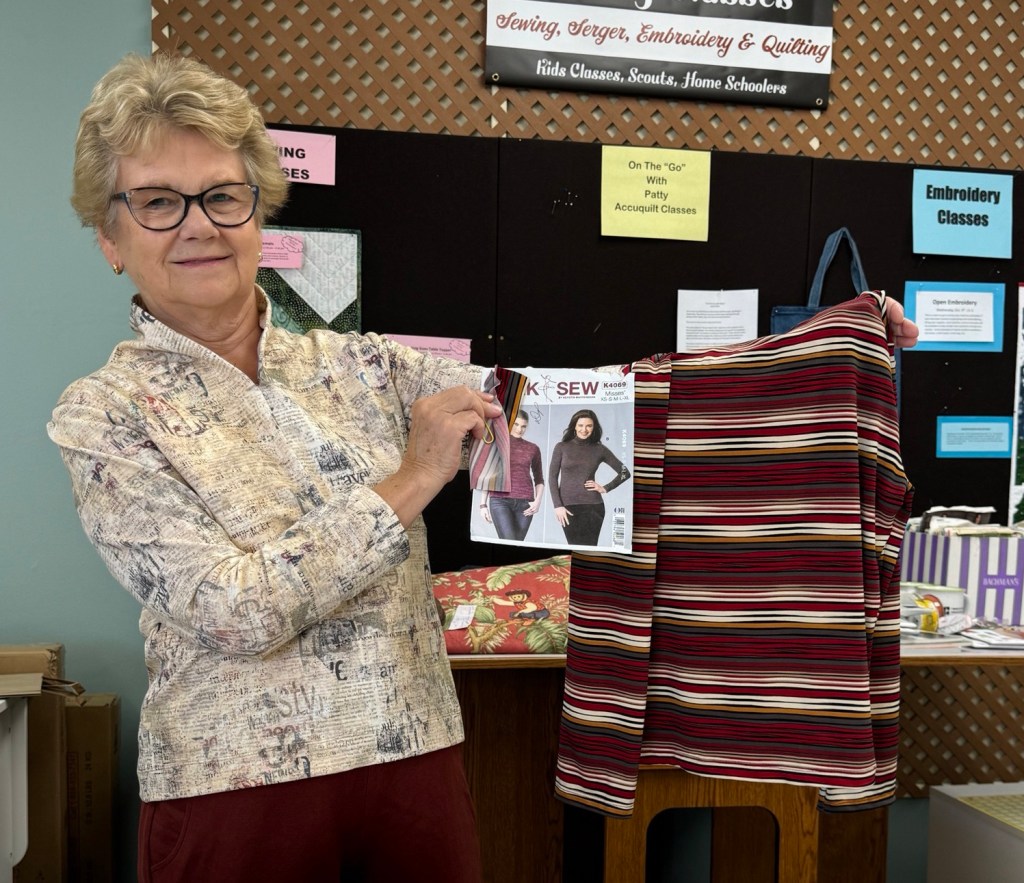
1. Caroline showed this top last month at Ginny’s and it looked like fun. I made an 8 at the bust and 14 at hip. Pattern calls for fluid knits-cotton knit probably wouldn’t twist.
2. Easy construction except for the piddliness of working with rayon knit. It’s always worth it when the garment is done.
3. Some techniques are overdone for knits-interfacing back neck and understitching neck binding. I didn’t understitch and the neck band was 1 1/2” too long but that could have been a cutting error on my part 🙂
4. Fit is great and it’s a nice vee for me. Twist is easy and looks good-no wrong sides peeking through. Might be a good scrap buster.