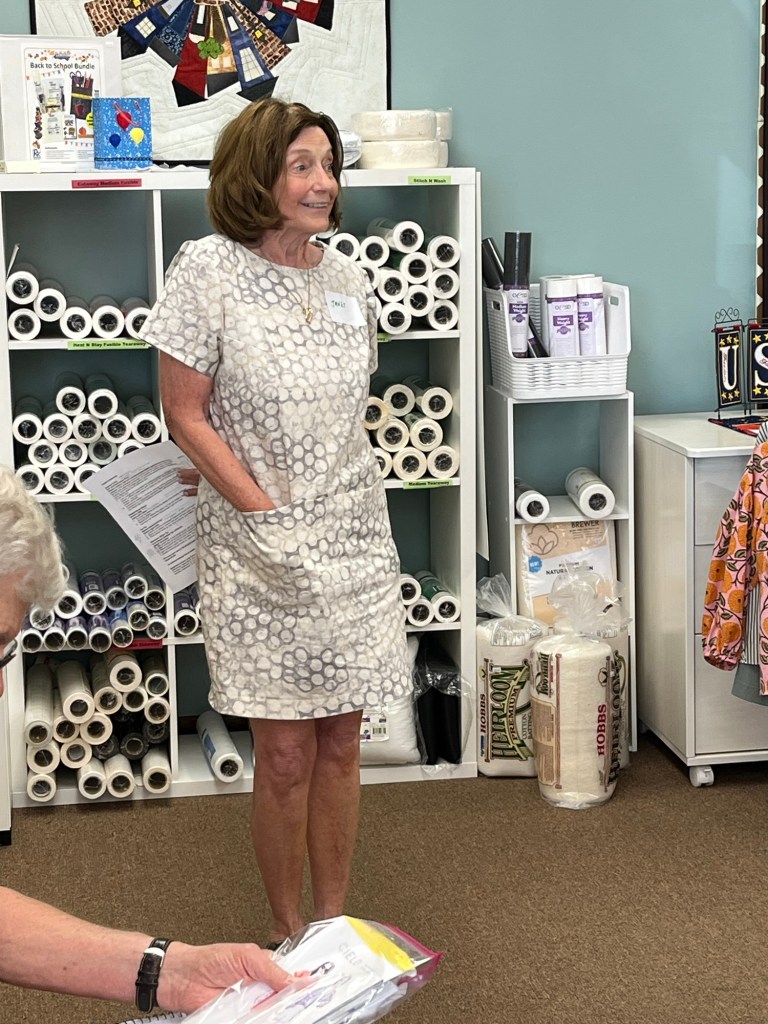
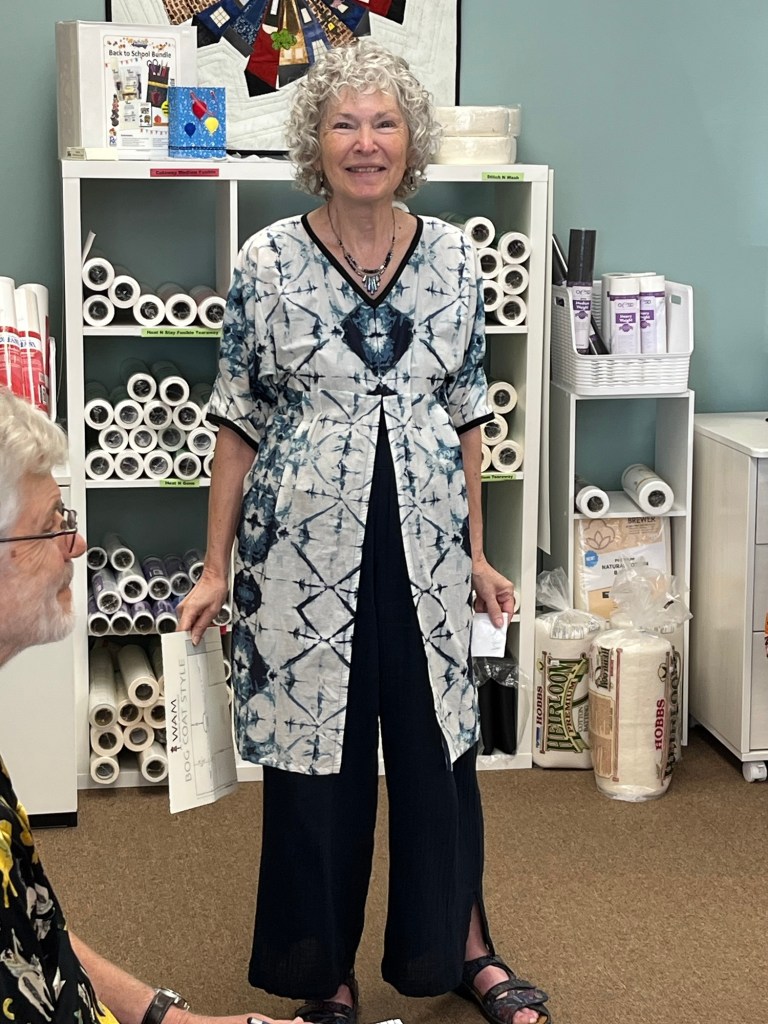
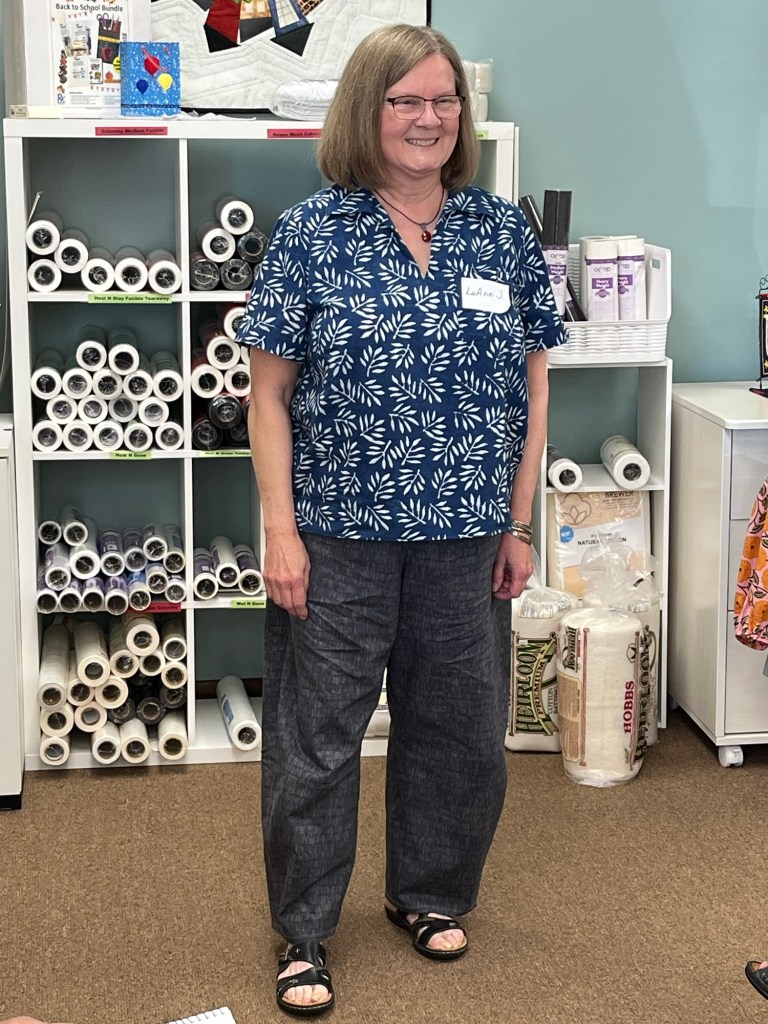
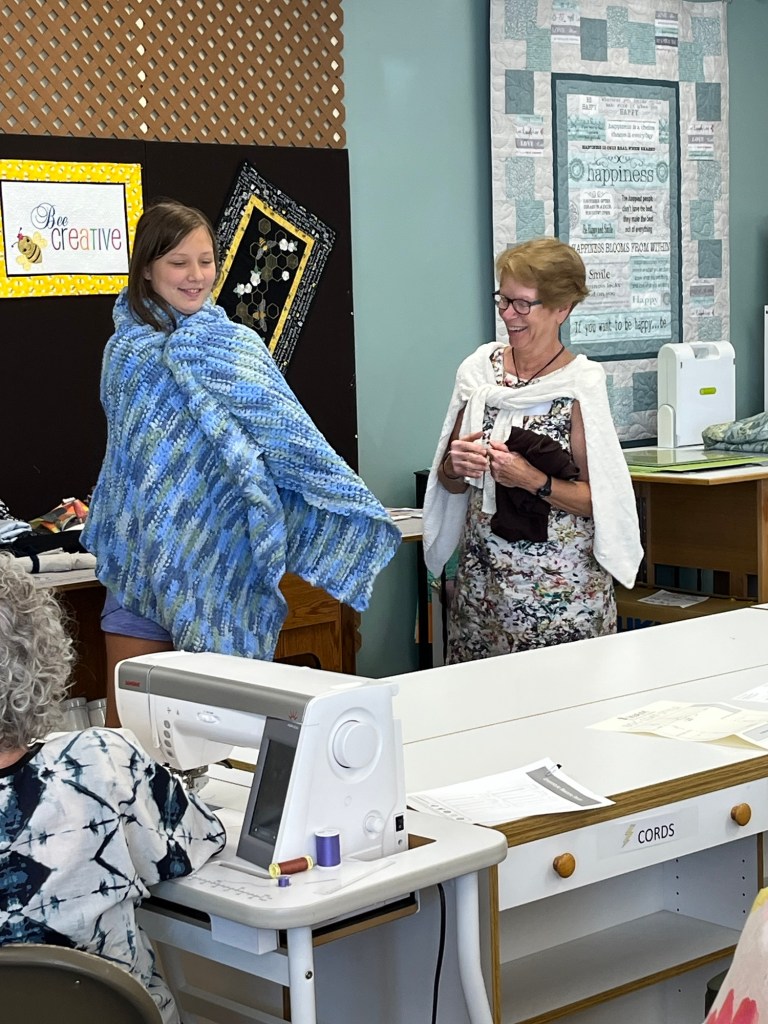
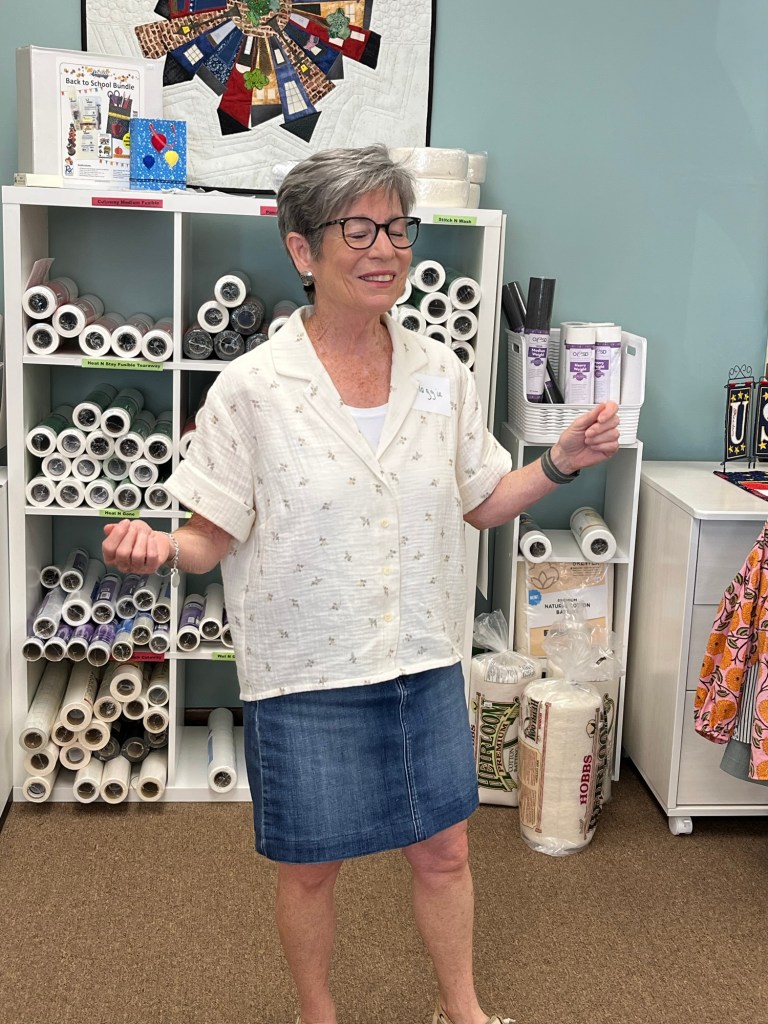
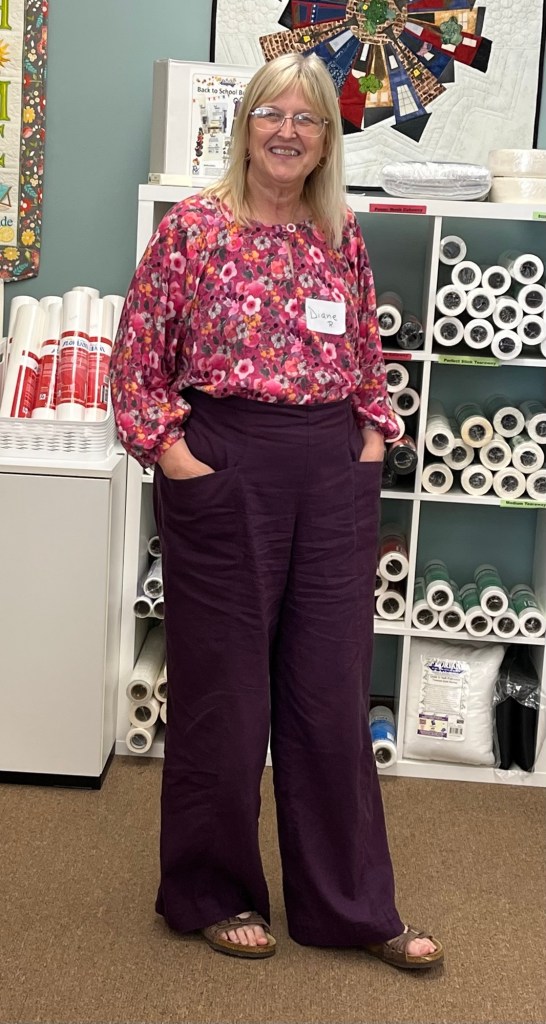
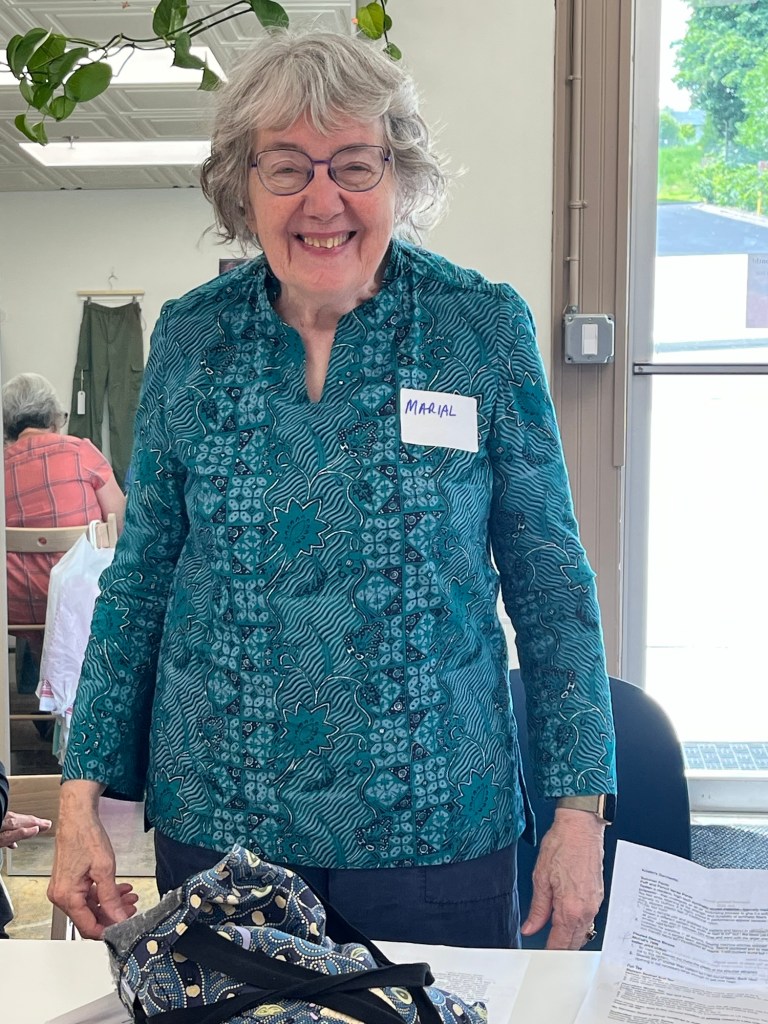
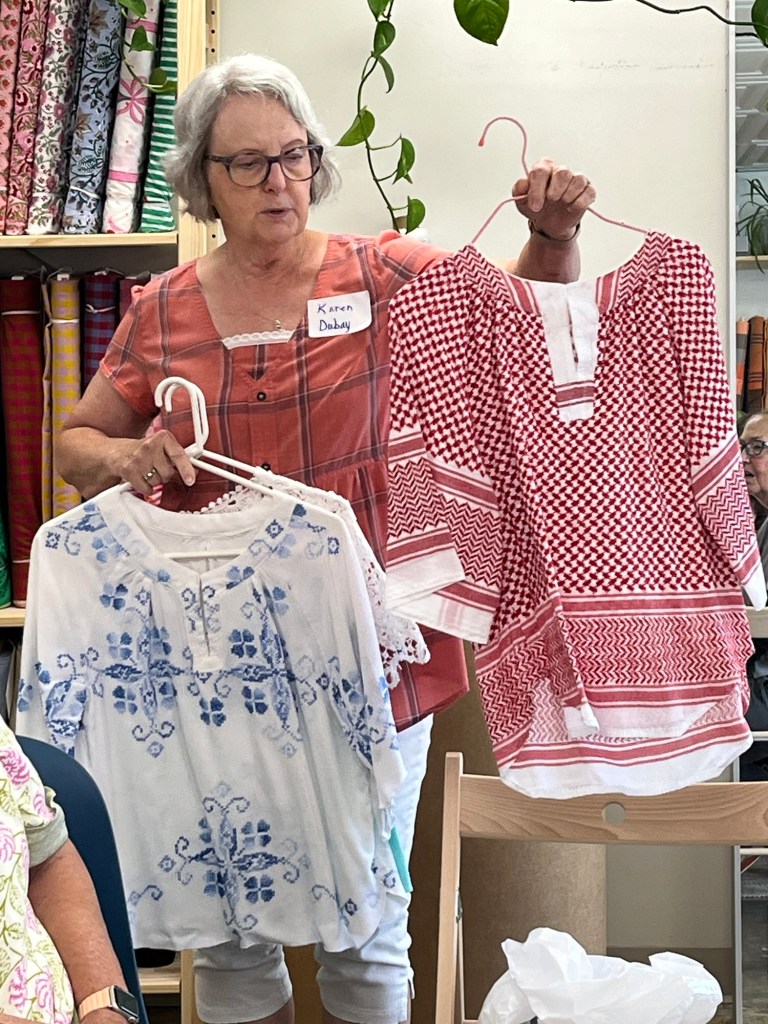
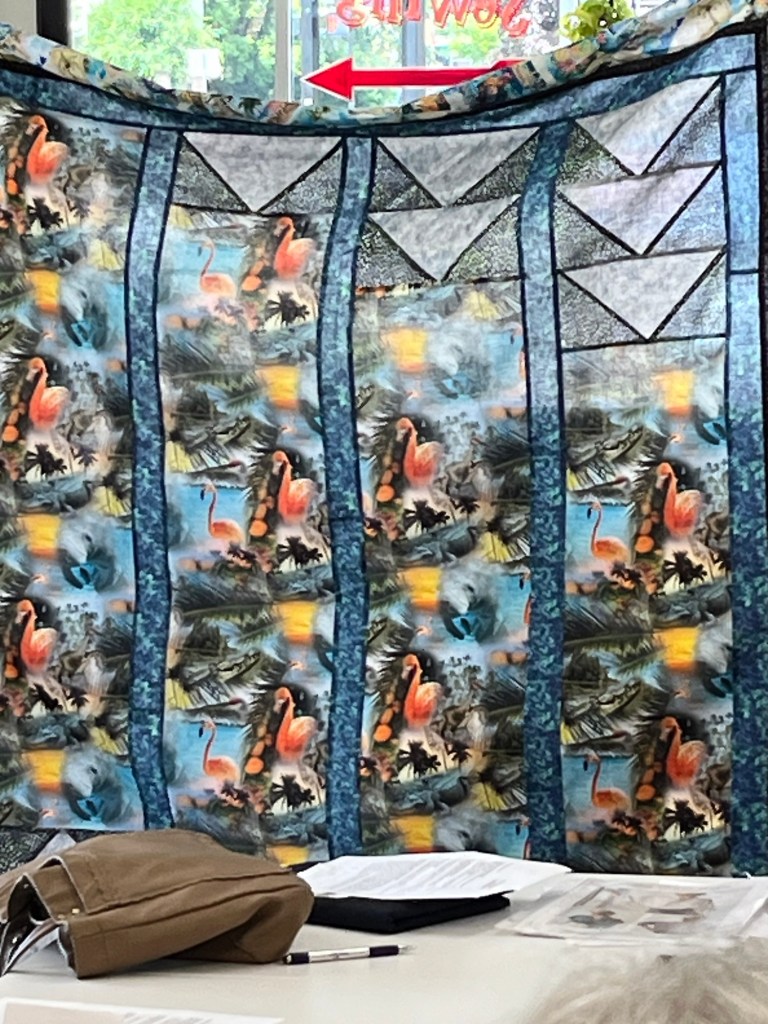

Serging is hot this summer and classes fill quickly. Go to store websites to register. Hope some of them will work for you if you are learning to serge!!
1. Basic Sergery
Do you have a serger you don’t know how to use? Are you a little confused about threading? Take the fear out of serging and get comfortable with what could become your favorite sewing tool. Start as a beginner or take the class to brush up or refresh your skills.
Skill Level: All-no serger experience necessary
Class is offered at stores-go to store website to register:
Saturday, July 11, 1:30-3:30, Open Studio Sewing, St. Louis Park SOLD OUT
Saturday, July 11, 4-6 pm, Open Studio Sewing, St. Louis Park
Saturday, July 18, 10-12 pm, Lakes Makerie, Minneapolis
Wednesday, August. 5, 5:30-7:30 pm, Lakes Makerie, Minneapolis
Saturday, August 22, 1:30-3:30, Sew Inviting, St. Paul
2. Hem Your Tees with the Flatlock (Serger) Stitch
Is your closet full of tees that are too long? Do you want a hem that stretches with the knit? Do you want to go beyond finishing raw edges with your serger? As long as you know how to thread your machine, this is your class 🙂
Learn the ins and outs of the flatlock stitch!
Need to know how to thread your serger or have taken Basic Sergery from Material Girls
Class is offered at following stores-go to store website to register:
Wednesday, July 15, 1-3 pm, Open Studio Sewing, St. Louis Park
Saturday, July 18, 1:30-3:30, Lakes Makerie, Minneapolis
3. Rolled Hem Serger Stitch
Finish the edges of a napkin or headscarf after you learn to set your serger up for the rolled hem stitch. Basic threading knowledge of the serger is required-you’ll learn the specifics of the rolled hem, narrow hem and picot stitch (they’re all related 🙂 Experiment with other rolled hem applications as time allows (lettuce edge, tucks, etc.)
Need to know how to thread your serger for basic 4 thread stitch or taken Basic Sergery from Material Girls.
Wednesday, August 5, 2:30-4:30, Lakes Makerie, Mpls.
4. Coverstitch Mastery (More Tee Shirts to Hem?)
Got long tees?? The coverstitch is the best way to hem knits! We will learn to thread/set up your machine and some techniques that will make hemming easy. We will also explore other applications for your coverstitch machine.
Your coverstitch machine may be a stand alone machine (there is no blade that moves up and down) or part of a combination serger/coverstitch machine (there are 5 or more spool pins on your machine). If you aren’t sure, please email the instructor with a picture or the make and model at materialgirlsewing@gmail.com.
No experience with coverstitch necessary.
Class offered at following stores-please go to their website to register-
Wednesday, July 15, 9:30-11:30, Open Studio Sewing, St. Louis Park
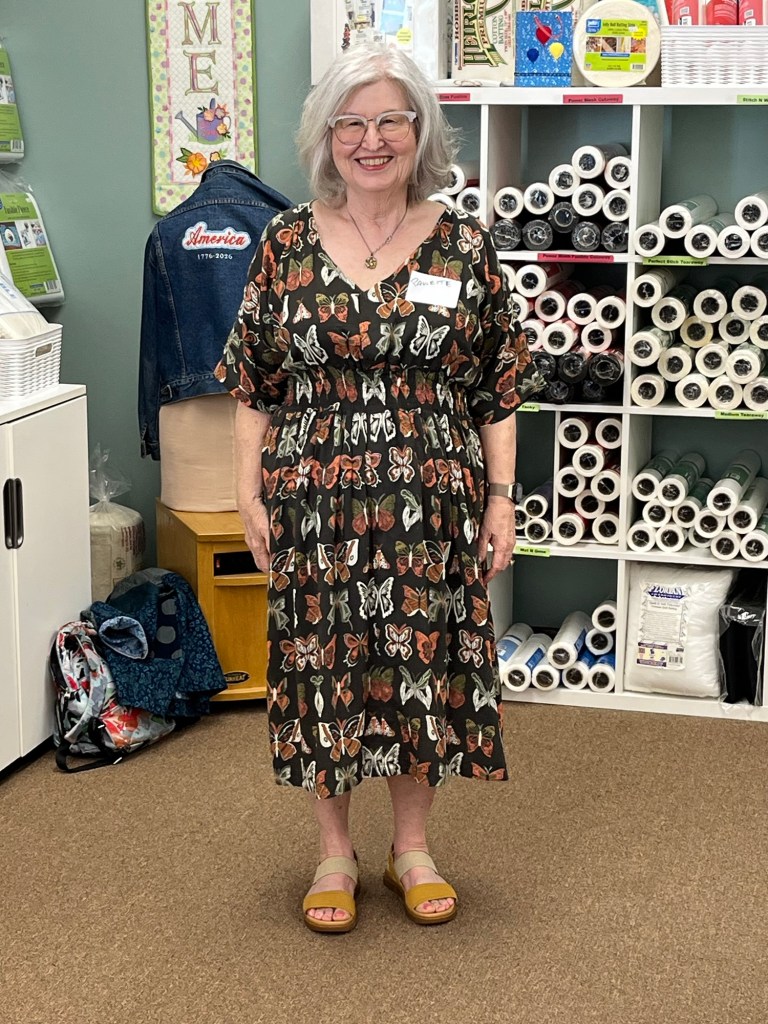
After Creative Sewing on Thursday, we finished off at Ginny’s in Rochester. Paulette was our wonderful cohost for June-keep scrolling down to see her and Kristin’s makes-
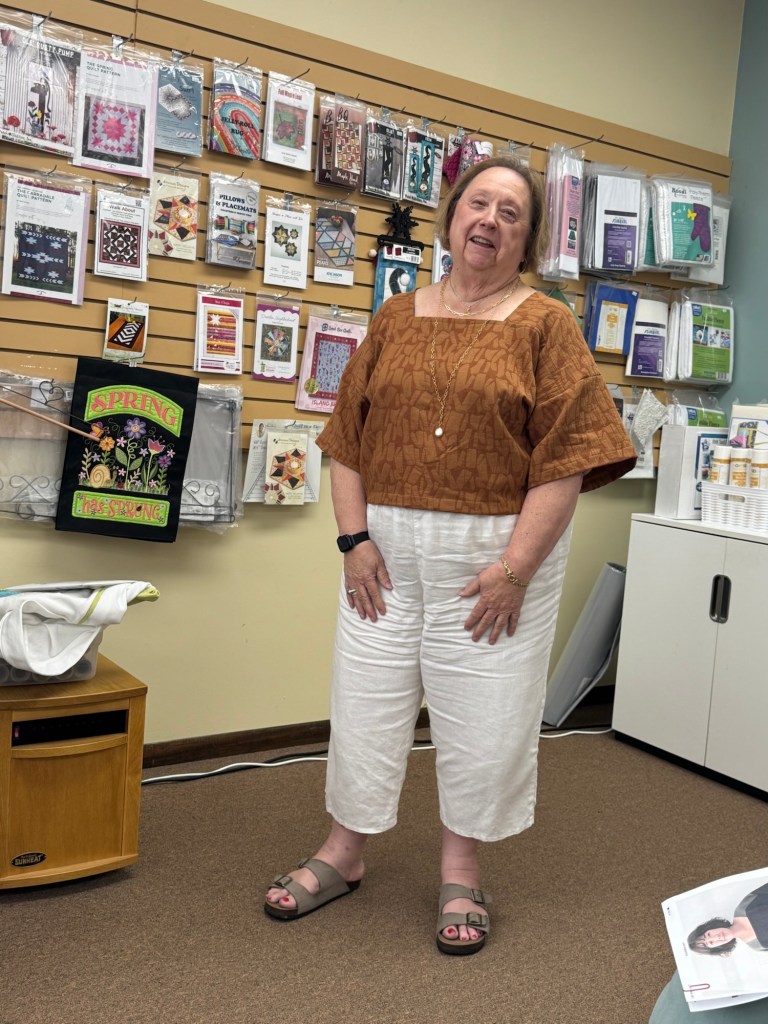
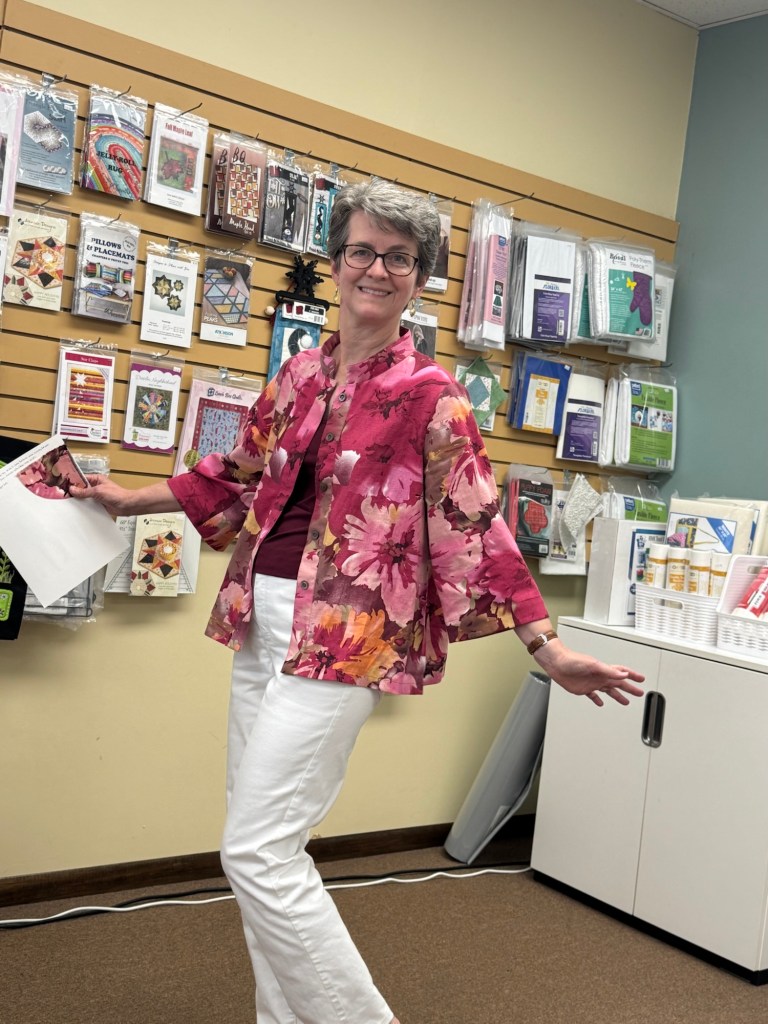
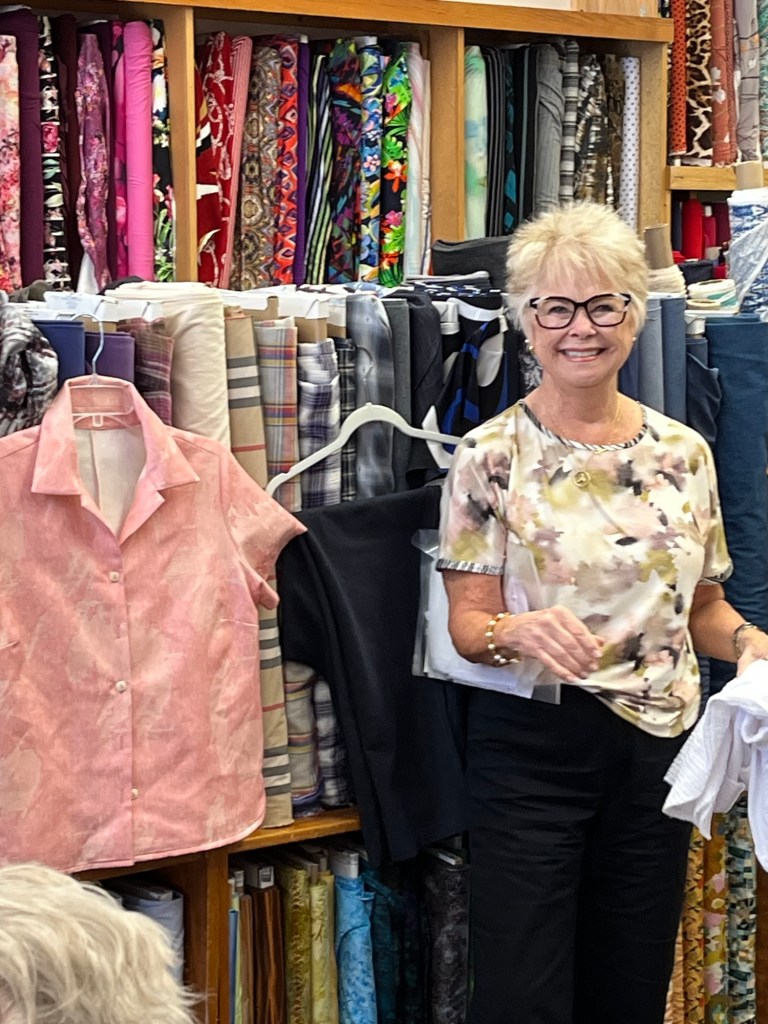
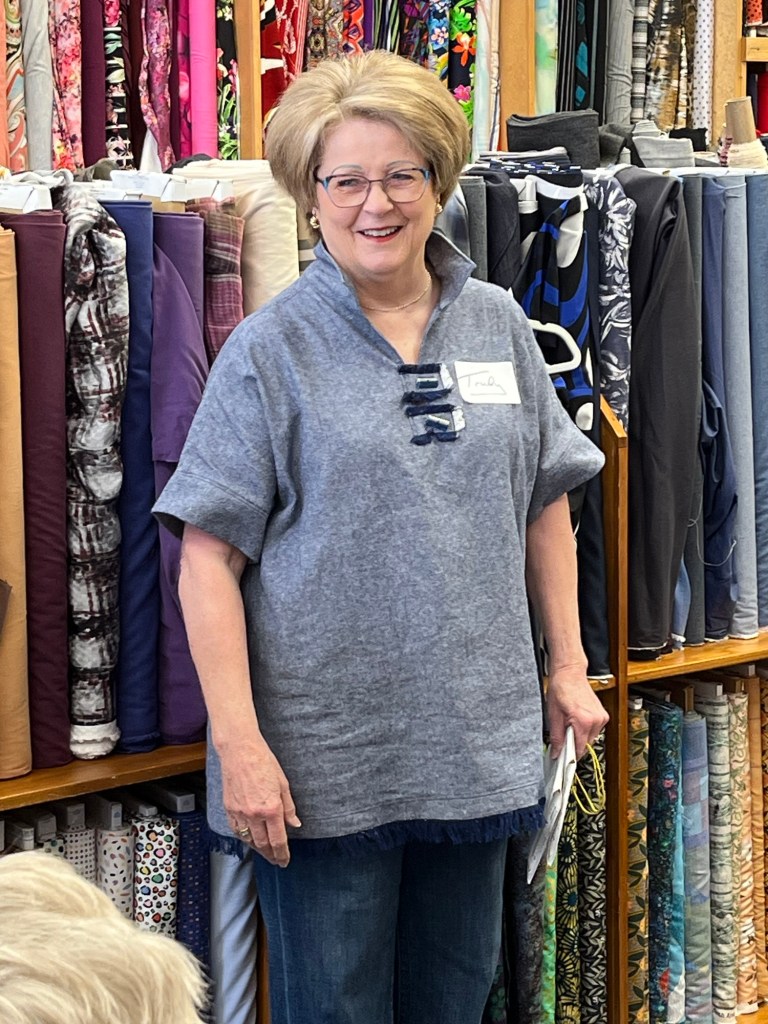
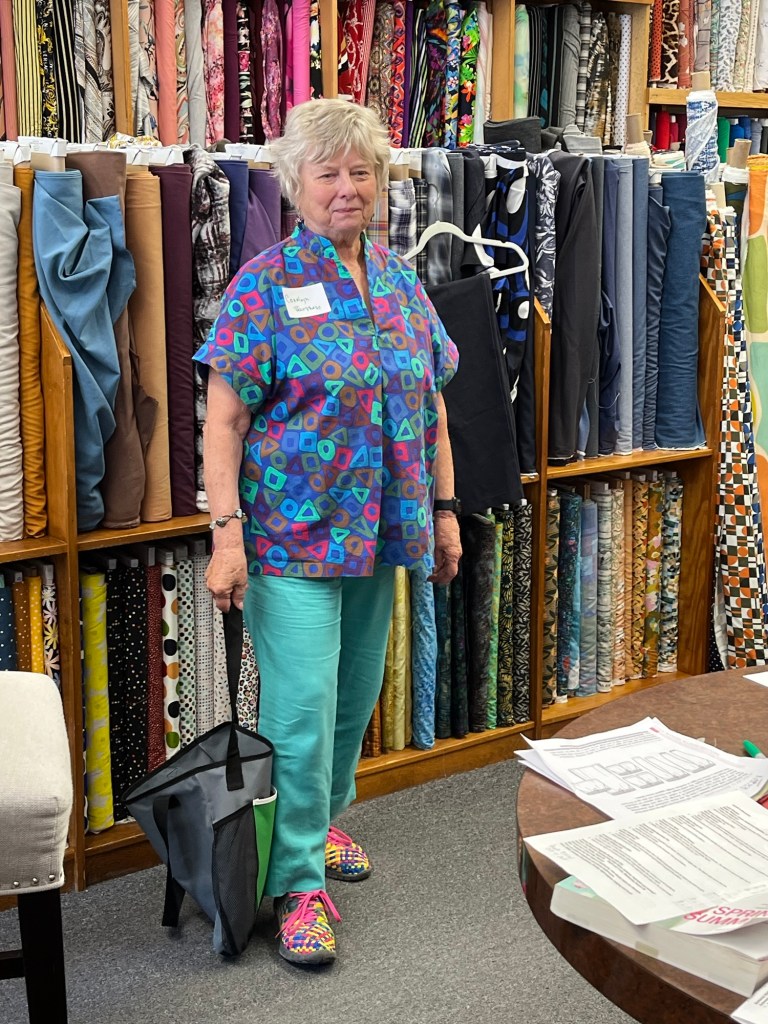
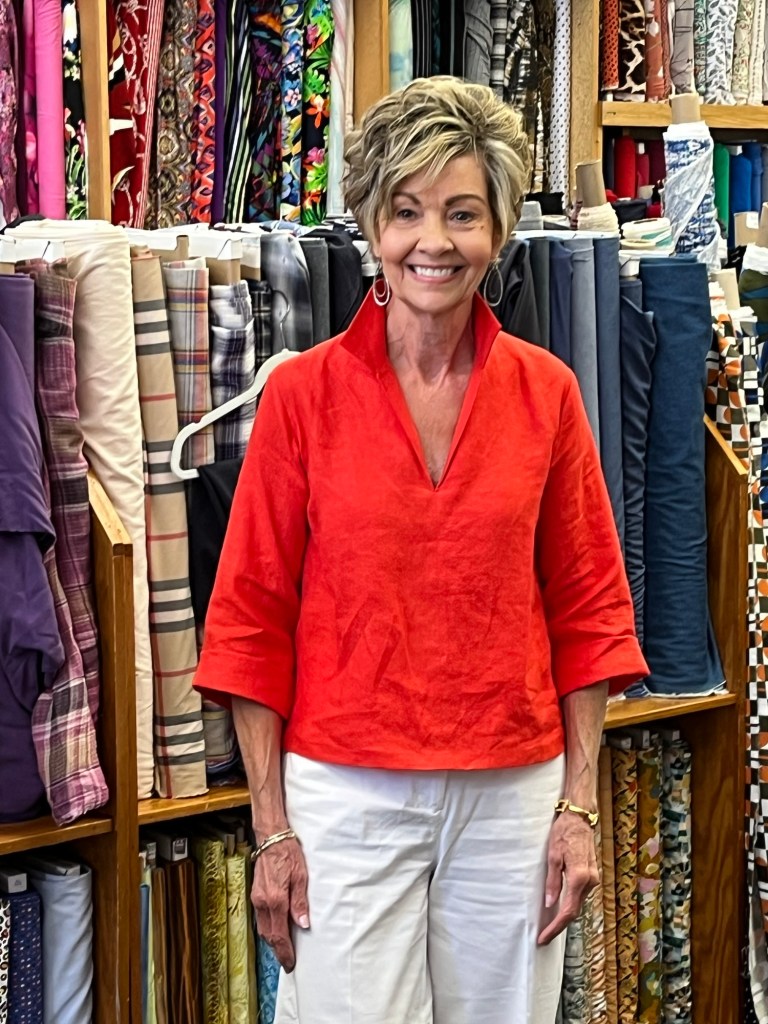
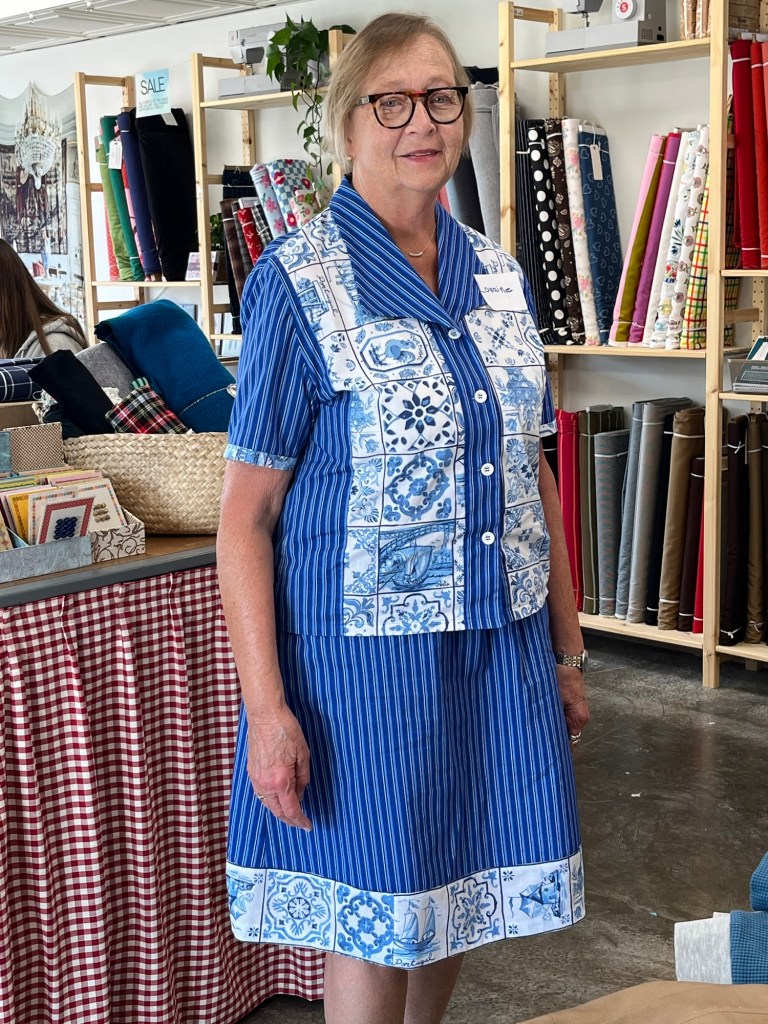
Paulette’s Garments
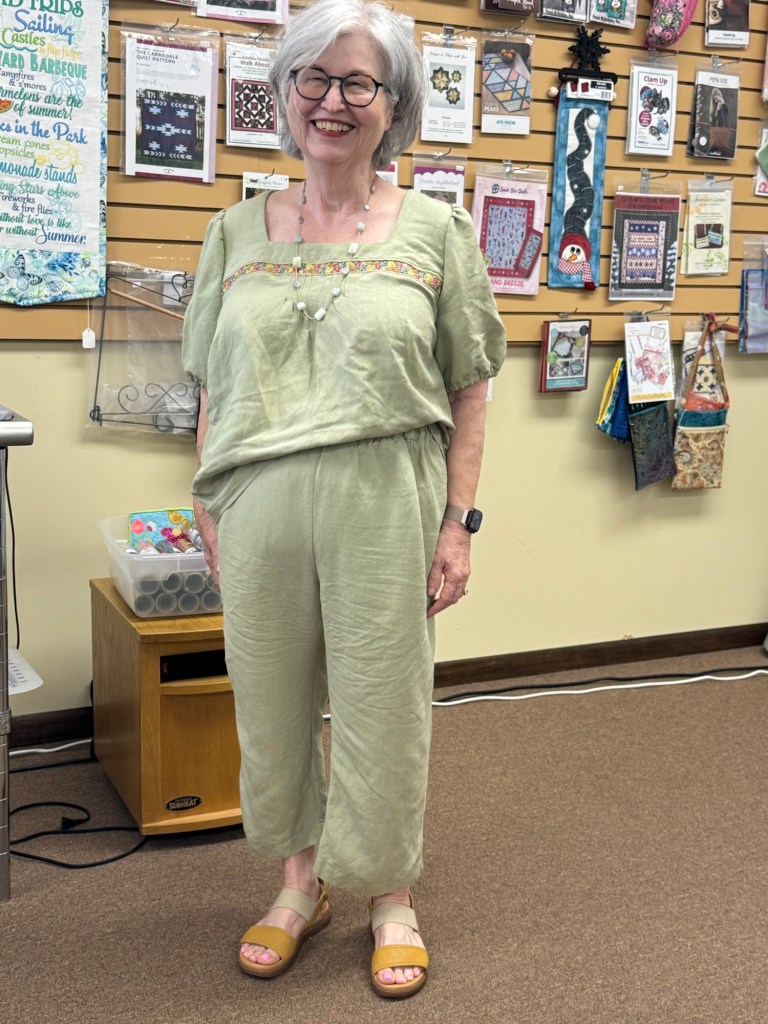
Pant Alterations: Shortened 6 inches, straightened hip line, scooped back crotch
To make wide legs version, added 1” on inseam at hem line to knee and then gradually curved in. For the out seam added 1” at hem and blended to the hip line.
Used “TUTORIAL: Creating Pockets and Wide Legs on the Magna” Tom Kat Stitchery on YouTube. Didn’t use a drawstring and left out front pockets.
Top Alterations: 1/2 inch narrow shoulder, 1/4 inch petite adjustment, 1/4 forward shoulder adjustment
Put the pintucks on the inside because the thread didn’t match well
Nice clean finish on inside
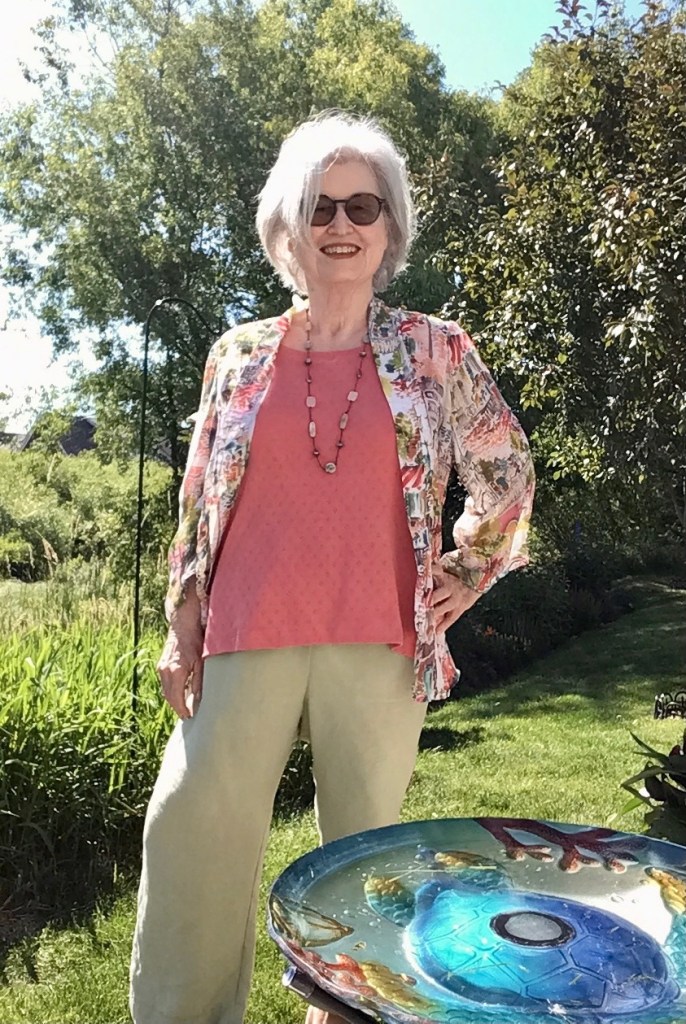
Pattern Emporium Songbird Jacket: Alterations: 1/4 forward shoulder, 1/4” petite adjustment, raised waist by 1”
Coverup length with flared 3/4 sleeves version
Fabric was very difficult to sew
Seamwork Julia Tank
Alterations: 1/4” forward shoulder, shortened 1” at waist
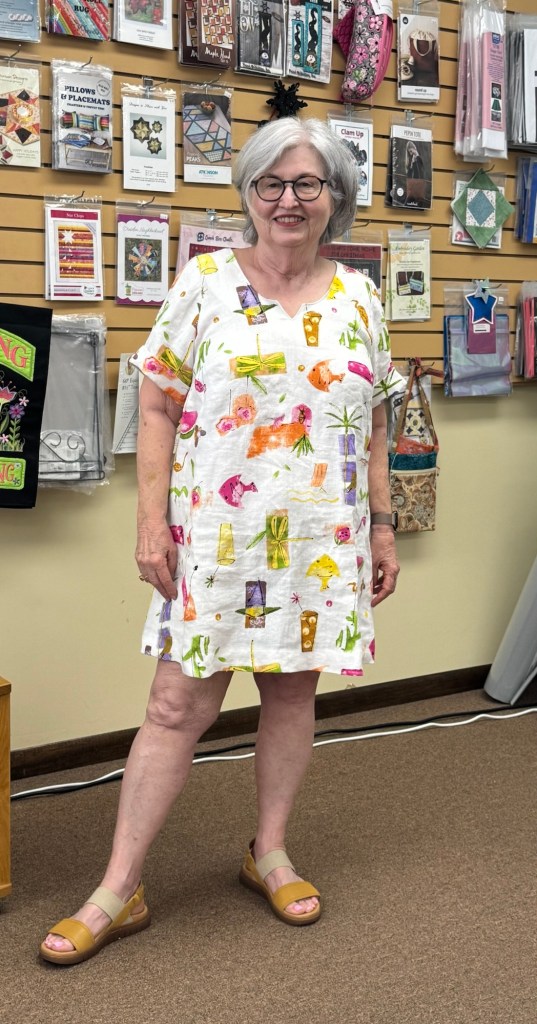
Alterations: 1/4 petite adjustment, 1” gaping neck adjustment, shortened 3”, raised waist 1”, 3/4” full bicep
Used 3/4 sleeve pattern, shortened 4” and straightened sides. Made a 2” hem and then turned up cuff 1 1/4”.
I had blended to next size for hips and waist, but after trying the dress on took that out.
This is my TNT pattern for a basic woven top, very happy with the dress version.
Kristin’s Garments
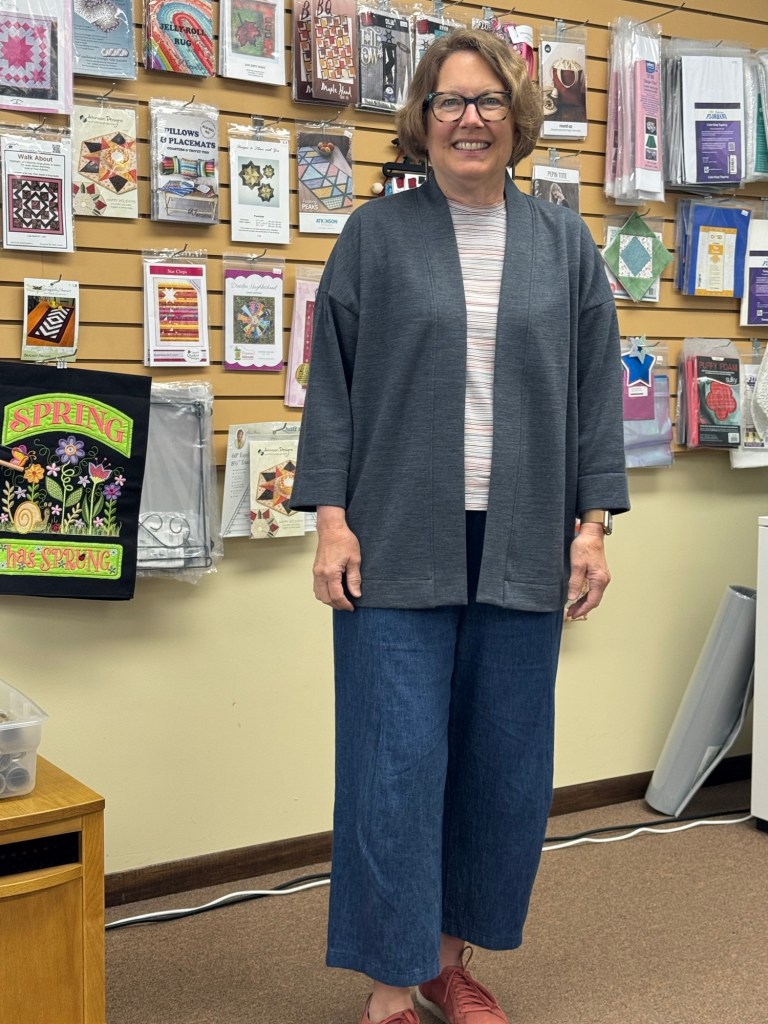
1. Hovea Jacket is made for wovens but a favorite RTW sweater of mine measured almost exactly the same so went for it. Used mid length.
Pants are made to have a waistband and zip but with 6 seam allowances to adjust at waist I figured I could get by with an elastic waist. A bit tight when pulling over hips but great when wearing!
Omitted pockets but would put them in forward seam instead of hip.
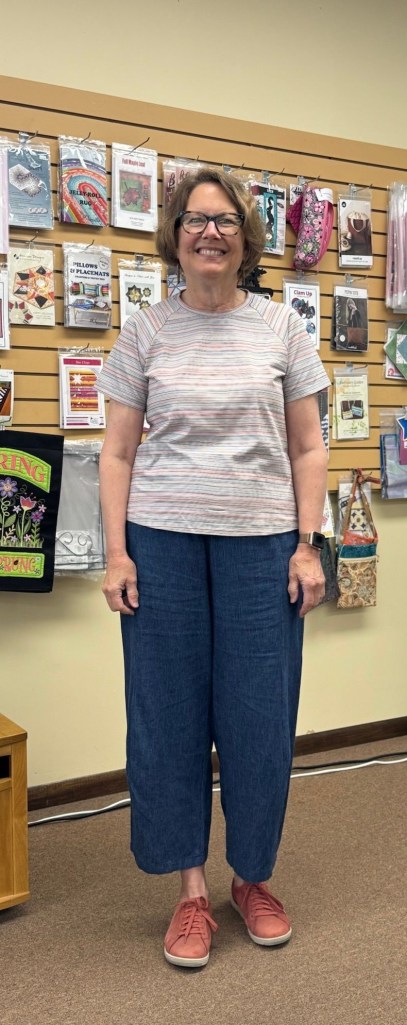
1. I have only made this as turtleneck so wanted to try the crew neckline. It seems lower on pattern but works great!
2. Short sleeves aren’t part of the pattern.
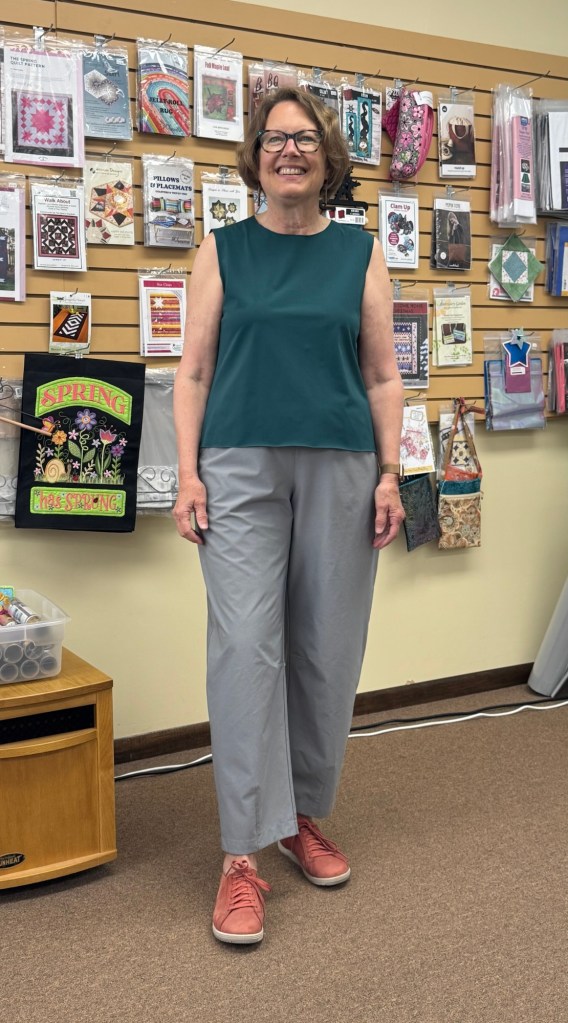
Top:
Inspired by one of my daughter’s garments I left all hem edges raw. The fabric was cool in the hot weather and didn’t wrinkle.
This is my favorite barrel leg pant so far because the leg is slimmer. Added 2” in length and shortened front crotch by 1/2”.
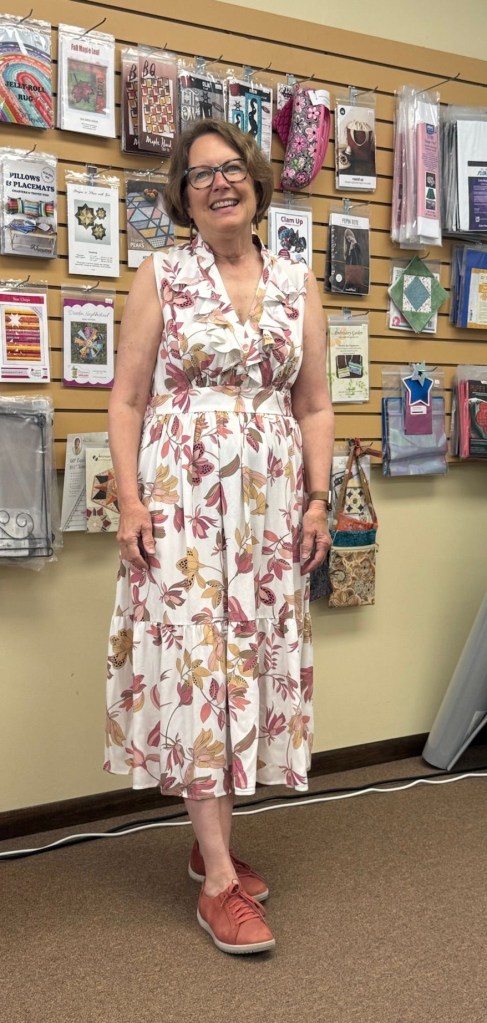
I’ve made View A of this dress a bunch of years ago and after looking at current patterns, decided to try again. I added another ruffle of approximately the same depth.
Used my new sloper to compare and shortened the waist but that’s about it. No buttonholes!
July Meeting-cohost Sandra
Wednesday, July 8, Sewing Lounge, St. Paul
Thursday, July 9, Creative Sewing, Apple Valley
Saturday, July 11, Open Studio, Mpls.
No meeting in August-taking vacation :))
Garment Sewing Group meetings started out at Lakes Makerie-we hadn’t been at the store for a few months so it was fun to see all the new fabric!
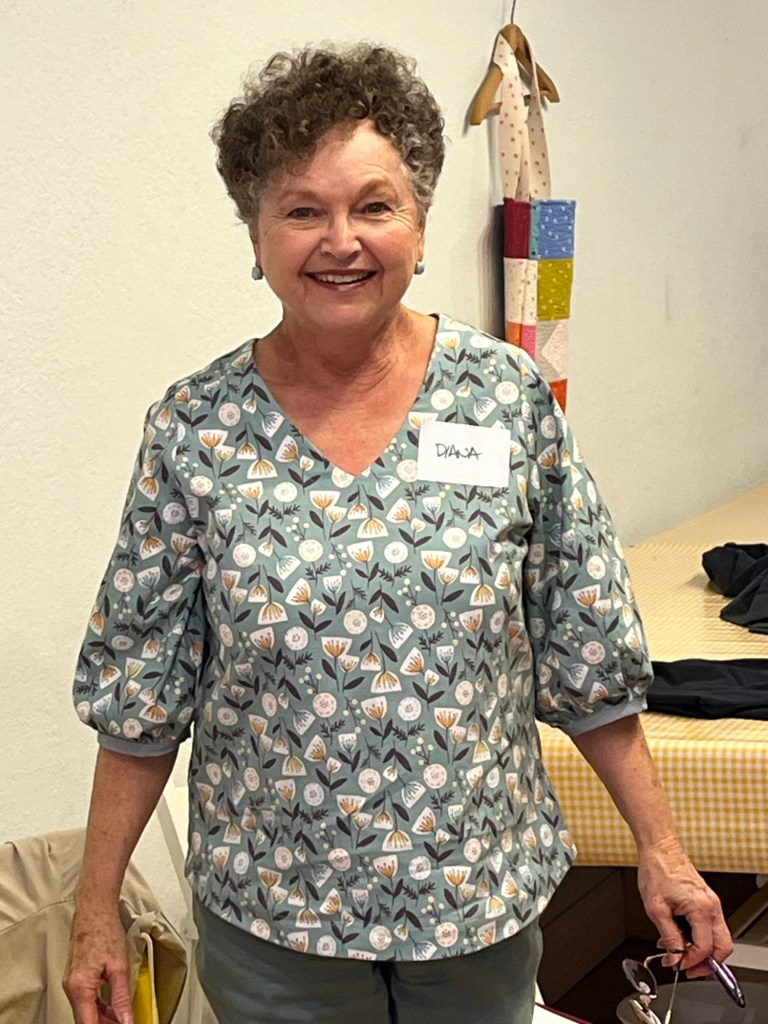
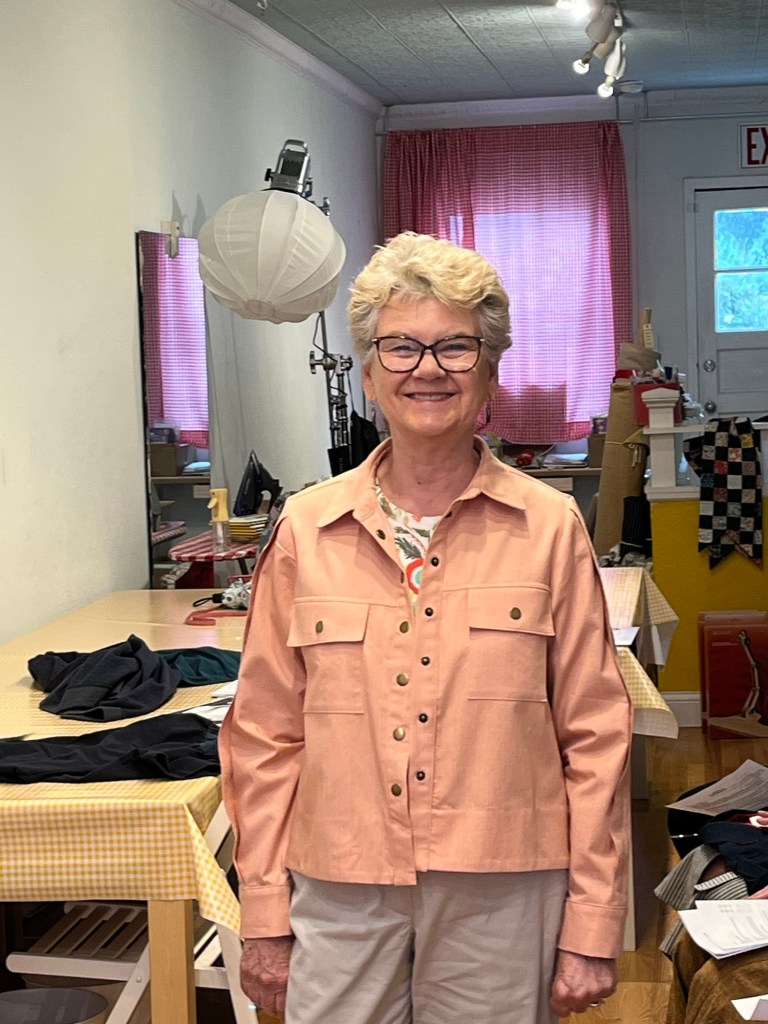
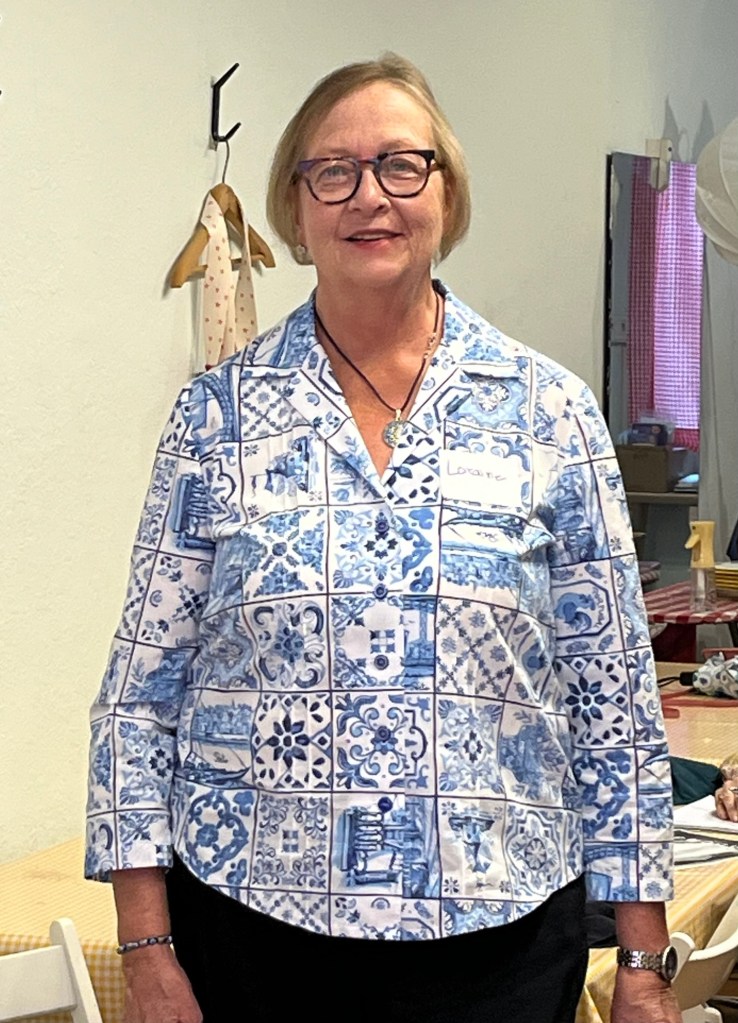
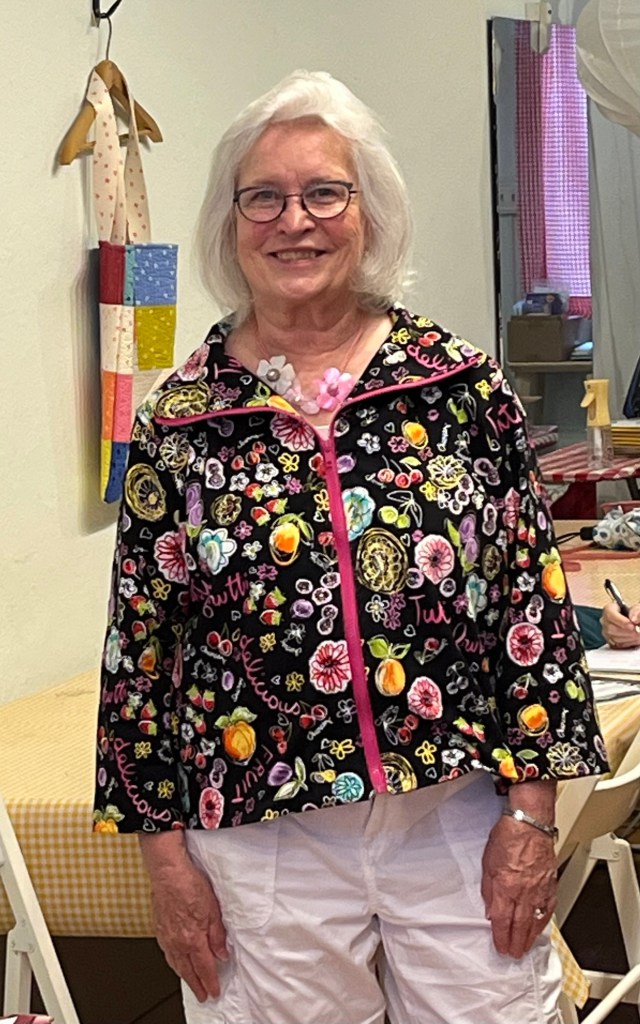
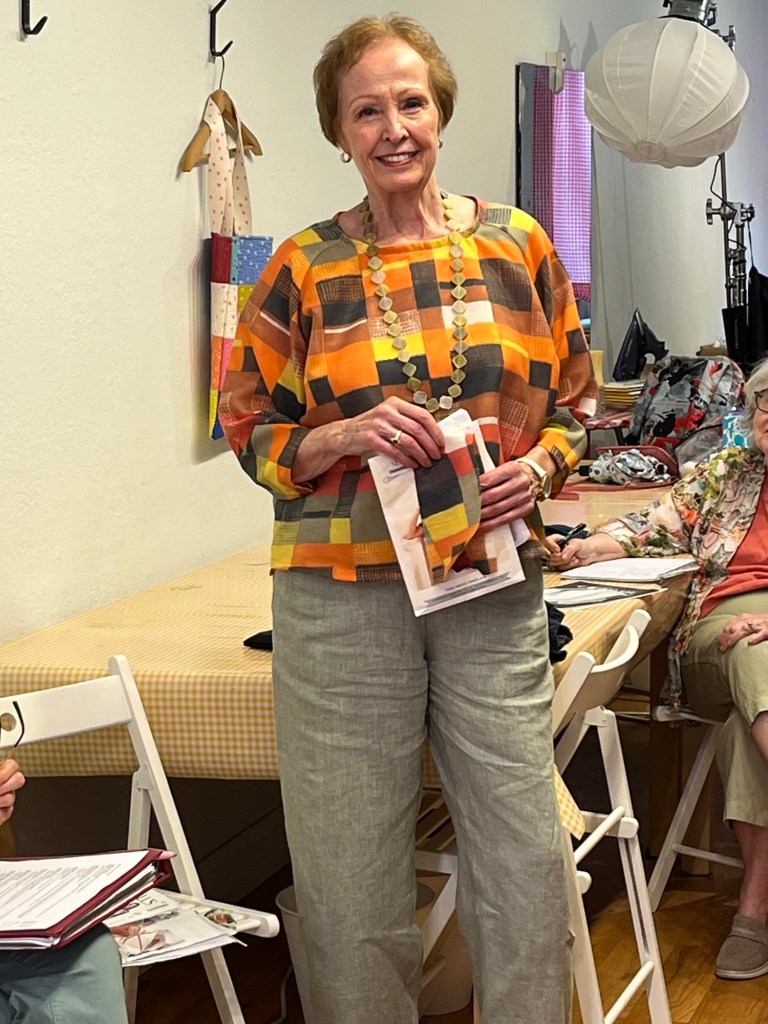
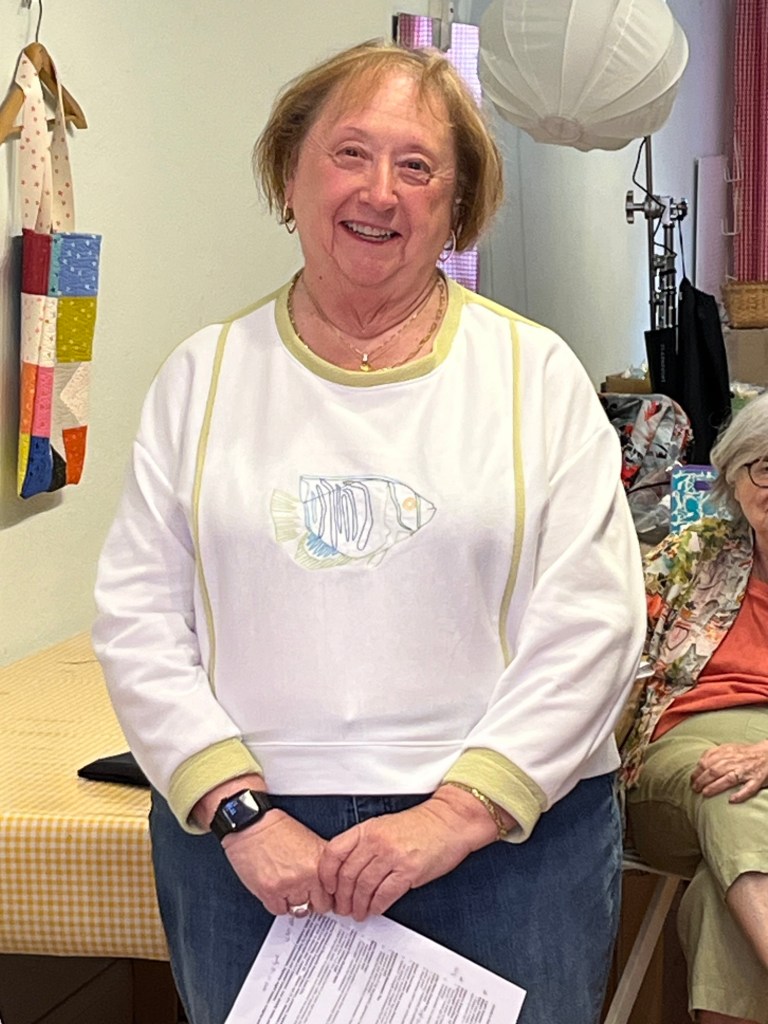
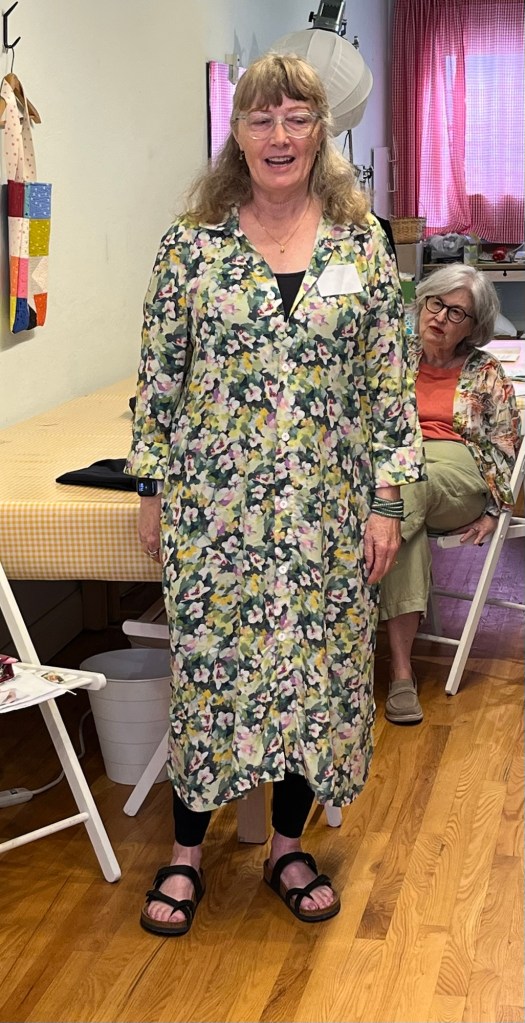
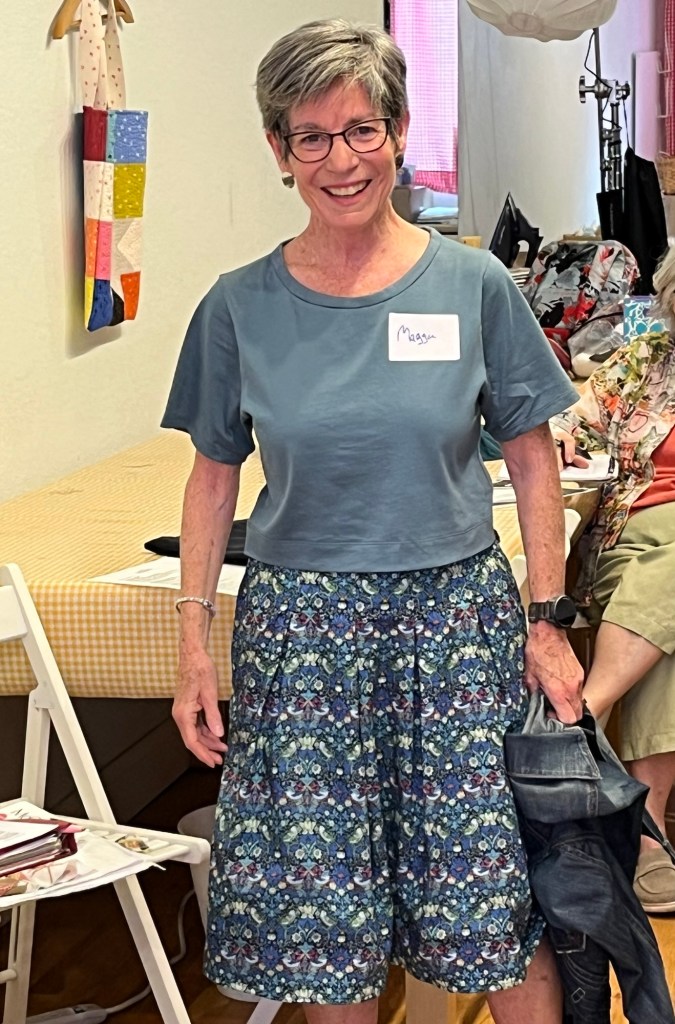
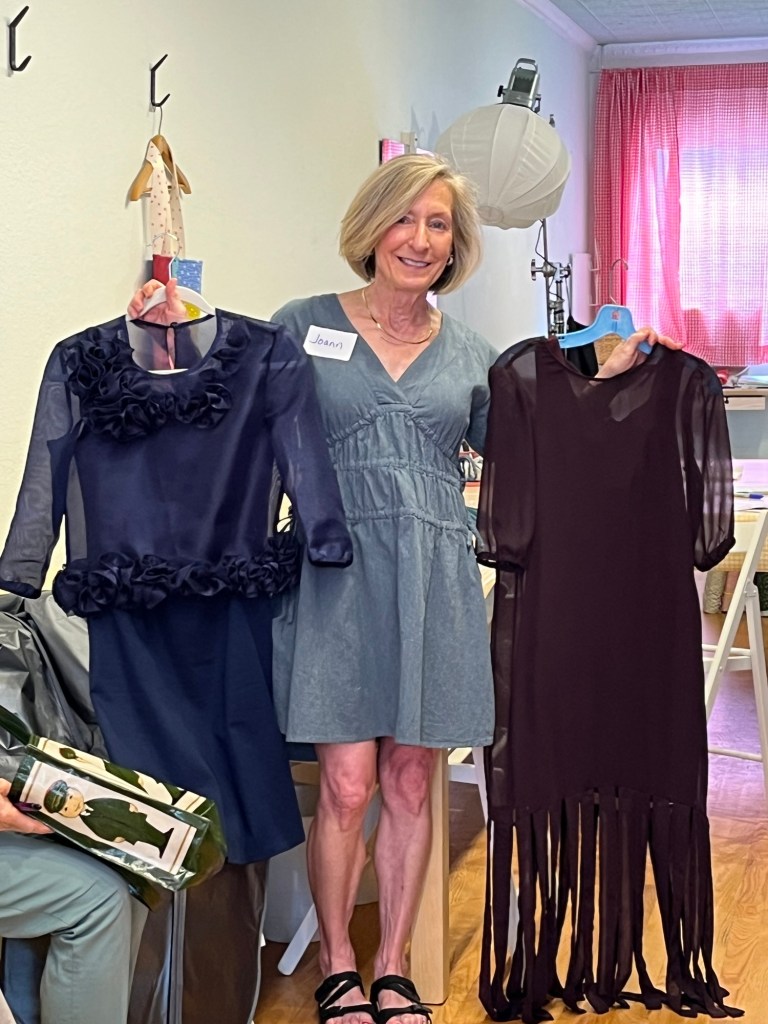
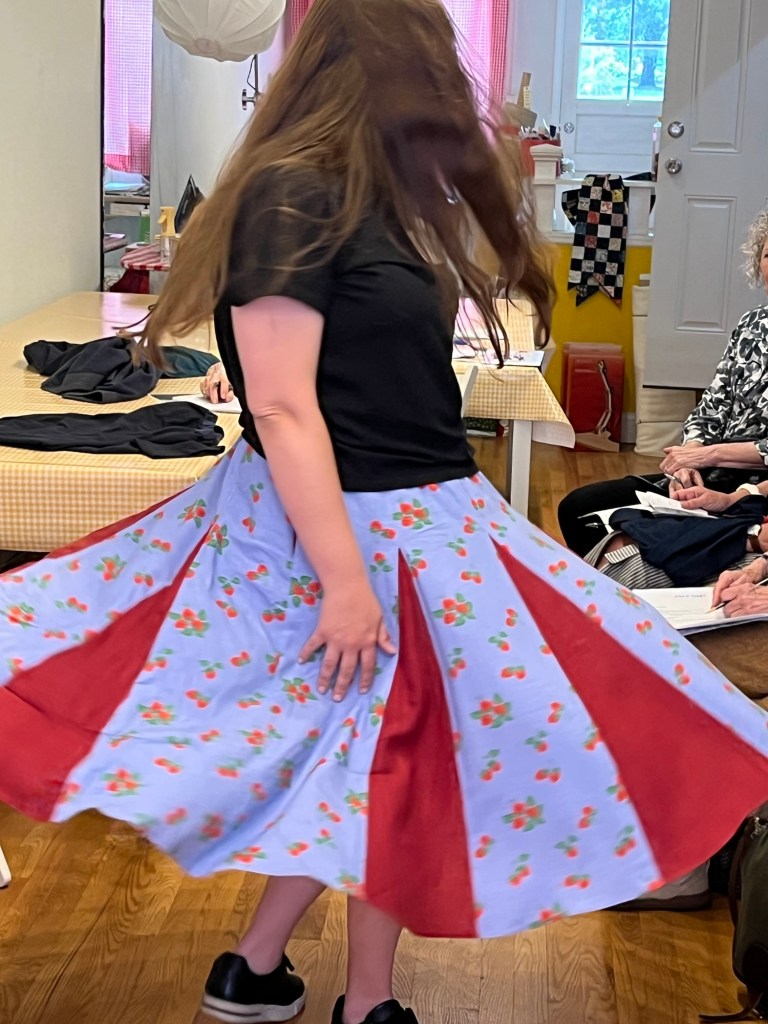
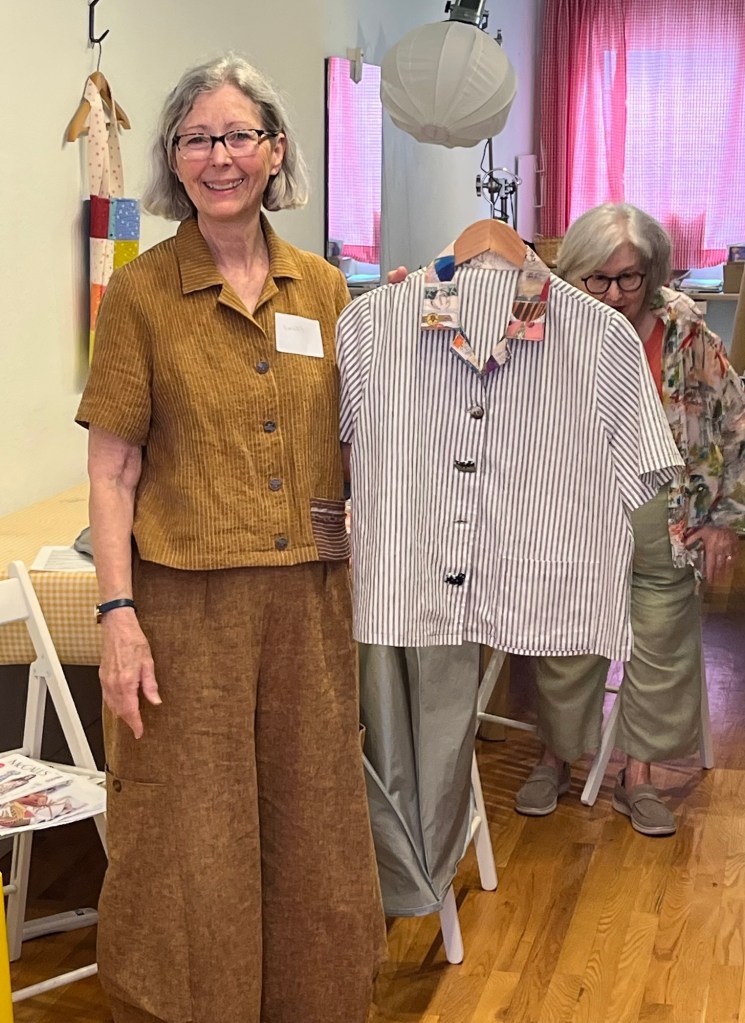
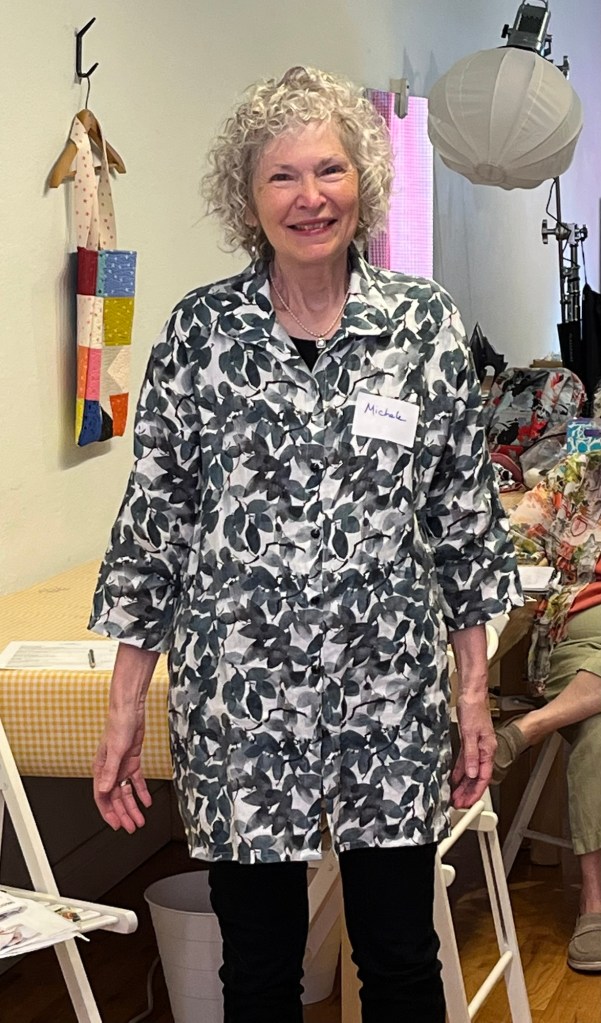
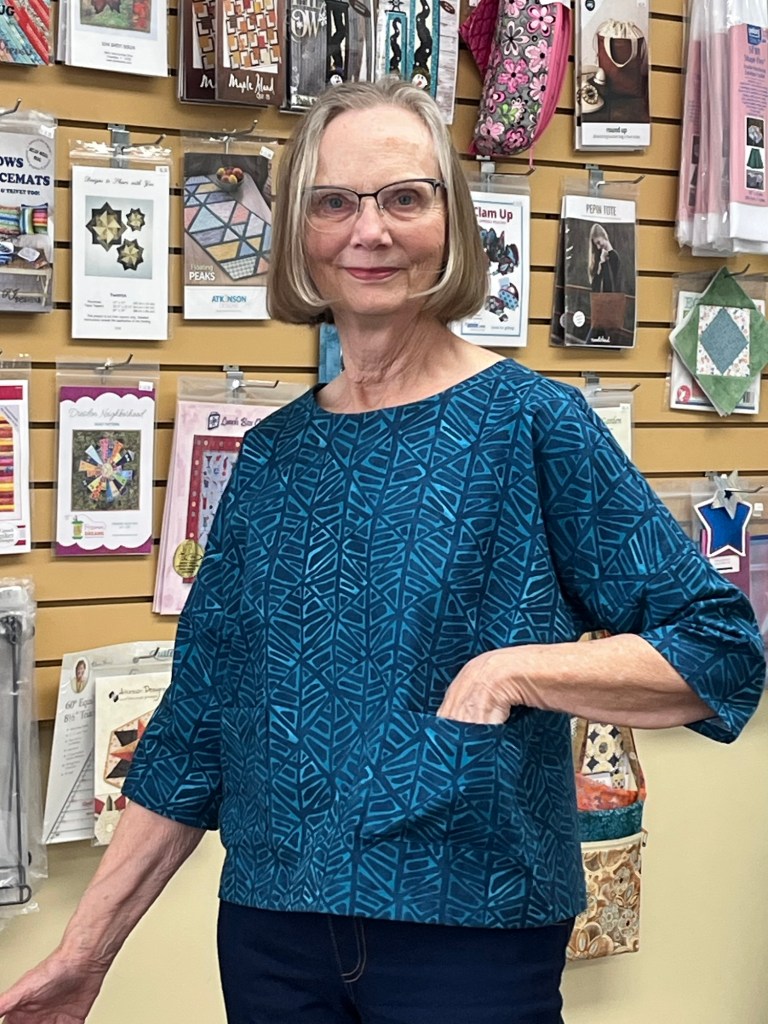
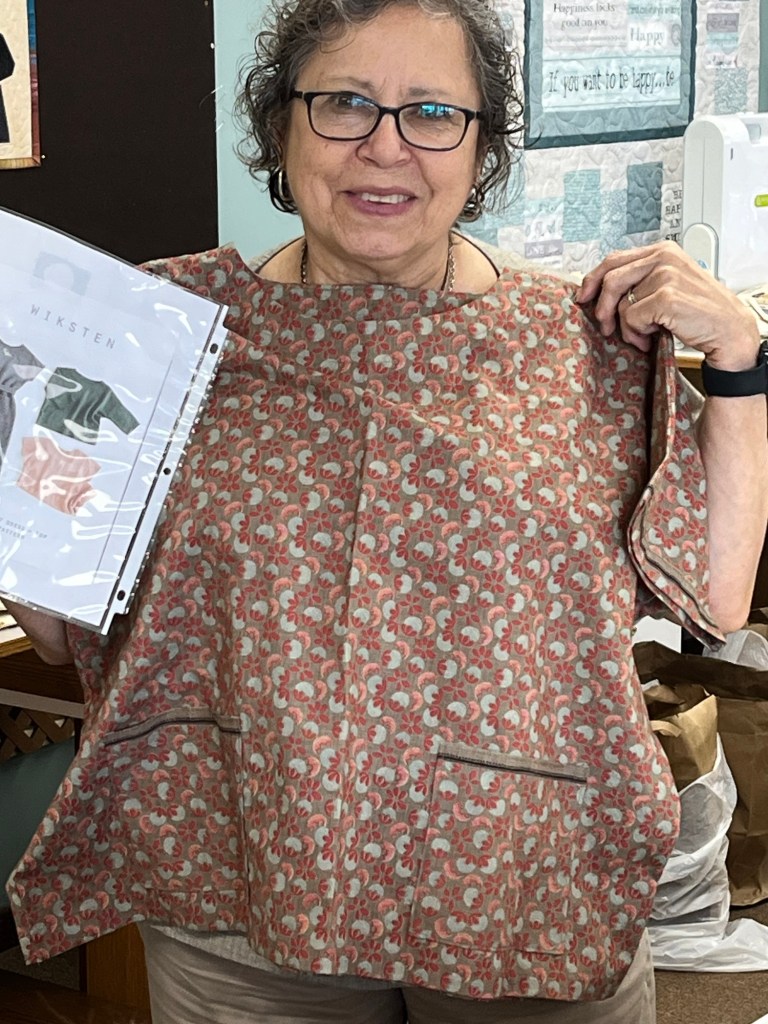
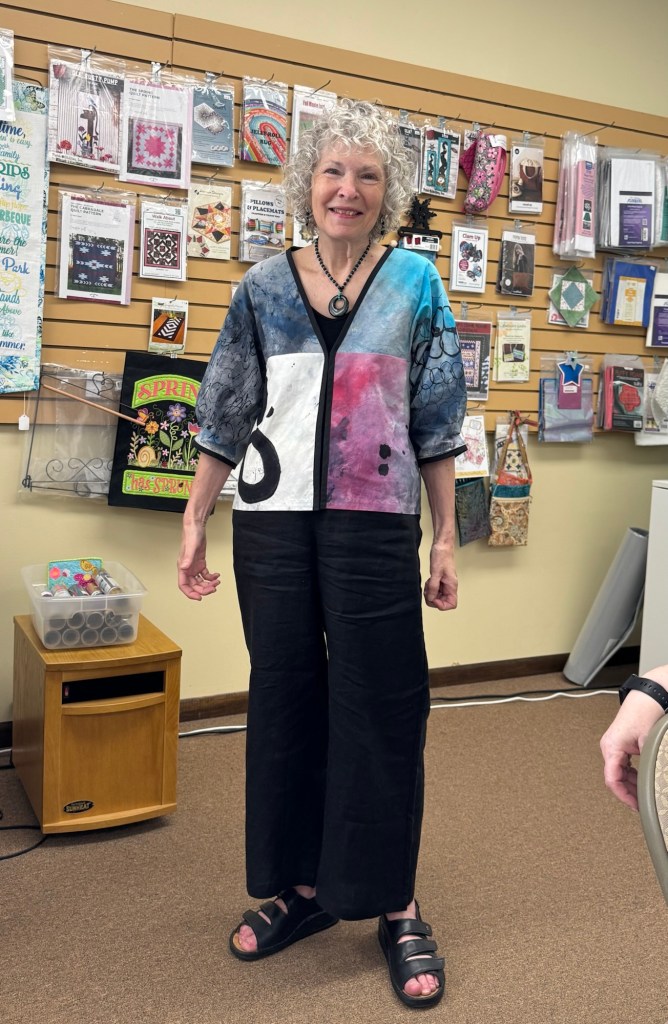
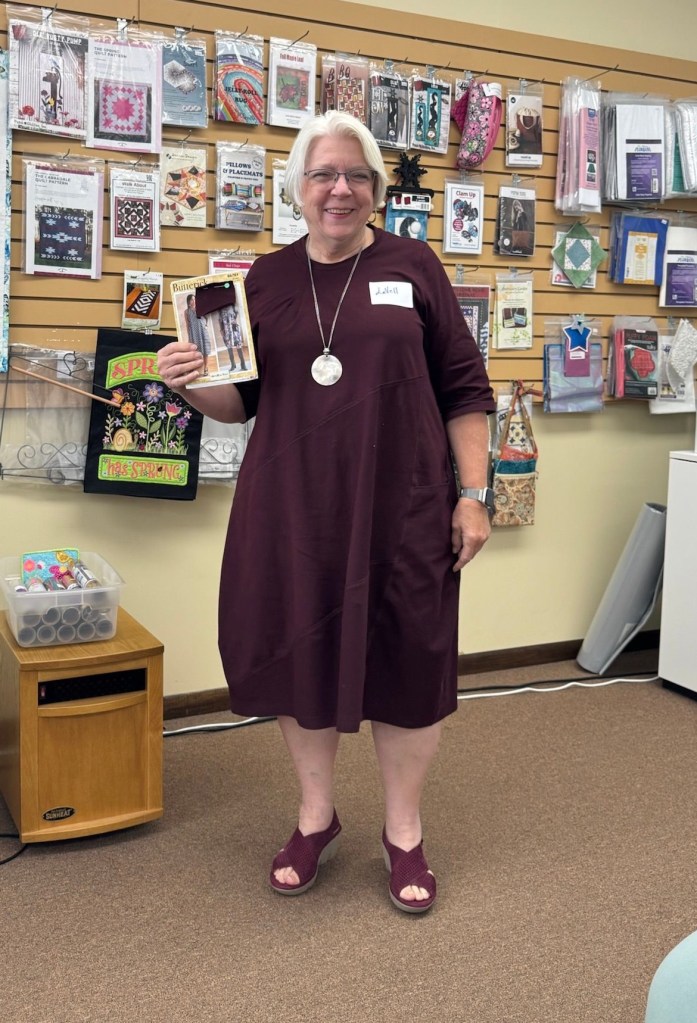
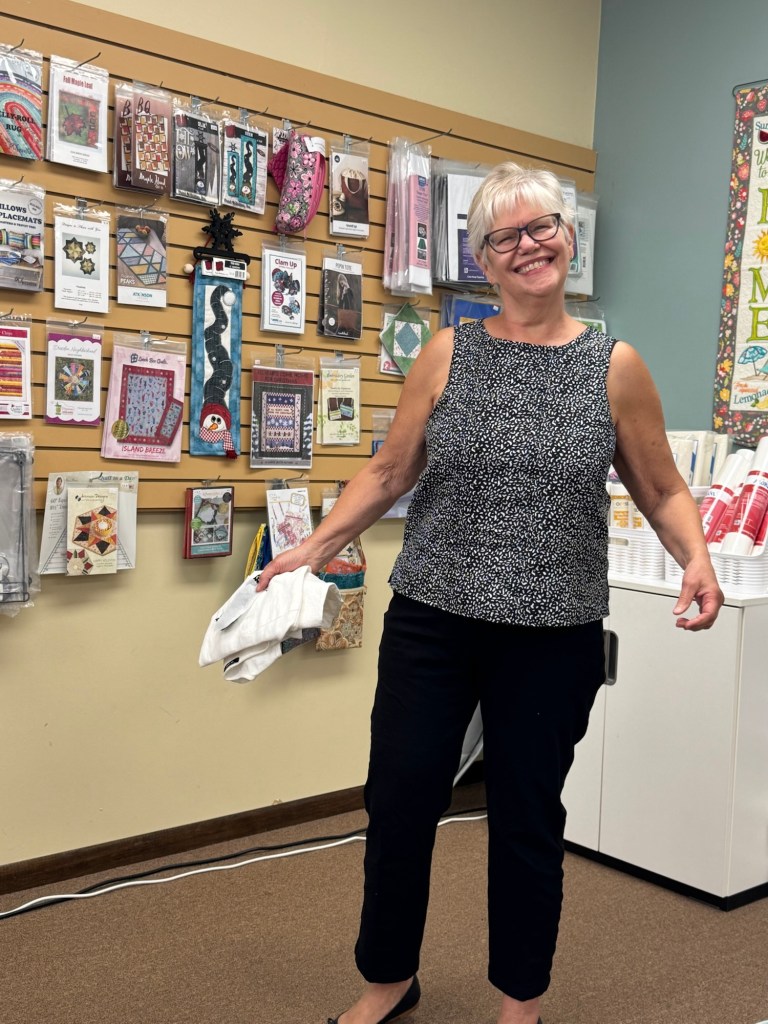
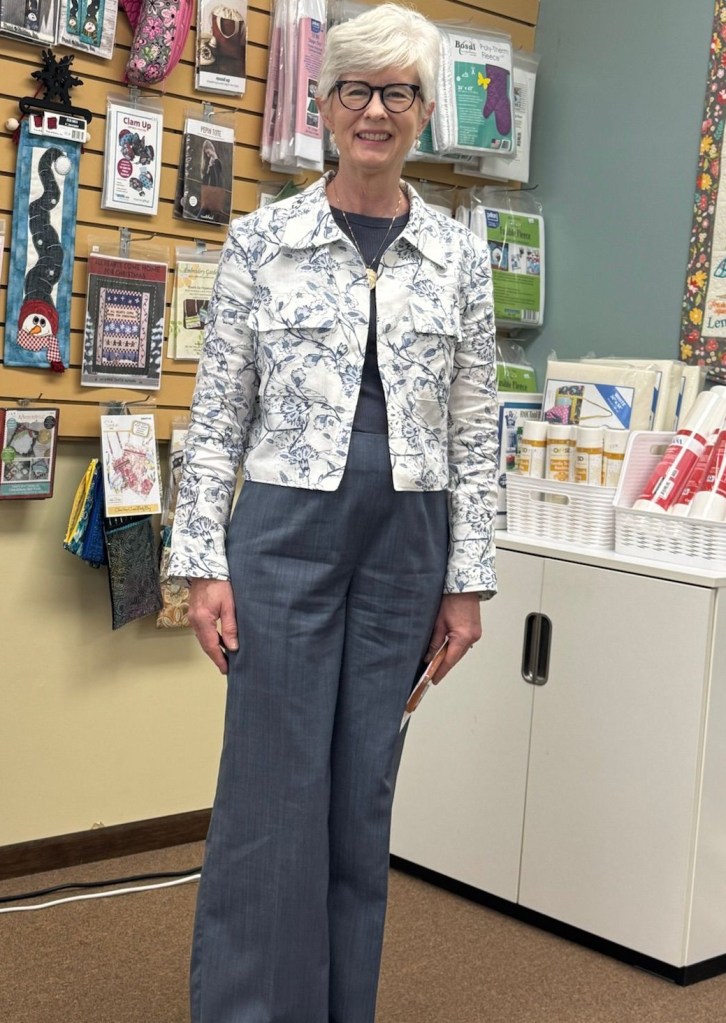
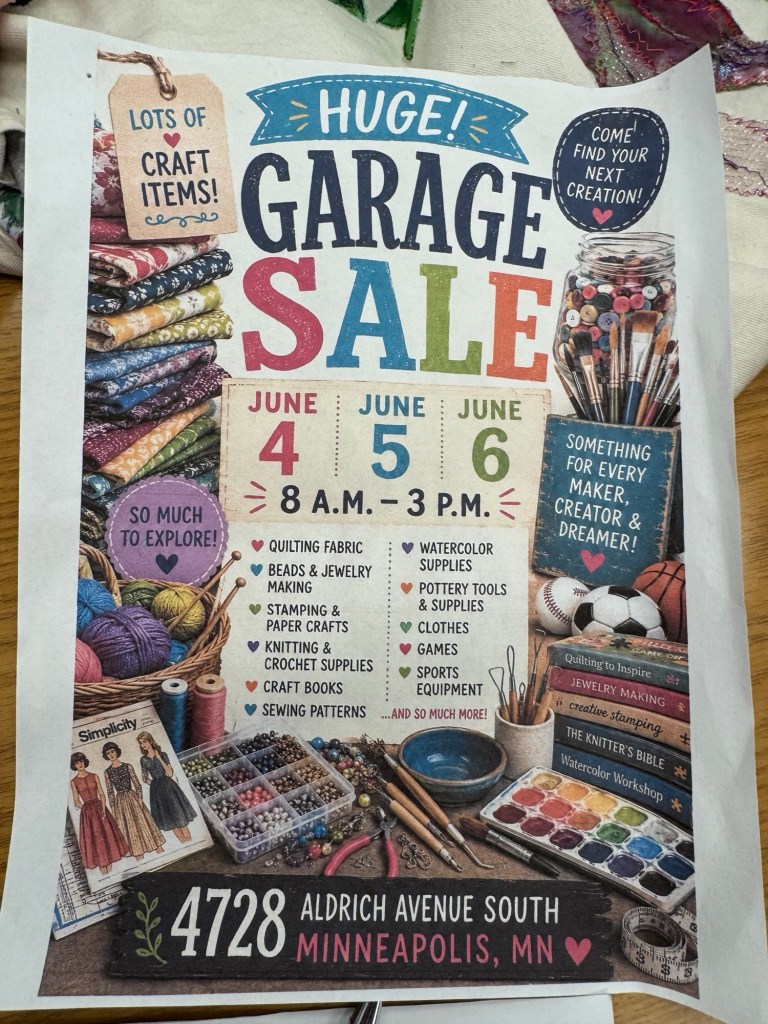
Keep scrolling!! It’s so worth seeing!! Ginny’s Fine Fabrics and Creative Sewing/Apple Valley were our hosts-thanks!!
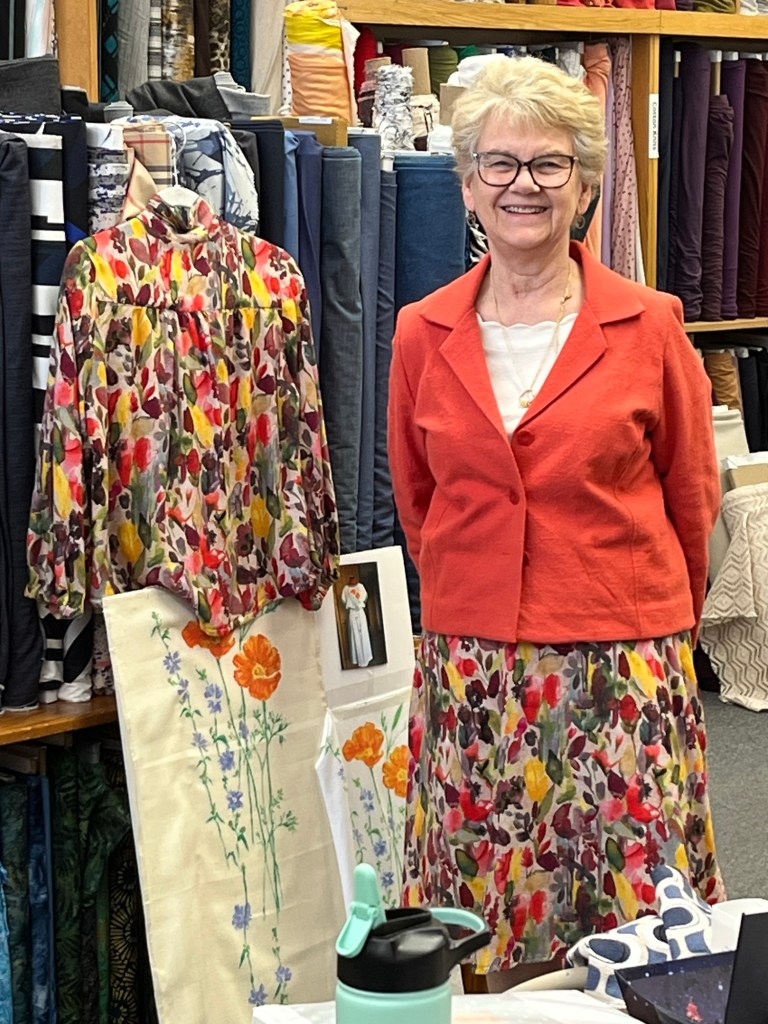
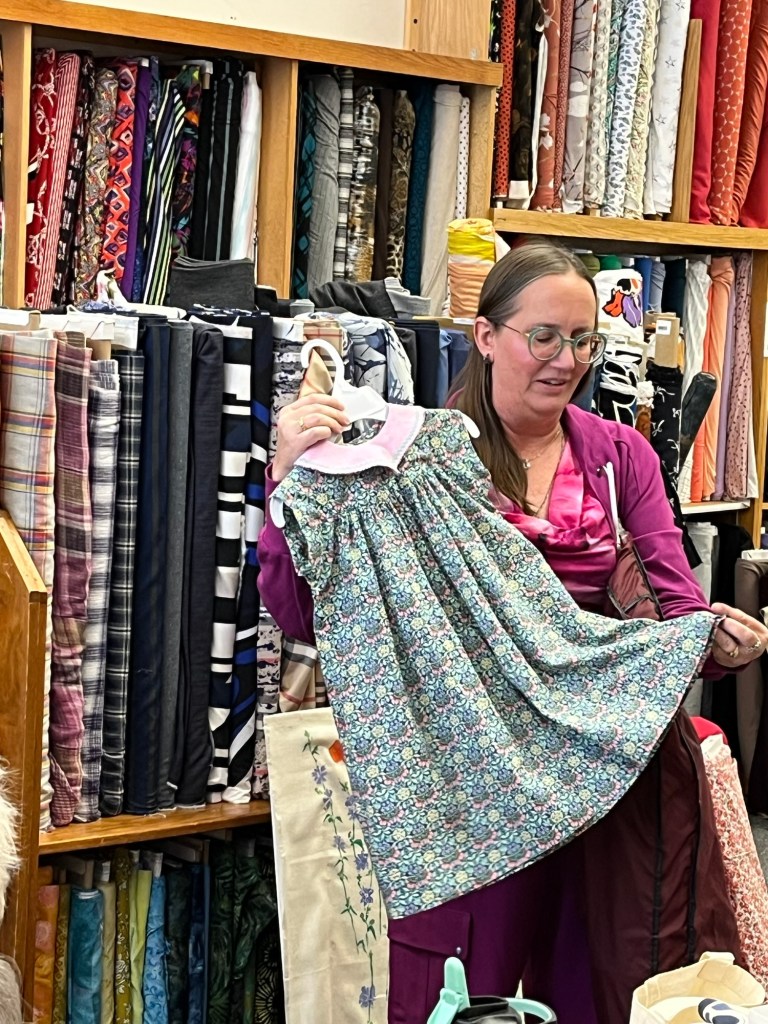
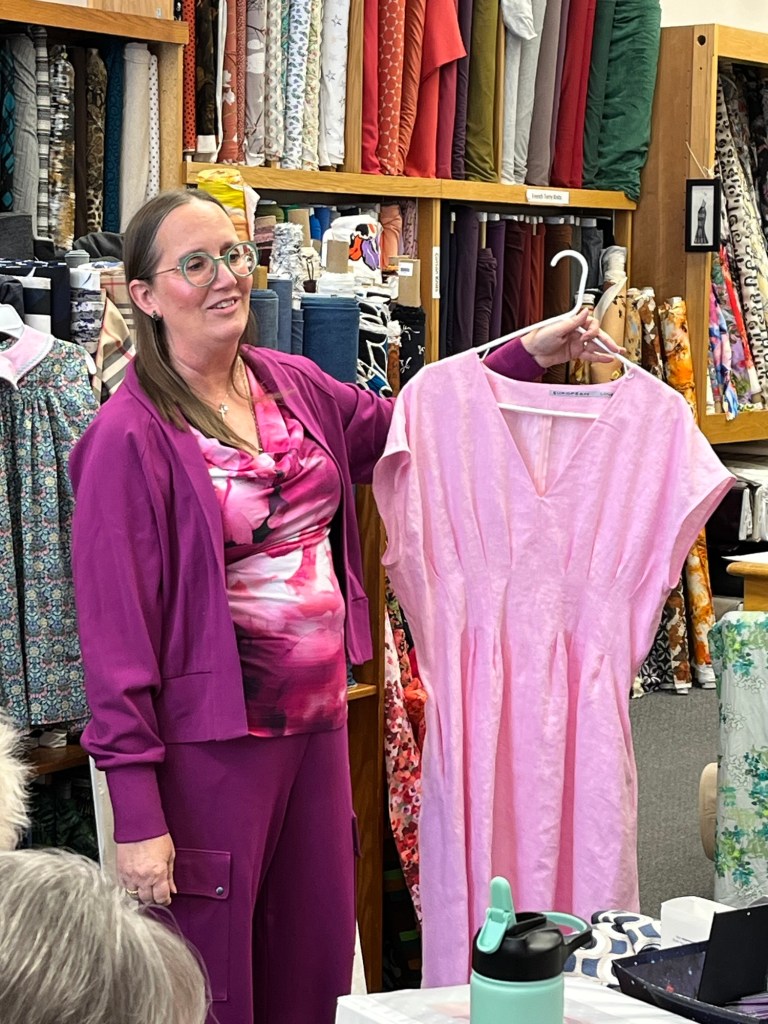
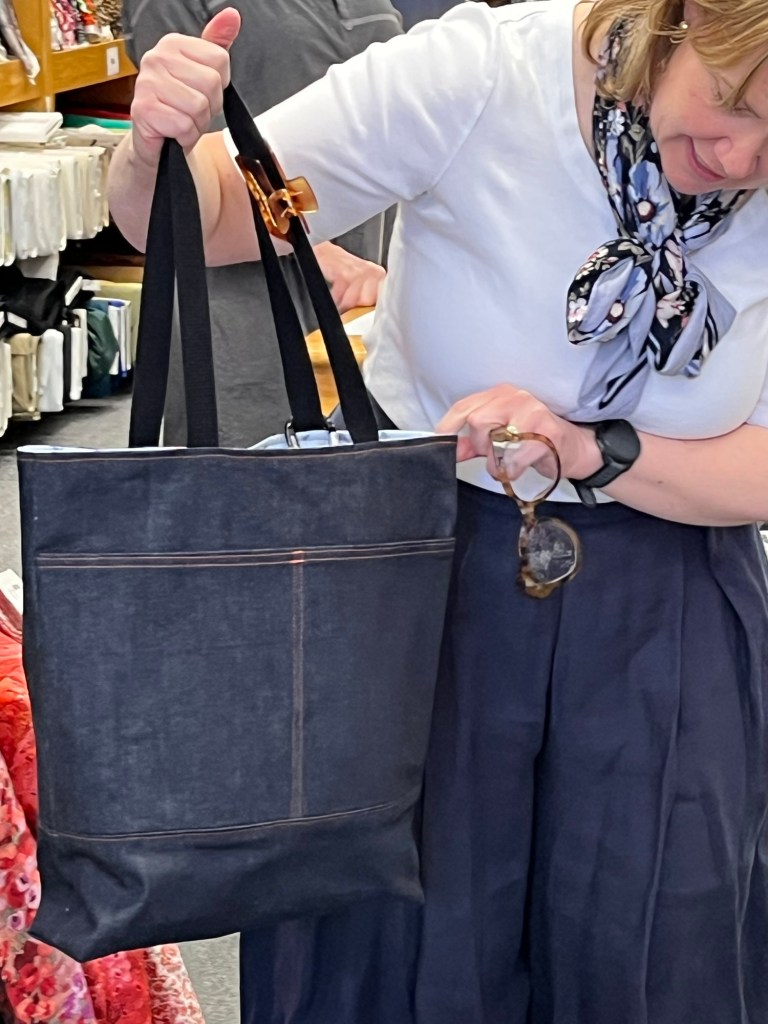
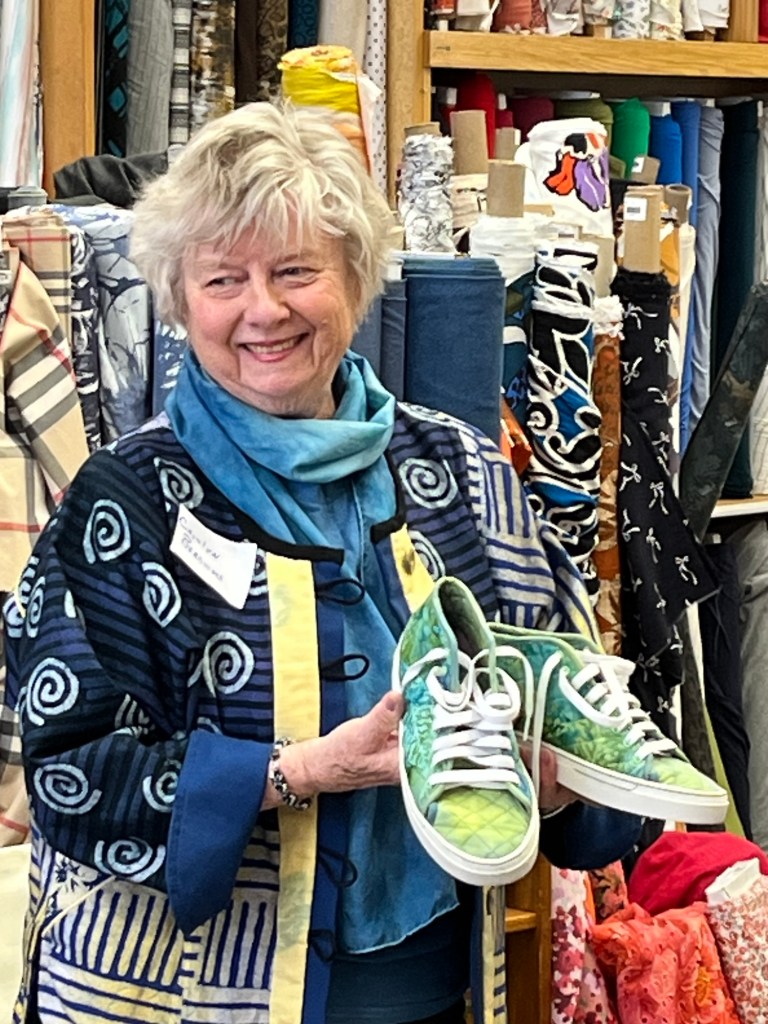
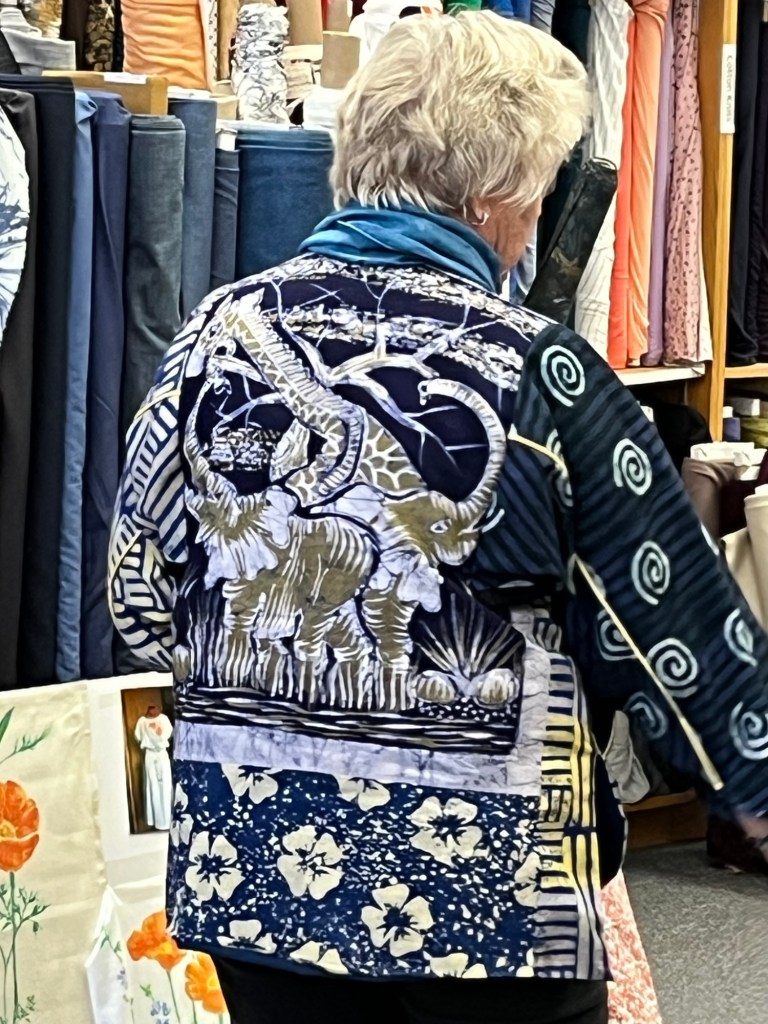
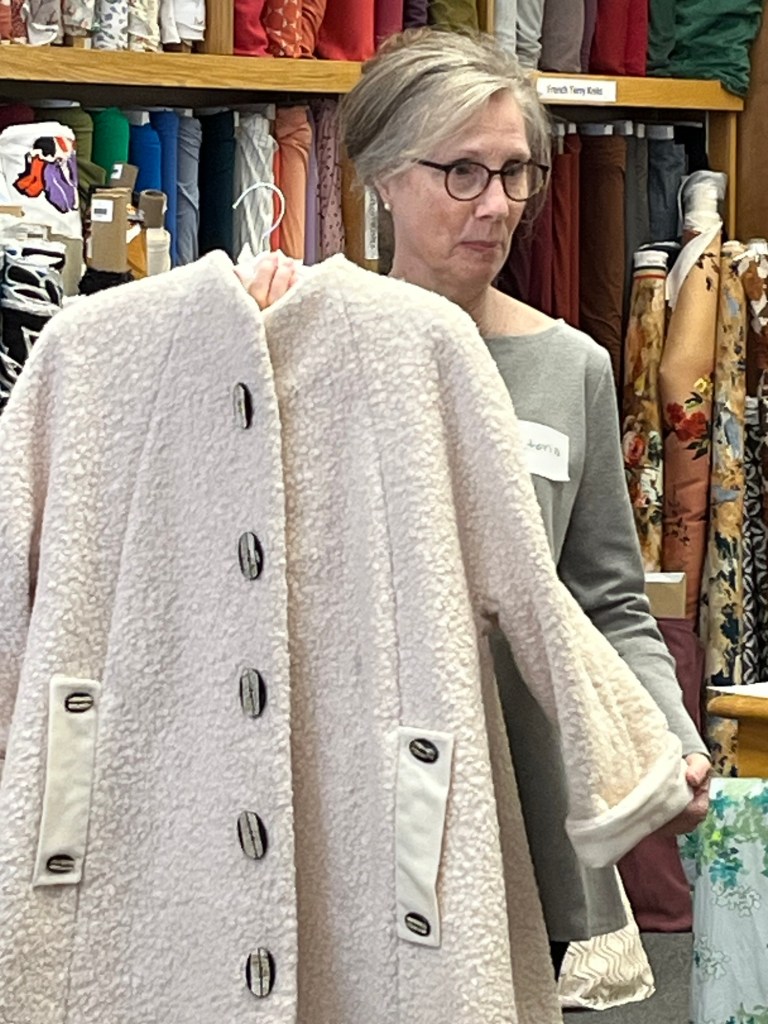
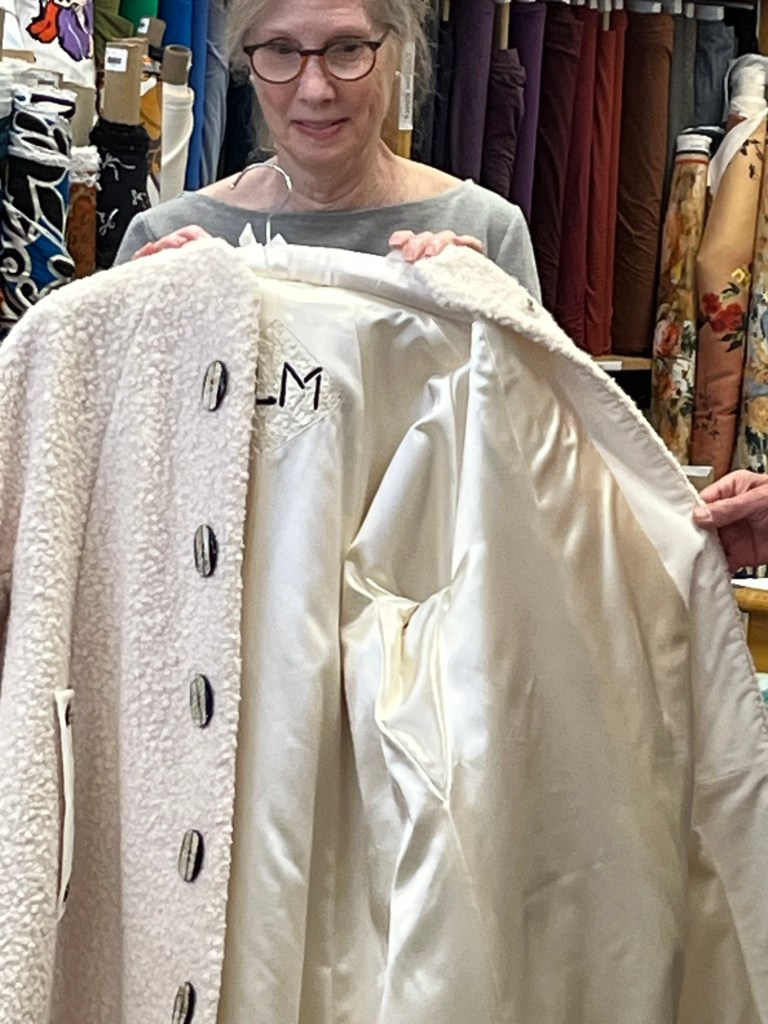
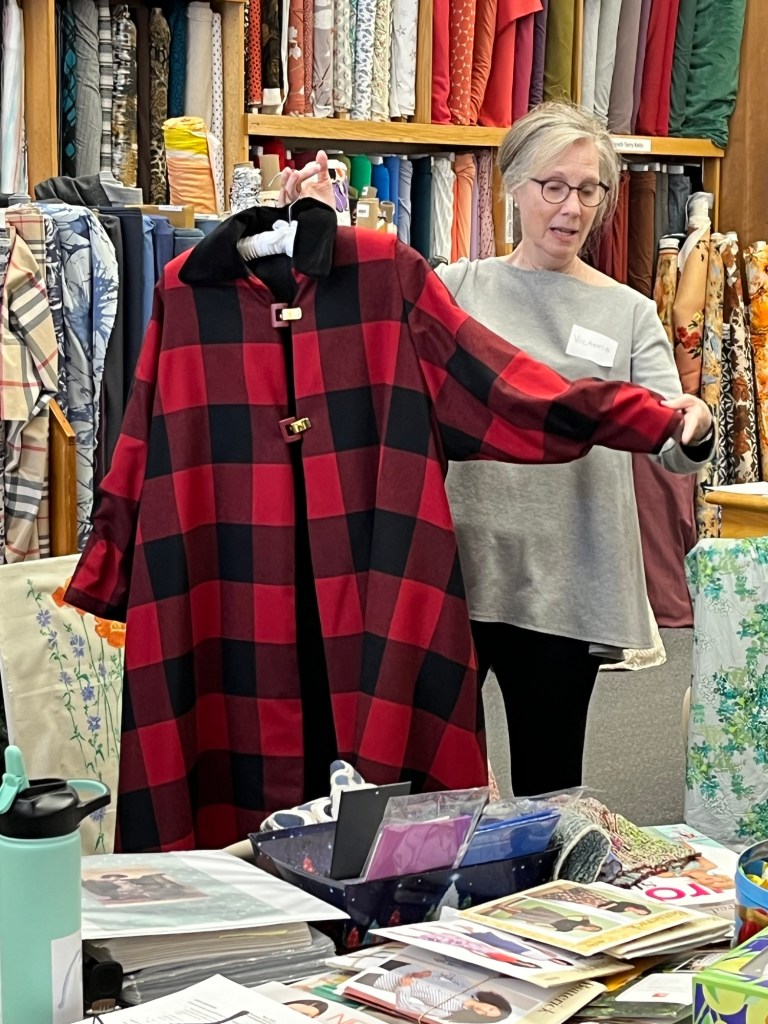
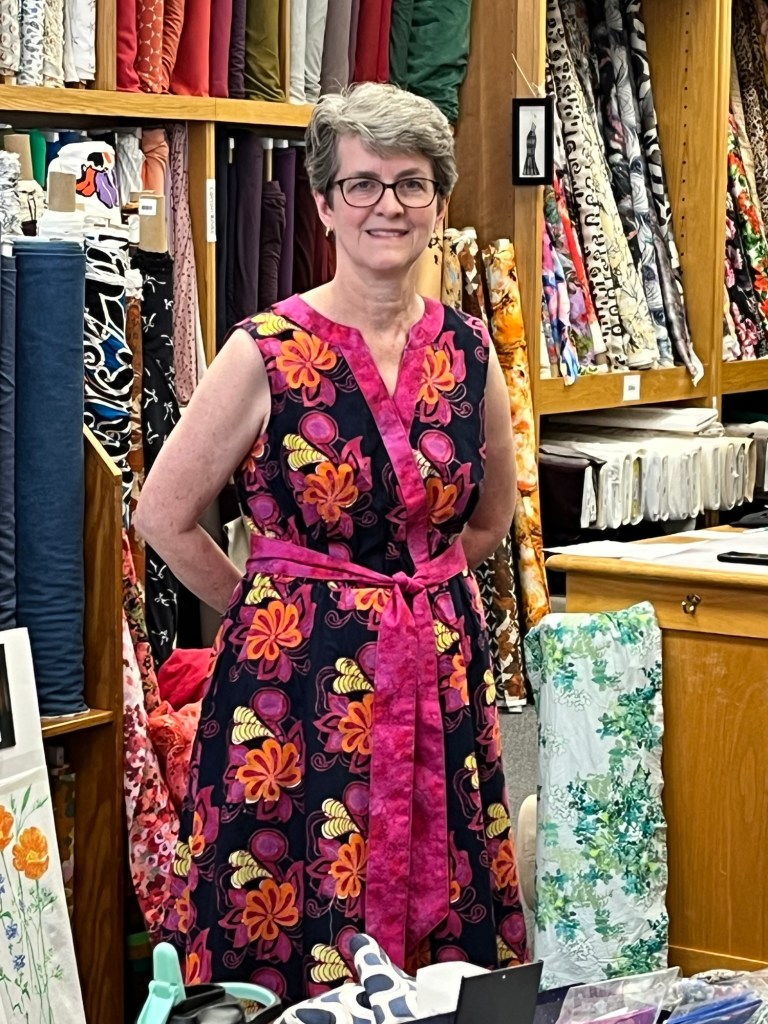
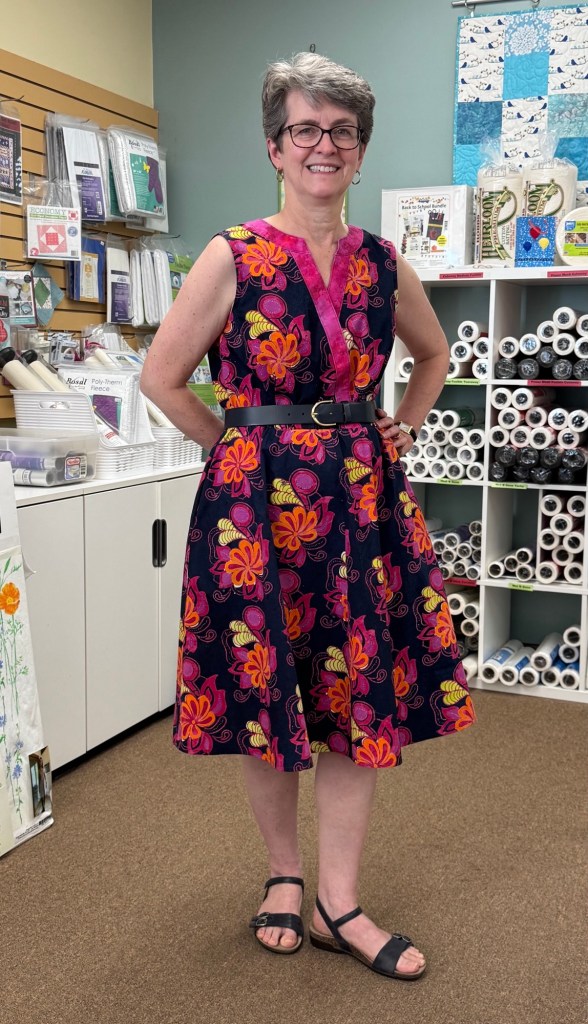
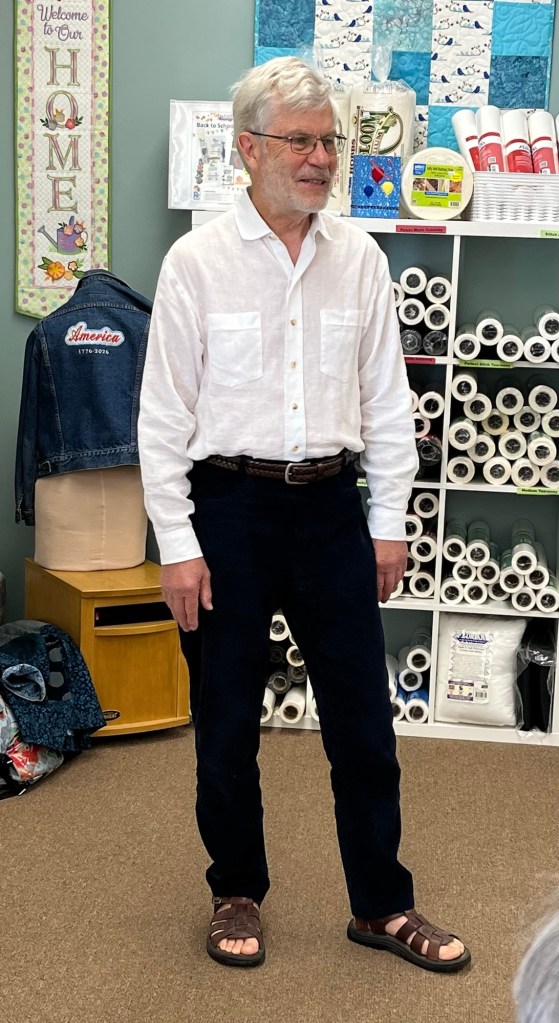
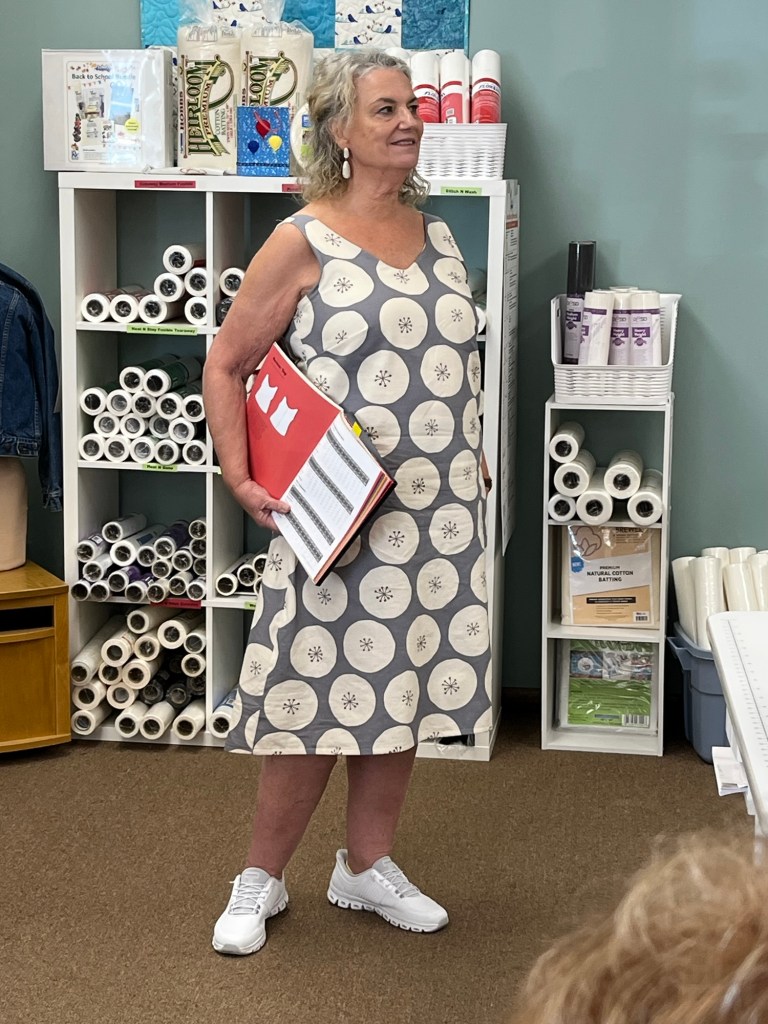
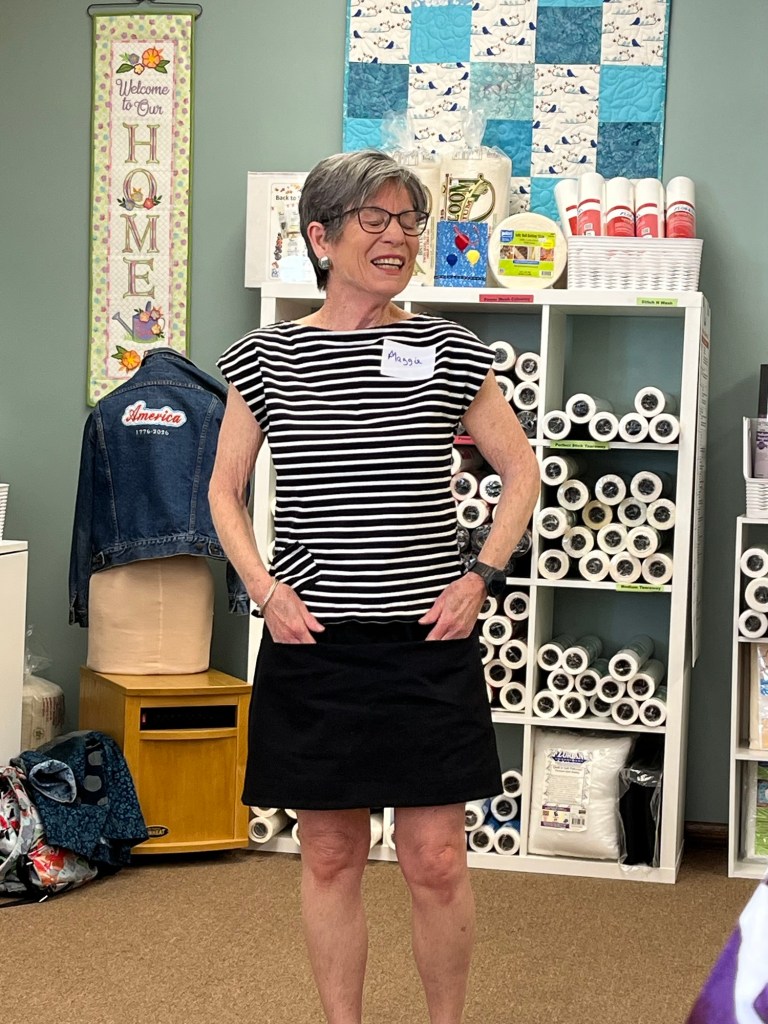
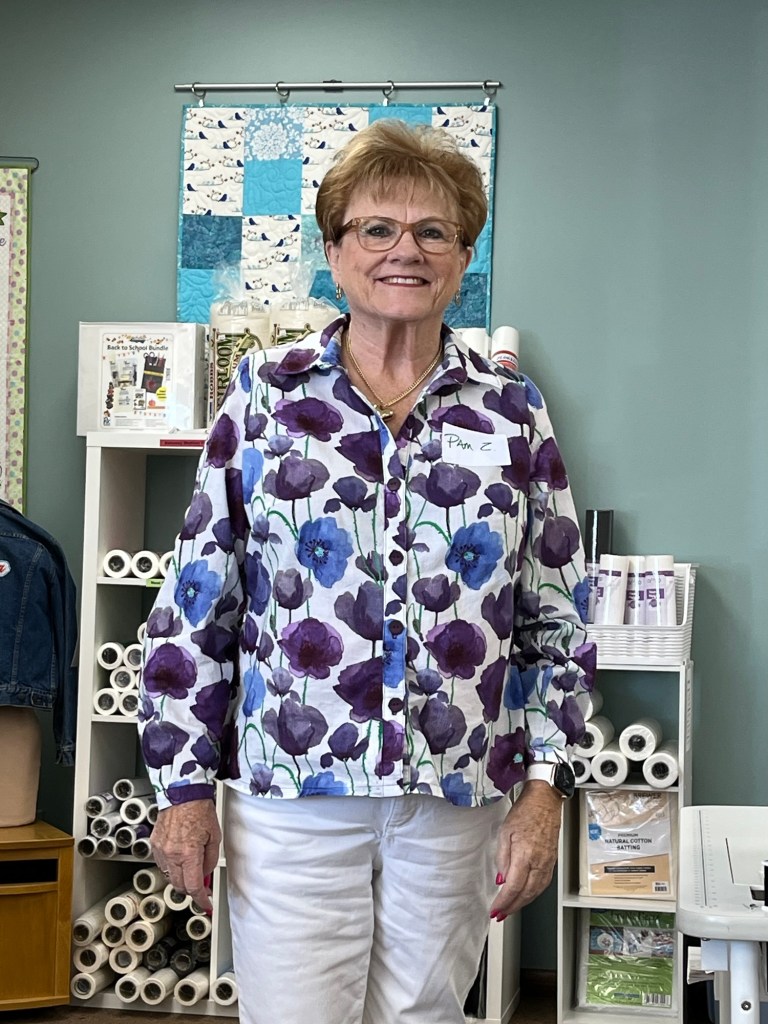
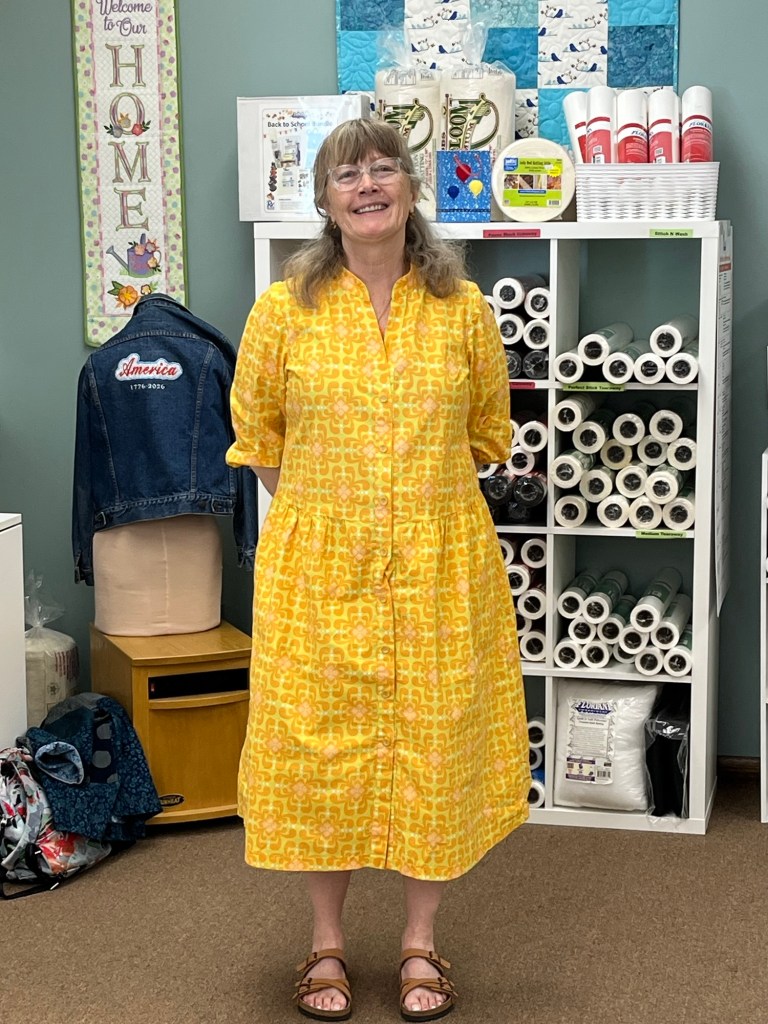
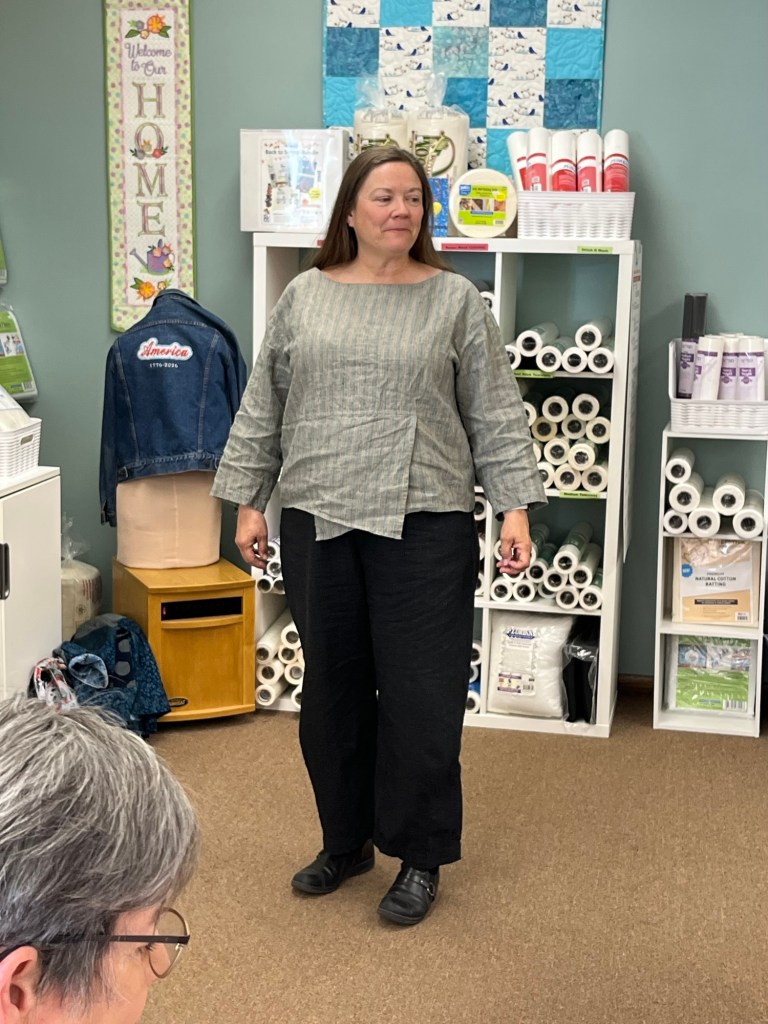
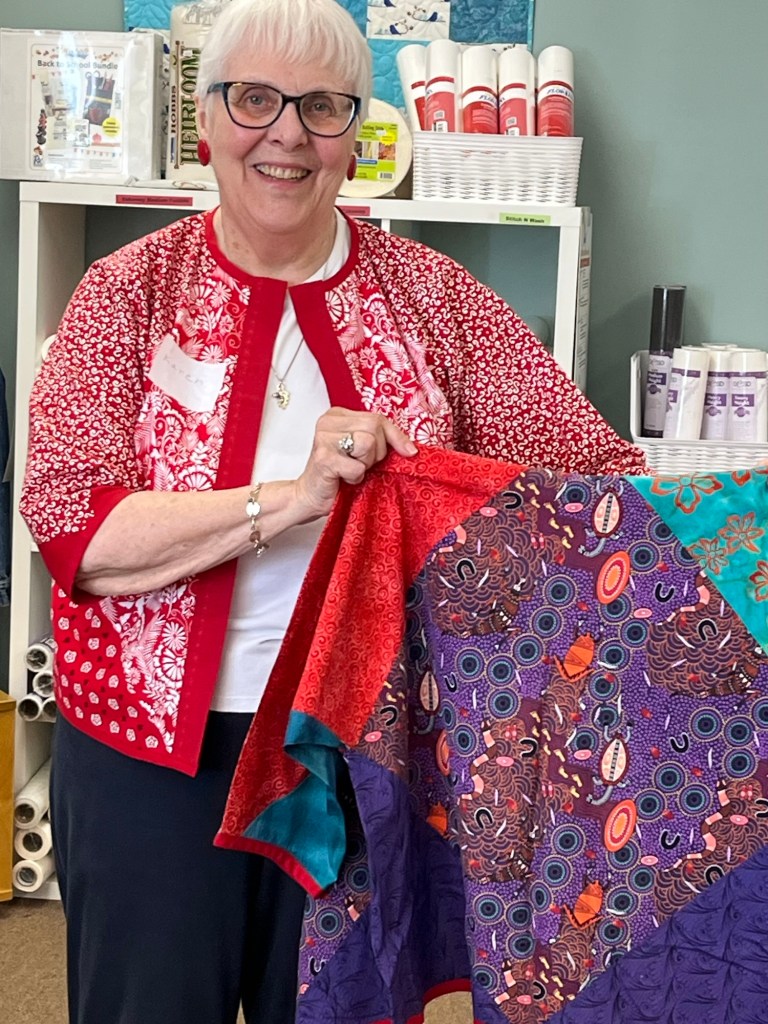
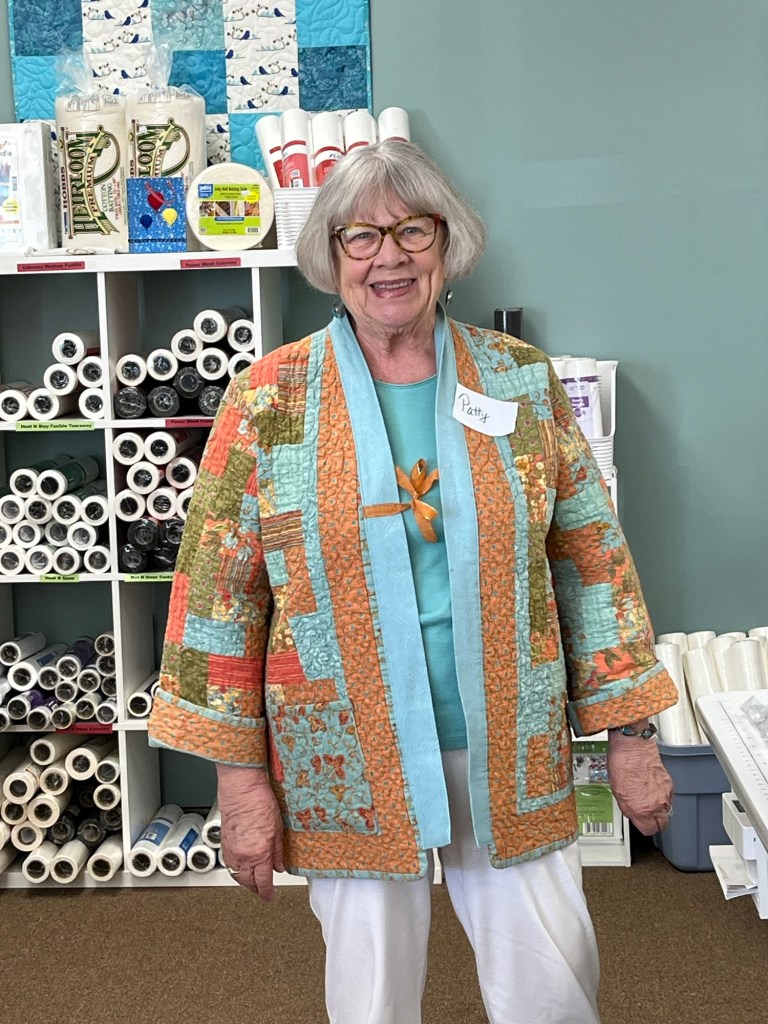
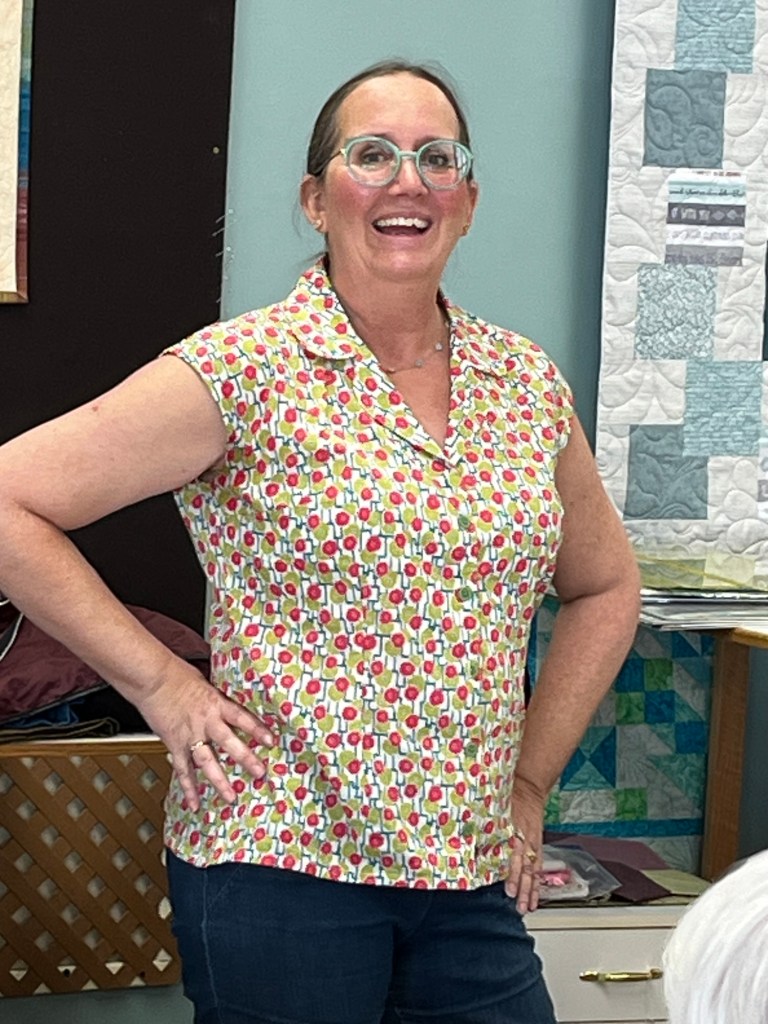
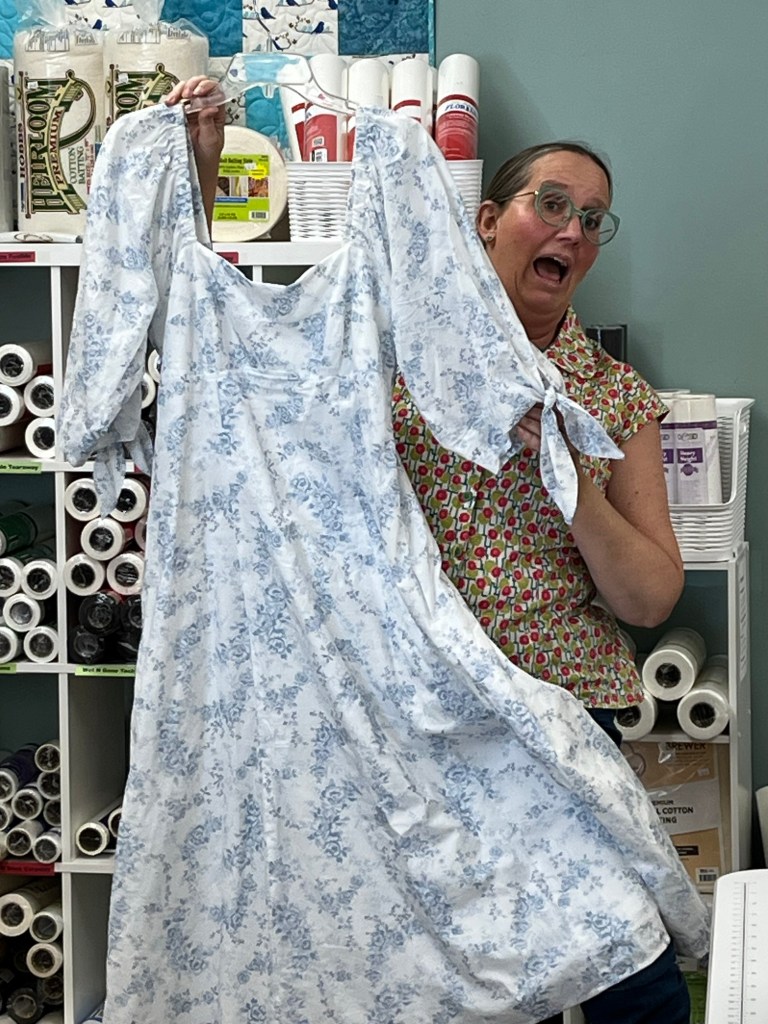
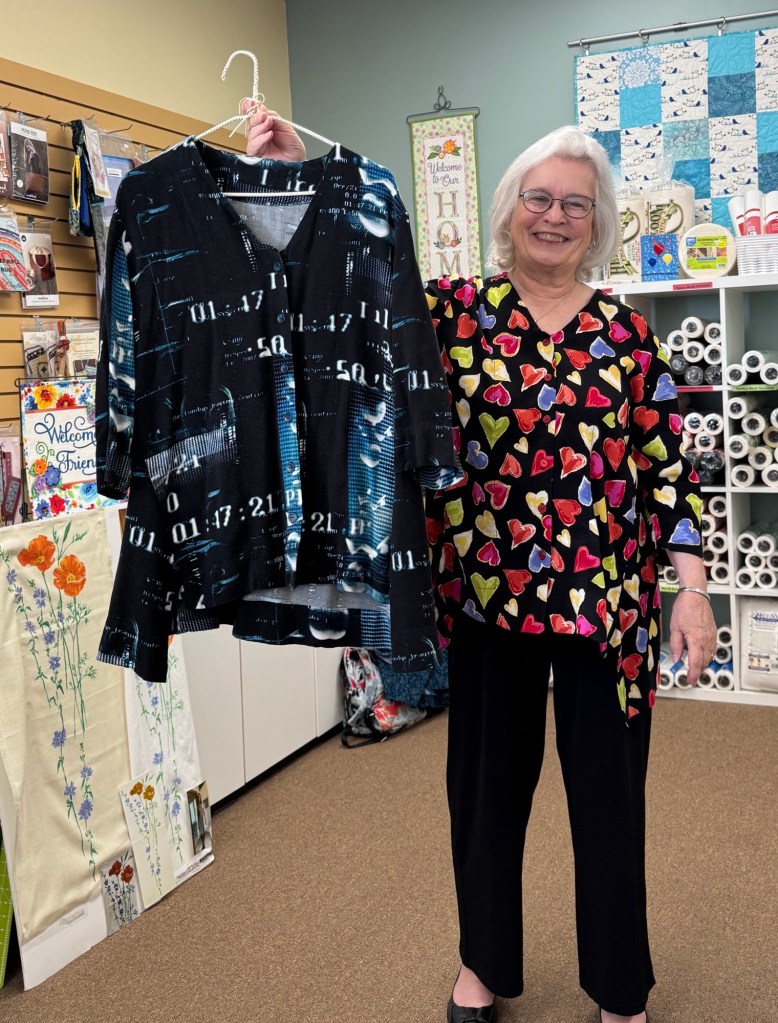
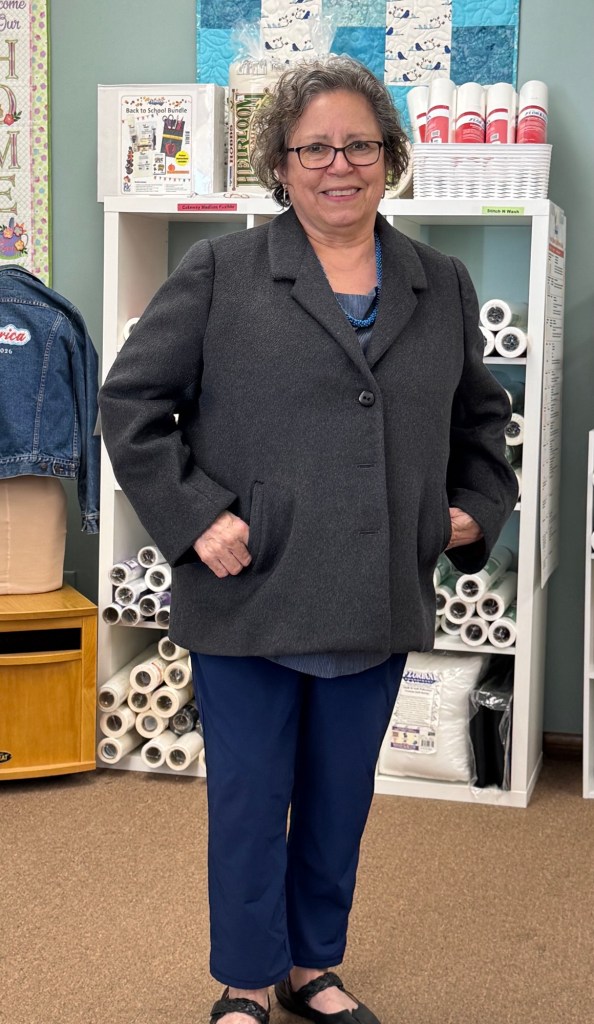
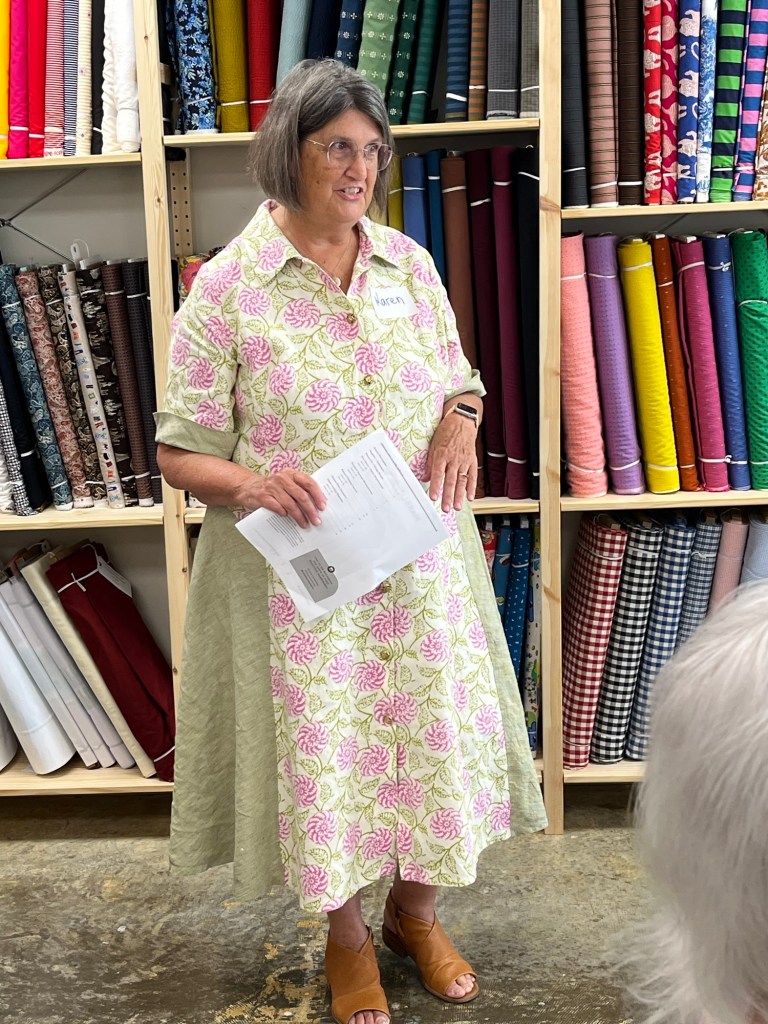
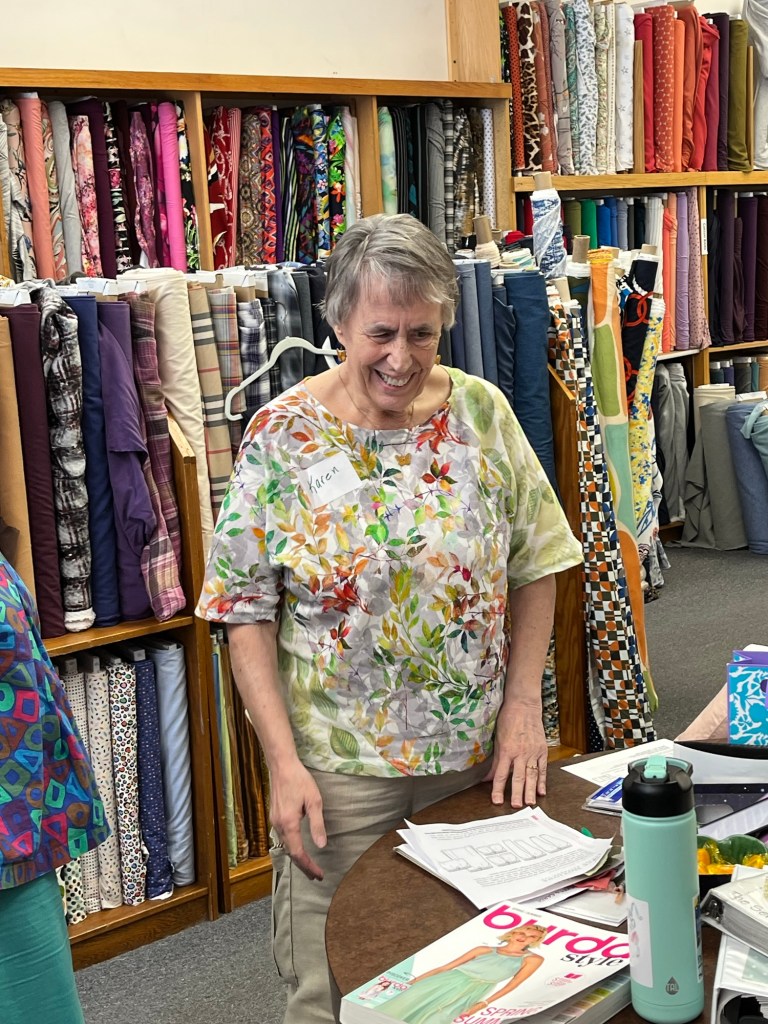
Karen’s Garments:
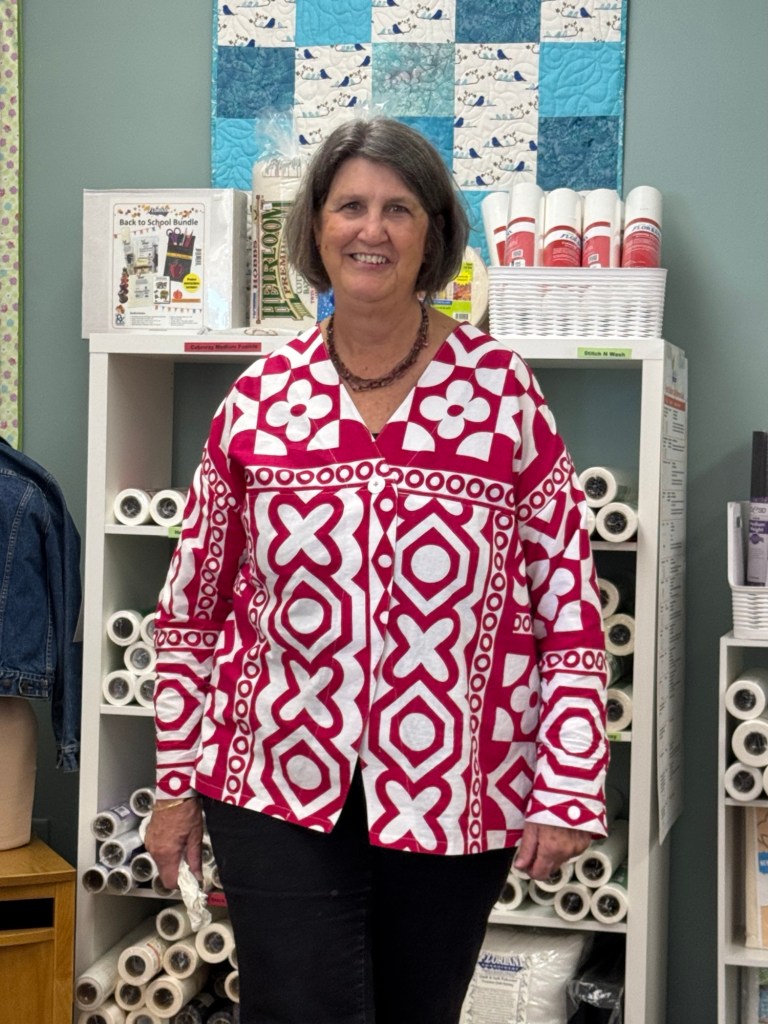
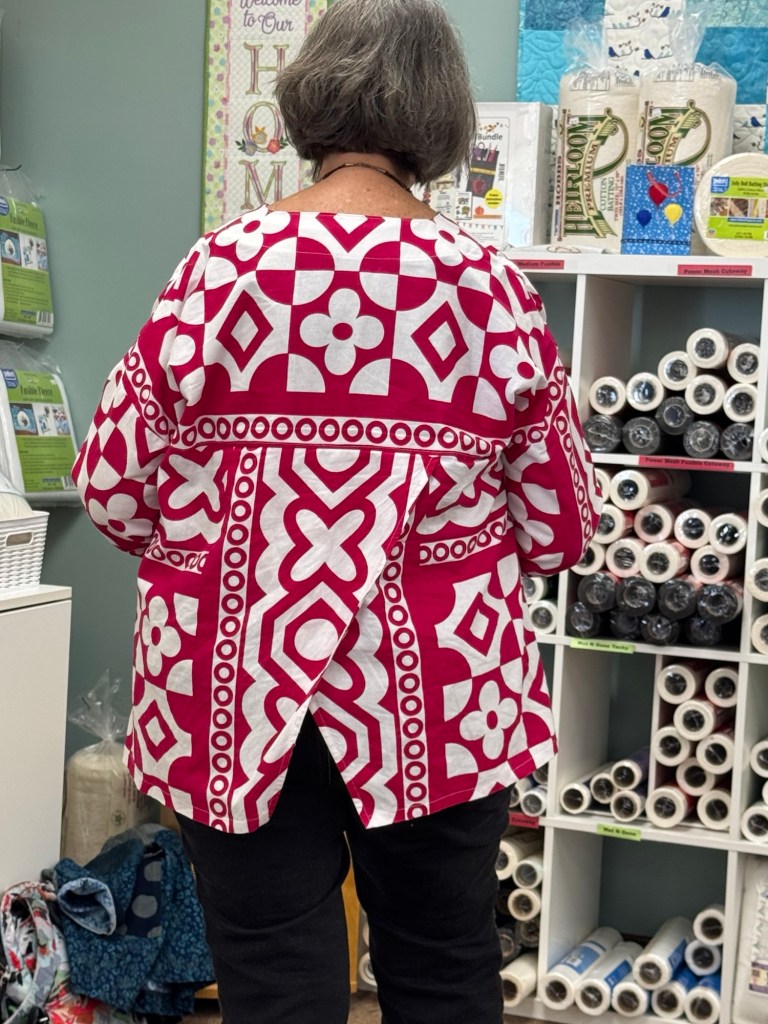
This pattern was published in 2005, so time to see how it works! I want to make a patchwork boiled wool jacket sometime so I tried out this top as a possible pattern to use for that project. I think it will work very well for what I have in mind.
I made up the top just to pattern and it fit fine and is super easy. The only challenge in the project was deciding which pattern piece should be used where on this wild and non-symmetrical print.
This cotton fabric is stiff even after a couple of washings, but the pattern needs some body to hang well.
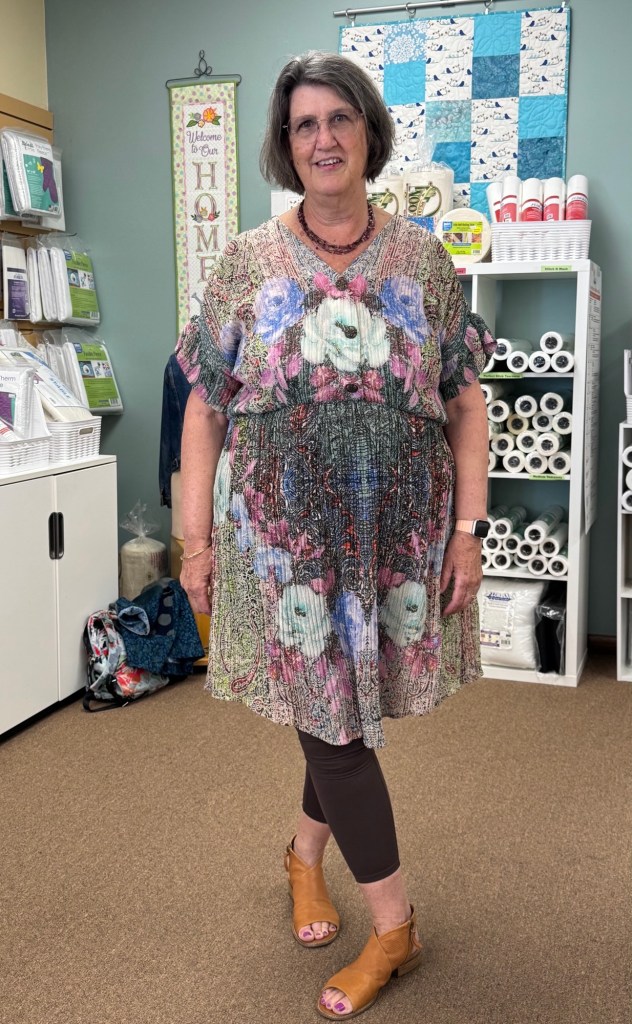
I love this fabric but it was difficult to work with every day. It’s a woven wool gauze so it stretches out as it is handled and sewn and worn. The pattern uses 3/8” seams but I ended up using 5/8” seams everywhere to keep it somewhat in shape.
The fabric frays so much that even serging them seams didn’t work well because the serging just fell off the edge of the fabric on curves. I used French seams on the sides.
I made a 1 inch seam at the “waist” because I didn’t want this to be a dress and I was worried the seam would pull out from the weight of the skirt. I then used that wide seam to insert elastic to help keep the shape of the skirt in place.
The neckline is faced and I used a light weight cotton to help with the shape and to be less noticeable.
I shortened the “cuffs” on the sleeves and made them wider so I could gather them because I thought it would be a better design for the fabric. Instead of tabs to gather up the sleeve length I inserted a casing at the top of the shoulder and ran elastic through it.
Experimenting with custom printed fabric
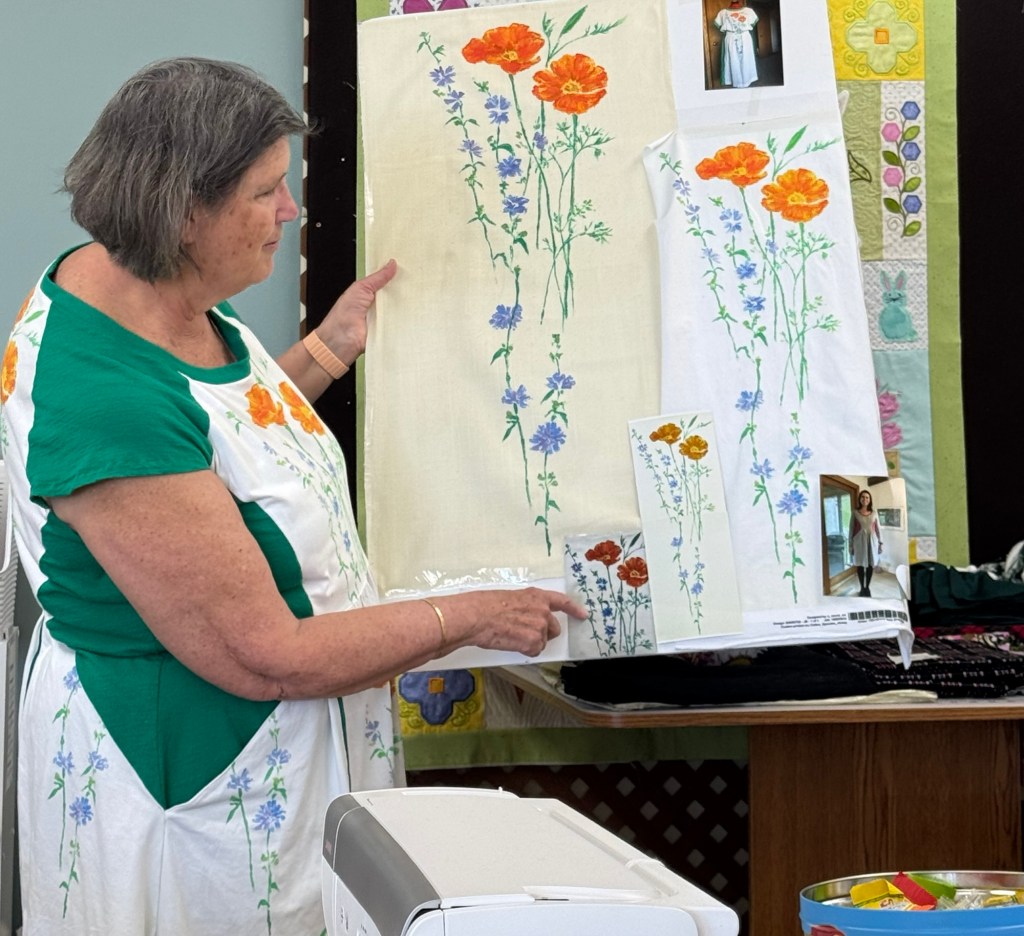
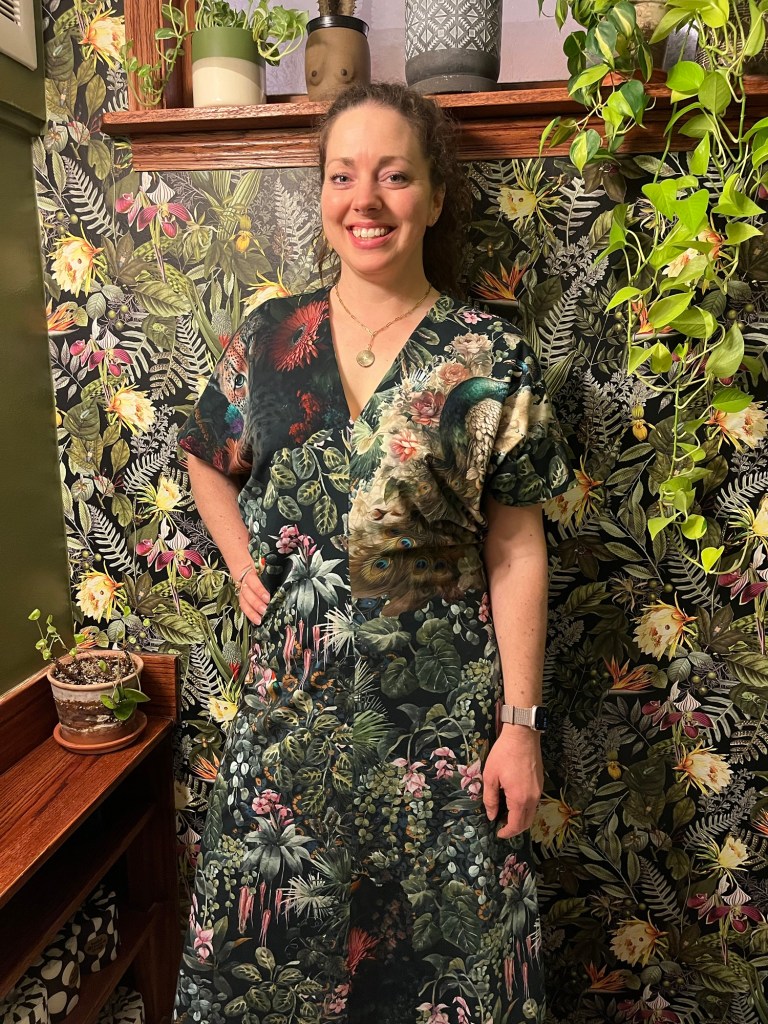
Pattern is Tilly and the Buttons Zadie Dress
Unsurprisingly my mom painted better than Spoonflower prints. The painting works better on the dress she made than on this one.
I kept the shape of the skirt but had to cut the skirt front and skirt back into a center panel and then 2 side panels because the fabric was printed in panels.
This pattern wasn’t drafted for someone with my body shape so I added 2 inches in length of the front and back pattern pieces to account for my chest.
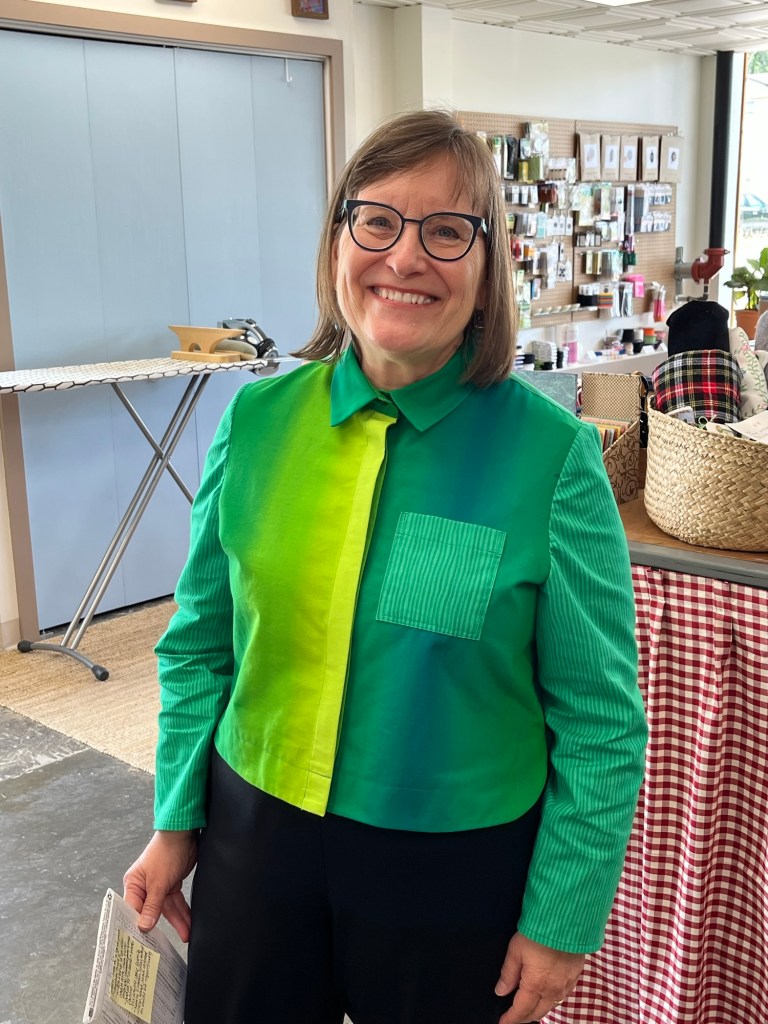
Kristin’s Garments:
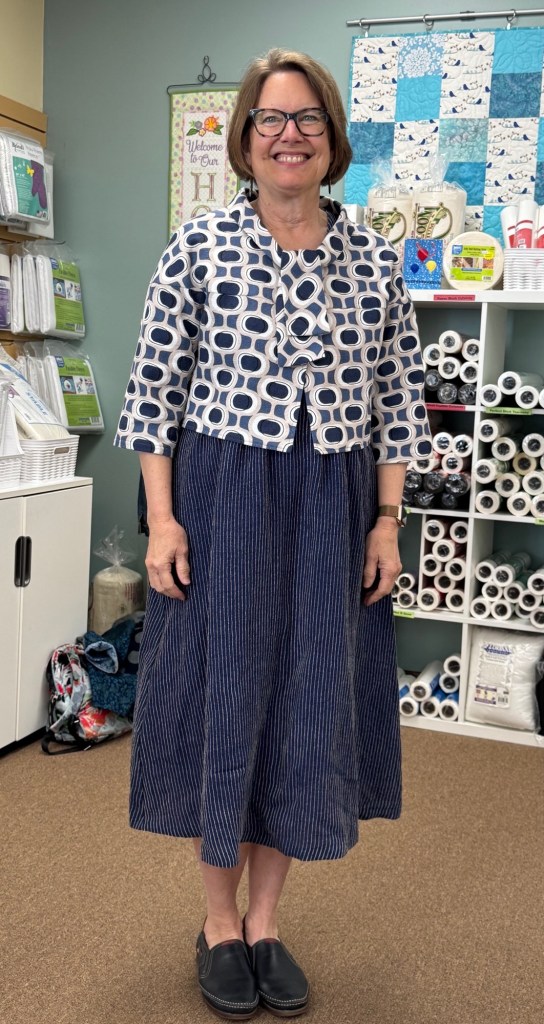
Loved the style. Lengthened the sleeves by 2 “ because I didn’t like the straight line created by bodice and sleeve hem. Some attempt was made to match pattern but I’m happy with how it turned out.
Pattern is lined but nothing fancy, I used cotton-made it warmer for spring.
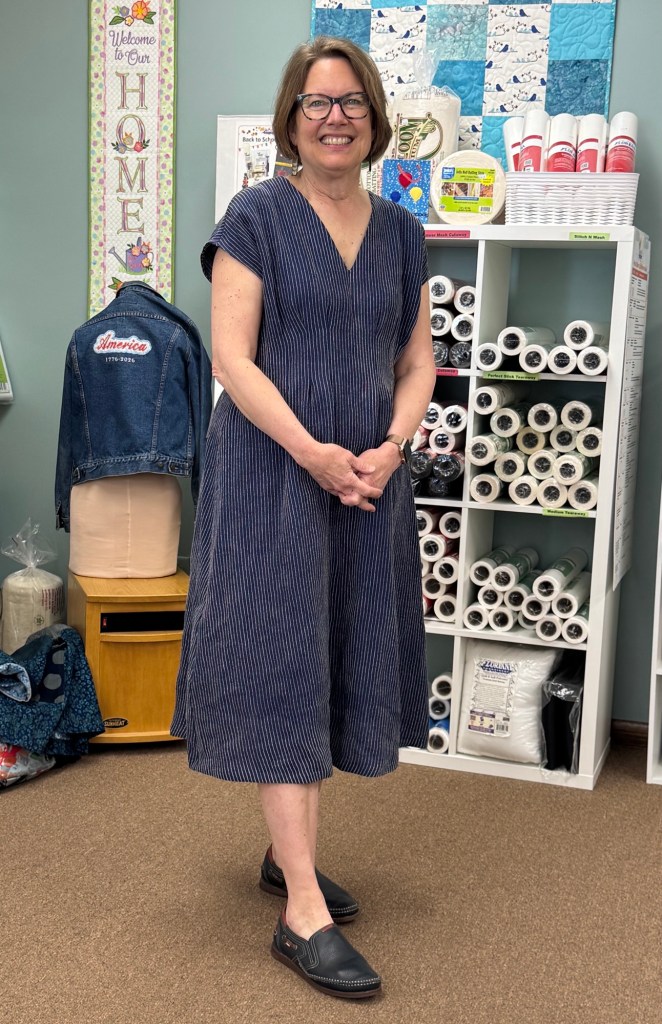
I chose a stripe which made tucks easy to sew-12 in all, ascending and descending.
Back and front have center seam, which I did but placed pattern piece on fold anyway and didn’t cut. Left it pinned and sewed it up-seam finished and still in place!! Works. Great for plaids too.
Length is to pattern-size 12.
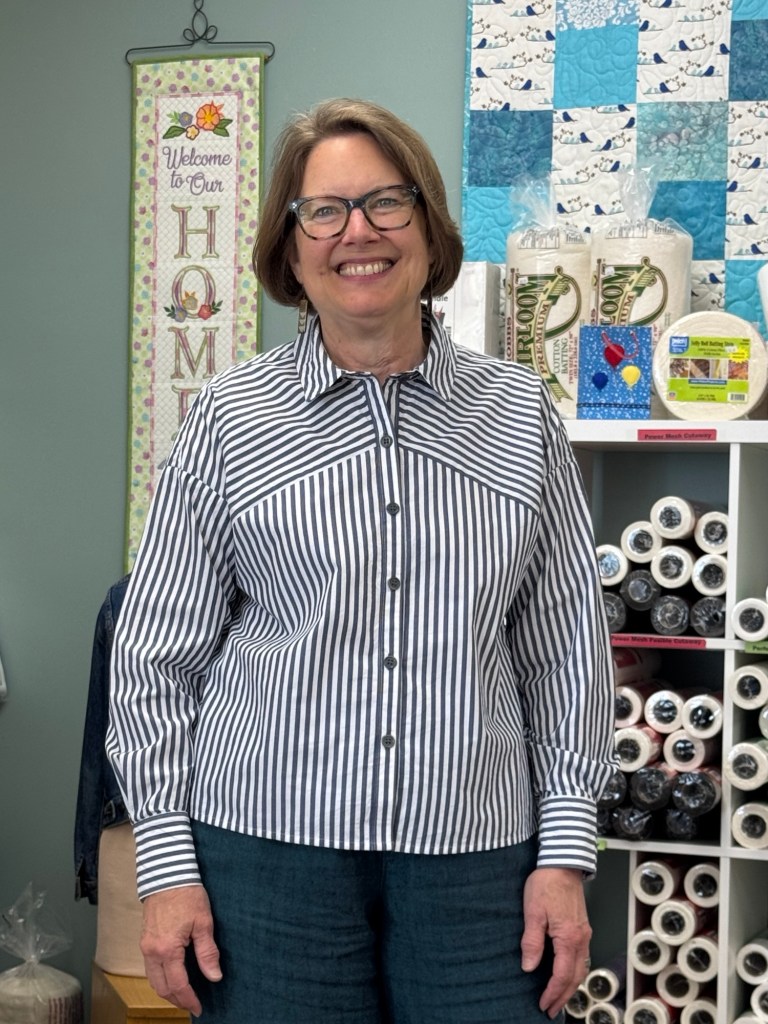
Raised the diagonal line on front bodice under the arm-like it better than original-no dart.
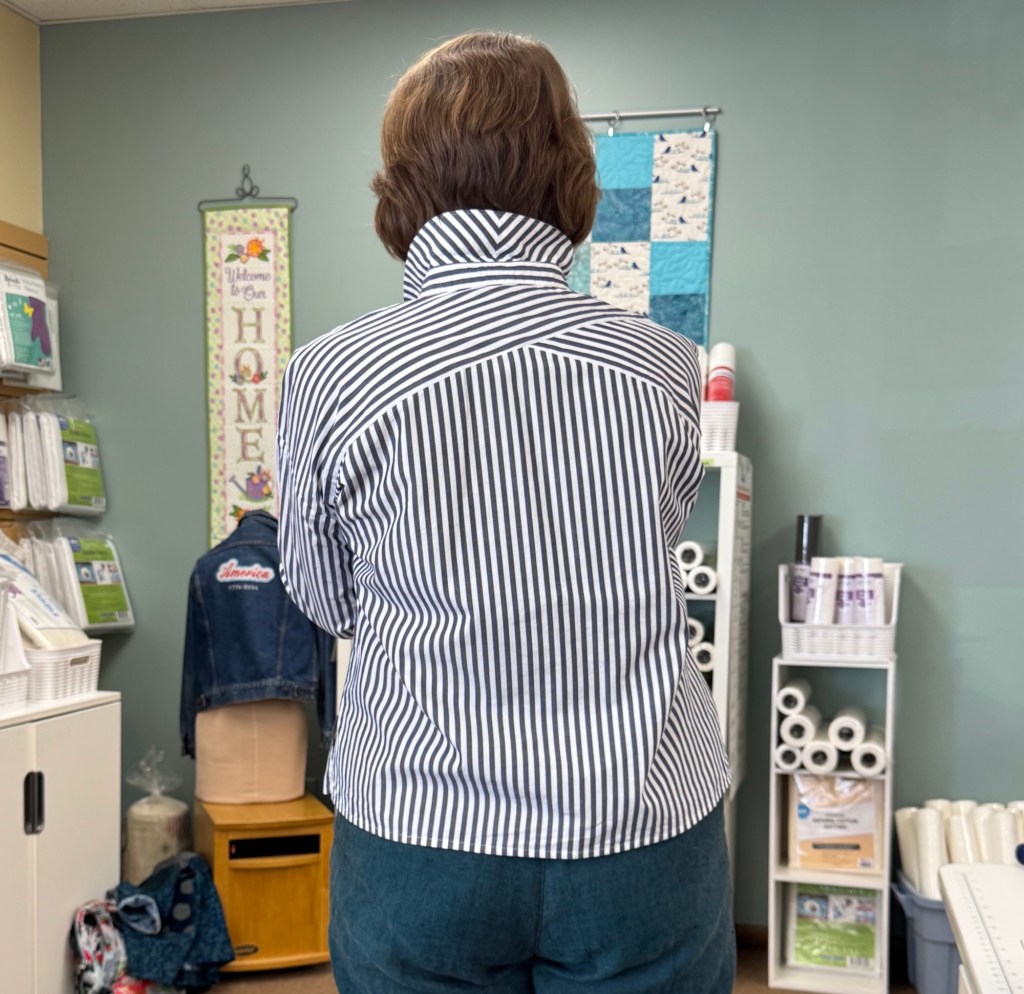
All French seams in the pattern so I went with it. The sleeves were the only things I tried to sew right sides together but I caught myself after 3”-whew!
Collar stand is always a challenge with the curved front-don’t look close!
Buttonholes were a bear-possibly Mettler thread? Needle thread broke twice, then bobbin. Switched to Gutermann? Rip, pray, sew!!
Had to try side slits because of the sewing instructions for French seams. Worked great!
Length is to pattern-I think I’ll add and inch or two next time.
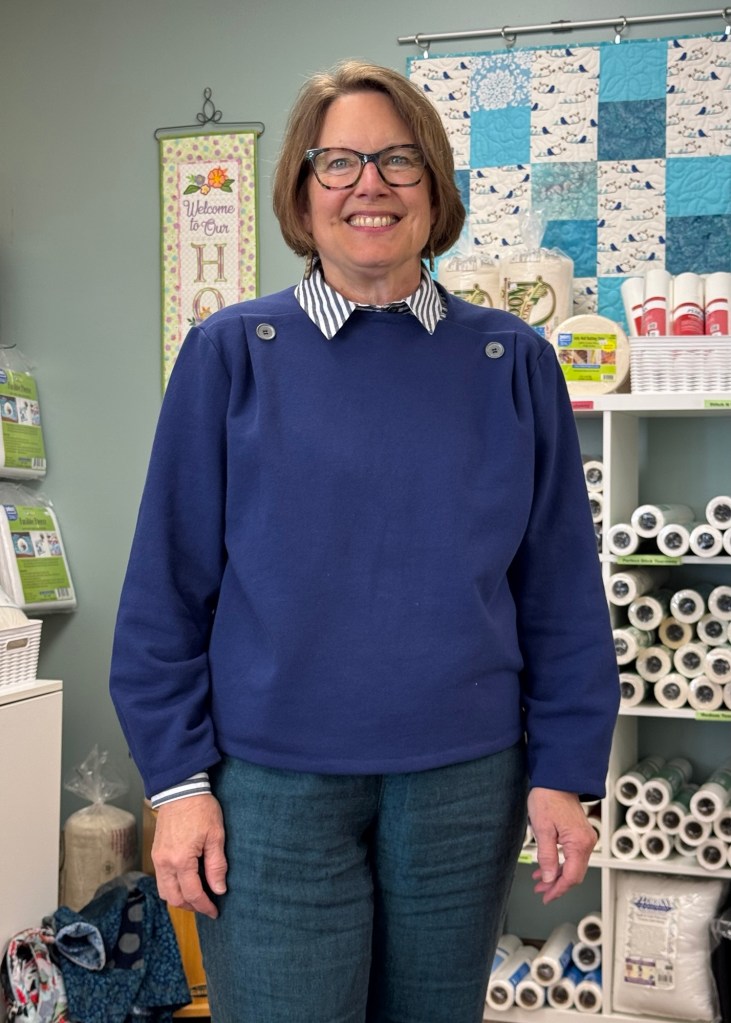
Another wonderful sew from SisterMag! More hand sewing, which is nice on the fluffy French terry. The neck edge fits very nicely but I was surprised that the hand stitching didn’t allow as much stretch as I would like when fitting over head.
Sleeves have darts at wrist for a soft balloon shape. Fun, out of the ordinary sweatshirt!
June-cohost Paulette Finnegan
Wednesday, June 17, Lakes Makerie, Mpls.
Thursday, June 18, Creative Sewing, Apple Valley
Saturday, June 20, Ginny’s, Rochester
Happy to be spending a sunny Saturday morning at Open Studio Sewing! This week we will be Rochester at Ginny’s Fine Fabrics on Wednesday and then back up to the Cities on Thursday at Creative Sewing in Apple Valley (don’t forget to bring fabric for swapping!) All meetings start at 10:30. Carpooling is available for Rochester-email me-materialgirlsewing@gmail.com
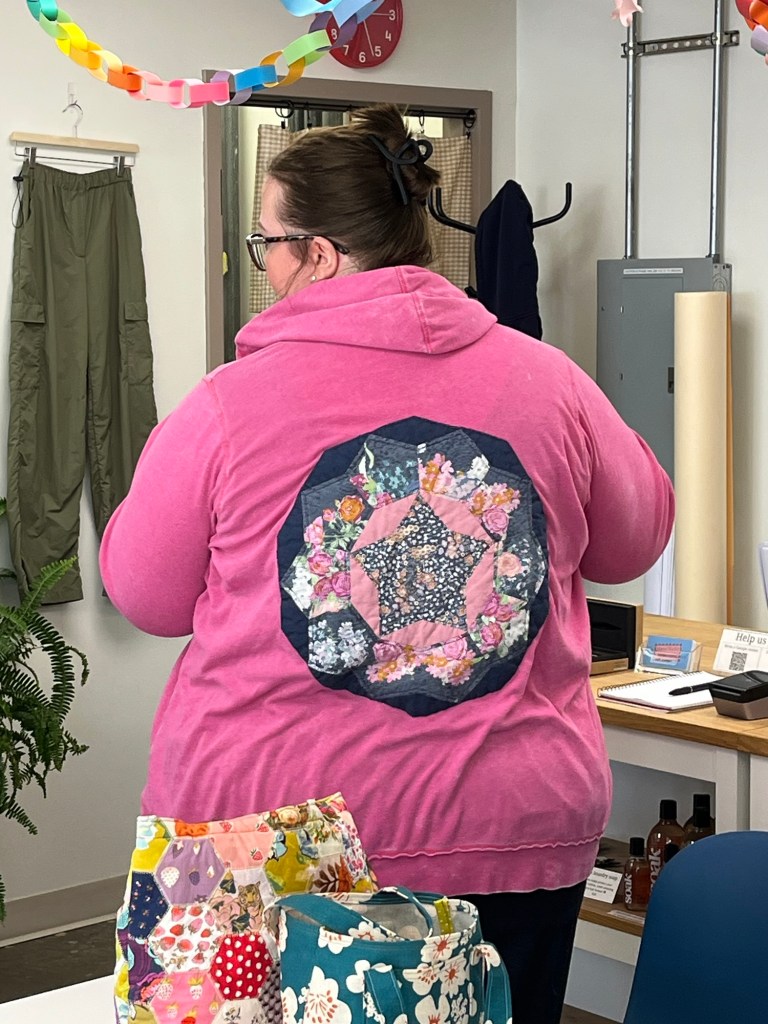
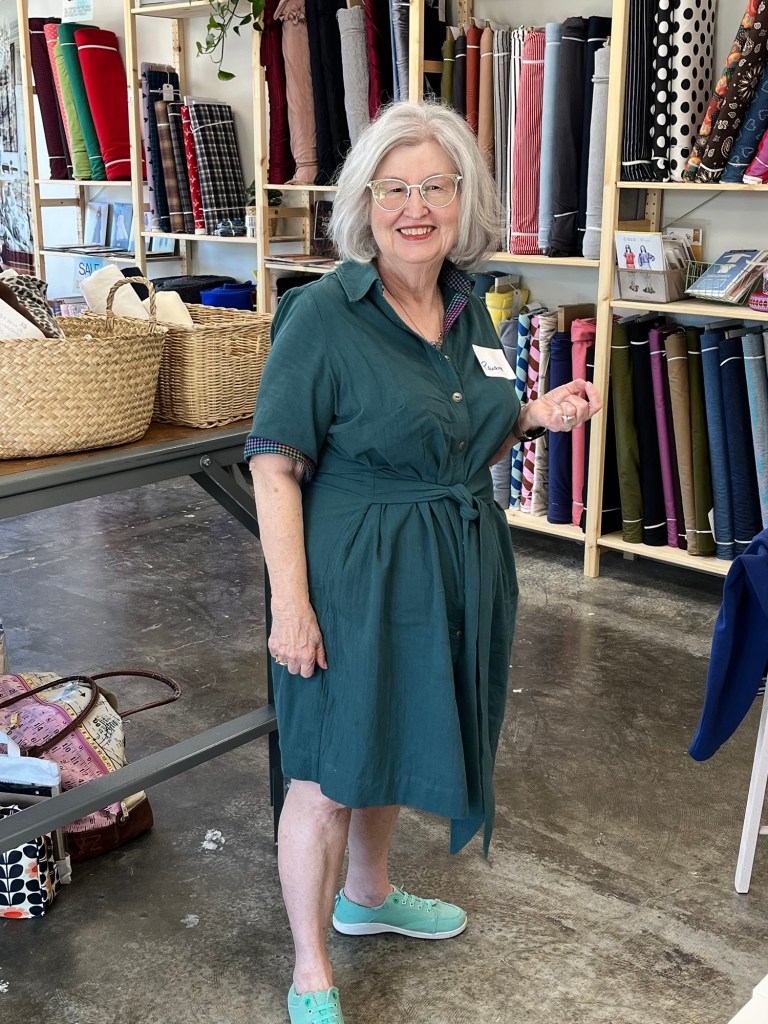
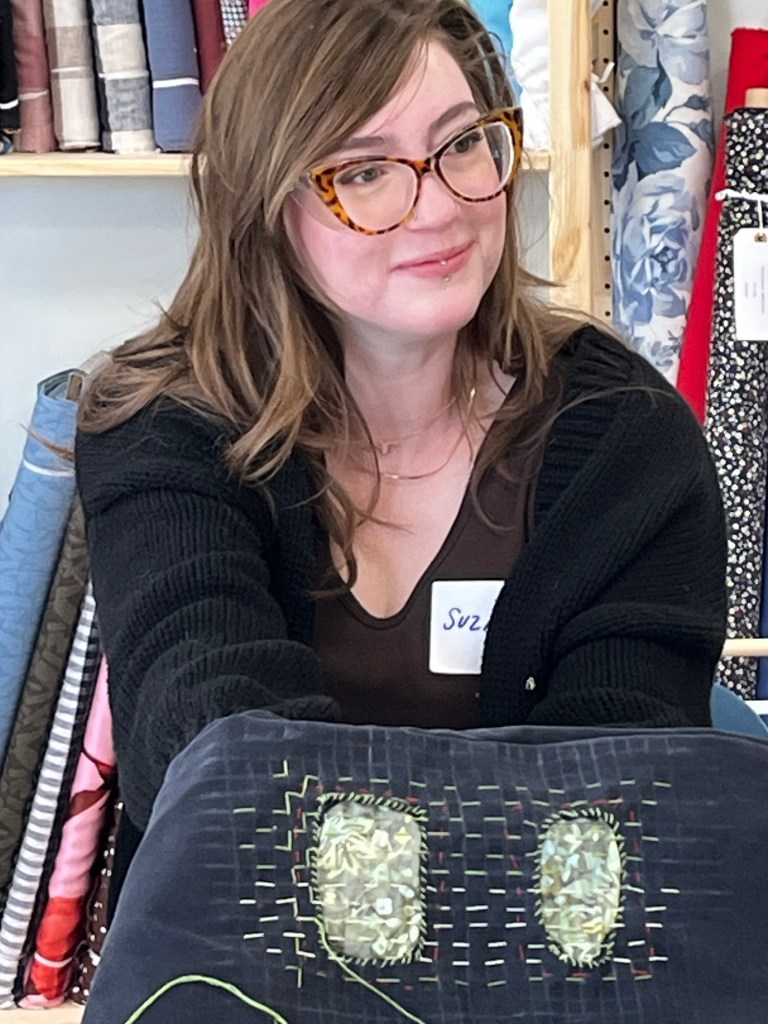
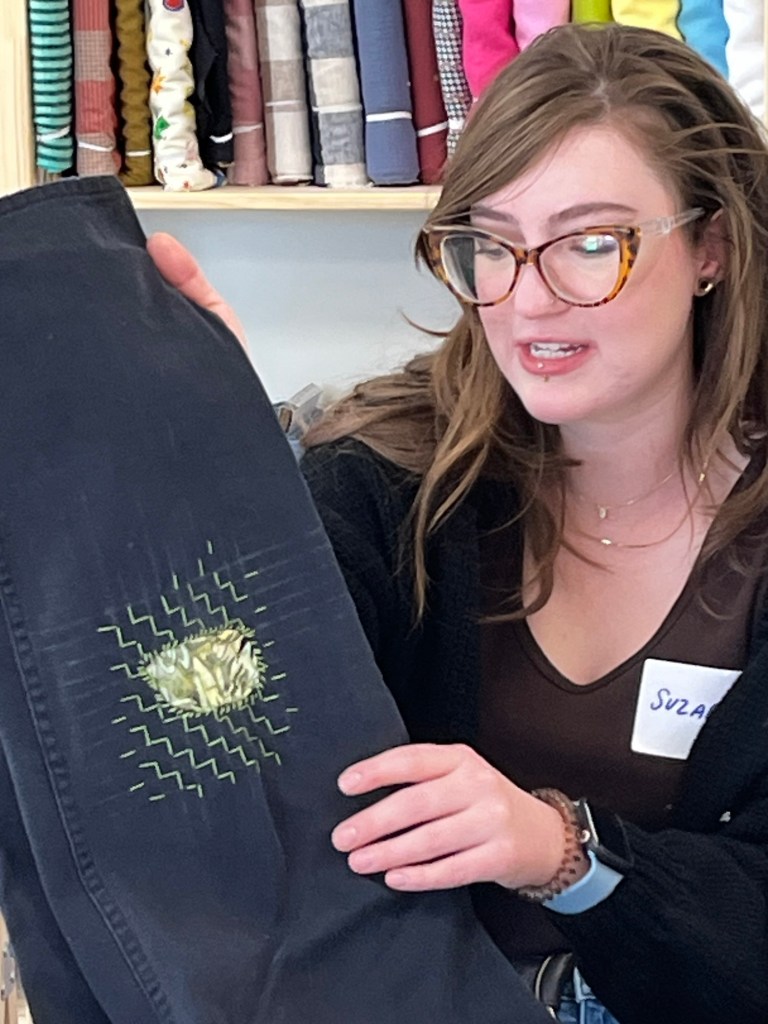
Let’s start at the very beginning…
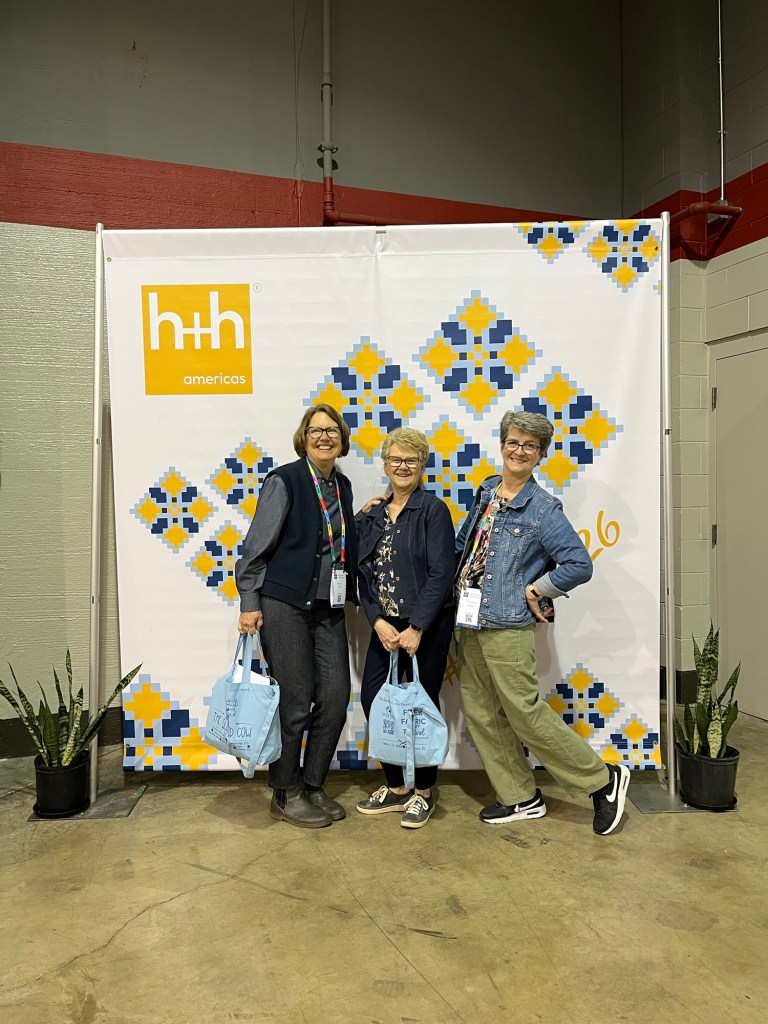
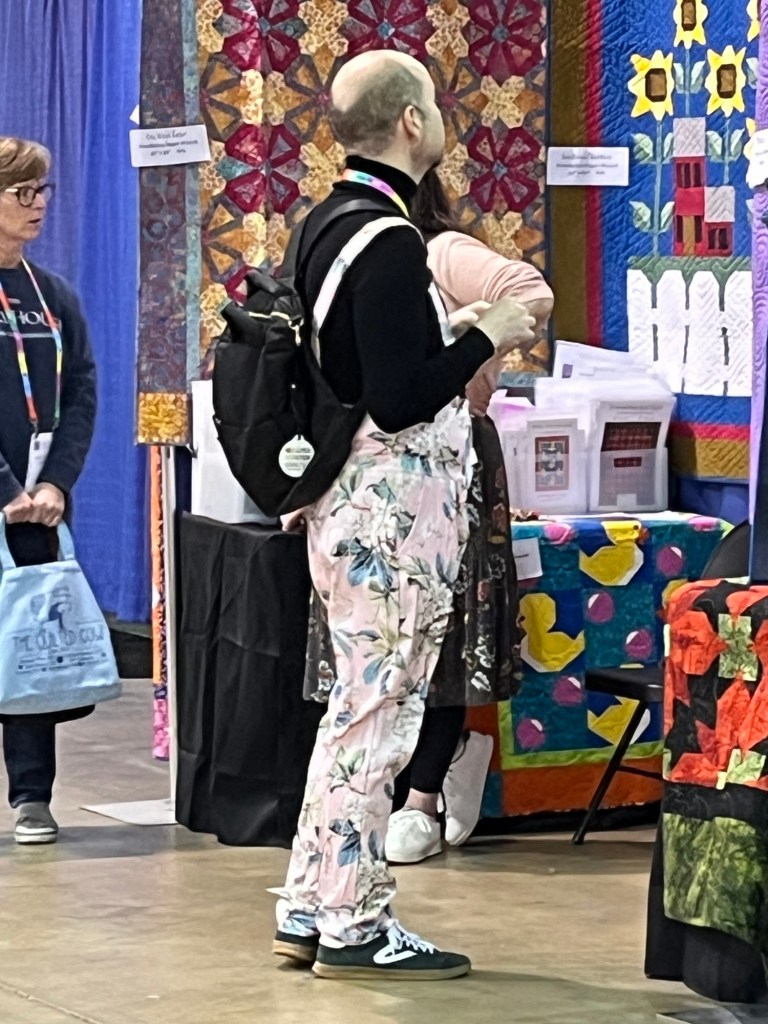
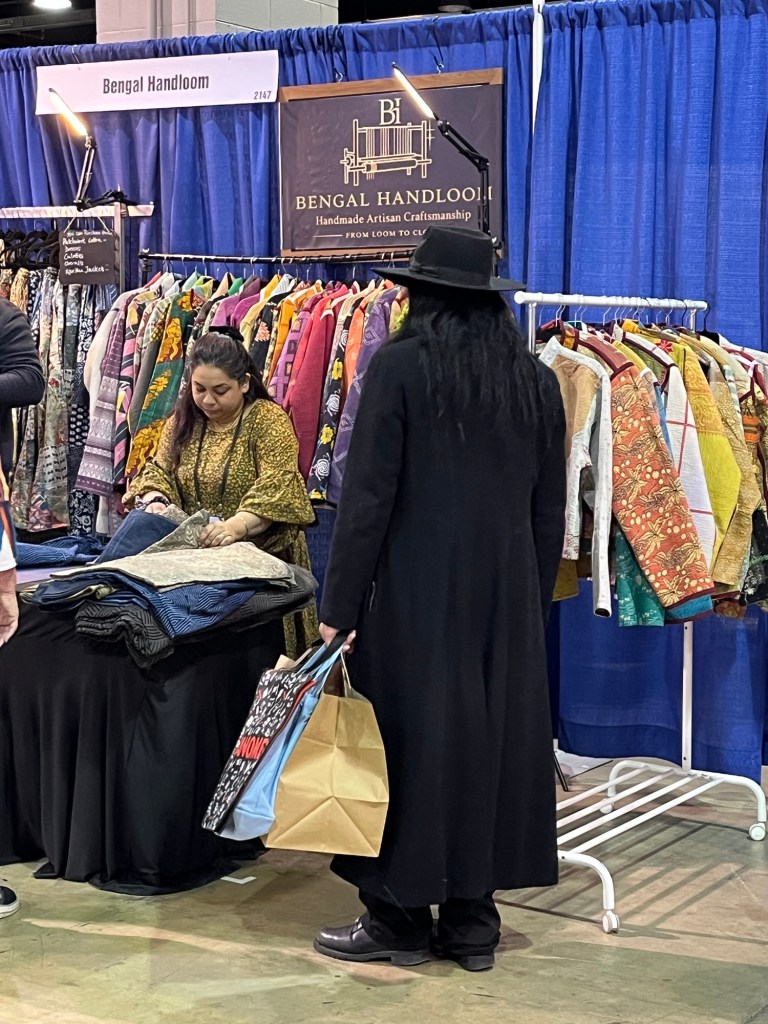
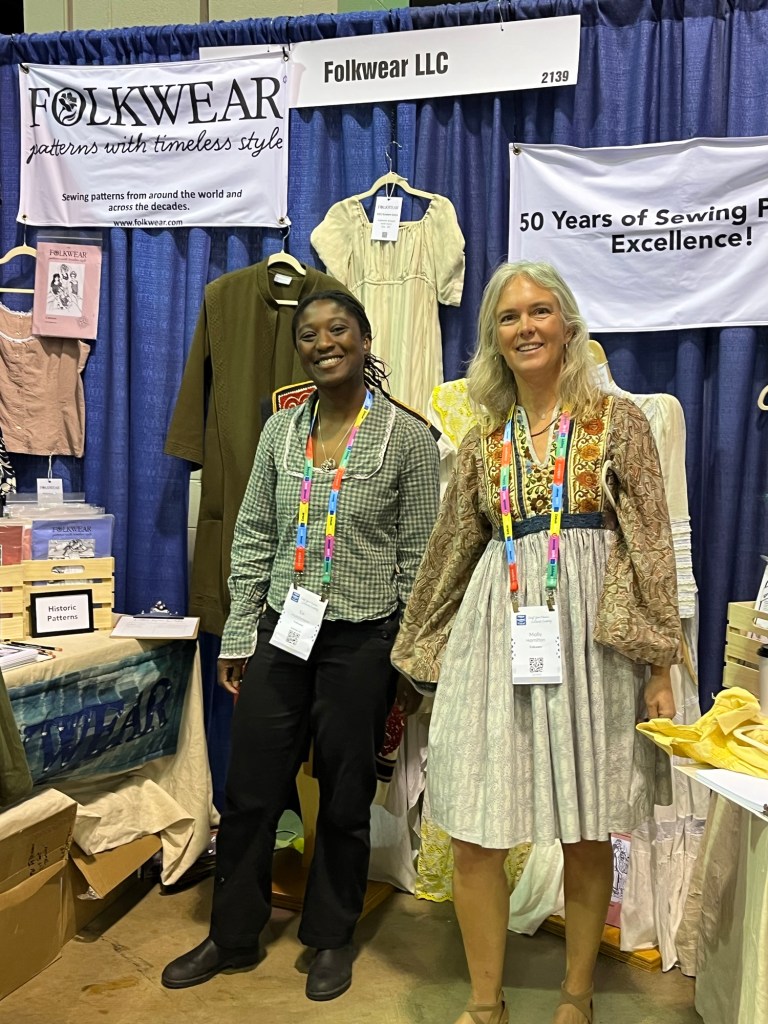
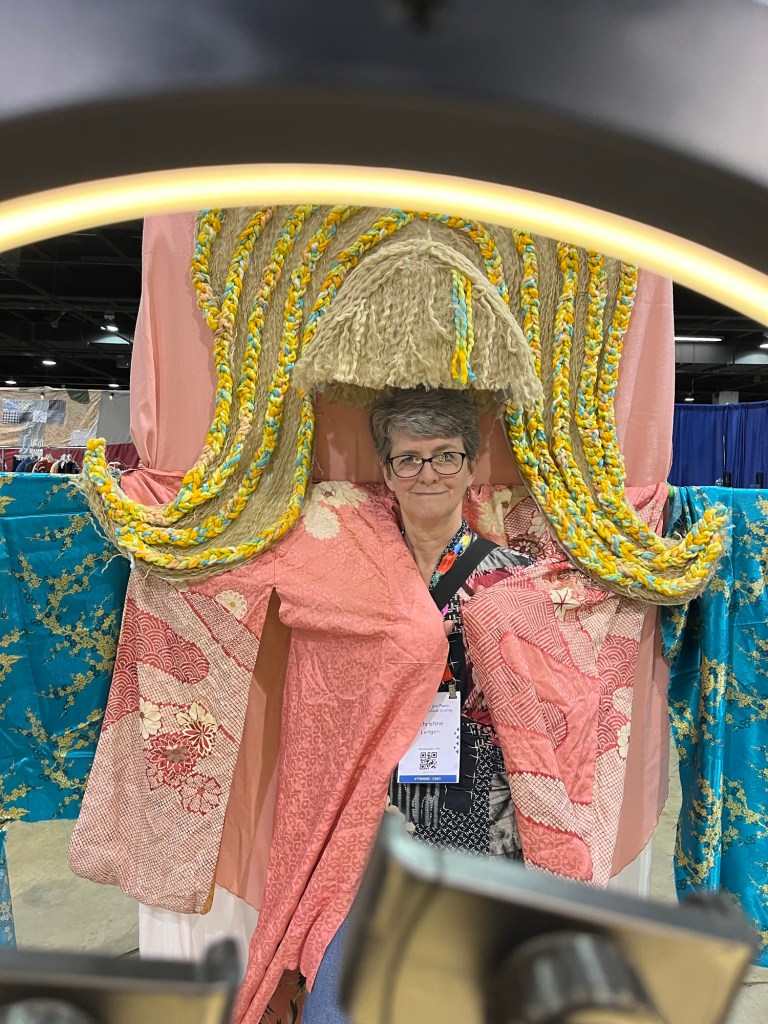
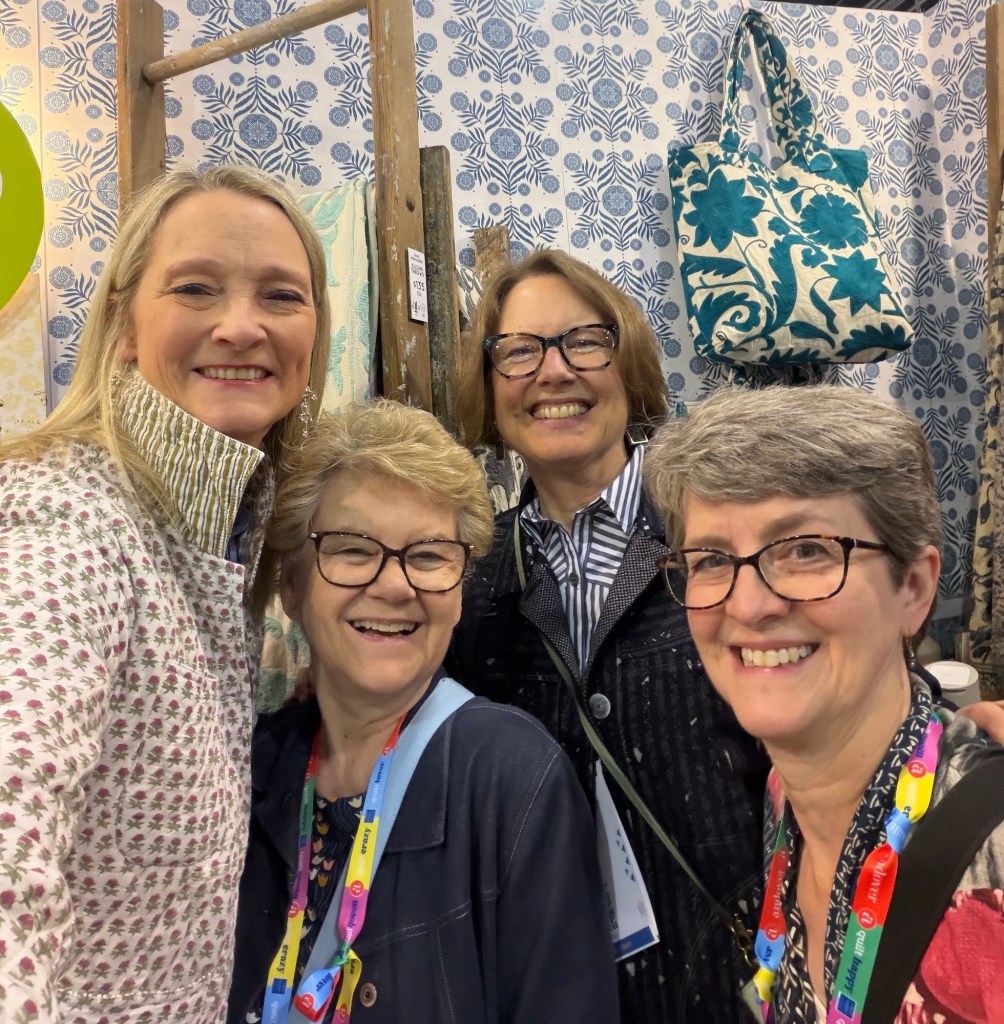
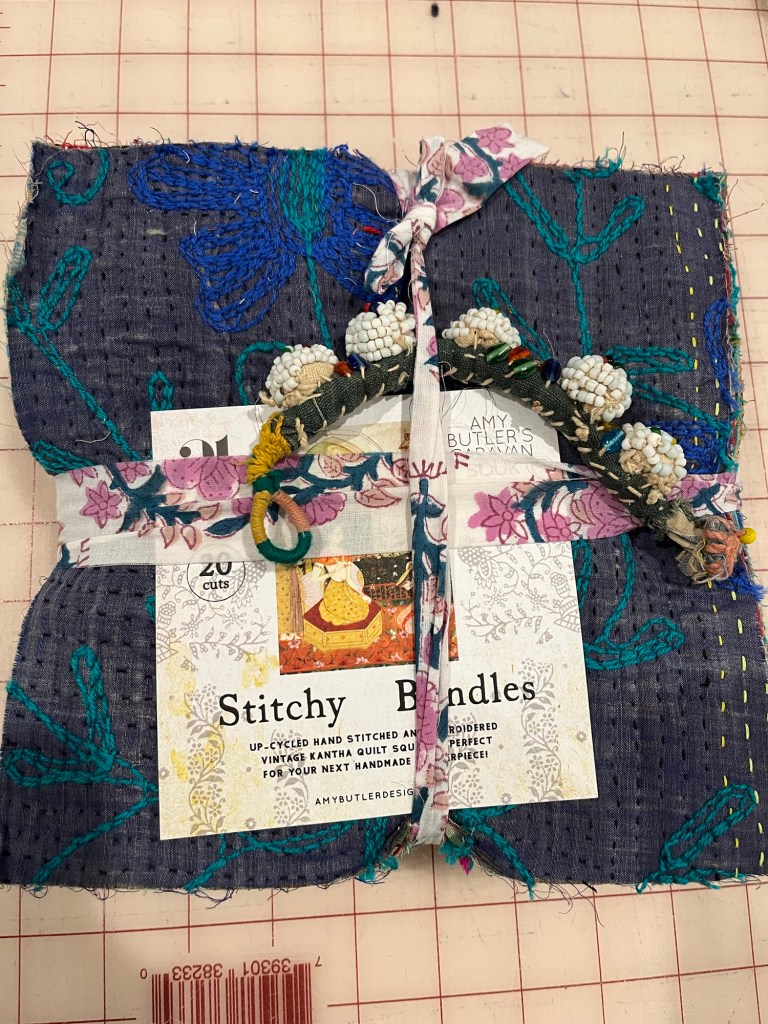
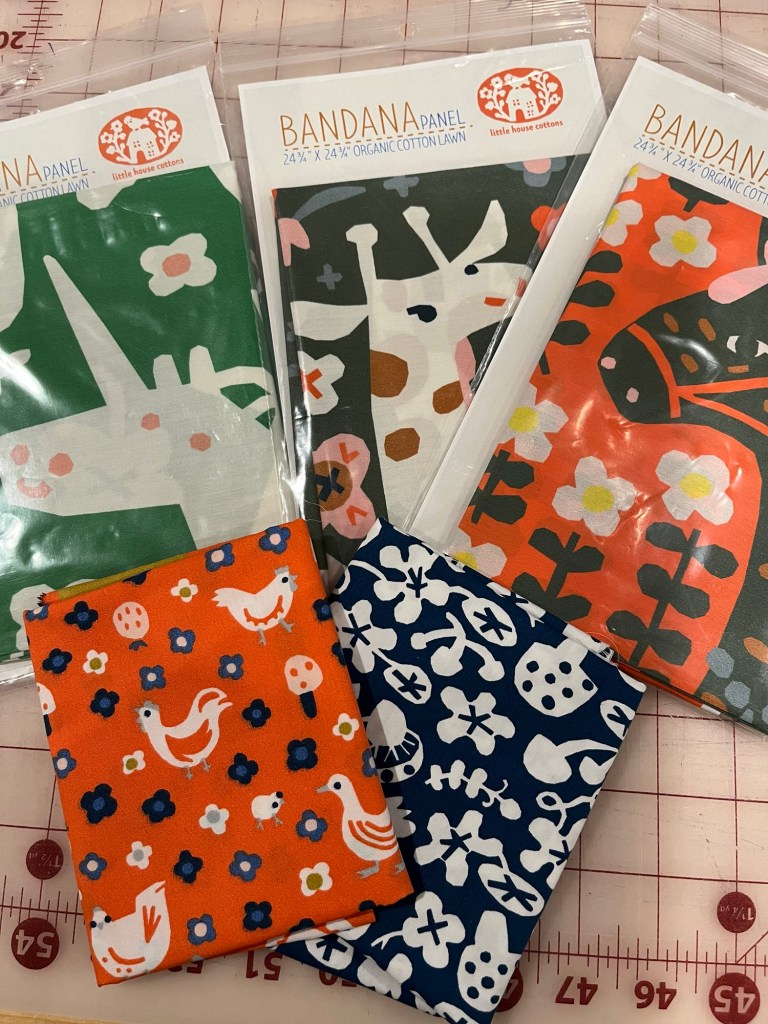
And then it was time for the Haute Couture Club of Chicago’s Fashion Show!
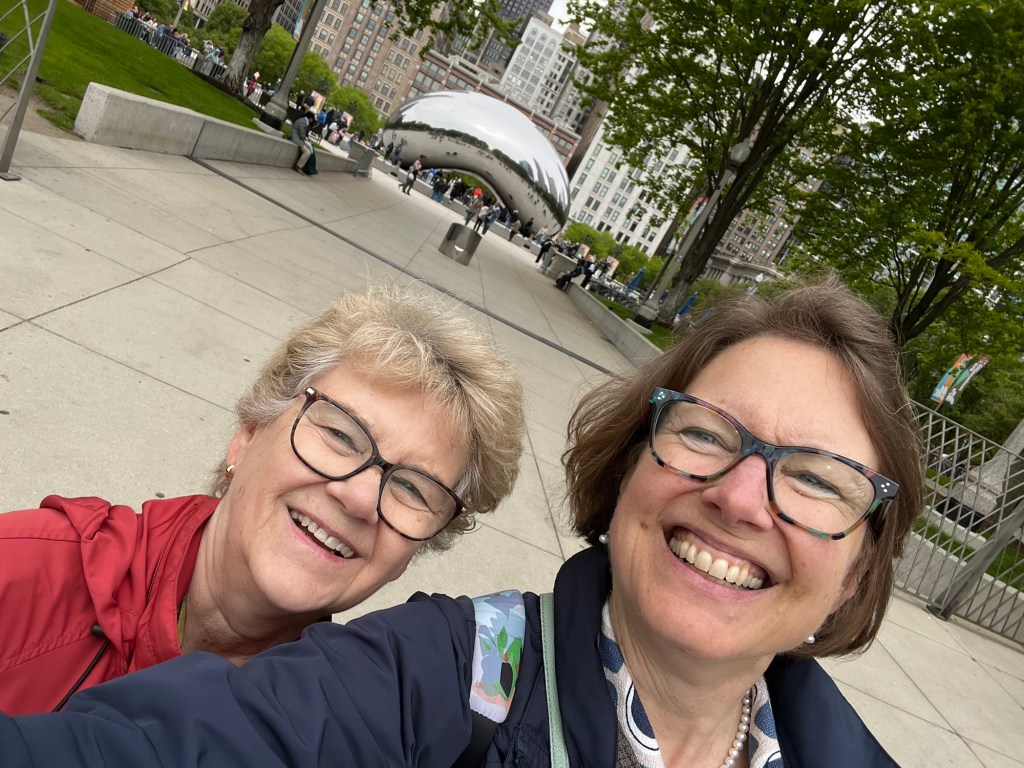
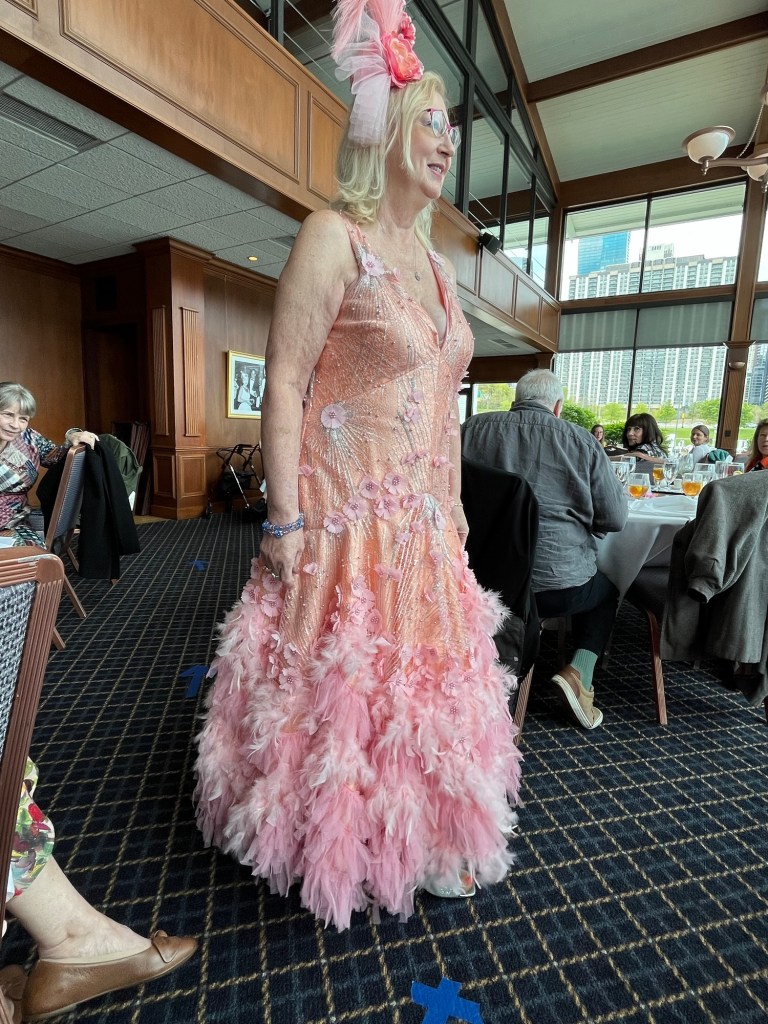
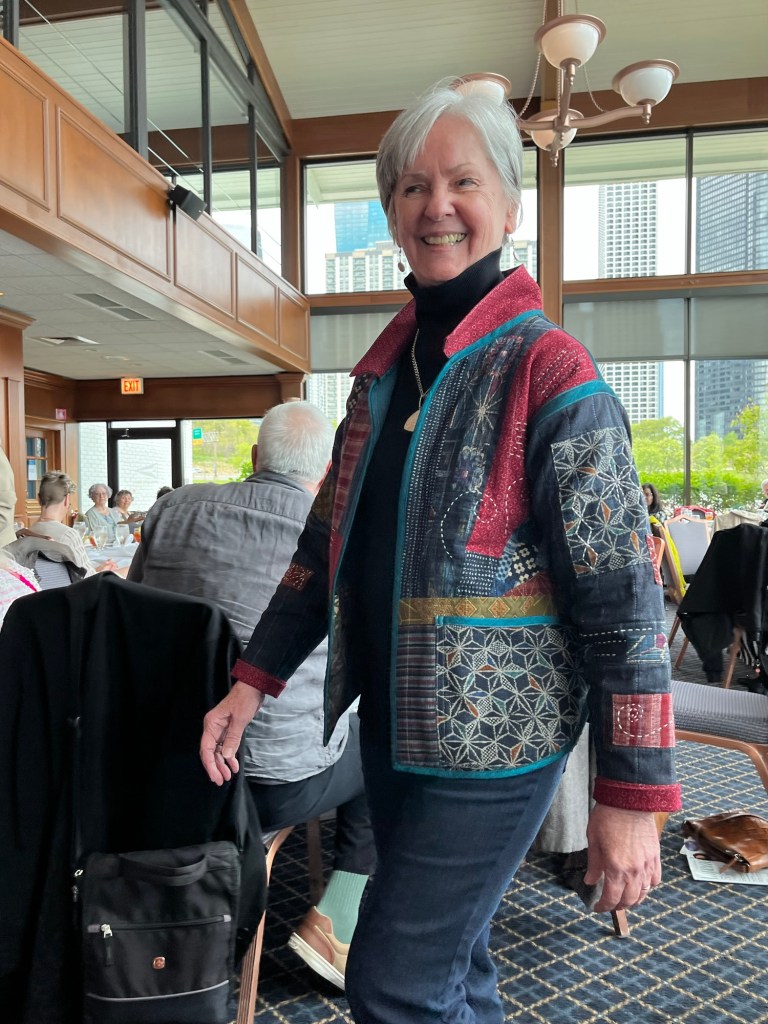
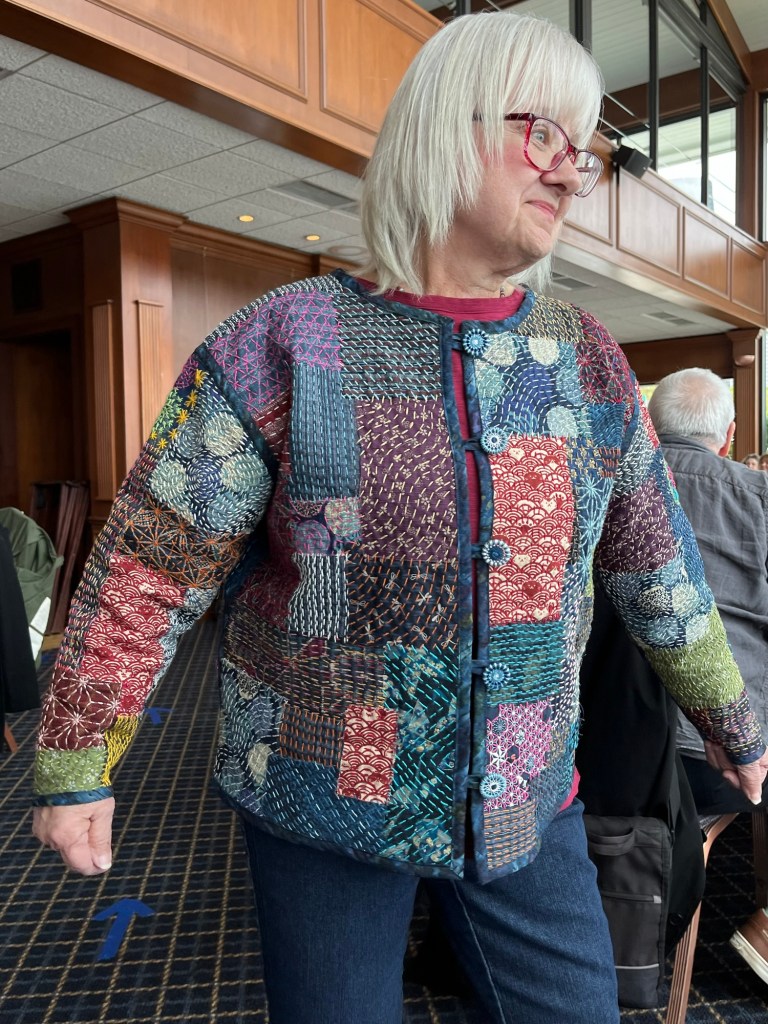
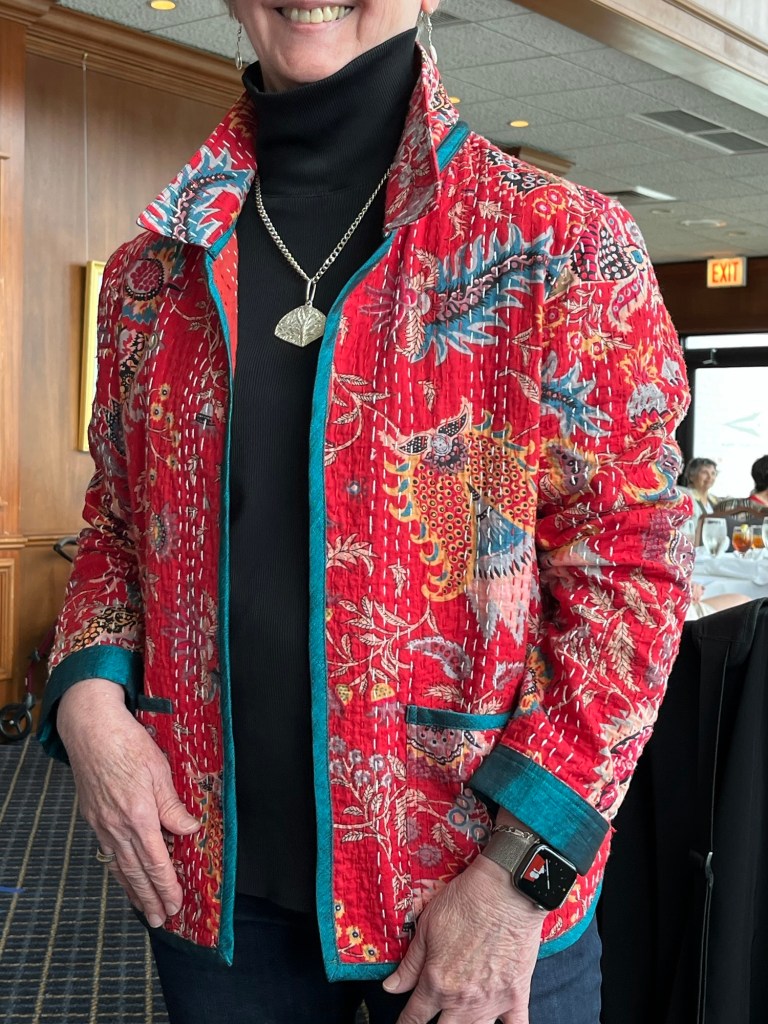
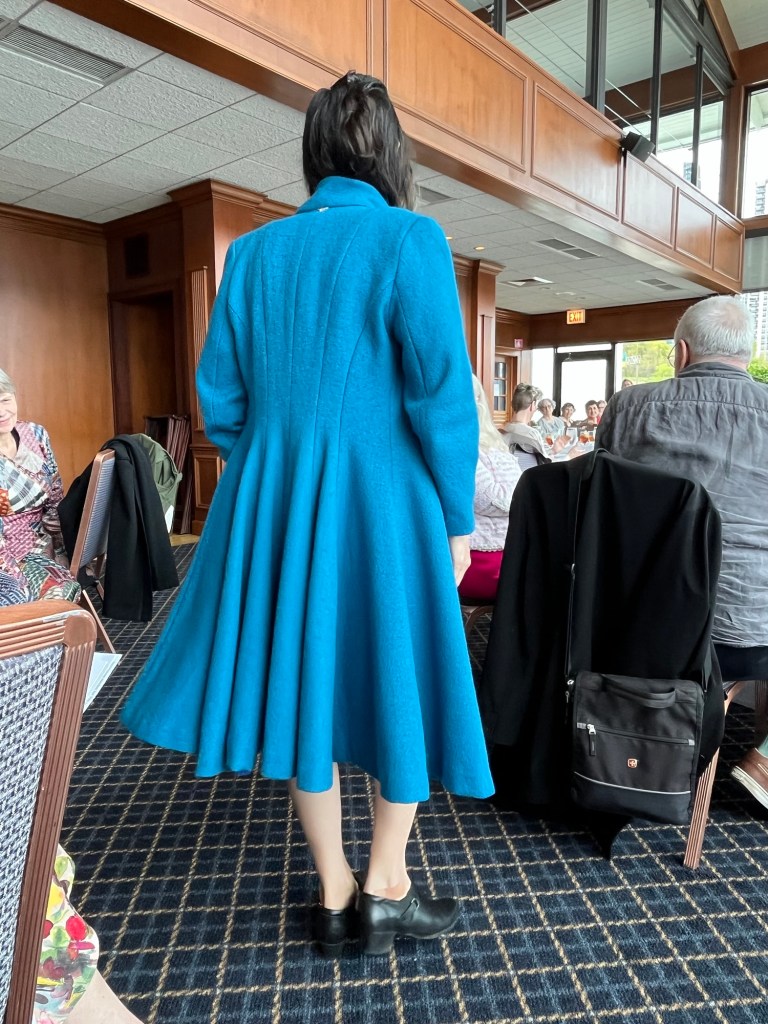
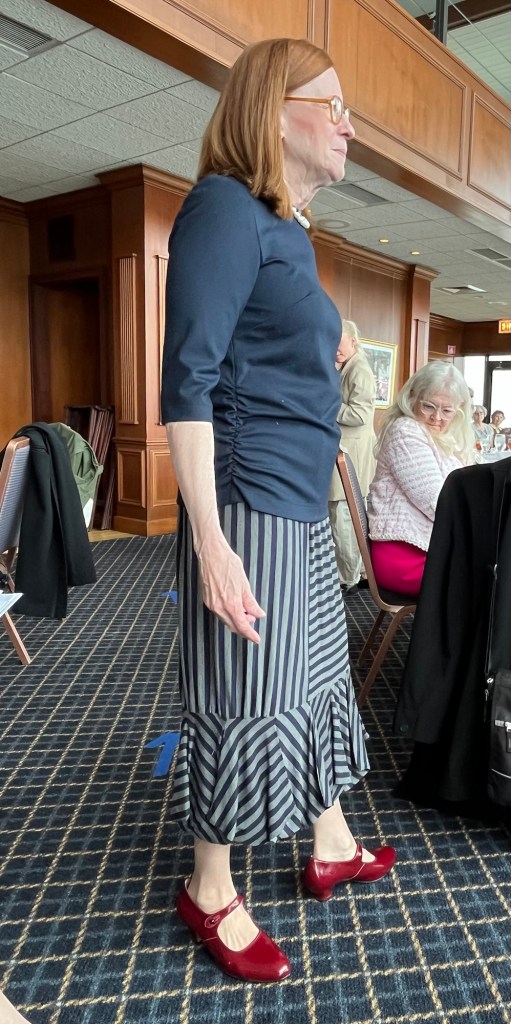
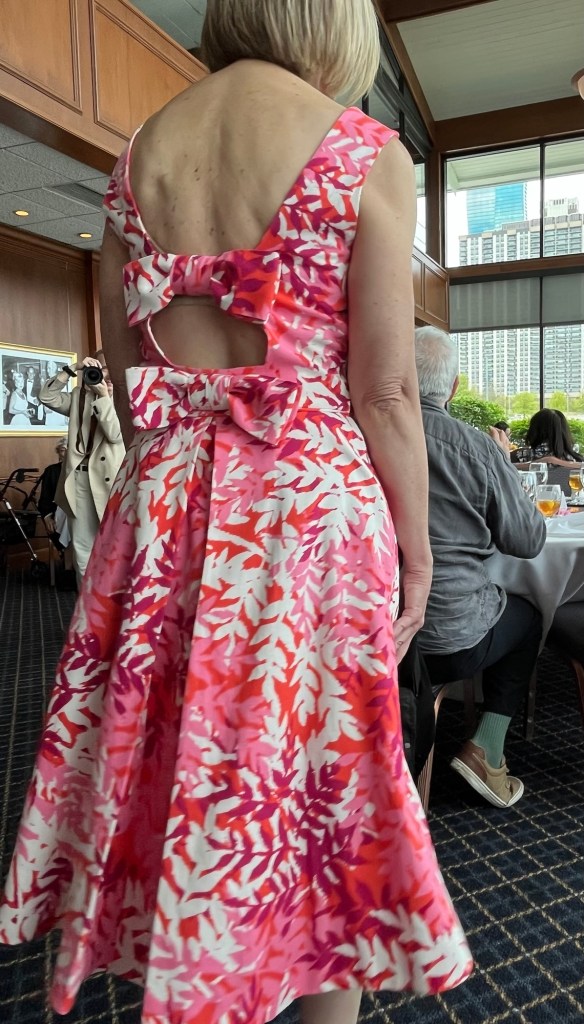
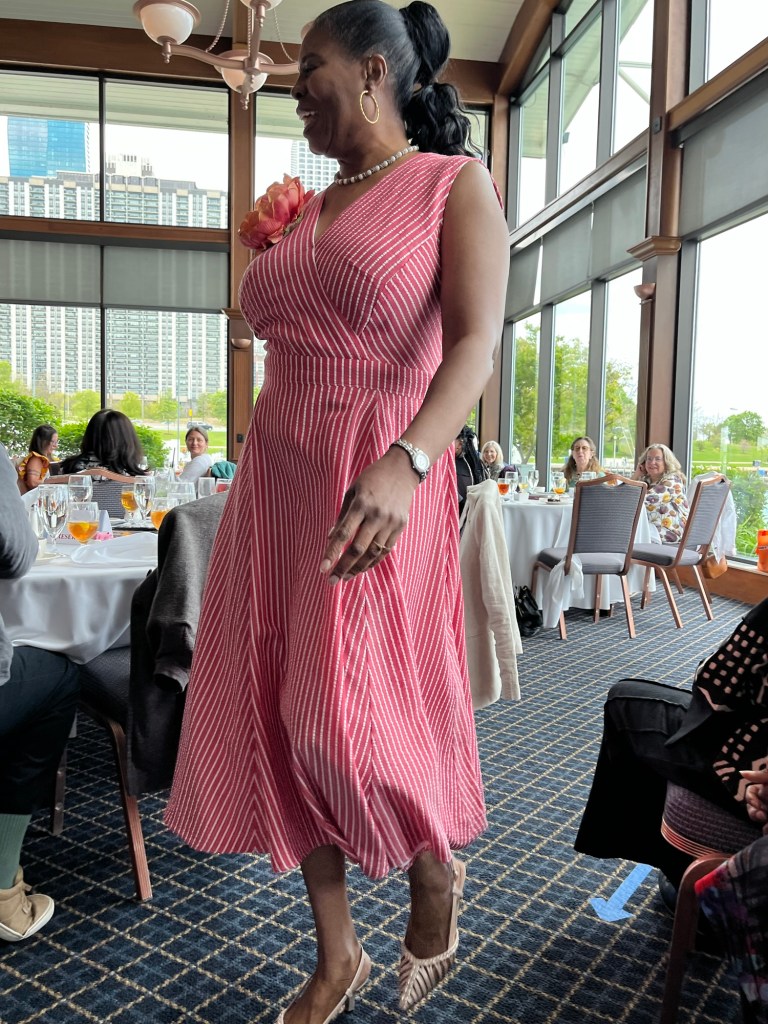
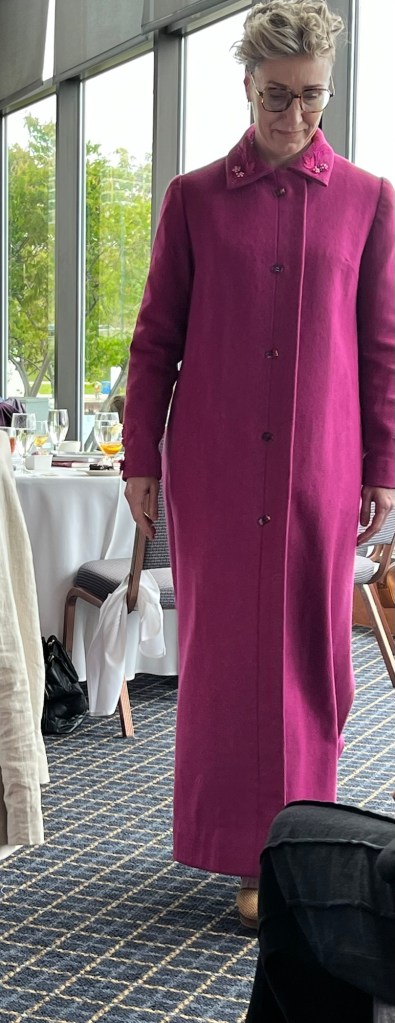
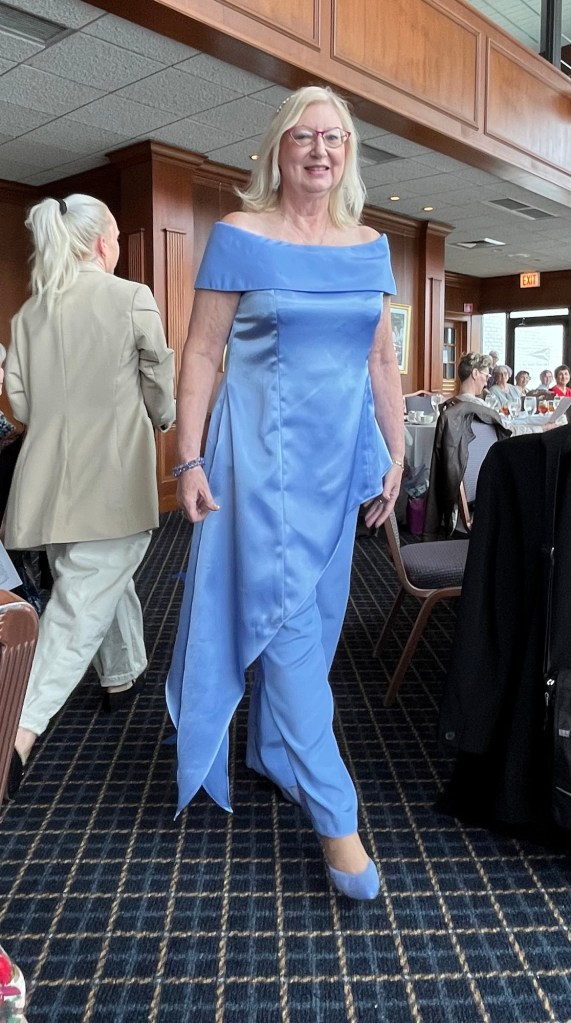
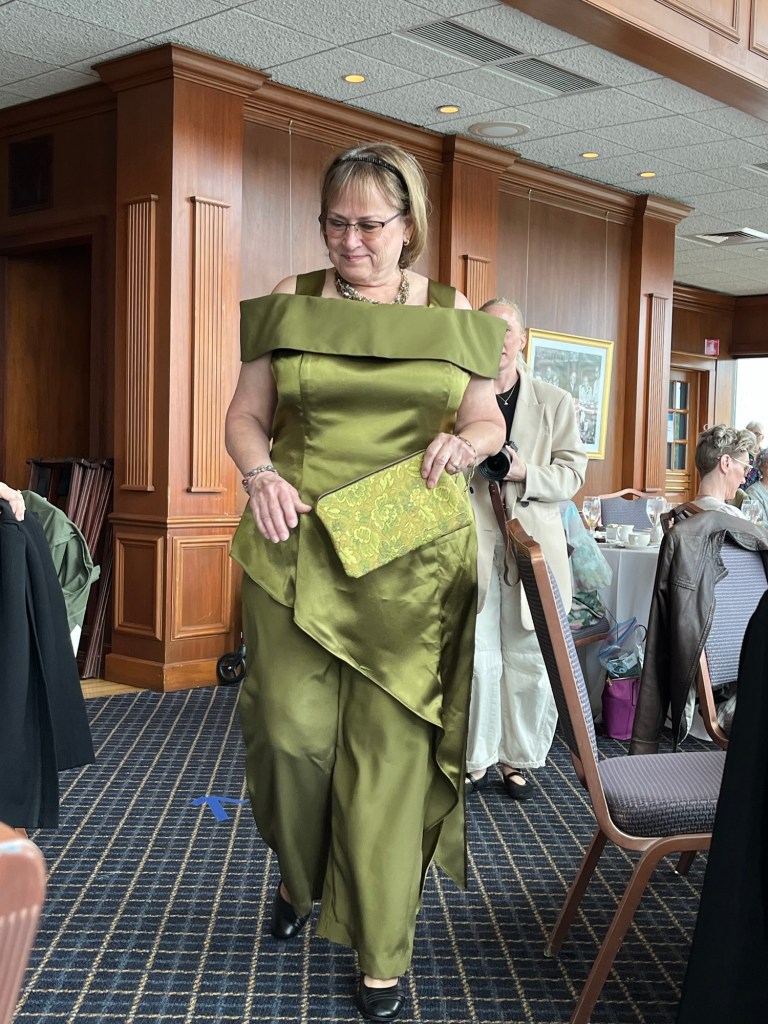
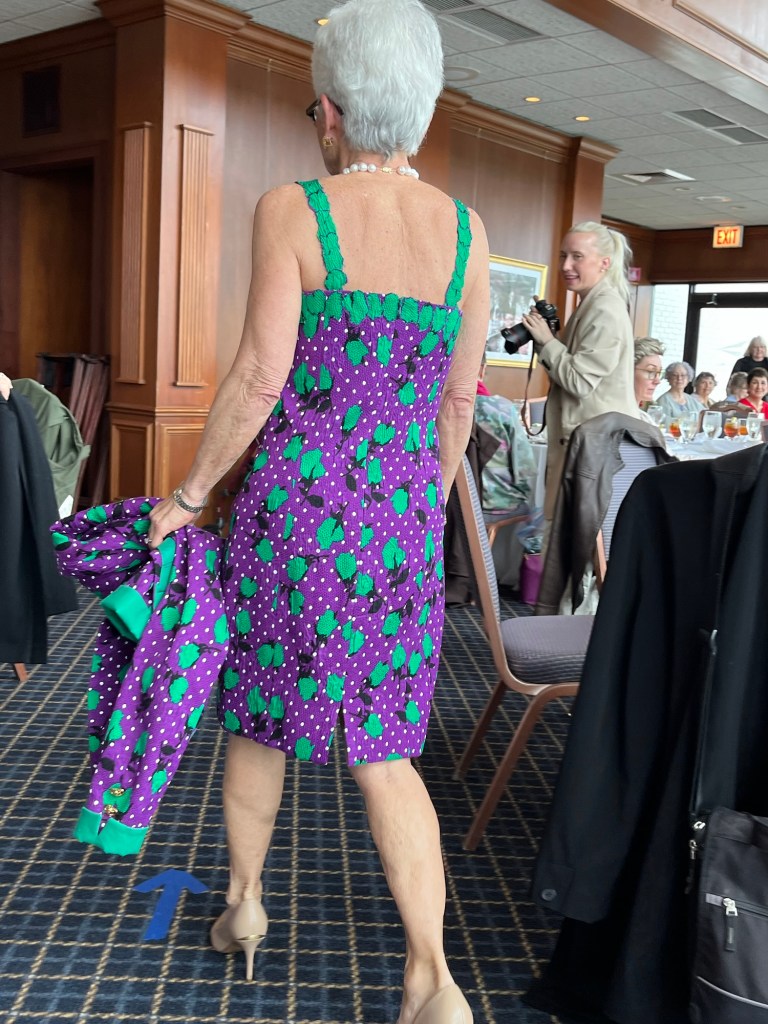
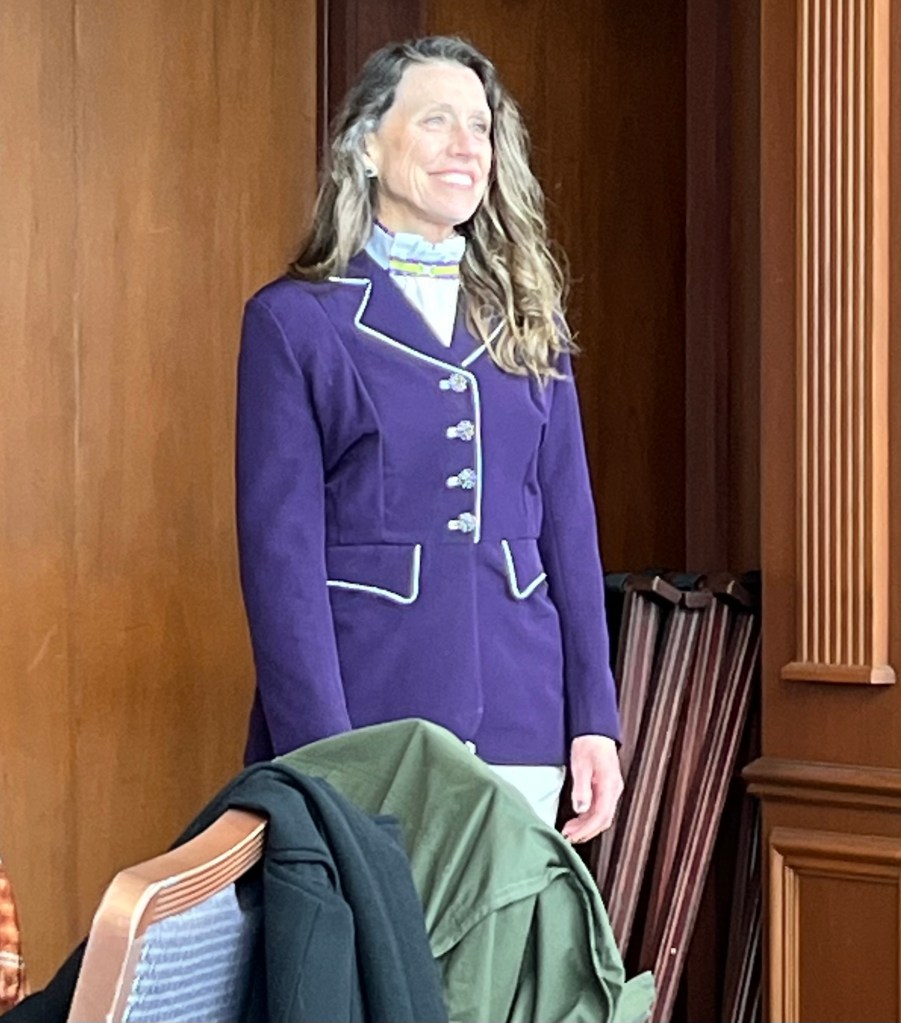
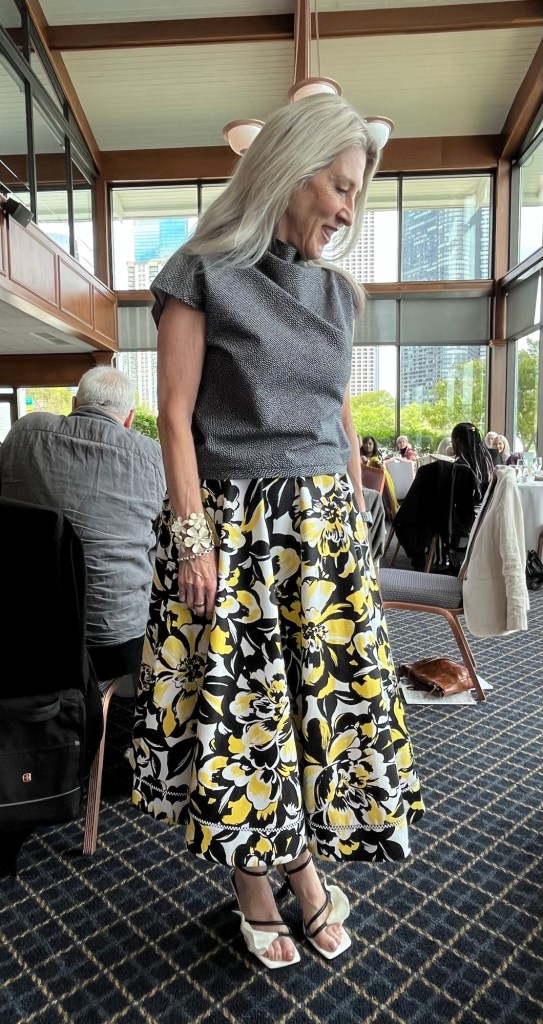
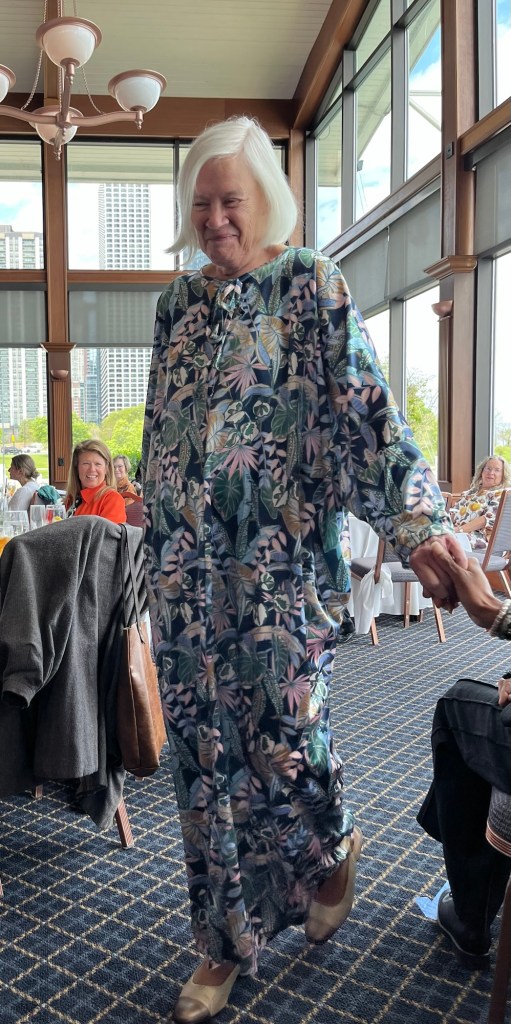
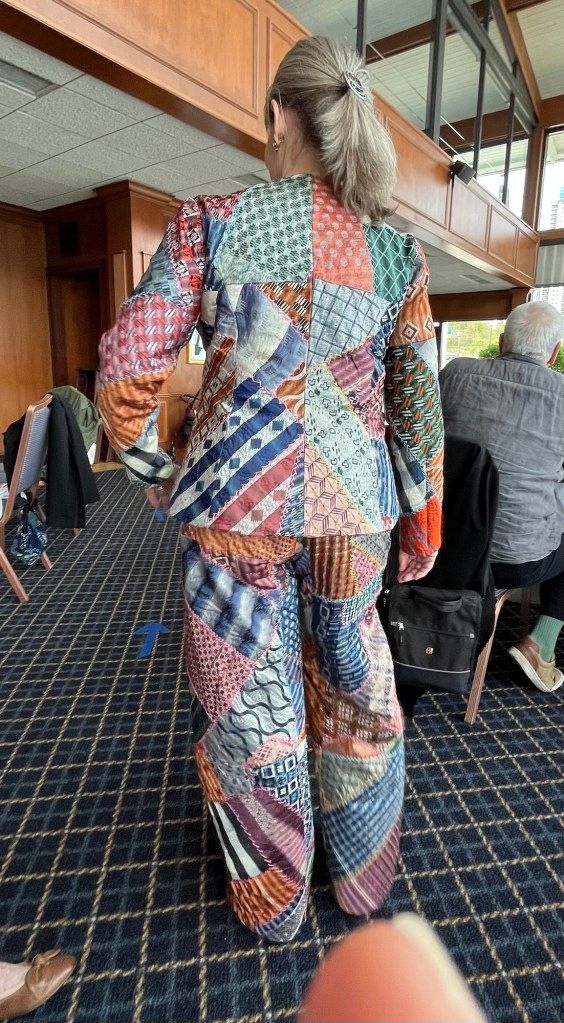
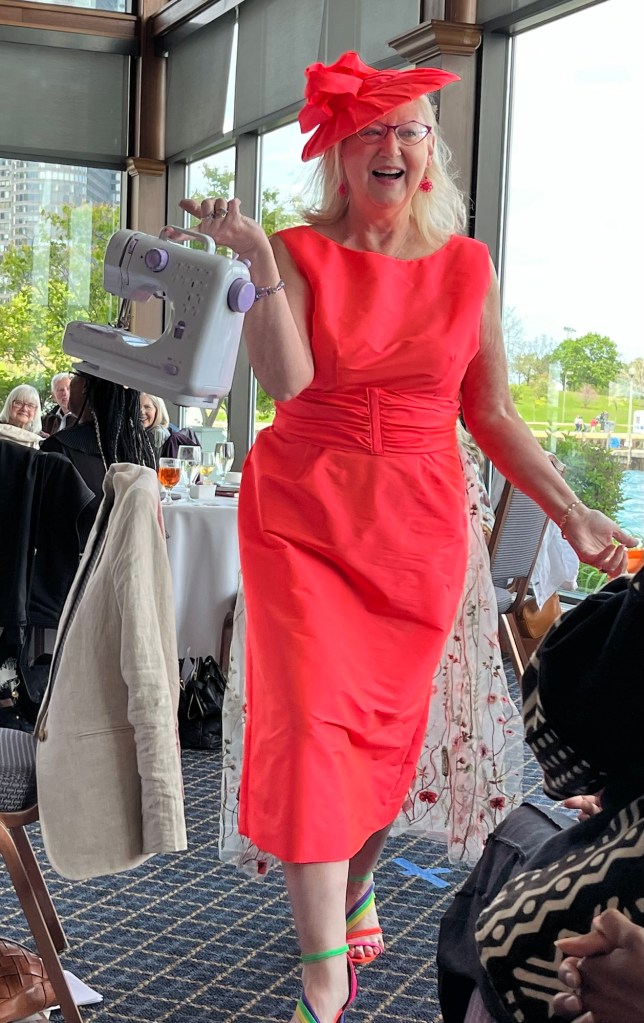
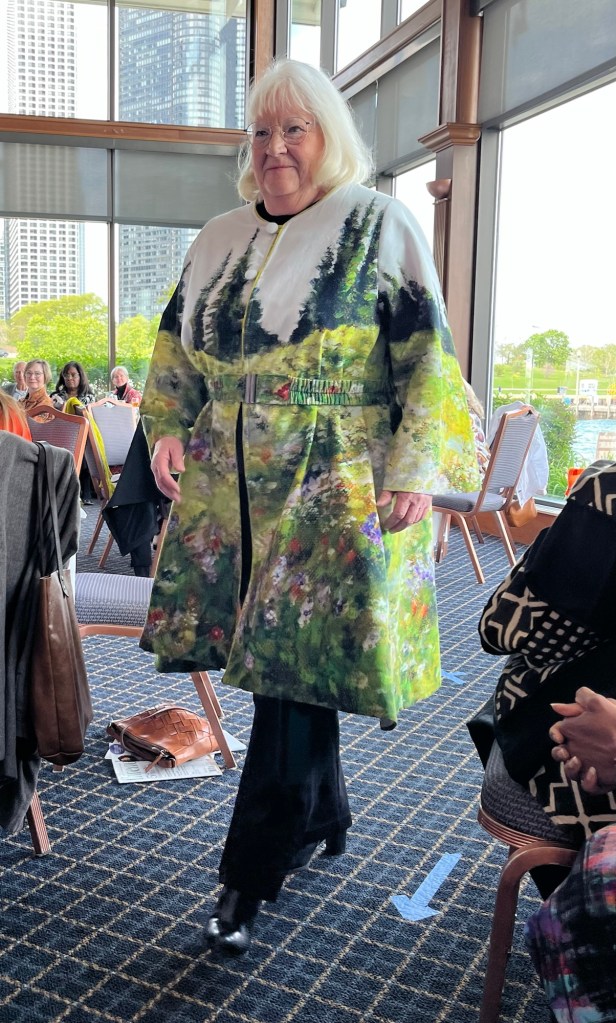
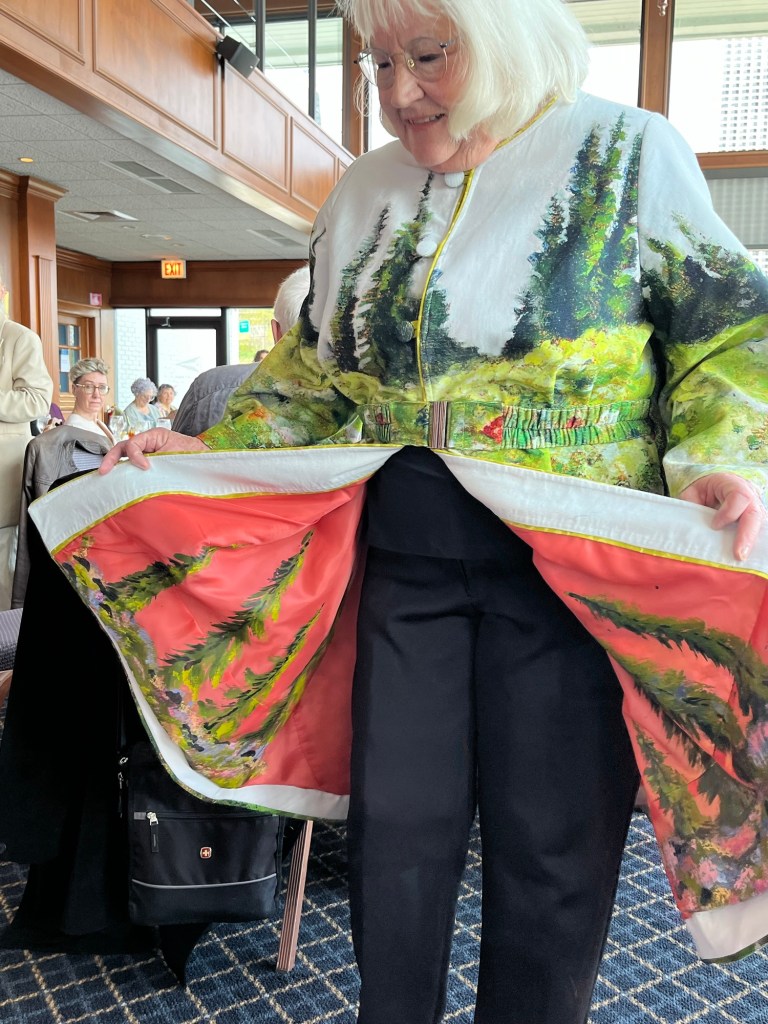
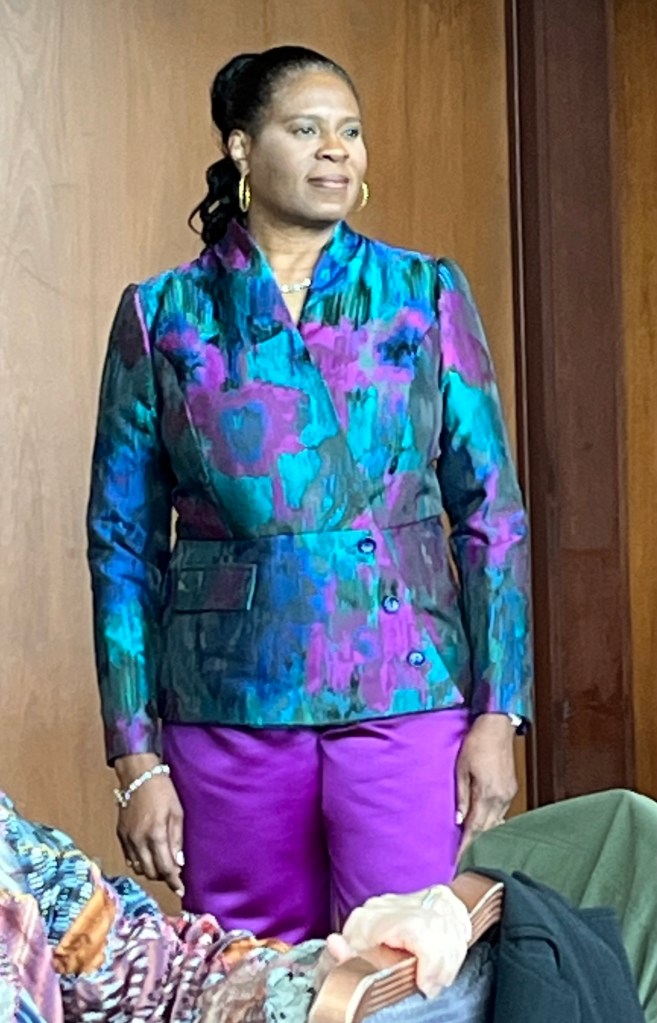
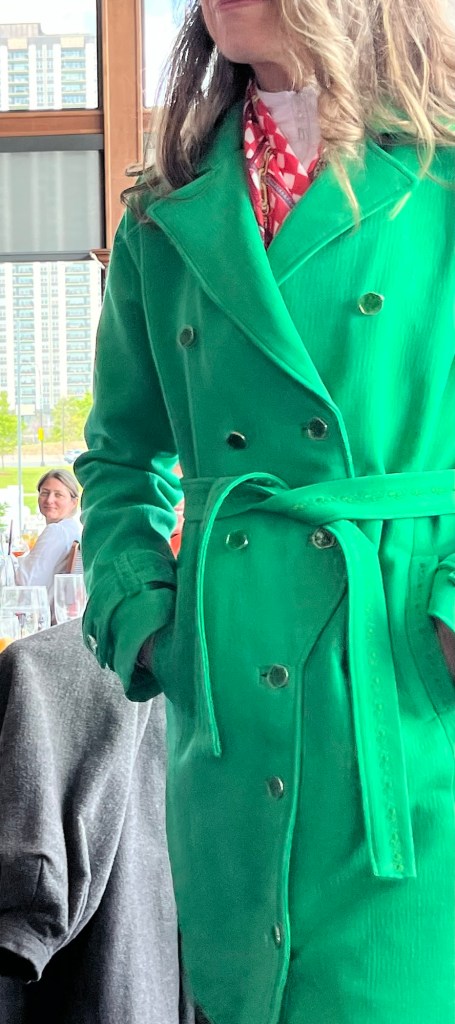
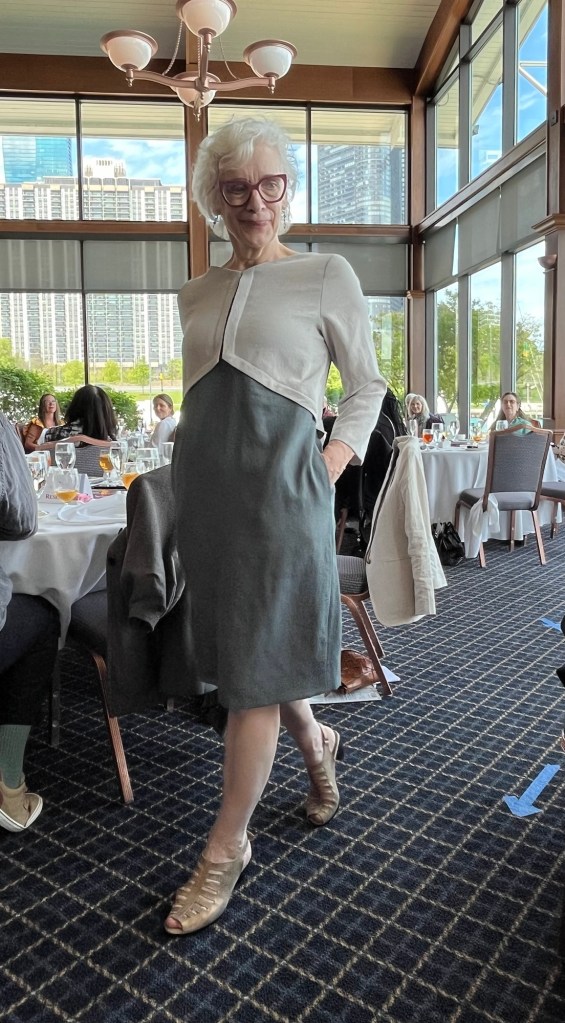
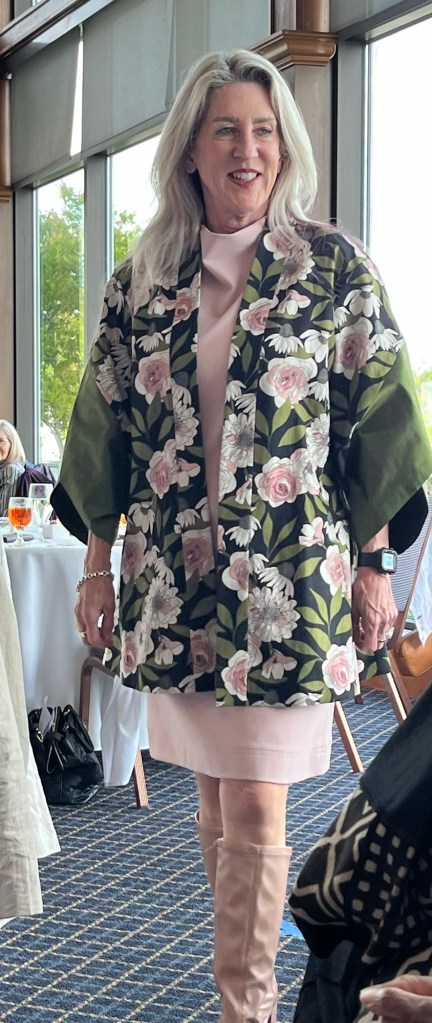
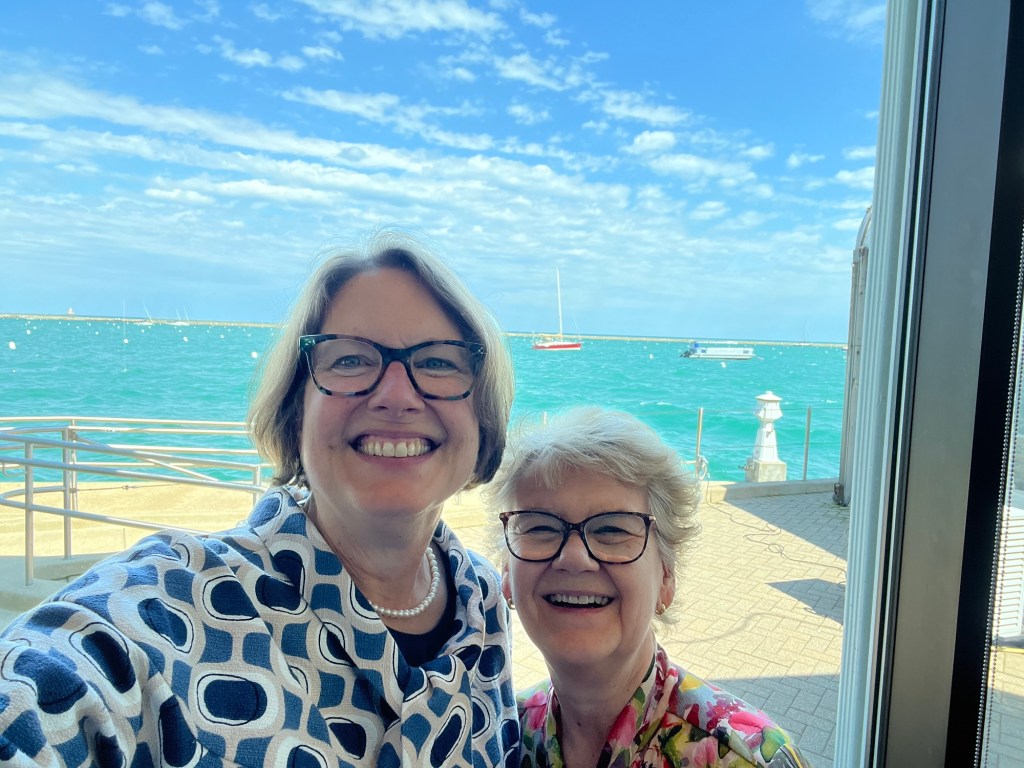
It was a wonderful event-so glad we went!! Who is going next year??
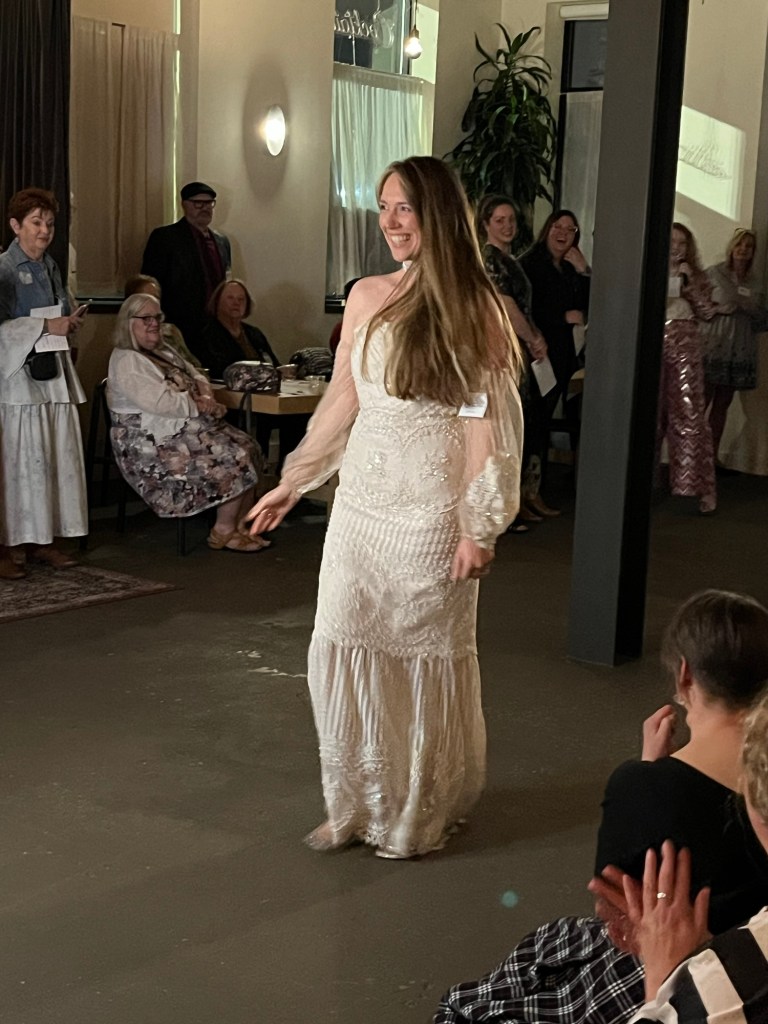
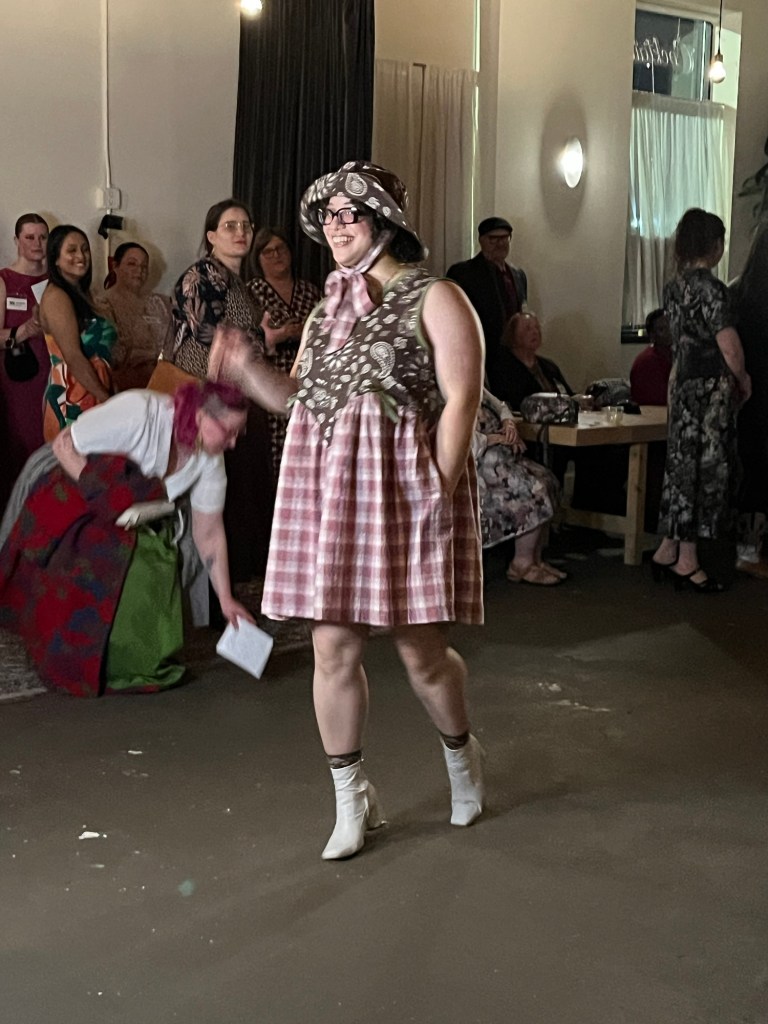
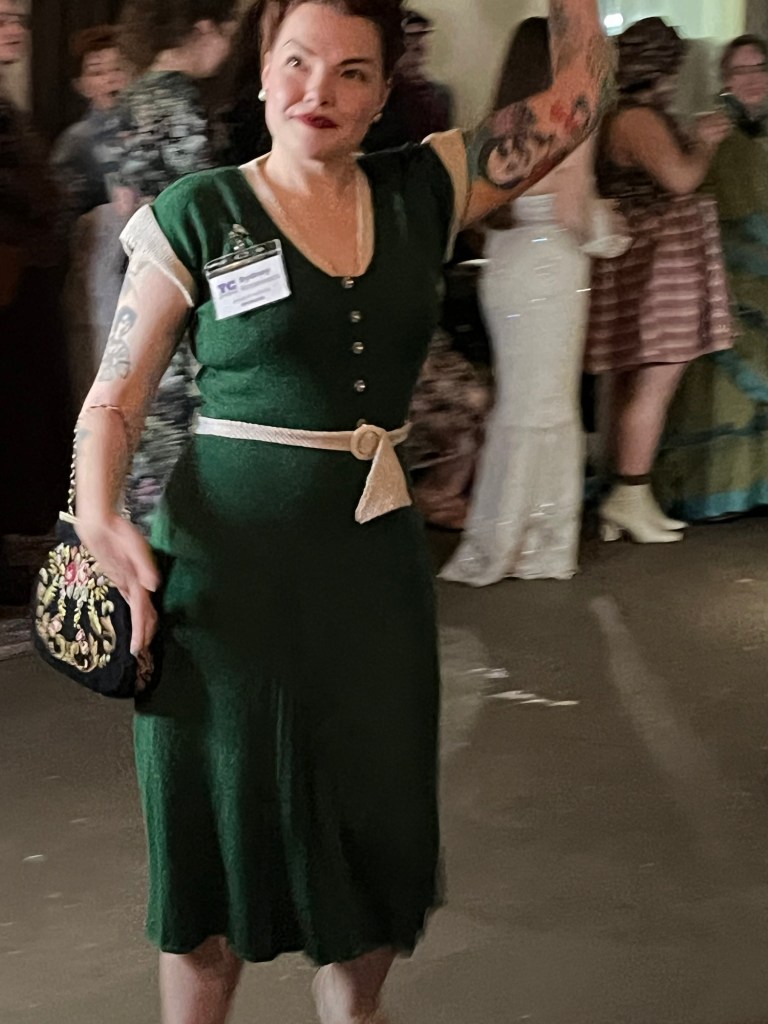
Frocktails just released the photos from the event-not sure if the general public can see them somewhere online. Here are the pics we took. What a great night of networking, ooohhhhing and aaaahhhing! Well done, organizers!!
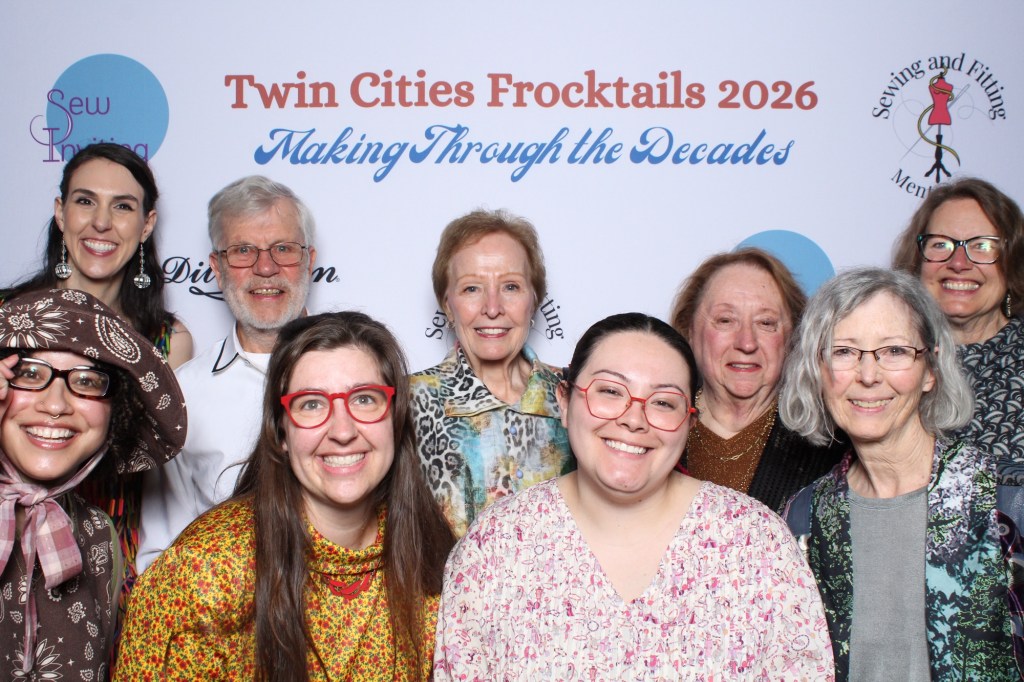

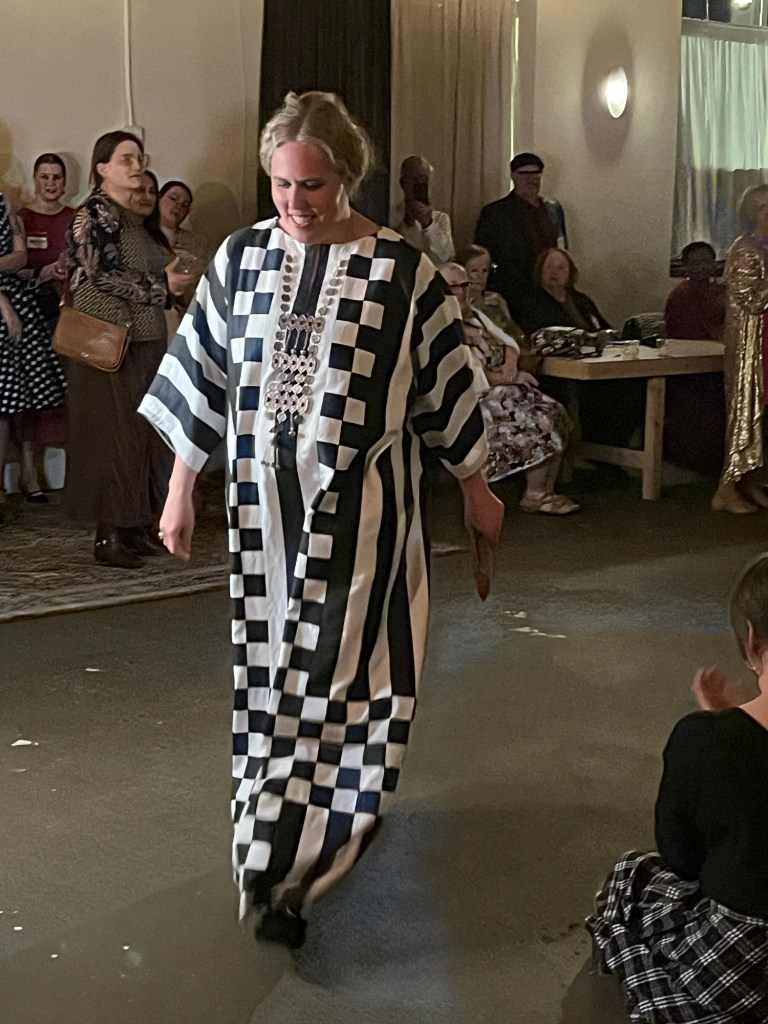
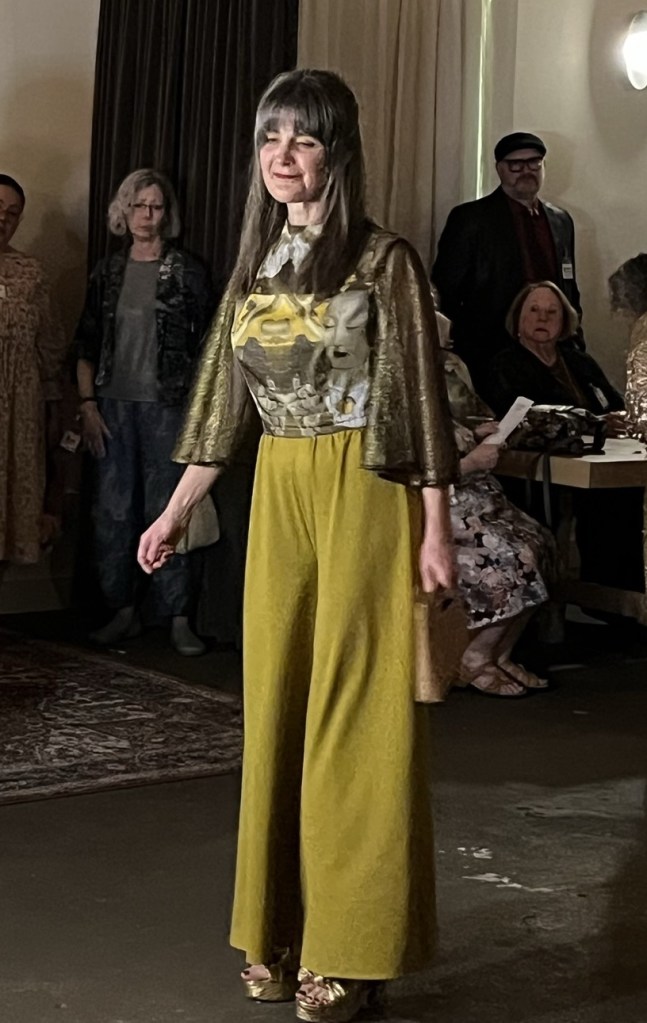
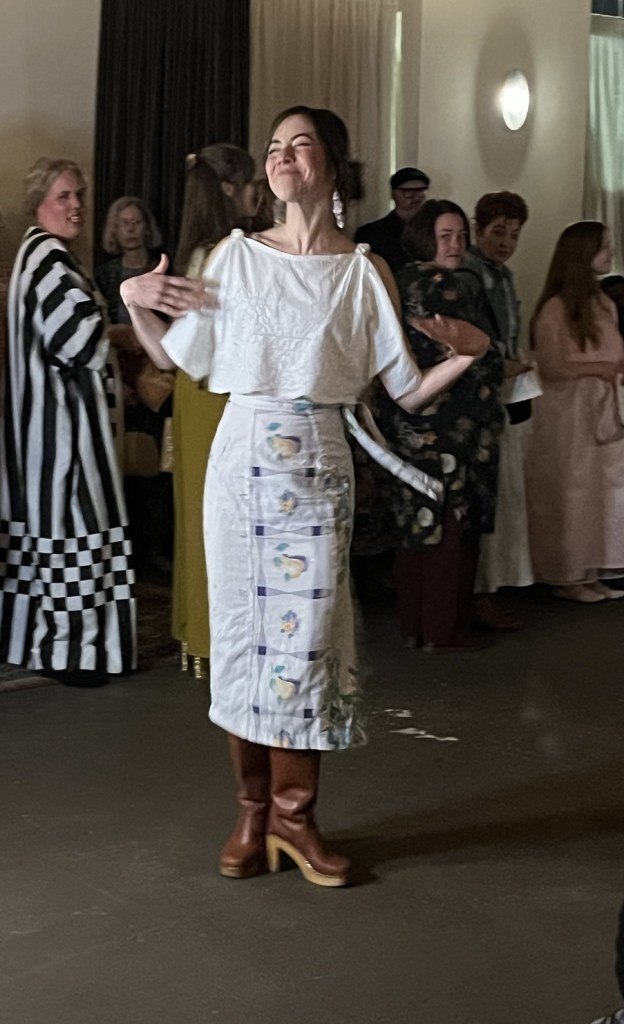
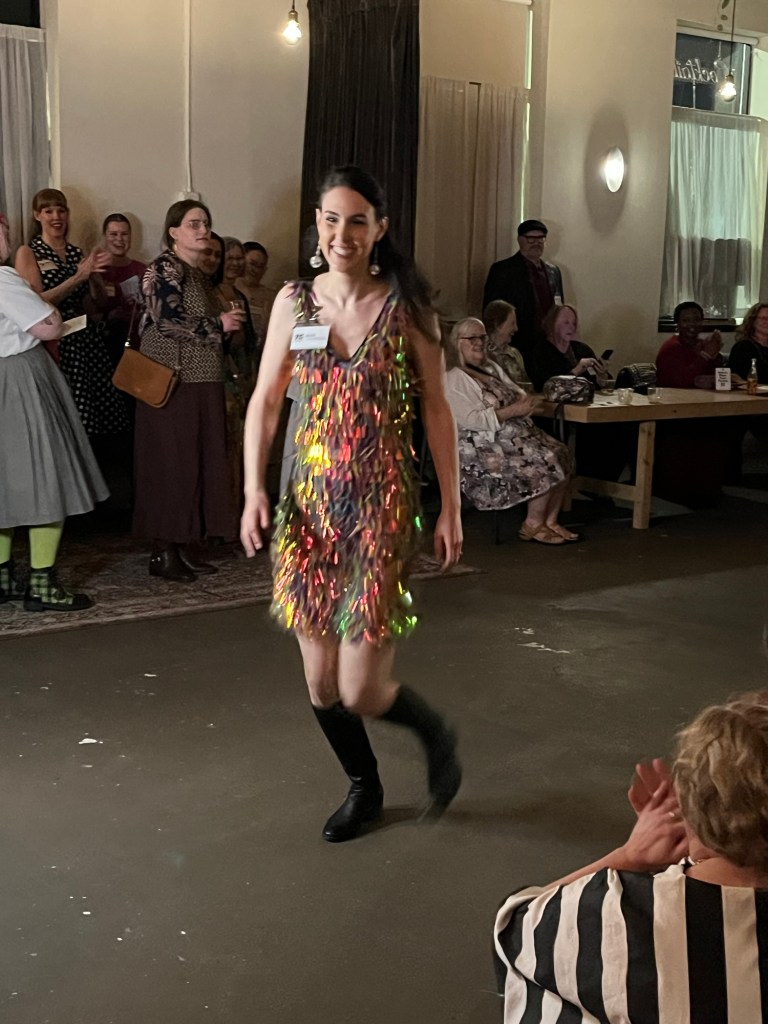
A few samples of what we saw (hard to catch a picture)