
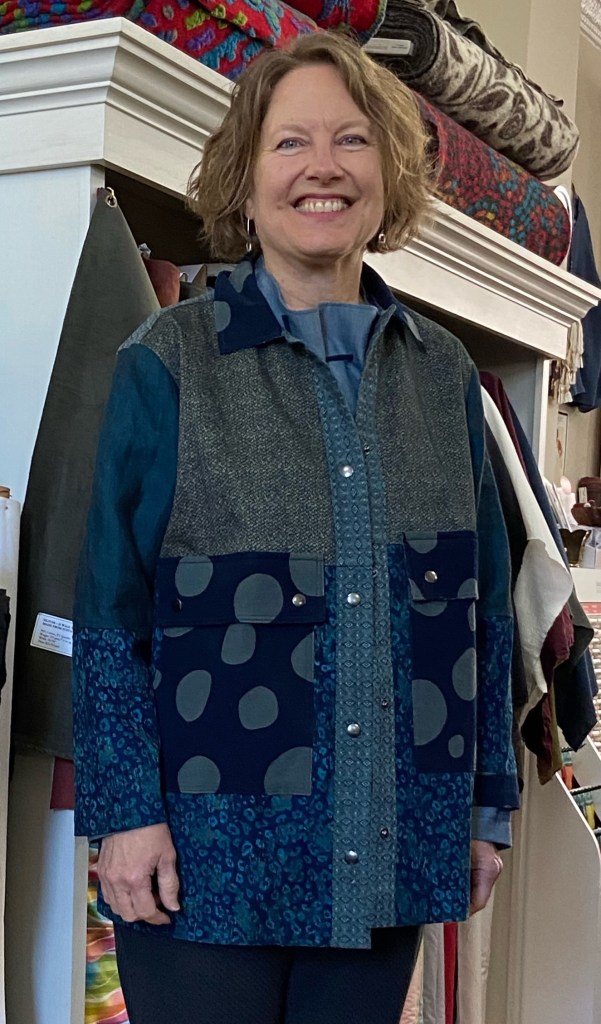
Debbie’s Garments:

1. Cut size small and petited between shoulders and bust but not length.
2. Stabilized the hems with Steam a Seam and then topstitched.
3. Used a serged bias finish for armholes.
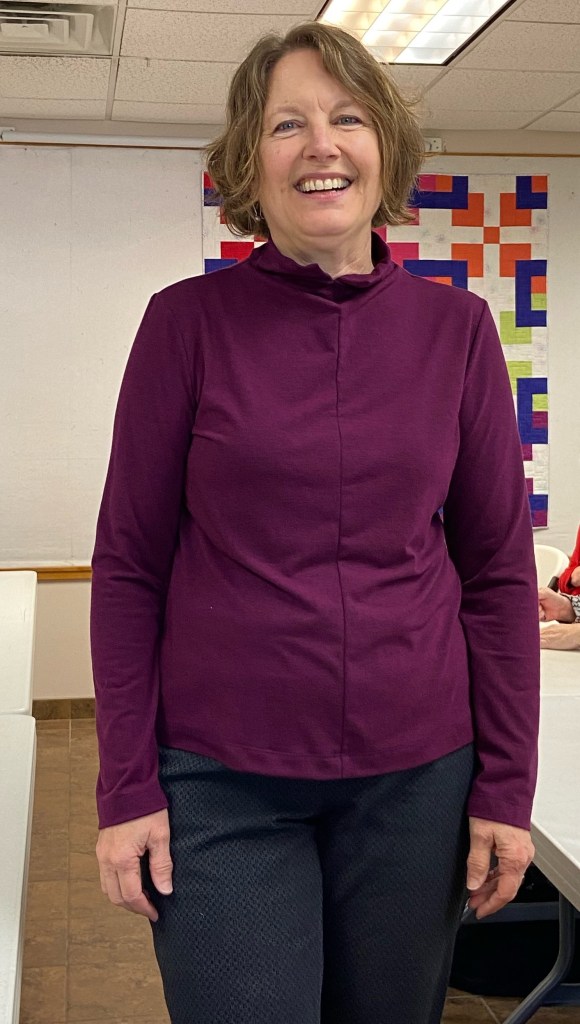
4. This vest requires a lot of fabric due to the neck cowl but is worth it.
5. The fabric requires a great amount of steaming, press and pounding but again well worth it.

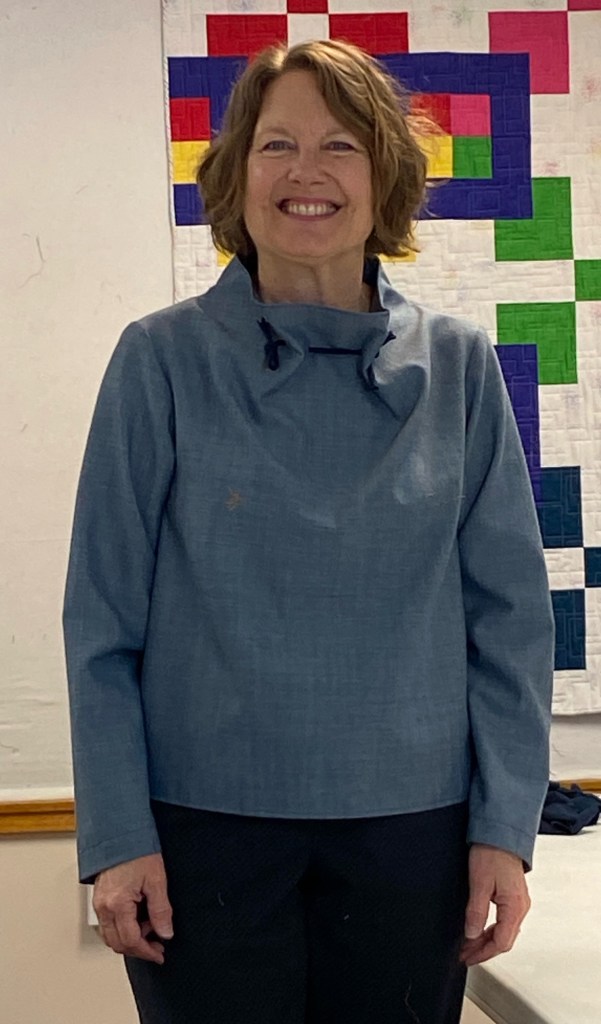
1. This is my second make from this pattern. I like her construction techniques but find the sleeves very narrow.
2. I petited between the shoulder and bust and shortened the front placket 7” and cut it on the bias.
3. I also straightened the outside collar edges instead of using the curve shape.
4. Her collar instructions are a little tricky so I used my own method. It’s a fun make but time to move onto another pattern for a woven tunic.
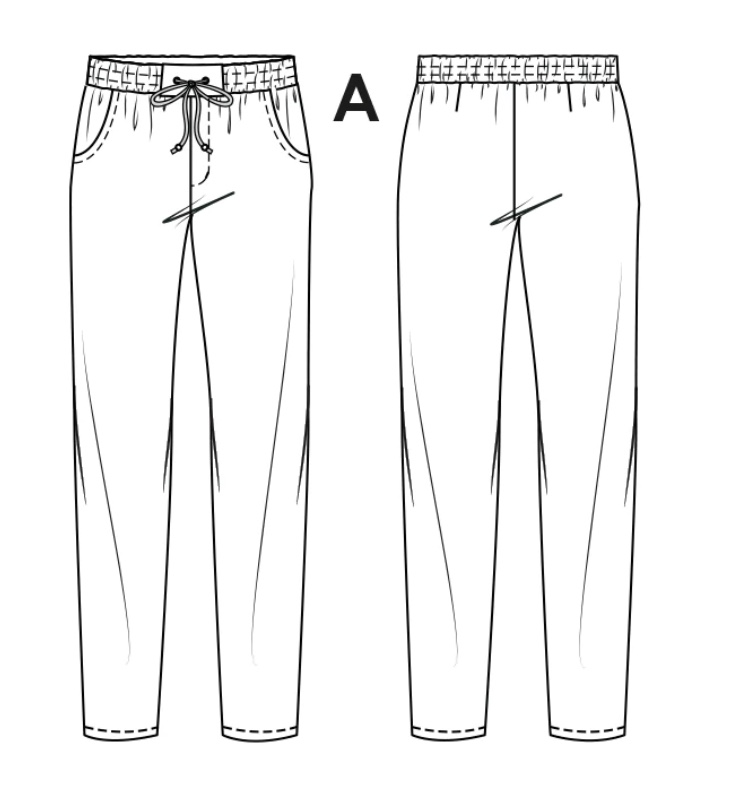
1. This is TNT pattern for me and thought it would work for a staple travel pant, especially on a plane.
2. Polyester is never my first choice but in this case it worked well for my needs.
3. I converted the waistband to one piece and eliminated the faux fly zipper.
4. A quick make and a versatile pattern.
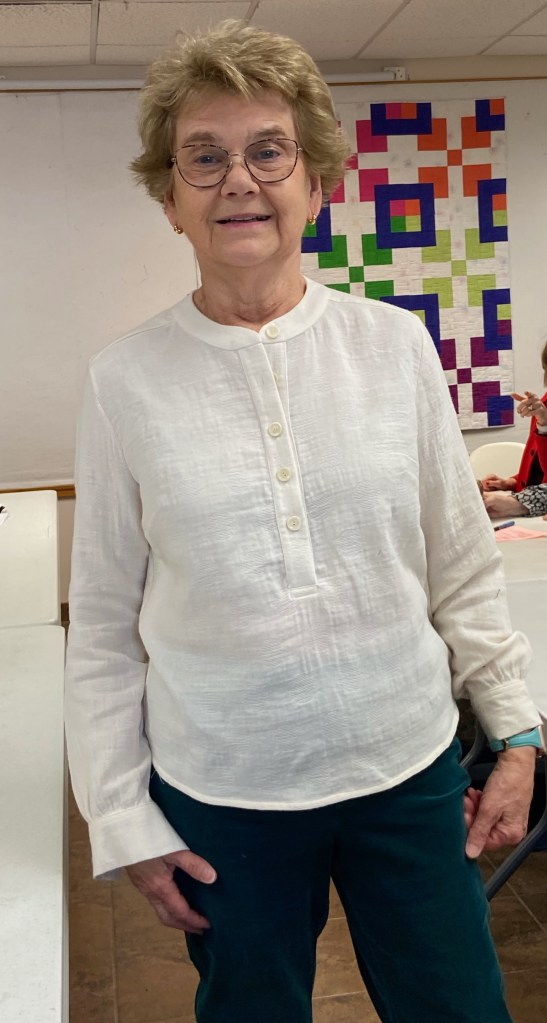
1. I did not need to petite between shoulder and bust but did shorten the sleeve length by one inch.
2. The pattern has a 2 piece sleeve which I like but I would do a continuous or tower placket next time.
3. I used a burrito roll for the yoke and applied placket and cuffs ws to rs.
4. I will use this pattern again – other than out dated construction techniques it checks a lot of boxes.

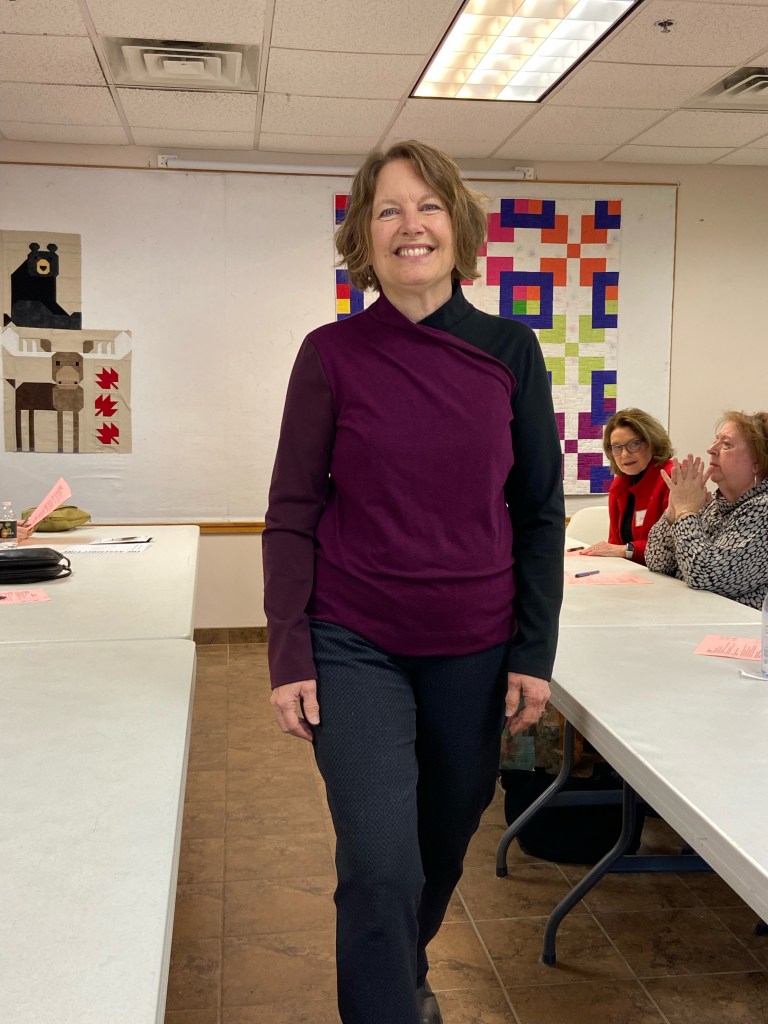
1. Another TNT pattern that I often hack to meet my needs or my fabric needs- in this case too much stretch!
2. I changed the cowl to a T neck by removing width and length from pattern piece. If I did it again I would make the T neck out of ribbing but I didn’t have enough ribbing after making bottom band and cuffs from ribbing.
3. I wanted more of a boxy fit so I straightened the side seams from bust to hem.
Kristin’s Garments:
1. Made a size 16 for bodice, size 18 at hips.
2. One piece collar went in very easily with facings.
3. Sleeves went in flat very well.
4. Bust dart built in with the two horizontal seams. Makes pocket application a bit awkward.
5. Front placket is part of front facing-worked well.
6. Took sleeves and side seam at bust in 1/2” and that improved the fit by a lot.
1. Loved working with the wool! Fit turned out to be wonderful-size medium.
2. Elbow dart in sleeve; sleeve facing at hem.
3. Learned how to use eyelet stitch but it was a bit small for the tie.
4. Made a narrow hem-would add to length next time.
5. Made elastic cording from cotton knit-jersey rolls to right side (wrong side shows) on crossgrain and to wrong side (right side shows) on straight of grain.

1. Omitted neck facing and holes for ties.
2. Took dart out of sleeve:
1. Draw a line from hem to tip of dart, parallel to grainline.
2. Fold dart closed.
3. Draw straight line from armscye (close to side seam) to each side of newly opened area.
4. Fold this newly drawn “dart” closed.
5. True up the hem.
3. Finished the neck edge and hems with knit strips and sewed all seams with knit strips.
4. Took in sleeves and side seams by 1/2” to down size from woven pattern.
1. Split neck version-shaped front and back center seams. Vee seemed to open too high for comfort so fiddled with that.
2. Pattern calls for a neck zipper but not necessary.
3. Wrap version-shoulder seams continue up to folded over neck edge. Stitched down the fold to keep things neat.
March 2023 Garment Sewing Group
Wednesday, March 8, 10:30 Lakes Makerie
Thursday, March 9, 10:30 First Sewing
Saturday, March 11, 10:30 Treadle Yard Goods
