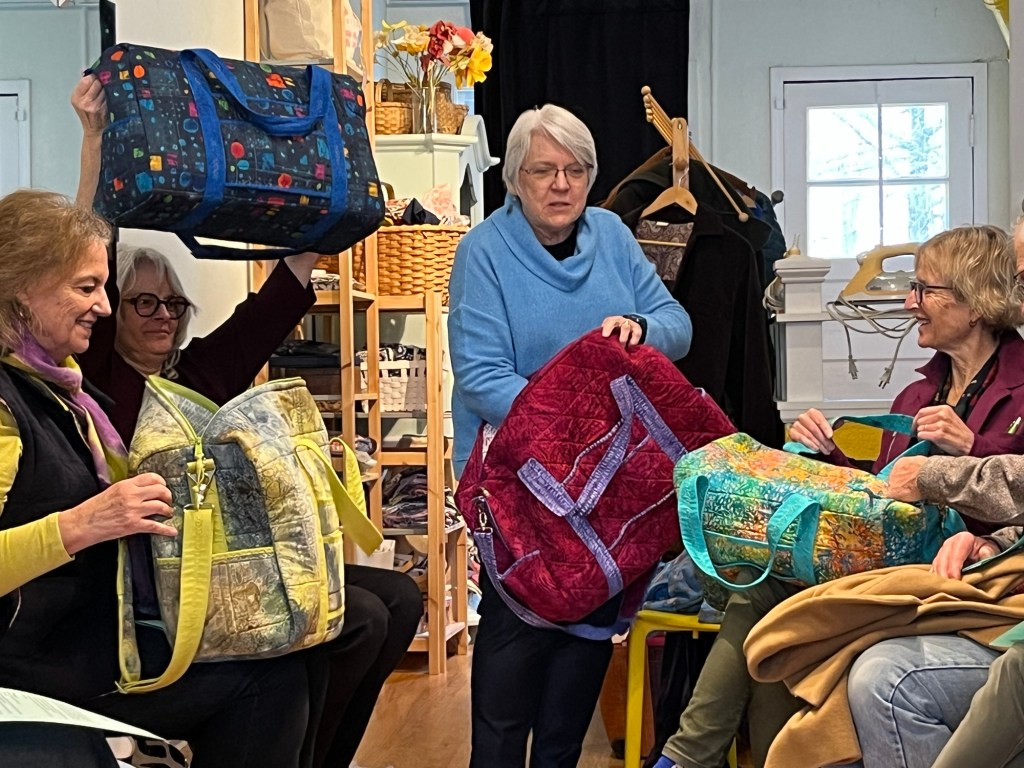
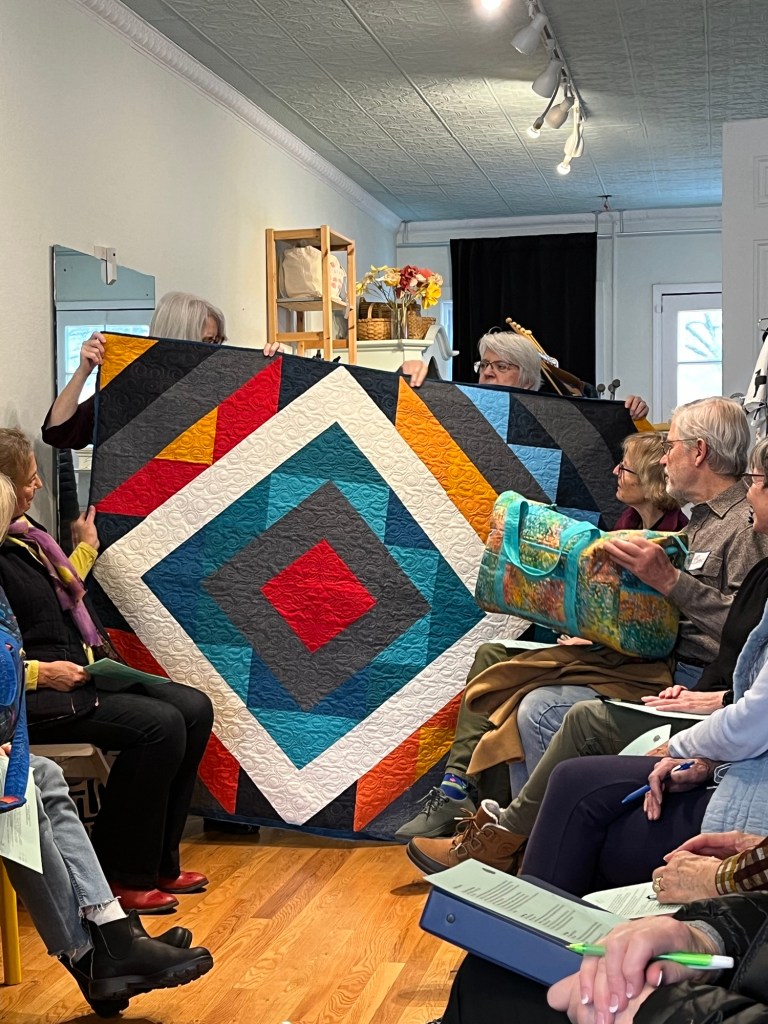
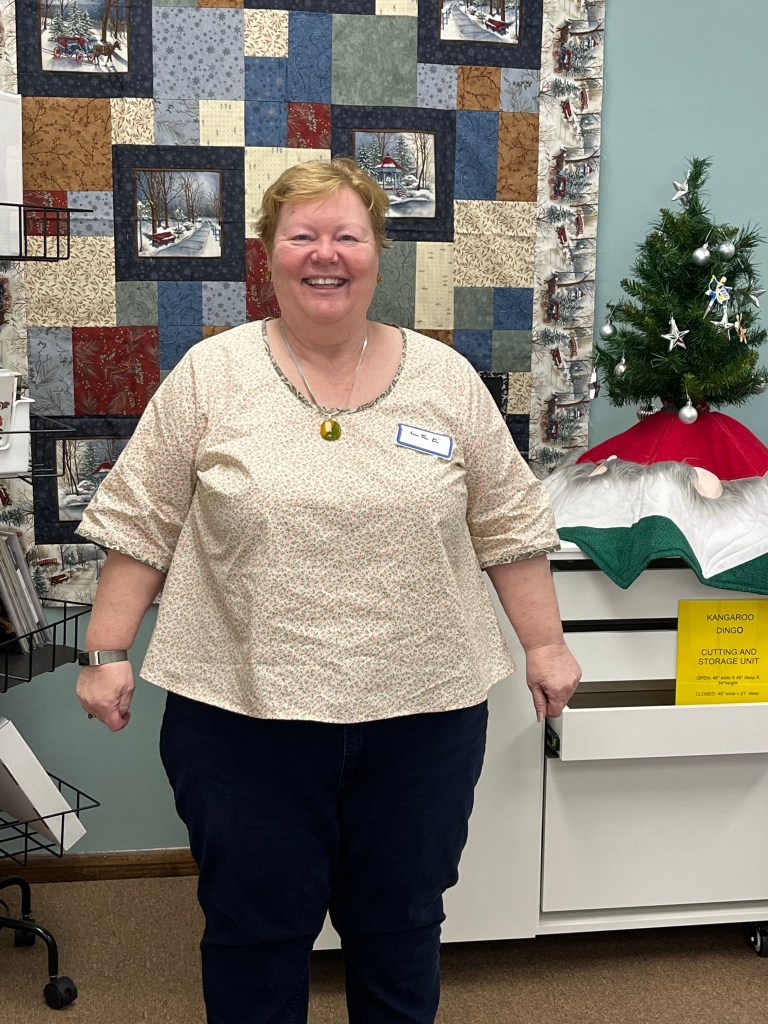
Here are the makes from Saturday’s Garment Sewing Group meeting-new people too!


Here are the makes from Saturday’s Garment Sewing Group meeting-new people too!
Another great month of inspirational sewing! Here are the photos and notes from Debbie and Kristin-
Garment Sewing Group
February 2024
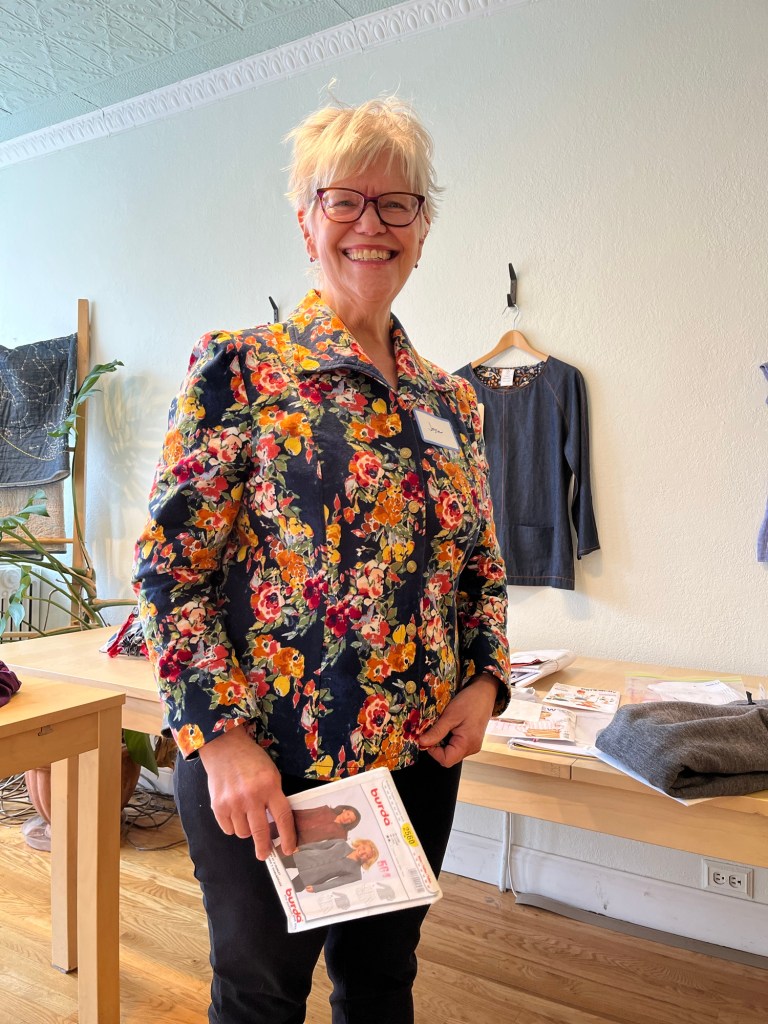
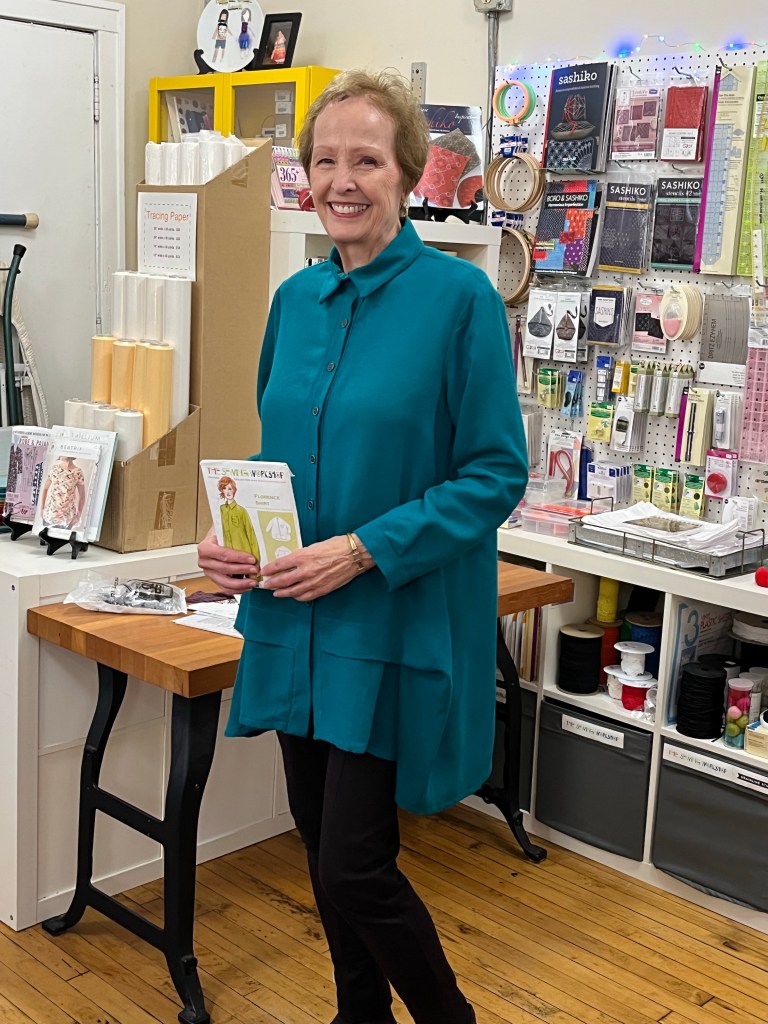
Debbie’s Garments:
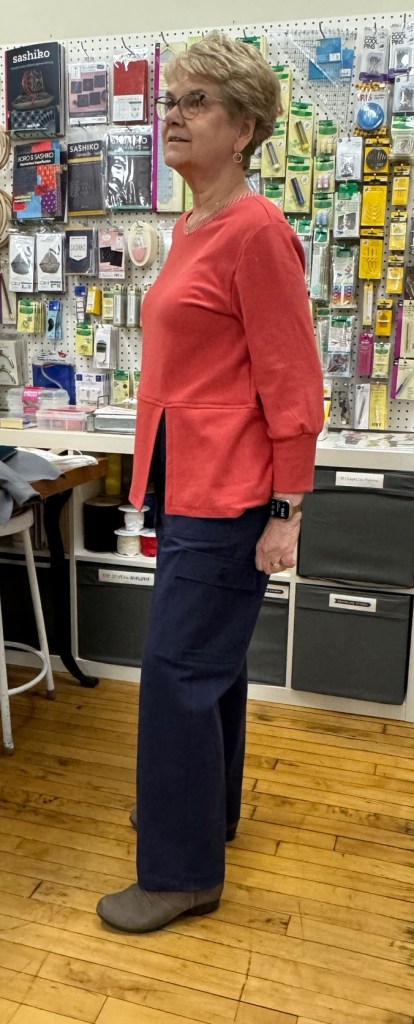
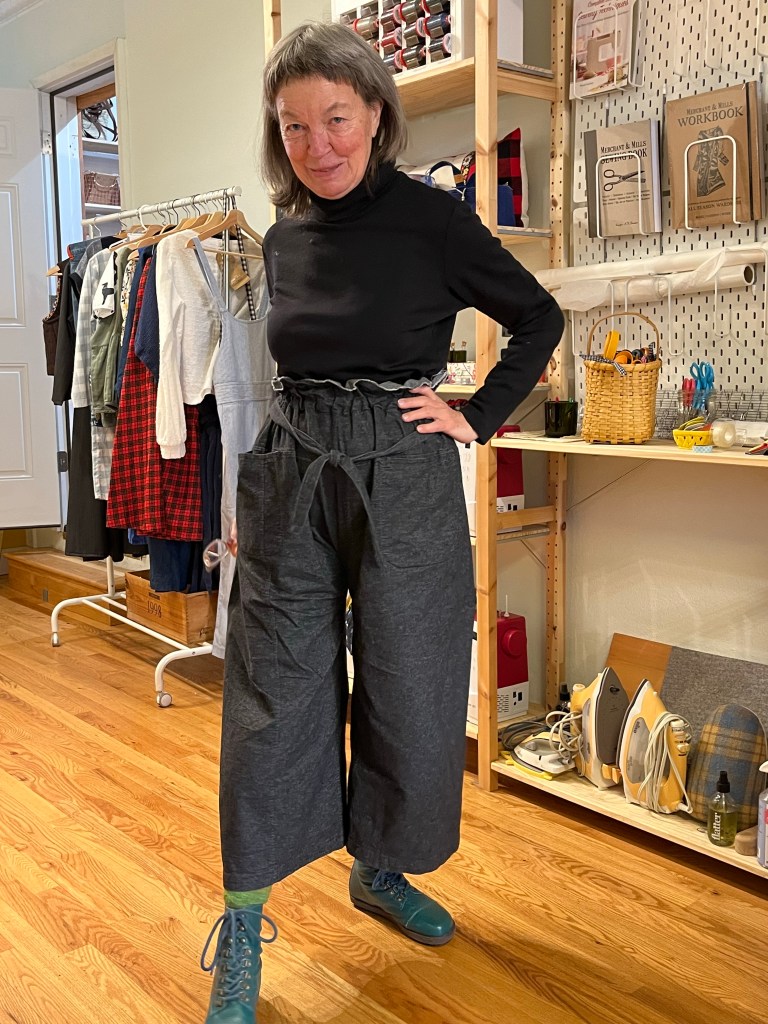
1. Fitting adjustments include shortening length 1 and 1/2 inches, narrow the leg width from my size at knee to smallest size at hem and straightening out hip curve. I also removed 1/4” from center back seam at waist for about 4 inches due to gapping.
2. I eliminated the strap and belt loops.
3. The pattern has several positives. The instructions are good and there is a video link for zipper insertion. I also like that the zipper shield is included. The waistband and facing are shaped nicely and enhances the overall look of the pants.
4. In my opinion there a few cons – the pocket flap should be interfaced. One side seam should be stitched then side pocket attached and then stitch remaining side seam. Most importantly, the pocket placement lines are difficult to decipher.
5. Overall I feel this is a good pattern. I like the crotch depth and contour waist. I would use this pattern again without the cargo pocket.
1. I shortened the length of the tee by 1 and 1/2 inches.
2. I narrowed the sleeves from the elbow to one inch less at hem.
3. I made the band into a split band.
4. The cons for this pattern is that the neck piece is a lot. The instructions include stay stitching and gathering sleeves before setting in. I don’t feel those steps are necessary on most knits. If I make it again I would remove some width from the neckband and maybe use pleats rather than gathers for the neckband.

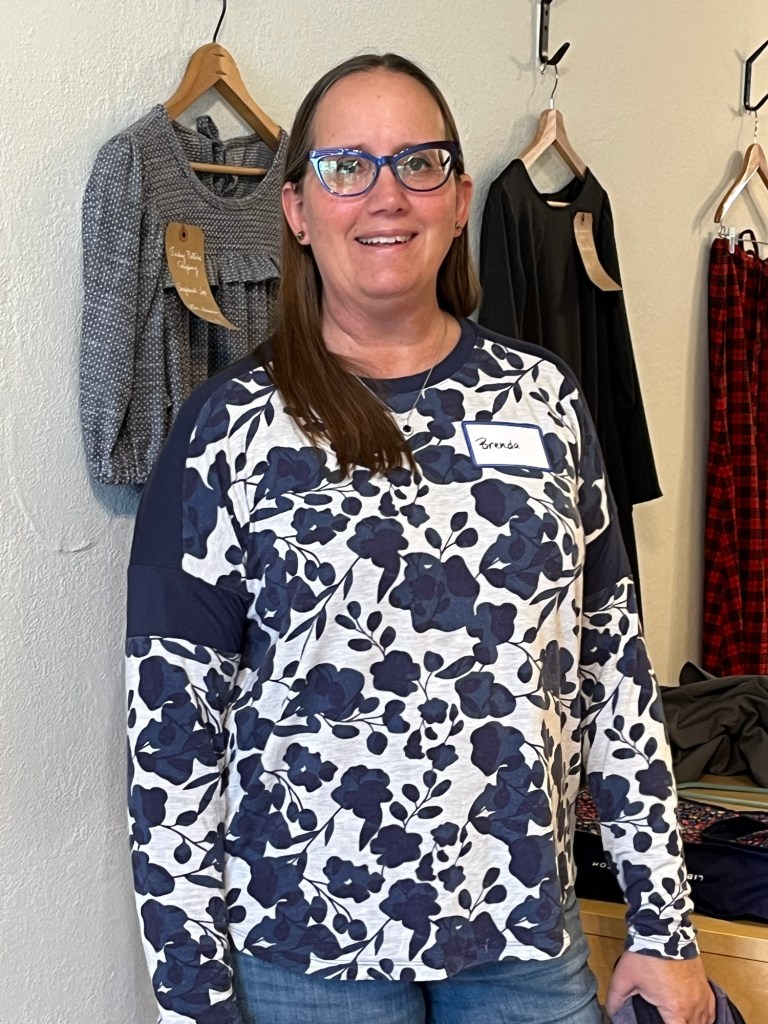
1. I made this top last fall and thought I would try it again as a stash buster.
2. I was short on fabric so I used the jersey knit for neckband and pocket trim. I also needed to adjust the sleeves by adding a long cuff.
3. The tee does brighten up winter and uses up fabric scraps but I do not need to make this pattern again!
Upcoming Classes:
Sewing With Knits-One Day Intensive-Wednesday, February 28, 10-4 pm at Quilter’s Haven
Basic & Beyond Sergery-One Day Intensive-Thursday, February 29, 10 am-4 pm
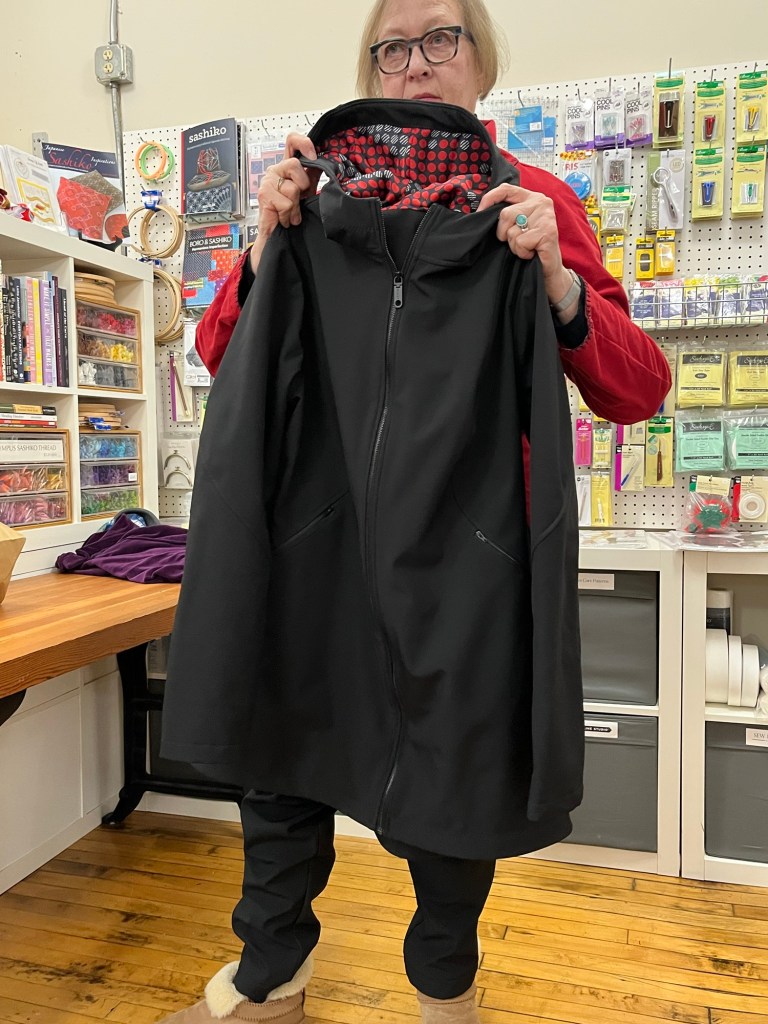
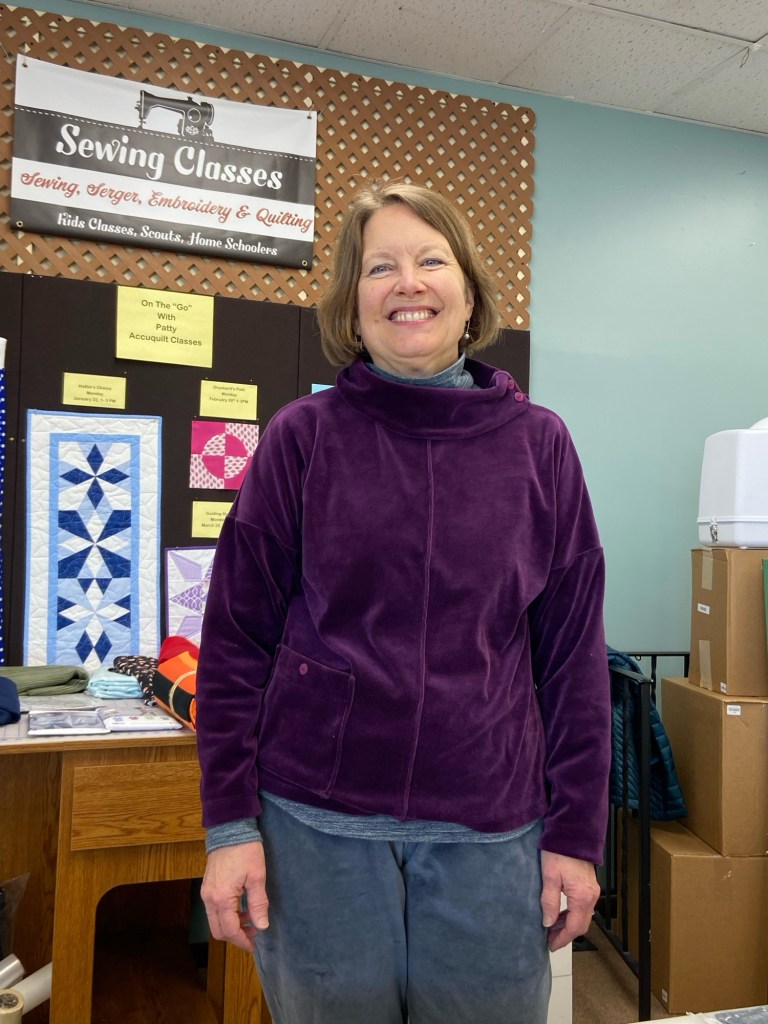
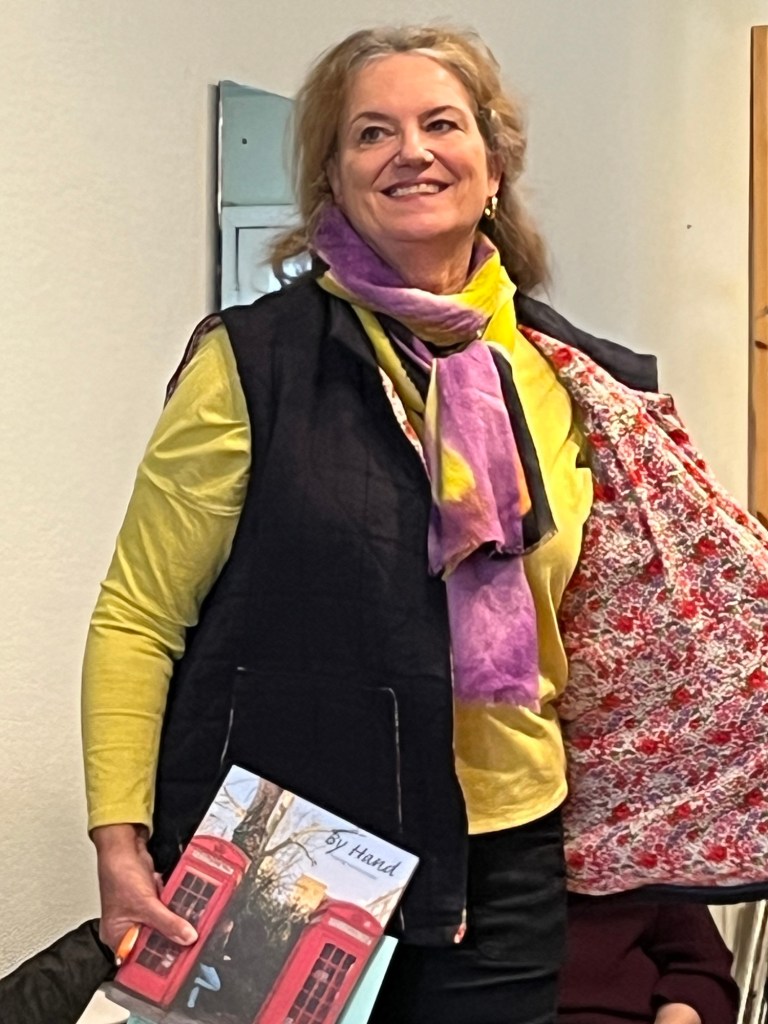
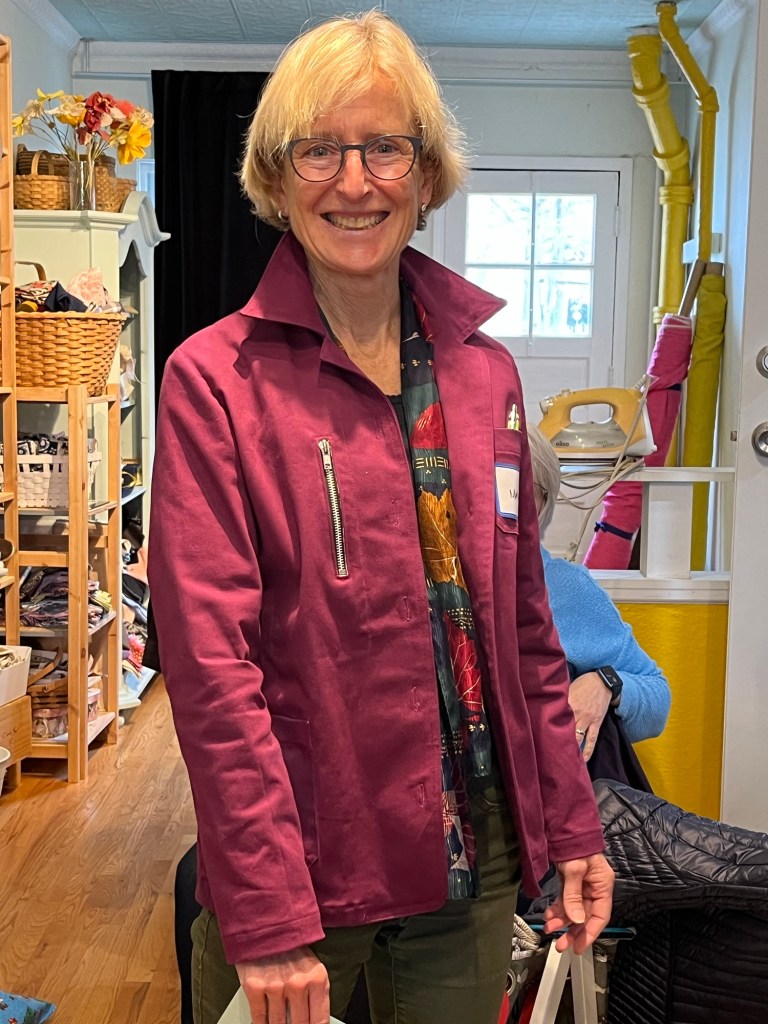
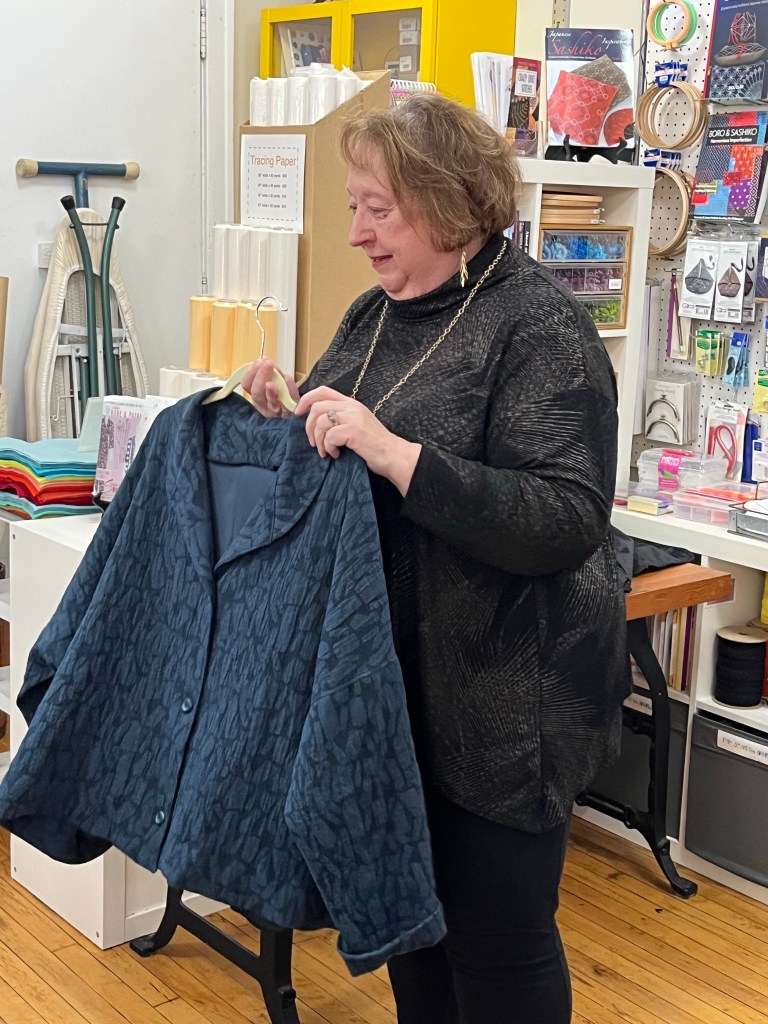
Kristin’s Garments:
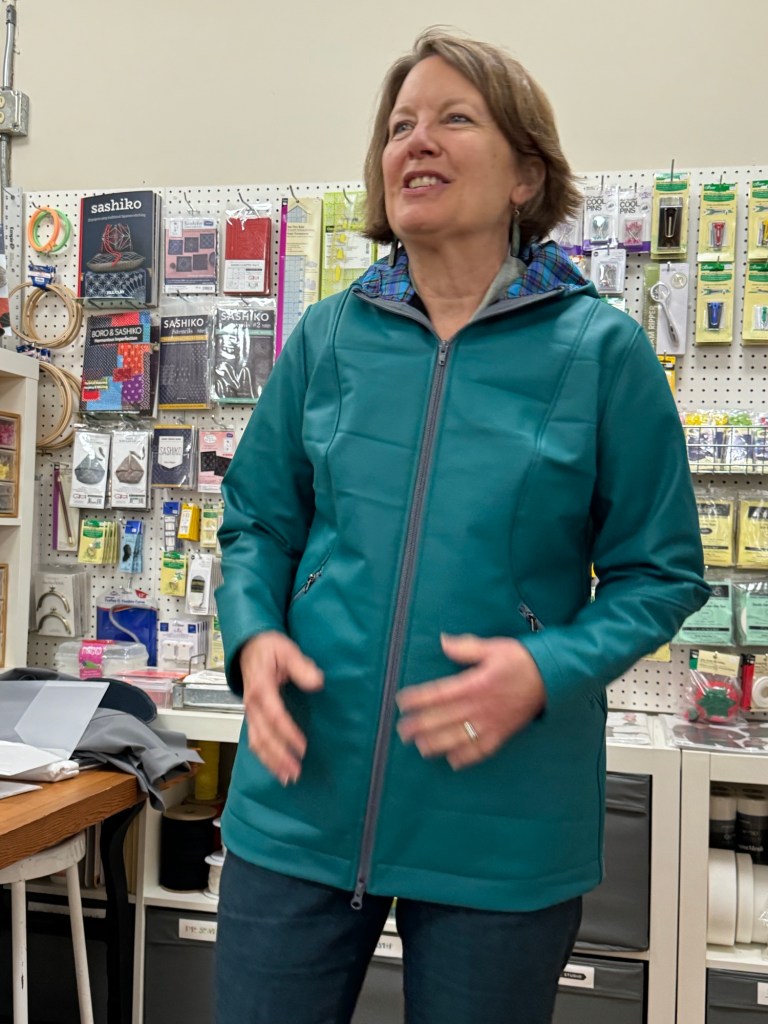

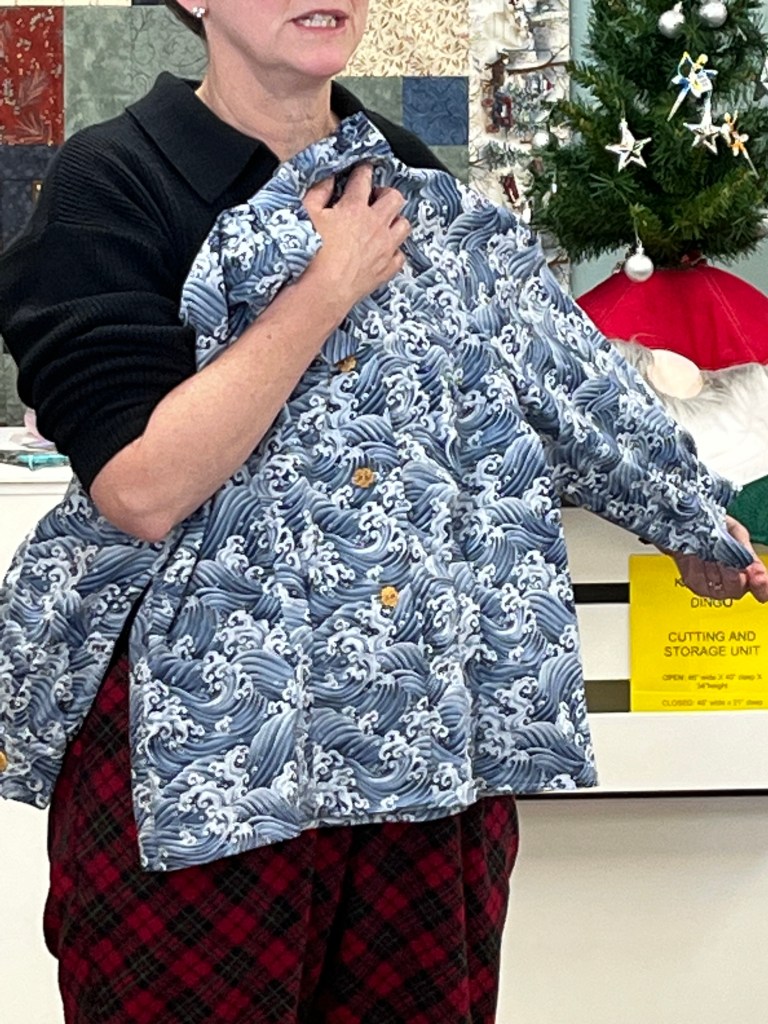
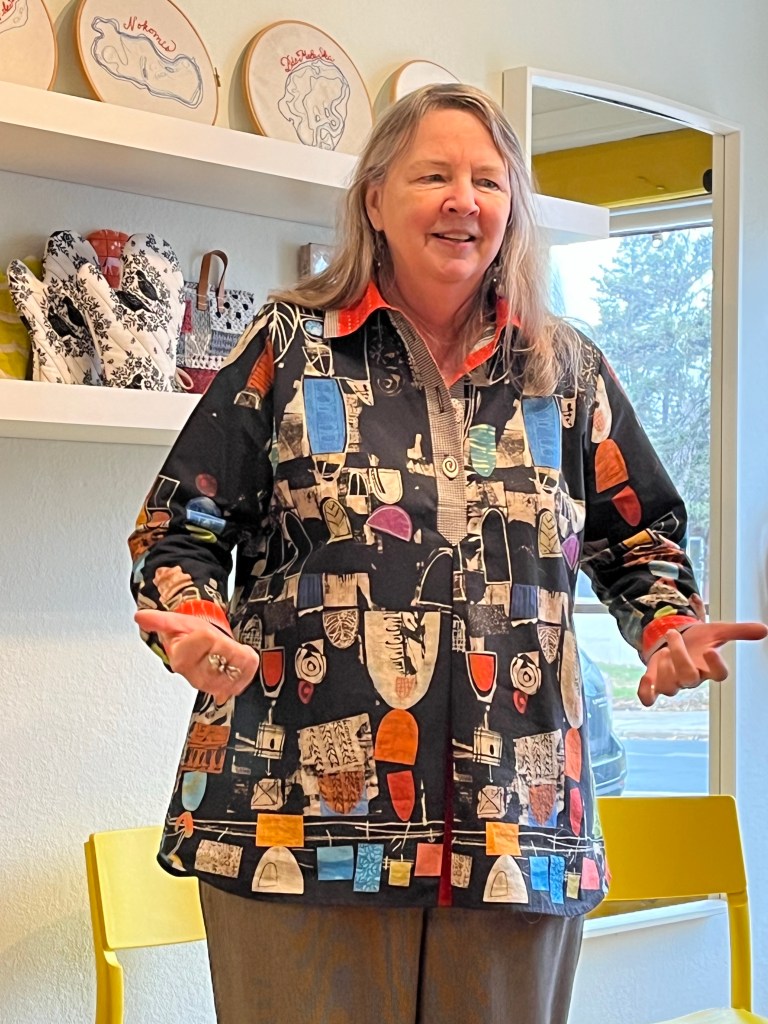
1. Followed directions exactly when making toile. But then I thought I was smarter than the pattern maker for my final garment!! A good argument for making the entire pattern-zips, pockets and all?!
2. Fit changes-I needed to up size for hips: instead of messing with the pocket area upper and lower piece I cut up into pattern and swung open as needed to avoid pocket area.
3. Drafting is great-all pieces fit together very well. Pocket zippers were in my stash. Ordered main zipper from Wawak and they came quickly but selection is limited for the dual seperating zippers but as long as the jacket is, I had to be able to zip up from bottom.
4. My narrow and regular walking feet were indispensable and hardworking (a Janome feature). Most seams were serged and then topstitched. Didn’t use coverstitch at all.
5. The zip is the last thing to go in and I didn’t put the zip in the toile before I started the final garment. That’s where I thought I was smarter and now I think maybe the pattern maker ran out of steam as the instructions for the zip are pretty basic and I had to do more filling in of the blanks at that point.
6. I was glad I did the zip after hood installation-less jacket to maneuver as I topstitched. A 30” zipper was perfect for the size that I made.
7. Wrinkles were an issue as they didn’t iron out. A run through the washer/dryer…??
8. I like all the details and the fabric choices. Am hoping this is an active wear jacket that will keep necessary parts warm.
9. The toile was fun also and I look forward to putting on a regular collar and adding finishing touches.
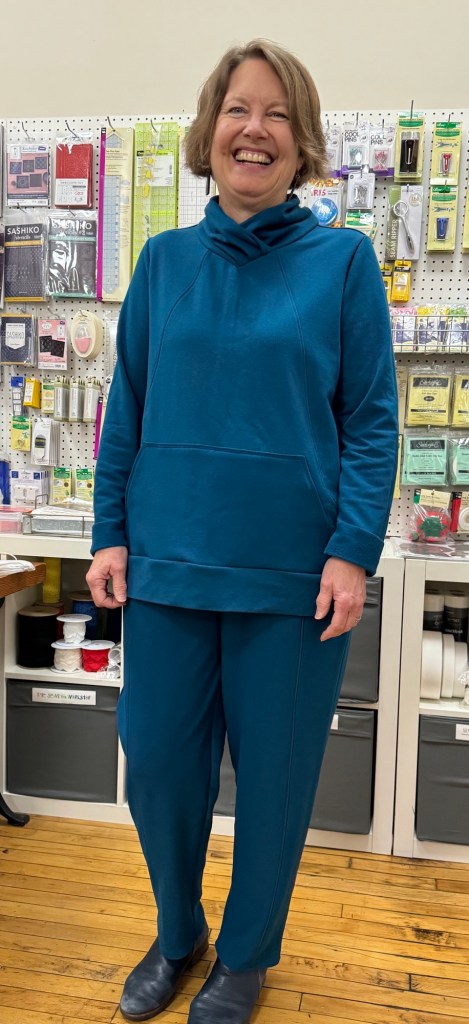
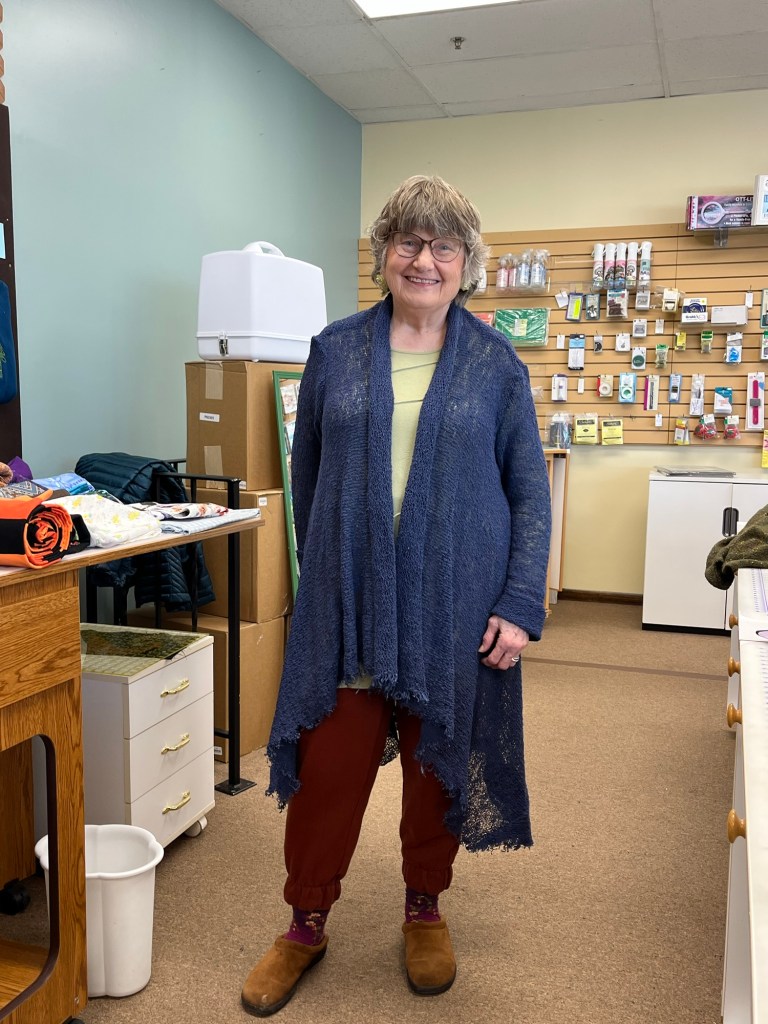
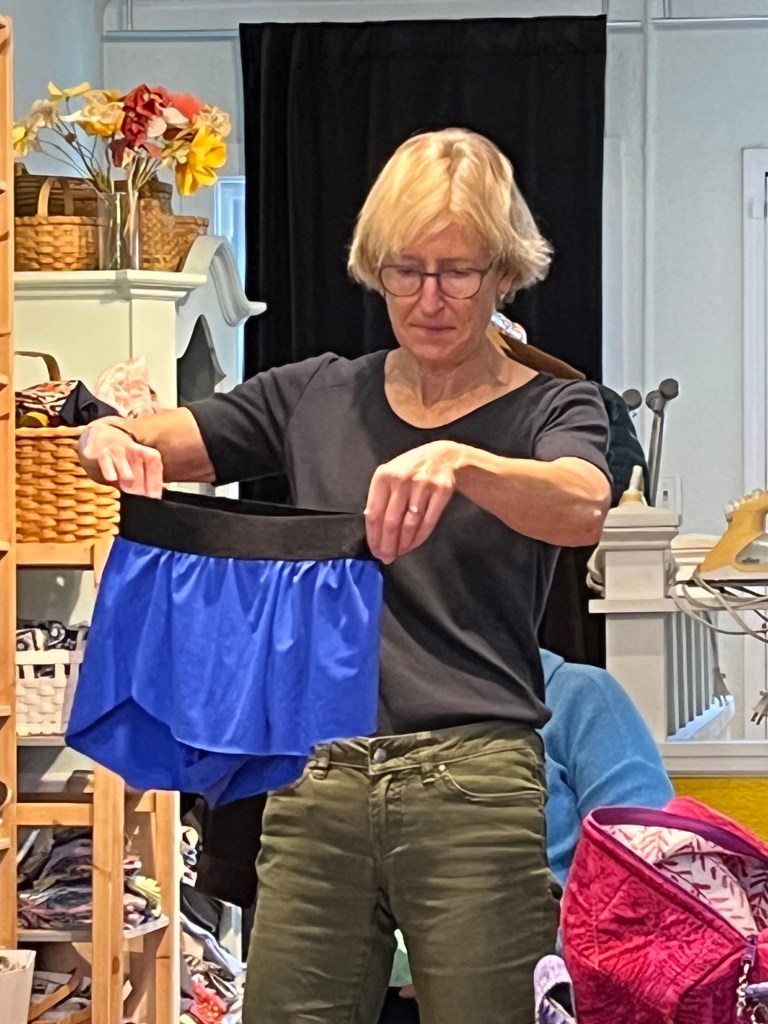
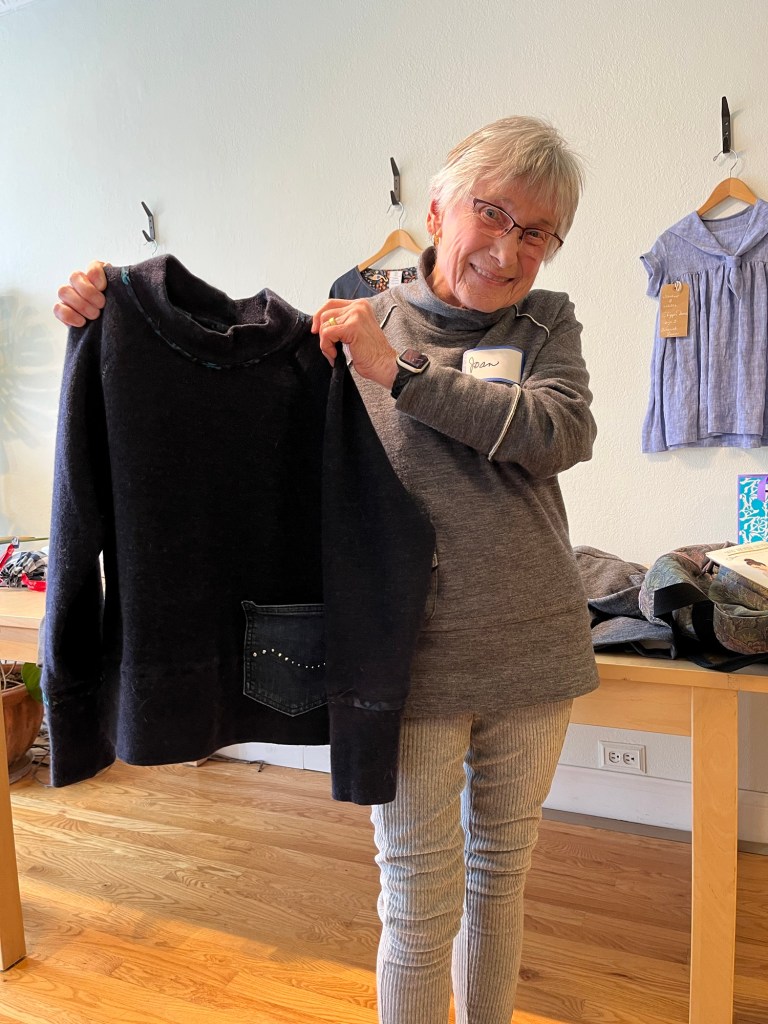
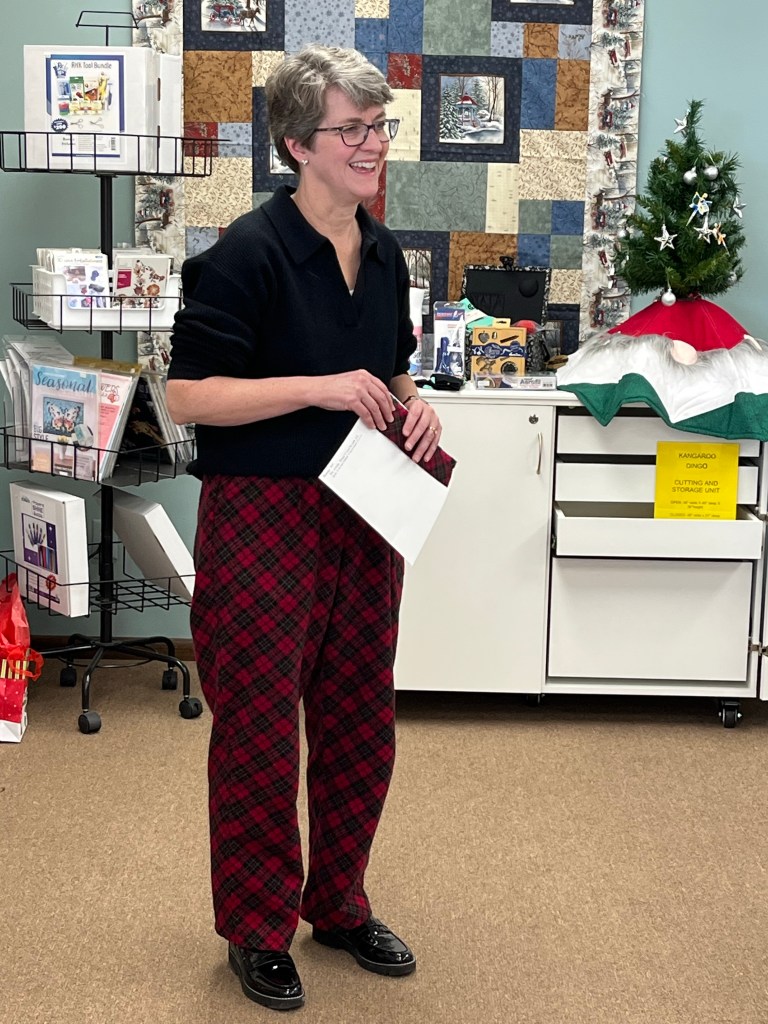
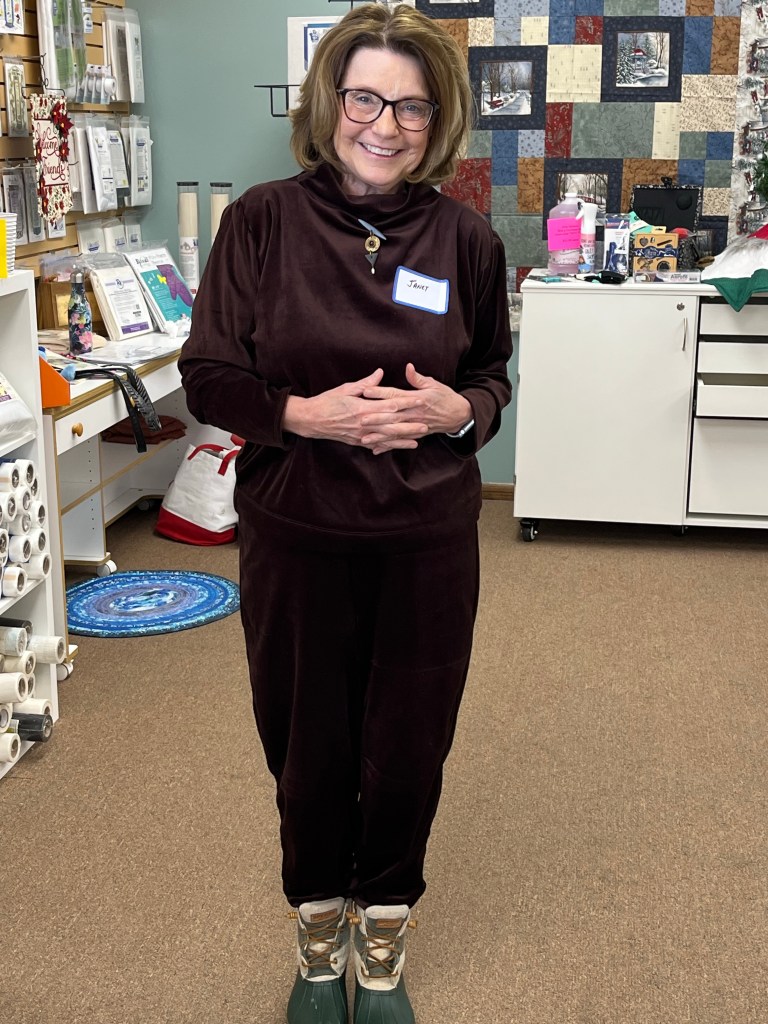
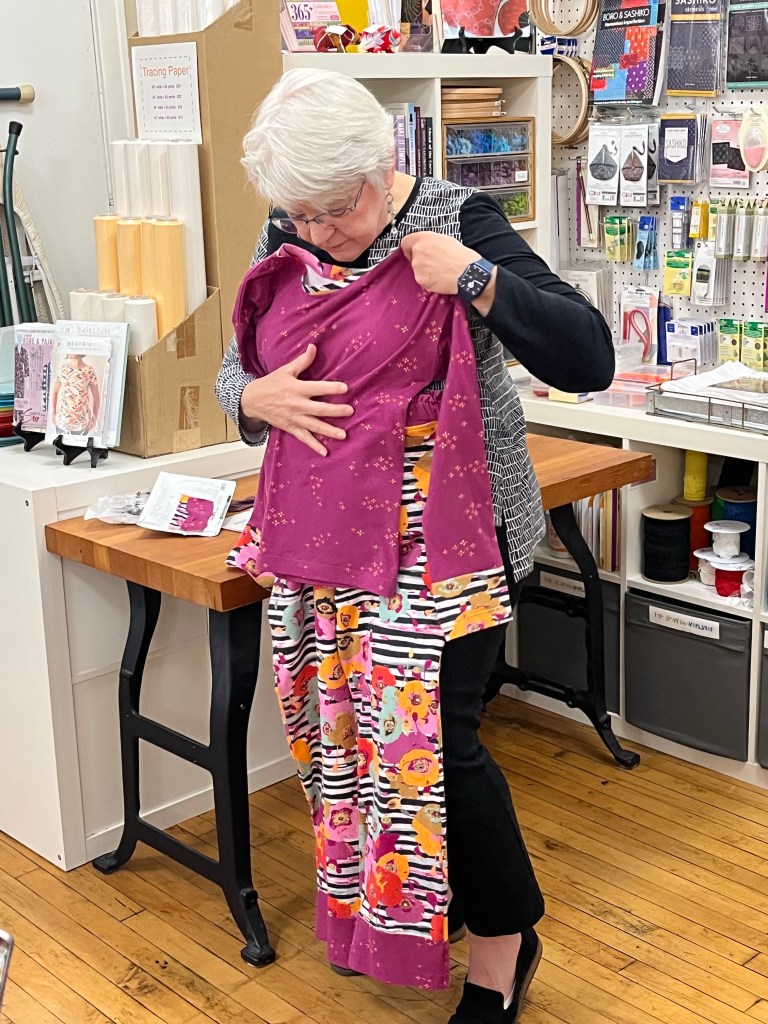
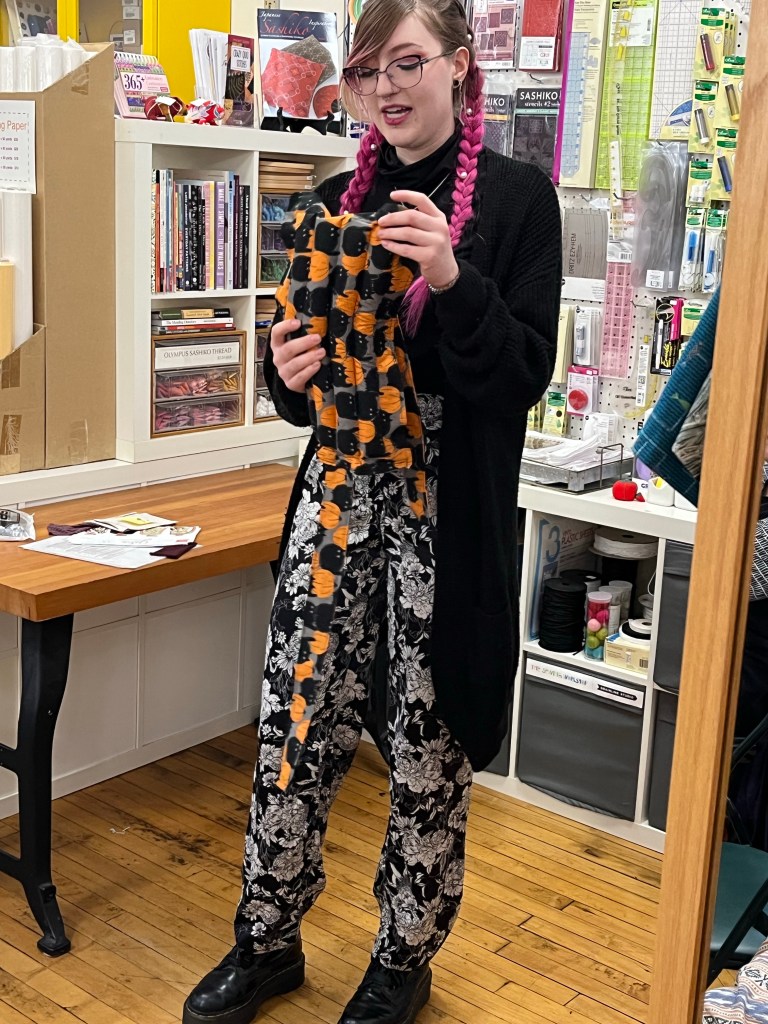
1. Pants: Added 1” length-should have added more. Pants turned out much baggier than the photo but I am reserving judgment till they come out of the dryer. Perhaps an ankle band?
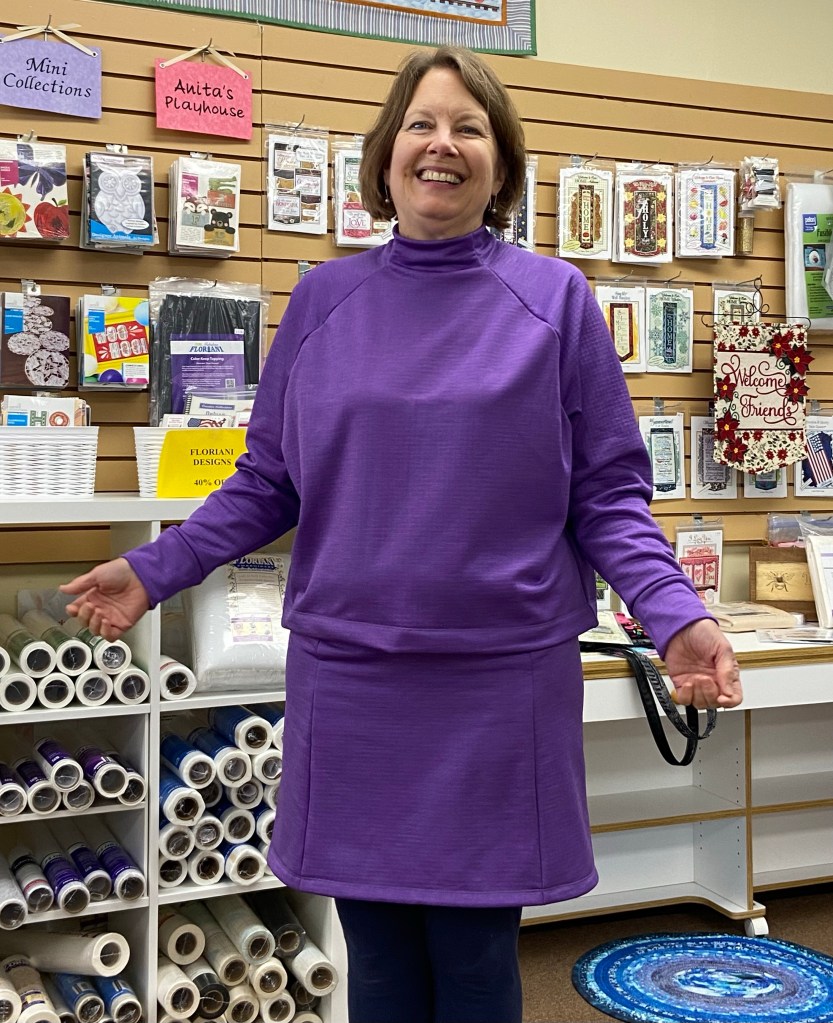
1. Waistband is wide for just 1” elastic and kind of high. Will cut down.
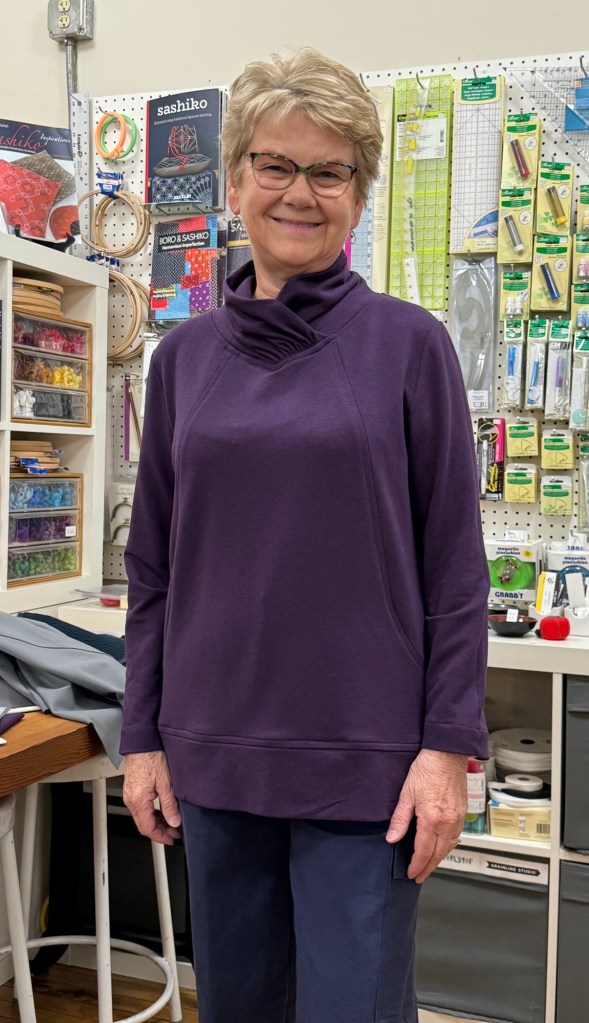
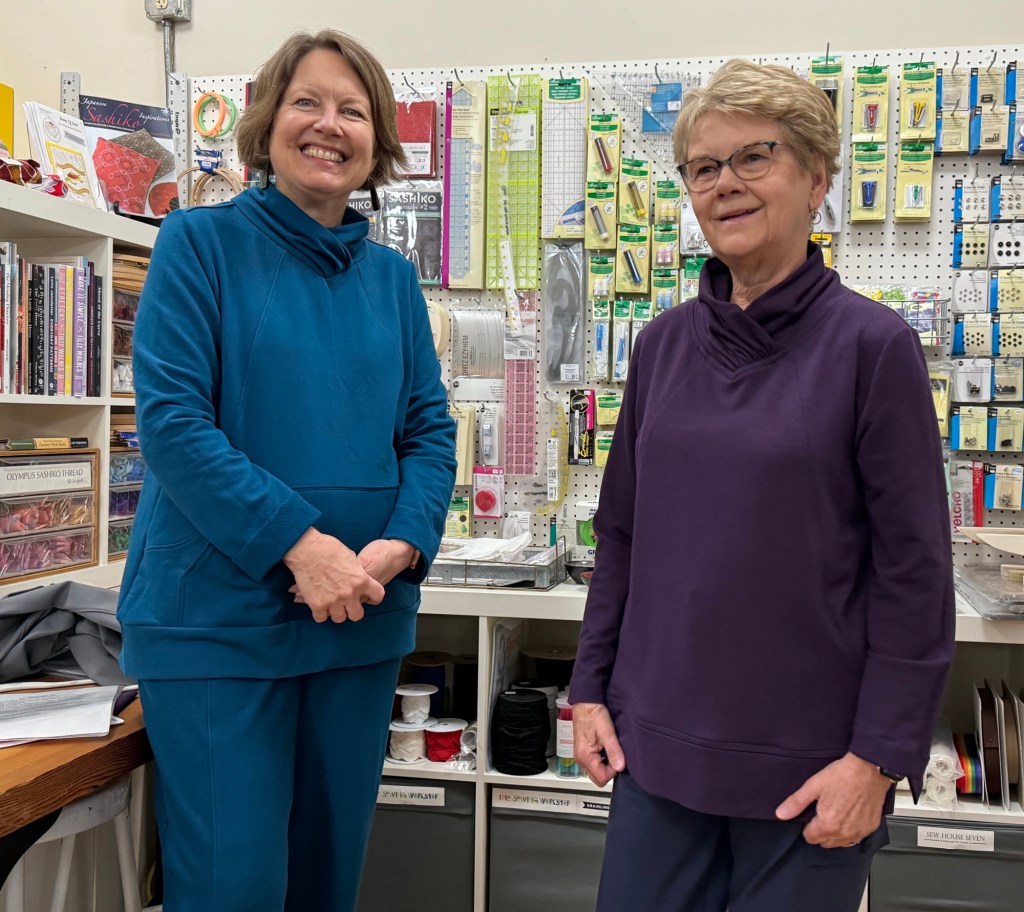
2. Sweatershirt: As Debbie said, the sleeves are wide at wrist, neck is overdone but I like the feel of it (the fabric!!) and will remove the band (it’s all too long and looks better without) and put a tuck in the sleeve with a band as that makes it more snuggly 🙂
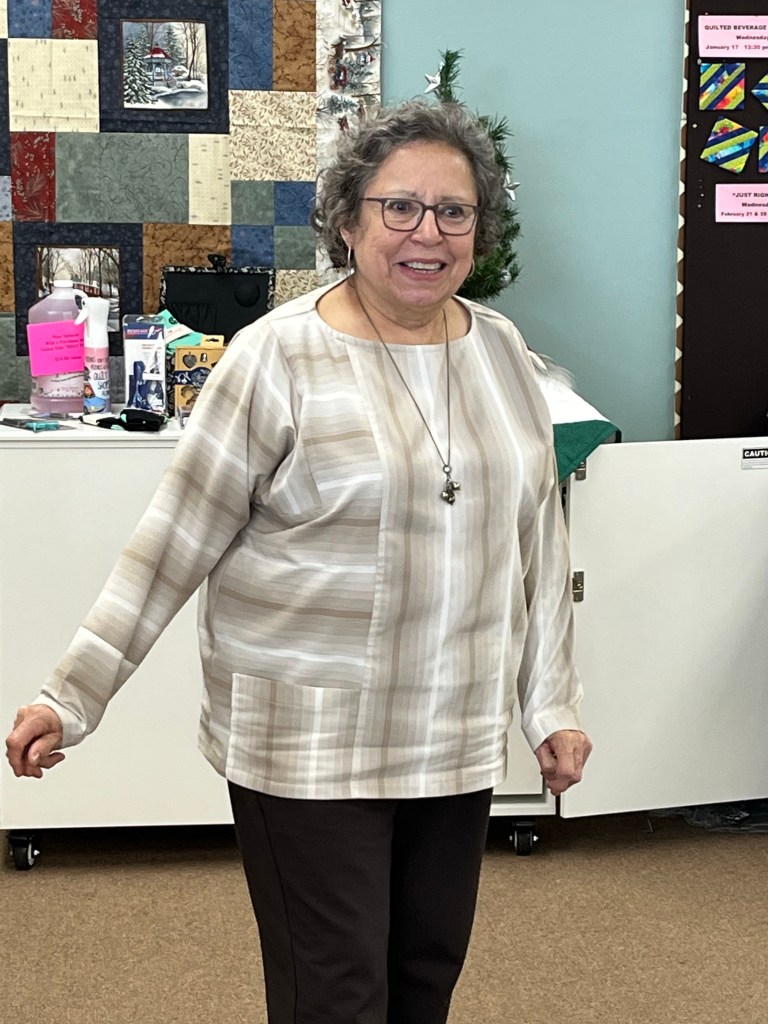
1. I did remove 2” from the neck band and used pleats instead of gathers but it’s a lot to put in and shouldn’t be attempted late at night!
2. I’m glad I put the pocket on-it was surprisingly flat and not pouchy-at least before laundering-
March Garment Sewing Group
Saturday, March 9, 10:30 at the Sewing Lounge, St.Paul
Wednesday, March 13, 10:30 at Lakes Makerie, Minneapolis
Thursday, March 14, 10:30 at Creative Sewing, Apple Valley


Garment Sewing Group
January 2024
Debbie’s Garments:
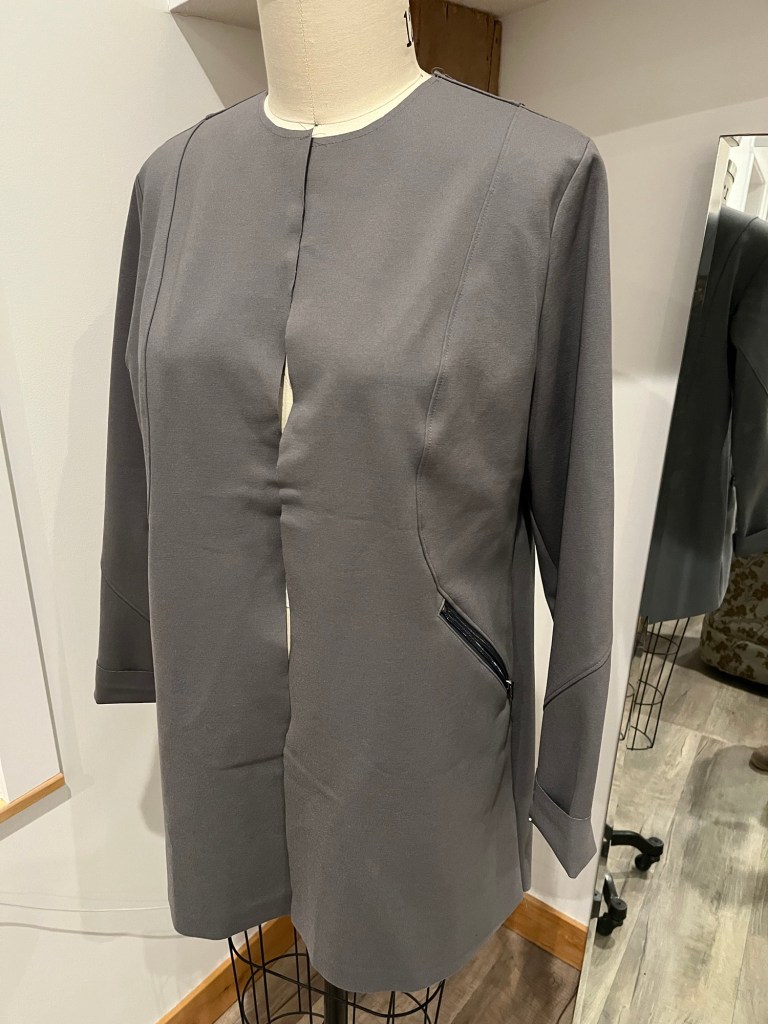
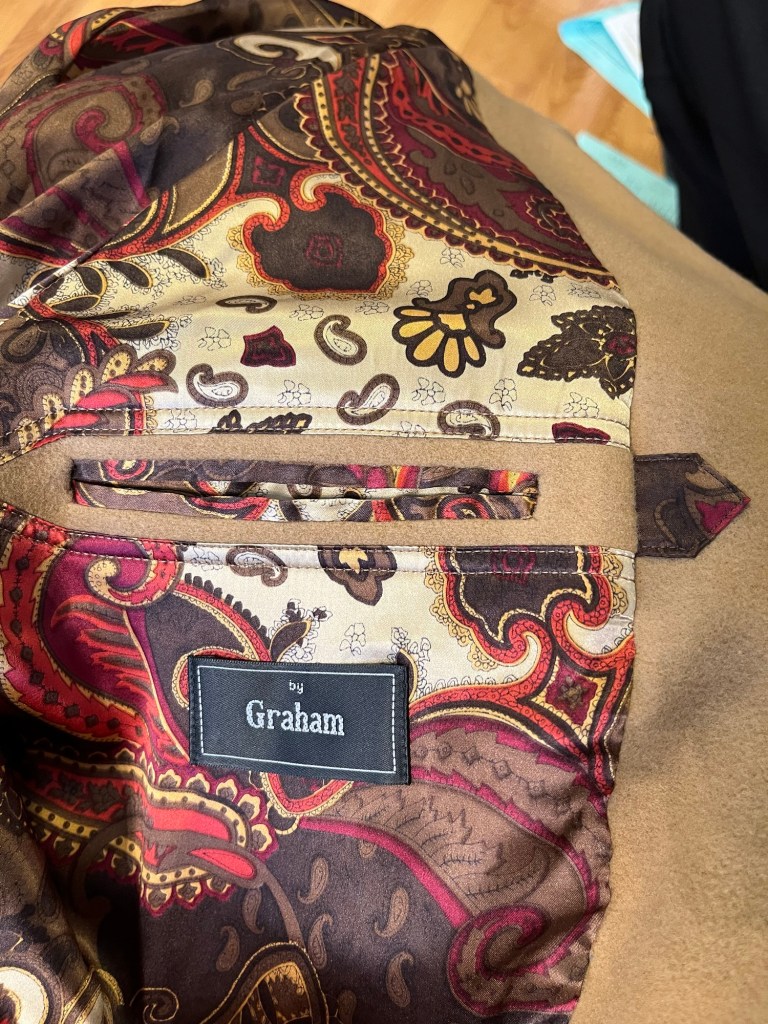
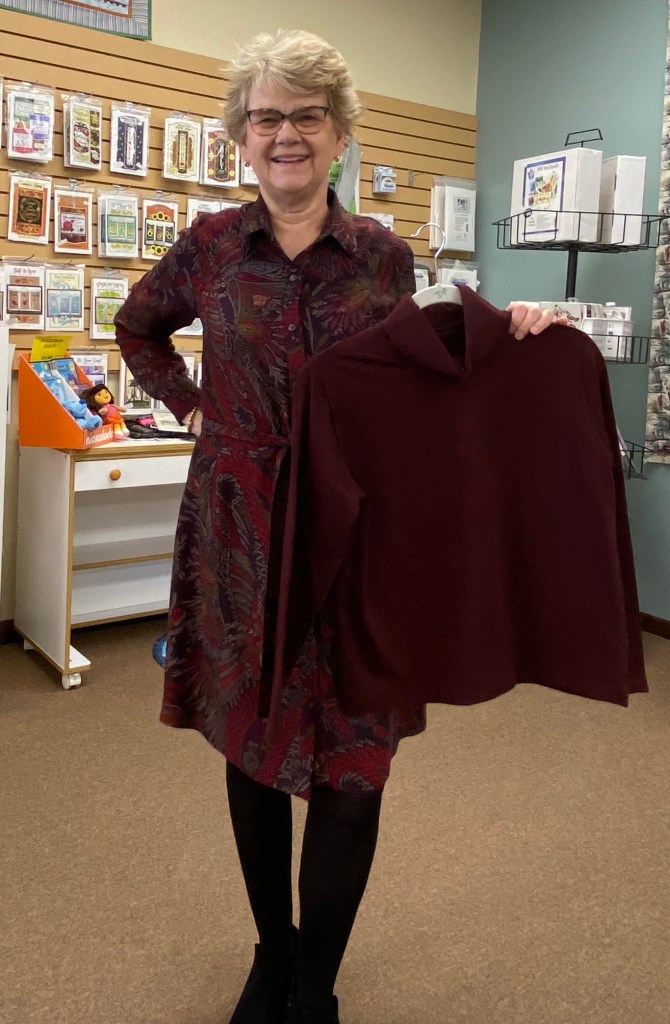
This is an unlined jacket pattern but since I was using a wool I wanted to line it. I drafted a pattern for the front and back lining. I did some “light” tailoring by interfacing all hems and using a wigum (sleeve head) in the sleeve cap. I also bagged the lining.
1. The collar piece in the pattern is rounded. However the pattern picture, line drawing and instruction sheet show the collar squared off. I adjusted the collar piece to look like pattern.
2. The pattern is labeled super easy. Hopefully even though the pattern does not mention stay stitching or understitching most sewers would use these techniques.
3. I appreciate the bust darts – gives the jacket less boxy look.
4. The pattern calls for hand sewn snaps that do not show for the closure. I don’t think I will use any closures.
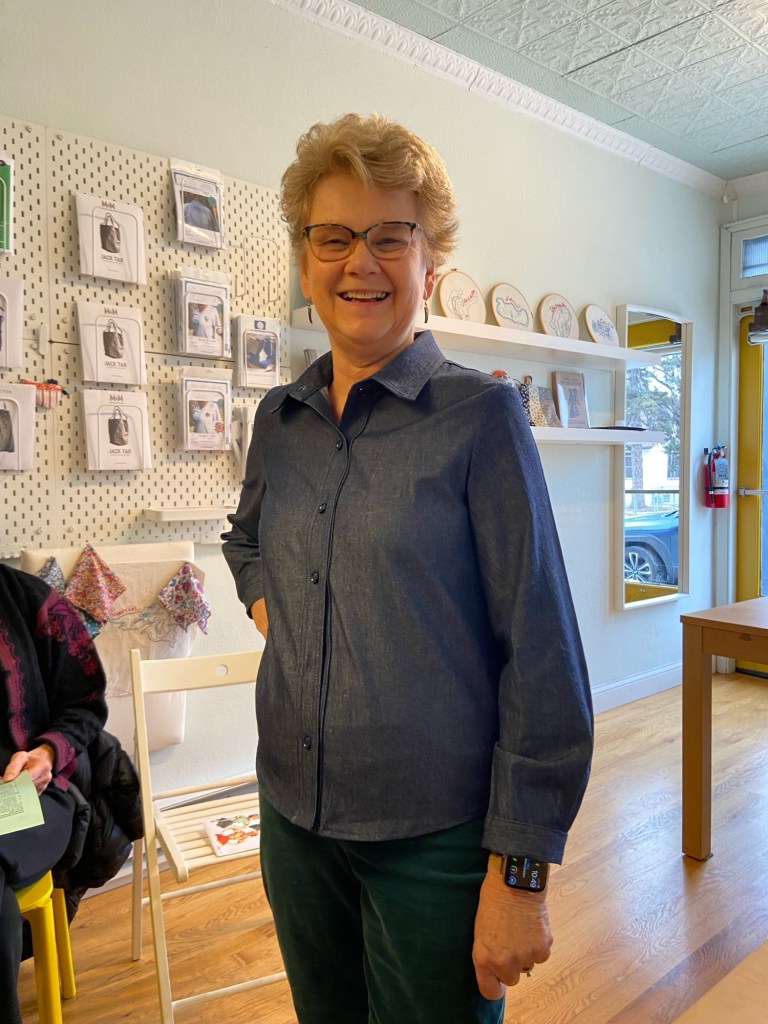
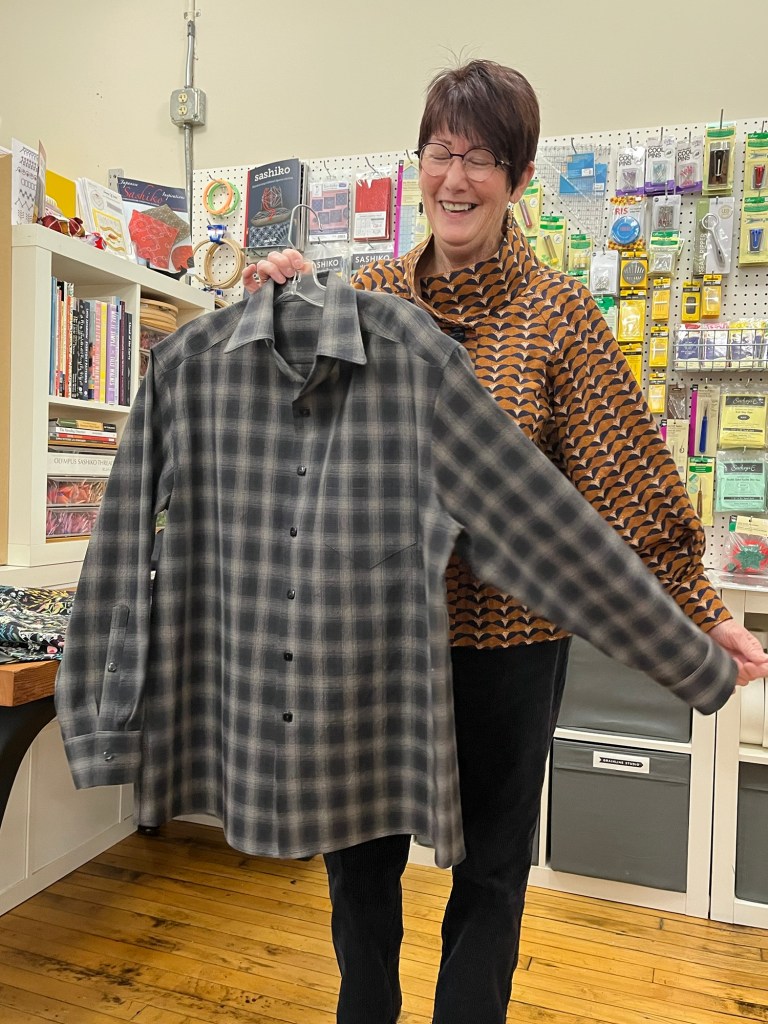
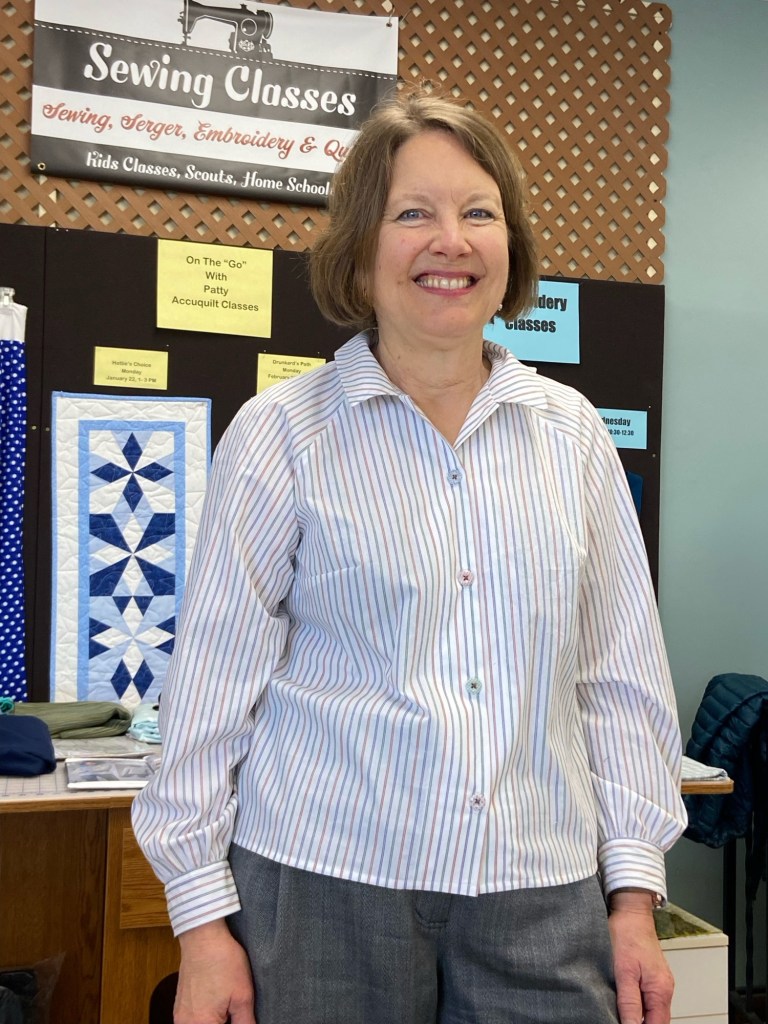
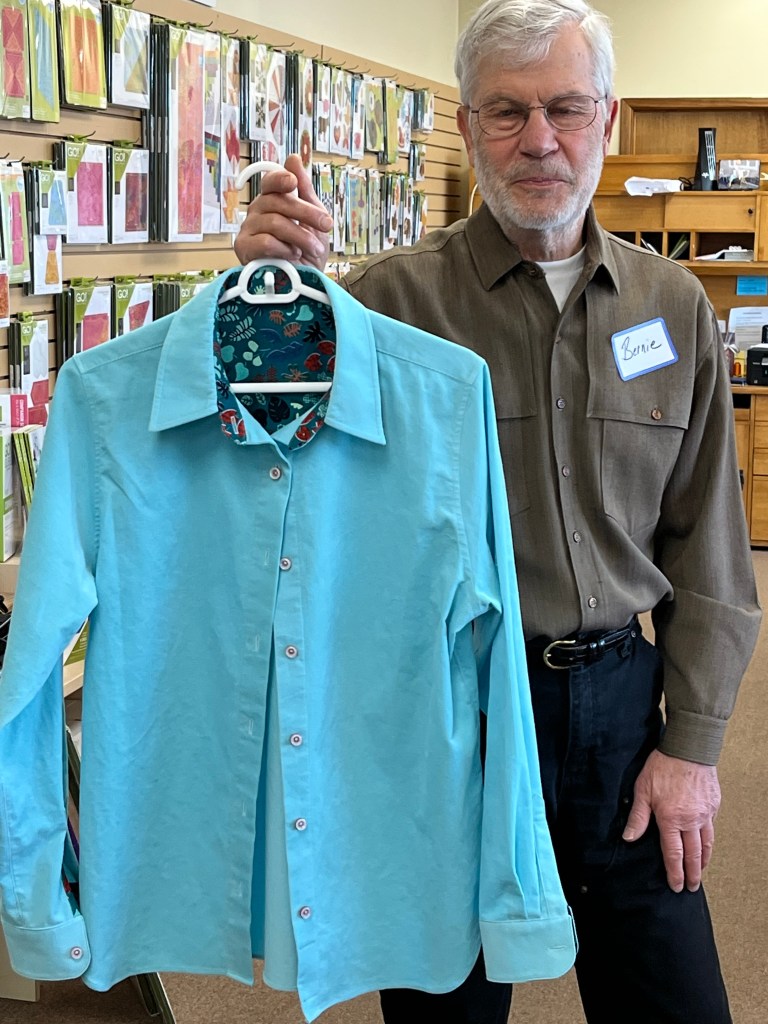
1. I heard good things about this pattern so I thought I would give it a try and compare it to another TNT shirt pattern in my stash.
2. Fit changes that I made include shortening between shoulder and bust, removing 3 inches in length and a narrow shoulder adjustment.
3. I did change order of construction because I like to work with the piece flat as long as possible.
4. The directions for the shirt are very good. They include the burrito method for the yoke and the collar and neckband directions are excellent.
5. The band is a sew on and the directions have you sew rs of band to ws of shirt which gives a clean finish. I used my standard machine for construction and French seams as well as my serger.
6. I feel it is a very good pattern and I will use it again but will soften the hemline curve and change the gathered yoke to a pleat.
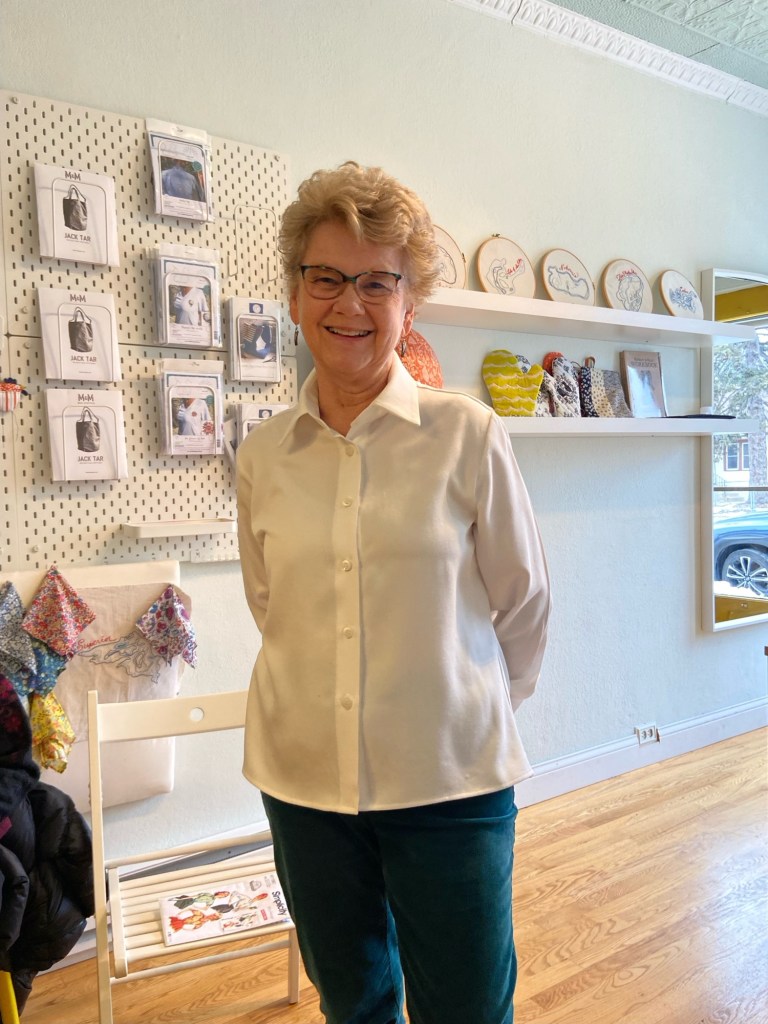
1. This is the TNT shirt pattern I referred to above.
2. Some of the differences between the McCalls and Kwiksew pattern are that the seam allowance for KS is 1/4 inch, sleeve construction is flat and the band is cut on the front, no facing.
3. I used French seams as much as possible because of the color of the shirt. I am not sure I like the feel of the French seam on both shirts in the armhole.
4. Also the McCalls shirt has bust darts. You can easily add vertical darts on front and back of Kwik sew pattern to get a more fitted look.
5. I like both patterns and they will both be a TNT in my pattern stash.
February Garment Sewing Group
*Moved up one week – Wednesday, February 7, 10:30 at the Sewing Lounge, St.Paul
Thursday, February 8th, 10:30 at Creative Sewing, Apple Valley
Saturday, February 10, 10:30 at Lakes Makerie, Mpls.
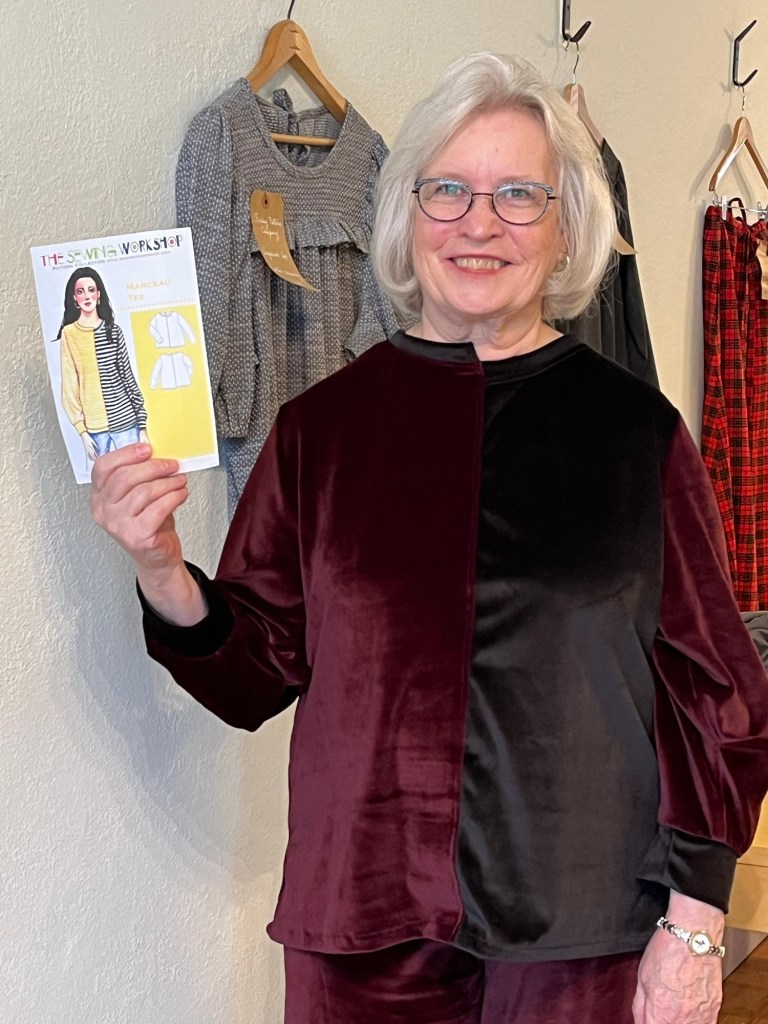
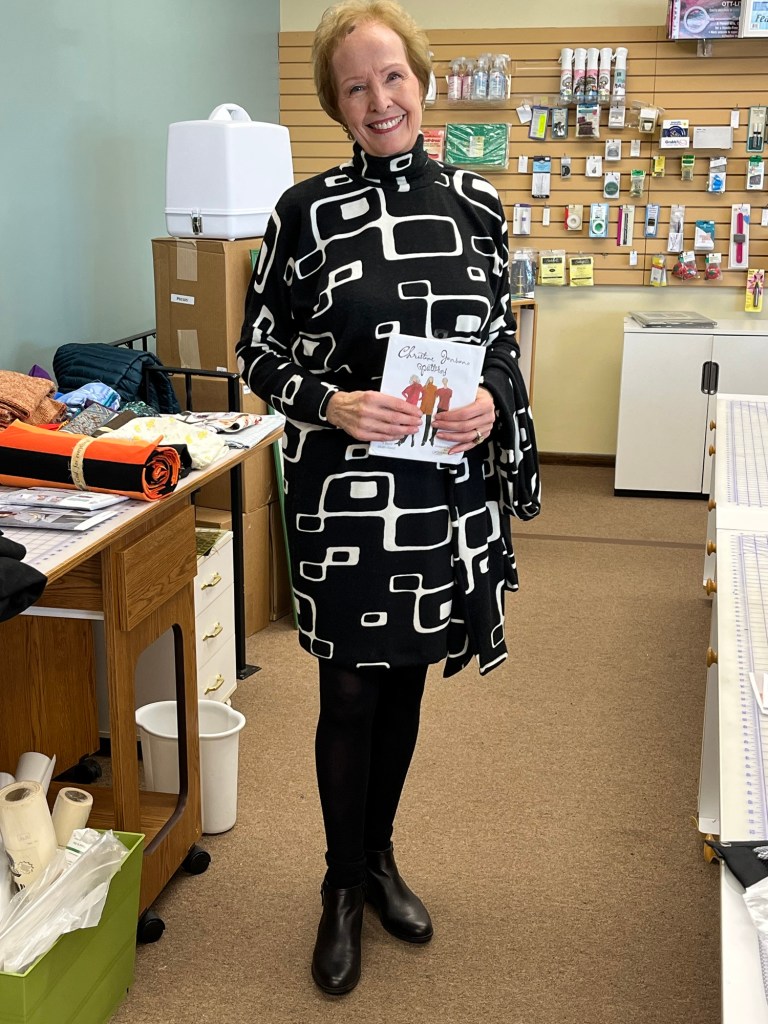
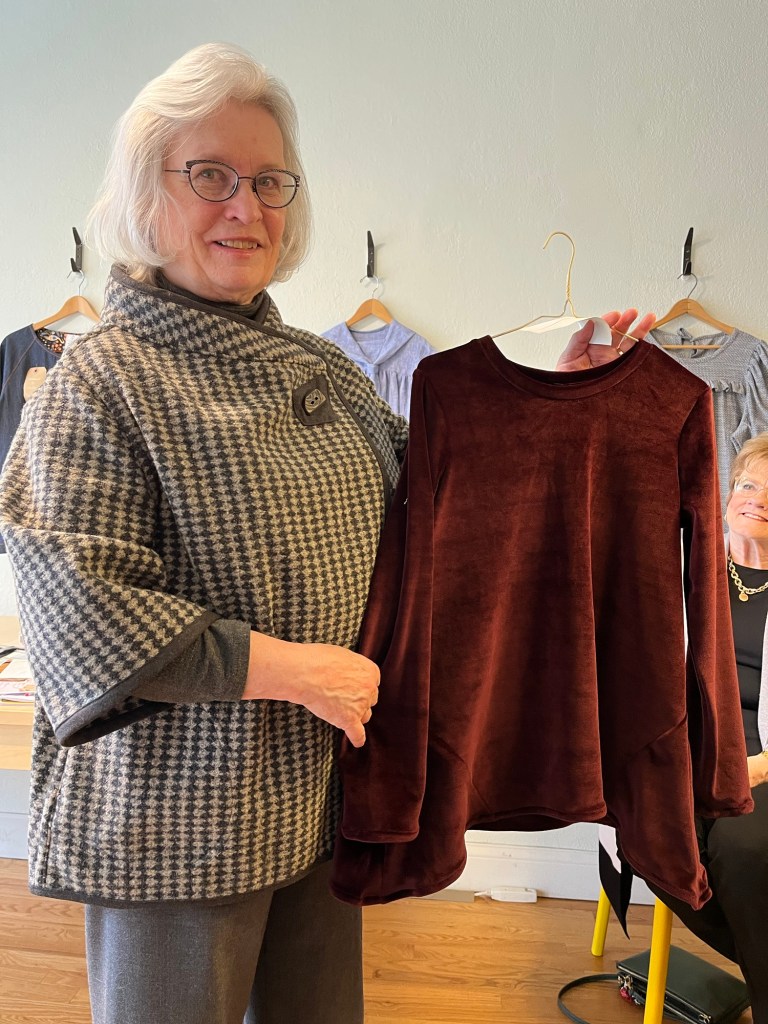
Kristin’s Garments:
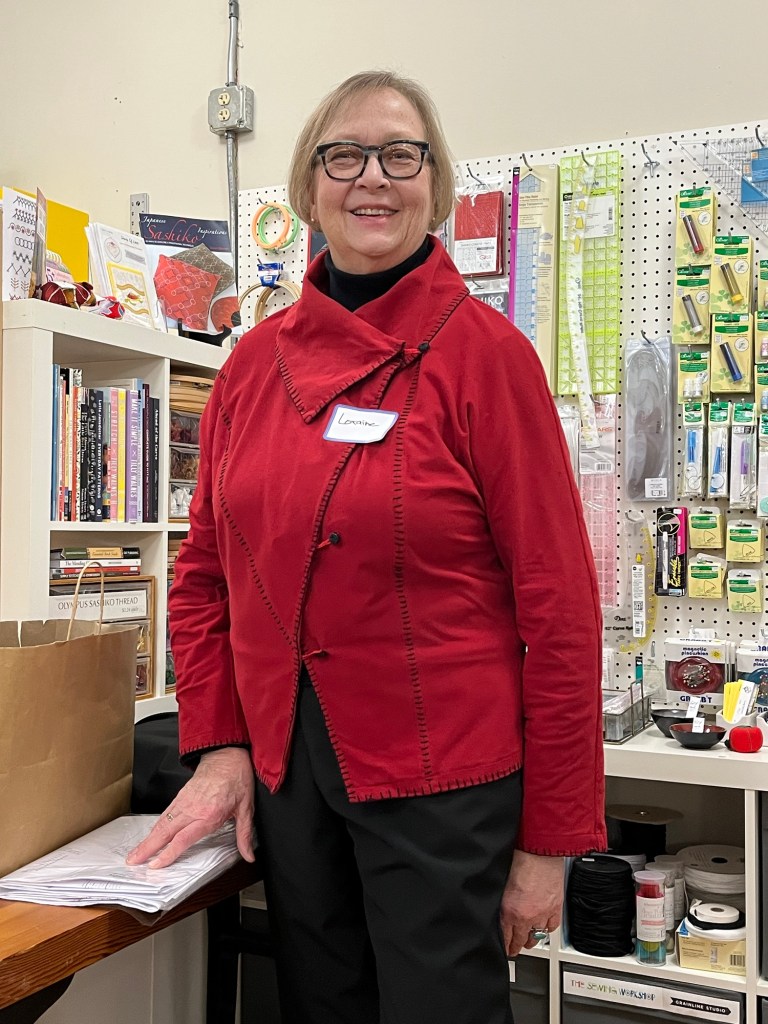
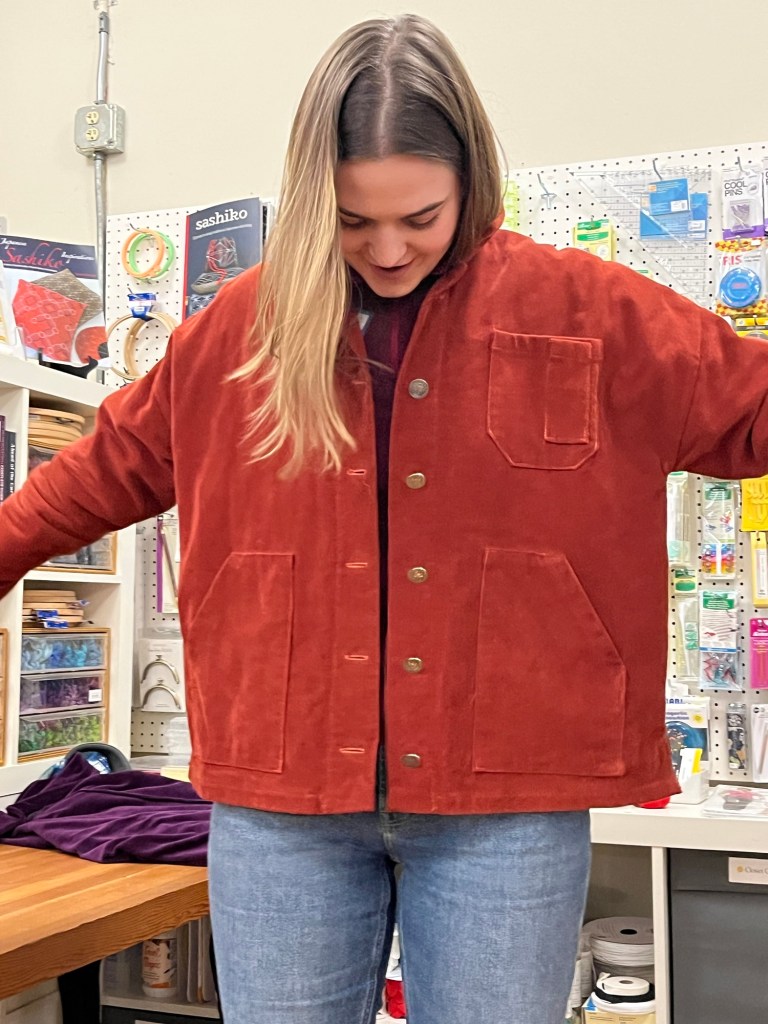
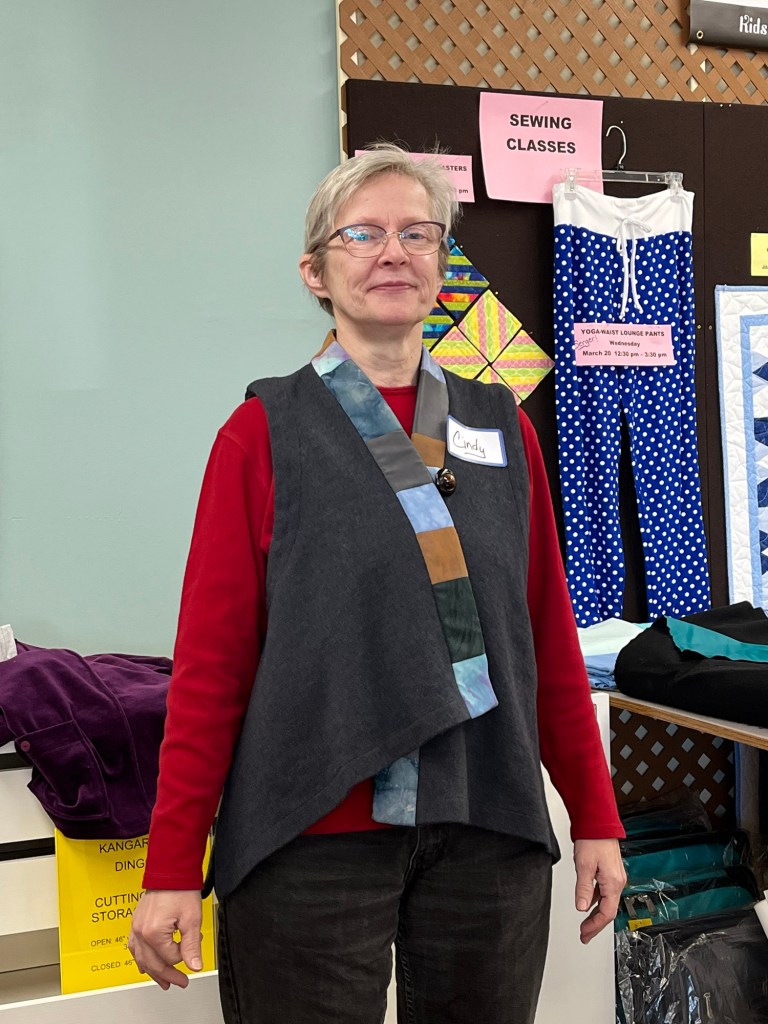
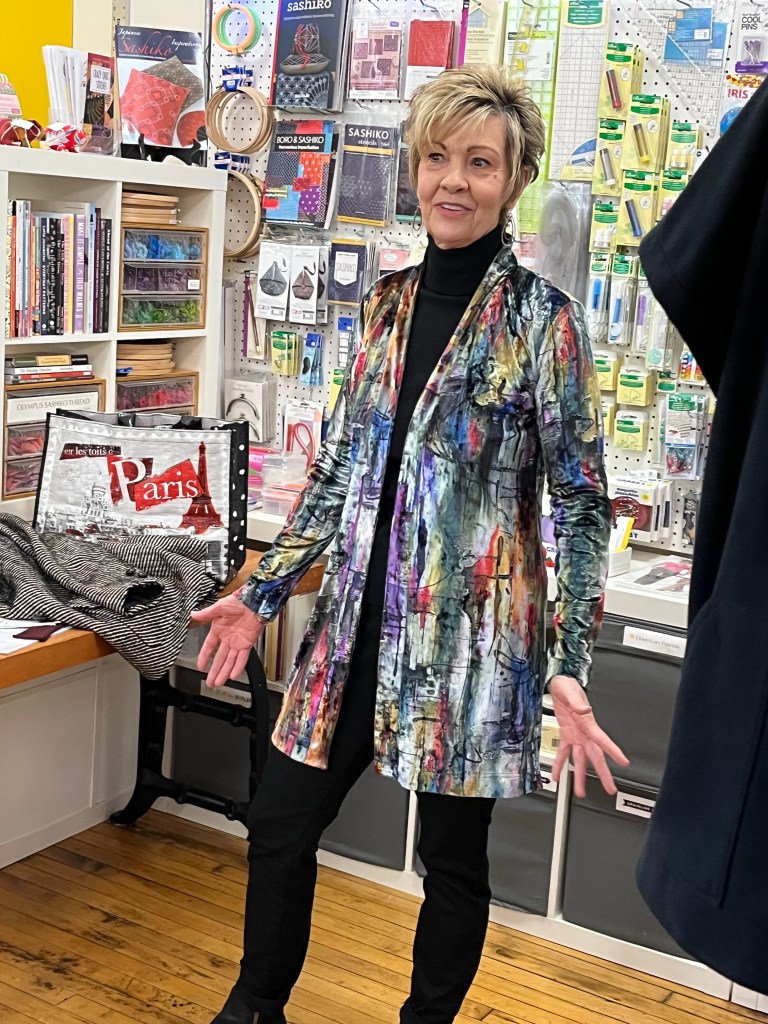
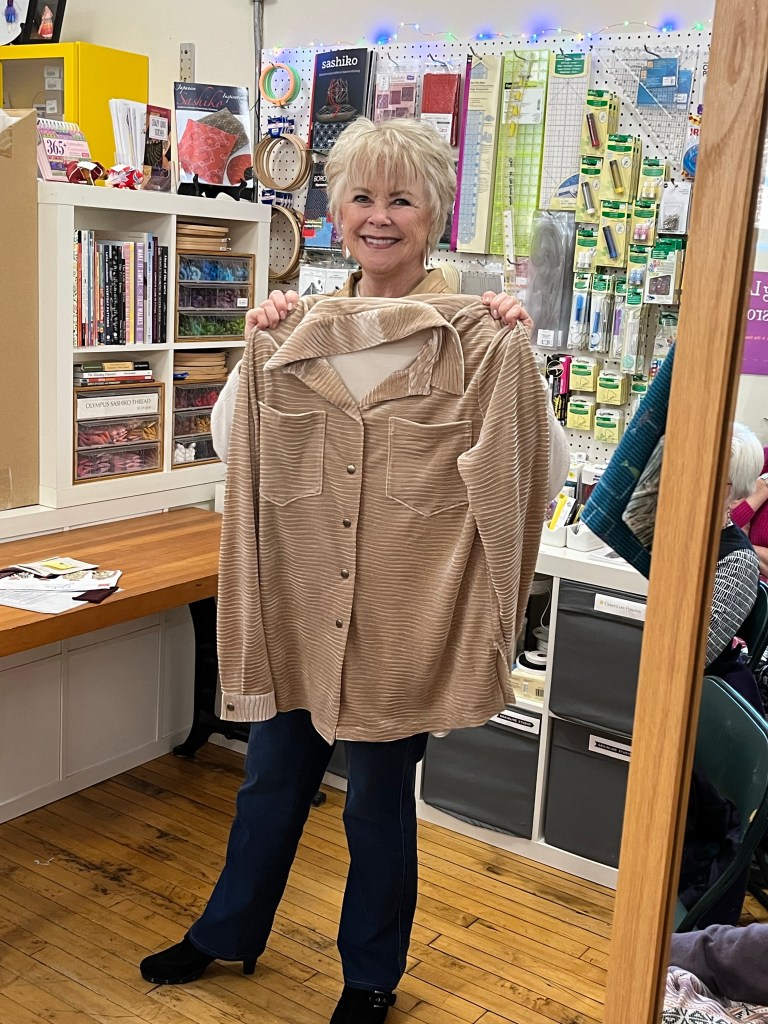
1. Several people have shown this pattern (free! only pay for printing) but I guess I wasn’t listening very well. It is made for boiled wool and has unfinished hems and outside facing seams. But the pattern was already cut out (I did wonder about the vent cut outs…
2. The velvet looked more refined so I didn’t expose any seams plus the fabric would have shed for a while and it also rolls.
3. The sleeves are extra long so you can fold them up so I shortened them.
4. The collar was single layer but I sewed two together and love the result.
5. The vents were angled up into the seam allowance-happy with that too.
6. I had three buttons but the thickness of the collar allowed only two so I put the last one on the pocket 🙂

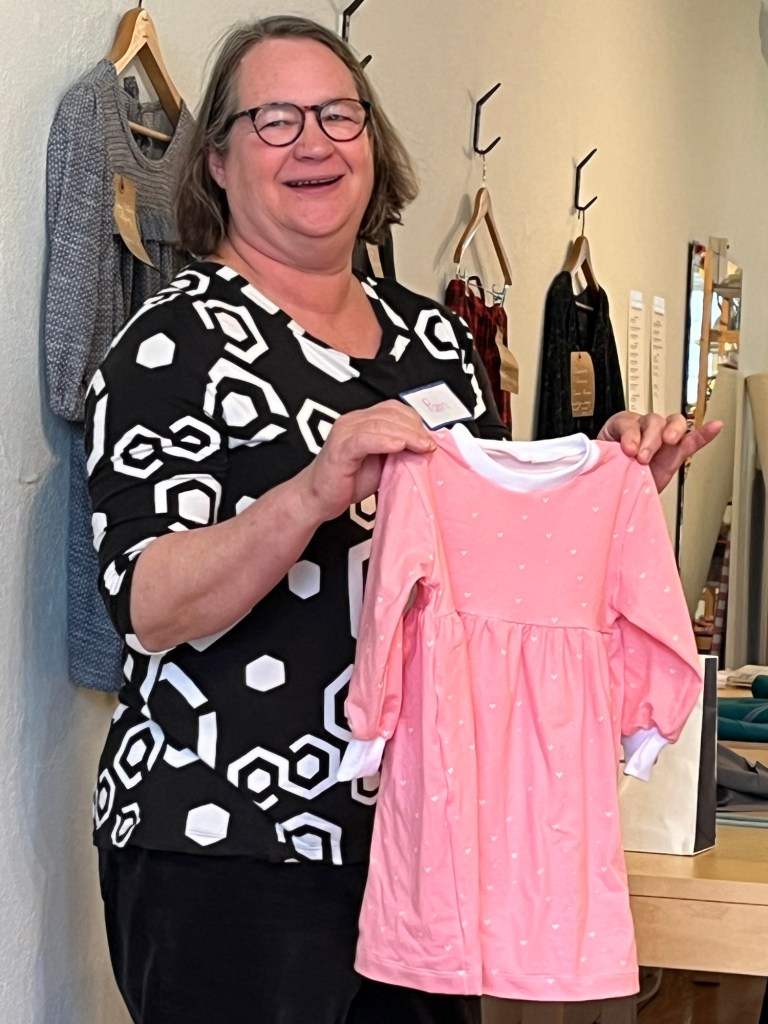
1. Several people have also made this raglan turtleneck (neck has two pieces) and it was waiting in my pattern stash. Love raglans, especially when sewing for family and size range can’t be beat.
2. Also love the cuff (didn’t do the thumb hole). Finishes up a turtle so nicely.
3. The turtleneck is doubled and at first I thought too much but it grew on me. Great fit all over as usual for Jalie. Another favorite turtleneck pattern!!
Ruby Joggers/Paprika Patterns
1. I had an earlier pair in my closet that was seeing a lot of wear so I thought I’d try them again. I had thrown away the pattern (should have been a hint!) so had to reorder.
2. Chose my size but yoke in back was way too big.
3. Made some necessary changes and then some more! and they are OK but again the pattern will not stay in rotation (and I’ll make a note somewhere (?) to not try again.
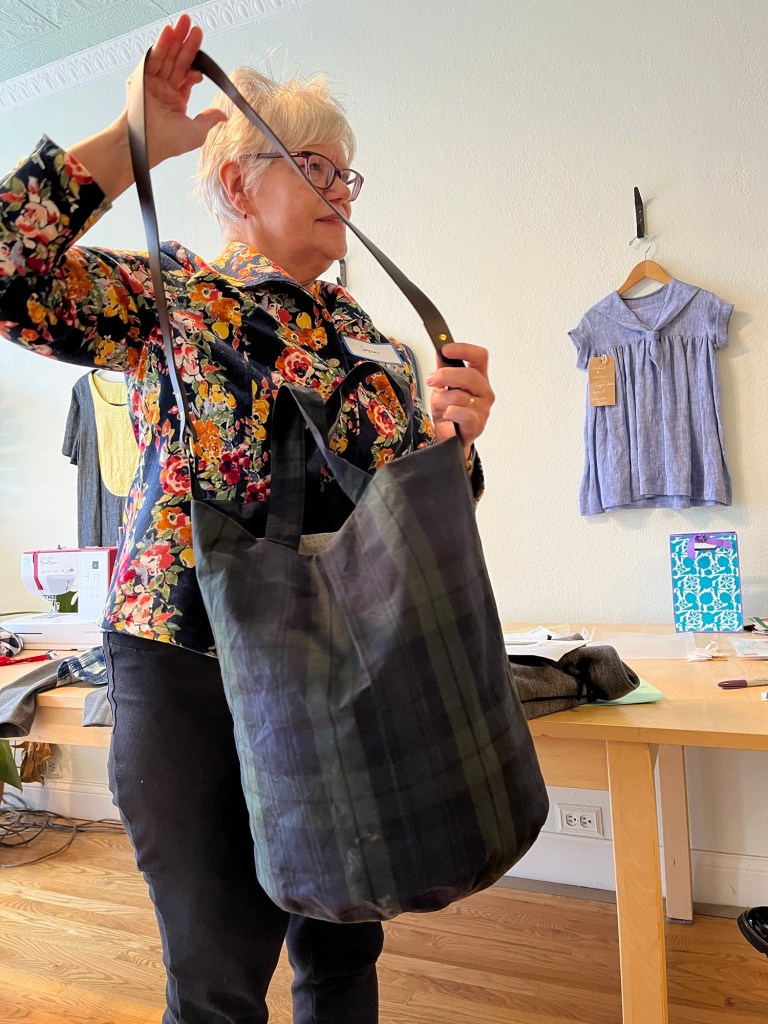
4. I did learn one thing tho-the pocket bag that is totally sewn into the side seam gives a smoother finish for me than the pocket that is only partially sewn into seam and then hangs.
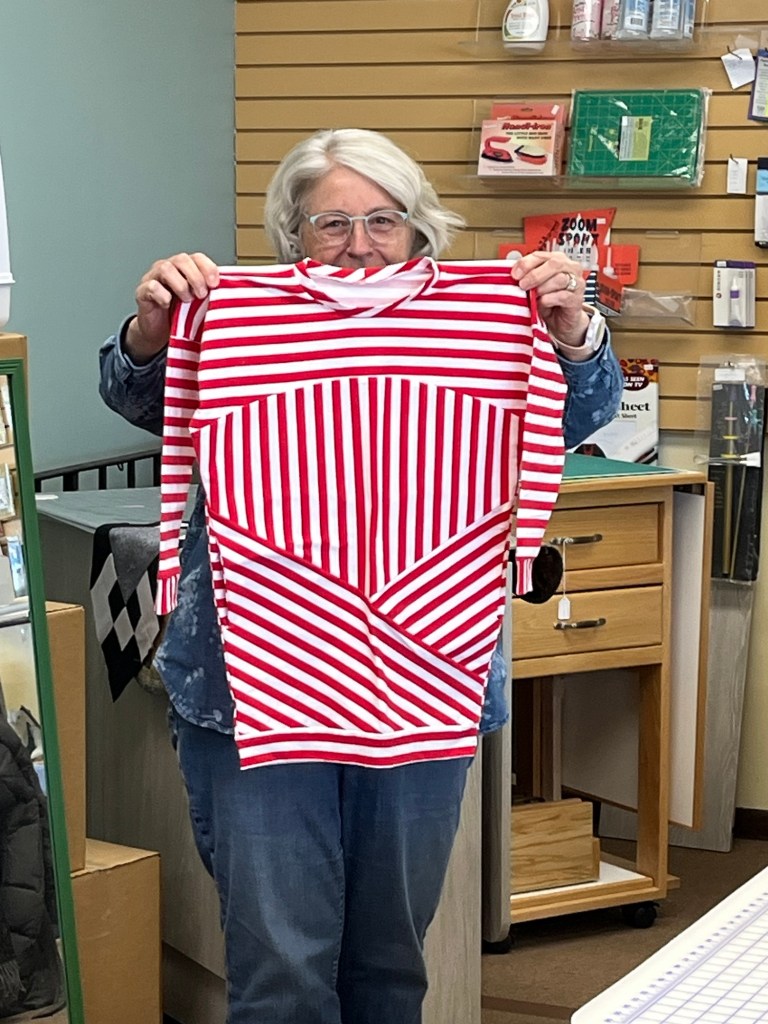
1. Beautiful vintage blouse with lots of tuck/darts at the waist but, alas, not for me! After much tailor tacking and knot tying, the blouse would not fit around me so out they all came!!
2. Lowered bust dart 1 inch and could have lowered a bit more.
3. Underarms were high along with tight circumference so 5/8” side seam became 1/4”.
4. Sleeves were 3/4 length so added about 3” and changed the cuff.
5. Stripes were fun-I’m tempted to buy more fabric and try some shadowing.
6. It was a fun sew-maybe again in summer and a larger size!!
Fashion TV to watch- Jan. 19, Disney “Cristobal Balenciaga” and Feb. 14, Apple TV “The New Look” about Christian Dior and contemporaries.
Fun meetings at Lakes Makerie and Creative Sewing! We’re hoping to be at The Sewing Lounge on Saturday morning at 10:30-Mother Nature willing…

Another month of creative and imaginative sewing!! Thanks for your continued attendance and interest in garment sewing. Here are photos from Wednesday and Thursday meetings.
Have a wonderful holiday celebrating in your favorite, comfy makes and gifting others with your talents! See you in January!!


We meet for Garment Sewing Group tomorrow (Wednesday) at Sewing Lounge and finish up at Creative Sewing in Apple Valley with the fabric swap on Thursday. See you there!!
Also, for those Gudrun Sjoden fans-there’s a sale this weekend:
Gudrun Sjoden warehouse
5310 West 23rd St, SLP, 55416
-Dec 15 from 3-7 pm
-Dec 16 from 11 am – 3 pm


Debbie’s Garments:

1. I did my standard petite length adjustments and narrow shoulder. On the sleeve I mistook the cut line for horizontal seam for the shorten/lengthen line so I wasn’t able to put in a horizontal seam as pattern directs.
2. I did not enjoy working with this fabric. It was necessary to use a walking foot and size 14 needle in my machine. The fabric is stiff and bulky and not very forgiving.
3. I used the Louise Cutting method for pockets (see example) and changed order of construction making it easier for fitting and working with the fabric.
4. I did a wrapped hem and used serger and bias binding for seam finishes.
5. Closures? – definitely not buttonholes! Many thanks to Kristin for putting in my snaps with her Kamsnap tool.
1. I did my standard shortening adjustments and also straightened out side seams – it’s a very curvy pattern.
2. Turtlenecks are a staple in my wardrobe. Making them out of fabulous fabric and getting the neck fit I want is a win-win. Also it was a nice break from sewing corduroy!
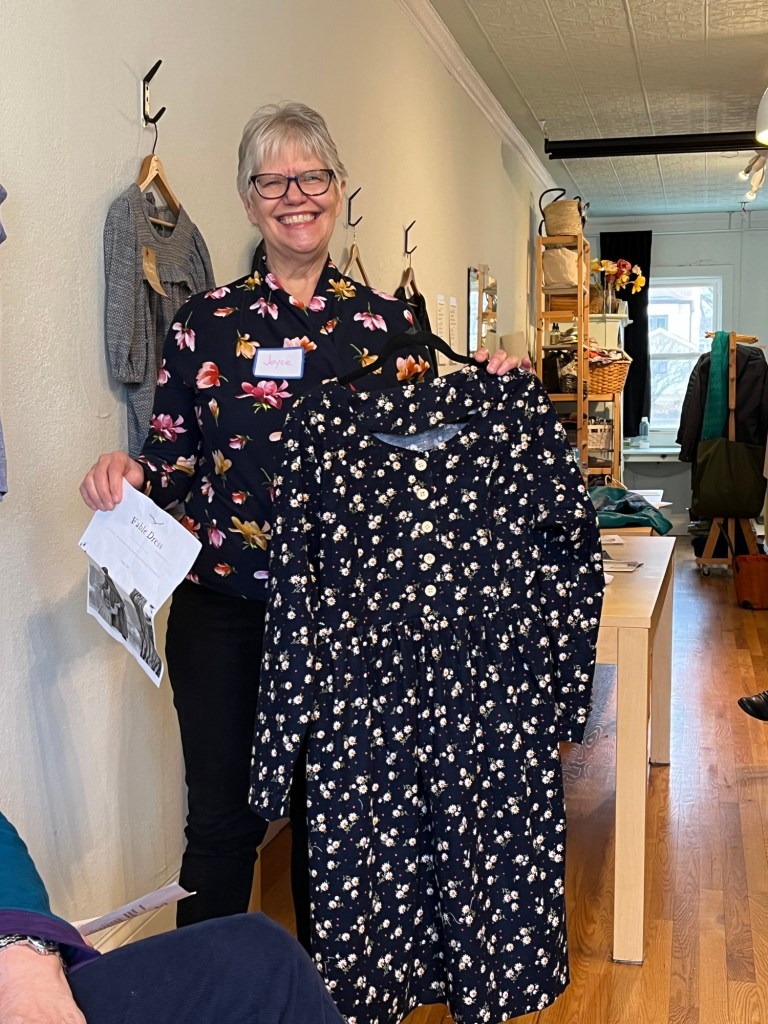
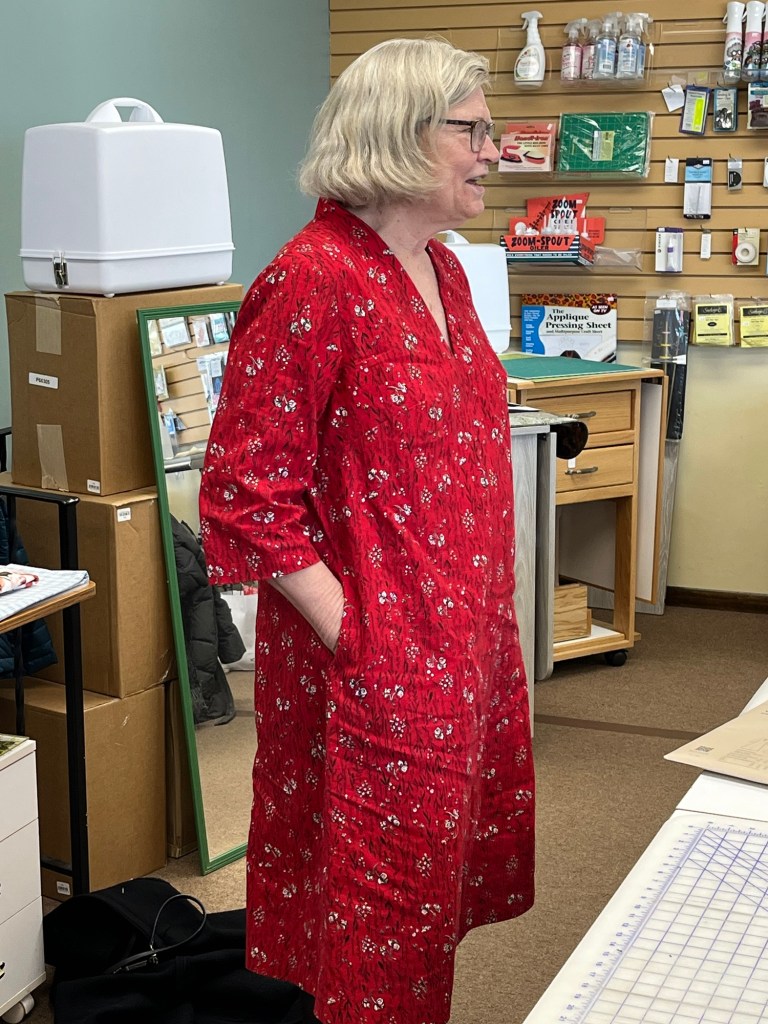
Autumn Paisley Print Shirtdress
Burda 5971, dress version
Rayon challis
1. In October I made the blouse version of this pattern. I had enough fabric to make the dress version thinking it would be perfect for Thanksgiving. The chances are high that it will become a blouse!
2. I did my standard shortening adjustments as well as a narrow shoulder adjustment. I also removed 4 inches from the hem length.
3. I changed the order of construction so I could do flat construction, i.e. collar before side seams.
4. Love the fabric but the dress – not so much.
Forest Green Knit/Woven Overlay Tee

1. This is a fun pattern that I have made before. The look and style can easily be altered by switching up colors, fabrics and textures.
Kristin’s Garments
Funnel Neck Sweater
Jalie Romy #4024
1. One of my favorite patterns-no front or back. Great fit with the funnel neck and dolman sleeves. Omitted the band at waist.
Butterick 6597 OOP
1. Omitted the wide waistband and cover stitched matching elastic instead.
2. Narrowed the side piece-there are no side seams in skirt.

1. Wanted to try the pattern in a lighter fabric. Used the waistband this time.
2. Comfortable and fits under jacket.

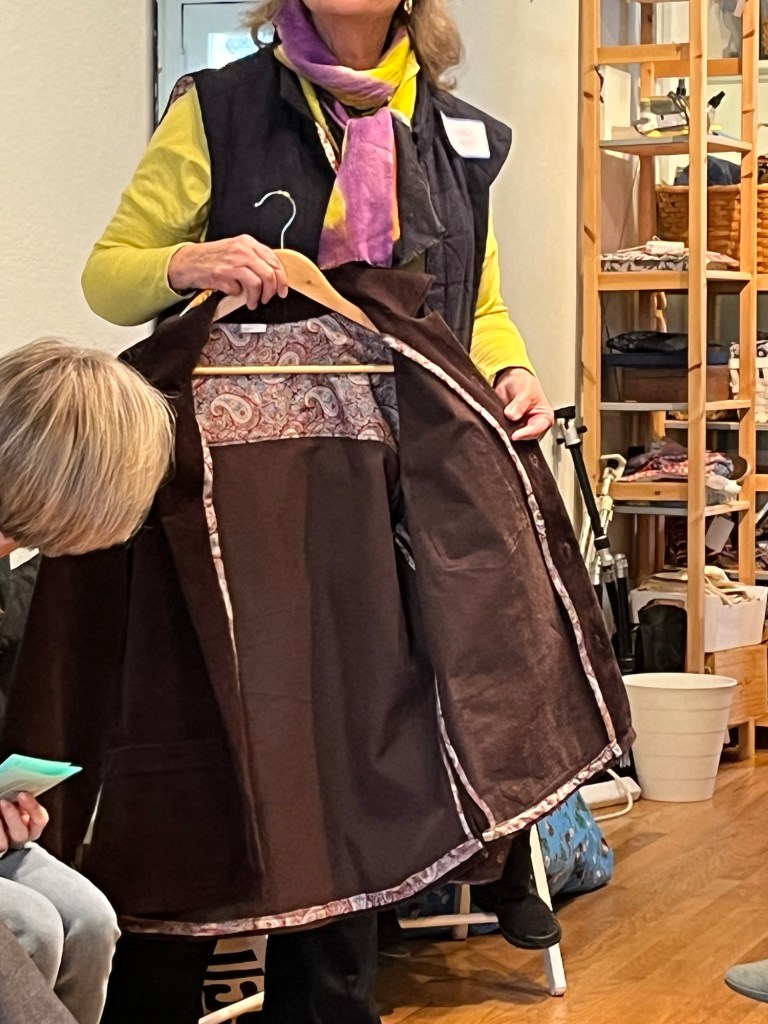
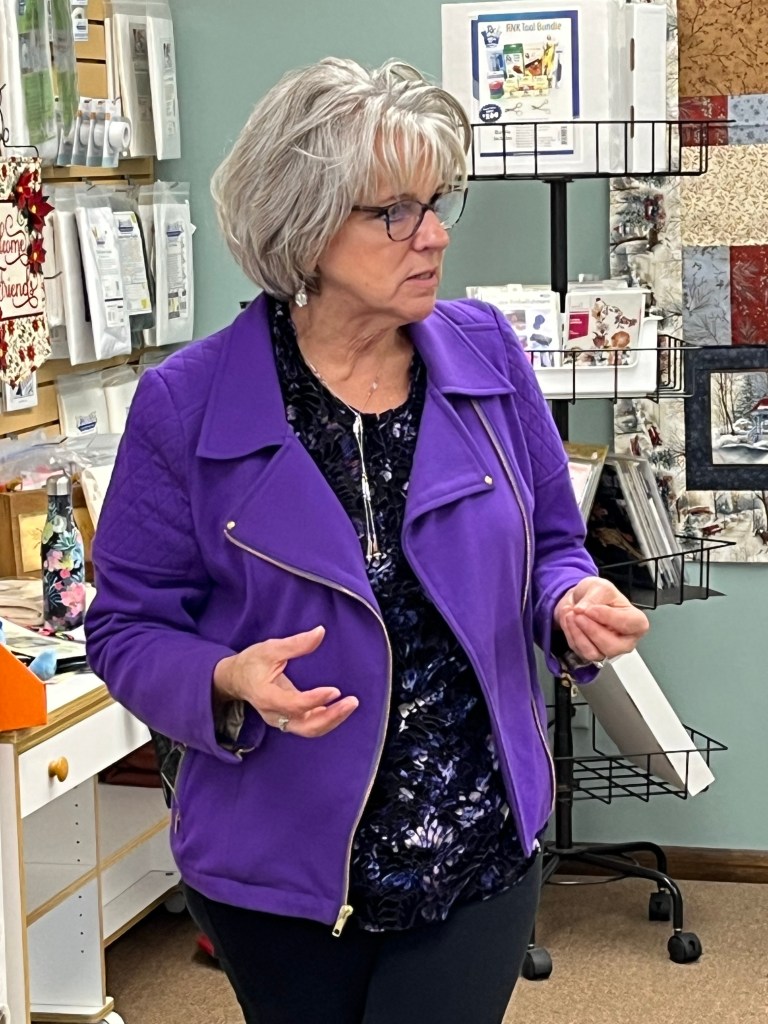
1. Very happy with this pattern. Loved that it was lined-inside looks good. Saved a lot of headaches on edge finishes.
2. Fabric was easy to work with. Zipper went in well.
3. Omitted side seam pockets but added a chest pocket on the inside. Made several mistakes but well worth the effort.
4. Neck band made to pattern. Height is great.
Sew House Seven Toaster, version 1
1. Also wanted to try this pattern in a lightweight knit.
2. Neckband doesn’t stand up -may stitch it folded to give extra stability.
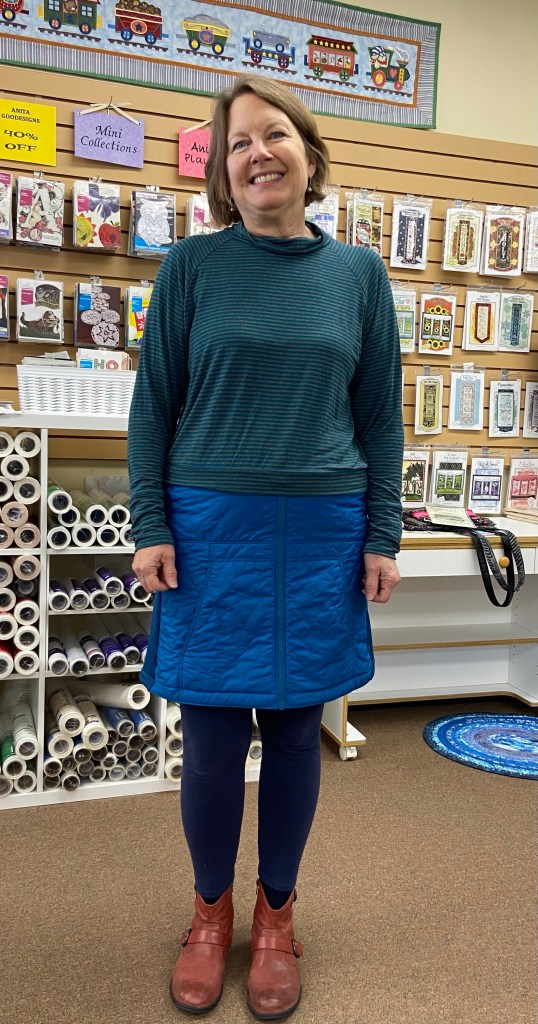
Jalie Multi Sport Skort #2796/repurposed jacket
1. Have been seeing these winter skirts in Title Nine catalog and had to try them.
2. Used the zipper and pockets as is. The fabric didn’t separate which was helpful.
3. Bound the waistline with knit. Fun make. Fun to wear!
January 2024 Garment Sewing Group
Wednesday, January 10, 10:30, at Lakes Makerie, Minneapolis
Thursday, January 11, 10:30 at Creative Sewing, Apple Valley
Saturday, January 13, 10:30 at Sewing Lounge, St. Paul
Just in the (St.) nick of time-here are the photos and notes from Debbie and Kristin’s November garments.
December Garment Sewing Group meetings are:
Saturday, Dec. 9 at Lakes Makerie, Minneapolis
Wednesday, Dec. 13 at Sewing Lounge, St. Paul
Thursday, Dec. 14 at Creative Sewing, Apple Valley-and Fabric Swap
All meetings begin at 10:30 am
Debbie’s Garments:
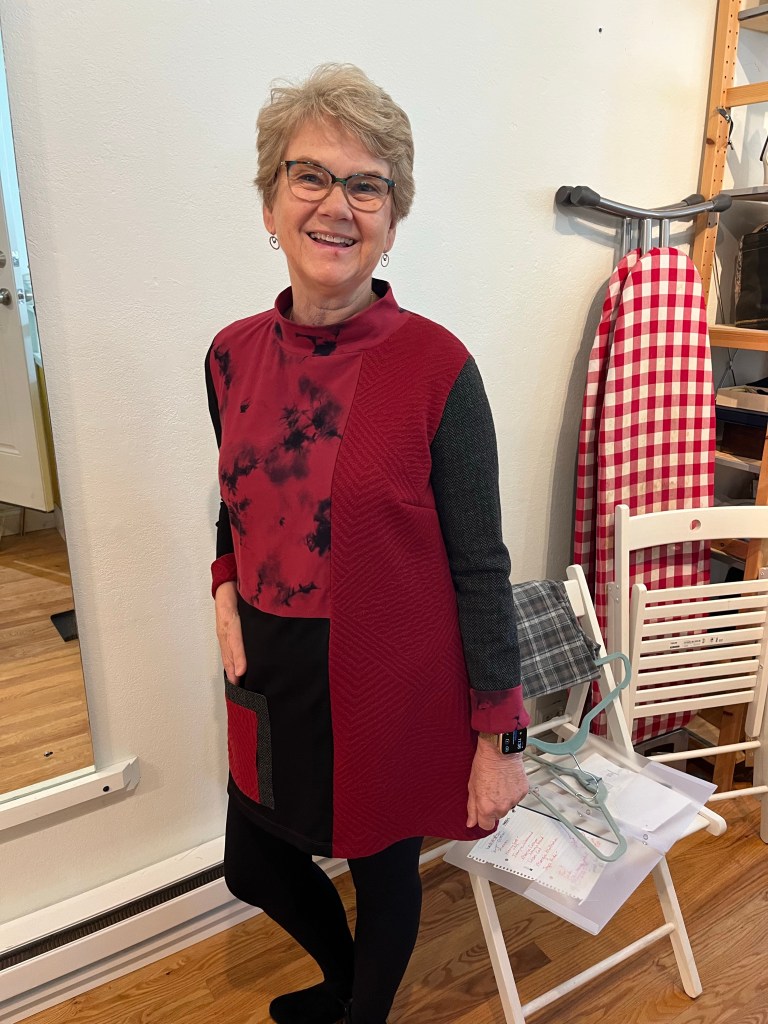
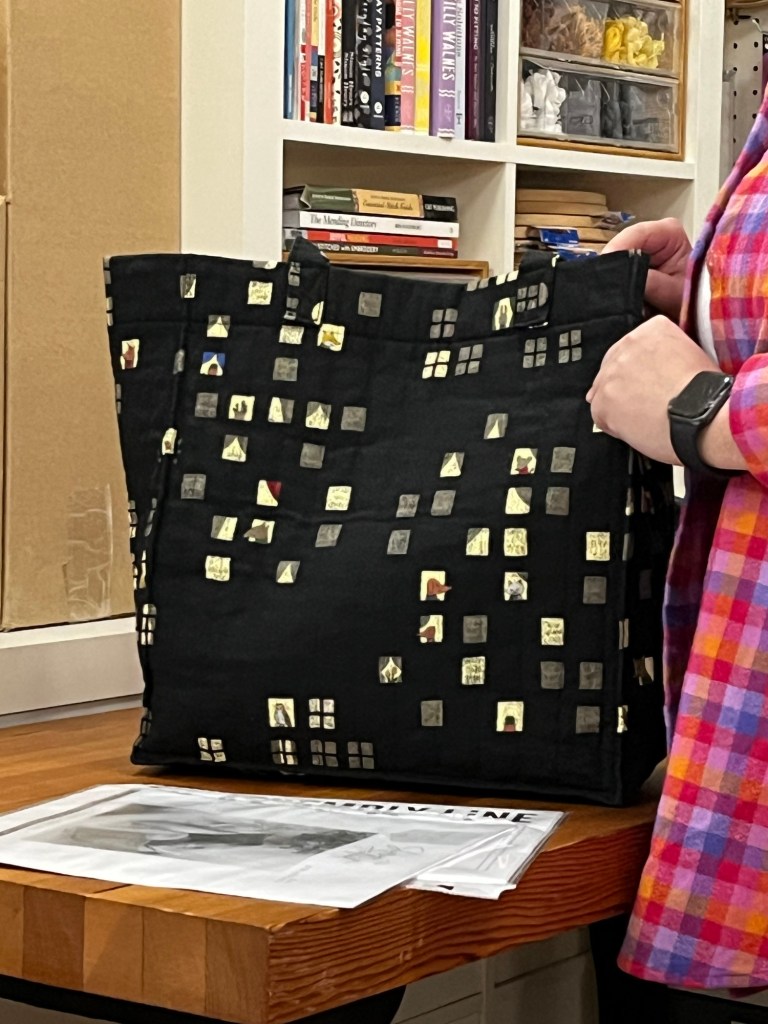
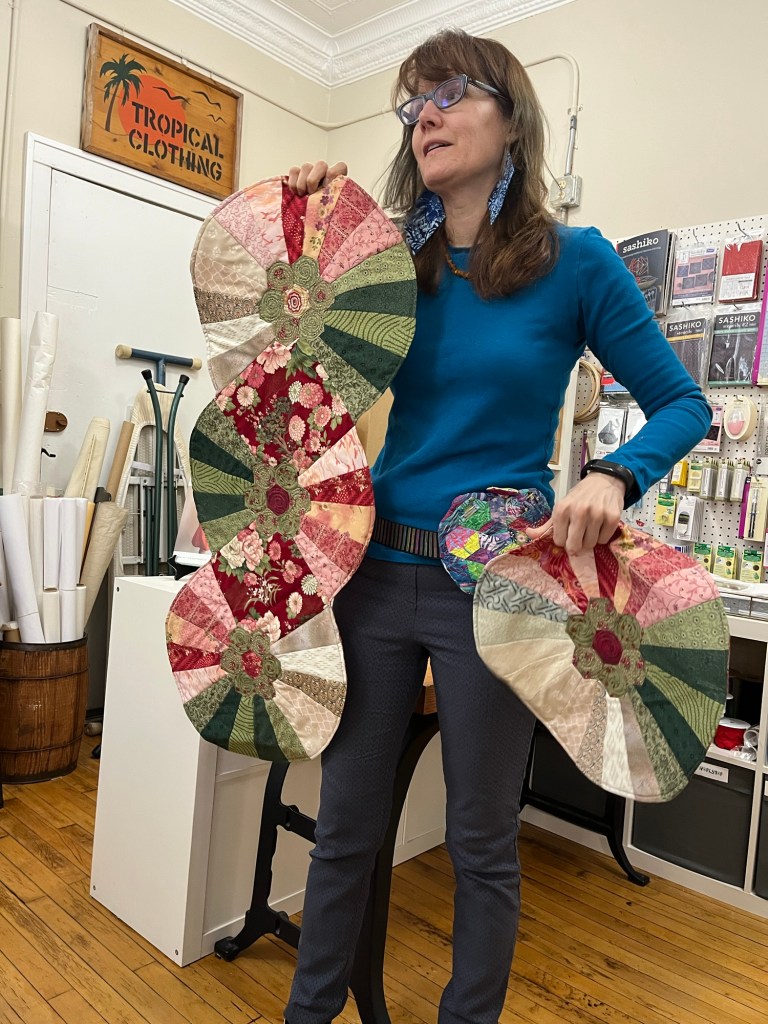
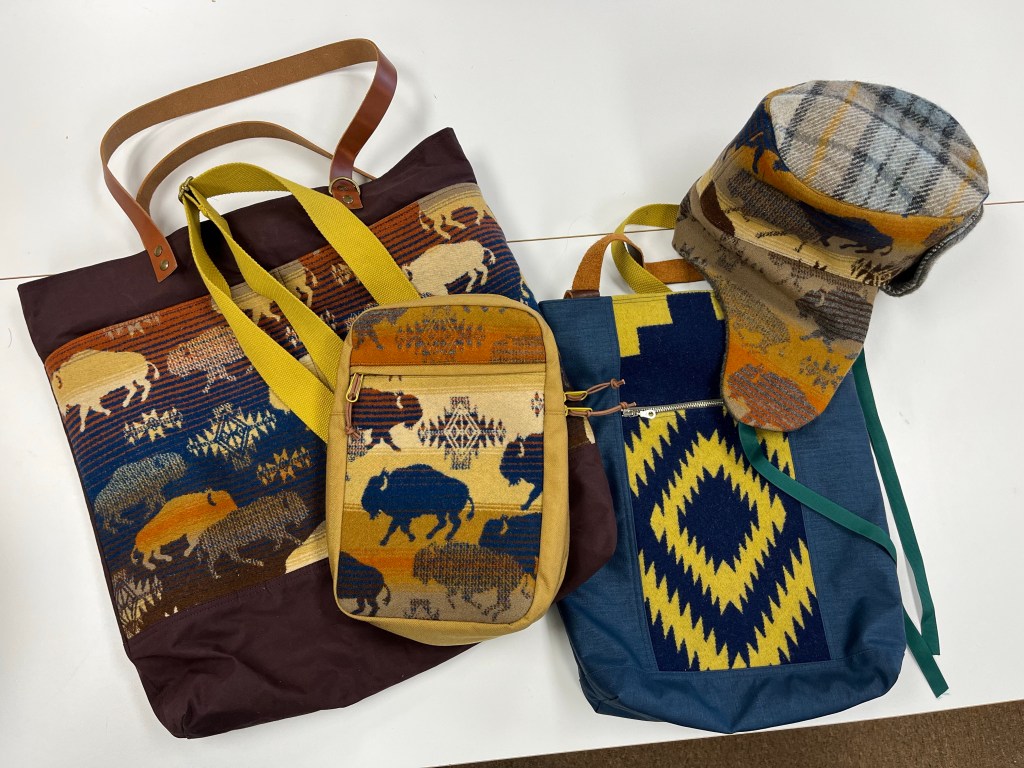
1. My inspiration came from the Artful Home Catalog.
2. Using a basic pattern I drew lines where to cut apart pattern and added seam allowances.
3. The most difficult part was deciding where each fabric piece should be placed.
4. Fun make and a great opportunity to use up bits and pieces of fabrics in stash.
Jalie 4018, Renee Pants-medium weight Ponte
1. This pattern goes together quickly and easy. I especially like the back waist being higher than front. Another TNT pattern for me.
2. Instead of zigzagging elastic to waist as pattern directs I serged it on.
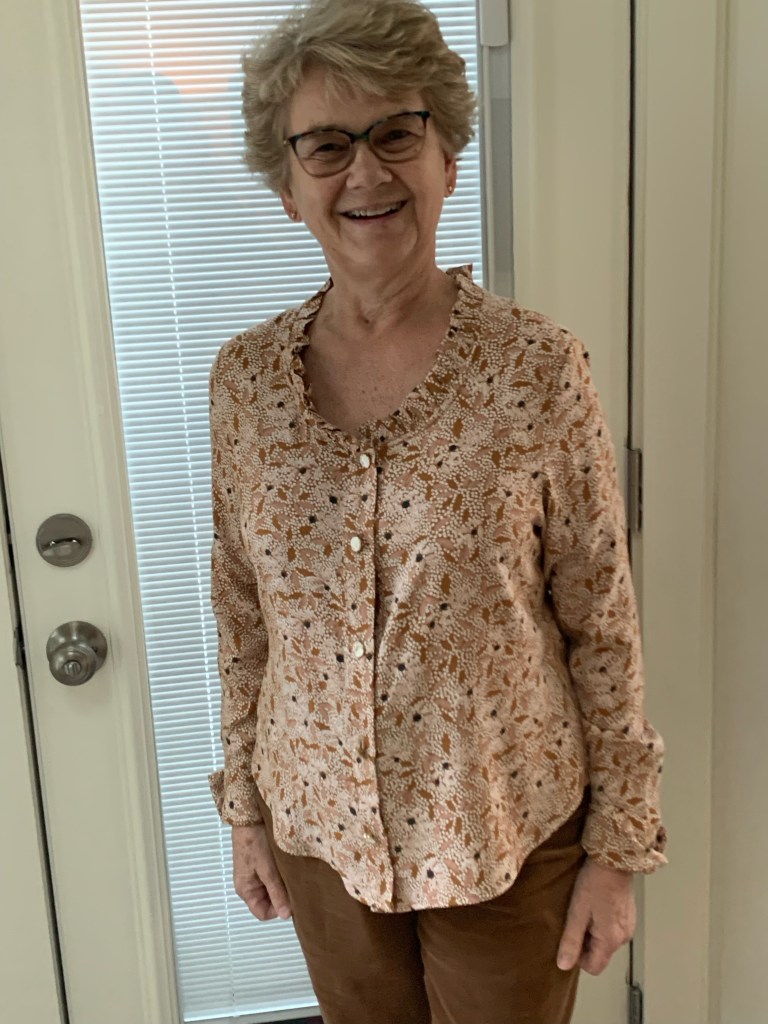
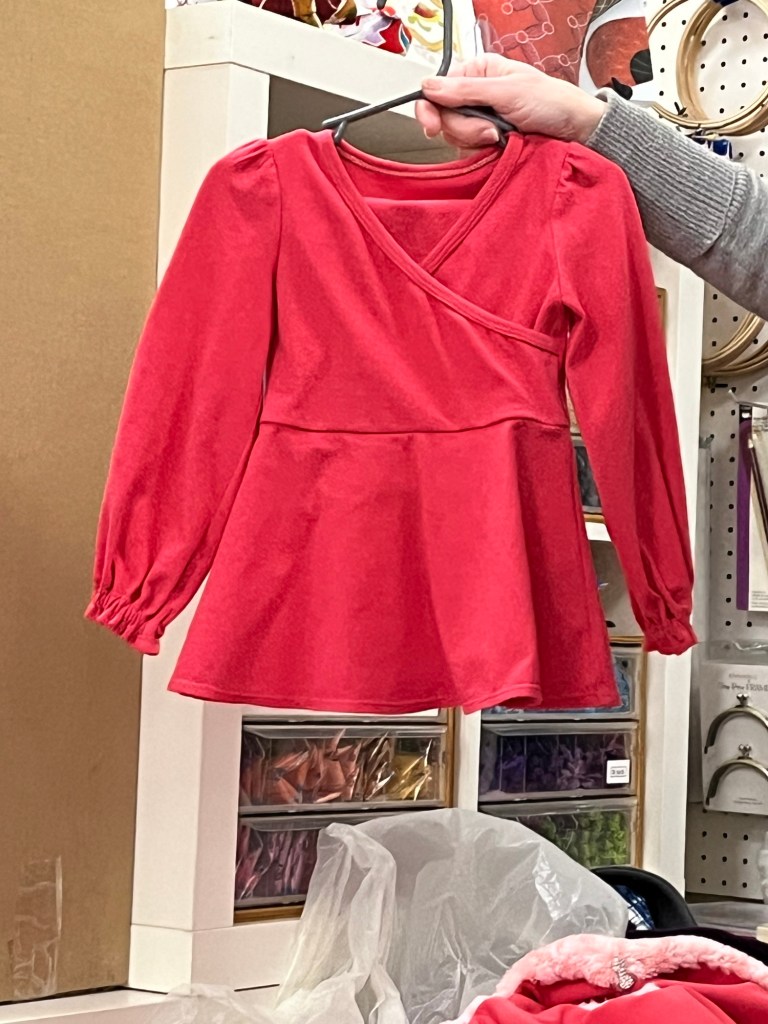
1. This is an older pattern from my stash. I wanted something other than a classic shirt and this pattern fit the bill.
2. I did not have enough fabric for bow but I knew I could make a ruffle for neckline – I was inspired by a RTW blouse I saw in a catalog.
3. I did the following fit adjustments: shortened between shoulder and bust, between waist and hip and and removed one inch from length of sleeve.
4. For the ruffle I cut a bias strip 1 and1/2 times the measurement of neckline, pressed wrong sides together and then basted to neck edge. I added a bias strip along neck edge and ruffle to clean finish seams.
5. The fabric is a dream to work with and the pattern is an easy make.
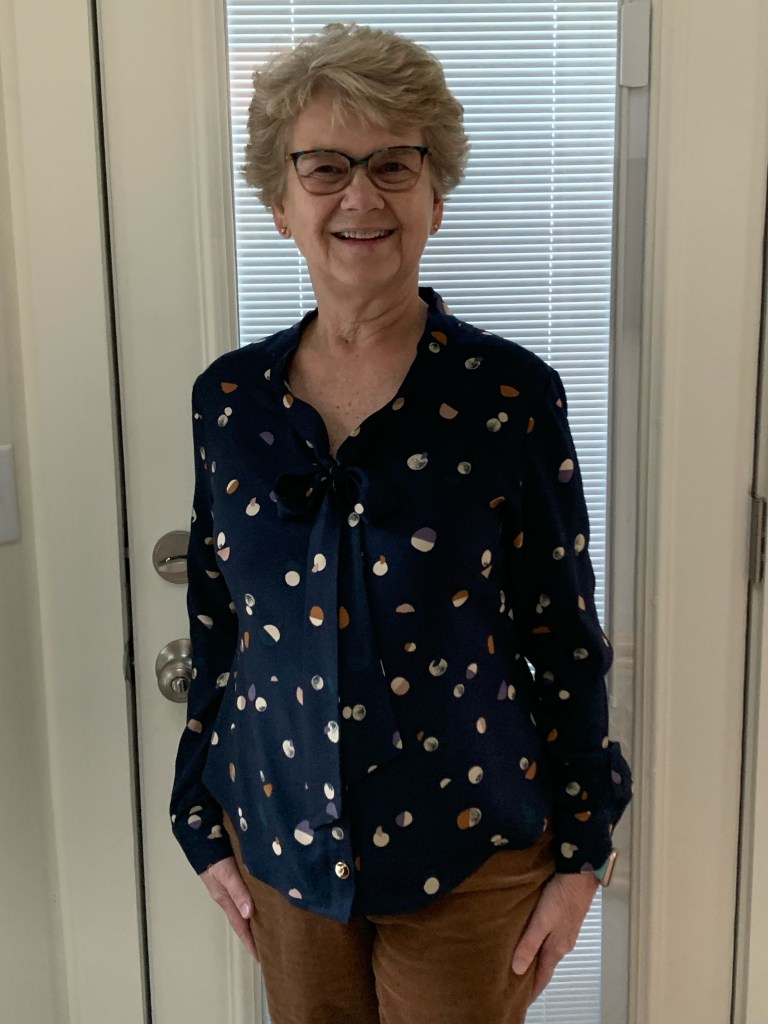
1. This is the same blouse as above except I had plenty of fabric for the bow.
2. I did shorten length of sleeve one more inch – the camel sleeve is too long.
Kristin’s Garments
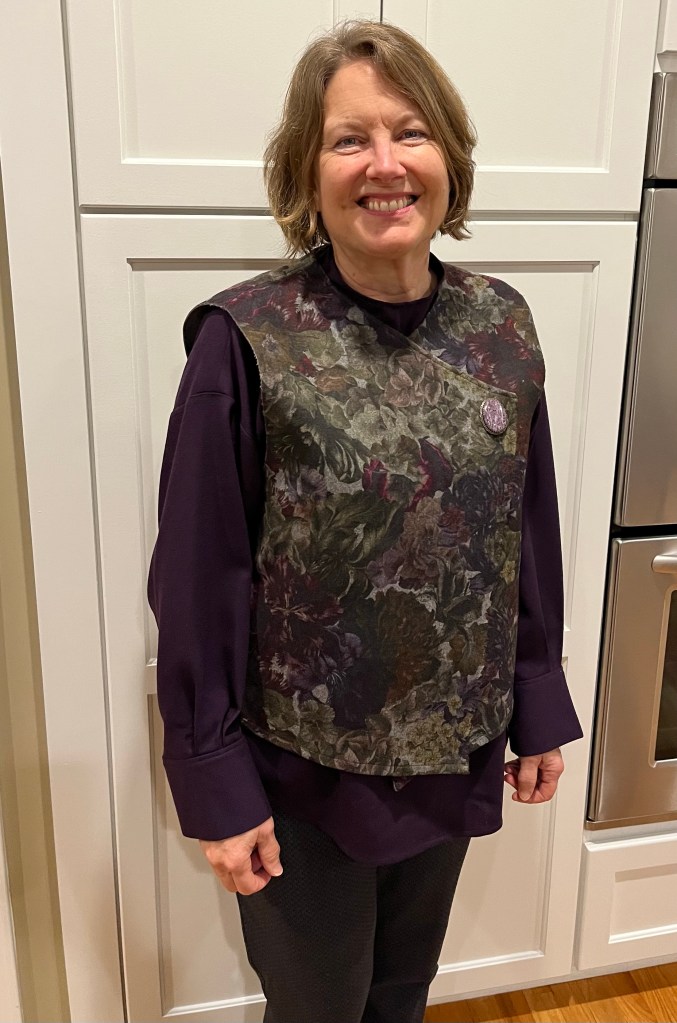
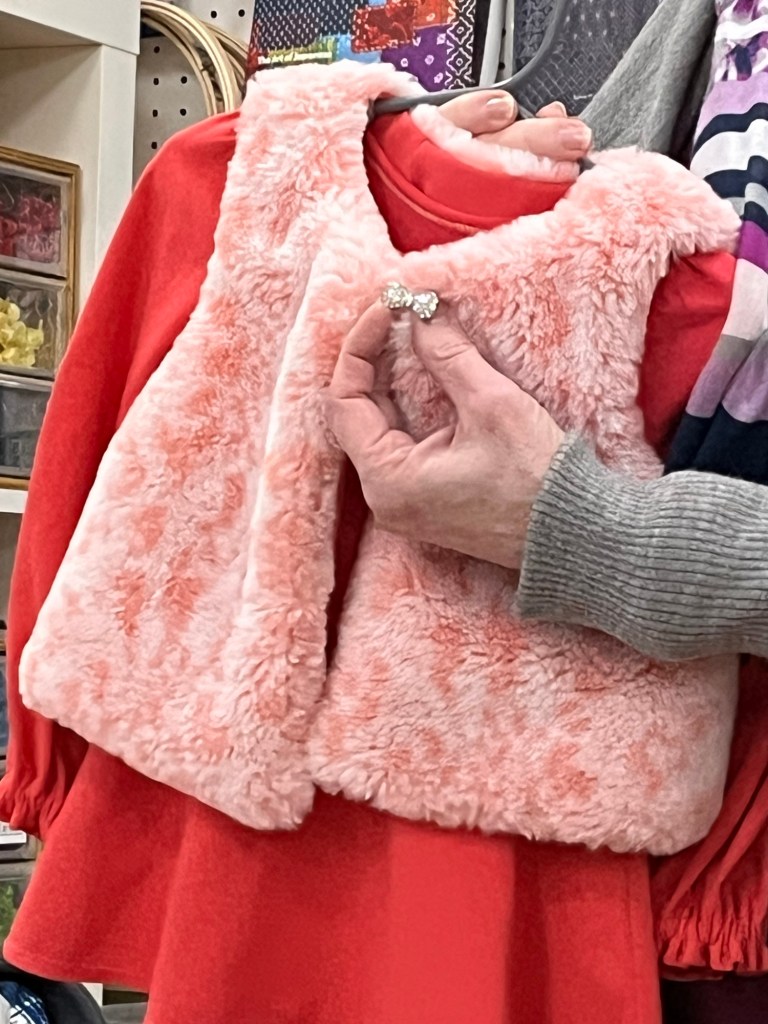
1. Started with Burda 7700 and omitted collar and sleeve, then started hacking away at armhole!! Needed it to be low to fit over purple tunic.
2. Separated layers and trimmed under layer and turned print toward back for hems and same for finishing seams on inside. I wanted the print to show on inside.
3. Not sure if I’ll do a button or just have fun with brooches.
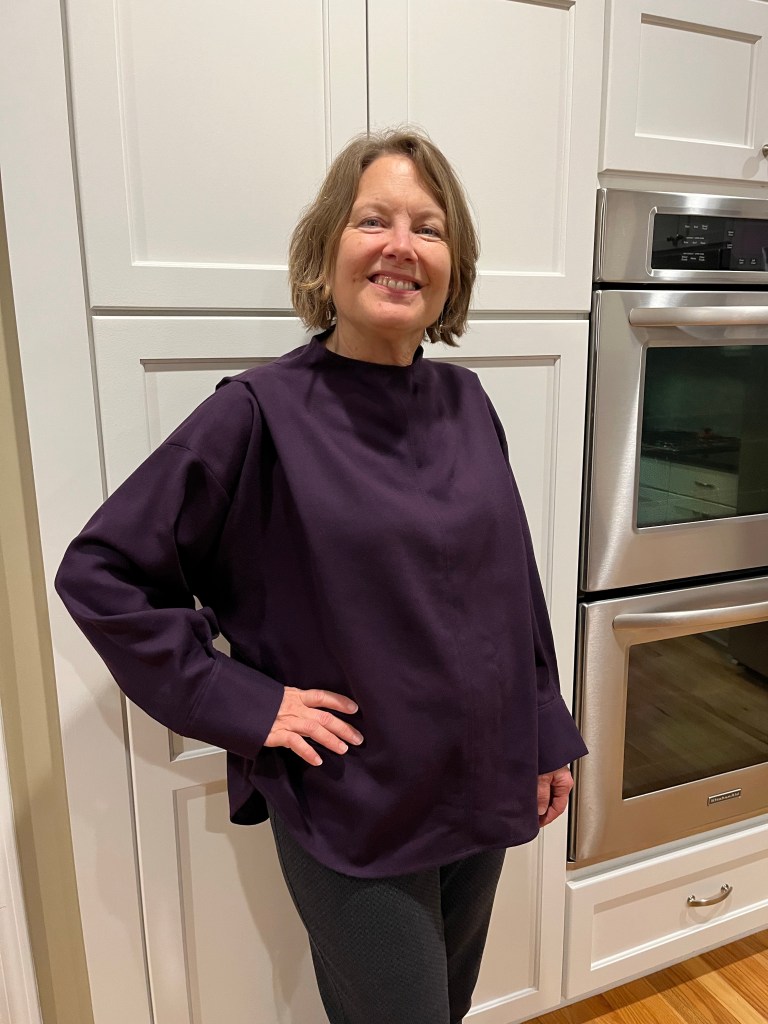
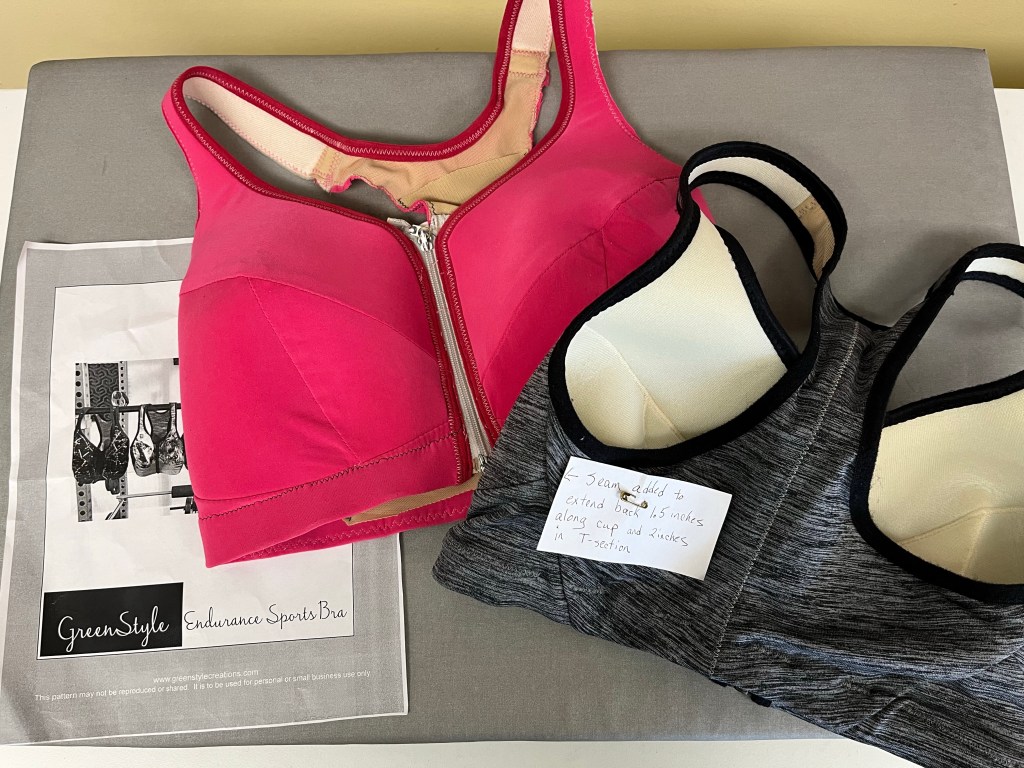
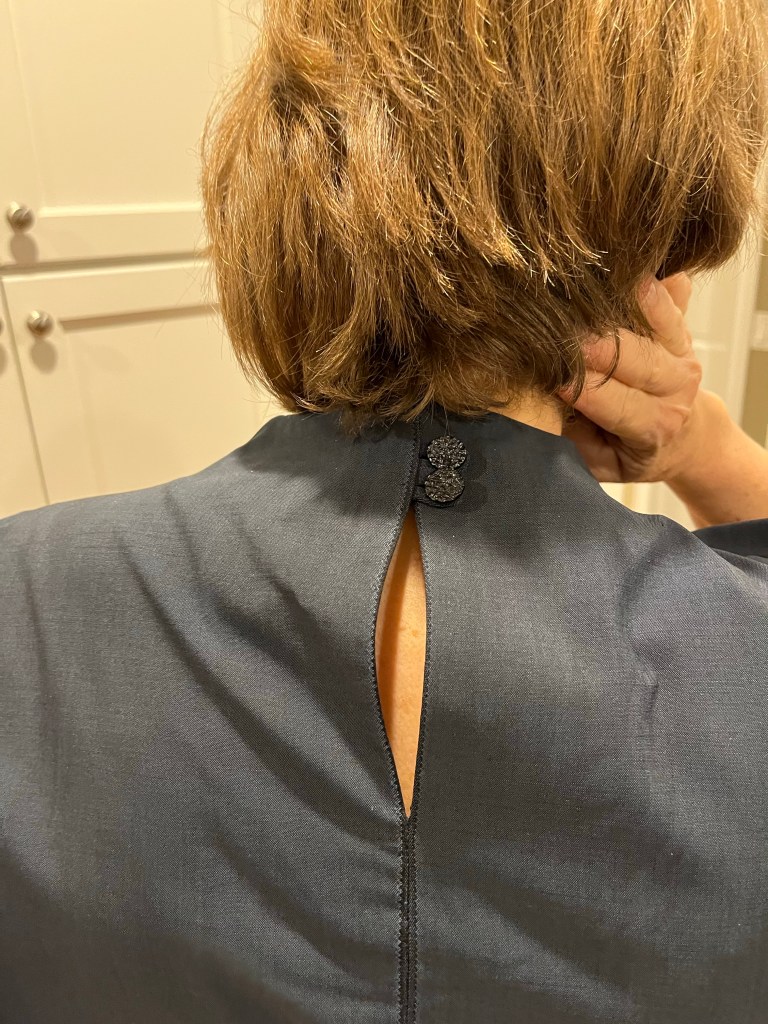
1. Neck placement, back shoulder dart, shoulder position were great. I might even make the neck taller (maybe just a 1/4” seam allowance?)
2. Zipper extension was easy to do and gave nice weight to zipper-can’t feel zip against skin!
3. Design details were cool but…sleeves were 4+ inches too long and width under arms was a lot. To keep the proportions of the sleeve/cuff, I took a 3” tuck at shoulders which did some pretty cool things. Also shortened cuffs by 3/4”.
4. Sleeves are still a bit long but I’m happy with a one-off garment.
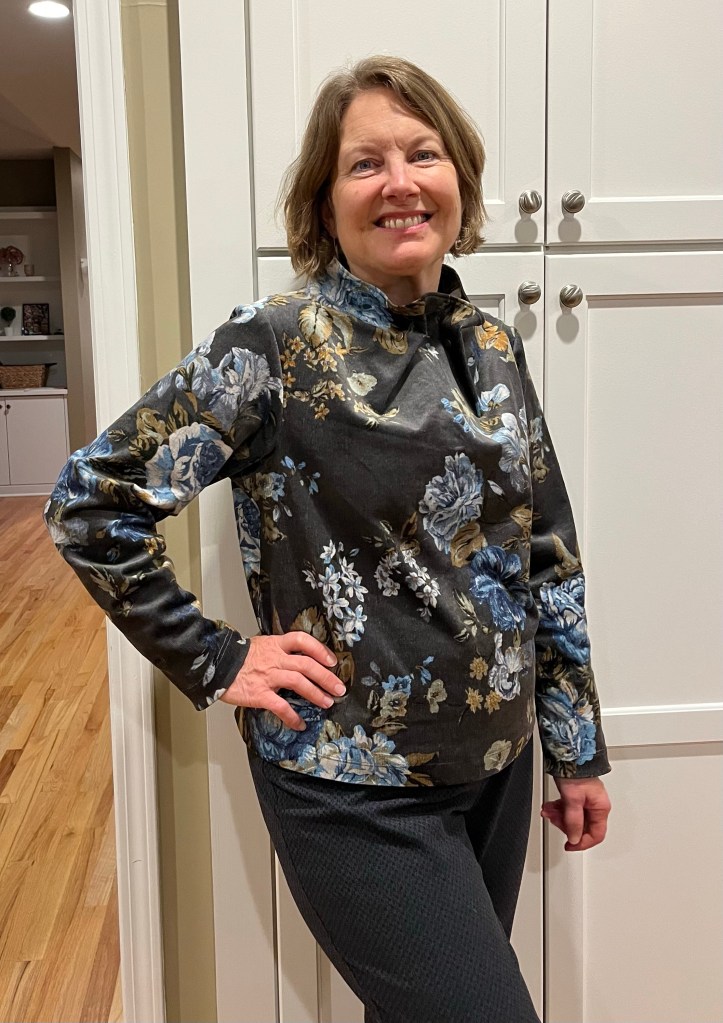
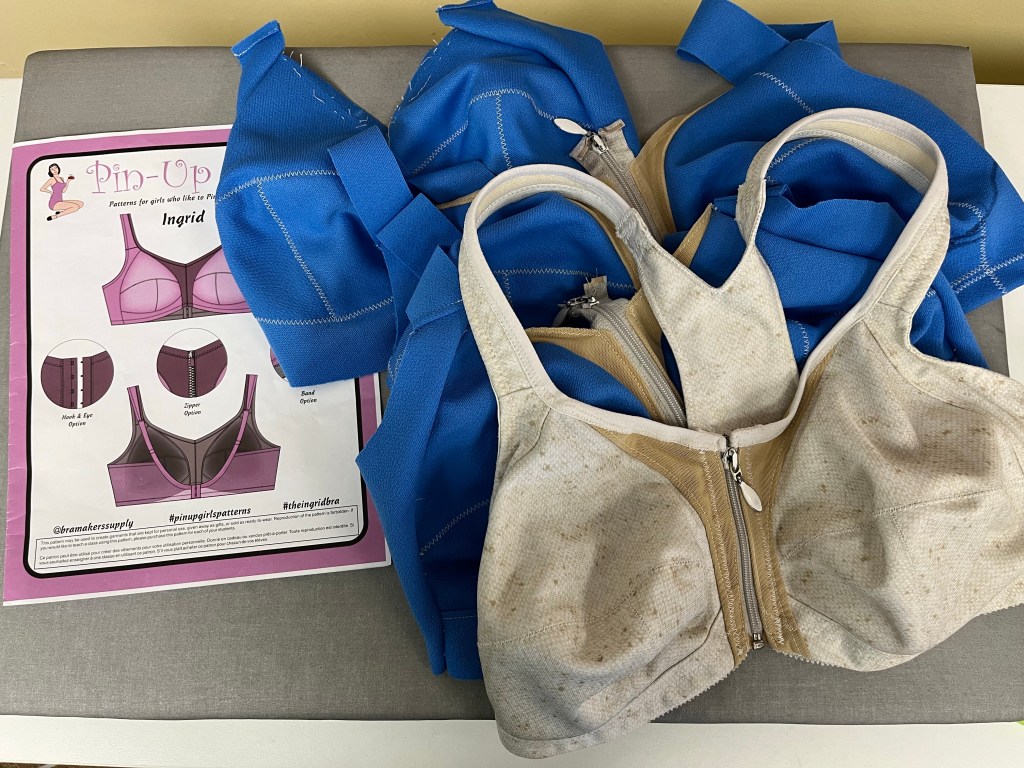
1. Made to pattern but used snaps instead of the elastic tie detail. Still love the sleeve hem facings, neck and fit of this pattern.
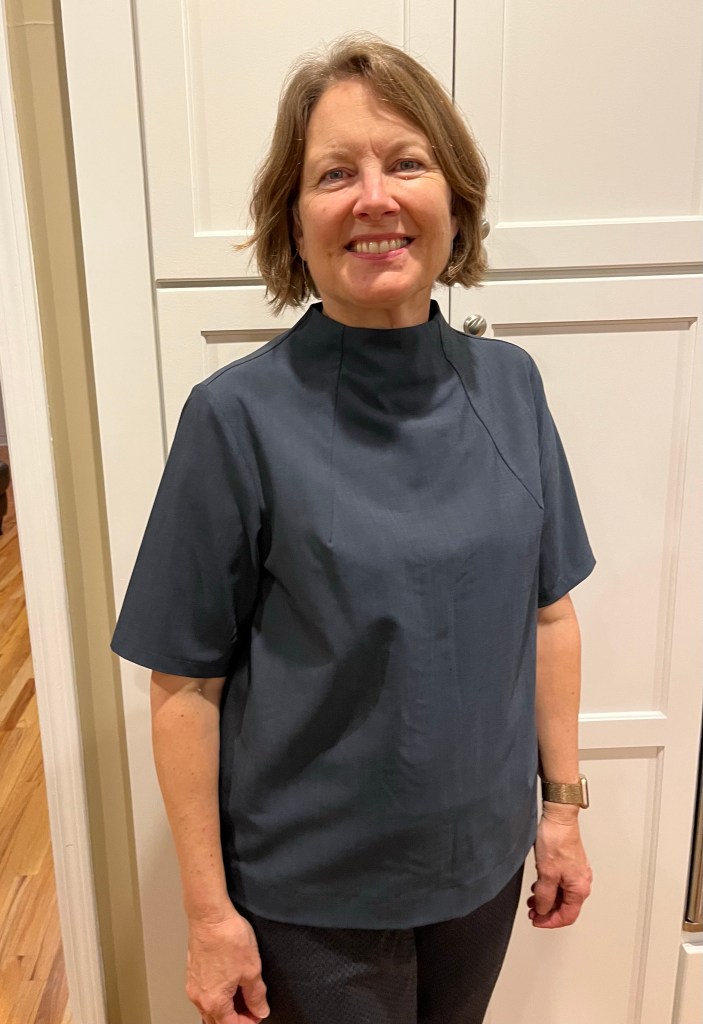
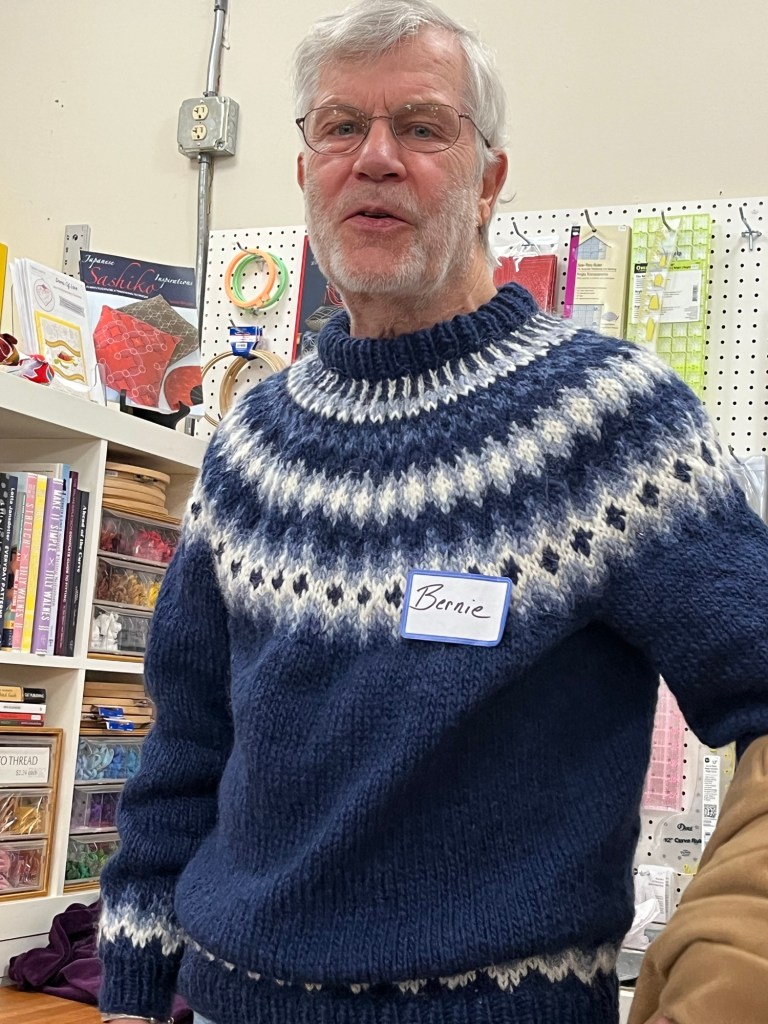
1. Great drafting and fit. Still might prefer a zip to the buttons in back. It’s warmer 🙂
2. Sleeves are hemmed to pattern but need to be shorter.
3. Had fun with selvedge detail at center back seam.
The last of Sew and Tell from November-Debbie and Kristin’s garments will be coming soon…


