Flounce Instructions-New and Improved

For those of you that were inspired by Cande’s flounce philandering, she worked very hard to get a more clear and detailed version so you can do it yourself. Thanks for taking the extra time! I’m sure she would like to know if it works for you or if you learn something she didn’t cover.

Sew, You’d Like to Flounce in 7 Easy Steps!
Kenzie Carlson

It might not be the latest dance craze, but it’s a fun (and EASY) design feature that you can add to a garment.

At the July Fashion Club, I featured two garments which the patterns were modified to incorporate a flounce. The knit top had a flounce added to the neck edge; the woven button-down not only had the neck edge flounce, but also a flounce cuff. You can refer to the July Club Sheets from the Material Girls Sewing website for specifics on those garments. Here, I want to focus on making a flounce pattern piece.

An easy flounce pattern piece is, what I call, a donut flounce. It’s in the shape of a donut and, when cut open, the inner edge is pulled straight and several donuts can be sewn together to make a longer string of opened donuts! Sounds easy!

Supplies:
• Pattern tracing paper (non-paper, fabric is best)
• Scissors
• Rotary cutter (for smooth cutting edge, but scissors okay)
• Cutting mat (if using rotary cutter)
• Tape measure
• Seam gauge
• Straight pins
• Pen
• Ribbon or string (for non-math method)
• Calculator (for math method)
• Garment (or pattern pieces) to attach flounce to

STEP 1: Deciding on Length of Flounce:
• Measure the garment (or pattern pieces) where the flounce will be attached to. Then, make it a tad longer (for good measure!).

Good to know:
Rather than making one large donut to follow the whole neck line, make smaller donuts. This way, there will be more waves (fullness) in the flounce as well as better use of the fashion fabric by using smaller pieces (perhaps, good use of larger scraps).

In a case of a vee neck, you can measure the back piece (shoulder seam to shoulder seam) as one donut cut from a single layer of fabric. Then, measure ½ of the front (shoulder seam to center front) as one donut cut from a double layer of fabric. The donuts can be pieced together at should seams and center front. Summary: back = 1 donut; front = 2 donuts.

Or, another vee neck idea, measure from back center to front center as 1 donut cut from a double layer of fabric. The donuts are pieced at center front and center back. Summary: left half = 1 donut; right half = 1 donut.

For a rounder neck opening, measure the back piece (shoulder seam to shoulder seam) as one donut cut from a single layer of fabric. Likewise, measure the front piece (shoulder seam to shoulder seam) as one donut cut from a single layer of fabric. Piece at shoulder seams. Summary: back = 1 donut; front = 1 donut.

STEP 2: Making the Donut’s Inner Circle:
The inner circle of the donut aligns with the garment where the flounce is attached.

• You just measured the garment (deciding on the length of flounce) and added a tad for good measure (say, an inch). Now, add any seam allowance to piece the flounce to other flounces (say, a narrow seam allowance of ¼” ). Let’s call this measurement INNER.

Non-Math Method:
• Cut a length of ribbon (or string)as long as INNER.
• Shape nicely into a circle on the pattern tracing paper.
• Carefully, use the pen to trace the ribbon.
• Remove ribbon.
Good to know: Doesn’t need to be a perfect circle!

Math Method:
• Calculate the Radius (distance from the center point to the donut’s inner circle).
Solve for Radius: Radius = Inner / 6.28 (note: 6.28 = 2 * pi)

• Stick a pin through the zero mark on the seam gauge and into the pattern tracing paper. (We’re making a makeshift compass!)

Or, stick the pin into the pattern tracing paper and snuggle the tape measure next to it, so the tape measure can swing on it’s edge in a circle fashion! Ta-da, makeshift compass.

• Holding the pin steady with one hand, take the other hand and place the pen at the Radius number on the seam gauge (or tape measure). Best you can, swing the measuring device (marking a line with the pen) in a circle fashion around the pin.

STEP 3: Deciding on the Width of the Flounce:
• Add up and let’s call this WIDTH:
o Seam allowance to attach the flounce
o Width of the finished flounce (suggestions: 2 ½” for neck line)
o Hem (suggestions: knit – no hem; woven – ½” for a double turn of ¼”)

STEP 4: Making the Donut’s Outer Circle:
• Place the seam gauge (0” spot) on the donut’s inner circle.
• Place the pen at the WIDTH number on the seam gauge. If you’re lucky at that spot on the seam gauge, there might be a hole to stick the pen into!
• Keeping your eye at the 0” spot, move the seam gauge along the inner circle, marking the outer circle with the pen. Go slow.

STEP 5: Cut Donut Pattern Piece:
• Carefully (and slowly), use the rotary cutter to cut pen lines.

STEP 6: Cut Opening to Donut Pattern Piece:
• Fold donut pattern piece in half, making a ½ circle. Make sure to align outer and inner edges as best as possible.
• Finger press only ONE fold.
• Open pattern piece back into a full circle.
• Cut along finger-pressed line.

STEP 7: Check for Flounce Fullness:
• Open pattern piece so the inner circle becomes a straight line. Magically, the flounce fullness and waviness appears below!!

• Put the pattern piece next to your body where the flounce will end up at. Remember that the flounce will end up narrower than the pattern piece. So, envision what it’ll look like after the fabric is hemmed and sewn to the garment.
o Does the width look too narrow or too wide? Remake the pattern piece adjusting WIDTH.
o Does it look too full (clown-like)?? Remake the pattern piece by increasing INNER. Perhaps, too many small circles are piecing together.
o Does it look too flat?? Remake the pattern piece by decreasing INNER. Perhaps, make this pattern piece into 2 smaller donuts.

Good to know:
The beauty of using fabric-type pattern tracing paper (over paper) is that you can test what the flounce will look like before cutting into the fashion fabric. Granted, though, the fashion fabric will be different in drape than the pattern tracing paper, especially if using knit. But, at least, you’ll be in the ballpark!

TIPS for Dealing with Stabilizing and Hemming:
After cutting your fashion fabric (and before cutting it open to make it straight), it’s a good idea to stabilize the fabric. Cutting a circle shape means that you’re working with a bias and, especially with wovens, bias can get stretched.

Stabilize with a spray (or machine stitch the inner circle) before folding the donut in half and finger pressing the fold to make the opening cut line.

Stray stabilizer on wovens is handy for a nice, flat hem! After stabilizer dries, finger press the outer edge ¼” (it kinda stays!!) and, then fold that over another ¼” and finger press. Follow this with a hot steamy iron and it’s ready for machine sewing!

TIPS for Attaching the Flounce:
Remember, the flounce was cut with a tad extra length? It’s best to have a bit longer flounce than to end up short!

To attach multiple donut flounces, I found the most accurate (and less frustrating) method is to attach the flounces to the garment, then to each other.

To do this method:
• Begin (and end) sewing the flounce to the garment at about 2” in from the finished flounce-to-flounce seam. You’ll end up with the flounce ends not attached.

For instance, if you want the front and back flounce donuts to join at the shoulder seams, start (and finish) attaching the front flounce 2” from the shoulder seam on the garment.

• After all the flounces are attached to the garment, attach them to each other while aligning the flounce to the garment. This way, you’ll take up the extra length into the seam allowance between the flounces, which can be trimmed away.

• Now, attach the remaining flounce to the garment.

Catching Up on Summer and Oh, By the Way…

It’s time for Fashion Sewing Club! This Thursday, August 9 at Make It Sew, Chanhassen at 10:30 or 6:30, Saturday at Treadle Yard Goods in St. Paul, 10:30 and Tuesday, August 14 at Treadle, 10:30 also. Love to see you-sew up that one fabric that you can’t put away for yet another season and wear the garment while it’s still summer. Here’s what’s on my sewing table:


Summer or Fall?

I missed out on the last two Clubs in July because I was in NYC meeting the new in-laws. We had a wonderful time. It looks like we covered alot of territory, and we did. Hot and sweaty but my favorite way to travel-on foot. We started at the lower end of Manhattan in the financial district full of families-that was a surprise, not at all an uptight neighborhood but lots of play space for kids and they were everywhere, all the time. Then the garment district-yup, made it to Mood (Are you watching Project Runway?). Husband chose the chair just outside the elevator and got to know the owner, Jack;Lizzie and I looked for tie silk and textured knits-with plenty of help from employees that wanted to cut samples for us. I’m surprised they didn’t check for scissors at the door. Then up to Museum Mile and the Schiaparelli exhibit. Well worth the time. We enjoyed “Harvey” on Broadway starring Sheldon from Big Bang Theory (that’s the only way I know him). The subway (a very warm wait before the air conditioned cars-how do men walk down into the subways in suits and long sleeved shirts and still look cool?!?) took us to the northern tip of the island to see the Cloisters and we sampled a food fair after a ferry ride to Brooklyn. Such a different atmosphere in all of the areas and we only hit a small part of New York. I watched for my “Sartorialist” moments but had to be happy just making camera noises as we had things to see and places to go. But there were dresses everywhere, even Bill made mention of it. So this is the summer to wear them. Don’t let the opportunity pass you by. And speaking of people to look at-Abercrombie had a few young men in swim trunks in front of their store-thanks for the eye candy for females!
Here are a few pictures:

“Lunch” exhibit at NYC Public Library

World Trade Center Memorial

Brooklyn Bridge
Louis Vuitton Storefront
Schiaparelli/Prada Exhibit at the Met
Cool Artwork along Chelsea Highline
View from the apartment roof

I told the girls at our summer sewing camp that they’d be on our website so I best keep my word. Four days of fun and their favorite thing was the hand sewing! Whodda thunk? We hope you come back for MEA break girls!

The Art of Fitting – Before

A post from Carrie in California-

I confess, I have a secret dream to take my love of sewing from a hobby to a business, so I can get paid to do what I love. However, one of the glitches to this idea is that I don’t have a fashion degree, no time spent apprenticing under a professional, or well known design school name on my college degree. I’m a home sewer who loves to take classes and enjoys learning from a community of experienced sewers. So, in order to bridge what I see as a gap, I’ve been looking around for ways to quickly become educated to a level that I can sew for myself and others with RTW like results. As we all know – the holy grail of fine quality sewing is correct fit. Just search Amazon “sewing fitting books” and you will find at least 243 results. I’m sure we all have some of these in our home libraries- I have at least 6. I’ve also looked for seminars, which suits me because I’m more of a hands on kind of learner. There are several well known names who offer fitting classes. However, most classes focus on learning how to fit yourself. But my fitting issues are not the same as someone else; so learning how to fit the most common adjustments will be important in order to sew for others. In my search I found there are a few options for fitting instructor training. Palmer Pletsch offers training in their pattern based fitting method. But I was more attracted to what Silhouette Patterns offers – which is muslin based fitting. The Silhouettes seminar is 3 1/2 days including instruction and hands on experience fitting others. I signed up for this class in Dec, and have been looking forward to it since! The preparation for this seminar includes making at least 9 muslins, covering the basic silhouettes: top, jacket, pant, dress and skirt. It’s a lot of work to make 9 muslins, but each one takes only a few hours. It takes a little extra time to extend each length wise seam to 1 inch, but the actual sewing using a long stitch length goes pretty fast. I paced the prework out over a month -and have now completed all of the muslins. Here is a picture of my completed work bagged up and ready to take to Dallas, TX! I’ve now worked with at least 9 Silhouette patterns and haven’t run into any issues of pieces not fitting together or major construction issues. However, from past experience, I know that sometimes the instructions are written for an experienced sewer, in that some details are left off – for example how to finish the hem on the wrap skirt. The instructions for making the muslins were much the same – the exact instructions could be confusing to a beginner, but if you have some experience sewing – it’s easy to get the gist of the message and work from there.
At this point, just a few days away, I’m not sure if I’m more excited to have a new wardrobe of 9 patterns that have been specifically fit to me, or developing the skill of being able to fit others 😉
More to come, I promise to wrap up with a note during the training itself, and one after the training.
Also, if you have any comments or experience sewing for others, or helpful learning regarding fitting others- please add a comment below.

Runaway-Walkaway

An email from one of our contributors:

Hi Ladies,

Just pushed my kid off the computer! He will be getting HIS tomorrow, in reward for getting a decent grade on the AP US History test. He knows the topic ad nauseum. All I know is that Columbus discovered America and was a great guy! (Reciting that fact gets my kid started on a rant…LOL!)

Okay, now that we know that I know nothing….

Look at this picture of Peggy Sagers pattern #4509 – Run Away Dress (July’s Pattern of the Month). I don’t know about you, but my 1st reaction to seeing this pattern envelope is that it looks like Faye Dunaway in the 1967 flick, Bonnie and Clyde, as Bonnie. Naturally, by calling the dress “Run Away” it sets me up to see the thing in Bonnie’s hand as a pistol, carrying a bag of money, and a smile on her face saying, “One step closer and you’re history!”. Even though I was only 7 years old at the time, Faye was beautiful as ever and, if recalling correctly, wore floppy hats. I can’t shake that 1st image, so yes, Faye is posing for Peggy.

This is the pattern by Butterick that Peggy was copying, the 1952 Walk Away Dress. As Peggy explains in the latest webcast, Butterick came up with this quick and easy pattern that could be cut out at breakfast, sewn in the morning, and walked away in for lunch. (Breakfast must’ve been earlier in those days…say, 5am….) Peggy suggests heavy fabrics, like denim. Butterick suggests lighter weight. Next to the Butterick pattern is MY favorite rendition found on the internet in totally a period design found at http://www.edelweisspatterns.com/blog/?p=1030


Off to sew, until it gets dark. Then, it’s time for Night Time Practice Driving with aforementioned son…he has 9 1/2 hours left to fulfill Minnesota requirements. I never knew that I needed to put my life in danger, in order to get the kid to fly-the-coop….

Kenzie

We Mix It Up in July


Since Treadle was holding kids’ sewing camp on Tuesday, we held Fashion Sewing Club in the store. This shook things up a bit but in the end it seems to have added to our numbers. At least anyone coming in to the store knew what we were about. Over 30 people with more than 5 new people-and some of them brought show and tell.

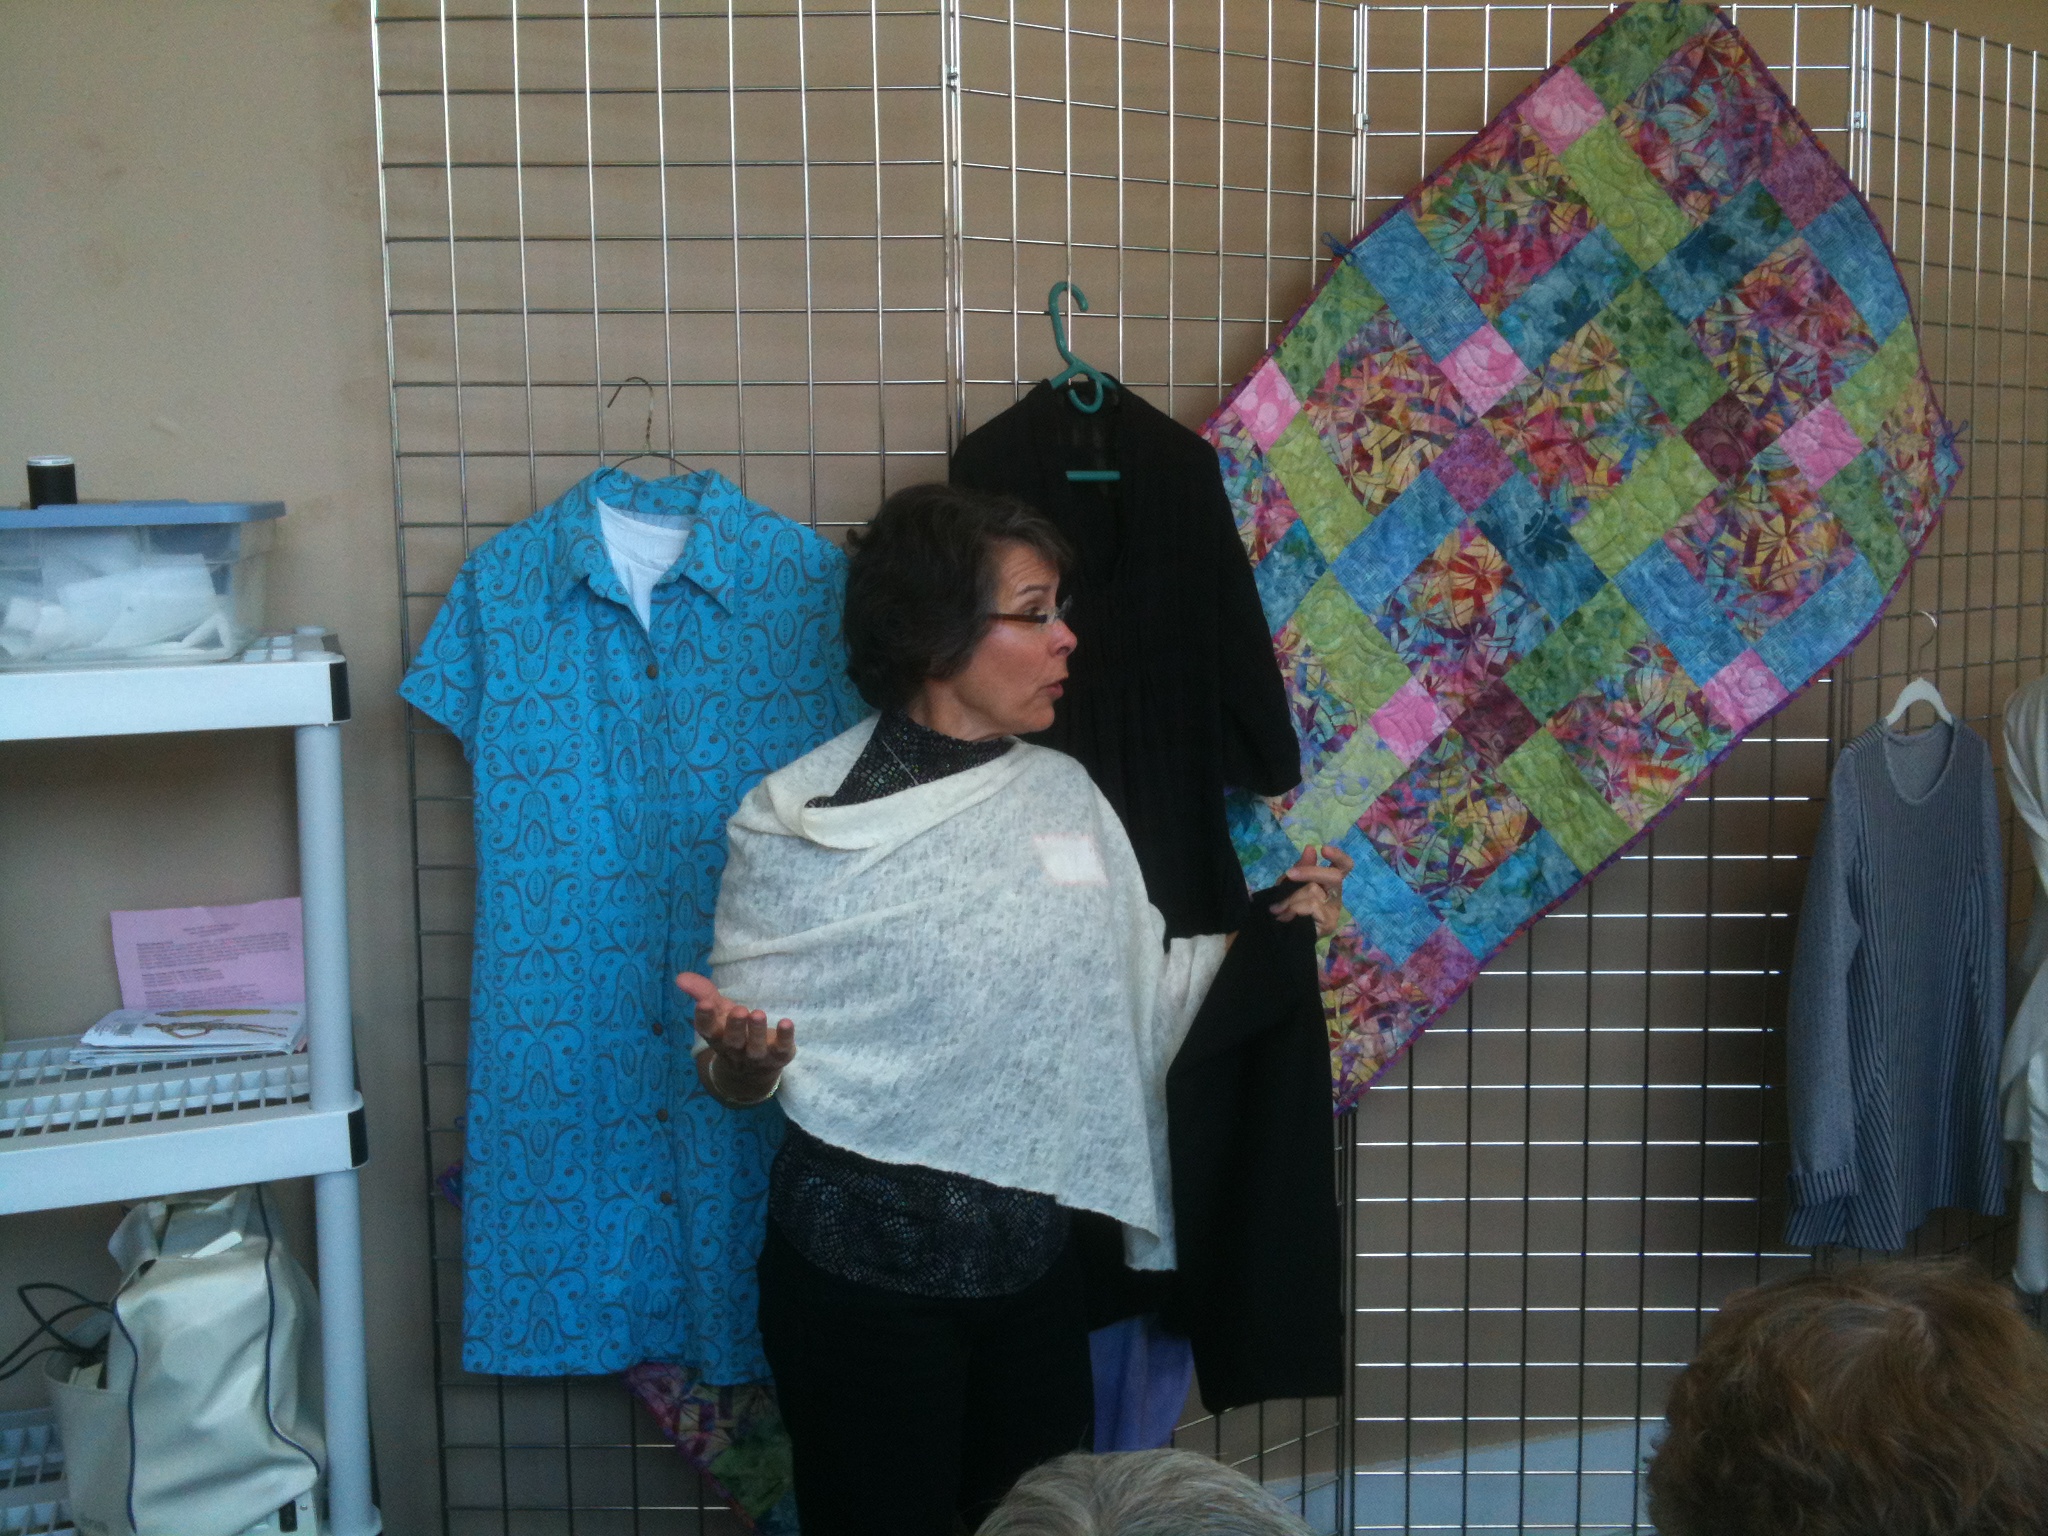
Kristin headed to NYC to meet the soon-to-be in-laws so Cande Roberts tried her hand at getting up in front and highlighting the garments she made for the month. We really appreciate her efforts and hope you enjoyed the change of face 🙂 Make It Sew had fourteen for the day and then more copies were needed for the Saturday Treadle meeting as new faces showed up there too. Two sewists from Madison had been following us on the website and planned a weekend in the Twin Cities centered around fabric and sewing. The Saturday meeting was on their agenda so they brought garments for Show and Tell and were impressed with our format. Franchise, anyone?

And then just a few pictures from our adventurous students-
Irene brought in a whole sail from a sailboat-I know it doesn’t look like a sail but this is a racing sail-and went home with a bag that she’d seen for sale at a regatta. Of course, she knew she could make it for much less than the price tag.

Just a tee from Target but big satisfaction for a beginning sewist and mom who wants to make special and inexpensive birthday gifts.

Stay cool-move your sewing machine to the basement 🙂

Whirlwind Week; June Club Sheets Online

June Fashion Sewing Club began on Saturday at Treadle followed by a full class of beginning sergers. Mary, the owner at Treadle started the day off right with the announcement that they will be offering Butterick, Vogue, McCalls and KwikSew at a discounted price all the time! You’ll have to check on the start date as there were a few bookkeeping kinks still to be worked out. What a good deal for all of us. Basic Sergery is so satisfying for Debbie and me because students, for the most part, learn a lot and leave feeling much smarter.

A new pattern line you may want to check out

Sunday we drove to Truman, MN (Iowa, as one Club member insisted 🙂 to stay overnight at The Whittler’s Lady Bed and Breakfast so we’d be near Fairmont for our class and trunk show on Monday with the Prairie Star Quilters. The class, Summer Coats, was held in a church and no one did the same thing! We had one Sophia Trench and lots of upcycling of favorite or “too good to get rid of” garments. That might be a good class to try up here.


Tuesday we had a packed house at Treadle. Wednesday we “Focused on Fit” with a basic shell-several full bust adjustments and nips here/tucks there. Thursday was Fashion Sewing Club at Make It Sew; Friday, Sewing With Sheers and Saturday, a full class of Sophia Trenches at Eagle Creek.
All Sophia Trenches except one student made a pillow for her future nursery-and my grandbabies 🙂

Whew! Doing lots of what we love to do. Hope all those who were part of our week had as much fun as we did. Club Sheets are online if you missed it.

I’ve Got the Blues

20120606-163300.jpg
The June edition of Fashion Sewing Club is approaching quickly (first meeting: Saturday at Treadle) and I’m about ready to change the color of thread in my machines. It’s about time but I must say it has been a time saver and most items are matching each other (a new concept for me ;)).

See if you can guess which items match the garments at Club.

On another note, I ran into a Material Girl in the Joann parking lot (no damage ;)) and she turned me on to the Joann Fabric iPhone app. Very simple, it shows you which coupons are current, you download what you want to use (a matter of a second) and you read or show the coupon number to the clerk. No more sifting through old/new coupons. I would like to see a feature that gives me the dates for upcoming pattern sales. Maybe I’ll make a request-or we all can and maybe they’d make a change!

I don’t wear ruffles!

From our California Material Girl…

That’s what I told Kristin when she suggested that I try on a dress that had been made for club. The dress had a large ruffle that went around a scoop neckline – Kristin may remember better than me the details. But all I saw was a large ruffle and being 5′ 3″ – it looked like I could be swallowed up by it! What would have been more accurate for me to say is, I don’t wear large ruffles – I know, silly rule – but don’t we all have some clothing rules? So, now that I’ve confessed to putting my foot in my mouth – here are a couple of garments where I’ve recently added ruffles to necklines.
I feel like there have been two large trends out there for awhile now – ruffles or the drape front look. I’m not much of a drape girl – again small in stature, I feel a bit enveloped by too much drape. I figure I can add a ruffle to any garment and keep it within my comfort level.

So, the first is a cardigan. This is the basic Kwik Sew pattern – once you get it fitted to your shoulder, arm and torso length – you’re good to go, add or change whatever you want- it’s easy with this pattern. I pulled the ruffle piece from Simplicity 2256. I had in mind this lush, double sided, purple knit that I picked up on the Sillouette NYC Fabric trip. I wanted some way to show off both shades of the fabric and I thought a ruffle could do that nicely. The ruffle from the Simplicity pattern was the perfect length and shape, the only adjustment I made was I wanted the edges to be left raw. I followed the pattern’s direction for construction of the neckline ruffle and I have to say – it was very difficult to gather two layers of knit fabric with a seam down the middle. If the fabric was any thicker I don’t know how you would do it. The instructions basically have a seam down the middle of the ruffle and your gathering stitch goes right along side that. After several attempts using a basting stitch on my machine, which kept breaking when I would try to gather the ruffle – I finally hand basted a gathering stitch. This was the most difficult part of the project. Once I had the gathering done, I just had to sew the ruffle to the finished neck line. Easier said than done – again I hand basted the ruffle to the neckline because it got “squirly” with the thickness of the ruffle – and not being able to see where you were attaching the ruffle to the neckline as you were sewing. My finished stitch line along the neck line is not so straight on the inside of the garment – but on the outside you can’t tell. In the end, I’m very happy with the finished cardigan. (the shell underneath is another NYC fabric. I used McCalls 5818- and turned the dress into a shell)

Next is a great tried and true Jalie pattern. I found this crazy fabric online – the description noted that it had a snake skin pattern – when it arrived it didn’t look exactly as I remembered. It was a bit crazier with pattern and color than I expected. I saw a top in a catalog with the flounce bottom and a ruffle around the top. I thought it would be easy to add a ruffle to this Jalie neckline. Well, the first thing I noticed after making up the top is that the Jalie version has a twist neckline and the RTW version did not have this added complexity. The other big difference I realized was that the Jalie pattern has a dipping neckline in the back – unlike the RTW which had a normal round neckline in back. Since I planned to use the Simplicity ruffle pattern again – it would not fit around the back neckline – it was too small and I had already cut it out leaving not enough fabric left over. So I figured I’ll just run a ruffle from the neck to the bustpoint – that didn’t work out so well. In the end I think the ITY jersey I used was too heavy to create a nice full ruffle – it just wanted to lay flat. So, I decided flat it is, and I made my ruffle into a flounce. I used the same pattern piece that is used to create the flounce down the midriff – cut it down a bit in width and added it to the neckline. I had to take out my shoulder seams and top stitching to have the ruffle start at the shoulders. I like the top and now I would be able to make this again quickly. I’d still like to make a version close to the RTW inspiration – but that will have to wait, other projects already ahead of that idea!
P.S. one little tip – lately I’ll carve out some sewing time and cut out 2 or 3 patterns in one setting. Then I have projects ready to go when I have the time to sew – I’ve found that helpful ; )
Both tops were inspired by Cabi – here is the inspiration and my version:

Dress Forms Revisited-New Joann Fabrics Open

Peggy Sagers had over 300 people watching Monday night as she unveiled the new dress form she is offering on her website. It looks great and the price seems very reasonable, considering a custom dress form can easily cost $1000. The problem with a purchased dress form is that it doesn’t look like most of us-well, most of the Material Girls anyway. Someone has to be a standard size in order for one to exist but I don’t bump in to Ms. Standard Size often. Peggy had some tips on padding the dress form to look like your body-she fit a sheath dress to her body and then put on the dress form to aid in padding the dress form so it would be her double.

All of this led to a phone call I received this morning so I thought I’d put in a plug for a duct tape dress form-wrapped by yours truly, of course. Just kidding, I am linking our instructions so you can do it yourself. Either way-purchased dress form or duct tape, some work has to be done to get the form to look like your body so you can use it to fit garments. This was the reason we started doing the duct tape dress form to begin with. No matter what price I pay for a dress form, I have to do some shape shifting to be accurate and that takes time and probably another pair of eyes.

So here’s the deal, for $125 you come to class (or we can come to you and 3 of your friends in your home), we have the supplies and you bring a tight fitting garment that covers the part of your body that will be wrapped (neck to thighs). We wrap you in three layers of tape, cut it up the back to get you out and after lunch we will tape it back up and stuff it. You will go home with a body double that will hang in your closet or sit on the floor or a table. We take measurements as we go to keep things accurate and draw helpful points on your double to aid in fitting.

We don’t guarantee that it will be exact but you would be surprised at how the duct tape captures posture, etc. If you put close fitting garments on the dress form you will be able to see how tight or loosely you will fit garments as you make them.

It isn’t my intent to suggest that you shouldn’t buy a dress form from Silhouette Patterns, merely that there are other options. The next Duct Tape Dress Form class at Treadle is Aug. 1 or you can email Material Girls and set up a taping party at your convenience.

Joann Fabrics in Shakopee is open!!

Those of us that live on the southwest side of the Cities have been watching and waiting for the opening of the brand new store. I had to go today-the first day they opened-just to check it out. I was very happy to see a well-lit, visible classroom right inside the front door. There’s a Viking/Husqvarna dealership in back and the whole store is basically divided in half by a center aisle with fabric on the right half and sewing machines, patterns, notions and crafts on the left. Yes, about 3/4ths of the store is dedicated to sewing!

I talked to the manager and she is excited about offering classes-the old store had no visible classroom-neither does the store in Yorktown and the buzz among customers was one of excitement at the opening of a new place for sewists to shop. Everything was neat and tidy, the displays more at eye level-not much bending over to see things. The handicapped parking spaces are right outside the door so you don’t even have to cross traffic to get in the store-how thoughtful.

As I drove home I thought of one thing the classroom needed-a changing corner for trying on garments as you sew 🙂

May Club Notes

First there were girls’ dresses and such-


The rain capes are Raindrops by Fig Tree http://www.figtreeandco.com and fit sizes 4 – 10. Very popular.

and then there were shoes 🙂

and if one pair isn’t enough, here’s an article featuring the ten best low heels you need to own.
and wonderful garments (and not all at Treadle either but I didn’t do a very good job of capturing them on camera…

We promoted Bundles of Love and would like to pass on a quote from Opie, who never quite seems to make it to Club but is a faithful online follower (the May Club Sheets and Garment Photos have been added to the website.)

“Re “Bundles of Love” – as a nurse in one of the intensive care nurseries at Children’s Hosp of Minneapolis, I can attest to the wonderful benefit of these contributions – the mothers are truly touched – for many babies, these will be the only new – and certainly the only handmade – items they will ever receive! On behalf of the other nurses, I want to say Thank You to the women (and men?) who make this possible! Opie”

Thanks to all who attended Club and happy sewing!!