April Club Show and Tell

Club sheets and photos for April have been posted to the website under”Club Sheets/Garment Photos”. We were so pleased with attendance this month, given the fact that we made our major change from Hancock to Make It Sew. Make It Sew had coffee brewed Thursday morning and a cut of their wonderful knit for door prizes. Show and Tell was also robust at Make It Sew. Thanks for being so loyal to the 16 of you who came!

Treadle attendance on Tuesday morning hit a high of 28 and the Saturday morning meeting has caught on with 14 attending.

Here are a few highlights from Show and Tell. We also saw beautiful garments but they’re not as easy to catch on camera. I’ll try to get better at that.

Wool Coat Class Participant

What to do with husband's old football jersey-a bag!

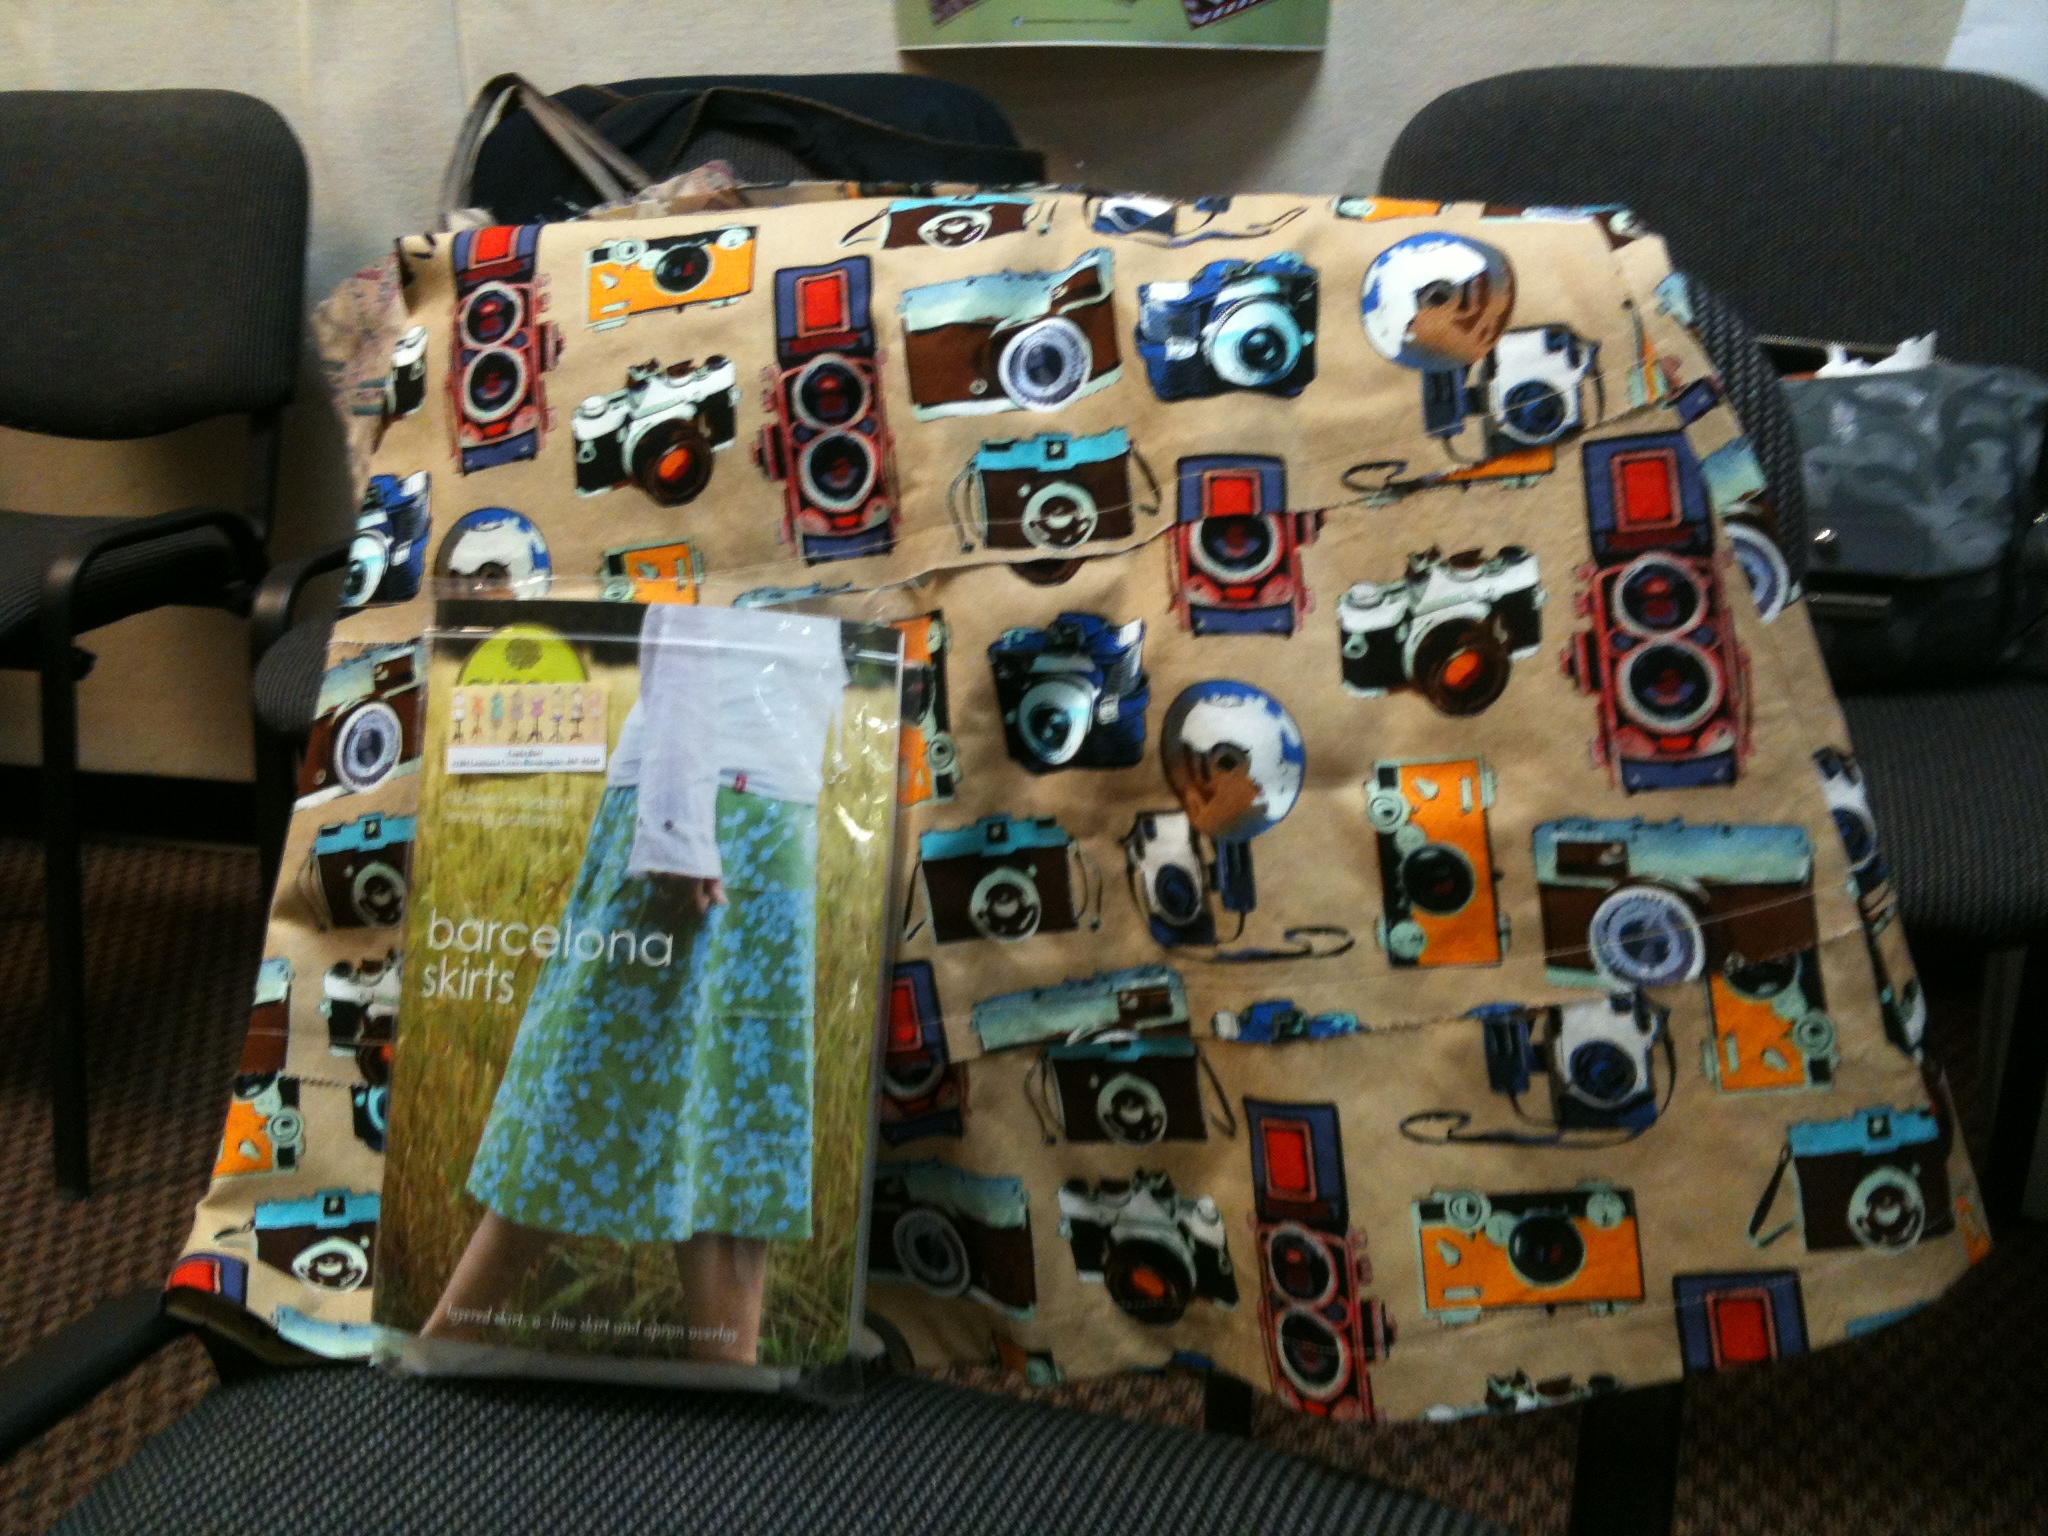
Amy Butler Barcelona Skirt made 3 times!

Many of you are sewing for babies

Happy Sewing!

Coffee Break Perusing

Guest Post from Kenzie Carlson

Dear Sewists,

Here are a few examples of how I use Pattern Review (patternreview.com).

I’m having a great time experimenting with making knit tee’s in a non-bias fashion using the bias Burda pattern 7509. I wondered if there’s a simple men’s tee pattern…not that I want to switch gears to make something for my husband at this time. So, I looked at Pattern Review during my coffee break from sewing.

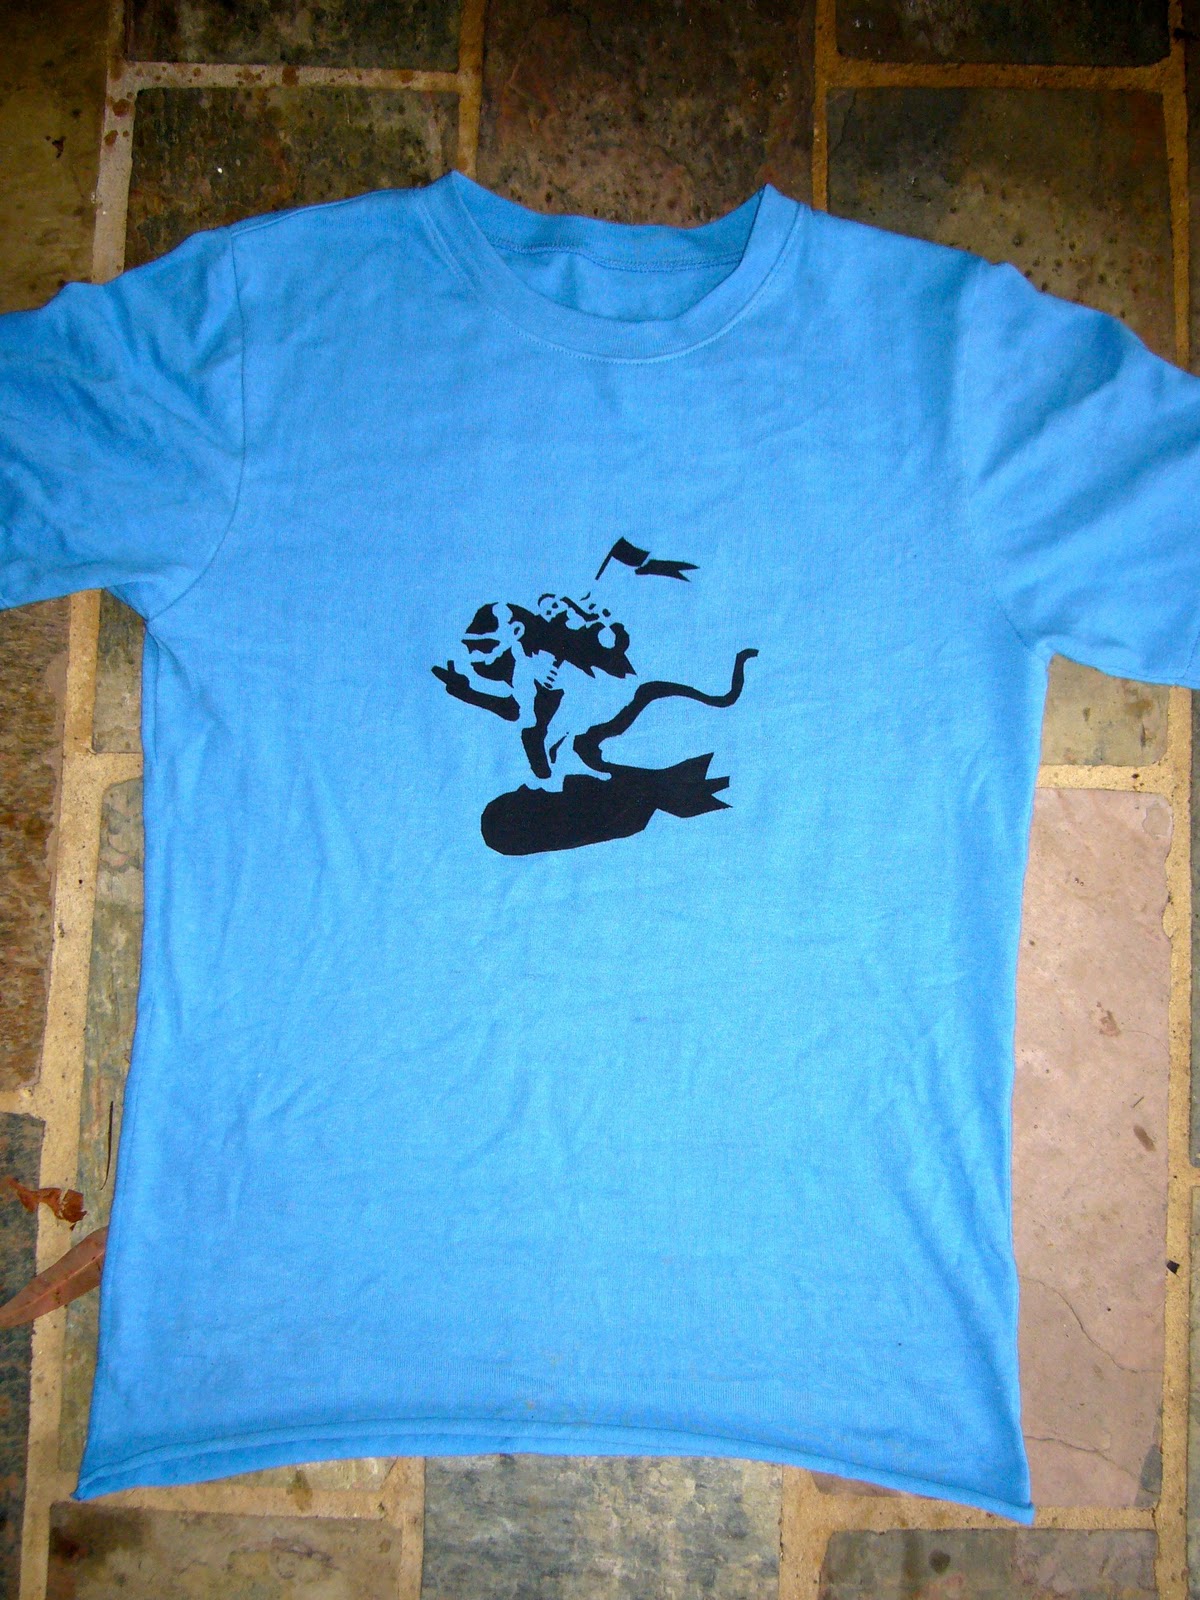
I found this posting that has directions on how to make a design on freezer paper, iron it to the shirt, and spray paint. Now, how cool is that!

I noticed that this sewer has 85 reviews, so I took a look to see what other creative things she has:

Then, THIS Amy Butler bag took my eye because MOST Amy Butler bags are made with colorful quilting material. This had wording and looked different! Turns out, it’s made with rice bags, plus there’s an inside insulated pocket for refrigerated items when using for market purchases. (This is a very creative sewer!!)

Weeks ago, killing time looking at Accessories on Pattern Review, I came across this Obi Bag from Sewing Workshop. Turns out the pattern is OOP, but by reading the reviews, I think I can duplicate it. I found material and it’s in the hopper, waiting to be made.

This sewer has 60 reviews and here’s more inspiration to tack onto my “to do” sewing list:


As I’ve mentioned before, daily (usually!), I scan the Review Gallery (under Sewing Reviews on the home page, 1/2 way down the left side) for inspiration. Pattern Review has a variety of garments and you never know what will be posted.

I look at other websites/facebook, too, such as Tilton and Sagers, which are wonderful for ideas especially on different looks for one pattern; how to change things up to get the most out of one pattern. To me, this is extremely important because the pattern work of fitting is the most time consuming. Once something fits (darts in right place, shorten/lengthen lines adjusted, etc), then the fun can begin!

Coffee break done – back to sewing!

First Time at Textile Center Garage Sale

Guest post from Kenzie Carlson to brighten a dreary Monday morning-

Good Morning, Ladies!

Thank you for the announcement of the Textile Center Garage Sale! Otherwise, I would not have known anything about it!

Yes, I did go and spend the whole day there, subsisting on the mere rations I brought along (2 granola bars and a water bottle…who knew that the years of scouting, alongside my son, were the training grounds for the Garage Sale?!). I thought enough ahead to bring ex-large and ex-small reusable shopping bags…and a strategized list of items to focus on – no willy nilly purchases today!! This would be a good place to look for those OOP (out-of-print) patterns as seen on my late night browsing on Pattern Review, fabric for those upcoming designs, notions of needed things, and reference materials.

I arrived around 8:00ish, paid a buck for parking and received a $2-off coupon for the Garage Sale and $3-off for the Reuse It Center. Stuffed those in my wallet and forgot about them…onto the Sale!

There were tons of things everywhere-in boxes on tables, under tables. I rummaged through tables (and under) of patterns dated from today back to the 50’s. 10 patterns for a buck! Likewise for books and magazines in display and price. Unbelievable heaps of fabric in every type of fiber content possible…expensive silks, wools, to scraps of leftover craft projects. Honestly, it got easier to look through the material after folks picked the top layer off. Some fabric came from a loving home as it was carefully wrapped in ribbon or string to endure the strains of the Garage Sale. (I had notes attached saying the fabric was machine washed and dried before storage!) Other fabric seemed to be happily rid of the previous life of some gone-wrong project as it was only circumferenced in masking tape and nearly falling apart. The notions were an extravagance of a multitude of junk drawers with everything possible co-mingling in boxes, on tables and underneath.

I slowly went through patterns, books, notions, fabric-once. Then, after a granola bar/water break, dove in for a second time!

At 2pm, I made it through checkouts and s-l-o-w-l-y hauled my overheaped, over weighted bags to my car. Since it was so close to the 3pm $1-bag sale, I was off to join that line. I overheard the party of 3 ahead of me (looked like an older-than-me couple with their college-aged daughter). The mom instructed strategy assignments to the other 2 on the impending break-loose bag sale and distributed HER OWN brown paper grocery-sized bags (no need to waste time stopping for bags!). “Okay, stay away from UFO’s, unless they contain LARGE balls of yarn!” Wow, what a good tip!! I had passed by the UFO’s (unfinished projects) because why would I want someone else’s bad karma projects?? Who thought to look through them for goodies??

Standing there for almost an hour, I realized there was a $2-off coupon in my wallet that I’d forgotten about! In the spirit of strategizing as did the threesome ahead, I decided to limit my fabric intake to the two bags covered by the $2-off coupon. I didn’t need to become a hoarder. I didn’t need to take ANYTHING that fit into my bag just because it was a buck. What I really wanted was 4 yards of Treadle silk fabric, originally priced $120 for $40, that everybody walked passed, unnoticed. I couldn’t decide if the mustard plaid gorgeous fabric would be the right color for a coat. Since I couldn’t decide when the fabric was close at hand, I thought to wait until the bag sale to see if fate was on my side.

Fate was not on my side. I’m still mourning the loss, but still can’t decide if the color was right. (Sounds like a bad teenage relationship….)

But, I did find some wonderful fabrics!! Since I didn’t really know what to take, I started going for the large yardages thinking, if nothing else, they would make good muslins. After going through the frenzy of gathering, I carefully packed my limited 2 bags and presented the $2-off coupon to the cashier. Yes, he accepted the coupon and the bags were FREE!!

Some of the things I ended up with, costing $25:
– 13 patterns, including a Marcy Tilton and a Silhouette;
– 17 books and Threads Magazines;
– 25 pieces of fabric yardage, including the free $1-bags;
– 4 packages of sewing machine needles, including twin and spring;
– 1 spool of ribbon;
– several sewing machine presser feet (some fit my machine, some didn’t)

I spent the evening pouring over the Threads Magazines, ripping out “valued” articles at a coffee shop in St. Paul until 9pm, then in my car until 11:30pm. Who knew that I was the ride for my son and his friend to a metal concert, to enjoy 3 bands I never heard of…. Yes, it took that long to go through the stack of Threads!

Sunday, everything got laundered, ready for sewing. When I pre-wash, fabrics go through a machine wash (regular cycle with soap) and machine dry. After the garment is made, they never see the dryer again as does the RTW in the house (except jeans). Each fabric is cataloged on a 3×5 card, including measurements pre- and post-washing, and post-drying. It’s a good indicator for fabric content. (Oh, I also toss a dye-catching sheet in the wash to give some sort of indication on the amount of dye lost in the wash.) The dry-clean-only got the washer treatment, too, because I don’t want to dry clean. The fabric is folded (and some cases, ironed) after the dryer. Surprisingly, it took all Sunday to do just this! (Thank goodness, I stopped at TWO $1-bags!)

Today, I’ll pick up my pin-head-sized sewing studio (nobody has a “sewing room” anymore….) of past project fabric laying around and incorporate the newbies into storage. The stack of my current project focus (t-shirts, blouses) grew immensely. I can hear the call to create!

Again, thanks for sharing info on the Garage Sale!

The Link to Bapron

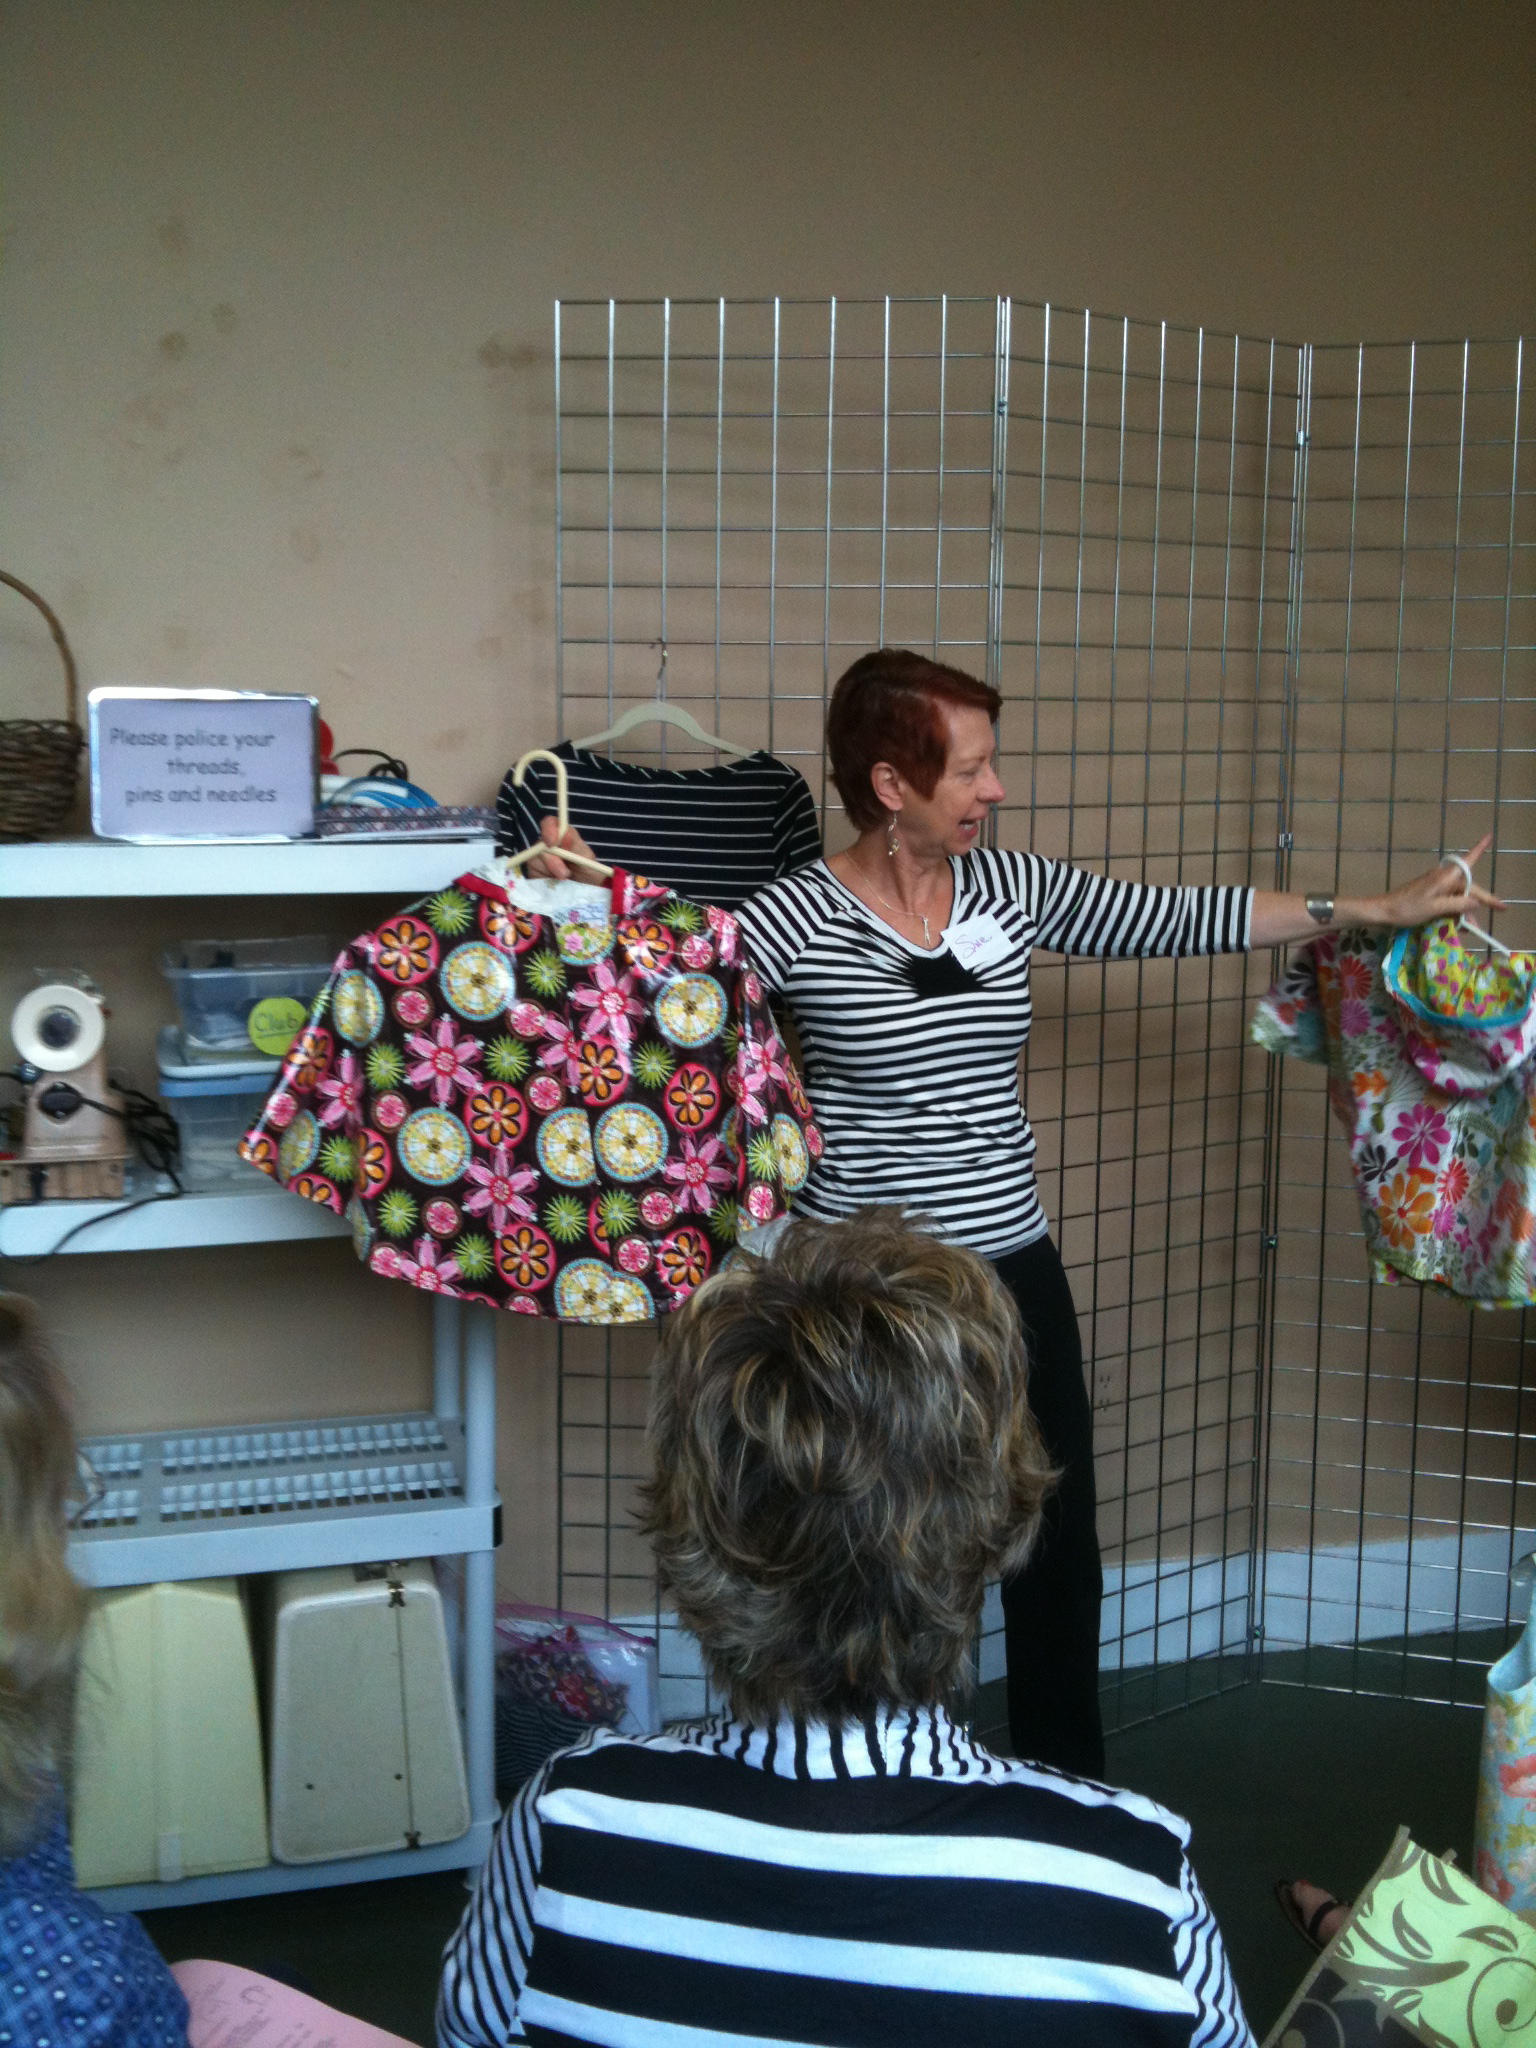
Fashion Sewing Club Show and Tell at Treadle was awesome yesterday. While it was fresh in my mind I went looking on pinterest for the instructions for a “bapron” (as in baby + apron). Just a small piece of oilcloth or laminated cotton and some bias seam binding. I was unsuccessful at getting a picture into the blog so you’ll just have to go to the link to see how cute and simple a bapron is.

Or maybe you want to send me a picture, Margo, and I can put it in the blog 🙂

Fun With Colorblocking

Contributed by Carrie Diamont

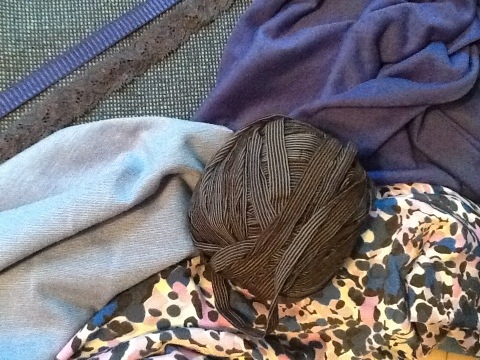
This idea started after I went through my fabric stash and started categorizing by color. I found a nice gray knit and another knit that was gray with purple stripes (Debbie had given it to me-some of her scraps). The two fabrics just looked great together but both were only about 1/2 a yard or so. I’m not very creative when it comes to color blocking so I wanted to find a pattern that basically offered me the creativity I wanted with out having to think about how to do it myself.

I found Kwik Sew 3842 awhile ago and loved the lines in this pattern -I think this pattern can be used for a great slimming affect. I decided my two gray knits would be a great muslin opportunity to try out this pattern. I admit I have a phobia of wearing anything with horizontal stripes – even very thin stripes! So to counteract any girth that could be added by the horizontal stripes, I kept the solid gray on the outside to create a column effect. The pattern went together quickly-very simple- the triangles were not difficult to sew on my serger at all. I made no adjustments to the pattern. I’m very pleased with the result and I hope to play around with some other color block combinations in the future. The pattern also comes with an attractive v-neck, long sleeve option.

Zen Sewing

Well, that was my idea for approaching a fair number of pleats. Fourteen to be exact. That’s less than the 28 pleats which the other view featured. Knowing that I would never get the pleats pressed into their original shape after the first wearing, I felt I had to stitch the pleats in place (that means four seams per pleat or 56 to be exact, but who’s counting). Which is why the idea of zen sewing occurred to me. Just start stitching and be in the moment. Each pleat is just another pleat, breathe.

I got through the stitching and made friends with my 1/4″ foot which had the added advantage of being a straight stitch foot. That meant that when I did my few back stitches at the end, the fabric didn’t jam down in to the feed dogs. Previously, I thought I just had to live with that irritation. (I just have to remember not to try zigzagging with that foot.)

One other new technique I tried was using the knee lifter that came with my machine. (Is that what going on vacation does to you-make you want to try new things-disturb your status quo?) You will only understand the humor here if you know that I have an old Singer with a knee lever that pushes against the foot feet clamped inside the machine cabinet. This means that on the Singer, when I press my leg against the lever, the machine stitches, but when I do the same motion on my Babylock, the presser foot raises. Needless to say, late into the night as I stitched my 56 pleat seams there were times when my machine was so confused-oh, that’s right, only a person can be confused-the machine was just doing as it was told. Many times I waited for the feed dogs to move fabric but the only thing that happened was that the presser foot lifted. I tried different techniques-deliberately taking my foot off the presser foot, actually trying to think while I sewed (what a concept), but ultimately I ended up using my left foot to make the machine go and my right leg to lift the presser foot. I’m confused, my legs are confused but I feel like I’ve learned a lot AND I love how the skirt turned out.

I went outside and sat in the sun, clipping (black!!!) threads off my new garment. A perfectly zen ending.

Of Doors and Windows

Sorry to keep you hanging-if you didn’t make it to a Fashion Sewing Club meeting in March-but here’s the scoop:
After much heartfelt consideration Laurel has decided to move on to the next phase of her life and no longer be an integral part of Material Girls. She has thoroughly enjoyed all the people and will continue to attend Club meetings (she already has fabric and ideas for April) but wanted to cut down on the late night sewing and last minute pressure of the monthly meetings. We will miss her contributions but will continue to call on her for fit and tailoring consultations-she pins a mean dart!
Anyone who would like to send an email to Laurel can do so at lely10@comcast.net

The other big door that closed this month is our Hancock/Bernina/Southtown location. As of March 9th the corporate Bernina store is no longer. However, a private Bernina (and Elna) dealer is supposed to be opening up sometime in April.
That leaves us at Treadle Yard Goods in St. Paul and Make It Sew in Chanhassen.
The Fashion Sewing Club calendar will stay the same for the Treadle meeting on the second Tuesday (continues to be the largest group) and the second Saturday (15 attendees in March!!)
The Thursday meeting (still the second Thurs. of the month) will now take place at Make It Sew at regular times of 10:30 and 6:30. No need to preregister-the meeting will always happen just like at Hancock. There will be no more Monday Club meetings at Make it Sew.
And for the month of April, the Make It Sew meeting will be free-just to make it a bit easier to find the store the first time 🙂
We hope these changes are easy to follow-if not, ask questions. Show and tell at all meetings is picking up and that means you are being inspired to sew. That has been our goal all along.
Have a happy Easter and we’ll see you in April!

PS-March Club pictures and sheets have been posted under Club Sheets/Garment Photos.

He’s gone country!

My husband is very supportive of my sewing, in fact he likes to hound me to make things for him. This year for his birthday, Dave asked me to make him a western shirt. So, to encourage my husband’s country songwriting and guitar playing, I decided to find a pattern for a western shirt. My husband was really excited when he saw the pattern I bought and even came with me to pick out the material. I tried to encourage him to go with a fun contrasting fabric for the yoke, but he was too nervous. However, I did manage to talk him into adding a nice trim. Of course, Dave wanted this shirt to become my number one priority so I reminded him that he could speed up the production process by helping to prep the fabric and cut out the pattern. I have to say he did a great job and even put on the pearl snaps when the shirt was finished. BTW we bought extra snaps which was a good idea- because as careful as we were – we still messed up a few snaps.

I used McCall’s M6044. It went together easily. The only adjustment I made was to lengthen the cuff (and shorten the sleeve accordingly) so it would fit three snaps. Well, Dave’s excited to wear this shirt when we go see Garth Brooks in March!

Late breaking news!!! What Carrie doesn’t say is that she entered the shirt in a Pattern Review contest and won 2nd place!!! Check it out here.

From Princess Wrap to Princess Dress

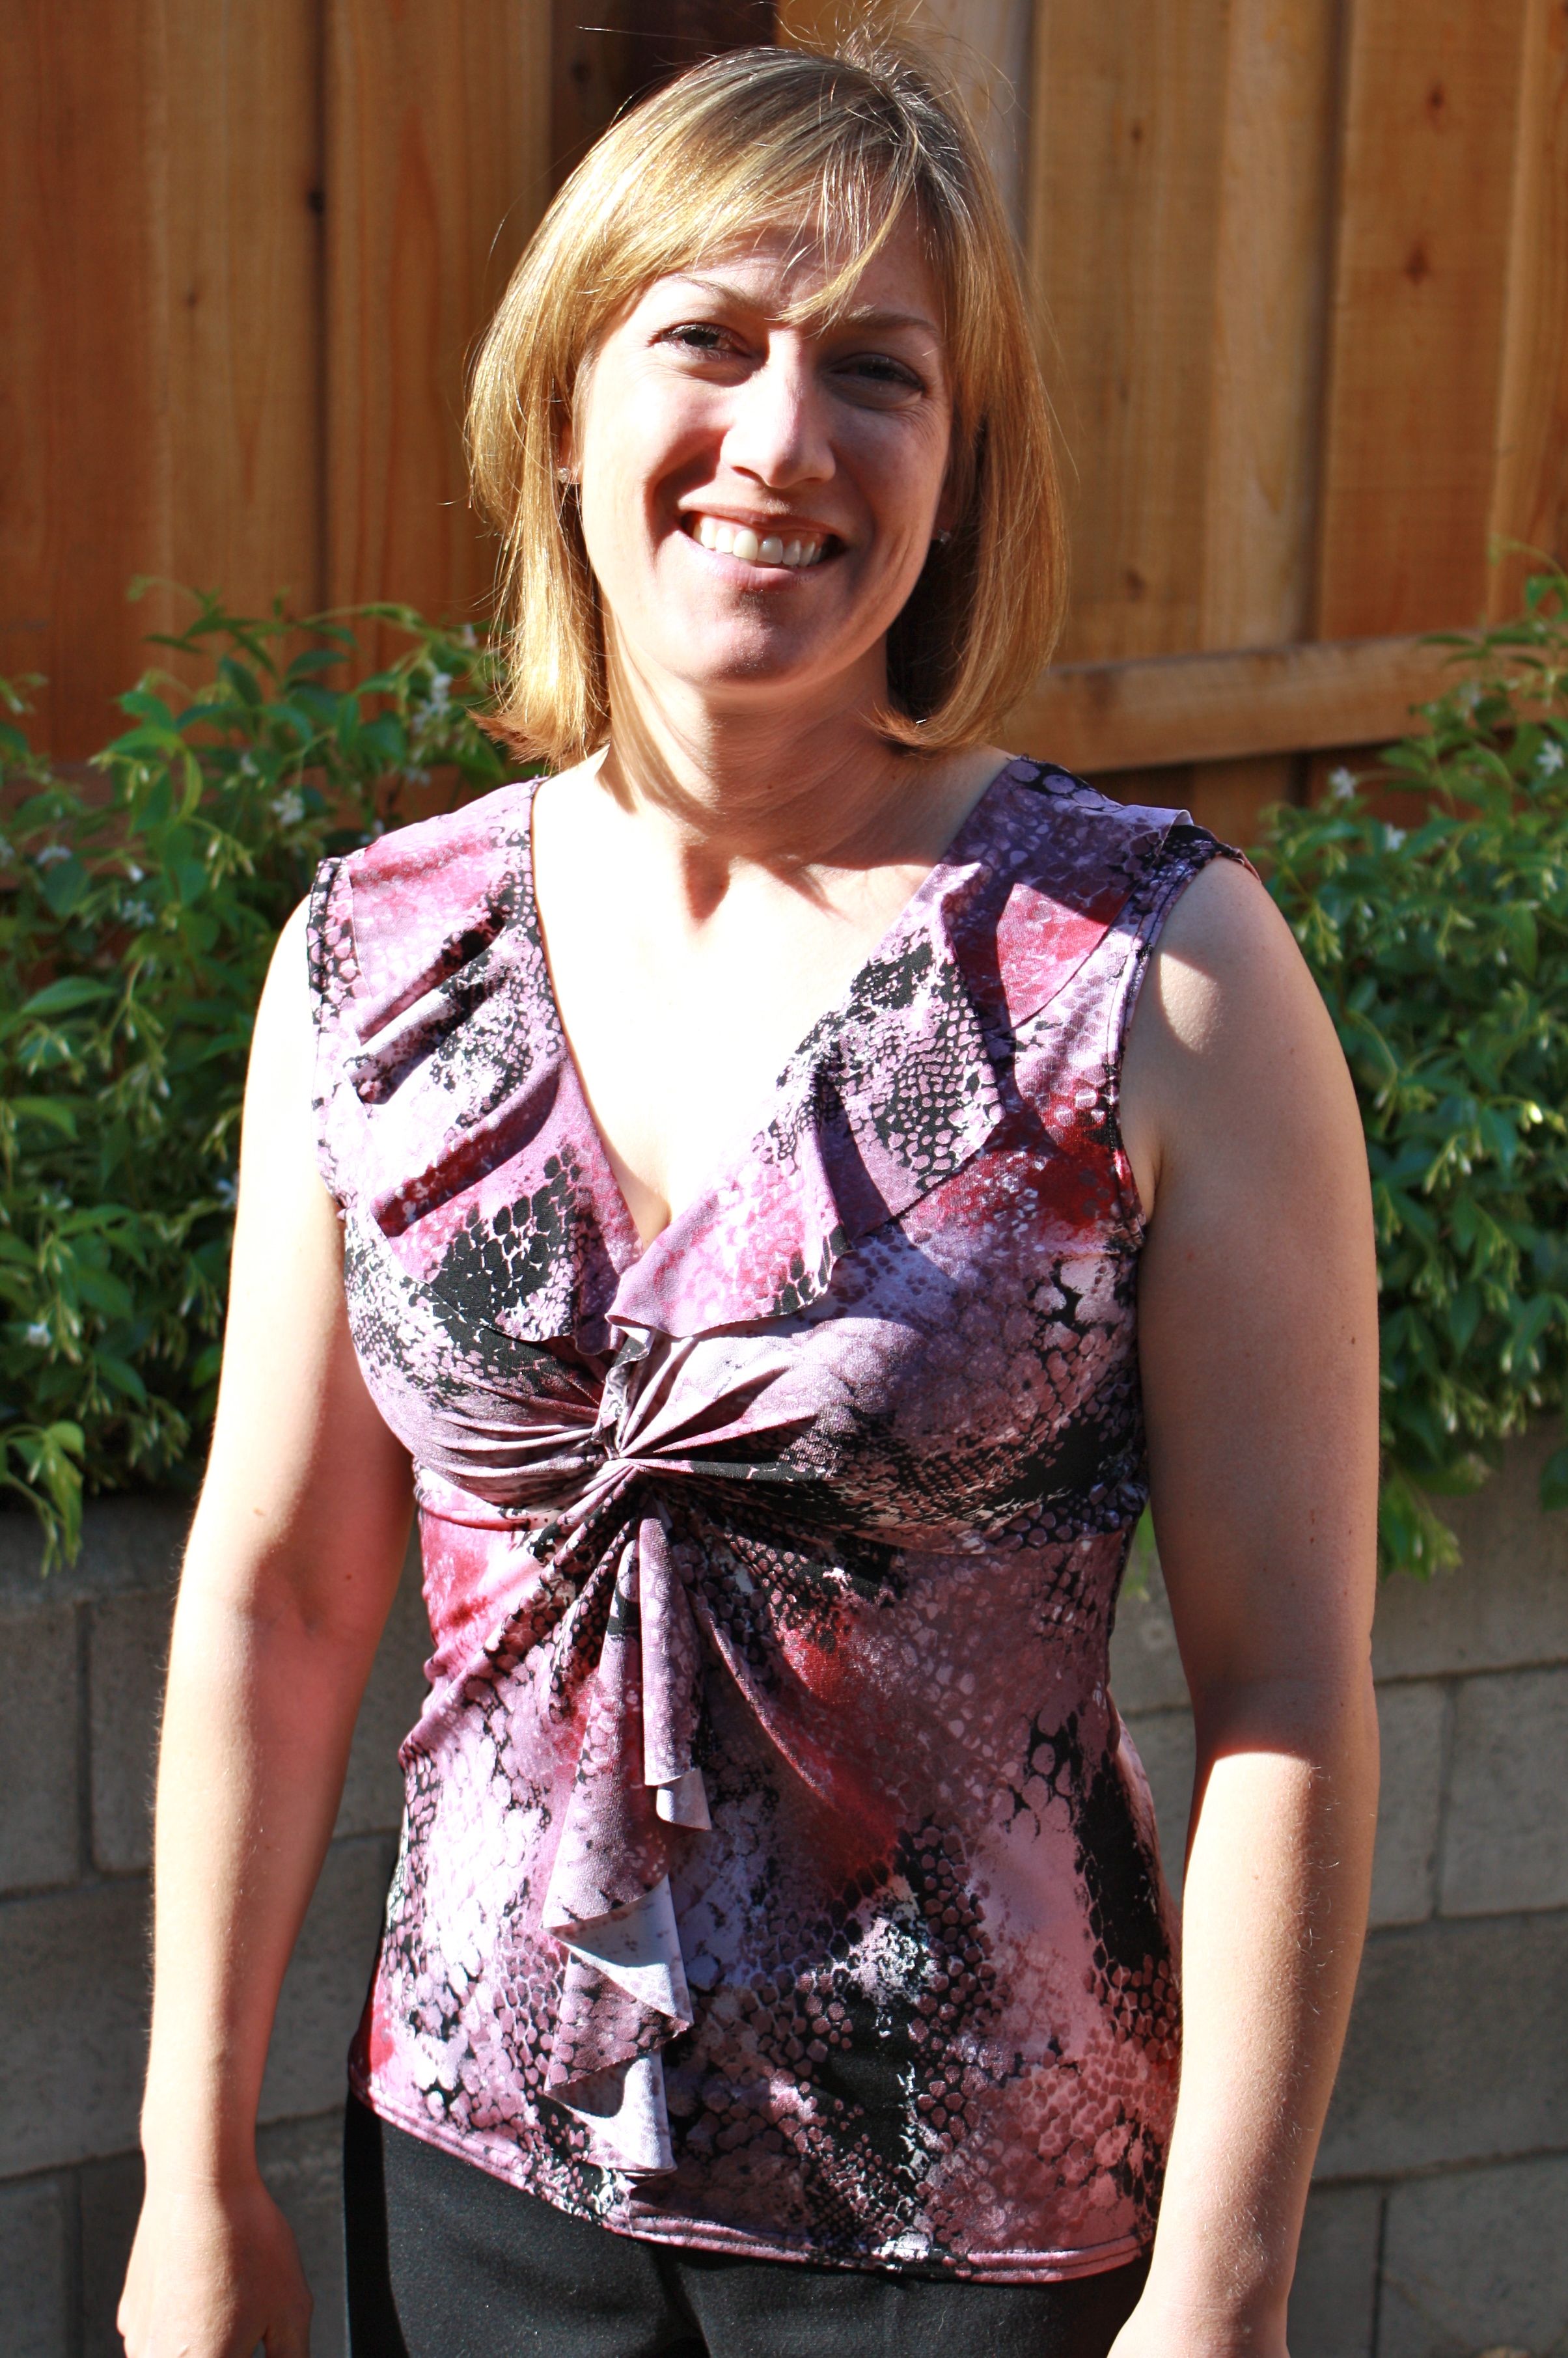
Recently in an active wear catalog I found a dress with a center panel and ruching at the midrift area along both sides of the center panel. I thought – now that’s a clever way to hide a stomach pouch! I already had the Christine Jonson Princess Wrap Top which has a center front with ruching on one side.

First I made the top to try out the fit. The fit was fine – but the v-neck was a bit deep for me. To make the dress I added an inch to the neckline to give me more coverage. I also added a back center seam which gave me the ability to add shaping to the back. In order to create ruching on both sides, initially I tried to follow the model of the pattern which – because it is gathered on only one side- the pattern bows out along the gathered side to create a nice drape on the opposite side. Well, trying to create this on both sides of my center panel piece just wasn’t a good idea. A much simpler path would have been to keep both edges of the center front straight and then extend the length of the panel to account for the gathering. (The reason my initial idea didn’t work is because it created a ‘drape’ of extra material in the front area. You don’t want drape across your stomach – that added to the pouch.)

To determine the appropriate width and line of the skirt I followed the skirt pattern from Christine Jonson’s Wrap Dress. I found the key to ensure the gathering around the midriff is flattering is to keep the ruching under the bust and not too far down into the stomach region. Also – keep the gathering even on both sides and fairly tight across the front – if it looks to loose, it looks sloppy and like extra weight. Sorry the pictures with the pattern fabric I used make it a bit difficult to see the ruching.

Make It Sew One Year Anniversary

Save 30% on garment fabric-Thursday only (more great deals-see their Facebook page). It’s a great time to come find them in Chanhassen. We’ll be there from 1-8 pm with garment samples from Fashion Sewing Club and will do complimentary bust/waist/hip measurements and help you choose your best pattern size-bring a pattern you have or we will have samples.