
Squeaking in on the last day of May…for June meeting dates and locations, please scroll to end of post-
Garment Sewing Group
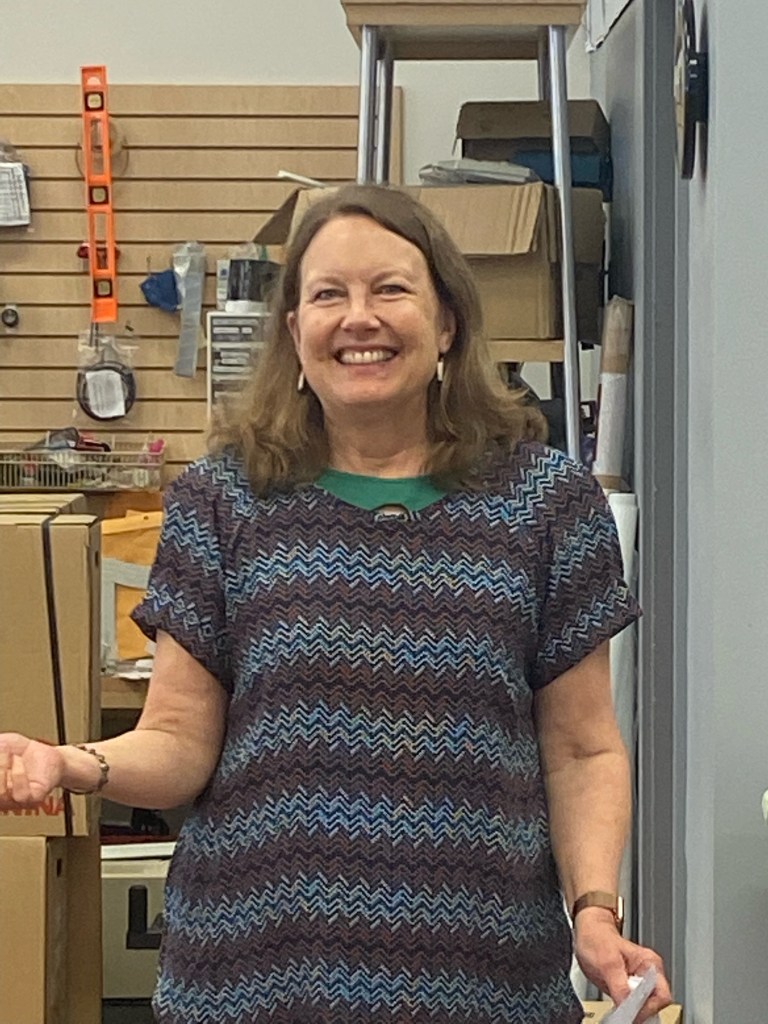
Debbie’s Garments:
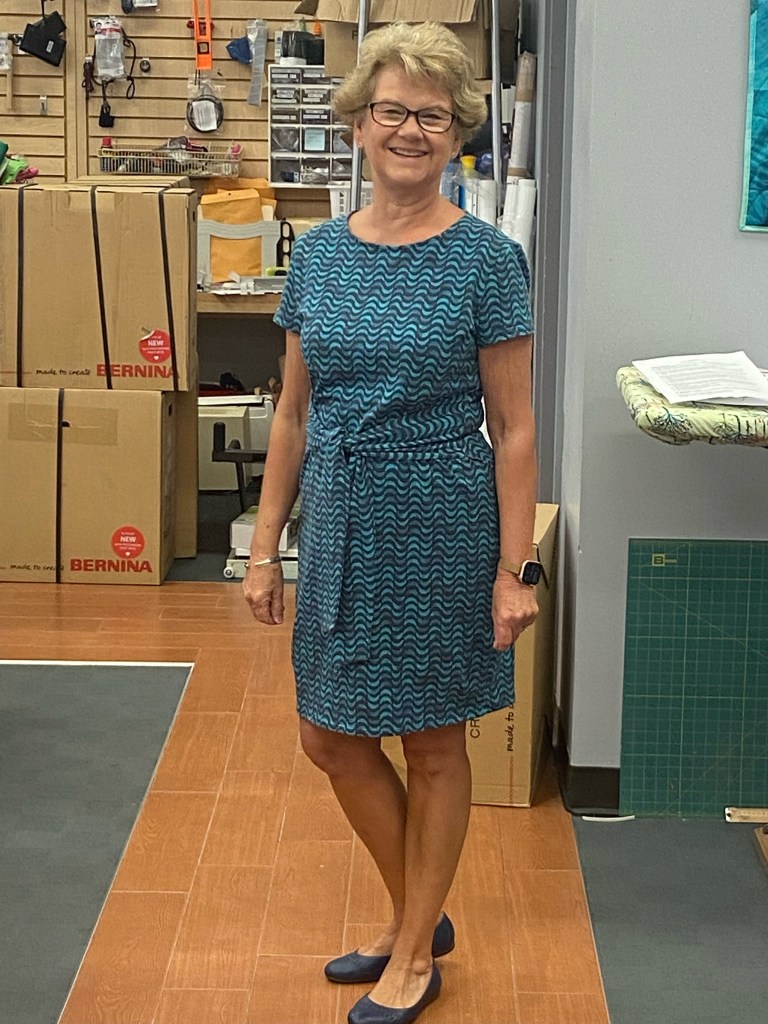
1. I did my standard petite adjustments and shortened the hem length by 2 inches – whoops – it feels a little too short.
2. I did a serged “bias” neck finish instead of turning under neck edge twice and topstitching as pattern directs. I also eliminated the side slit.
3. Fun, easy make that can be casual or dressy, depending on fabric choice.
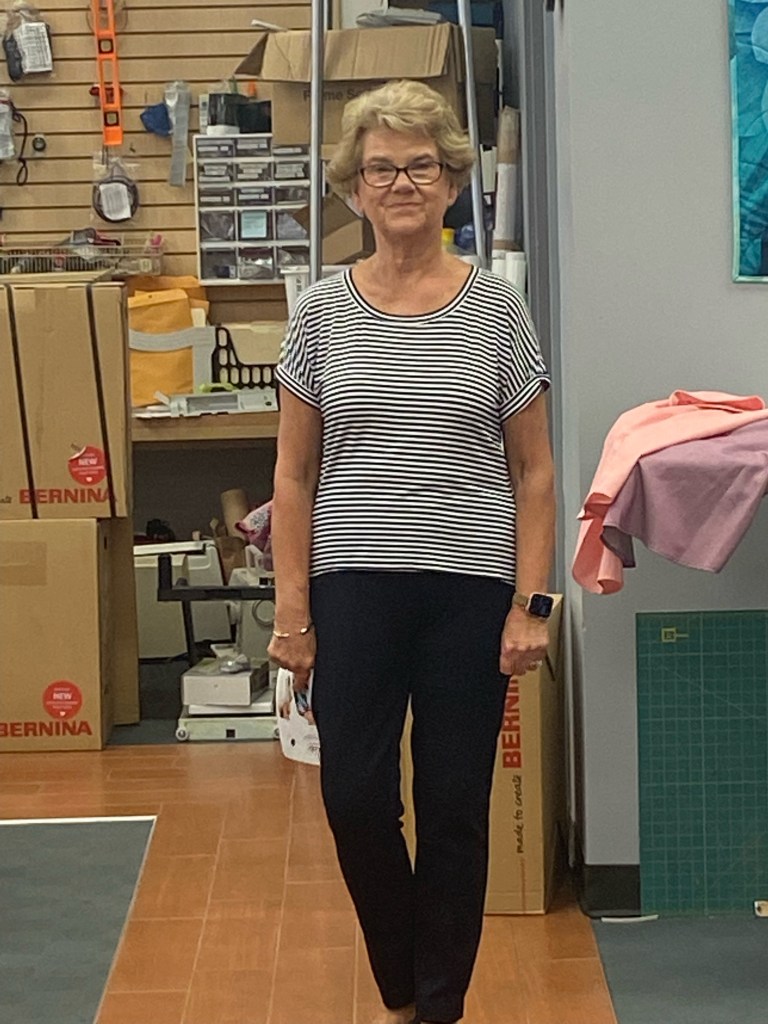
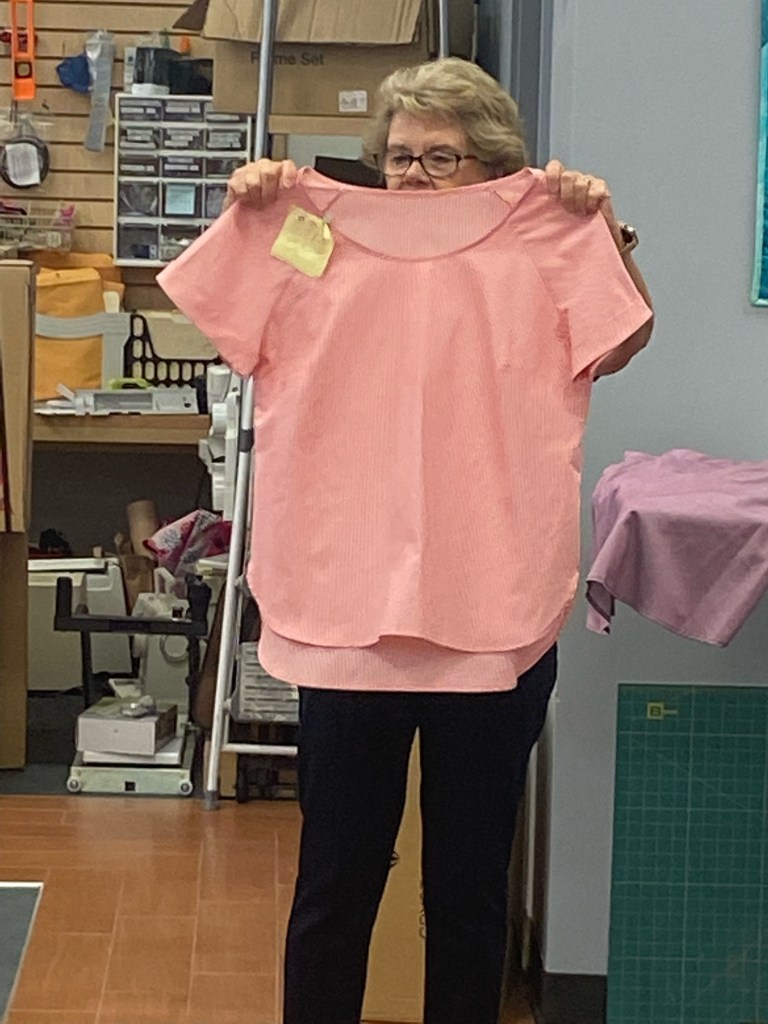
1. Made my standard petite adjustments as well as shortening hem length.
2. I added a neckband rather than folding neck edge to ws and top stitching. Also added cuffs to again avoid turning hem to inside and topstitching.
3. This is a TNT pattern for me. I like how it fits, there are several looks and it is a great scrap buster.
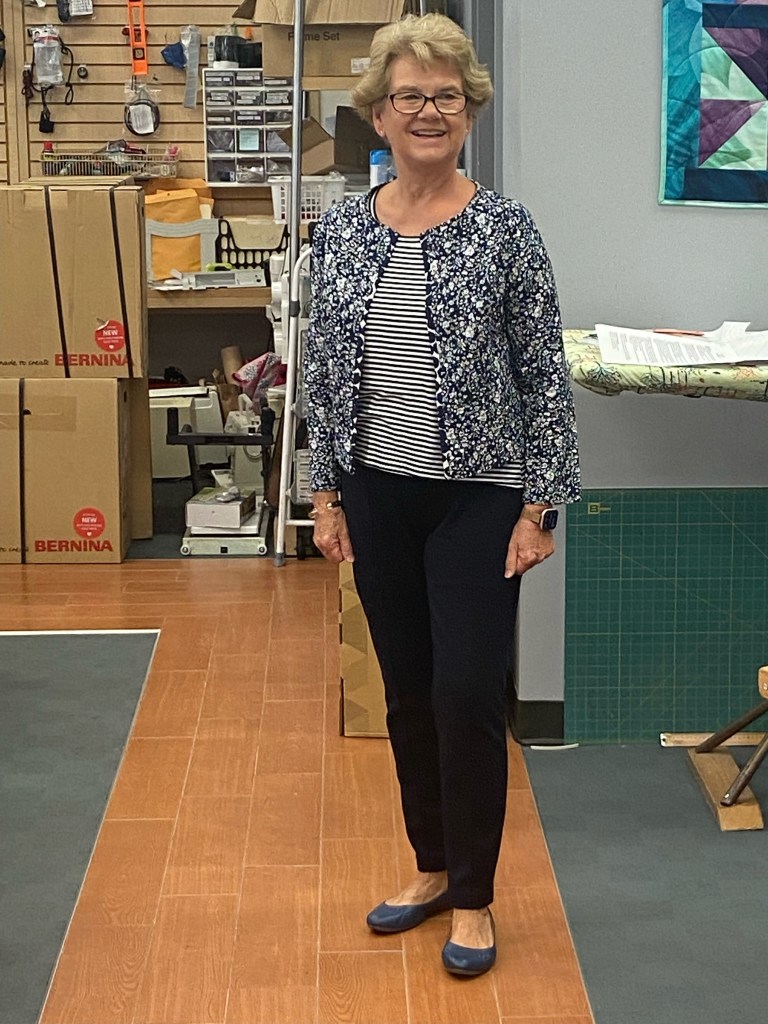
1. I tried to copy a RTW garment and did fairly well except I wish I would have used very light batting instead of flannel. It is not as soft as RTW garment.
2. Besides my standard petite adjustments I straightened the CF so the fronts meet, not overlap.
3. For construction: stitch side fronts to fronts for main fabric, batting and lining. Follow same procedure for CB seam. Quilt front, back and sleeves using walking foot and 1/2 vertical rows at 3.0 stitch length. Jacket is then serged together.
4. I added a contrast band for CF and hemmed sleeves and bottom with bias strip bands.
5. The RTW version added buttons and buttonholes – I did not.
6. It was a good project to work on during our cold spring but I am done with quilting for a long time now!
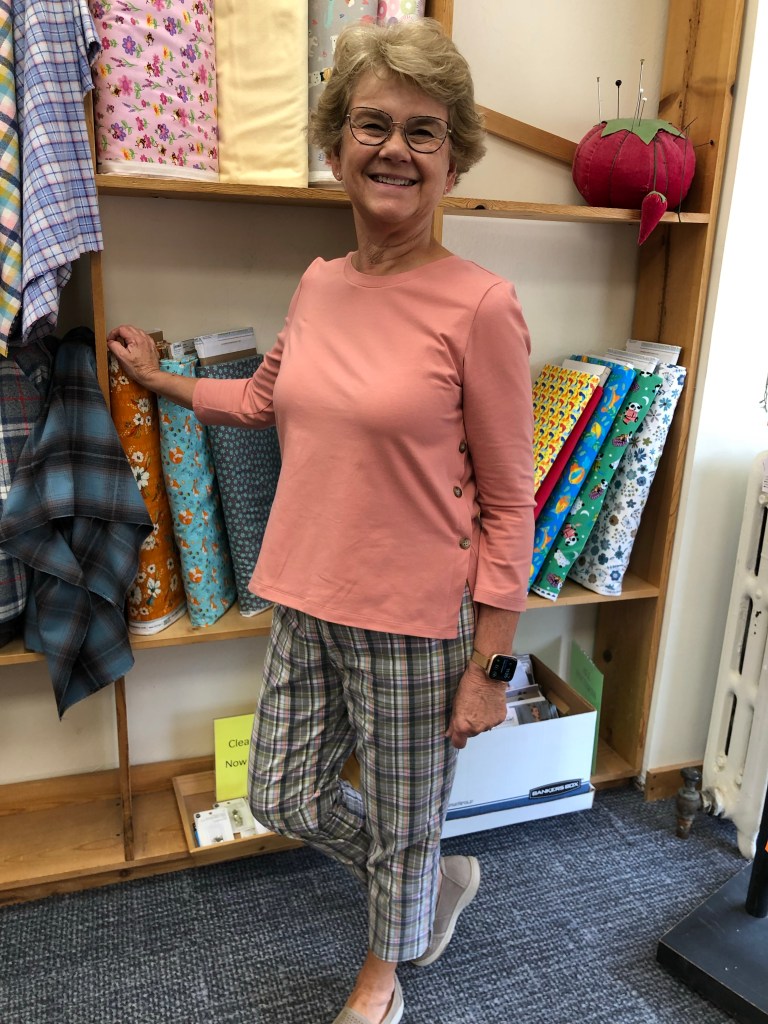
1. To redesign the pattern I eliminated the side seam and made the back and wedge one piece allowing for sa and placket folds. Later I added a placket to button edge because my math was incorrect! A two inch length of fabric was pressed wst and serged to rst of shirt back side seam.
2. On the side fronts I added 1 inch plus sa for button hole placket. The placket edges were clean finished, pressed to ws and top stitched.
3. The back hem is longer by one inch.
4. I did make buttonholes but really not necessary.
5. This became more of a chore than I planned on and I realize now I should have just bought the Love Notions pattern!
Kristin’s Garments
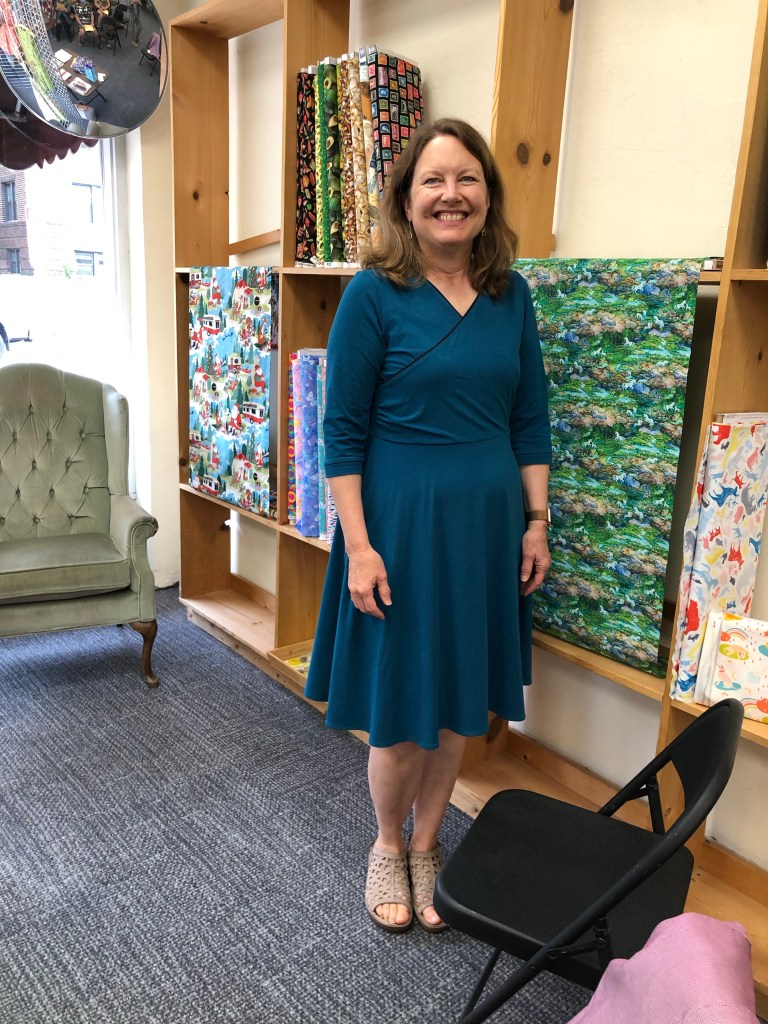
1. Quick to sew with raglan sleeves. Bust dart is a plus.
2. As with most popular patterns of this type, the neck is on the larger end of spectrum.
3. I took it in 3/8” along shoulder dart and through sleeve as it seemed a bit low under arms also.
4. Neck band also seemed long but bias binding can stretch when pressed so follow pattern directions and adjust as needed.
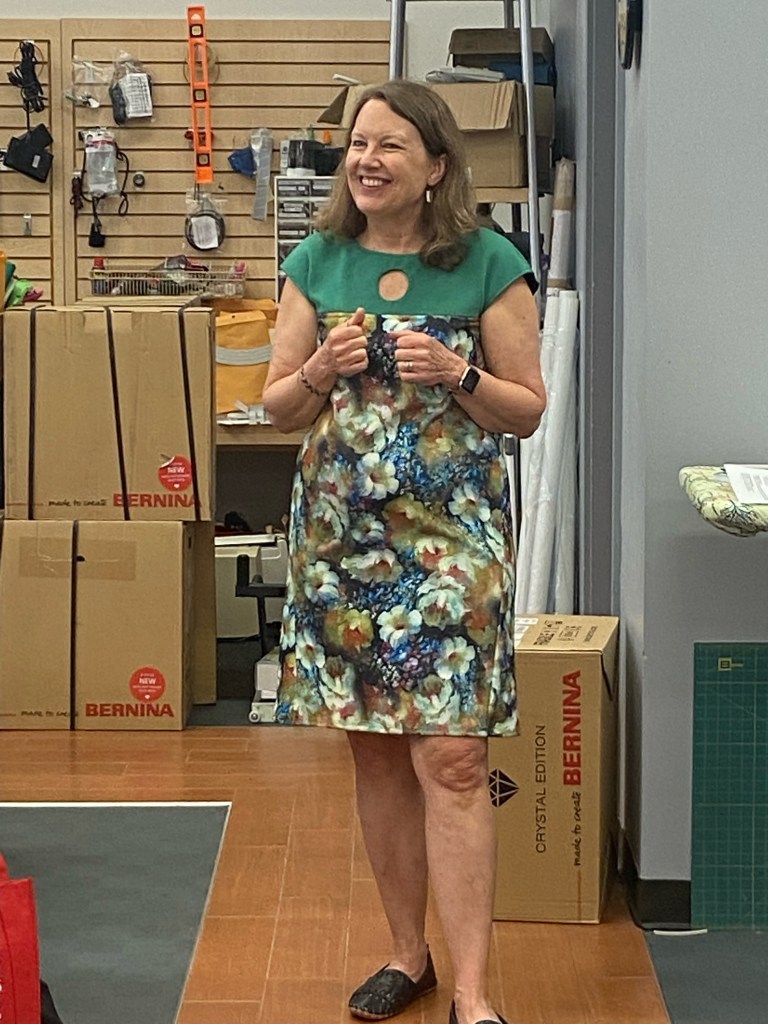
1. Eliminated center back seam. Added back darts.
2. Eliminated skirt lining because scuba hung nicely without. Turned under underarms and stitched to make up for lack of lining.
3. Like the fit and the way it went together.
4. Omitted the trim down the side seams as wool knit was thick.
5. Disappointed with fusible interfacing results around decorative neck hole. Glued too well.
6. Hole in front yoke fussy but a fun detail.
1. Made the first version in a medium and that was too small so tried XL and that was much better except bust was big so took shaping out of front bust area.
2. Tried elastic trim for neckline (floral version) and band per pattern (solid version).
3. Lots of options-higher neckline and lower (solid knit was in between), pleated front and plain front, 3 sleeve lengths and a children’s version (separate purchase).
June 2022 Garment Sewing Group
Wednesday, June 8, 10:30, Treadle Yard Goods, St. Paul
Thursday, June 9, 10:30, First Sewing, Bloomington and Fabric Swap
Saturday, June 11, 10:30, Treadle Yard Goods, St. Paul
