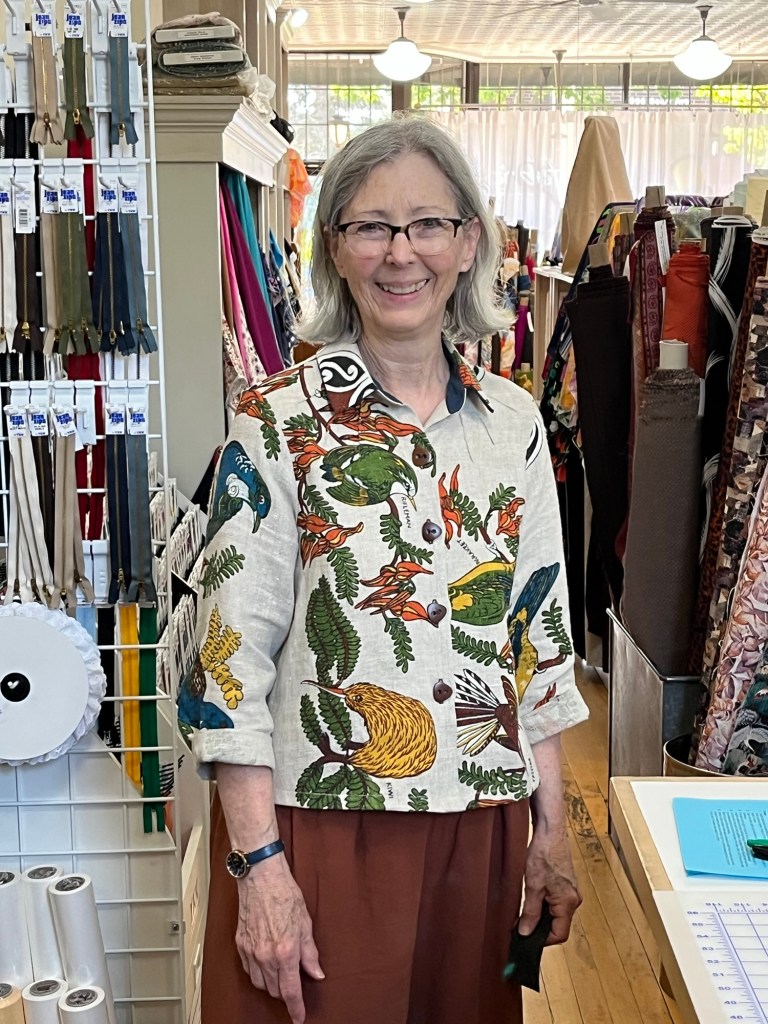


Eureka Top/Sewing Workshop with sashiko stitching

Helen’s Closet Arden Pant
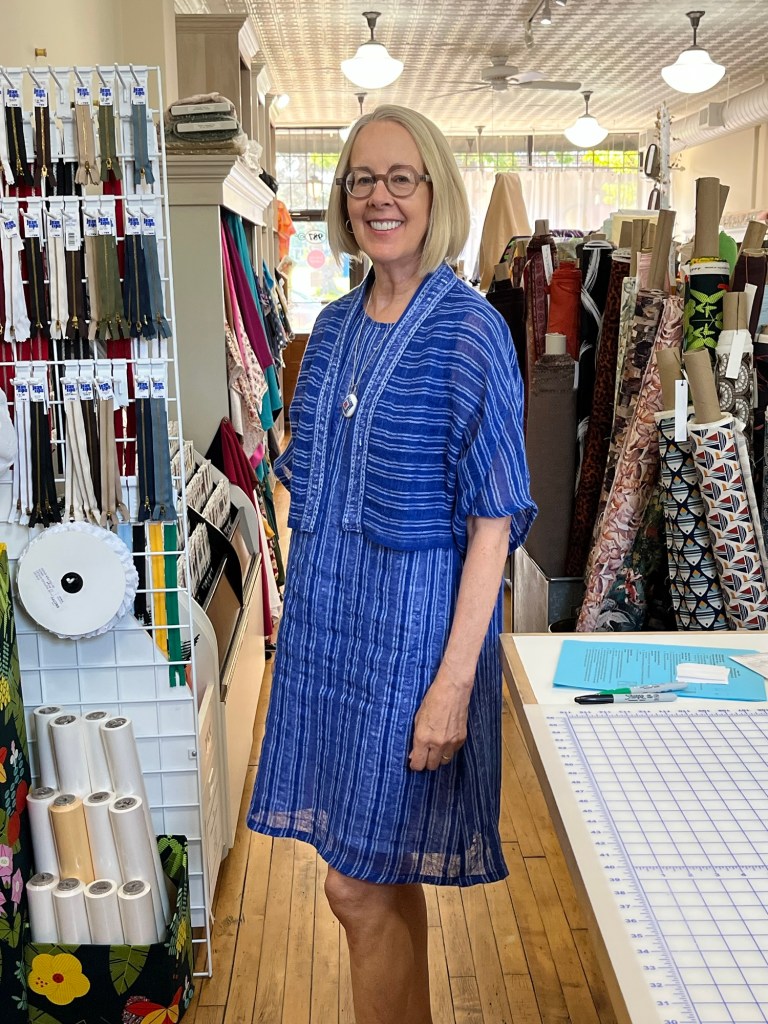
6629 Simplicity Jacket
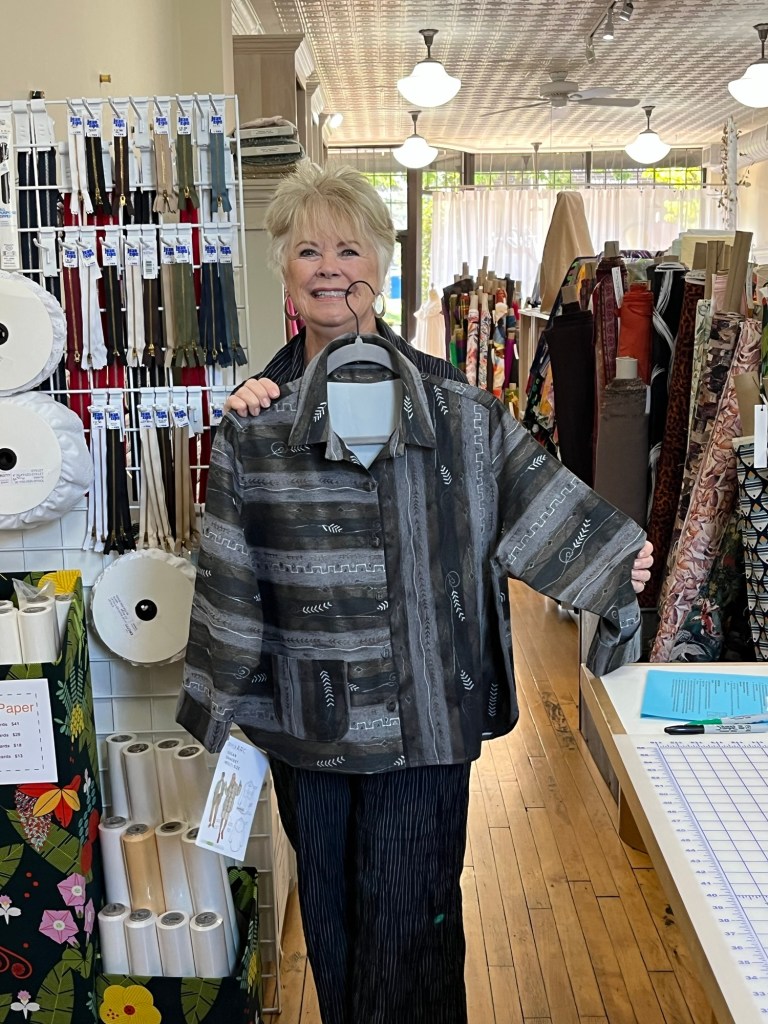

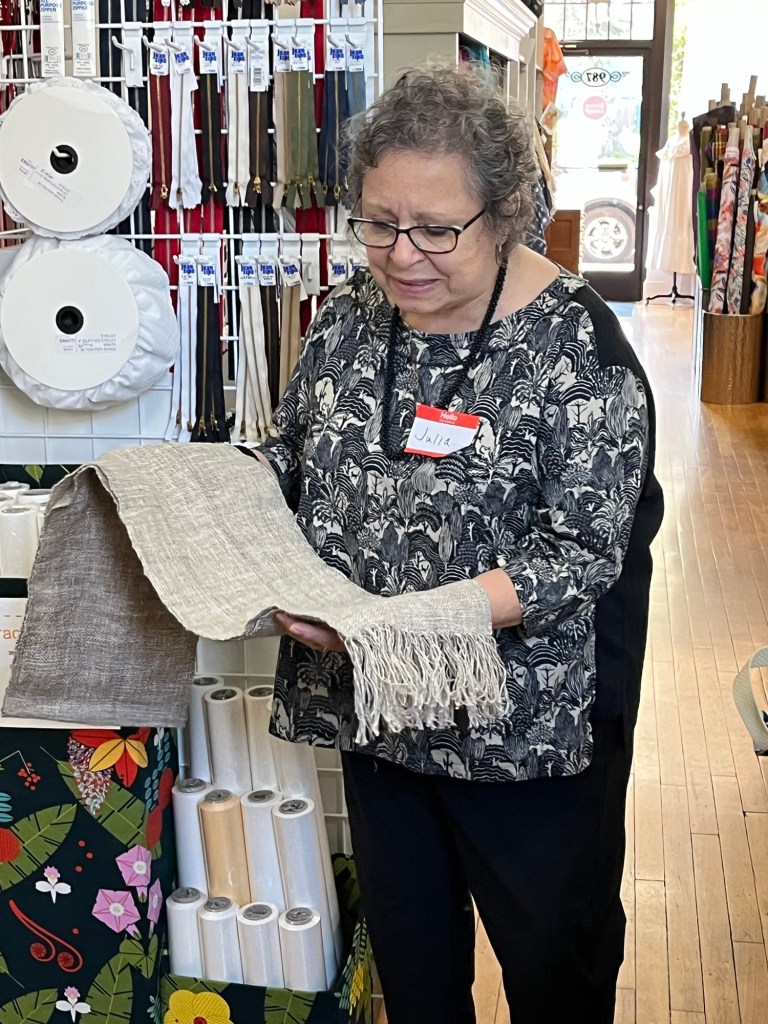


Mocha Top in cotton

Cinch Me I’m Dreaming from Forest and Thread (won the best pattern name :))

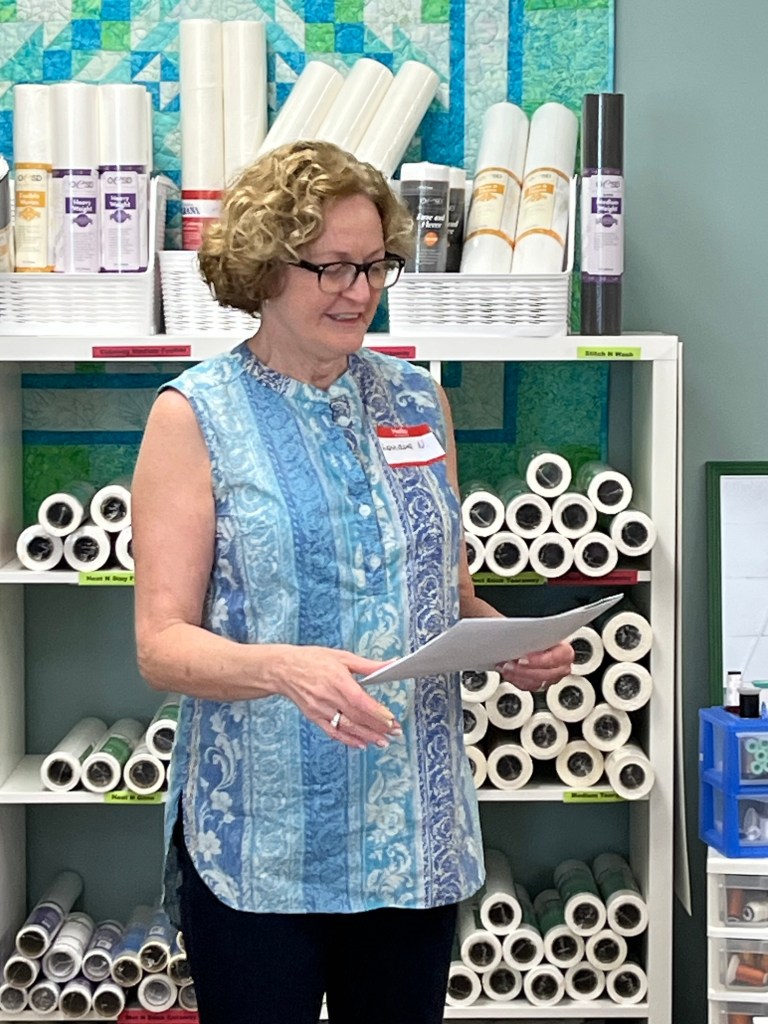


Cinch Me I’m Dreaming from Forest and Thread (won the best pattern name :))
Last of summer sewing??? We’ll see…
Debbie’s Garments:

The only fit adjustment I needed to make on the vest was narrowing the shoulder.
The pattern calls for interfacing the entire front-I just interfaced the buttonhole area at center front due to the weight of my fabric.
I especially like the shaping of the vest and the faux welt pockets. I eliminated the back ties – too fussy for me.
Summer Coral Pants
Burda 7062, View A
This is a TNT pattern. Since I had plenty of fabric left from my vest I knew I had to follow up with matching pants.
I like the slits at leg hem and the contour faced waistband.
Pants can be boring but can feel pretty especially when bias binding is used on bottom edge of waistband.
The vest and pants were a fun and easy make.

I shortened the length of the tee 1” between the bust and waist and 1” from hem length.
The pattern comes with neck variations, long, 3/4 or short sleeves, cuffs and modesty panels.
Very easy and quick make.
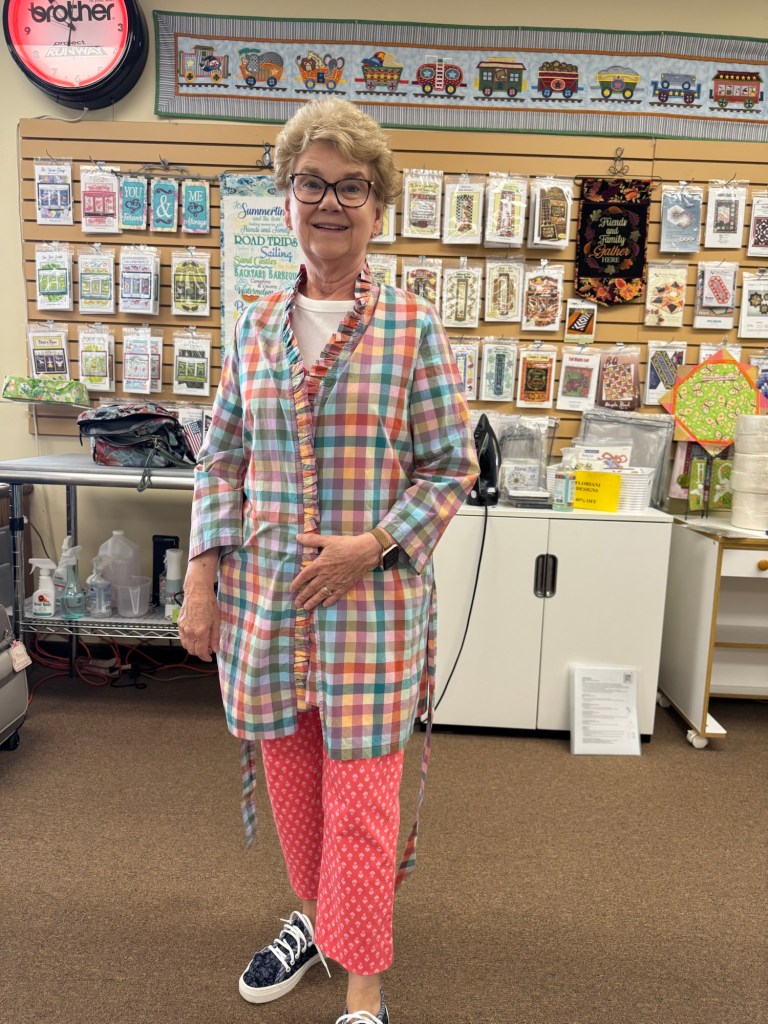
Length adjustments included petiting between the shoulder and bust on fronts, back and sleeves. I chose to do the knee length and shortened that length 2 inches.
Due to the fabric, pattern and construction methods I chose this make became a bit of a challenge.
The fabric has no right or wrong side. It’s a plaid/check that needed matching and my machine needles did not enjoy stitching through fabric that wasn’t just one layer.
I cut the width of the band in half, gathered it, and serge finished that with self made bias – my needles/machine did not like the thickness of the seam. Also I didn’t have quite enough fabric to go around the robe opening.
Instead of patch pockets I made inseam pockets and used French seaming everywhere except for inserting sleeves into armhole. It got too confusing keeping track of right and wrong side. The sleeves were serged into armhole.
I gathered about 6 inches on the center back of robe. Then I attached the center of the tie to the back of the robe on the gathered stitching. The ties are secured with that stitching and with belt loops at side seams.
This was a good learning make for me, especially the french seam pockets – a new skill for me that I will try again.
Kristin’s Garments:
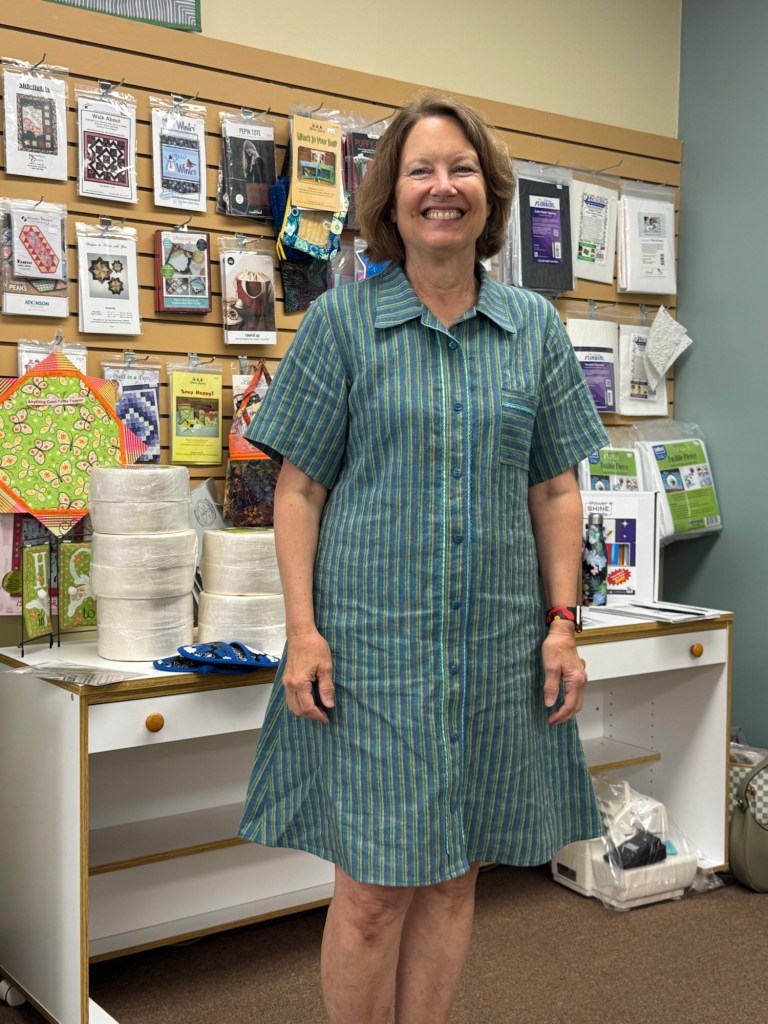
My go-to summer dress is a Vogue out of print/fussy pattern so tried this one to see if I can get the same effect with less fuss.
Shortened the waist by 1” and then ended up changing waist shaping even more.
Found a fun trim in my stash and when it wasn’t quite enough, I made do.
Decreased collar depth by 3/8”.
Too late for August but Closet Core just came out with the Edith Dress which is similar.
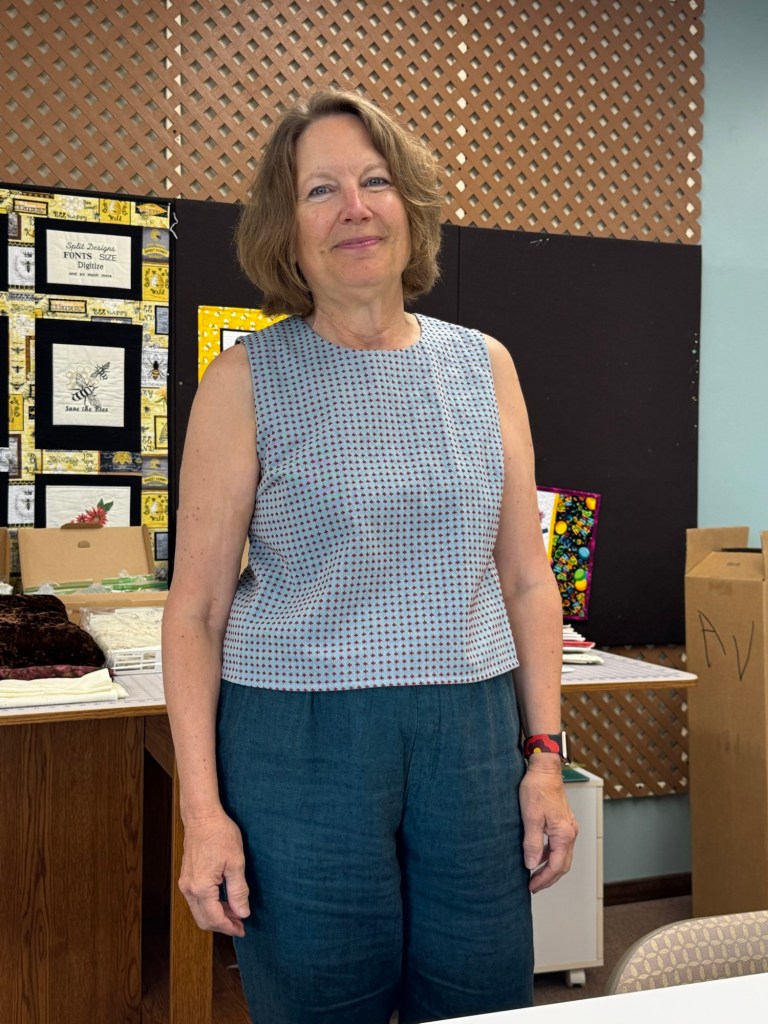
Cut out a size 12 going to 14 at hips. Another sewist had warned me that it was close fitting and she wasn’t wrong-I let out side seam allowances as far as 5/8” seam would let me.
Love the half facing for armholes and neck. Burrito roll is explained very well.
Pattern called for a 1.25” hem-I used a piece of bias facing to keep it longer.

Had to give this one a try as it’s a look I like. Cut out a size large and am happy with the fit.
Pattern includes three sleeve lengths and three necklines.
August Garment Sewing Group
Wednesday, September 10, Lakes Makerie, Mpls.
Thursday, September 11, Creative Sewing, Apple Valley
Saturday, September 13, Ginny’s Fine Fabrics, Rochester
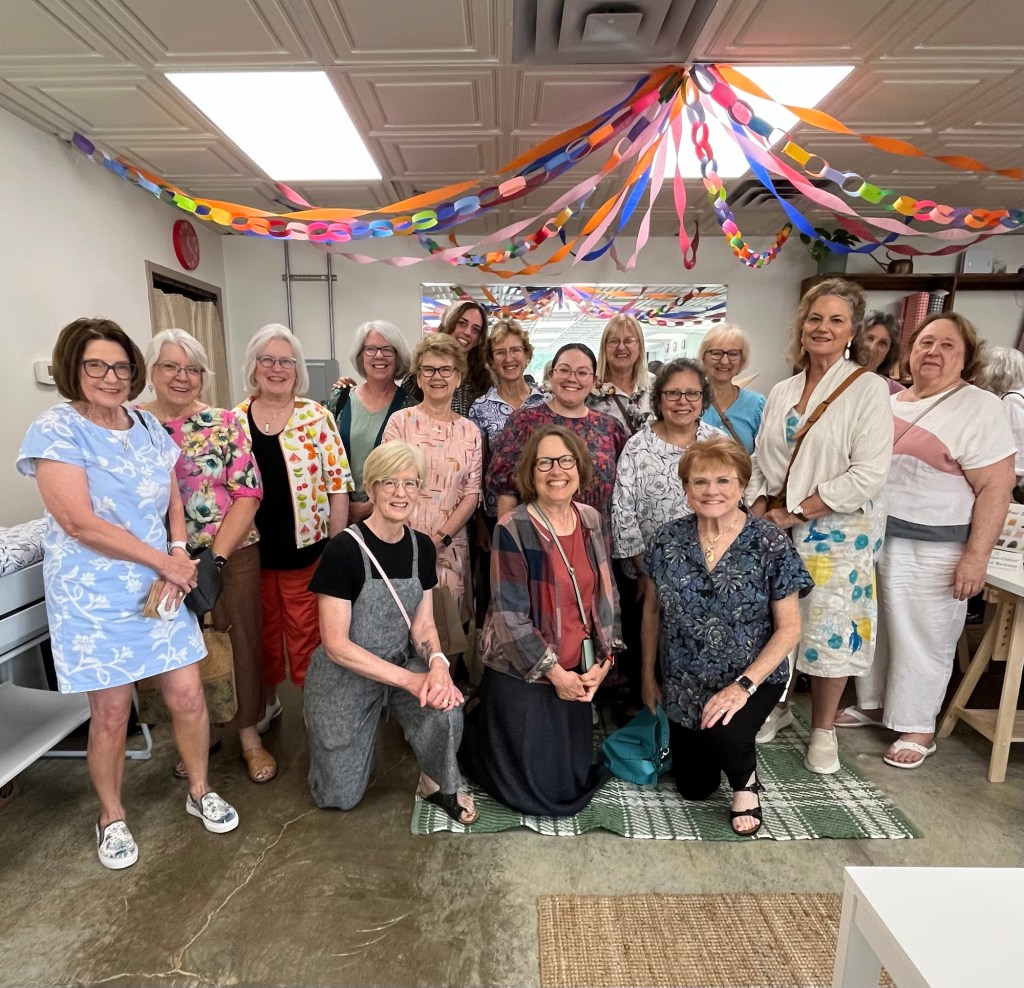
Sew Inviting hosted our meeting on Saturday and what a wonderful morning it was-looks like Sew House Seven and Love Notions won out for summer sewing!!
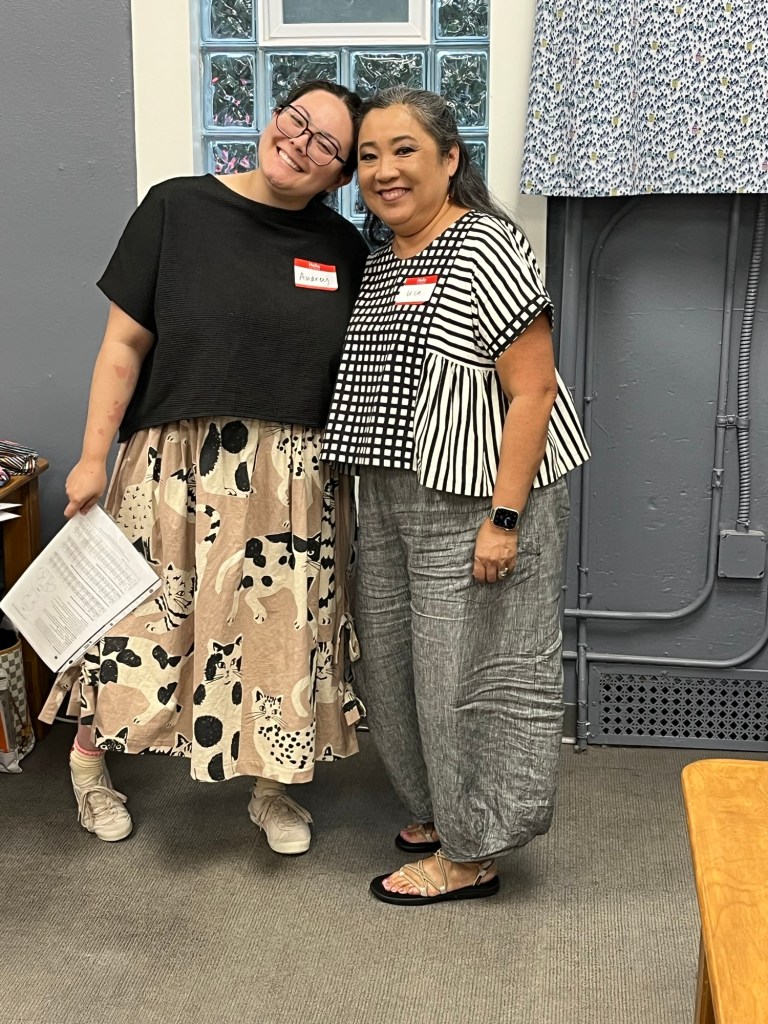
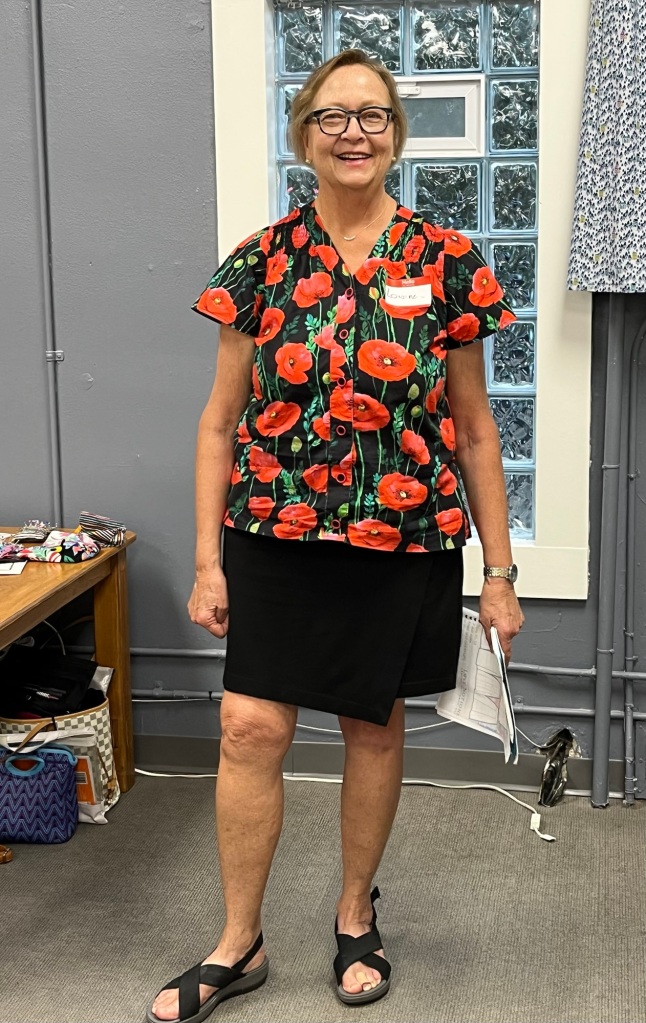
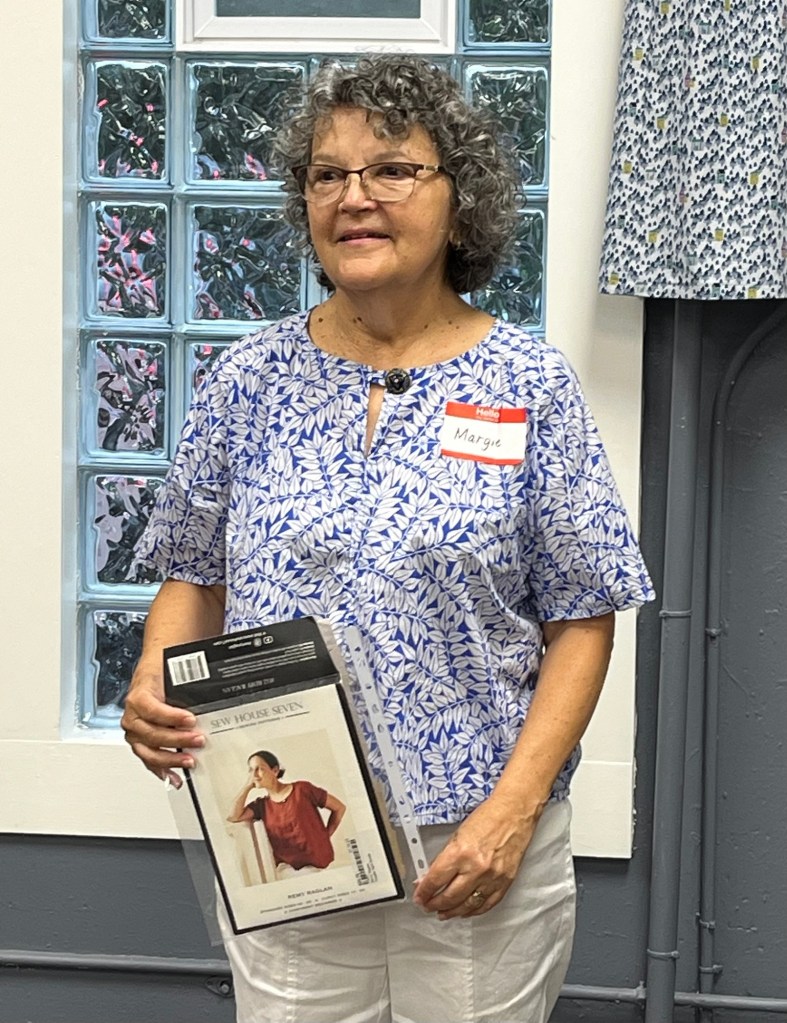
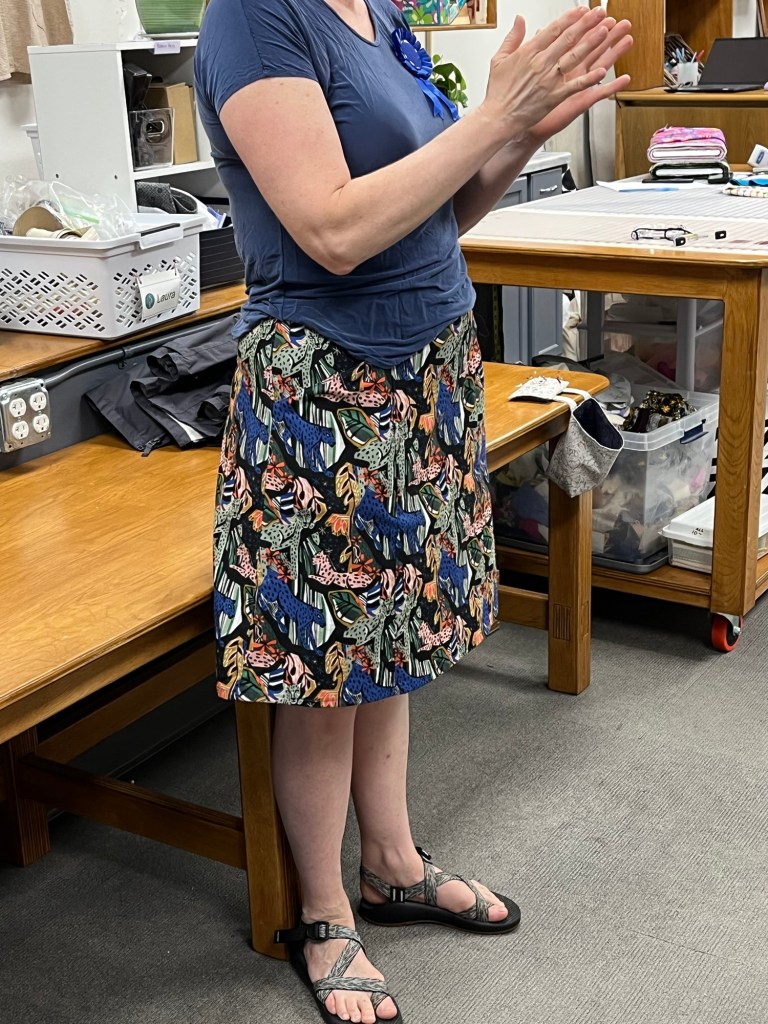
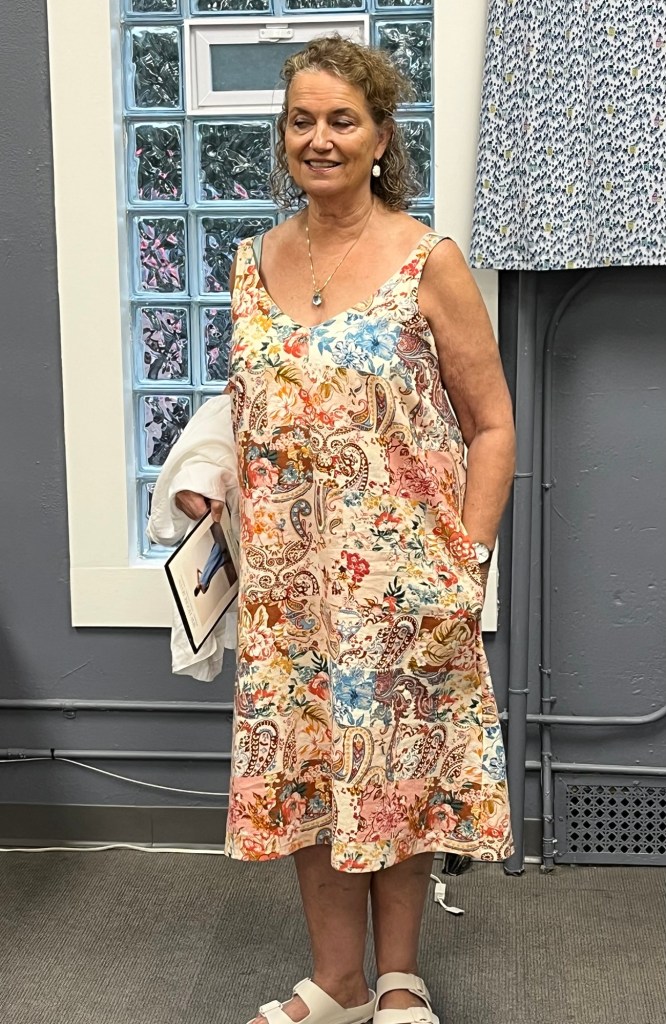
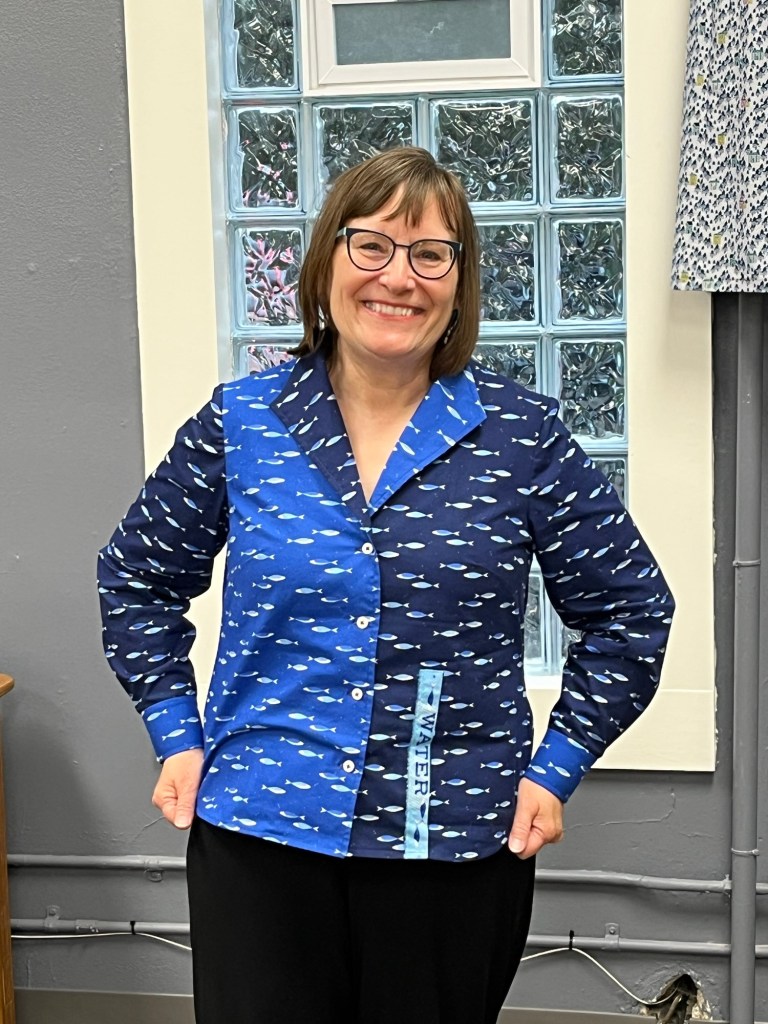
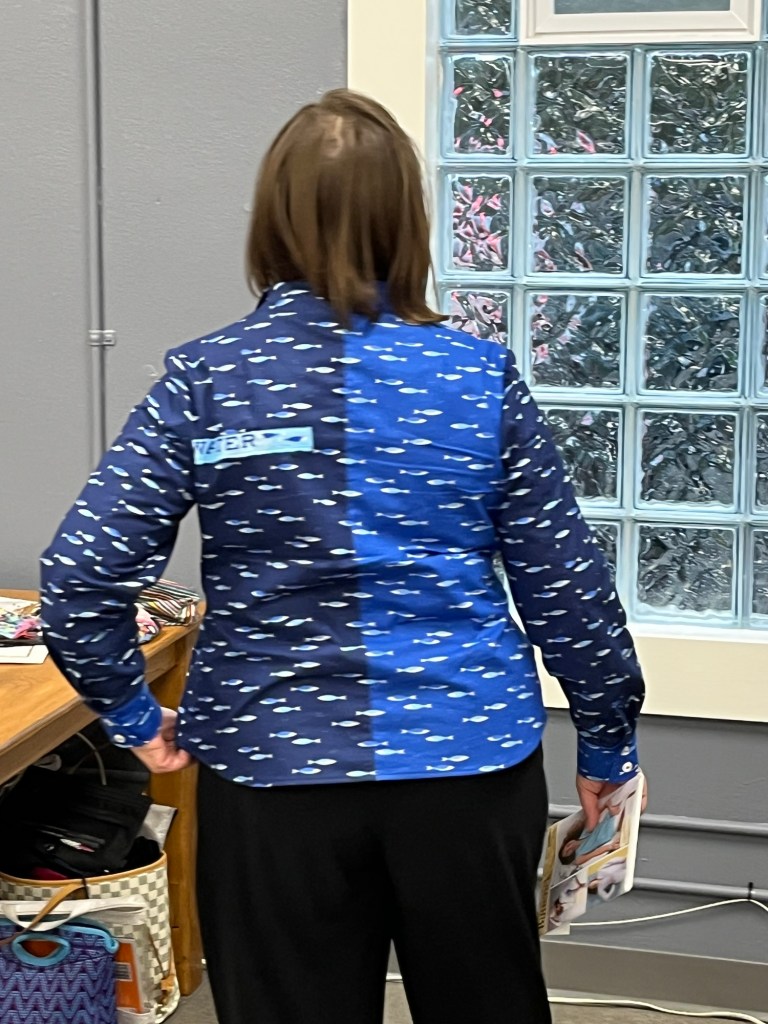
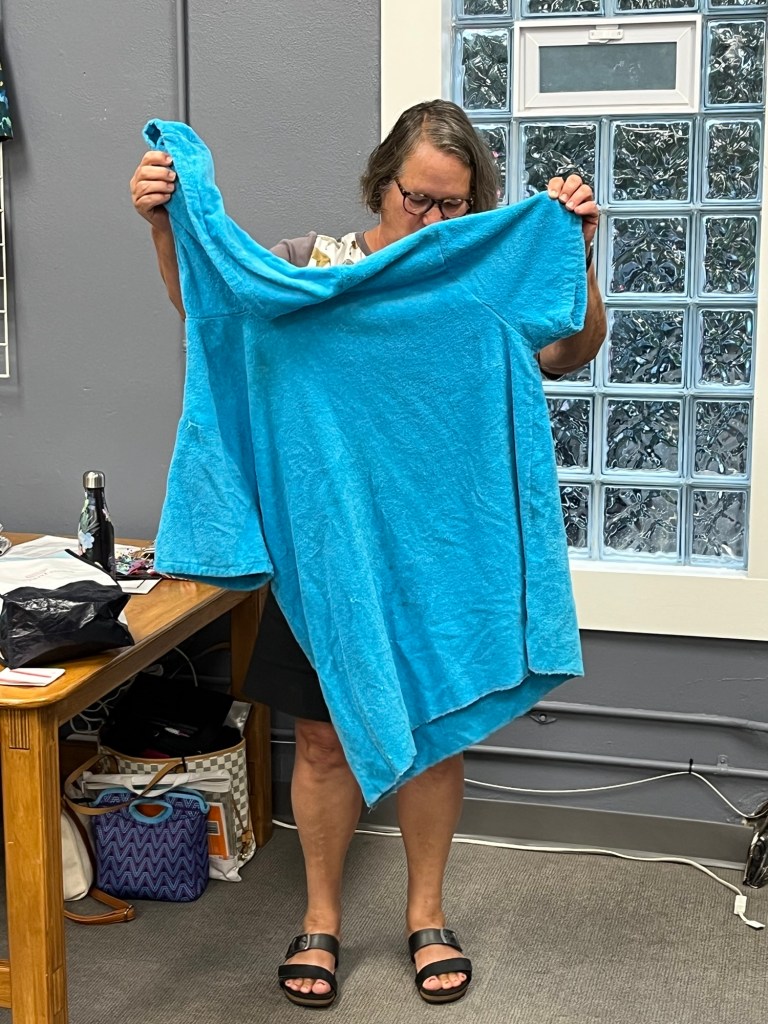
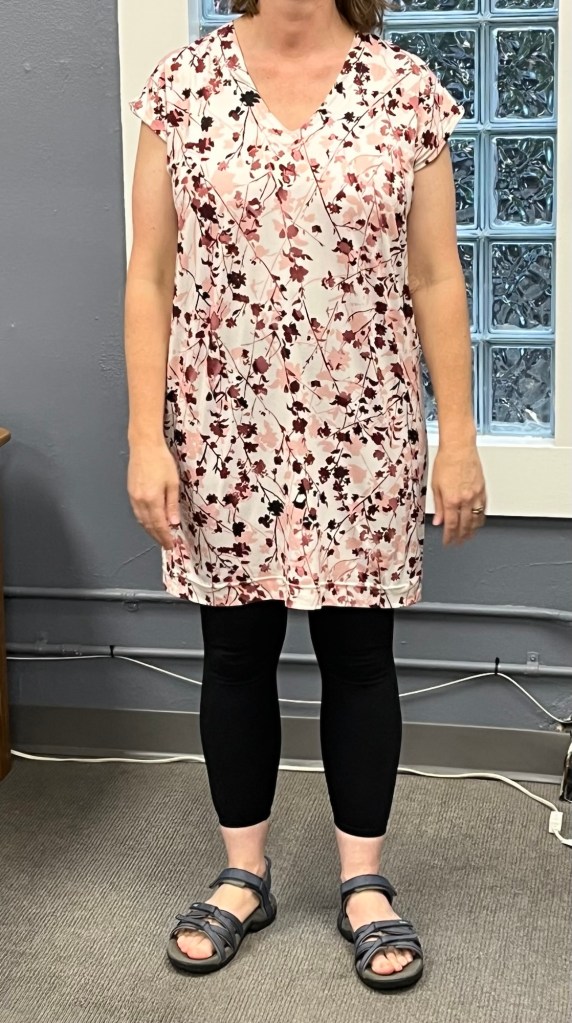
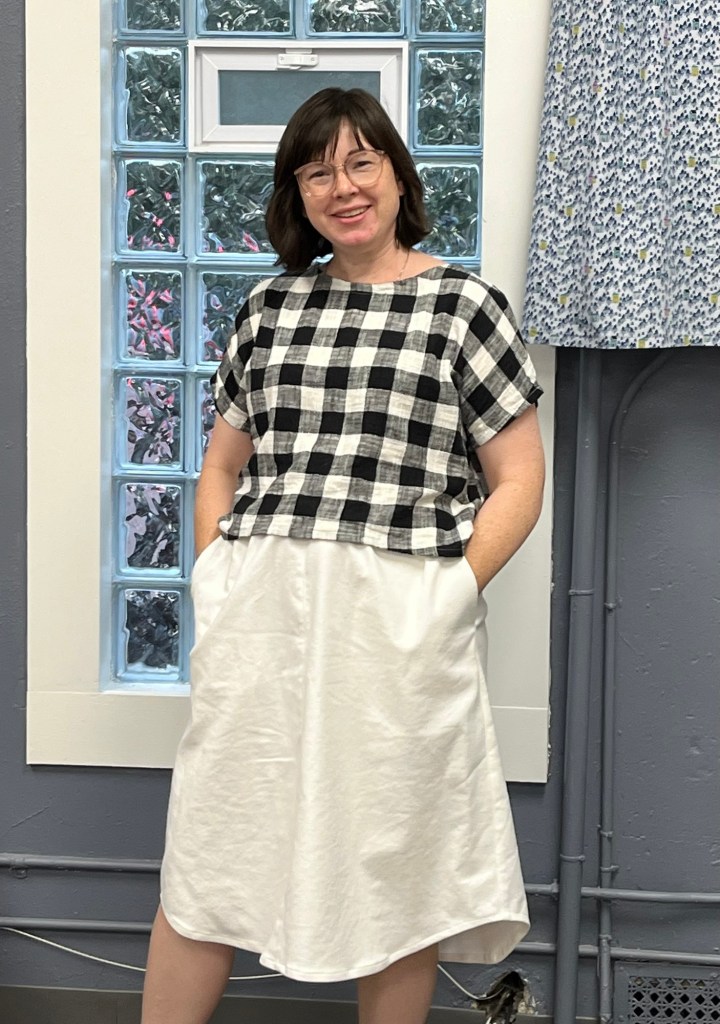
Great meetings and then the grand opening!!
We started the week at Sew Inviting in St. Paul-
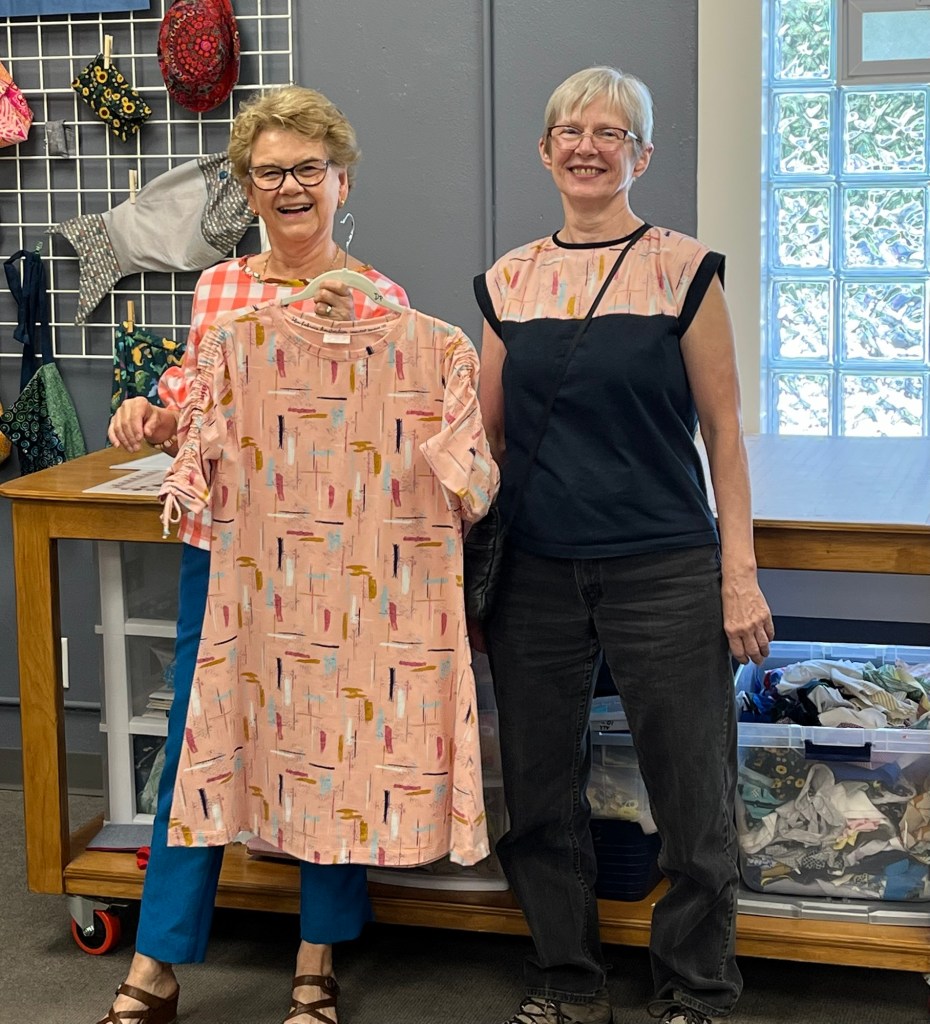
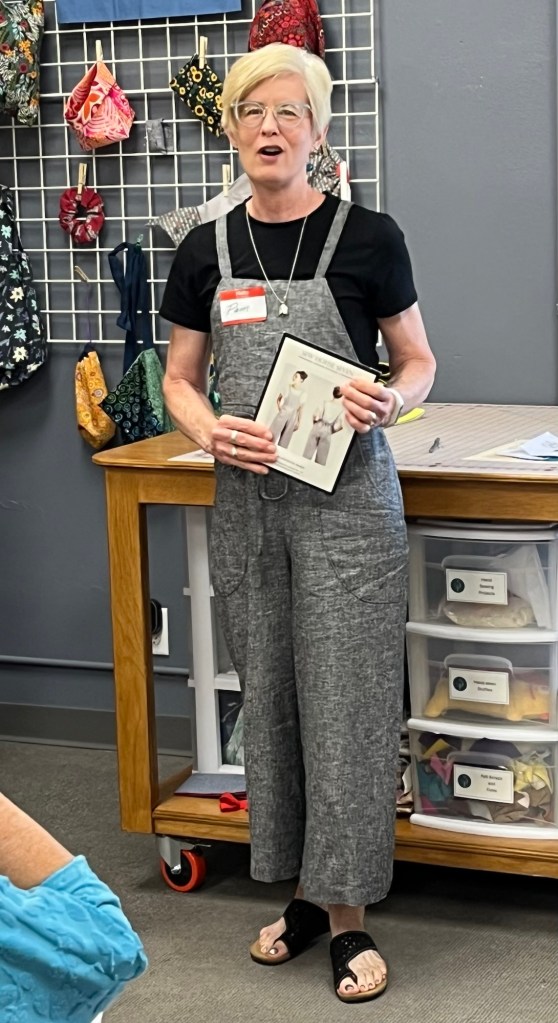
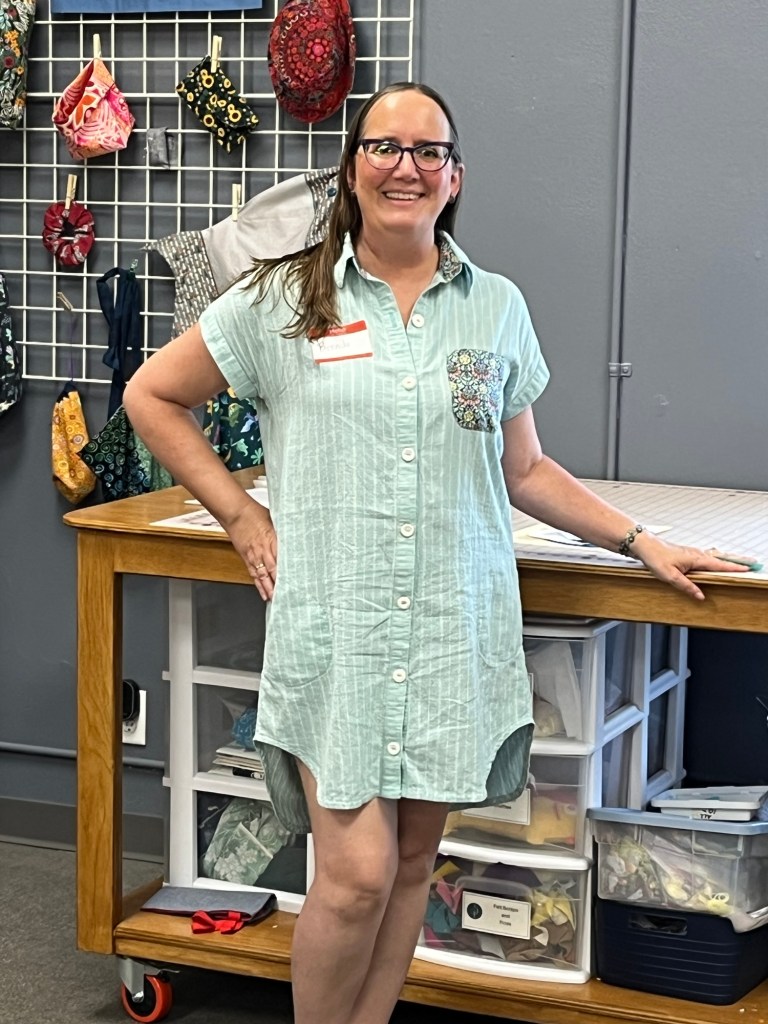
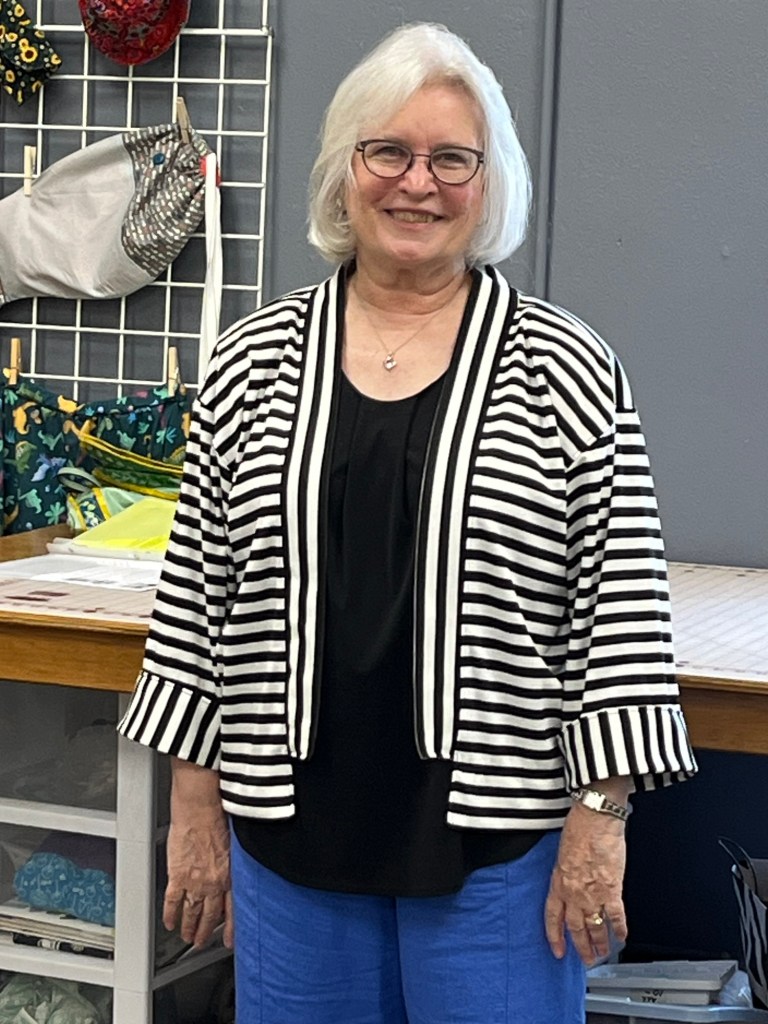
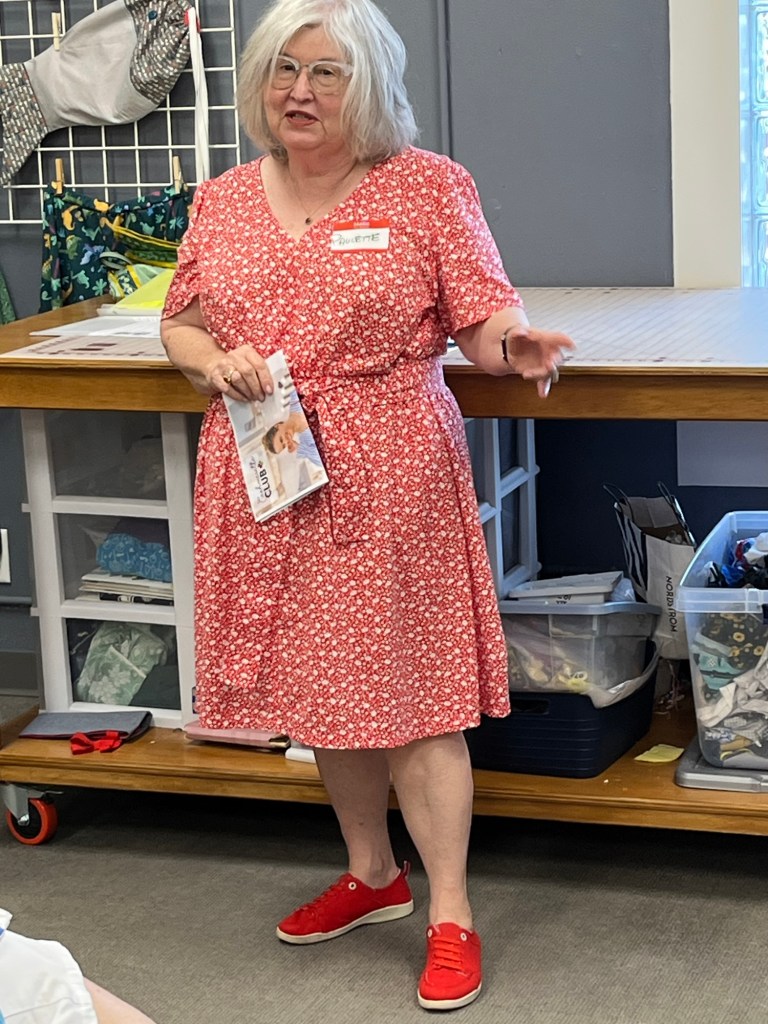
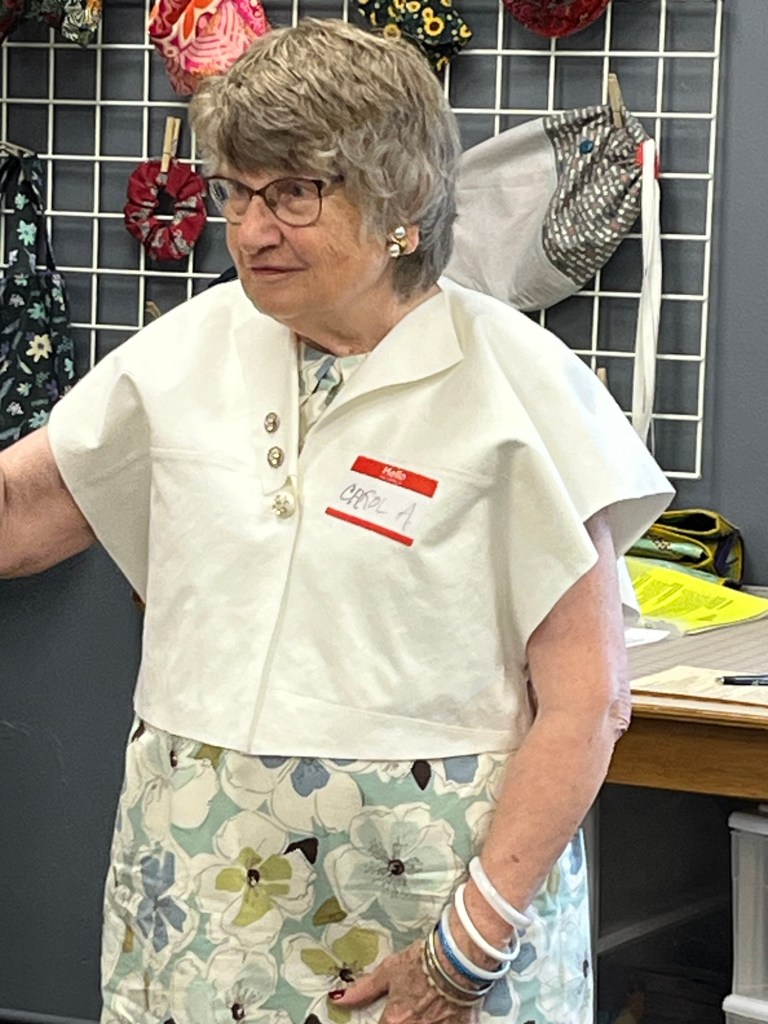
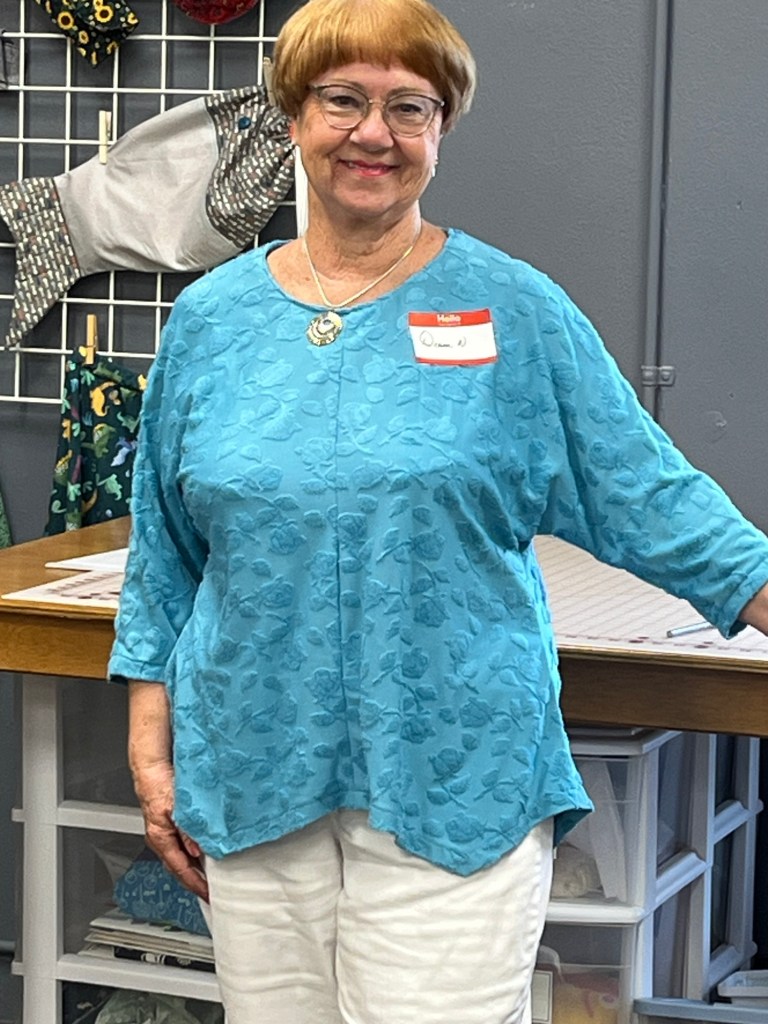
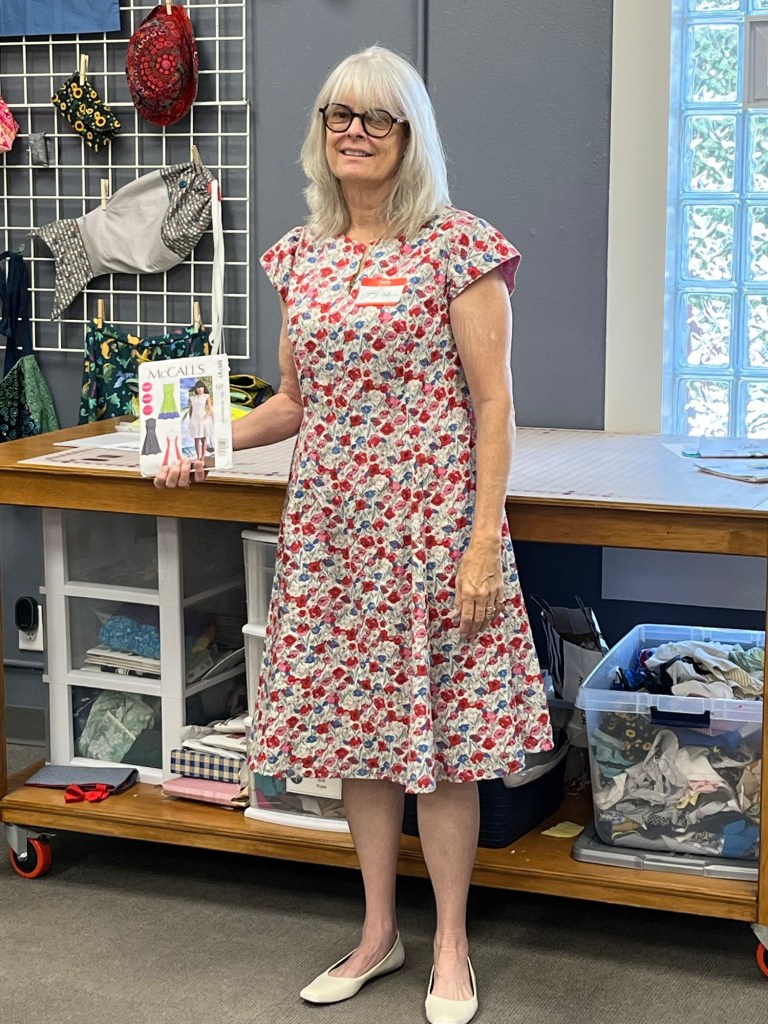
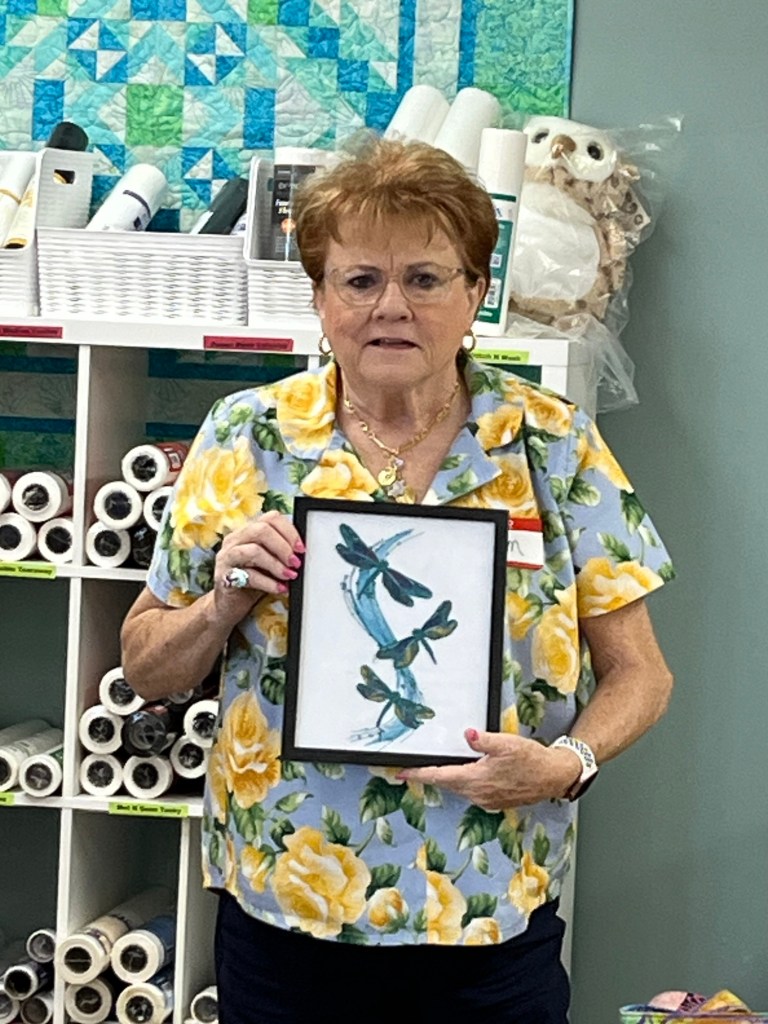
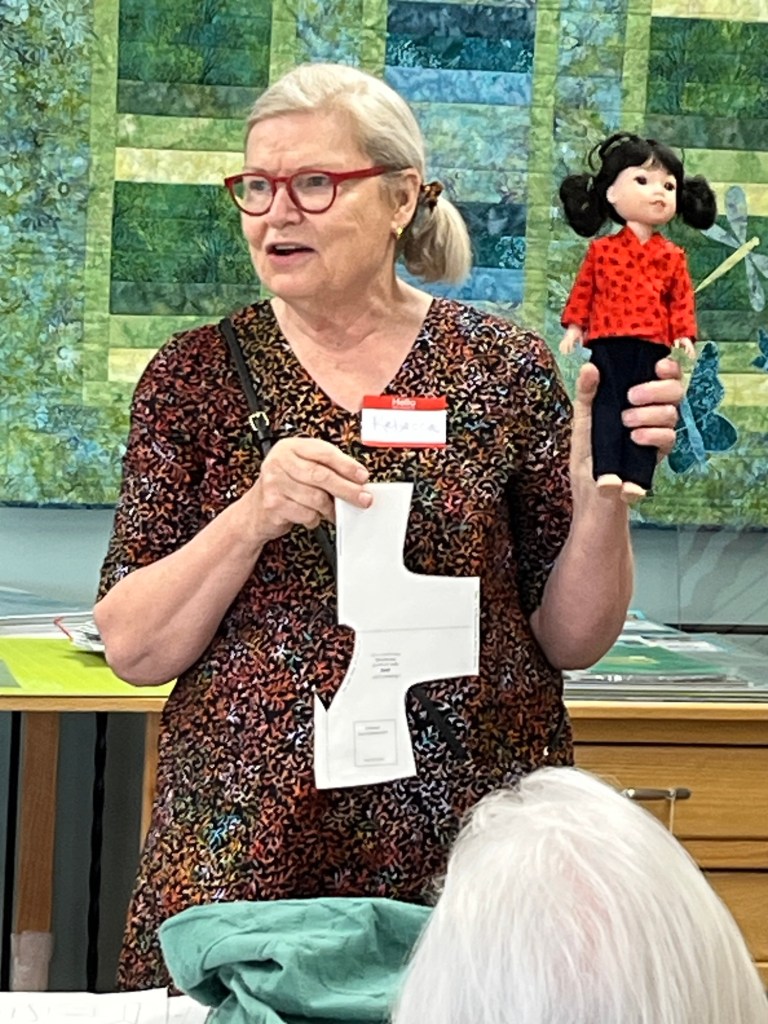
And then Creative Sewing-
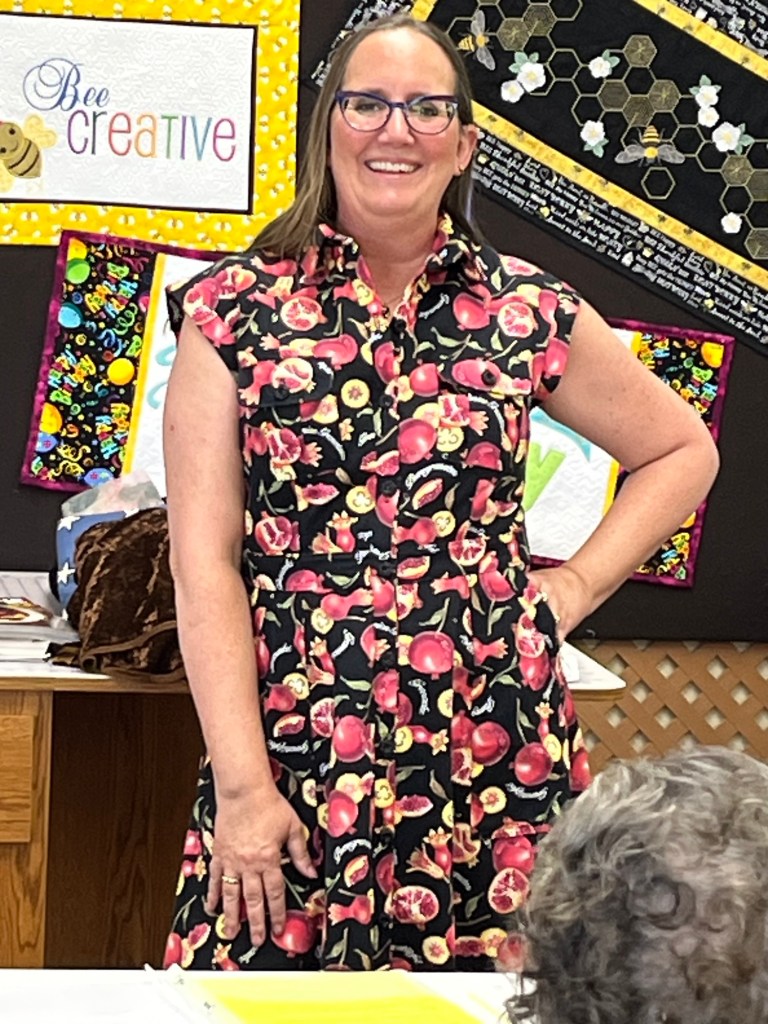
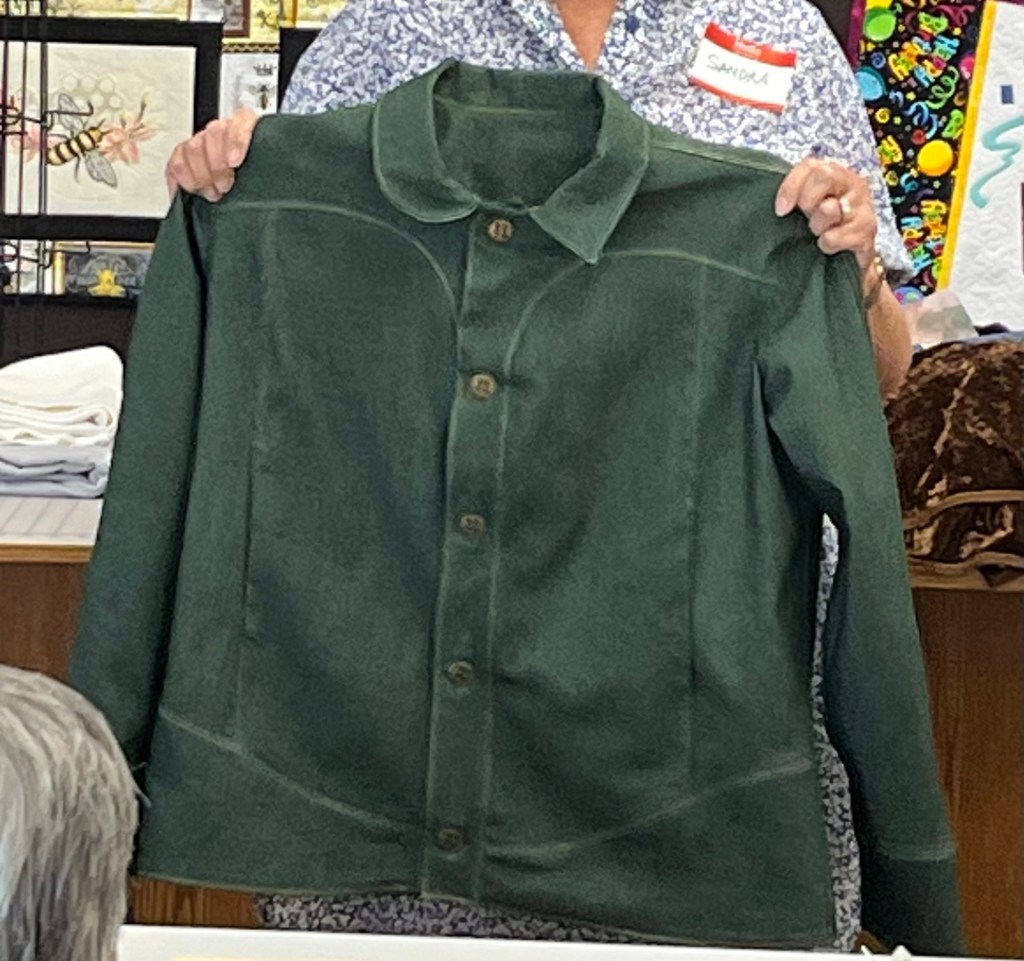
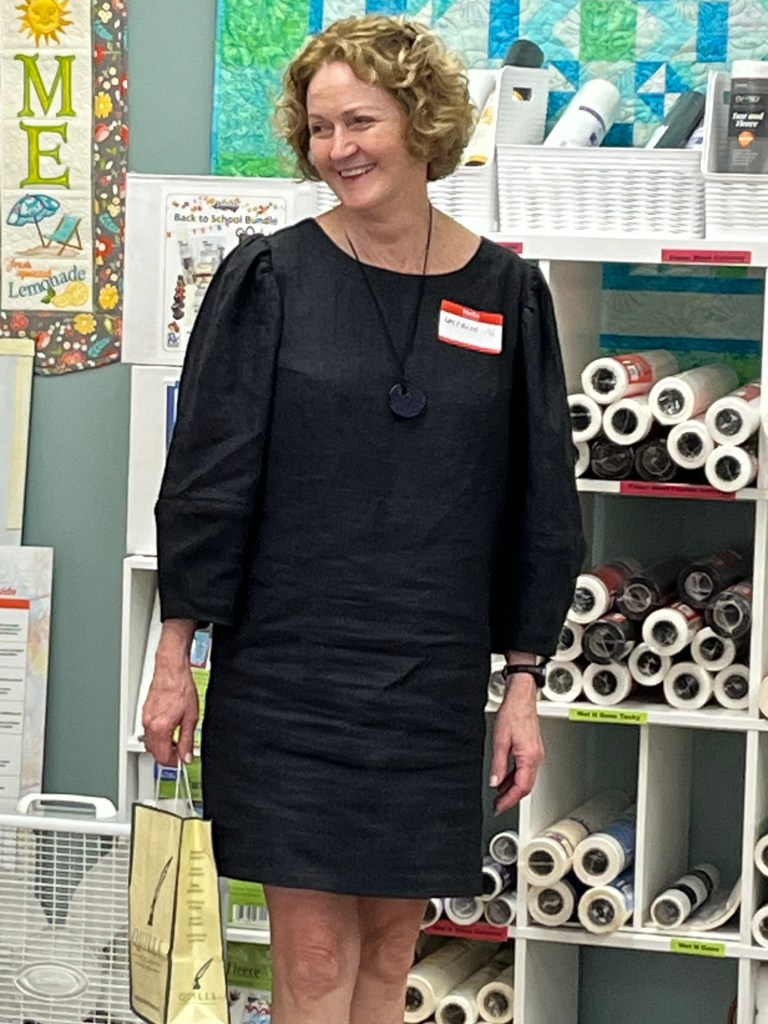
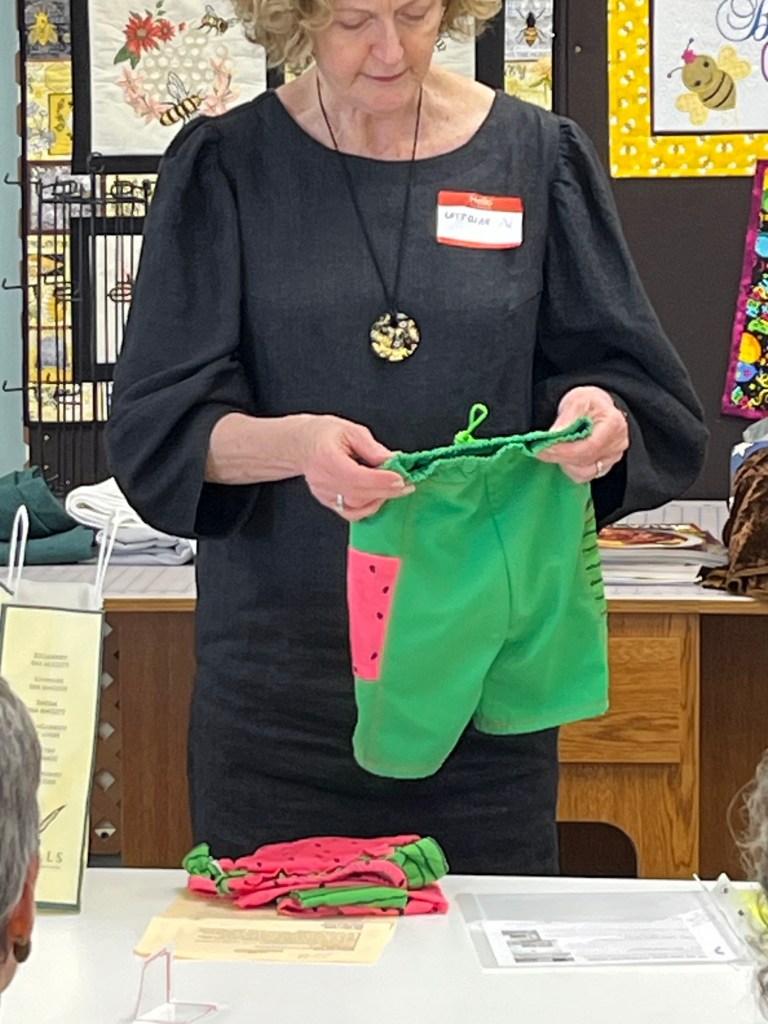
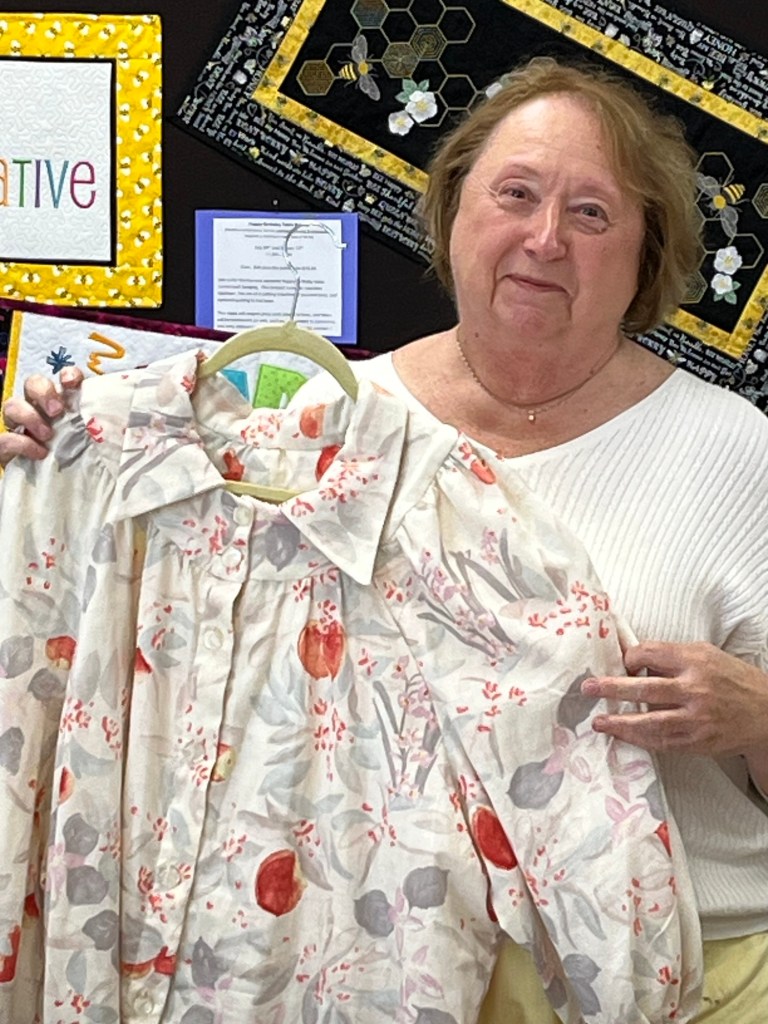
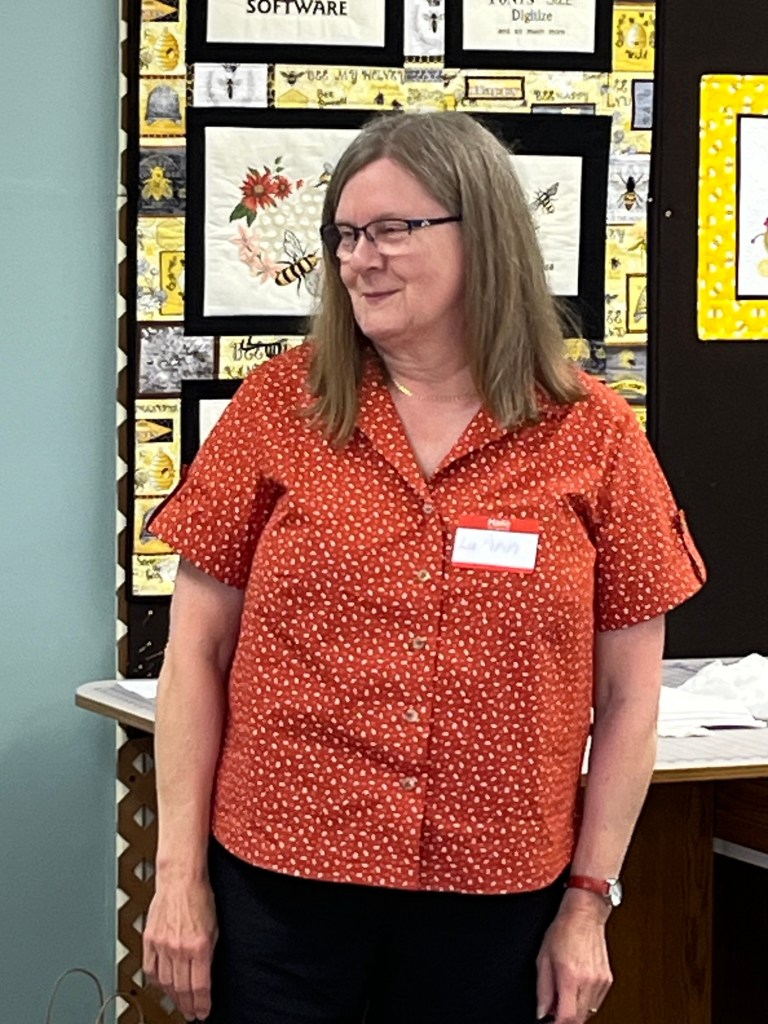
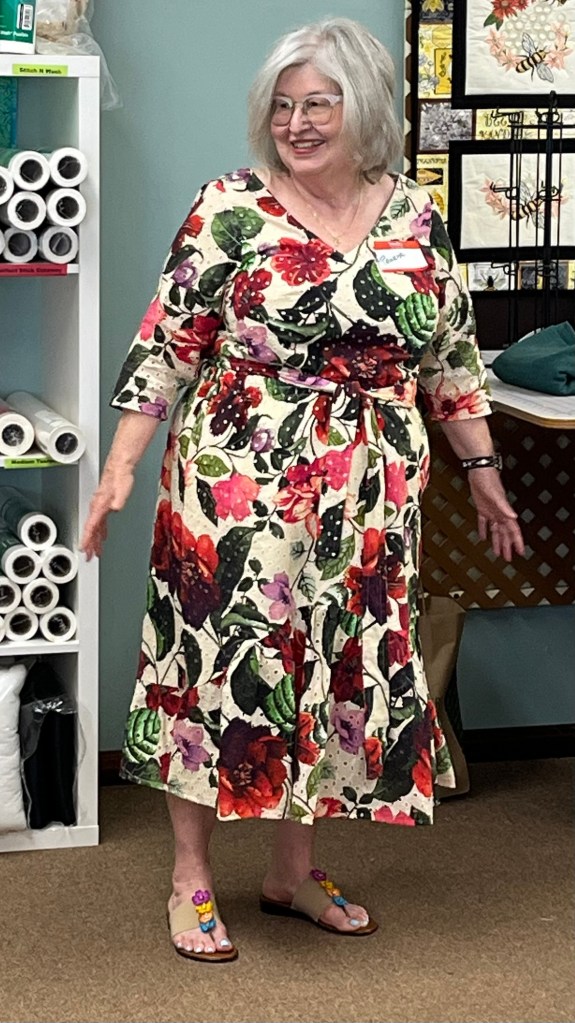
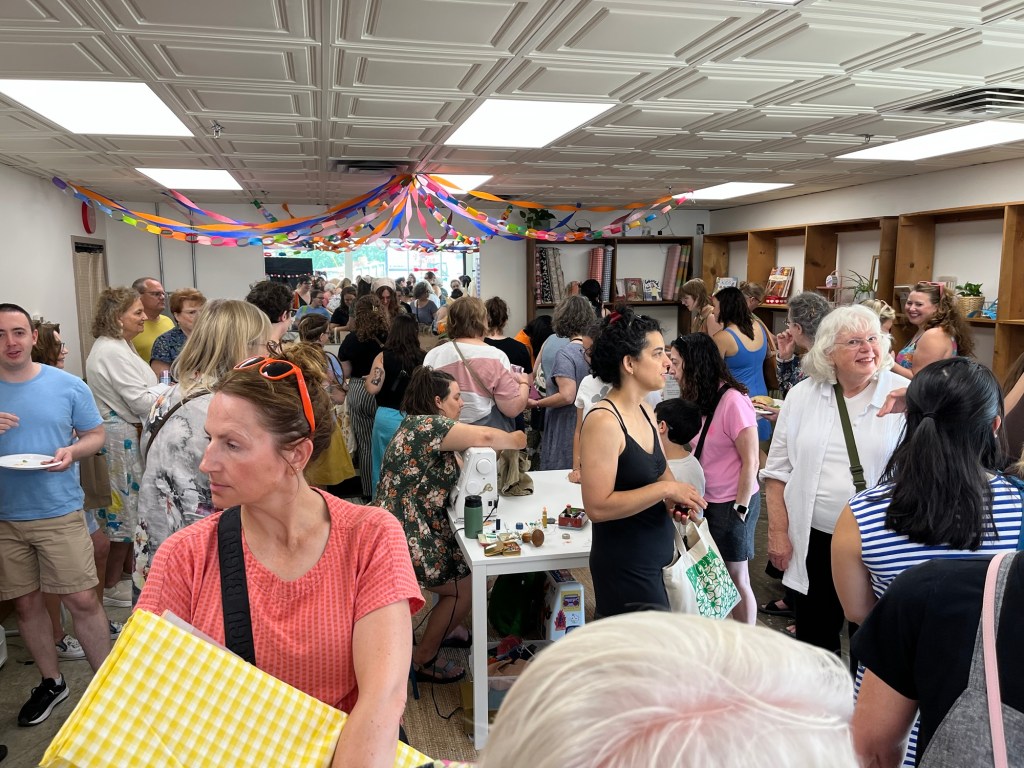
And then it was on to the grand opening of Open Studio Sewing!
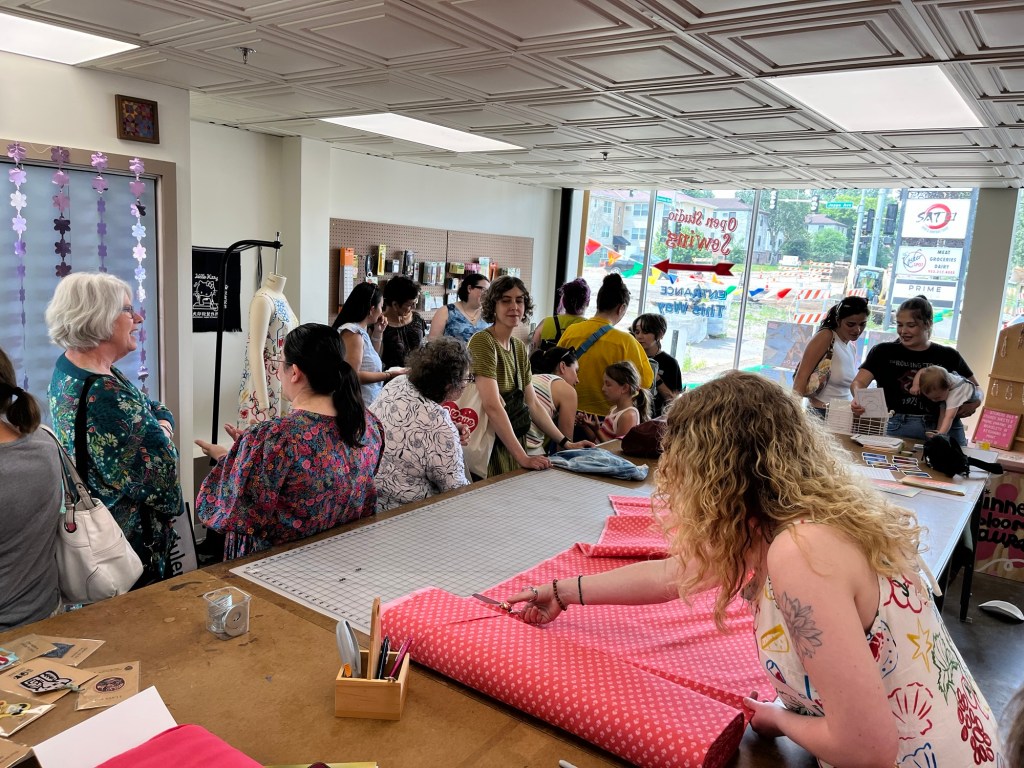
Waiting in the embroidery line-
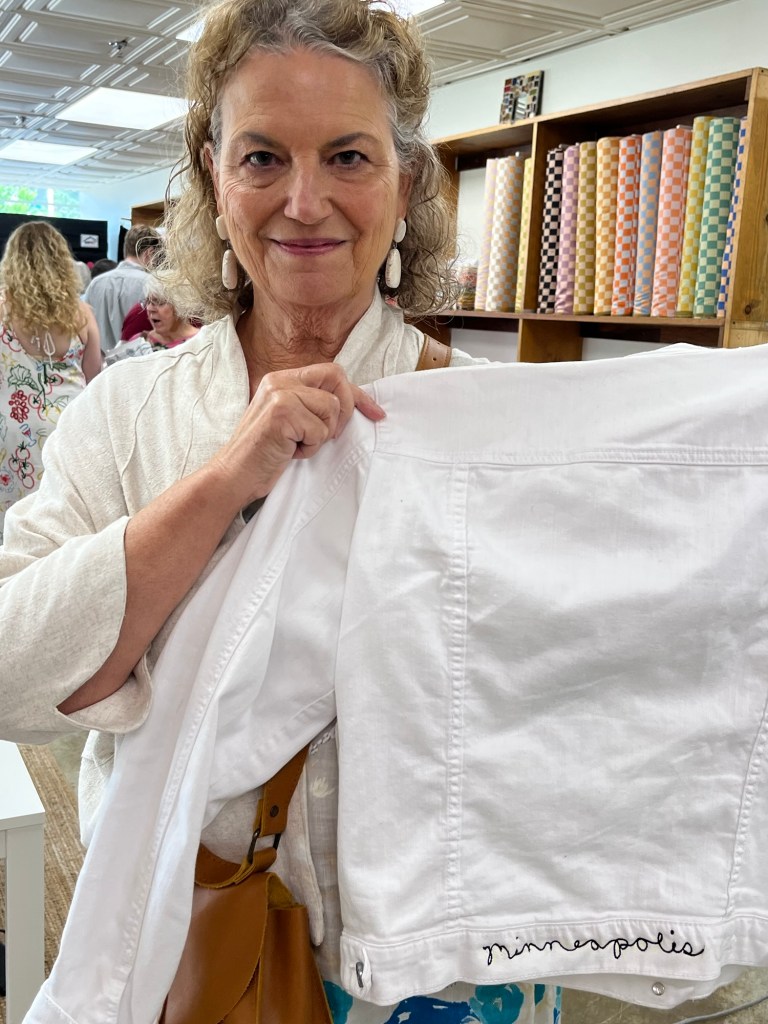
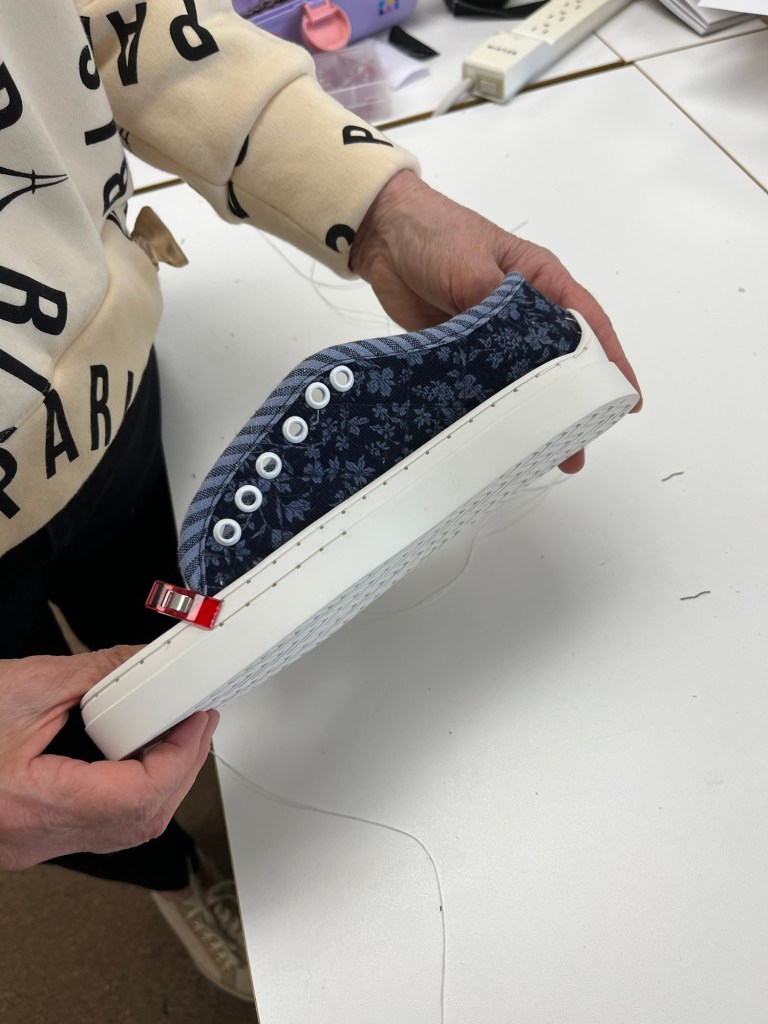
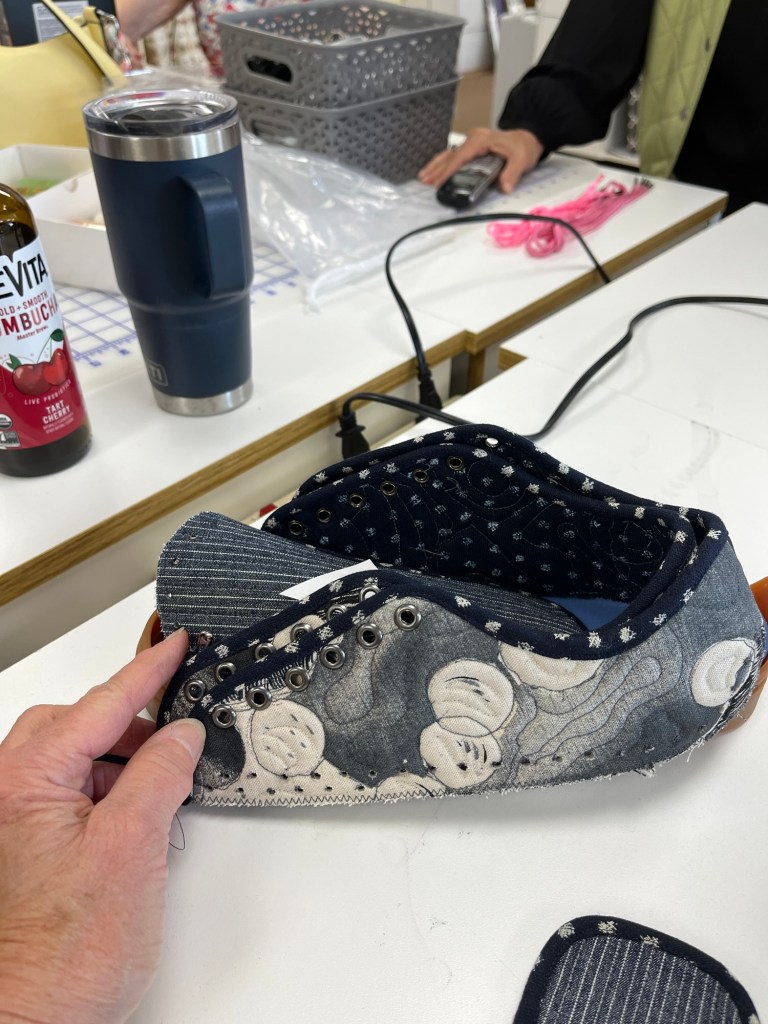
Come to Garment Sewing Group this week to see these shoes live and in person!!
June 2025 Garment Sewing Group
Wednesday, June 11, 10:30 at Ginny’s in Rochester
Thursday, June 12, 10:30 at Creative Sewing, Apple Valley and fabric swap!
Saturday, June 14, 10:30 at The Sewing Lounge, St. Paul
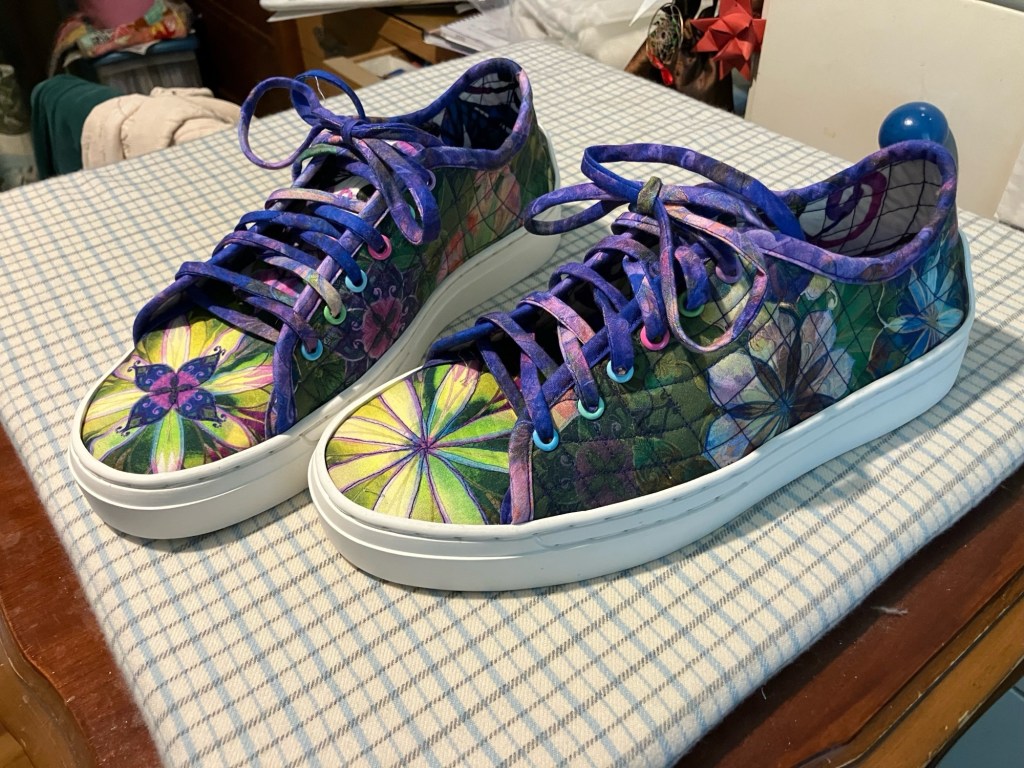
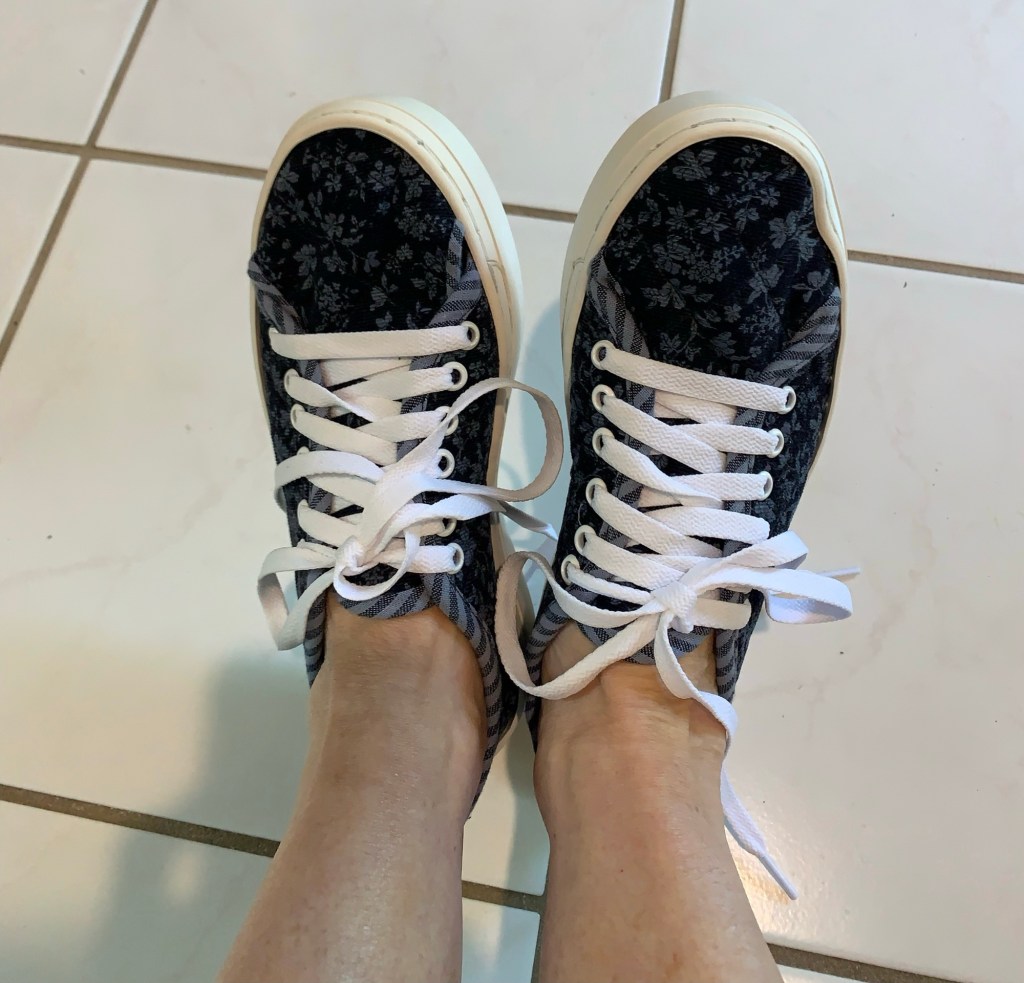
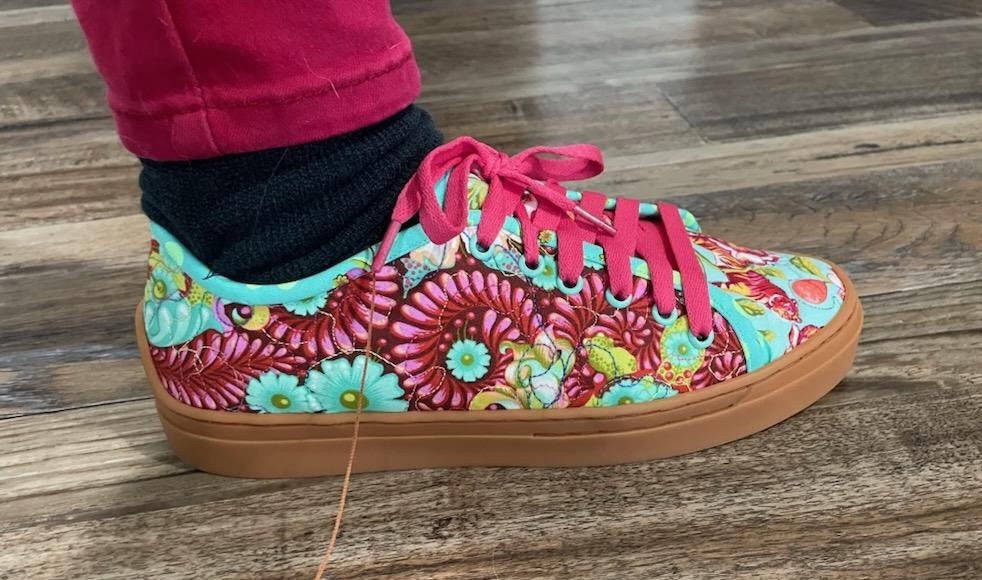
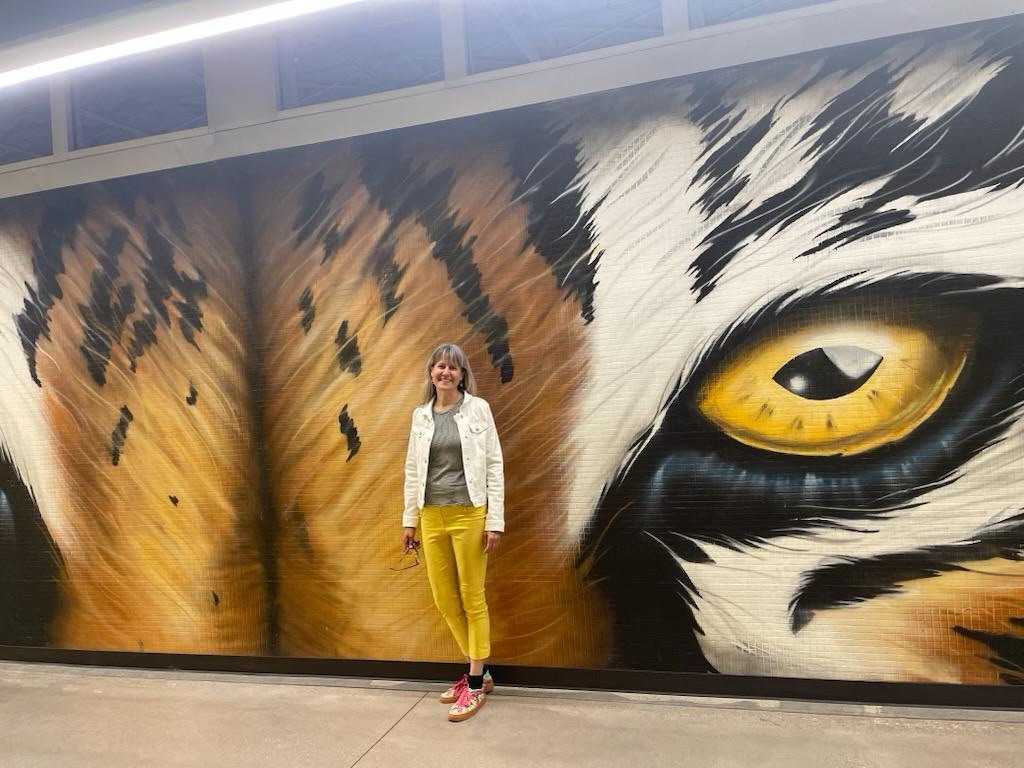
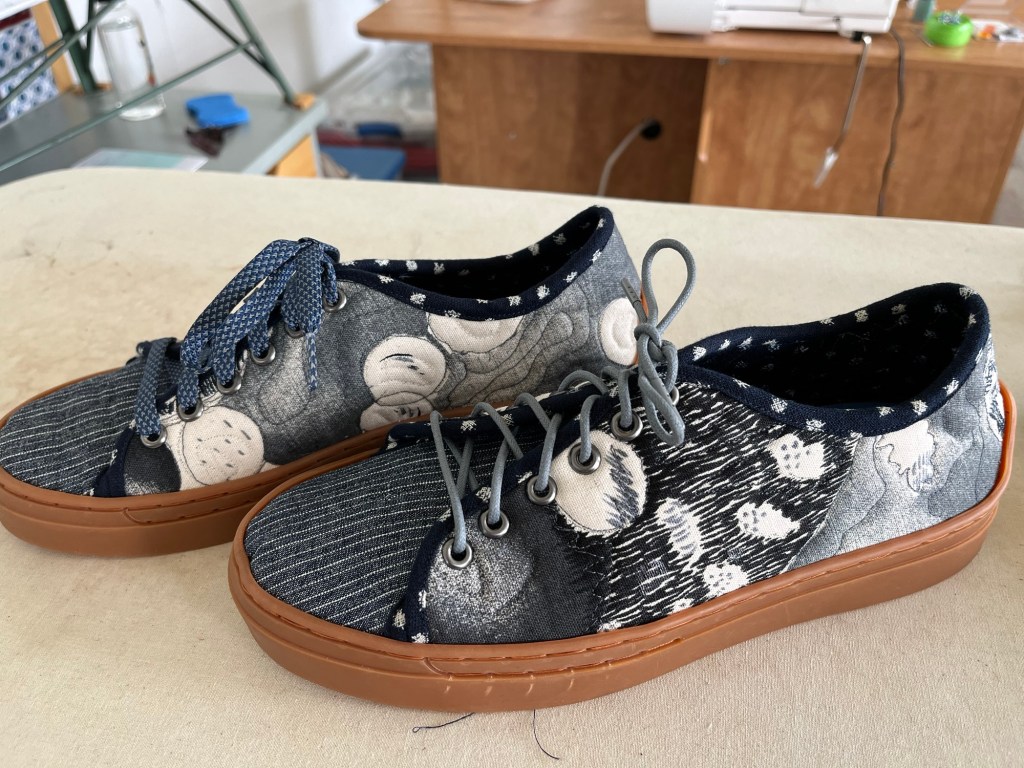
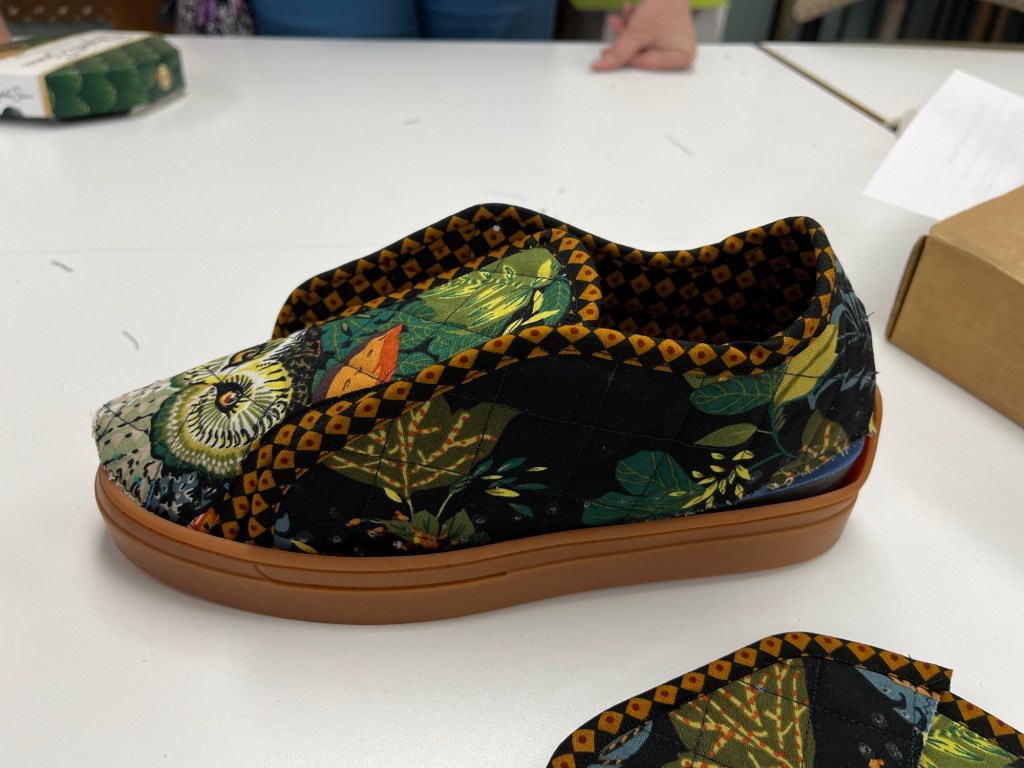
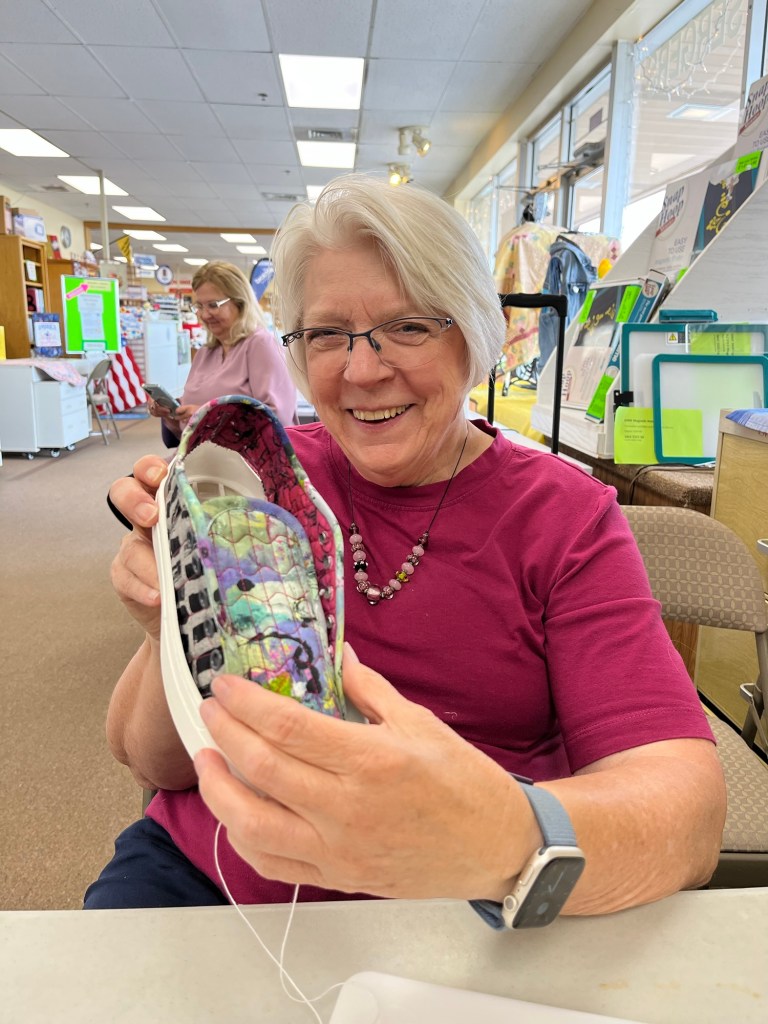
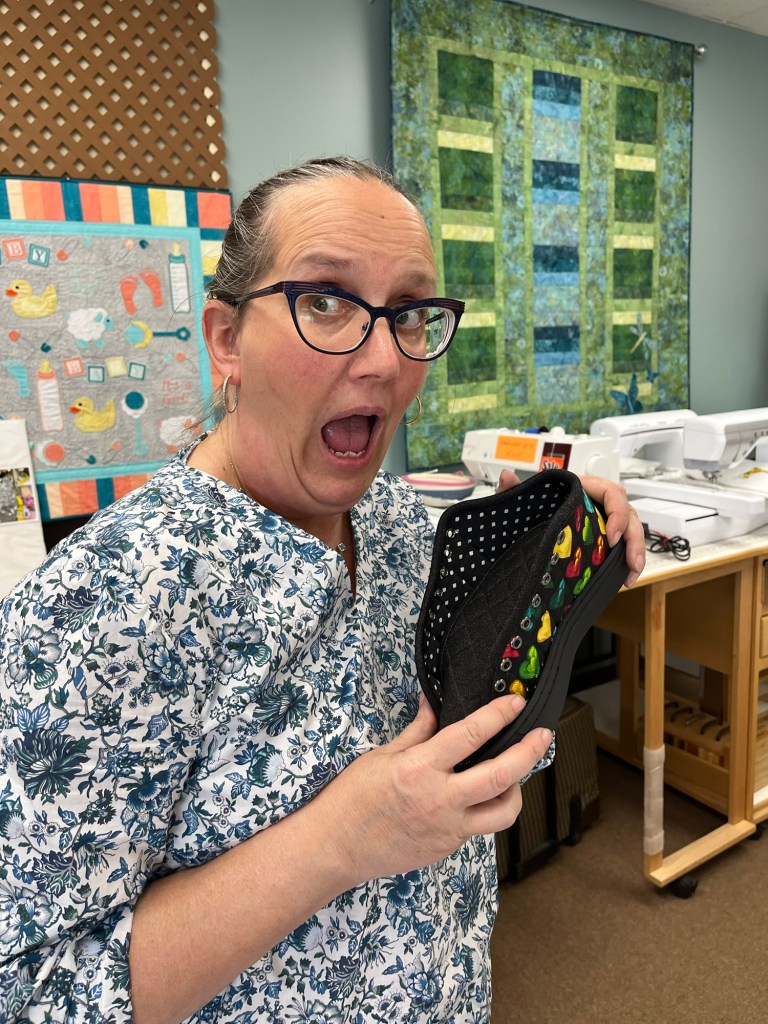
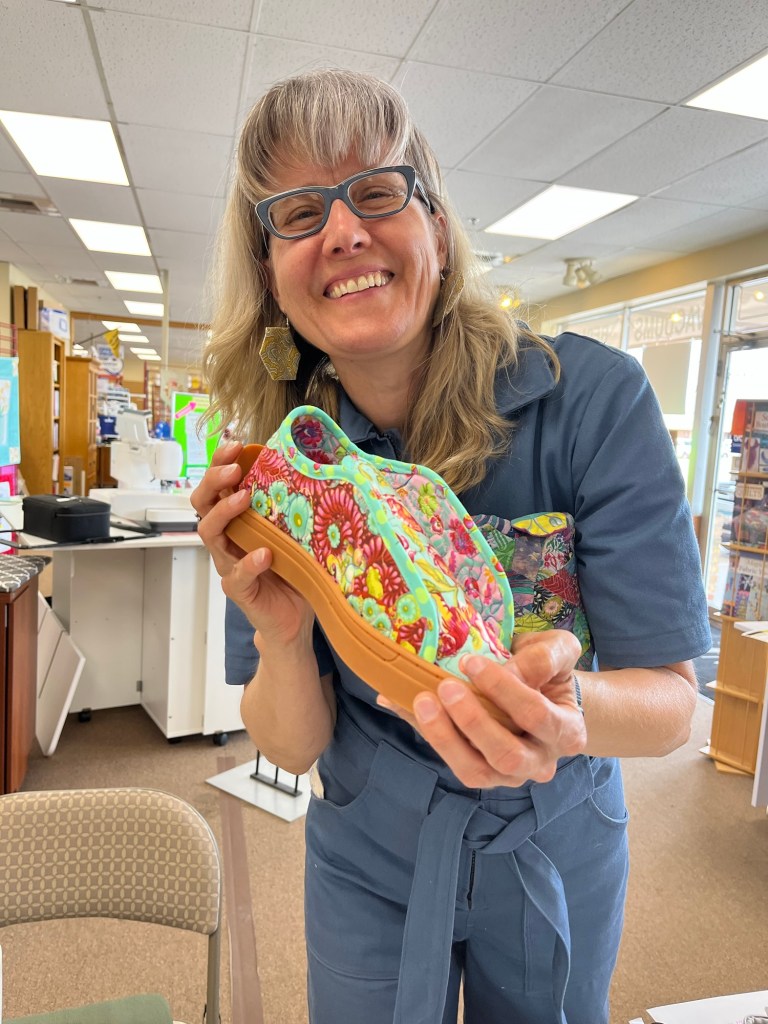
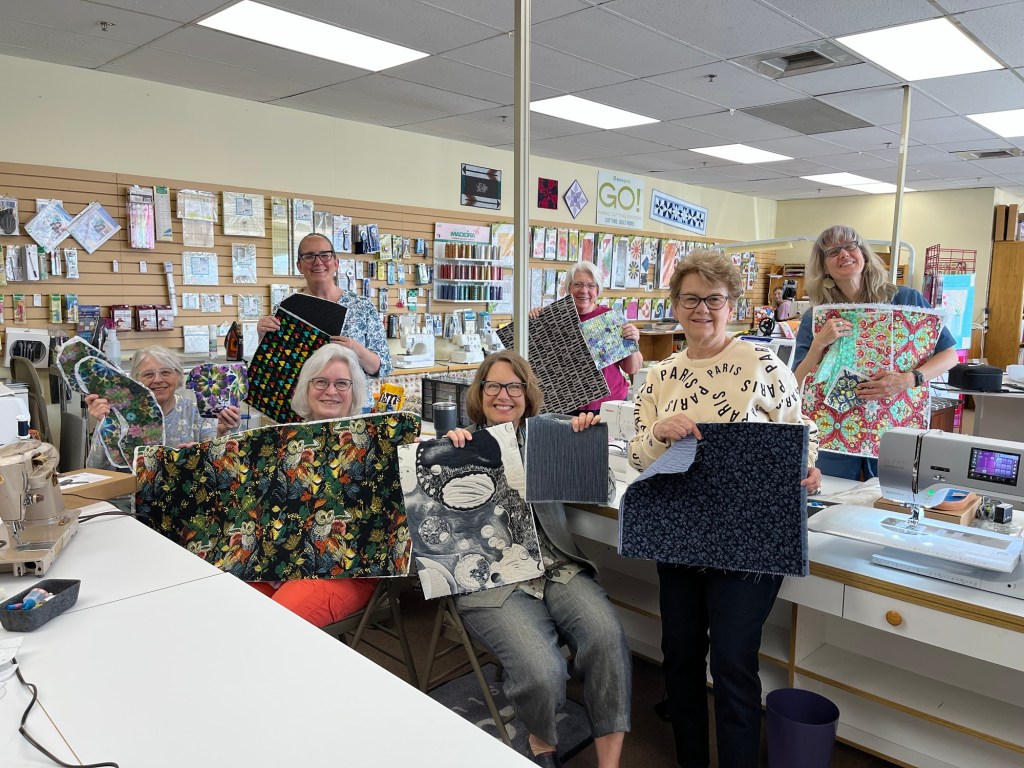
Seven of us got together with Lisa to construct our shoes last Thursday at Creative Sewing. We had so much fun! Here are some of the finished shoes-if you want to see more work in progress, keep scrolling down. Lisa offers the class at Tiny Apple Quilt Shop in Anoka (the former Millie P. Store.)
It was a beautiful spring Saturday in Rochester and some of you were all decked out! Ginny was full of enthusiasm, even hinting that she would carry Big 4 patterns (she carries Burda now).
We’ll be at Lakes Makerie on Wednesday (May 14) and Creative Sewing on Thursday (May 15). Come join us!!
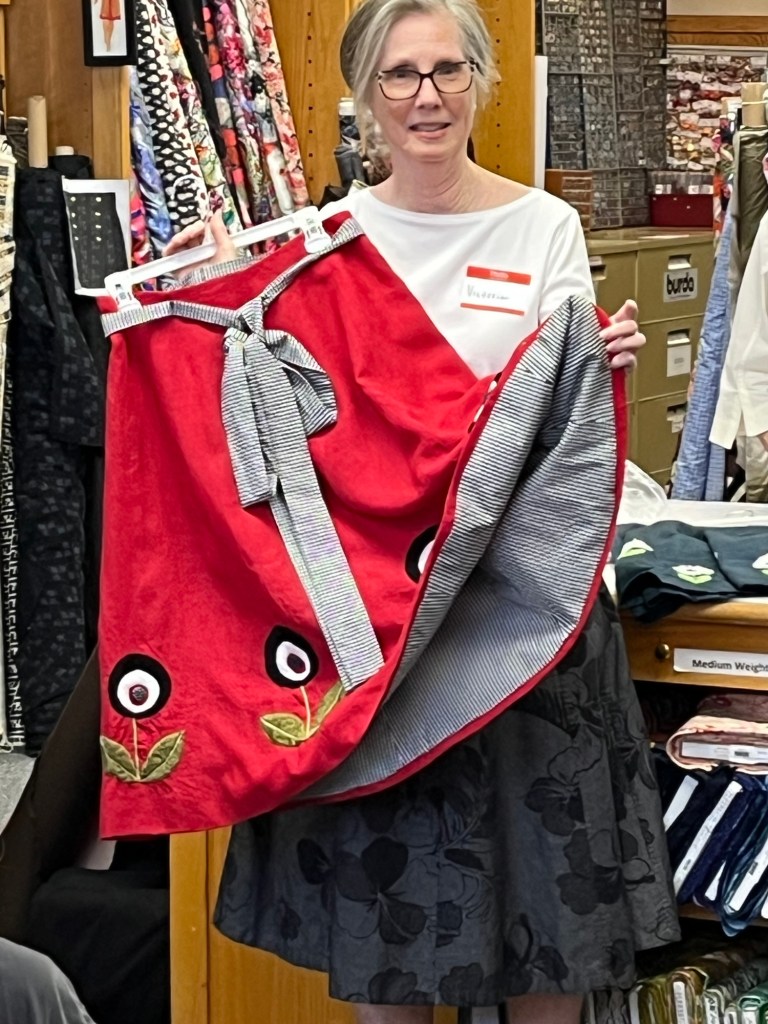

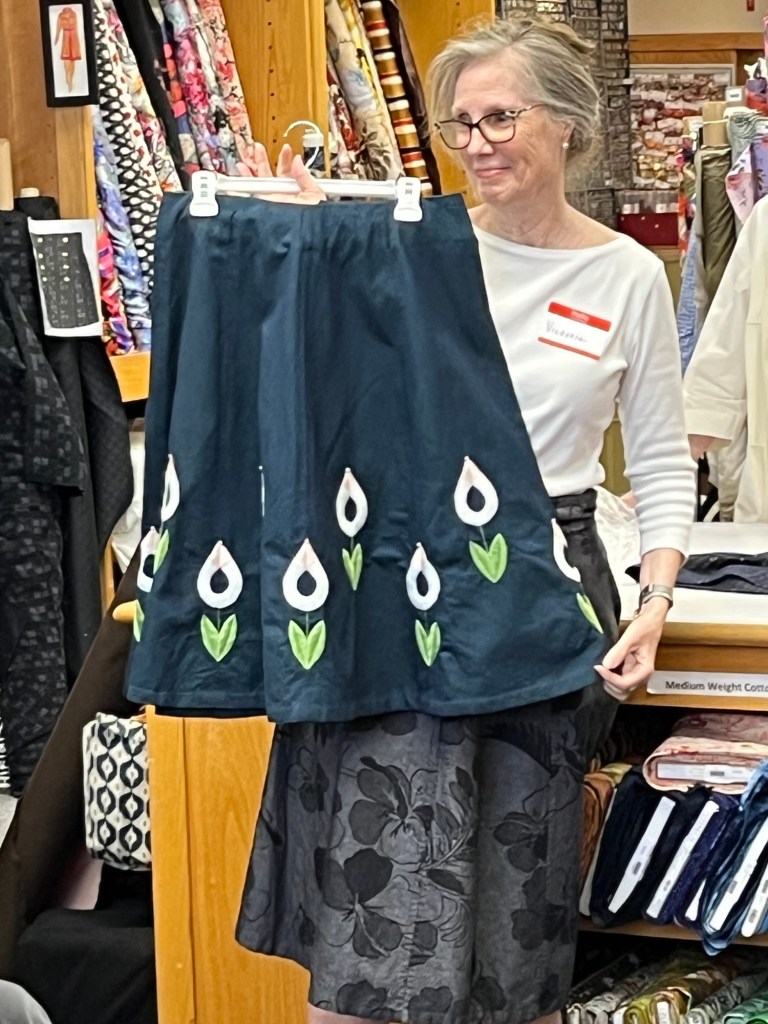
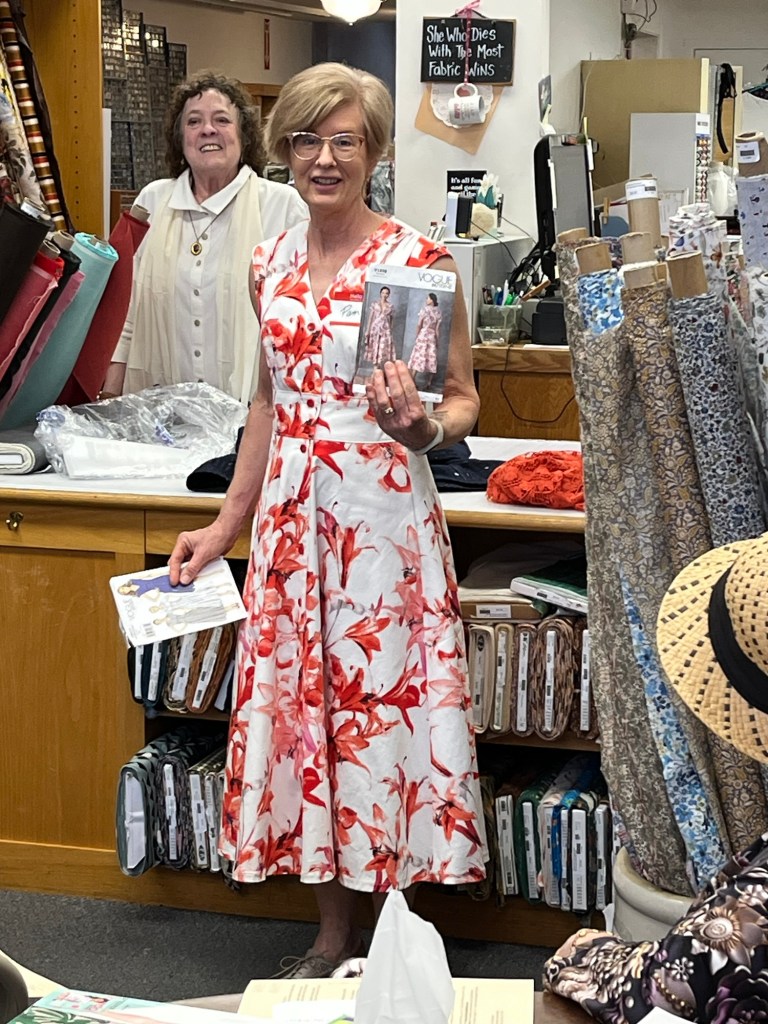
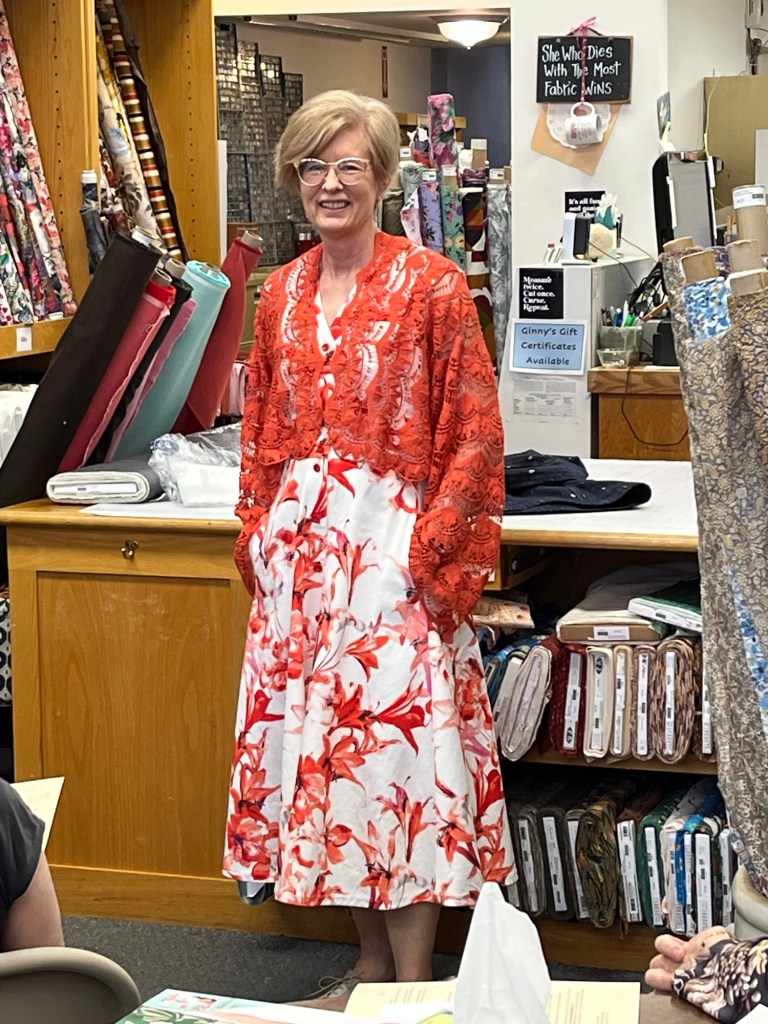
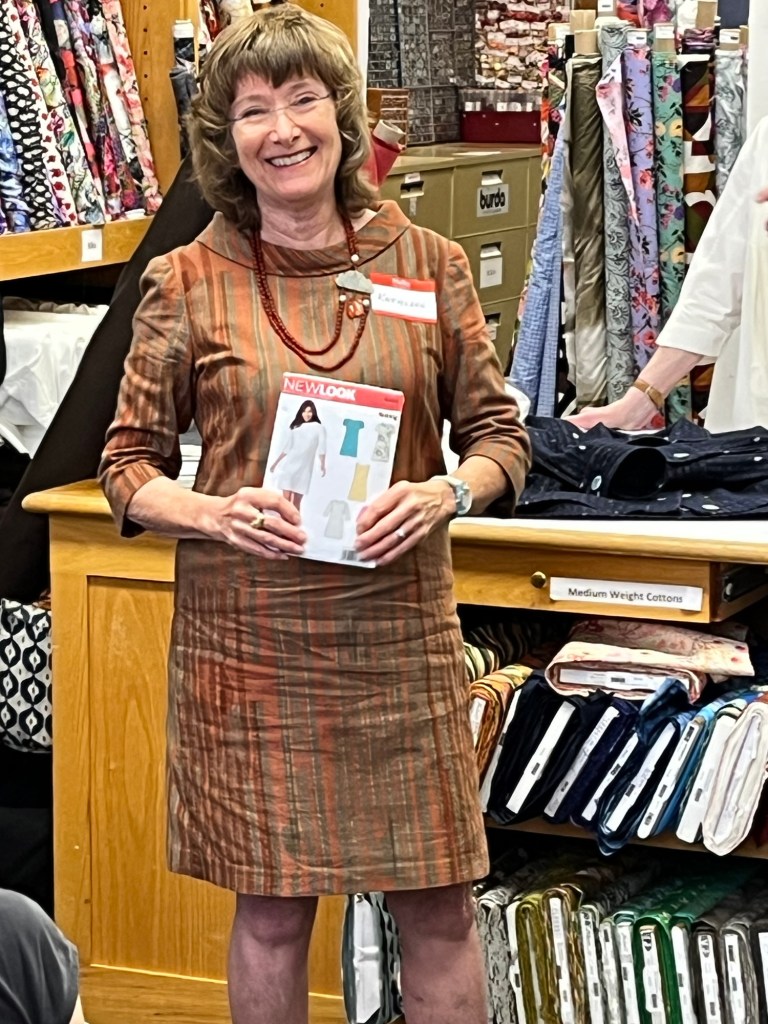
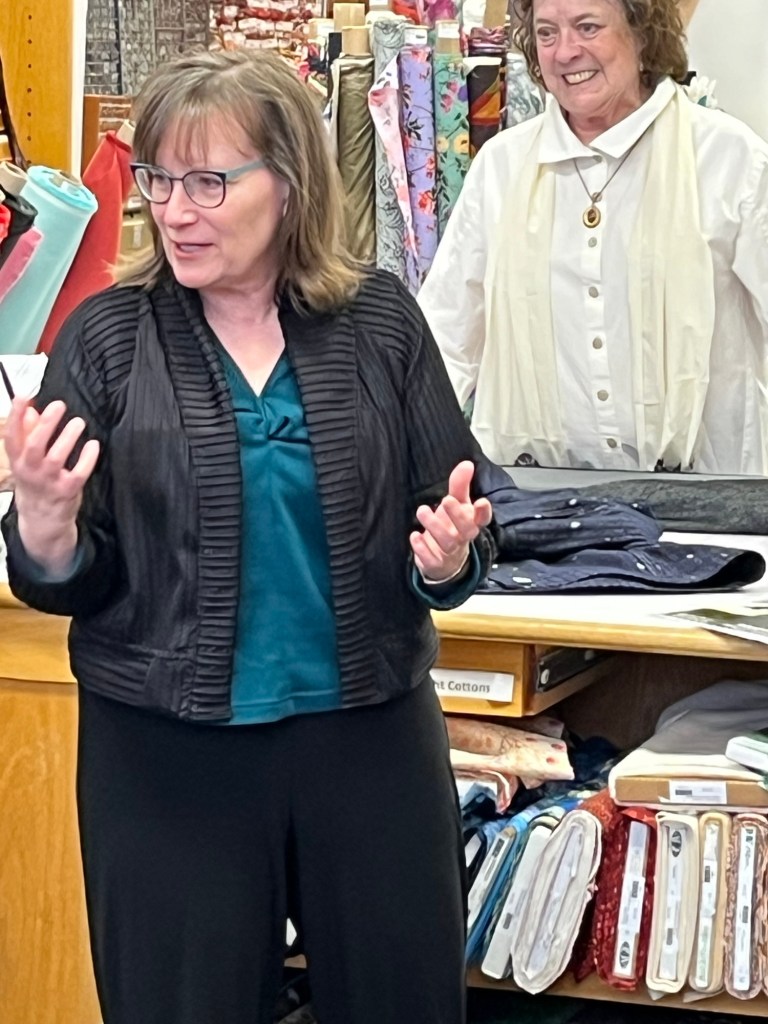
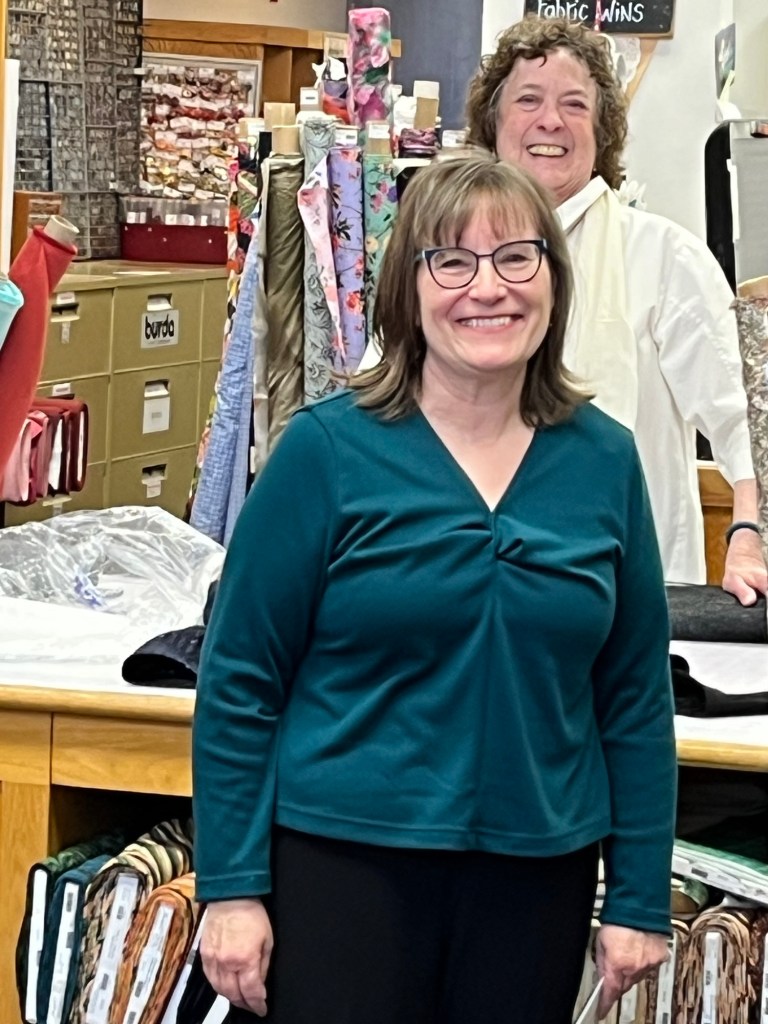
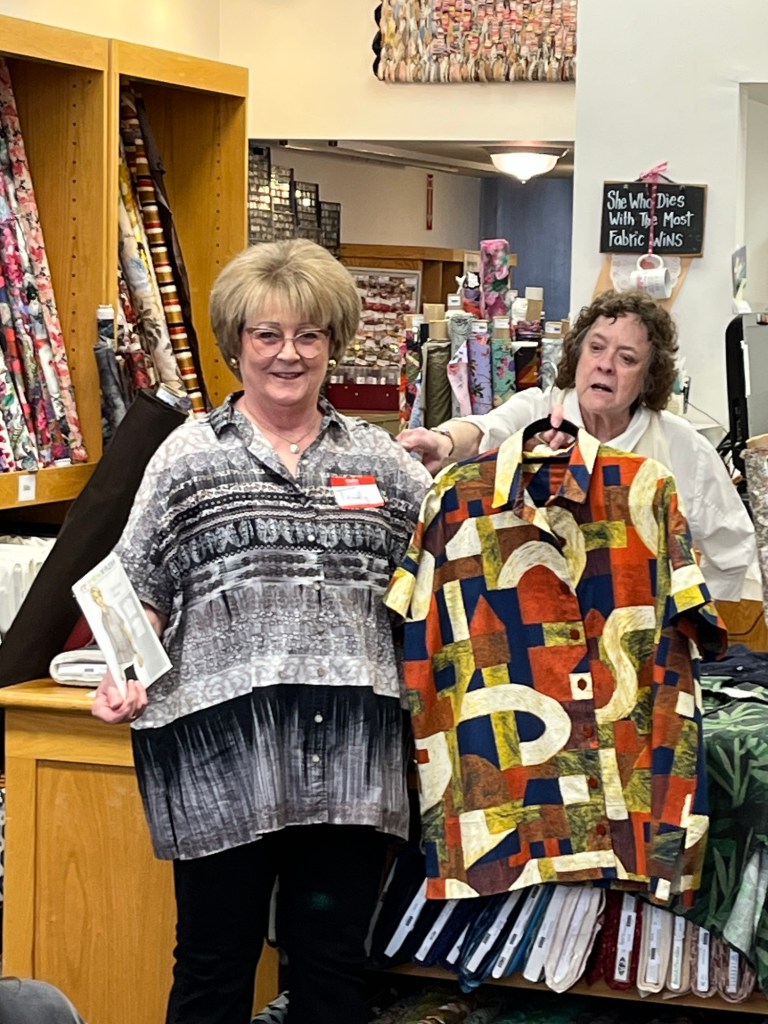
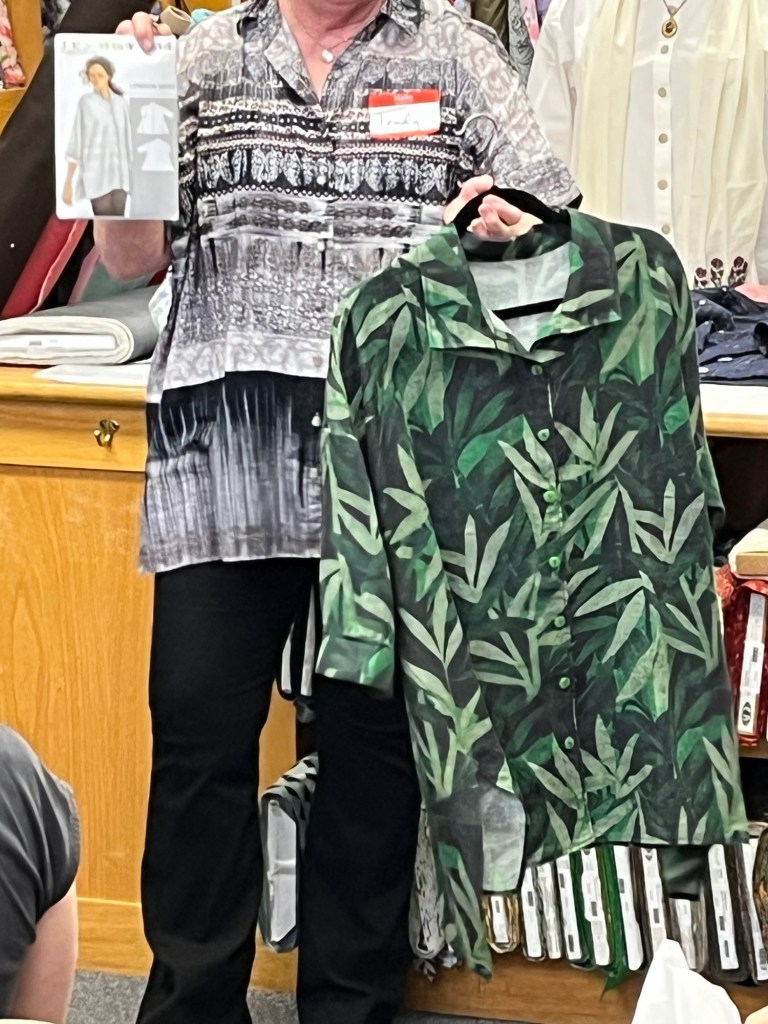
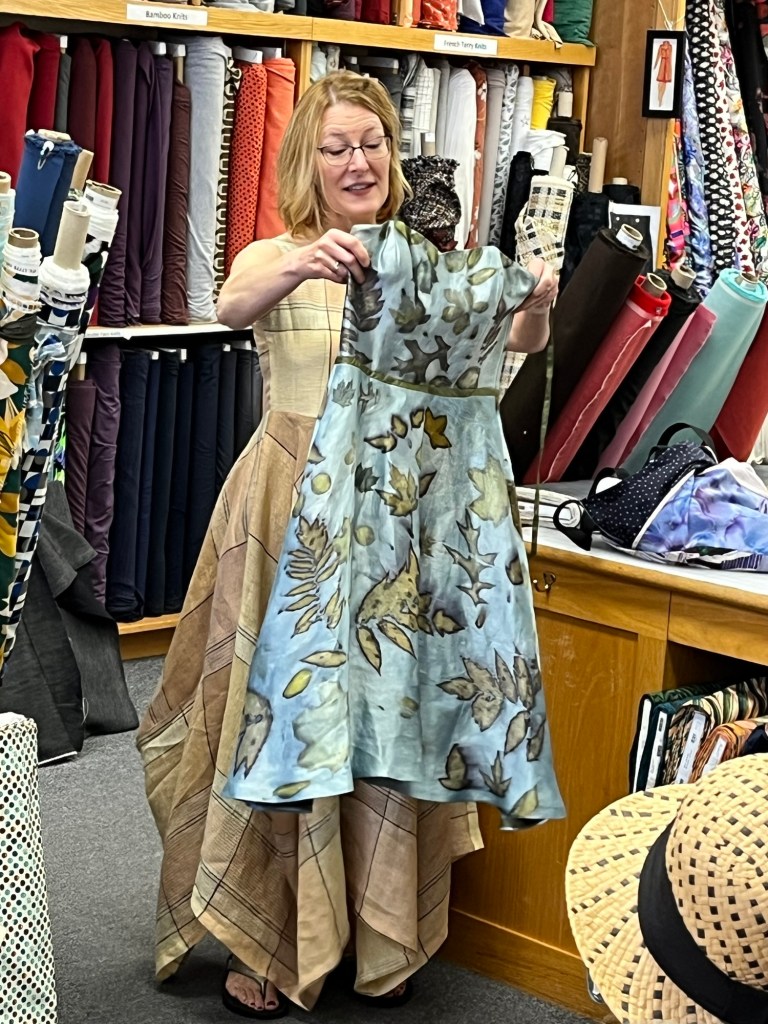
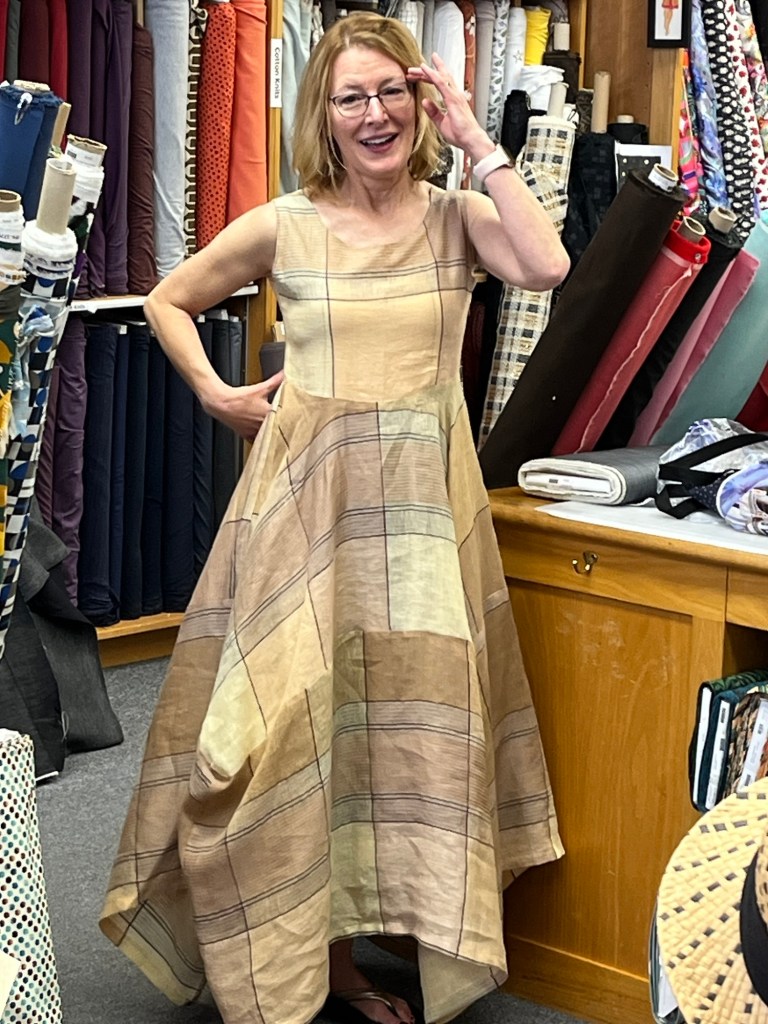
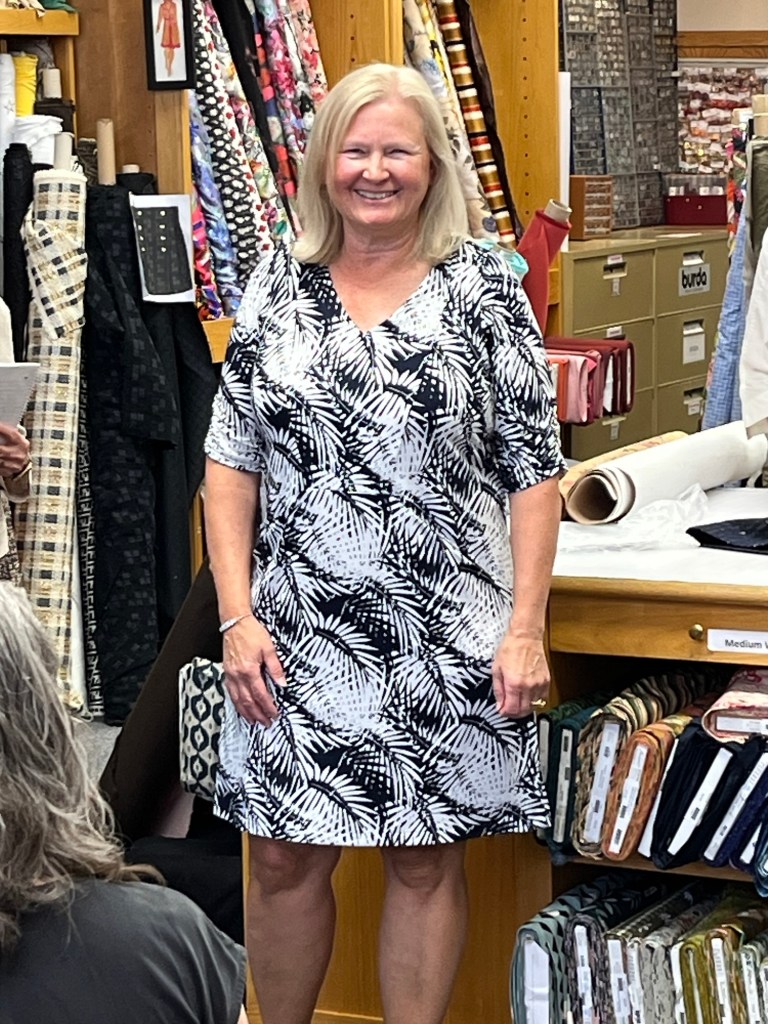
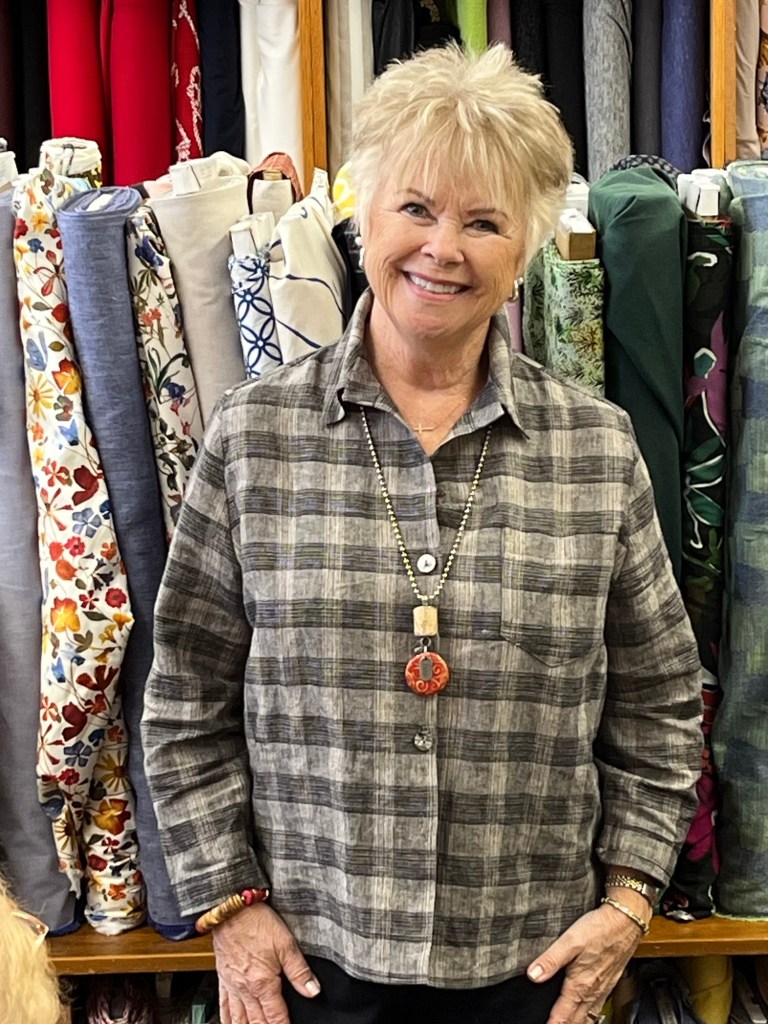
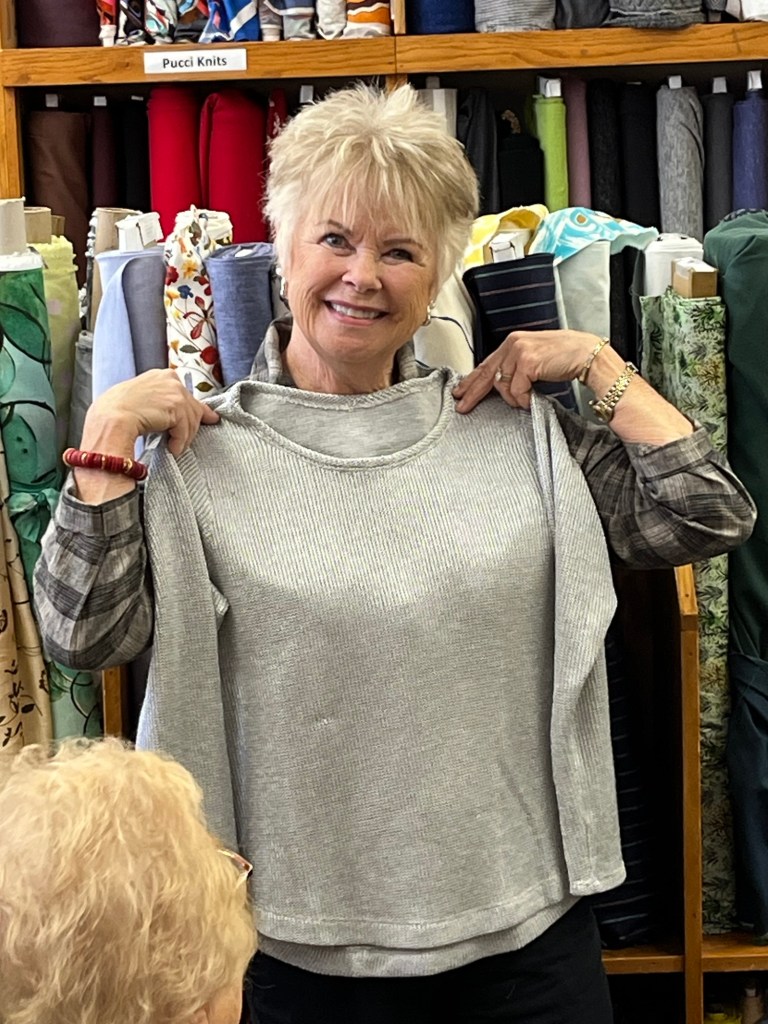
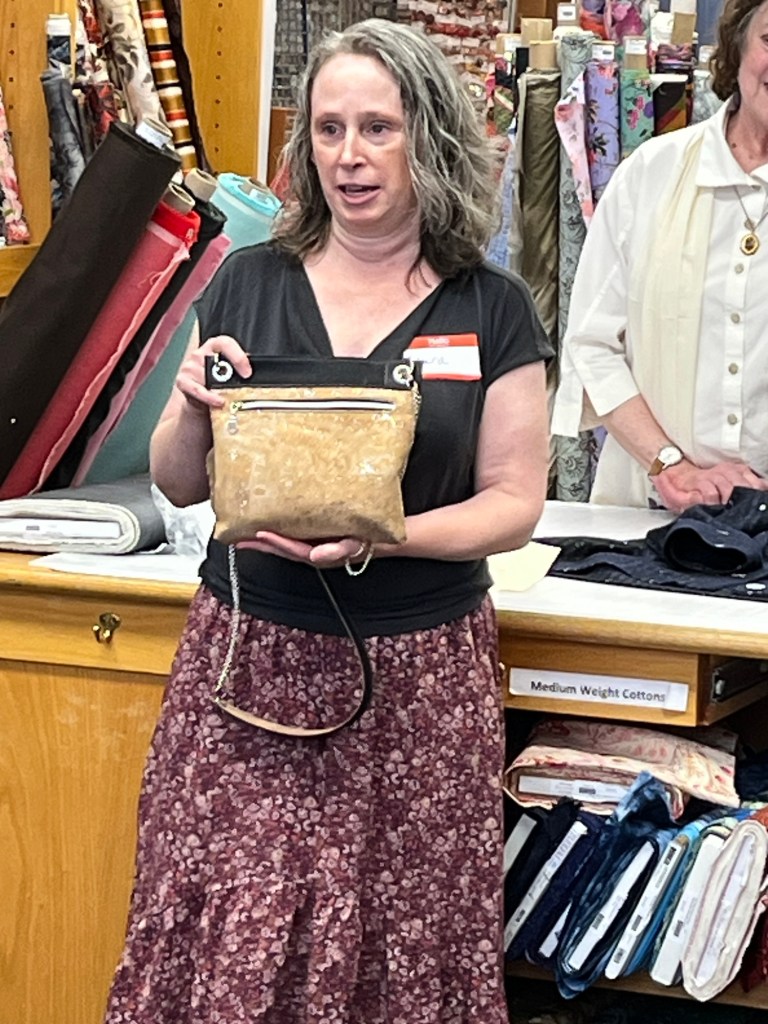

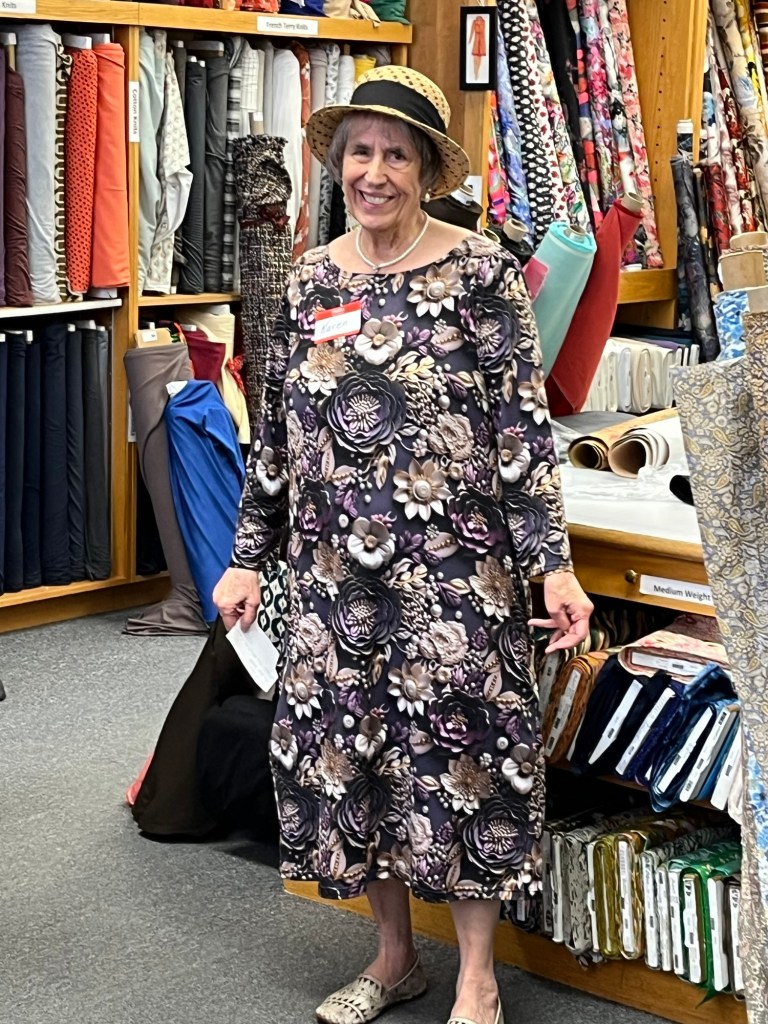
April rocked and no snow cancellations!! Woohoo!
The calendar for May is set in stone now-
Saturday, May 10, Ginny’s Fine Fabrics, Rochester
Wednesday, May 14, Lakes Makerie, Mpls.
Thursday, May 15, Creative Sewing, Apple Valley
Without further ado:
Debbie’s Garments:
Floral Print Jean Jacket
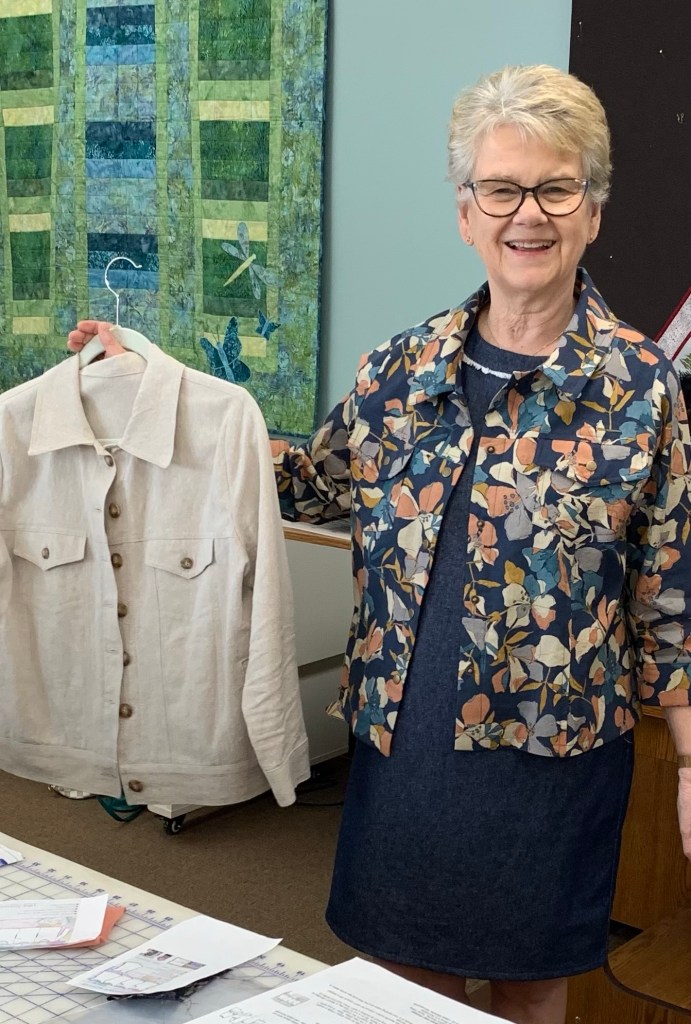
I loved this fabric and always love toppers in the warmer months so I was ready to try out the Butterick pattern again.
For fit I did my standard petiting and narrow shoulder adjustment. Because I eliminated the bottom band I added length to the jacket. The sleeve and cuff on this pattern are too big for my liking so I narrowed the sleeve 1 and 1/2 inch at hem and shortened the cuff width and length to match sleeve adjustment.
I also appreciate a double yoke so I added that with the burrito method.
I like this make but I wish I would have considered the Jordan Jacket by Serendipity Studio. I made that jacket about a year ago and it has lots of pluses such as welt pockets, placket interfacings and excellent collar and sleeve placket construction methods. I think the front pocket panel could be eliminated.
*Tee shirt is from Love Notions Classic Tee Pattern.
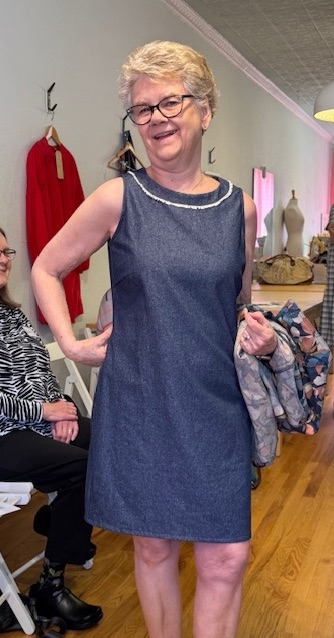
This dress pattern has been around since 2017 and can be made into so many looks.
I have made this dress a few times and thought the fringe trim would be fun. The fabric selvage is fringed so I eliminated a lot of extra work by just using that for the facing trim.
I did extra work however working around facing construction, installing an invisible zipper and not putting pull at the top of neckline (Becky’s method) instead of a lapped zipper. I did place front and back facings on fold for this process to work correctly.
I disregarded armhole facings and instead did a serged bias edge finish.
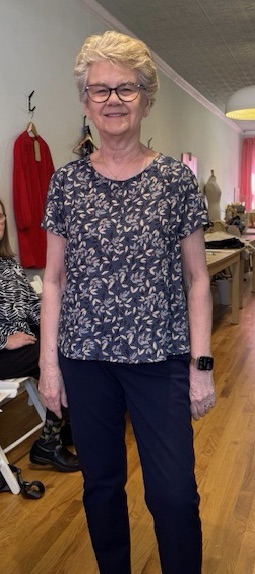
I love this fabric and I thought it would make a great, easy to wear dress.I made a muslin, adjusted pattern for fit issues and was excited to sew my new dress. Yikes – it was awful. I must have had on rose colored glasses when seeing myself in the muslin!
There was no way I was going to give up on this fabric. So on a not so nice day in March I decided to rescue it even though I had to do a lot of piecing such as putting a seam down front and center of sleeves.
I also put a yoke on back and did my least favorite button method for back closure Did a serged bias finish around neckline instead of facings.
I am satisfied with my rescue. The blouse is a nice layering piece and the flow and feel of the fabric is yummy.
Kristin’s Garments:
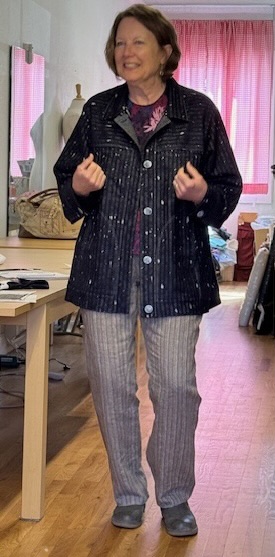
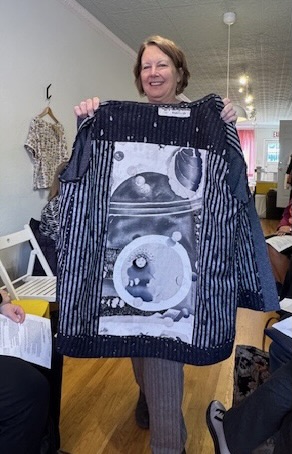
Both the pattern and the fabric have been calling out to me so I gave in and glad I did. I doubled the back yoke and installed with burrito method. The front pockets are constructed with a second backing piece so I doubled the front yoke while I was at it (it was one of the cold days 🙂 By this time I ran out of main fabric, had no lining that I wanted to use in the sleeves-because I couldn’t leave them single layer! So I used another wool that I had purchased to use with the main fabric. Very happy I did as the fabric show in the front band right up by my face!
The back lining-it’s not called for in the pattern but for some reason I wanted to make a subtle statement. This canvas has been in my stash for some time and then I have been pondering free motion embroidery so i did a little of that-it only shows if you are up close on the outside. The selvedge had a great name “Beautiful Life” so I used that as my label. I wanted a hanger tab but my label was off center so I put the tab on the outside-which I see in RTW 🙂
I omitted the dangling part of the front button band. It’s a long jacket-not my jam.
Another technique I explored was the bias binding on inside edge of collar, cuffs and button band. I used 1 3/4” strips and serged them on to edges at 5/8” (pattern’s seam allowance. Wrapped the bias to wrong side, stitched in ditch and trimmed. Then pinned facing piece in place and topstitched in the ditch from the right side.
This jacket was a process-lots of thinking and a few of the directions were conflicting. I used the Hampton Jean Jacket Sew Along from Alina Designs to apply the collar. I won’t make it again but I hope to wear it to shreds!
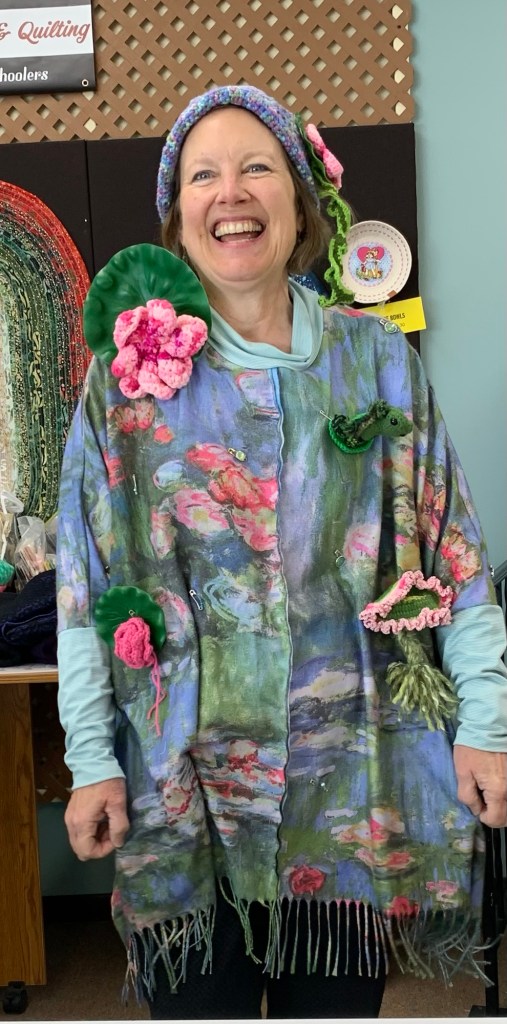
It’s fun to be involved in somebody else’s creative process so I couldn’t say no when Julie showed me what she was up to: a showcase to highlight the programs at the Rochester community center 125 Live. Someone from the knitting and crocheting group donated the scarves and jewelry and crocheted the hat and doodads 🙂
I picked up the pattern at the fabric swap because I liked the cuff and neck band idea and have a piece of wool I’d like to try it with. So two birds, one stone.
The pattern is simple-I added center front and back seams. The scarves were fringed so I used it. Definitely a keeper pattern for those fabrics that you just can’t cut up.
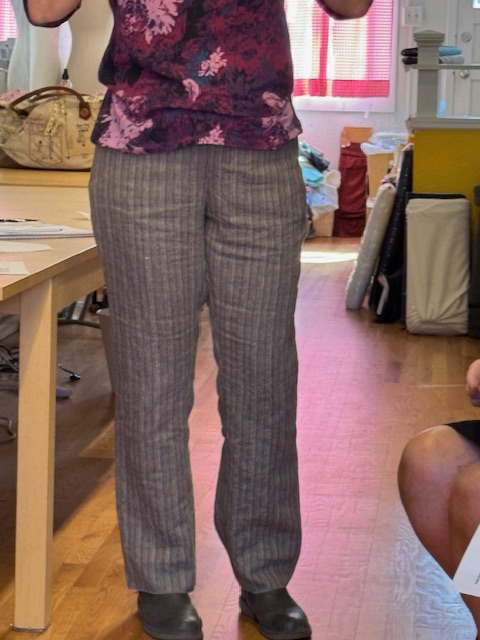
After the Eve Trousers from last month I had to give Duet a try (a free paper copy of it fell into my hands!)
The pattern has a full tummy pattern piece and straight and tapered legs. There is also a “curvy” back waistband piece that I used with much success.
The pockets are one piece that goes from side seam to side seam. Easy Peasy. The zipper is invisible-no button or anything at the top.
The “curvy” back waistband piece is quite curvy and may have shifted out of shape a bit but who’s looking? I used the bias binding technique from the jacket on the waistband.
Great fit-as long as I don’t sit down but I think the linen will relax and give me some room. All seam allowances are 5/8” and there is a great fitting guide to go with it.
Workshops at Ginny’s/Rochester-3 Day Pants Fitting, June 3-5, 3 Day Hand Tailoring, June 6-8, 3 Day Couture Dressmaking, June 9-11. More info www.LoveCoutureSewing.com
Debbie’s Garments:
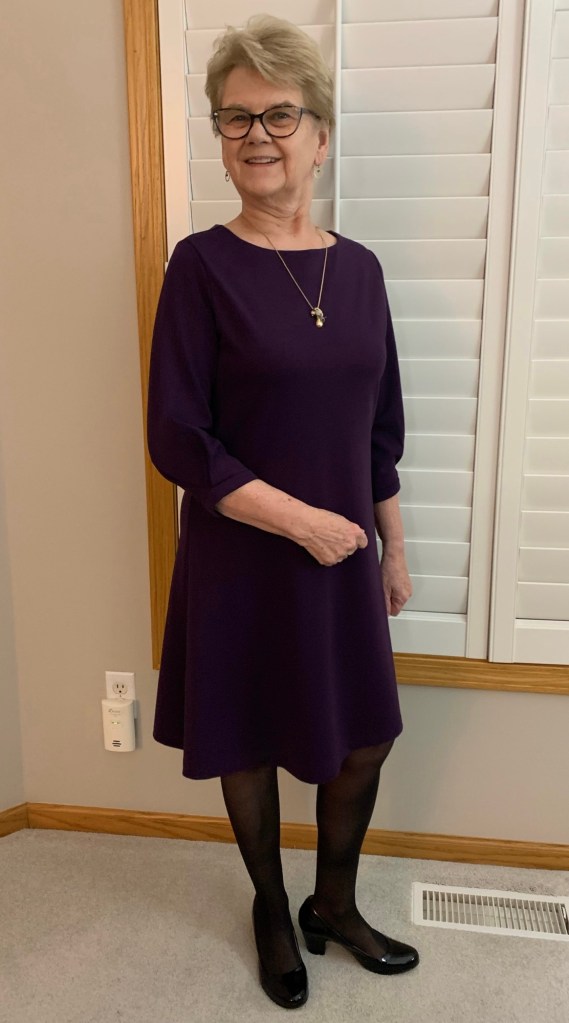
1. A TNT pattern that is quick and easy with lots of options for necklines, sleeves and length.
2. Standard fit adjustments for me include shortening between shoulder and bust, bust and waist and waist and hip as well as a narrow shoulder adjustment. I have built the adjustments into the pattern which makes it easy for me to sew it up fast.
3. To step the dress up a notch I made front and back neck facings instead of using a neckband. I also added a pleat detail where the sleeve meets the cuff.
4. I plan on wearing the dress in the cooler months – therefore I wish I would have lengthened back at neck-the unadjusted neckline is one and one half inches below the the neck base. BRRR!
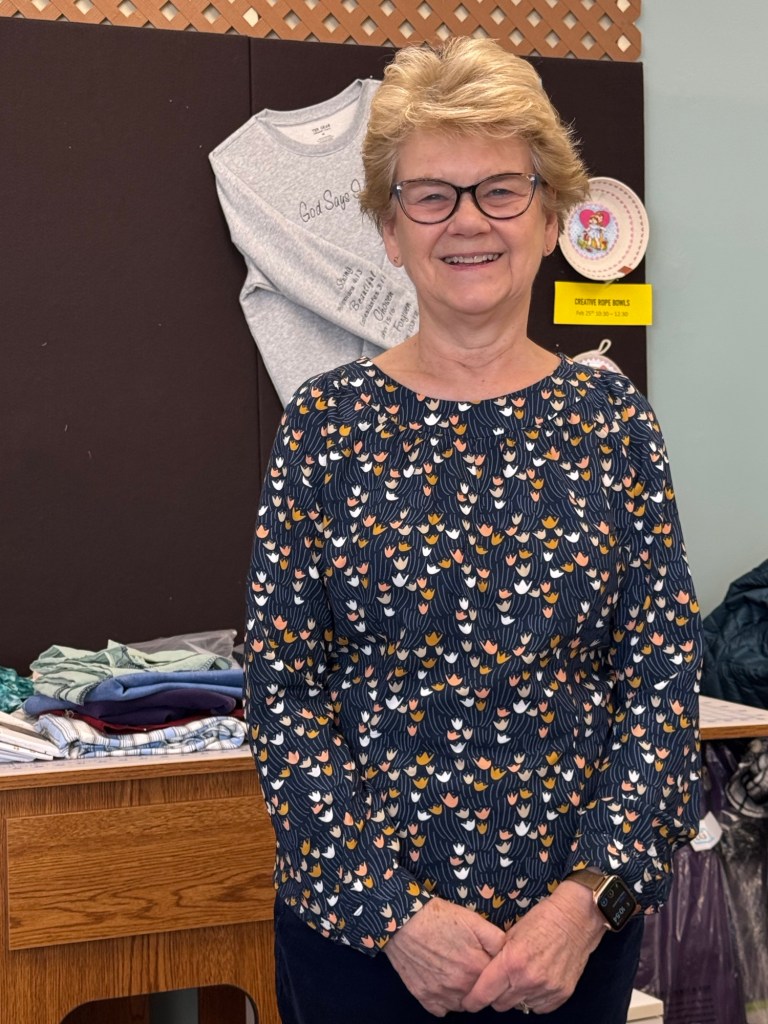
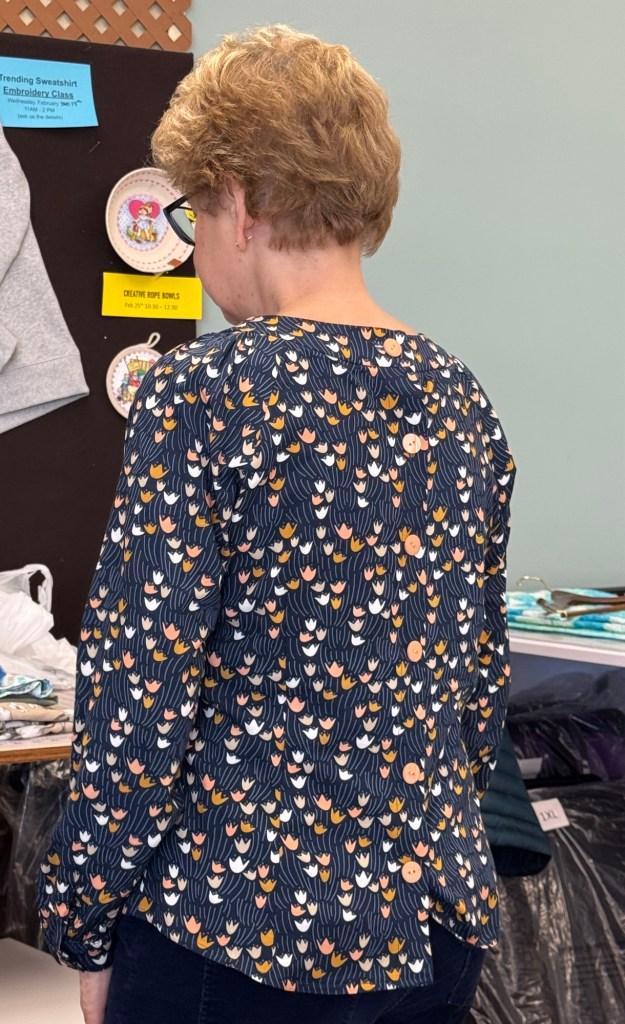
1. This is my second make of this pattern. My first make was my “muslin” made from a basic cotton. The cotton version is more structured and requires more care than I like.
2. For the second make I tweaked the fit, and made just the top button function on the back placket. It is easy to put on the top without the other buttons working.
3. I like the pattern, especially with the “exit interest”. It is a nice change from a classic shirt. The fabric is one of my favorites to sew.
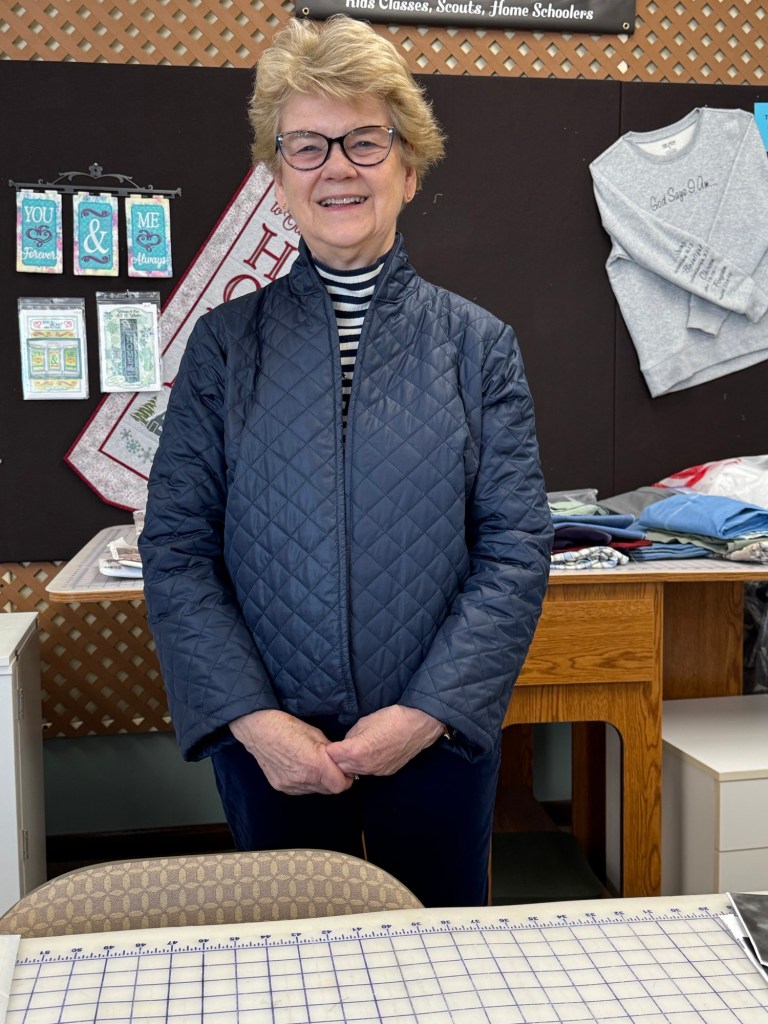
*Apologies – some of you may have seen this garment at January GSG
1. I had difficulty finding a pattern for a quilted jacket that wasn’t oversized or drop shoulder.
2. Looking through my patterns I came across the Burda blouse pattern that I used last year. It had the details I wanted in the quilted jacket so I thought why not give it a try.
3. The changes I made include keeping the bust darts but eliminating all vertical darts, trimmed facing to fit neck edge and serged as much as possible using 1/4 seams.
4. I had thought about using single edge bias trim to finish edges without facings, or add bias to wrong side and topstitch to rs but in the end I made it as simple as possible without any closures.
5. I am happy with this unexpected make and will wear it often.
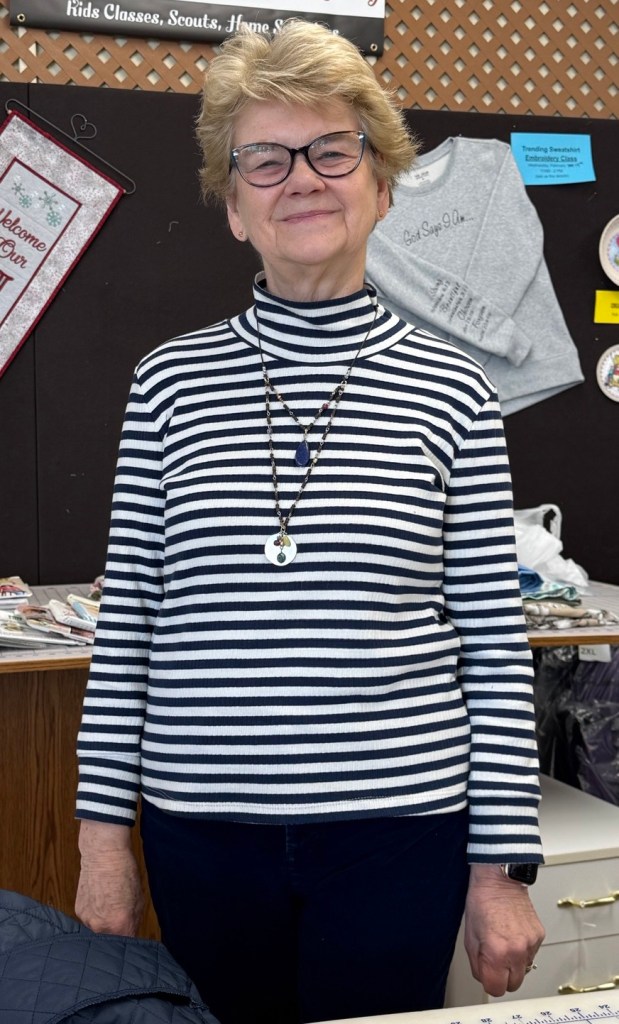
1. Another TNT pattern that I use often.
2. The only change I made was to add cuffs to the sleeve.
3. I love stripes and was excited to sew this quality fabric. However it was a little disappointing even though the stripes are knit in, not printed. I needed to “pull” the fabric to get the stripes to line up. I wasn’t very successful at the hemline though.
Kristin’s Garments:
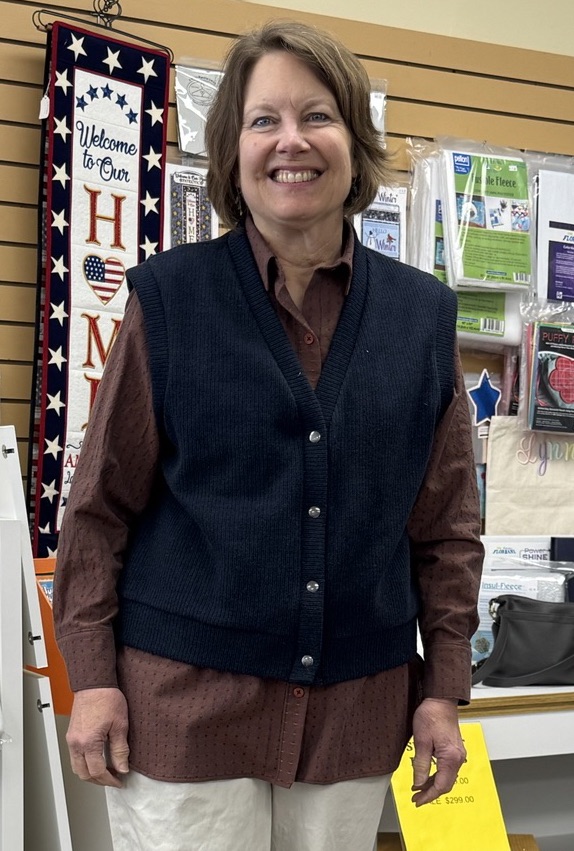
1. This is a new pattern from Love Notions and almost exactly what I was looking for. First version is in a heavier rib knit/fleece made to pattern.
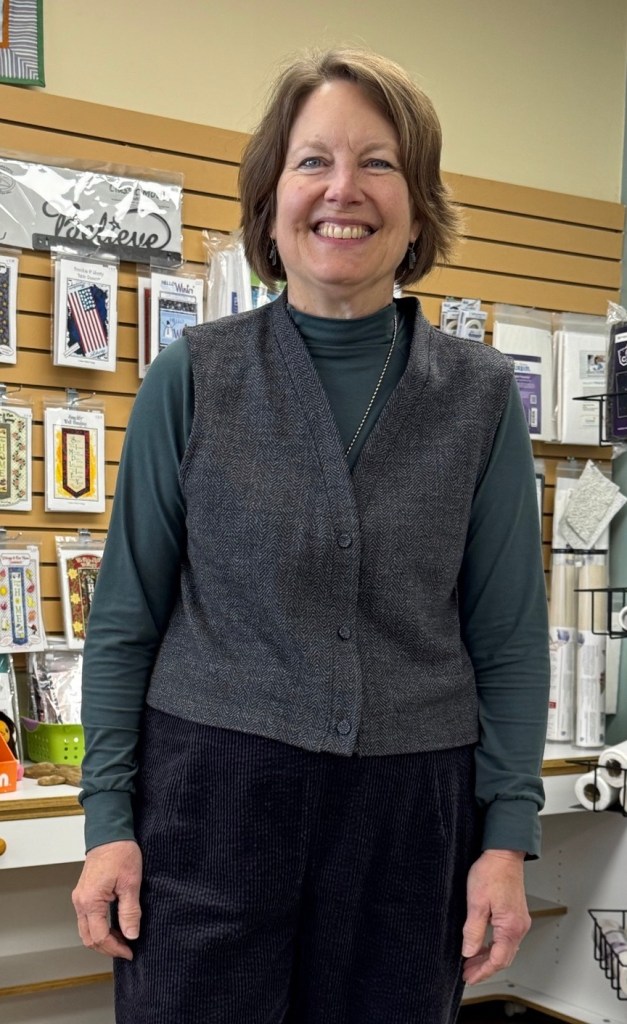
2. There is fit shaping at the waist and the armhole bands made it a bit more oversized than I wanted so for the second version I omitted the hem band, took in at underarm and turned armhole band under.
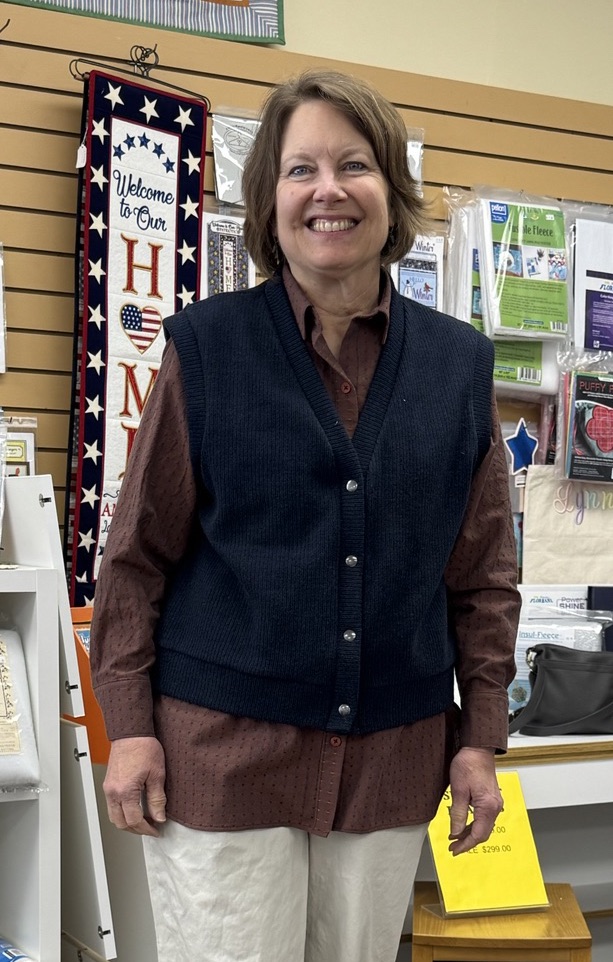
1. I had to sew up this cotton for Valentine’s Day just cuz 🙂 I’ve also been seeing lots of oversized shirts in the magazines and trying to decide how oversized I like my shirts.
2. This pattern has cut on placket so I turned the right side to outside to show off the reverse weave and then turned the left size to the back. Nice pattern.
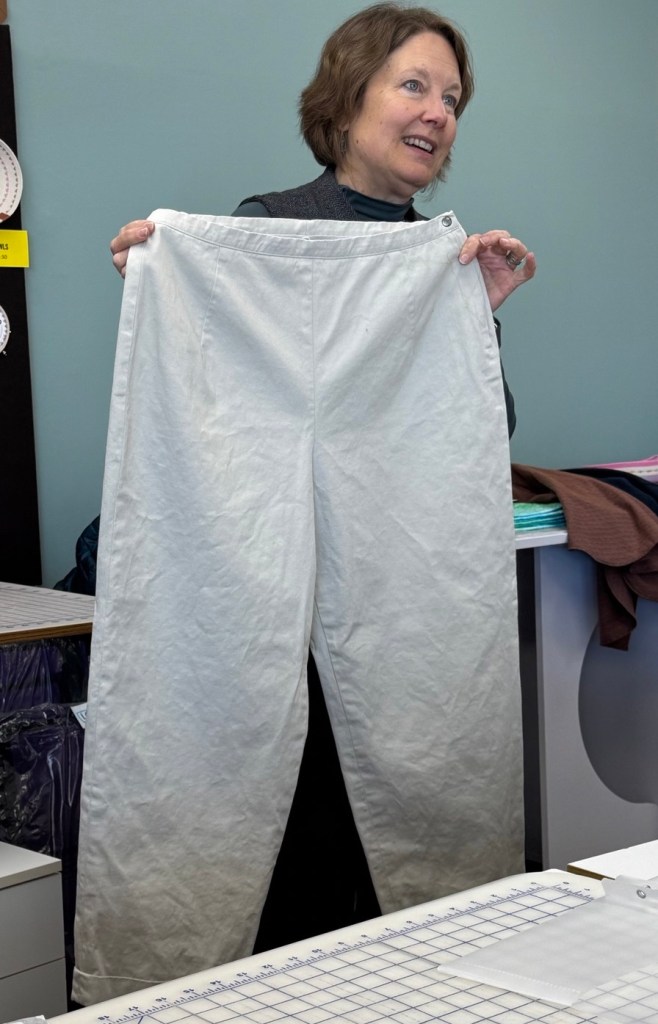
1. Started down the “Top Down Center Out” rabbit hole! Mostly watched videos by “crooked hem”. It definitely has things to teach me. Don’t know that it’s the be-all and end-all but certainly worth looking into further.
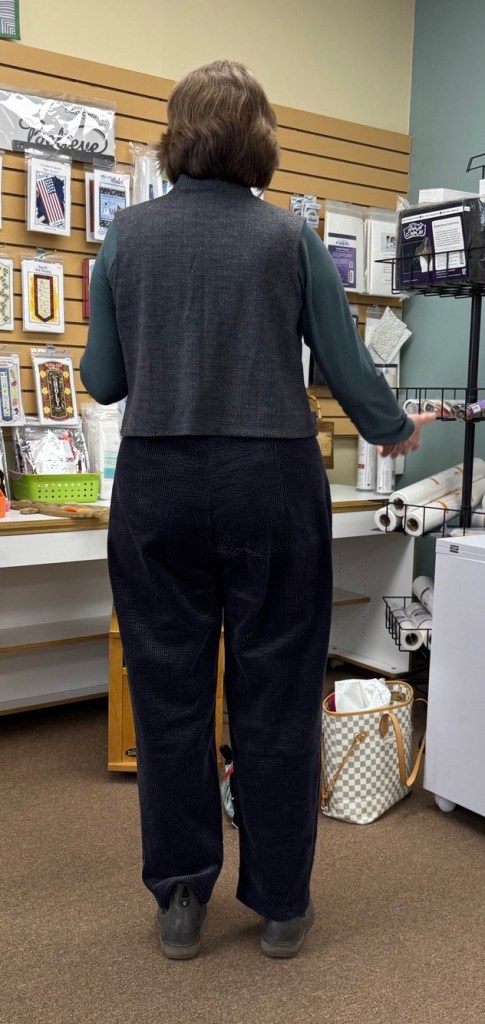
2. Very much liked the 1” waistband-no need to contour. Also like the side zip.
3. Added 2” to the length. I think I like them!
4. Fun reading the directions-I chose the “Hem with Turnup” I kept thinking I was reading about vegetables!! And then there’s stitching in the crack 🙂
March 2025 Garment Sewing Group
Wednesday, March 5, 10:30, at Lakes Makerie, Minneapolis
Thursday, March 6, 10:30, at Creative Sewing, Apple Valley
Saturday, March 8, 10:30, at The Sewing Lounge, St. Paul
But let’s catch up on last year’s final GSG meeting-
December 2024
Garment Sewing Group
Debbie’s Garments:

This is one of my favorite shirt patterns. I have made it 3 times and I am always pleased with the fit and construction process.
I made a few changes this time making a long sleeve version and adding a fun cuff.
The sleeves are meant to be constructed flat but I did the set-in method.
I like the smaller collar, the fitted design and length. I especially like the fabric.

A simple A-line skirt pattern would have been a better choice due to the fabric, contour waist and curvy side seams – oh well!
The only fit adjustment I made was to straighten the side seams.
It was a challenge to match the plaid at contour waist and get it to fit around my body while keeping the plaid from getting funky.
I thought this would be a simple quick make but it was more of a challenge and took more time than I planned for!
I needed and wanted a skirt to go with a RTW Knit jacket – this skirt fits the bill and I am sure it will get worn often during our cold weather.
Leftovers –
I had difficulty sewing this month due to lack of inspiration and a basket of “leftover” projects that I couldn’t ignore before moving on. Finally I worked through the basket starting with making a Tee shirt dress into a tee-shirt and then using the leftover from the dress I made a scrappy tee. I also changed out snaps, adjusted cuffs on a blouse and refashioned another blouse from last month.
For the refashioned blouse, Burda 6146 – I didn’t care for the front slit and ruffles. I removed the ruffle and using a technique new to me I replaced the slit with a fun band. I will definitely use the band technique again.
Kristin’s Garments:

Like Debbie, there were a few UFO’s that were asking to be useful! This was a mock up for an outdoor jacket.
Used Vogue 1356 closure instead of putting in a zipper and installed snaps.
Faced the hem, neck and front.
Added cuffs trim to tie in the navy seersucker.

Favorite pattern that I haven’t had out of the envelope for a while. It did not disappoint!
The rayon behaved very well-love the neck of this pattern. Added cuffs to sleeves because they wear the best (IMHO).
Love these TNT pants! Pocket facing and waistband in light cotton. Omitted the flat front and tie.

Vests are every “wear” in RTW but the patterns for sewists are skimpy. I started with two Simplicity patterns, one with a shoulder dart and one a bust dart. Made a muslin and looked at all the changes needed so instead of reinventing the wheel I pulled out Burda 5869.
Omitted the stand collar. Used the sleeve facing as armhole facing. Pattern includes lining with a back facing. Omitted zip.
What I learned (I think):
keep the main fabric equal or heavier than the lining
Interface the hem when using the elenapatternstudio method. It was fun to do it again-it came a bit easier.
Garment Sewing Group January 2025
Wednesday, January 8, 10:30, Lakes Makerie, Minneapolis
Thursday, Thursday, January 9, 10:30, Creative Sewing, Apple Valley
Saturday, January 11, 10:30, Sew Inviting , St. Paul (Sewing Lounge is closed first two weeks of January)
Debbie and I flew to Seattle to take the Stylemaker Coat Class in October. It filled up quickly-thanks to Debbie for getting us signed up early! The class was taught by Karen Dolen of #intostitches fame.
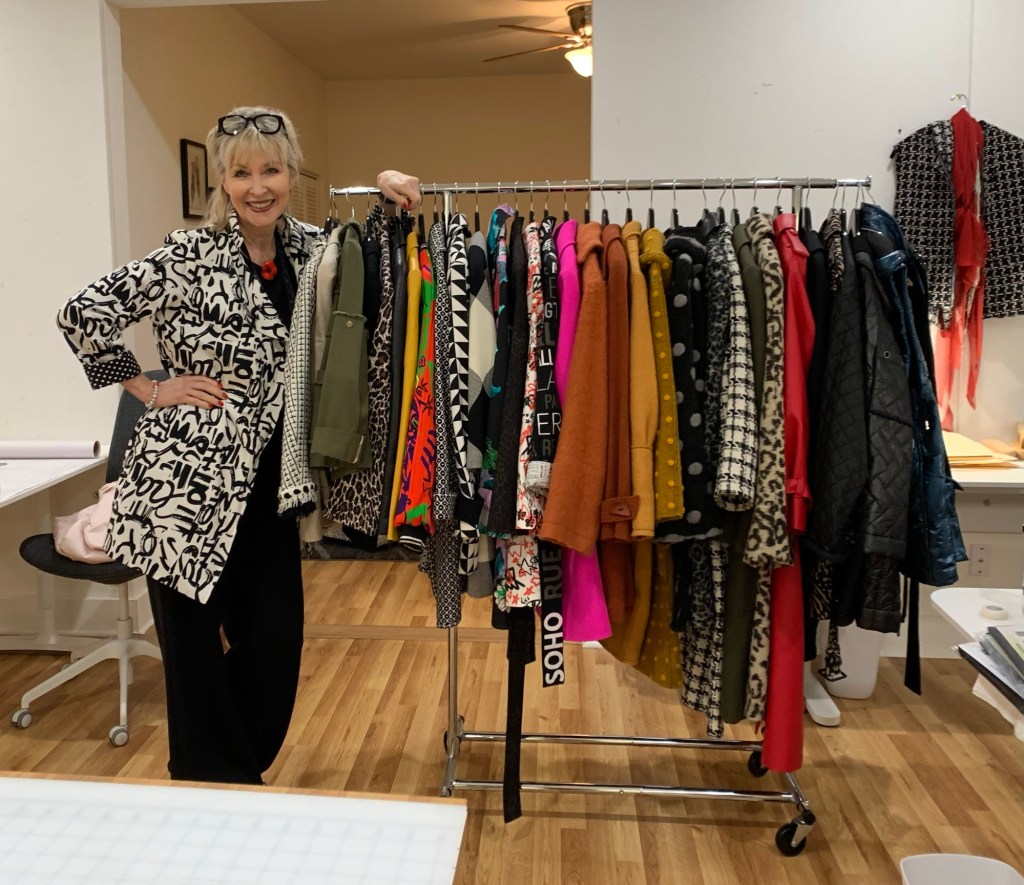
Our goal was to get our coats as close to finished as possible so we had already cut out and interfaced our coat pieces. Debbie and I made wearable muslins in October so we were pretty confident that fit wouldn’t be an issue.
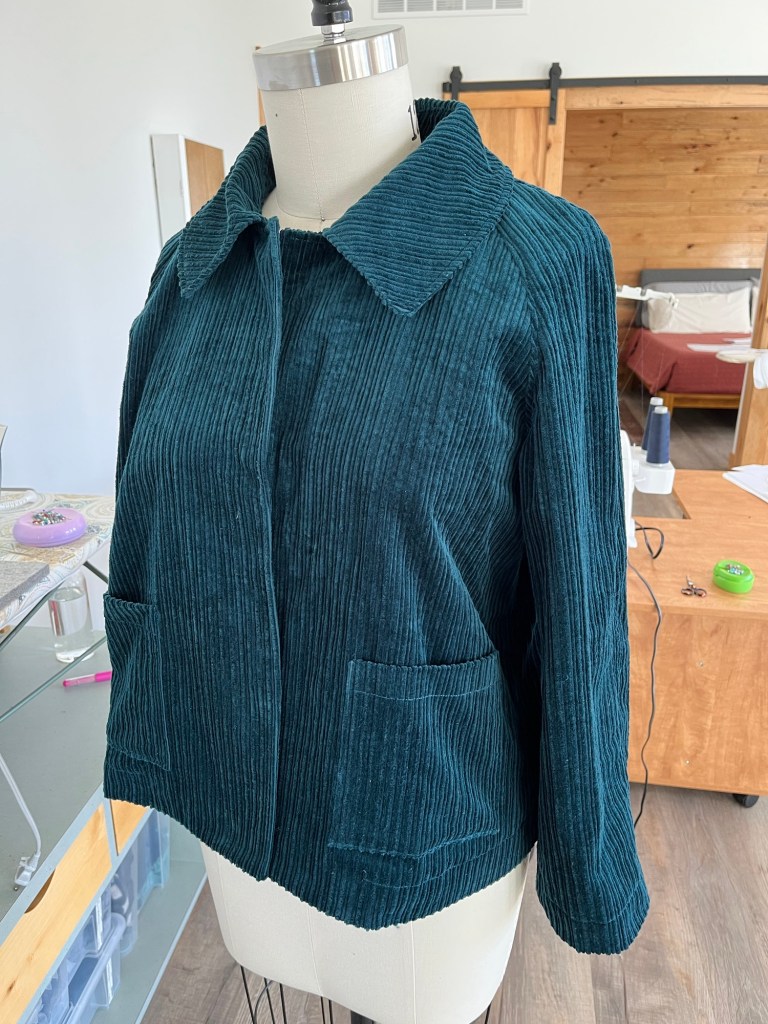
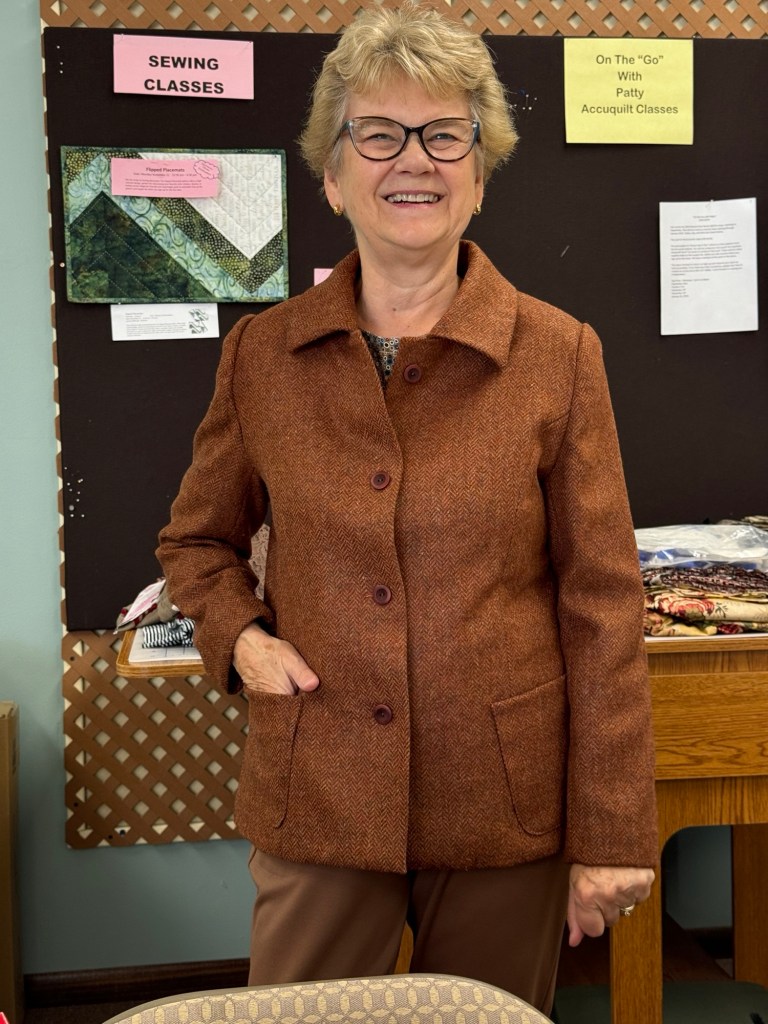
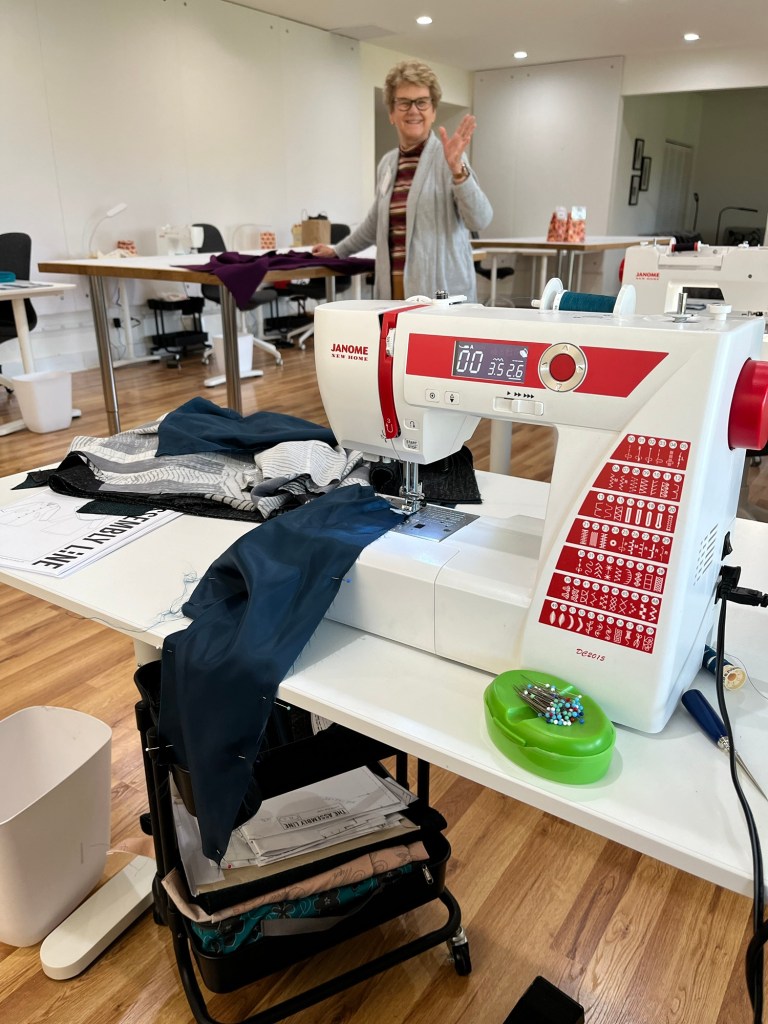
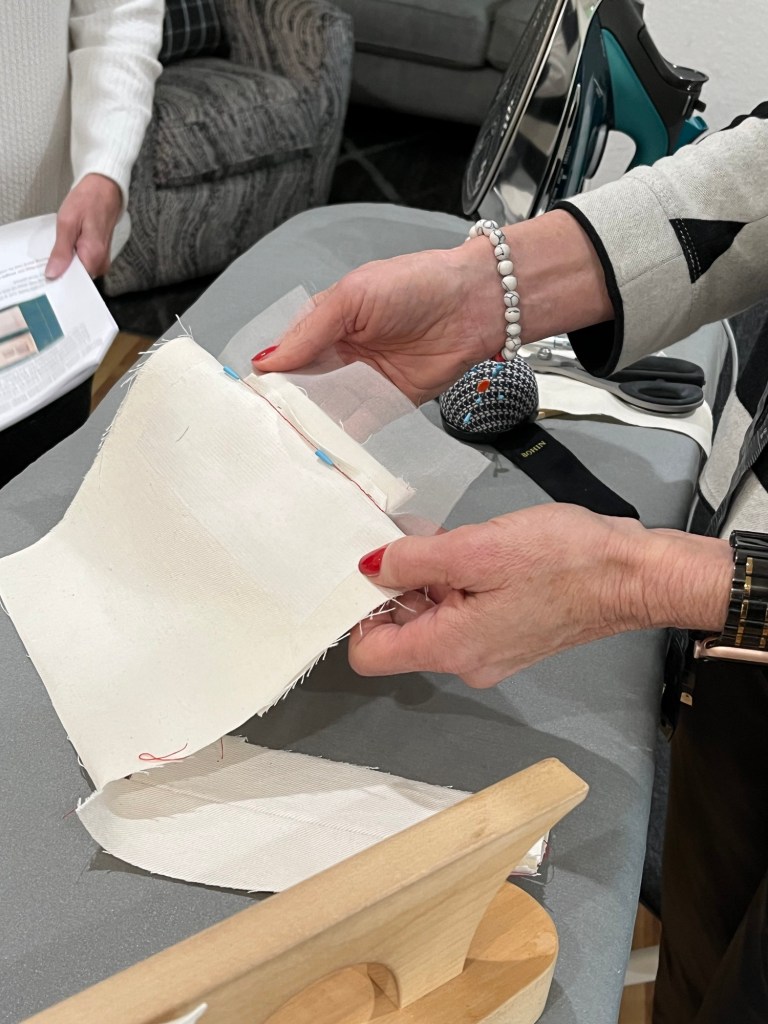
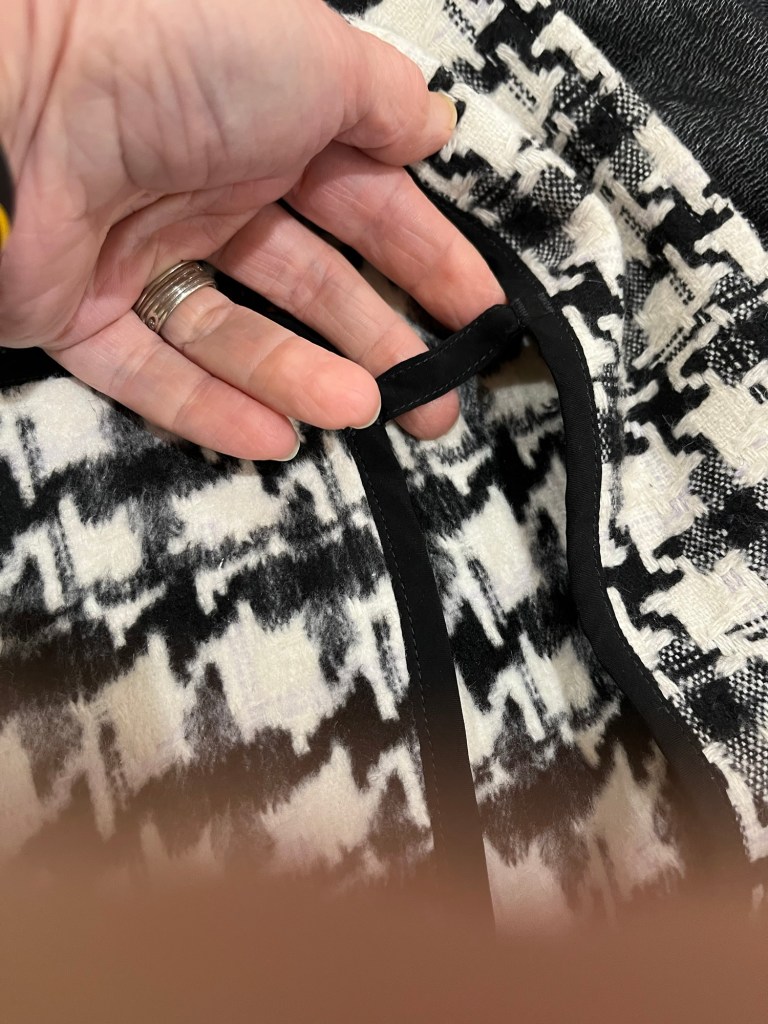
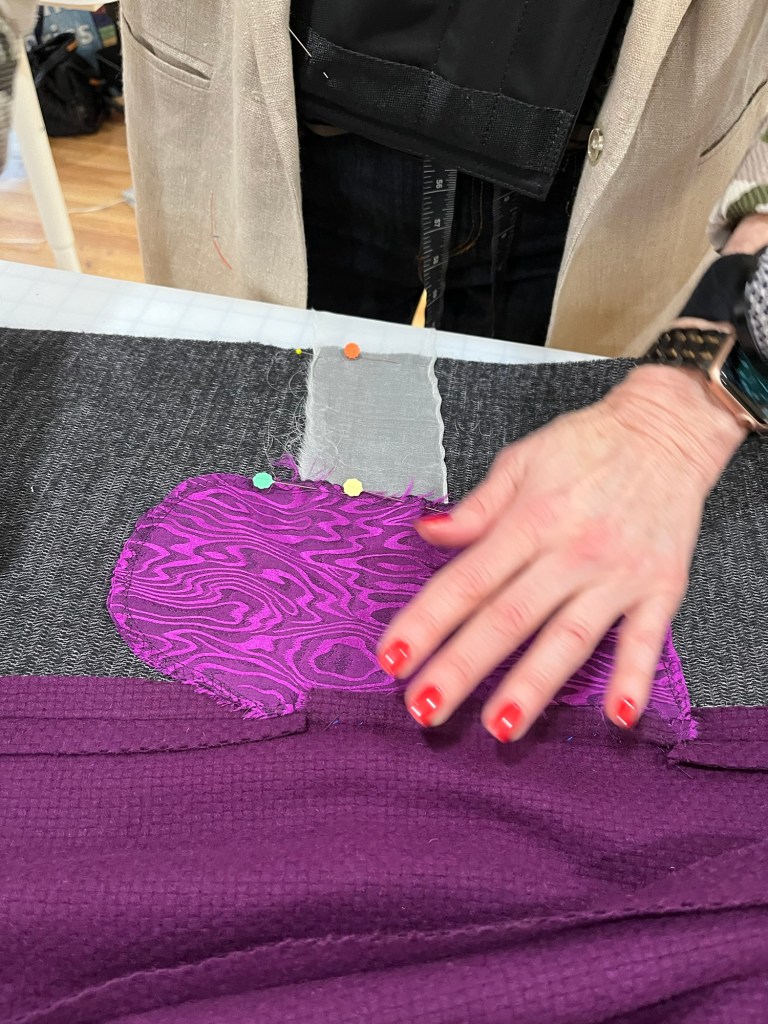

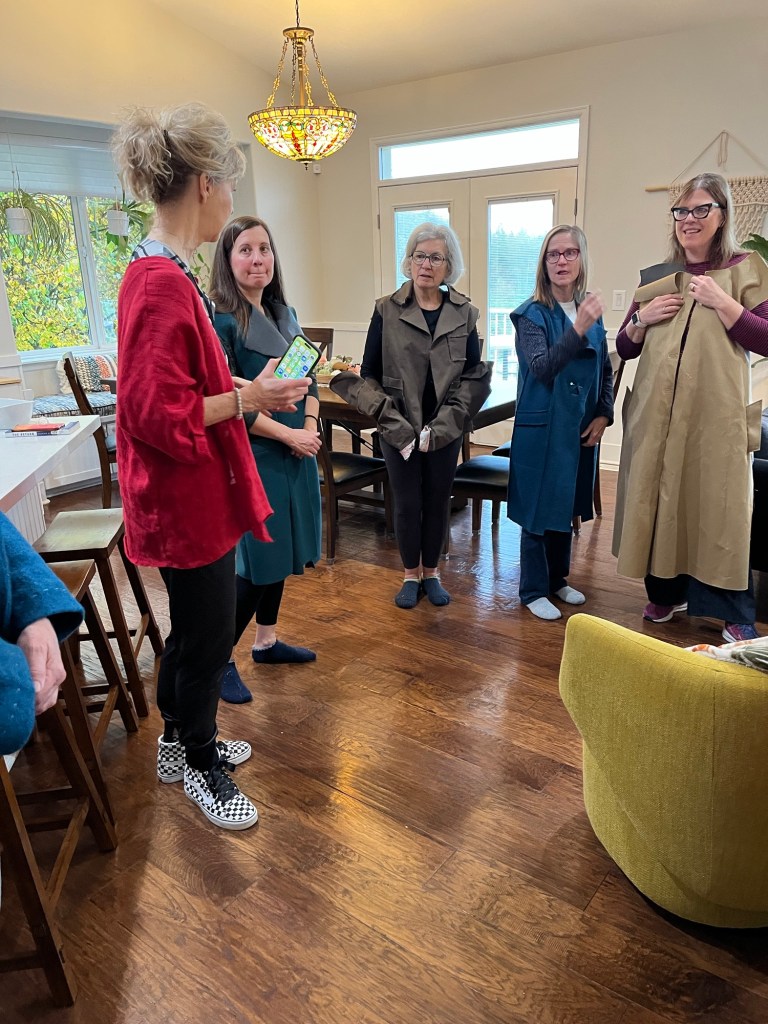
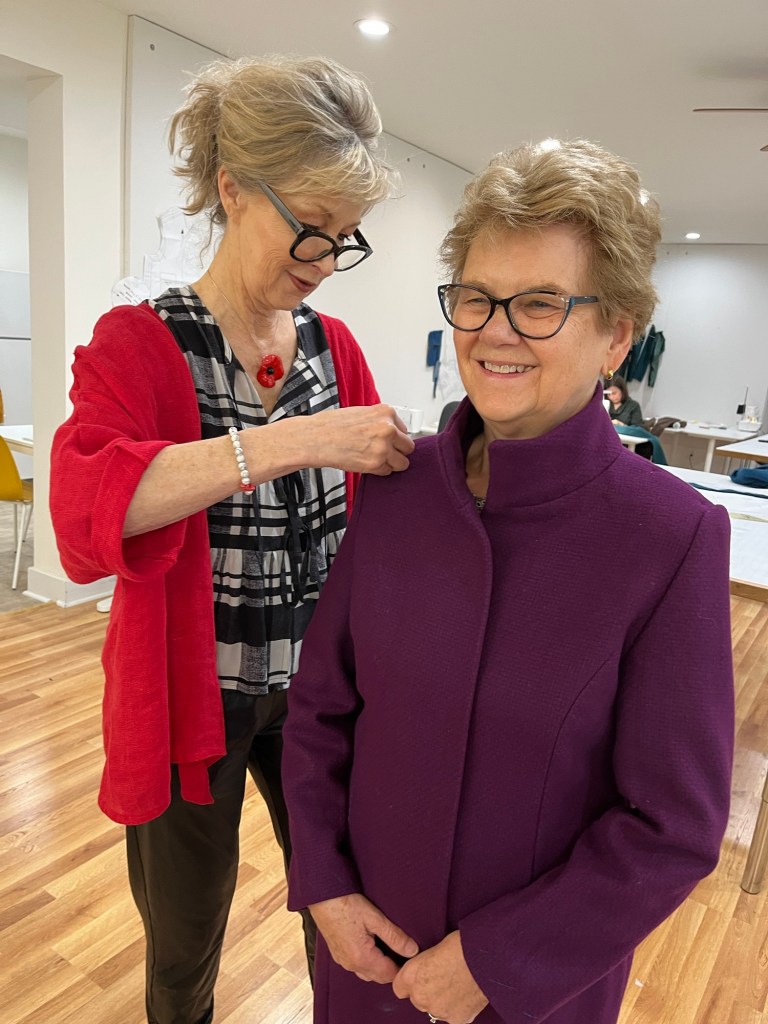
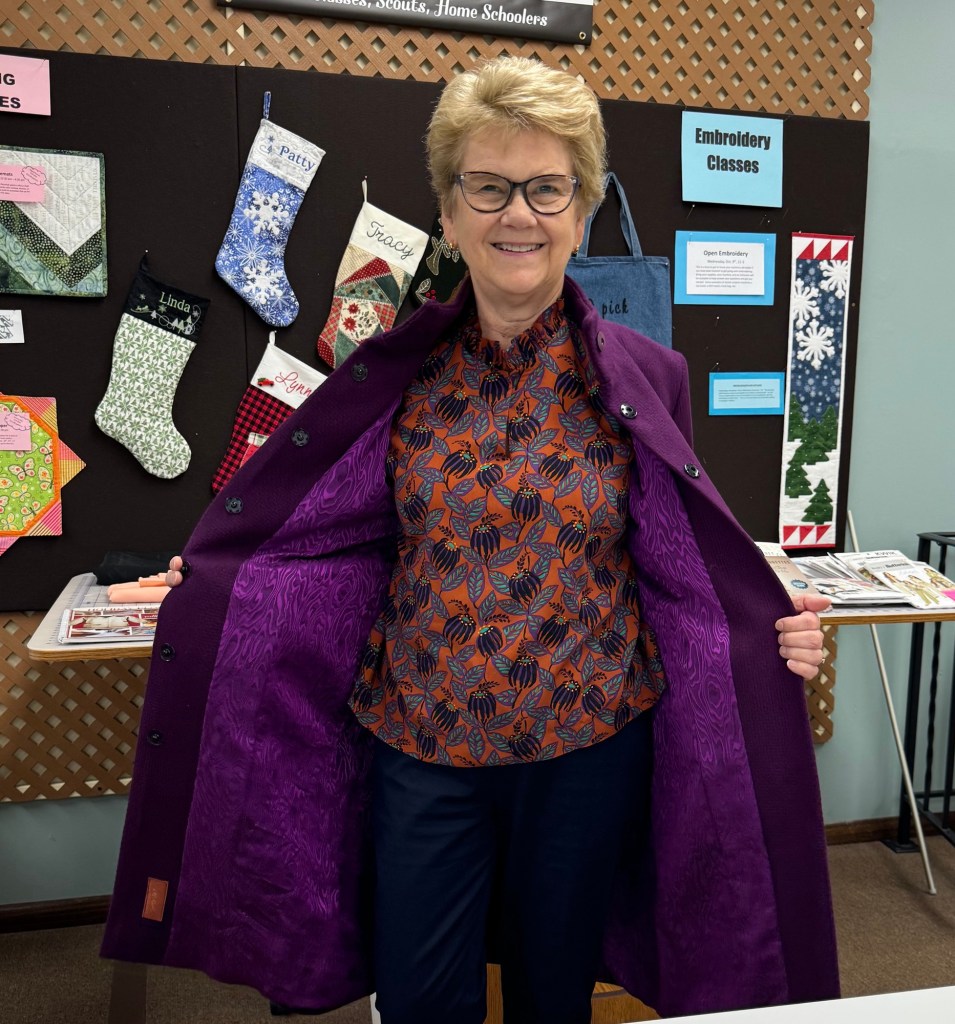
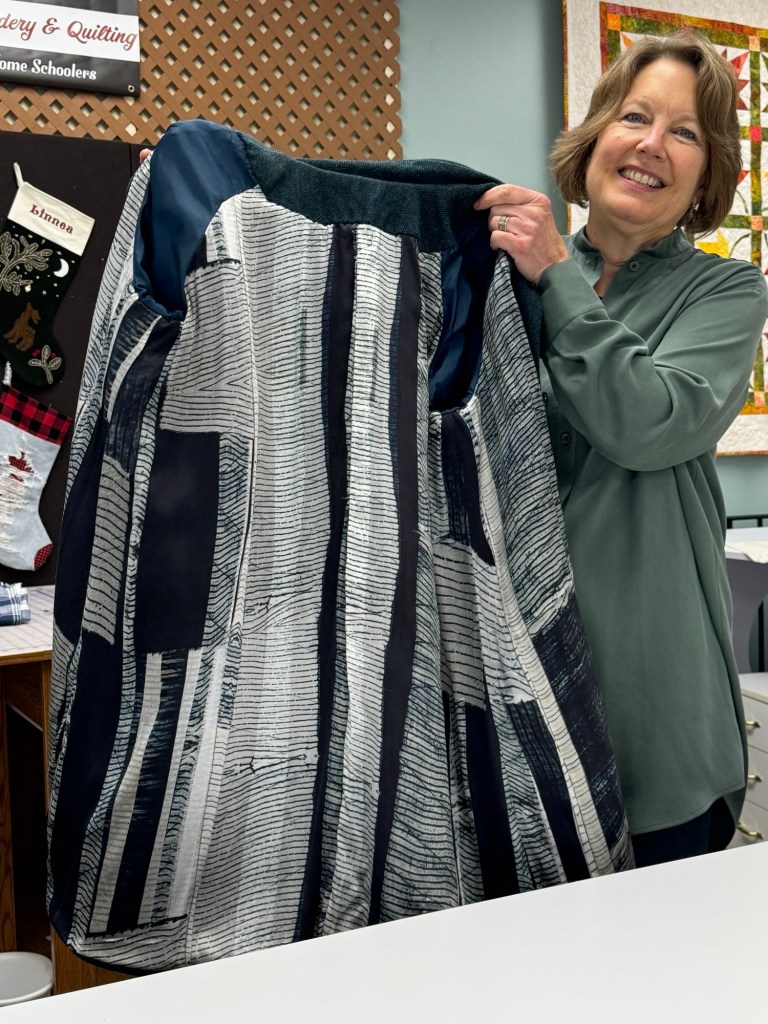
Did I say we ate well, slept well and wanted for nothing?!?! It was a wonderful retreat, couldn’t have asked for better teacher, peers, food, lodging, etc. We both got our coat linings bagged and returned to Minnesota to add buttons, buttonholes, press and snip threads. Success!
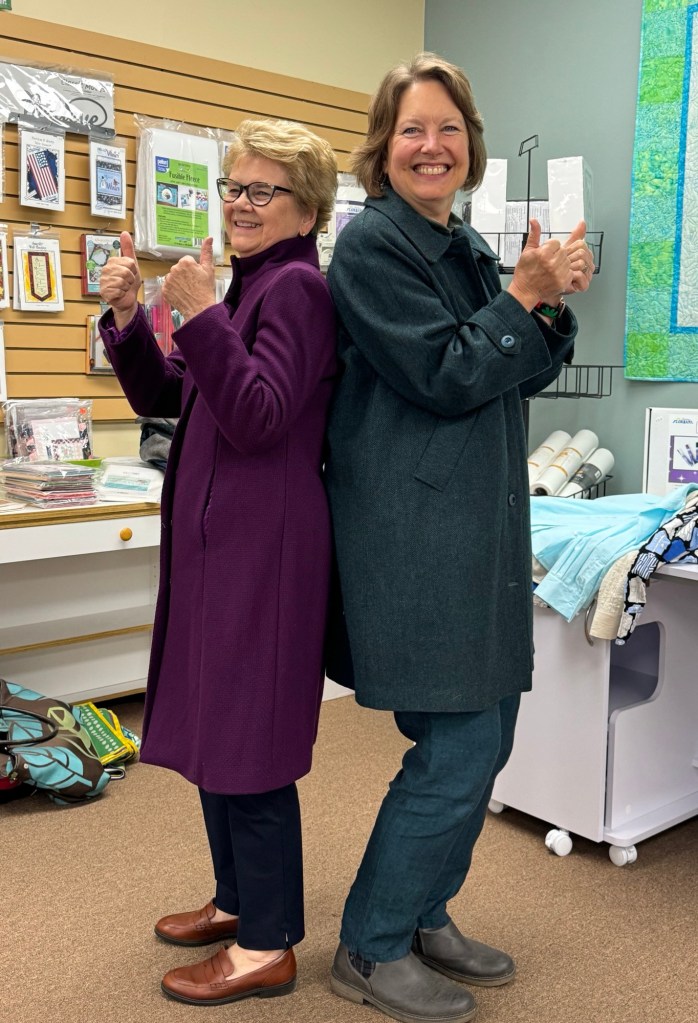
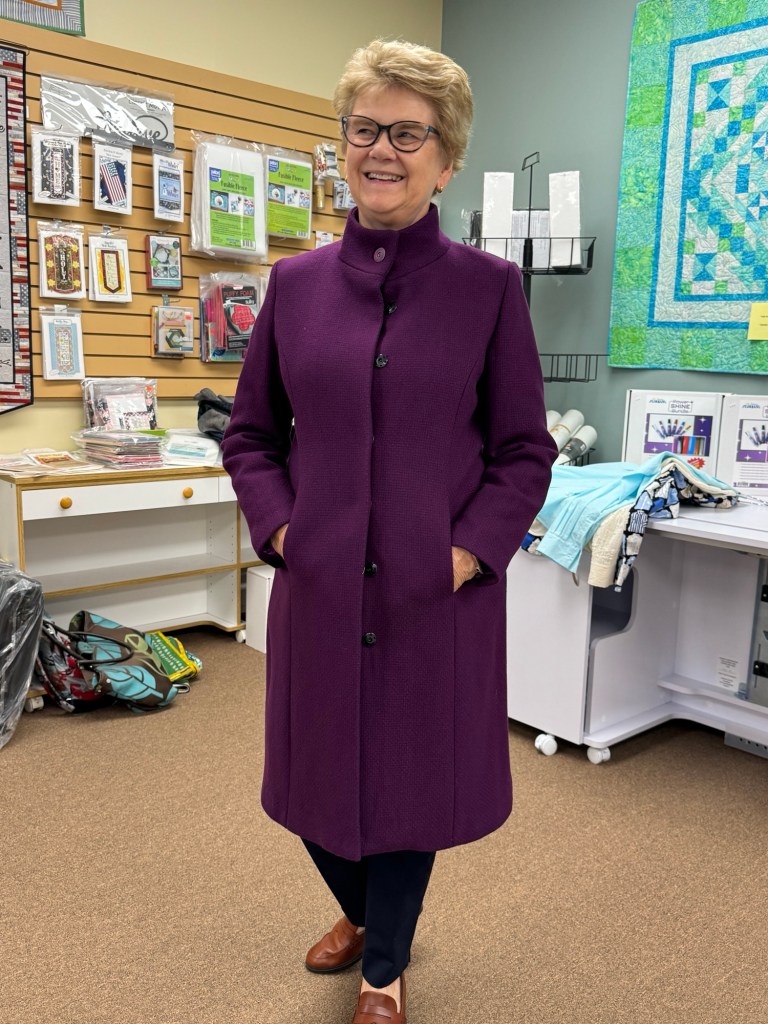
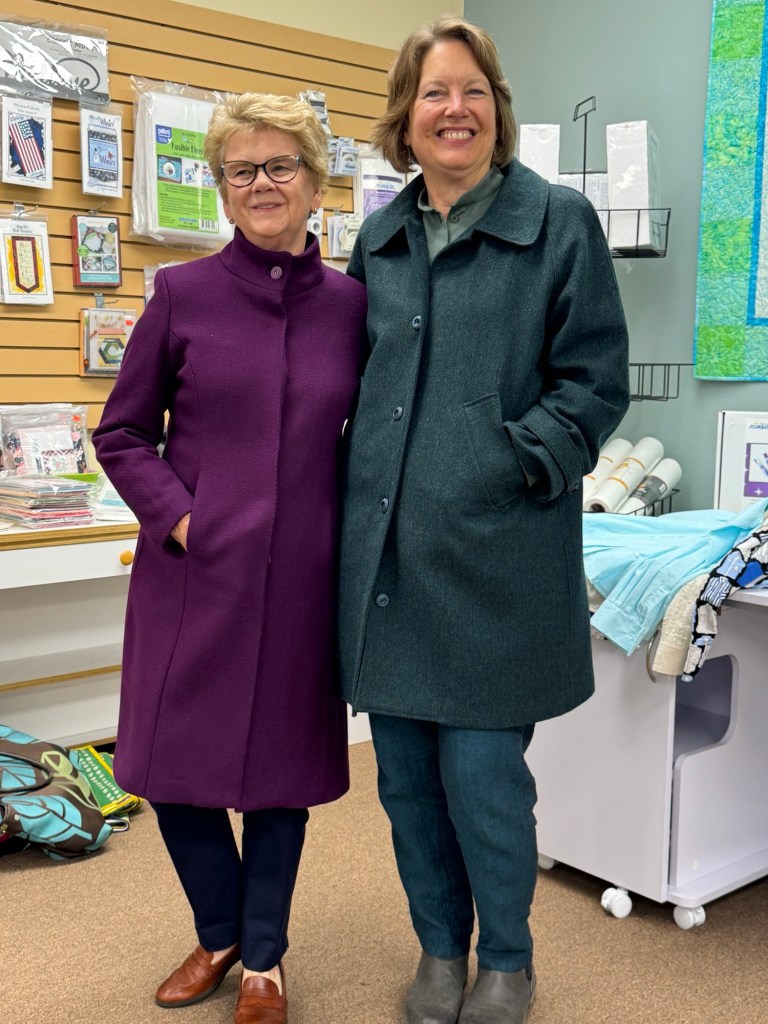
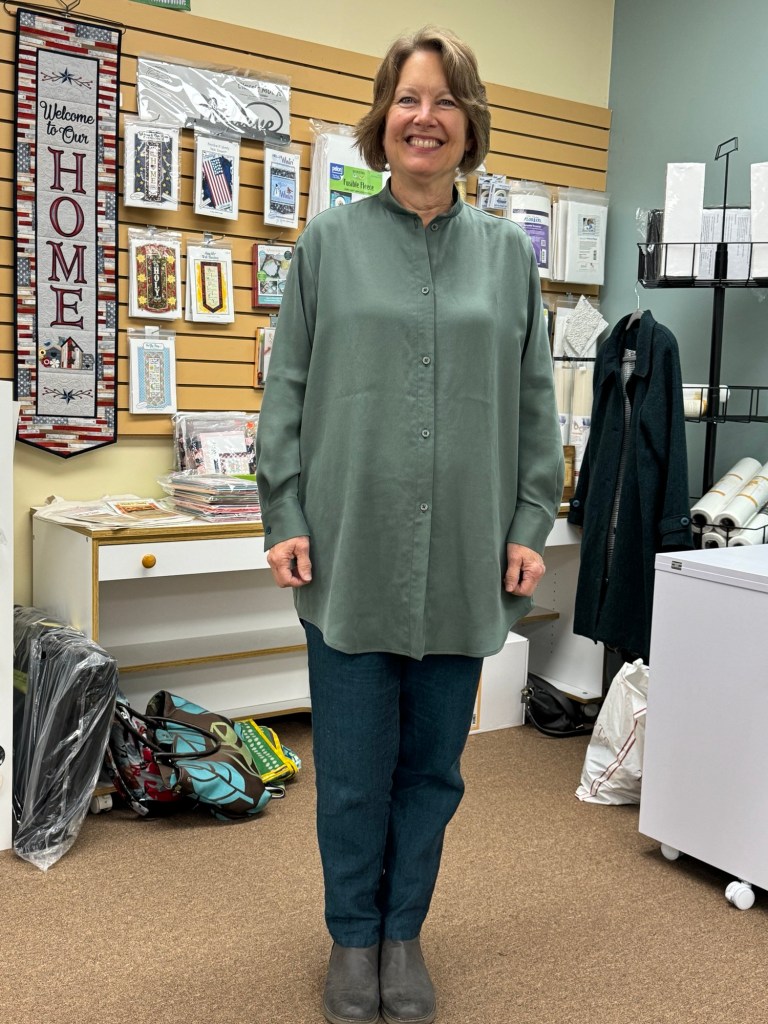
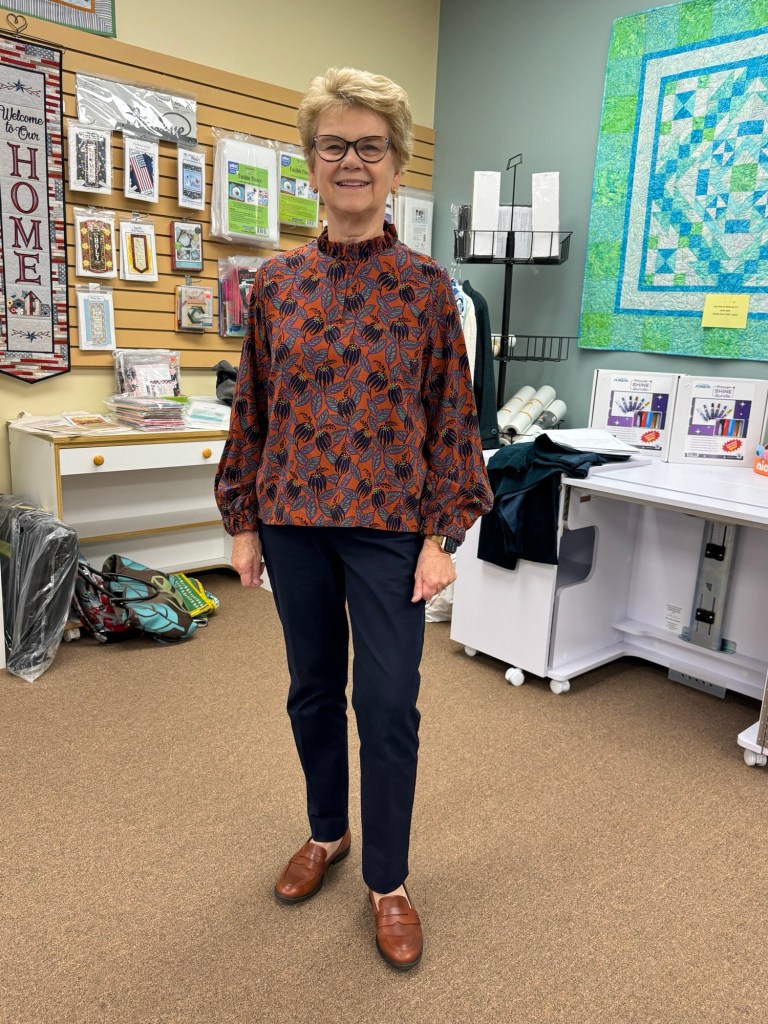
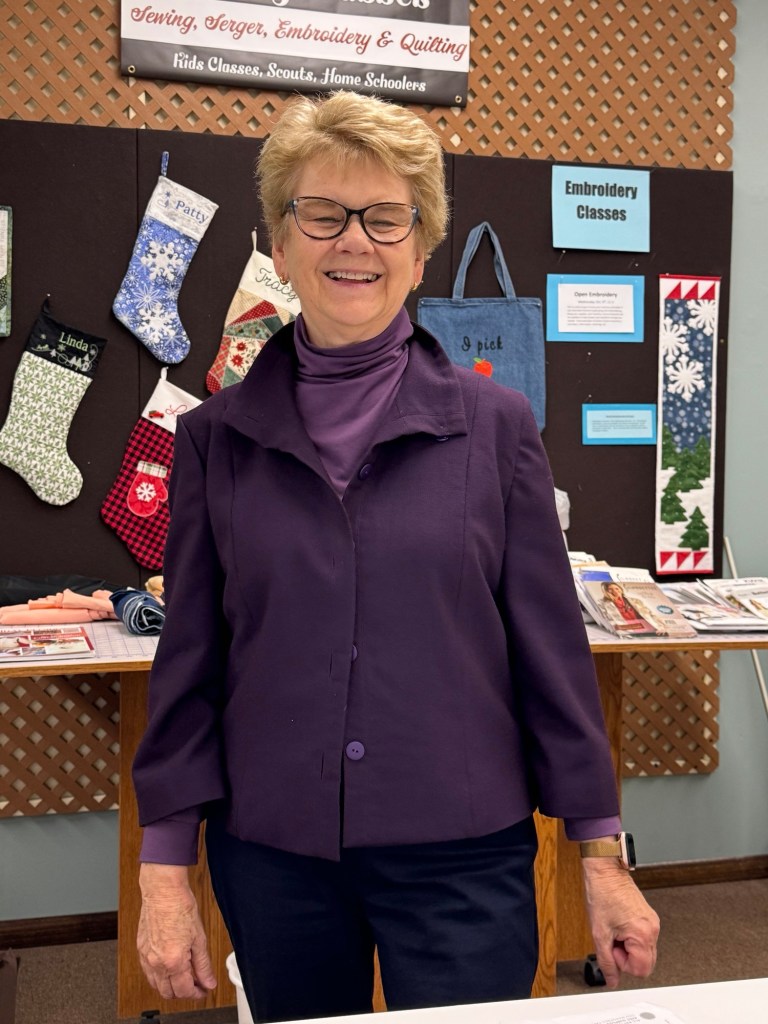
Here is the write up from Garment Sewing Group sheets:
Debbie’s Garments:
Purple Winter Coat
Burda 6461, View A
Textured wool with silk/wool lining
1. The majority construction for this coat was done at Style Maker’s Retreat. Before the retreat I cut out the main fabric, applied all the interfacing and carefully marked all pattern pieces.
2. For October GSG I made view B from this pattern – short jacket with different collar – as a wearable muslin. This allowed me to tweak some fitting issues and focus on new and challenging construction techniques such as bound buttonholes, welt pockets, hem and facing lining, tabs and anchoring pockets while at the retreat. I learned so much!
3. If I made this coat or another one anytime soon I would make a few changes:
1. Add a hidden button placket – not fond of the snaps.
2. Change fold over front facing to sew on – I think the center front would be more “crisp.”
3. Increase the size of the pocket bag.
4. The coat retreat was a great experience.
*Hem/Lining finish link: elenapatternstudio – also found on Pinterest
*Continuous Binding link: https://www.youtube.com/watch?v=j4NHseVkF30&t=153s
*Tab Construction: Pinterest – henim0702
Purple Print Frill Blouse
Burda 6146, View A neckline with view B sleeves
Rayon
1. I petited between shoulder and bust on front, back and sleeve. The front and back were shortened one inch between bust and waist. I shortened the sleeves two inches in length.
2. I omitted the front neck tie and added a snap for closure.
3. I found the pattern and directions frustrating at times. The pattern piece for the frill was too short to get a decent gathering look so I increased the length. The front facing is too long from the front opening and as a result it doesn’t want to stay put – too fussy.
4. I will make this again with some changes – I love the fabric.
Purple Turtleneck
Christine Johnson Travel Trio #331
94% Bamboo and 10%D (Fibers which are dyeable with disperse dyes, e.g. , polyester, nylon, acrylic, secondary acetate and cellulose triacetate.). In other words be sure to wash your fabric!
1. Another TNT pattern for me, especially when I am short on fabric and time!
2. I have petited this pattern between shoulder and bust, bust and waist – it is a curvy fit. I also removed two inches from length.
3. I had enough fabric to make the sleeves long which works for me for layering and the colder weather.
4. I am finding that I am not a fan of bamboo for garments due to too much wrinkling and pilling. I will continue to use this pattern but not the fabric.
Kristin’s Garments:
Raglan Wool Coat
The Assembly Line Car Coat
Wool with silk stretch lining (and flannel lined pockets!)
1. After making a short corduroy version last month I went up a size to give me more room for layering. Also added a center back seam and more length in the upper back with some success but could have used even more length.
2. As Debbie did, the coat was cut and interfaced throughout when I left for the retreat.
3. The wool was wonderful to work with if not a little thick at some turned corners. The silk lining was slippery but that’s what I needed.
4. Welt pockets were great. Added tabs to close sleeves a bit.
5. I didn’t change construction of collar to coat as planned because I got a crisper corner with the method in the pattern.
6. Making a coat makes almost every other garment seem simple!!
Final Boyfriend Shirt
The Assembly Line Oversized Shirt
Rayon twill
1. First off, I love the fabric. This was the third in a trio of patterns that came out all about the same time-
1. Closet Core Jenna Shirt
2. Maker’s Atelier The Shirt
3. Assembly Line Oversized Shirt
2. Pattern directions were good but not without error. Some words used are awkward but I am a fan of some of their patterns. The fabric gives this a great drape. I made just a stand collar with this pattern and omitted side seam pockets.
3. It was fun to make so many different looks with a change in fabric for these shirts. You may see one of them in a shacket soon!
December GSG
Wednesday, December 11, 10:30, The Sewing Lounge, St. Paul
Thursday, December 12, 10:30, Creative Sewing, Apple Valley and Fabric Swap
Saturday, December 14, 10:30, Lakes Makerie, Minneapolis
Other Classes:
Sew Social: Thursdays, 1-4 pm, Creative Sewing, Apple Valley, Nov. 14, 21, Dec. 5, 12
Open Studio: Wednesdays, 1-4 pm, Lakes Makerie, Mpls., Nov. 13, 20, Dec. 4, 11
 Material Girl Sewing