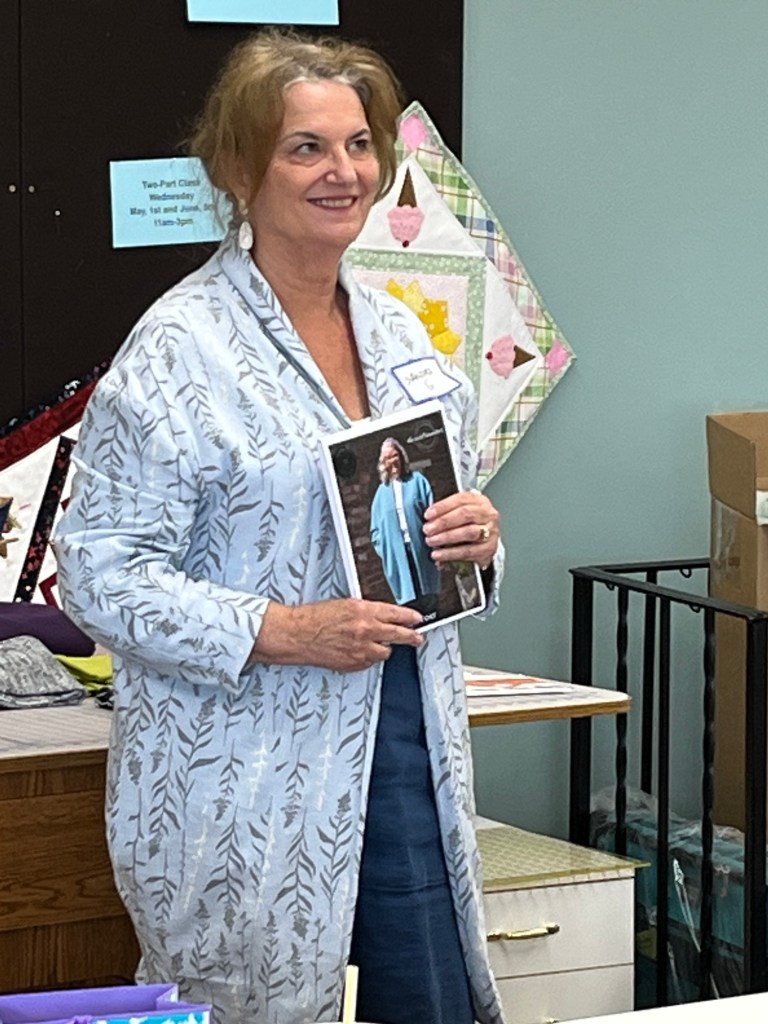
It was a beautiful spring Saturday in Rochester and some of you were all decked out! Ginny was full of enthusiasm, even hinting that she would carry Big 4 patterns (she carries Burda now).
We’ll be at Lakes Makerie on Wednesday (May 14) and Creative Sewing on Thursday (May 15). Come join us!!
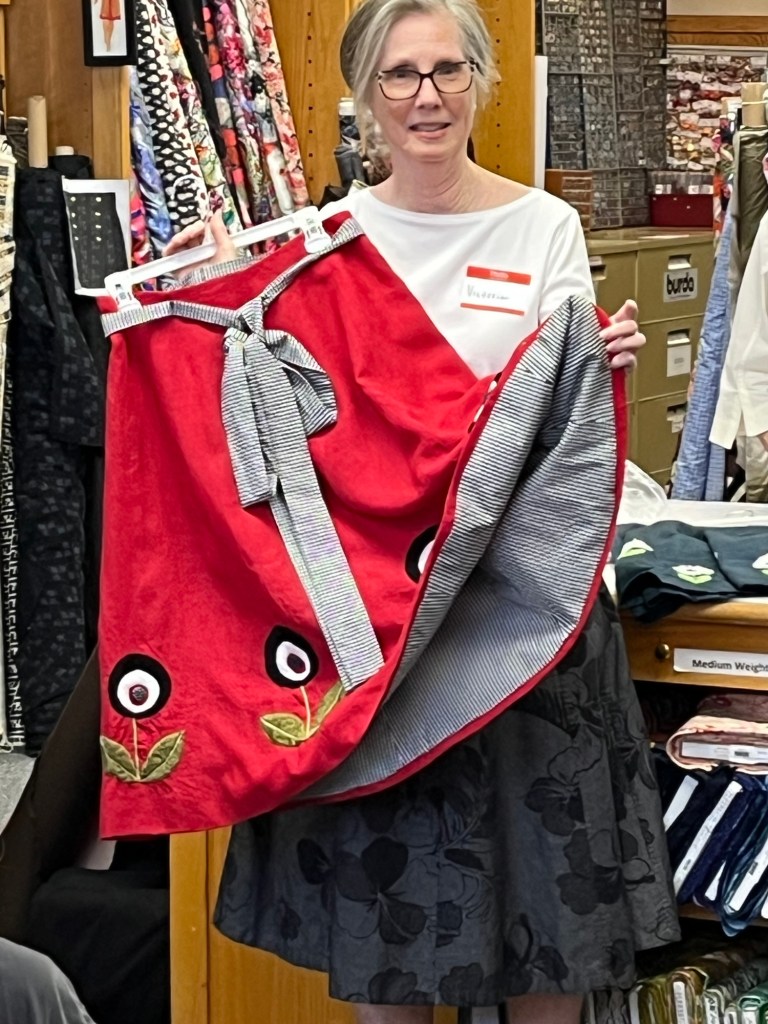
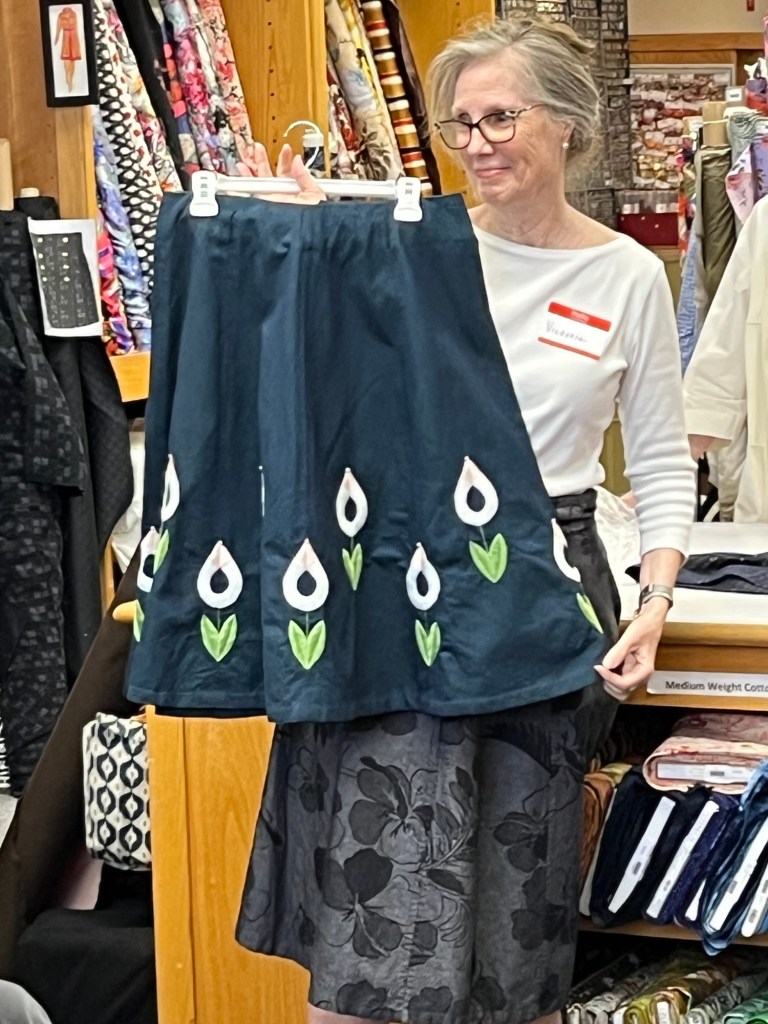
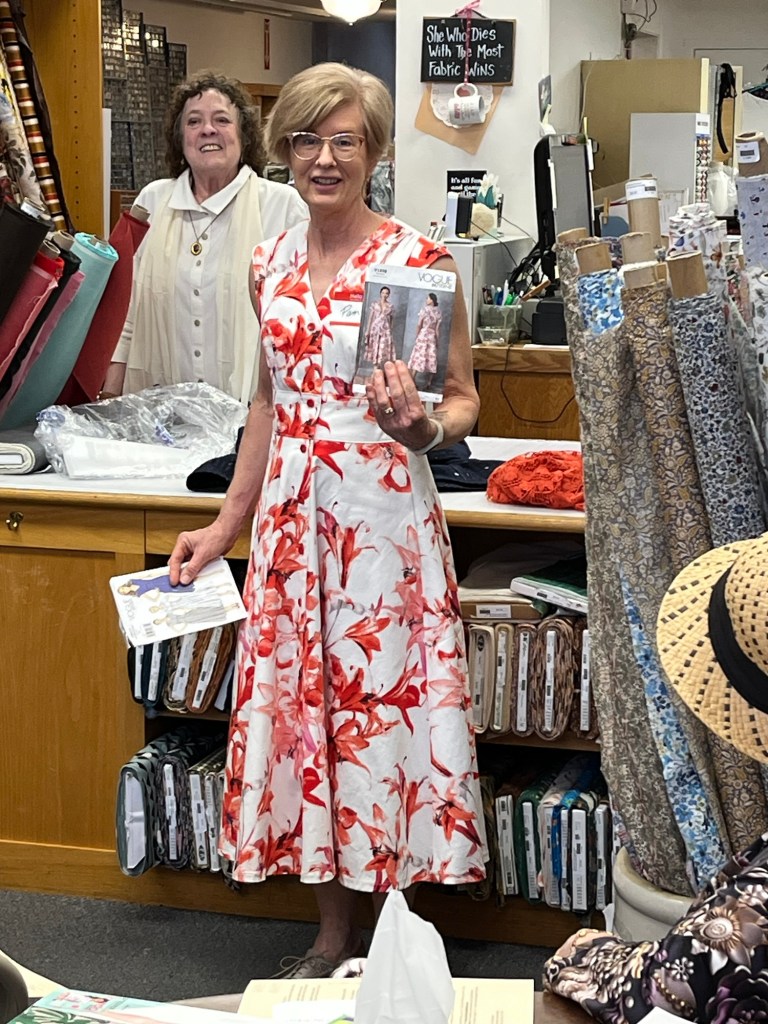
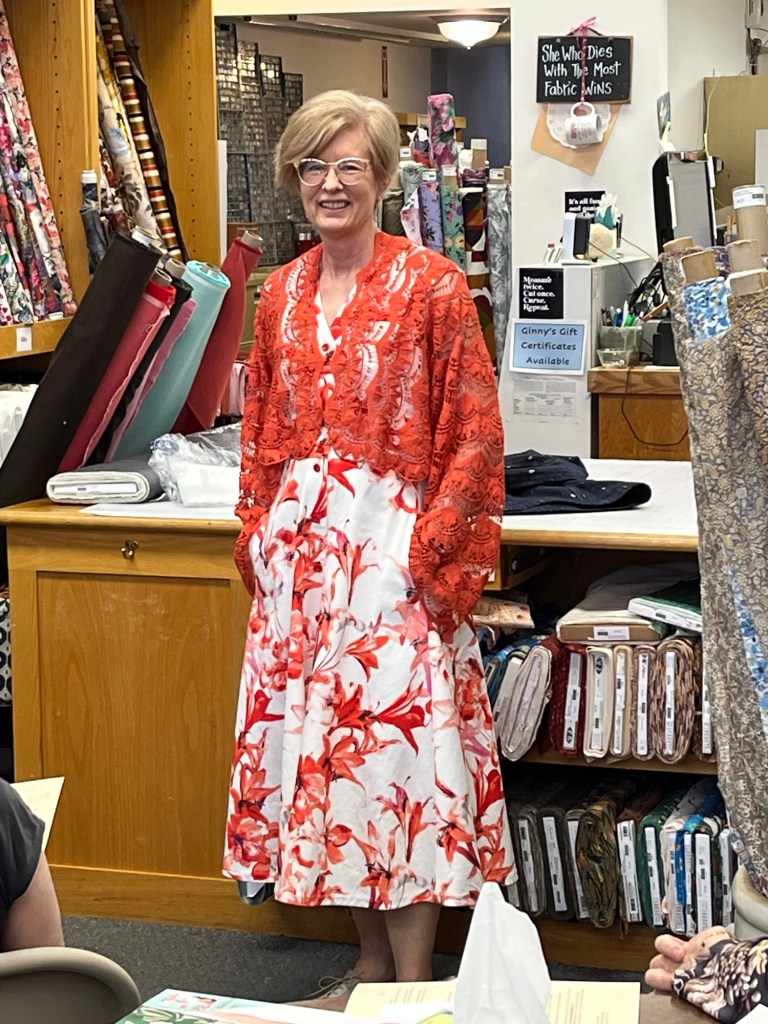
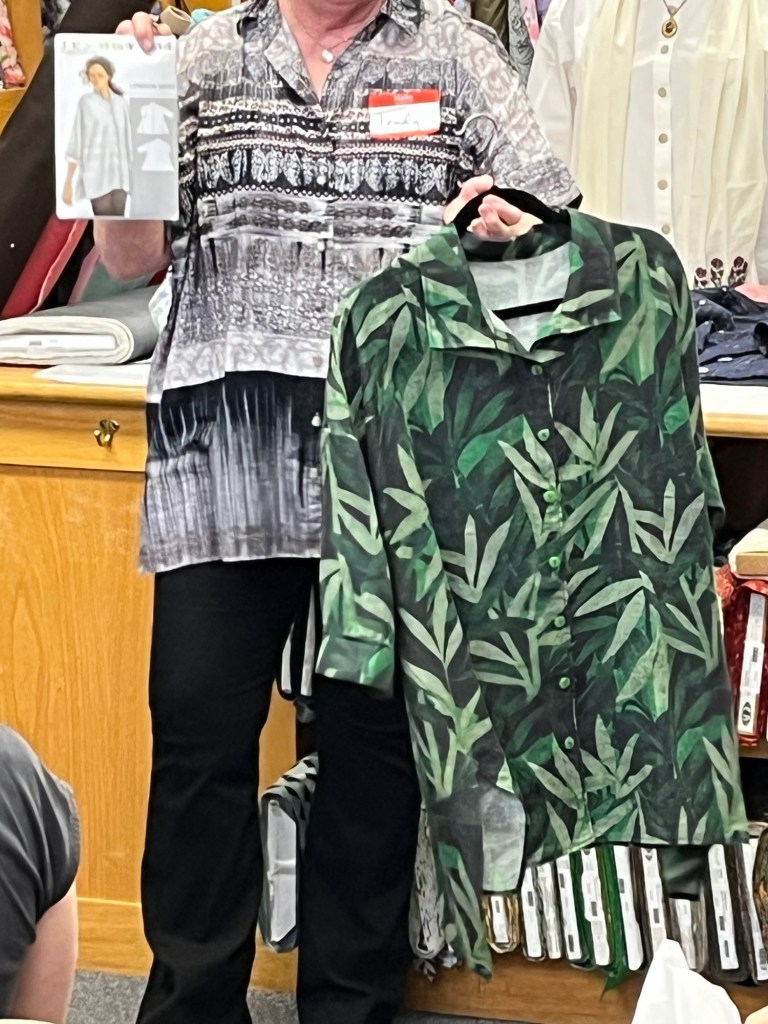
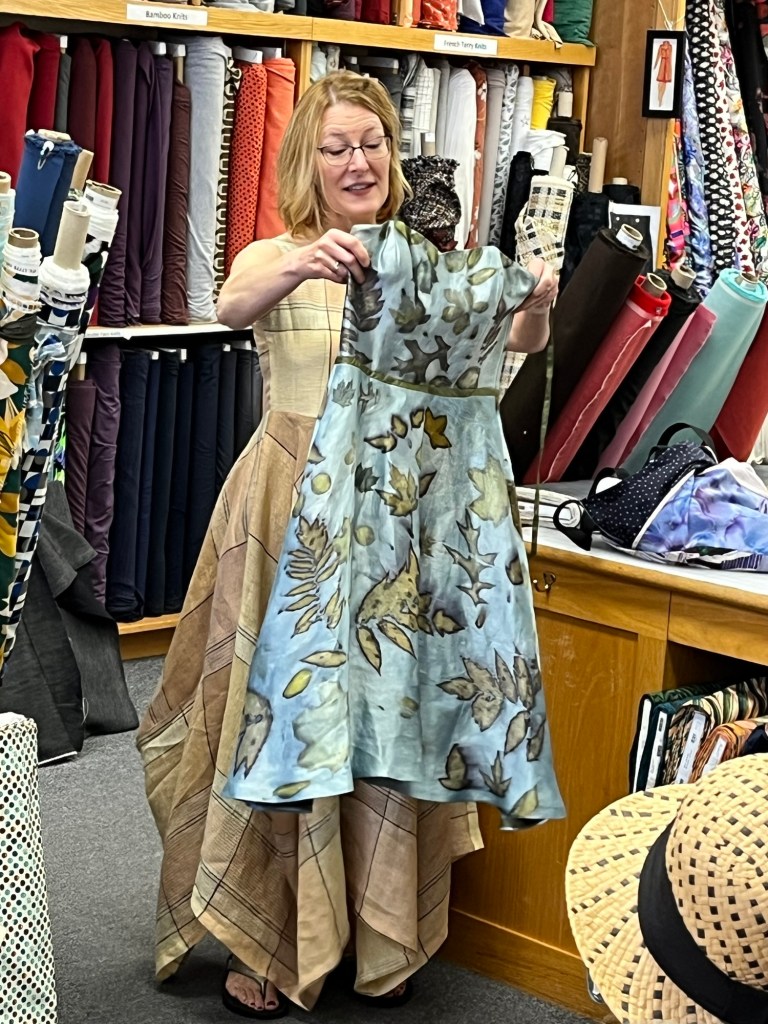
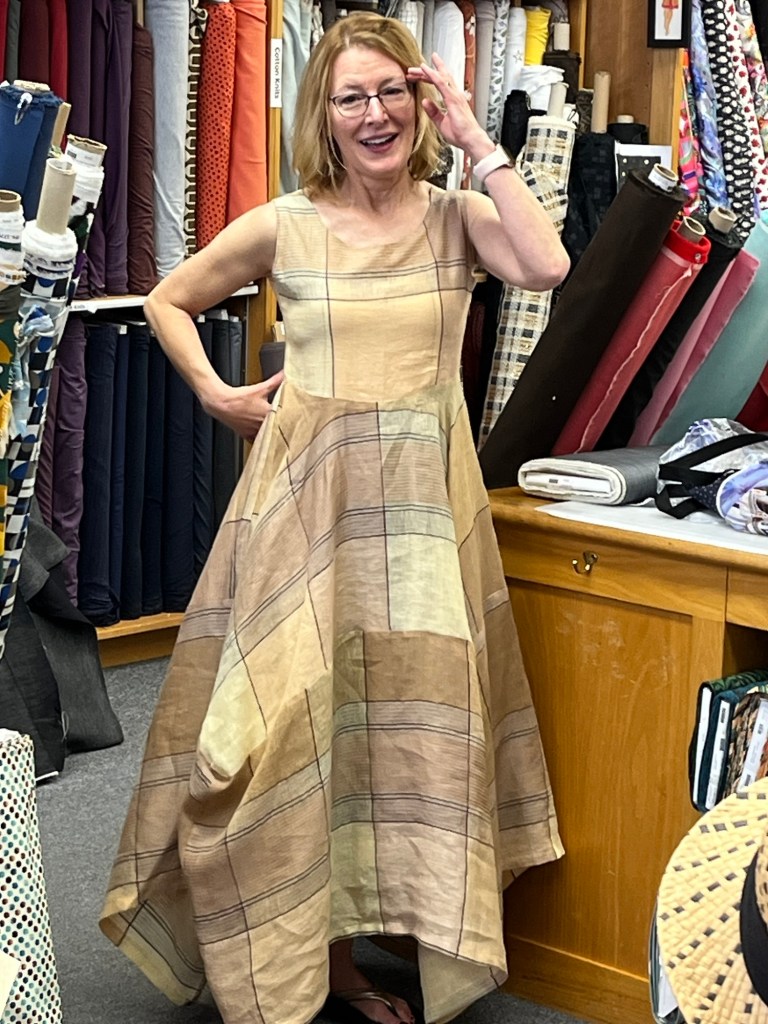
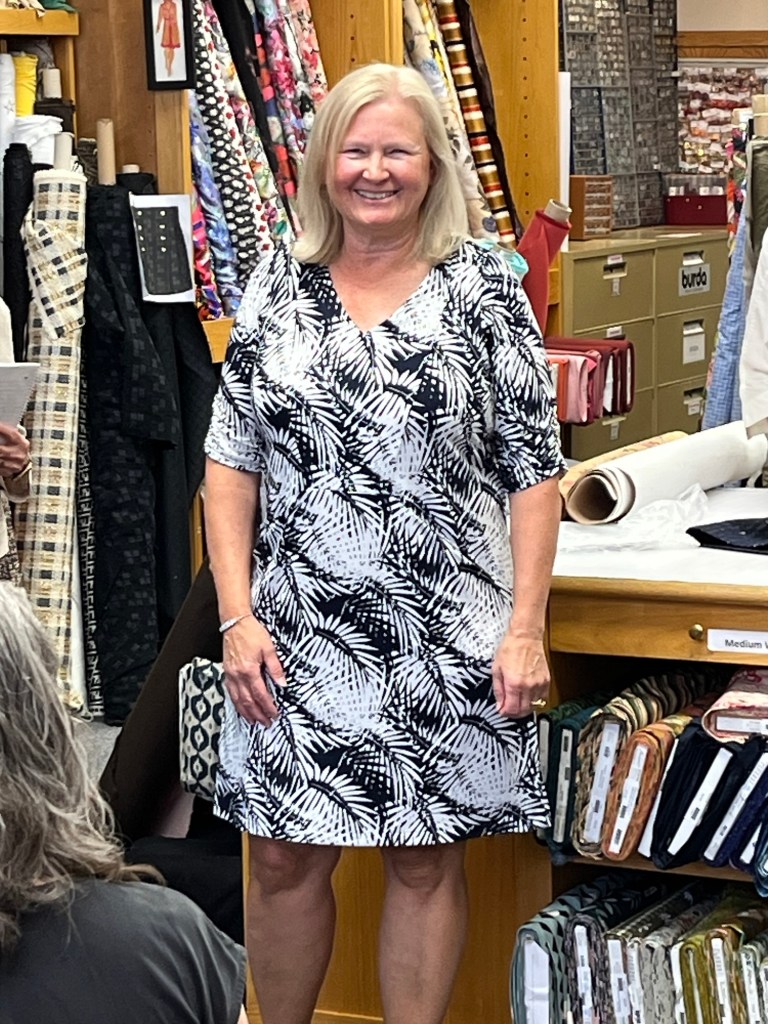
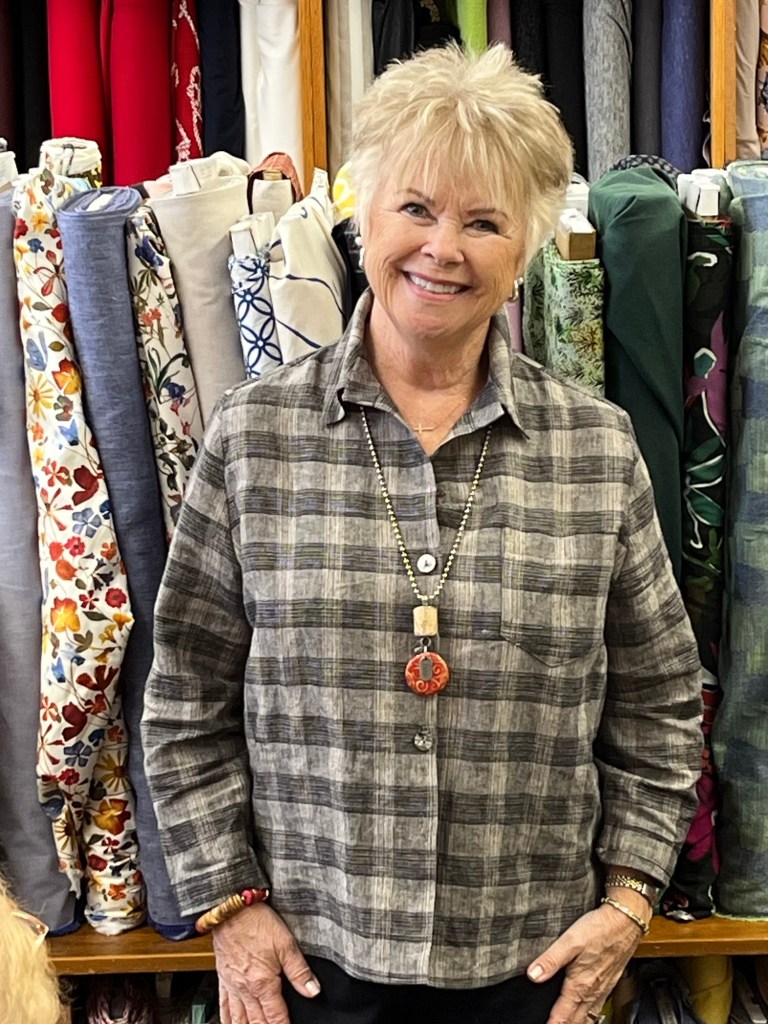
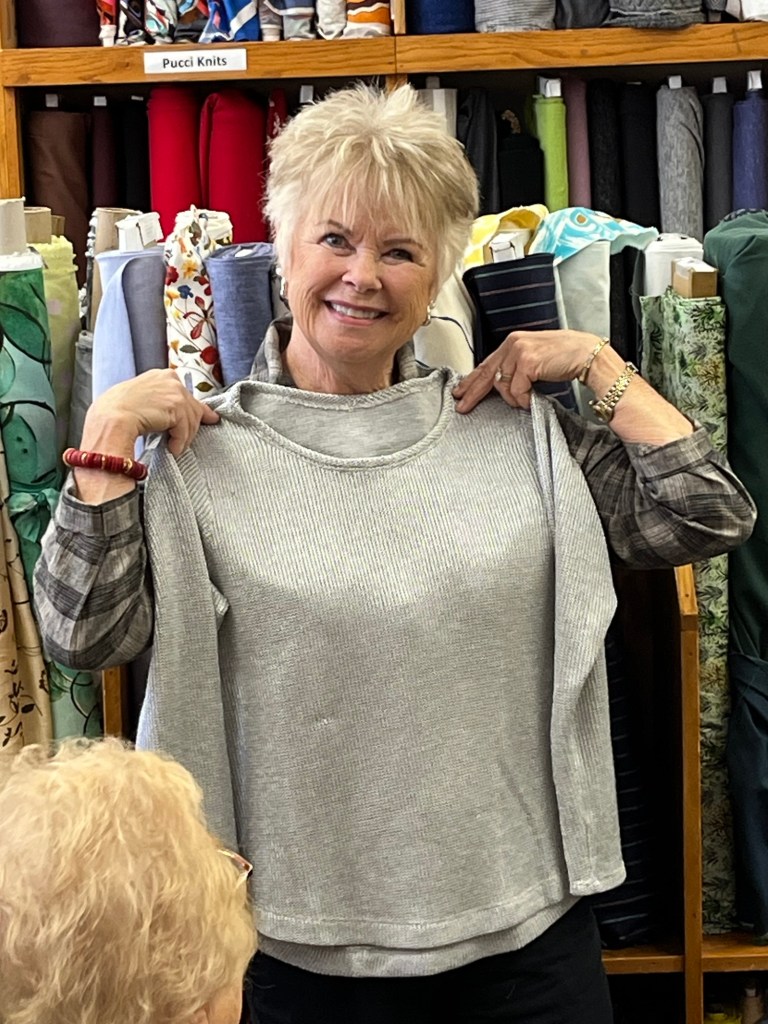
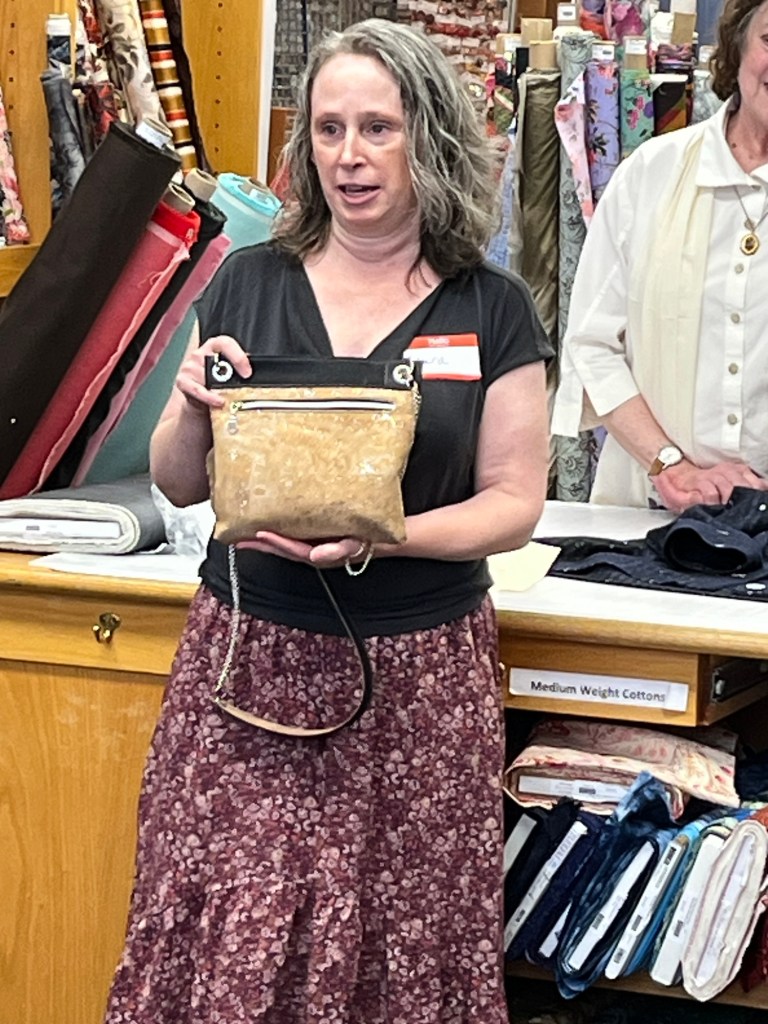
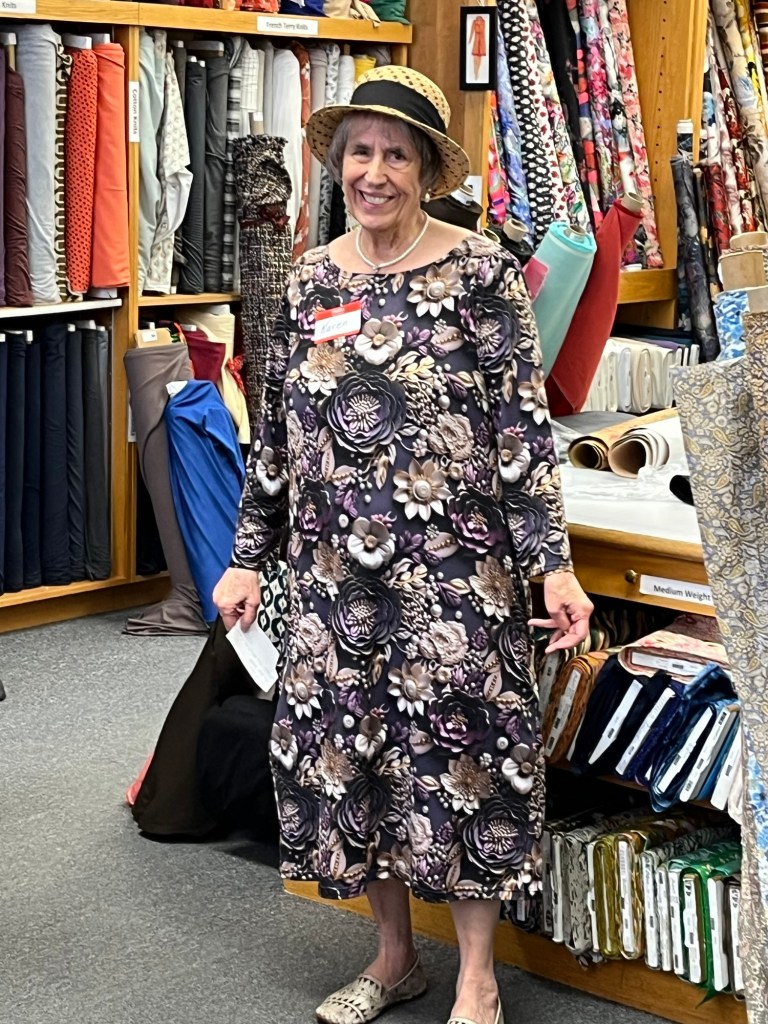
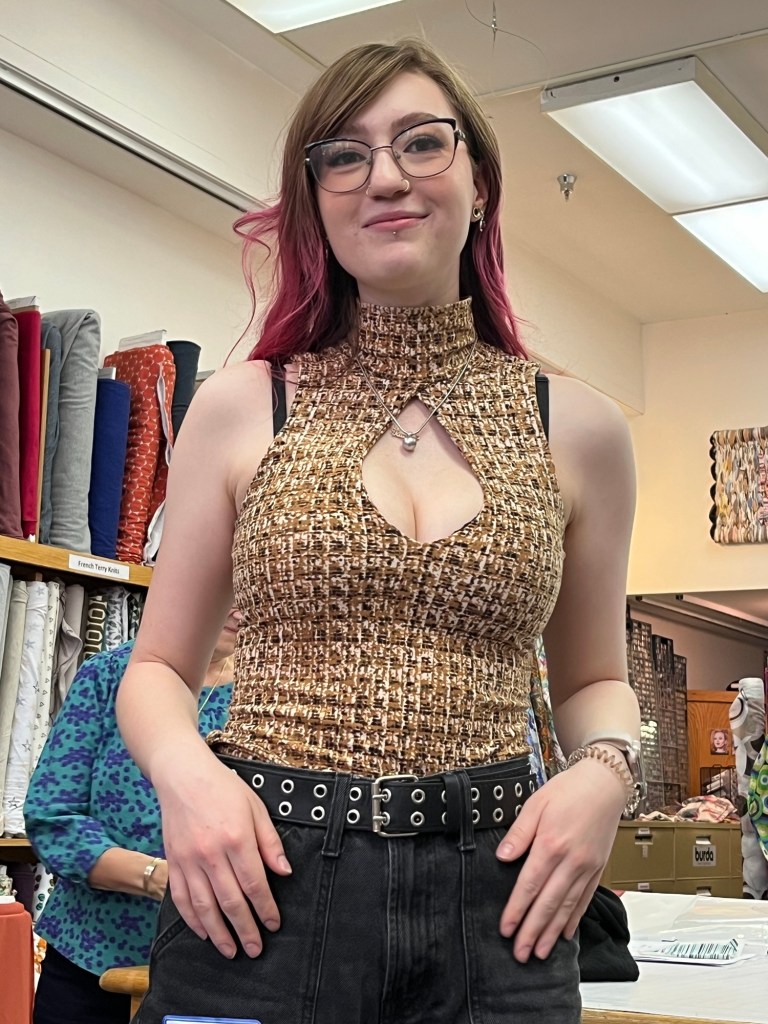
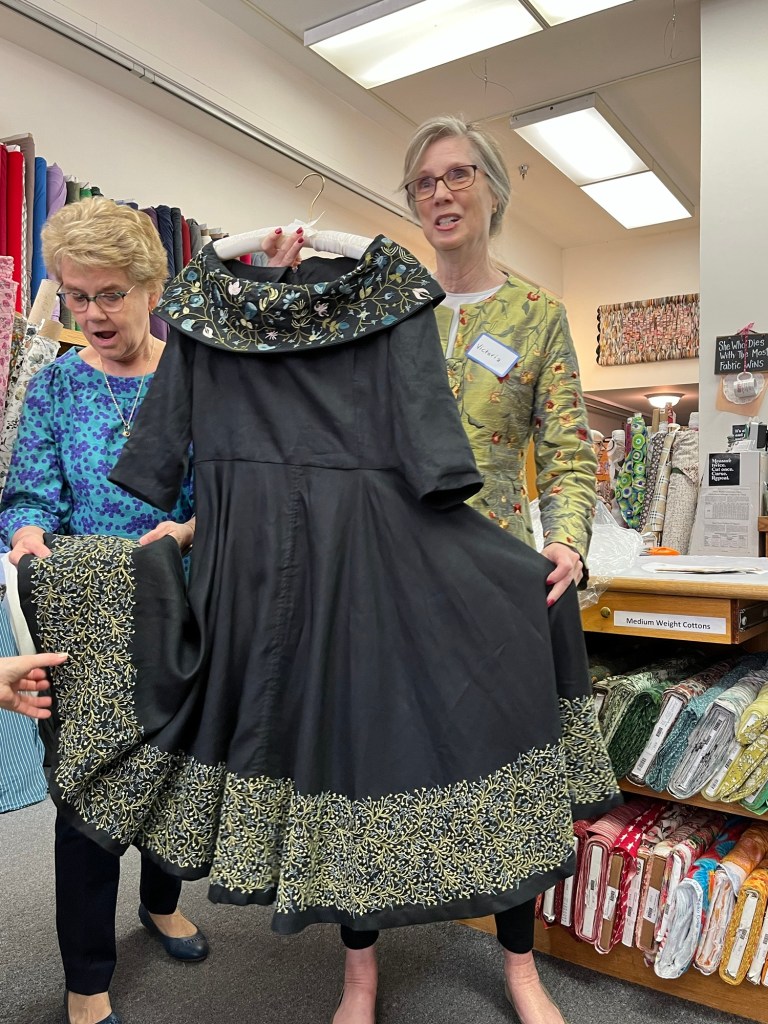
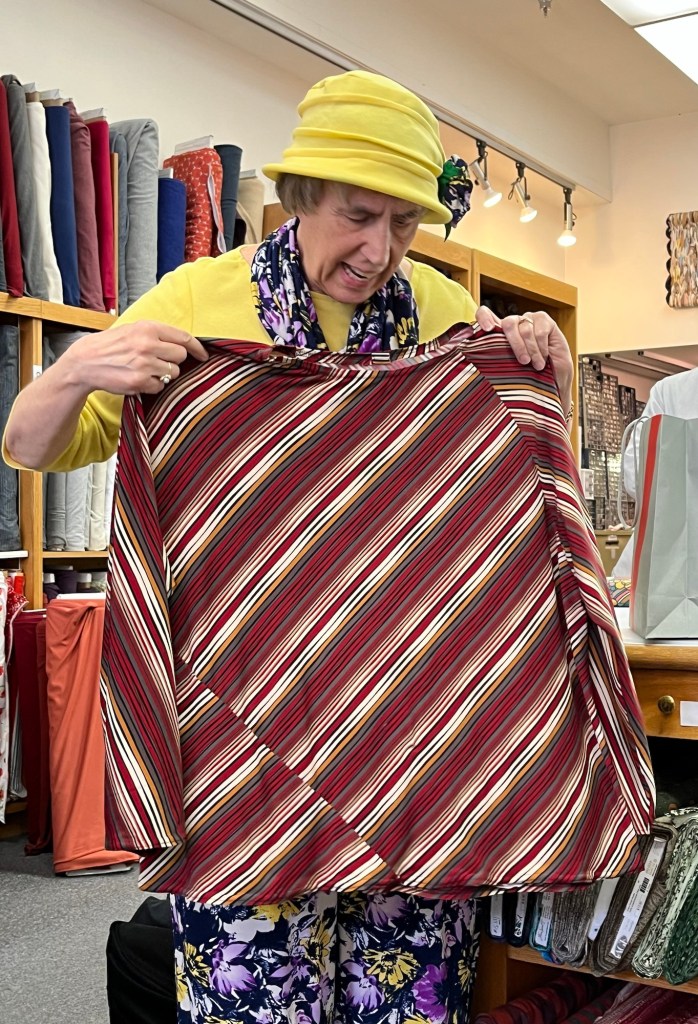
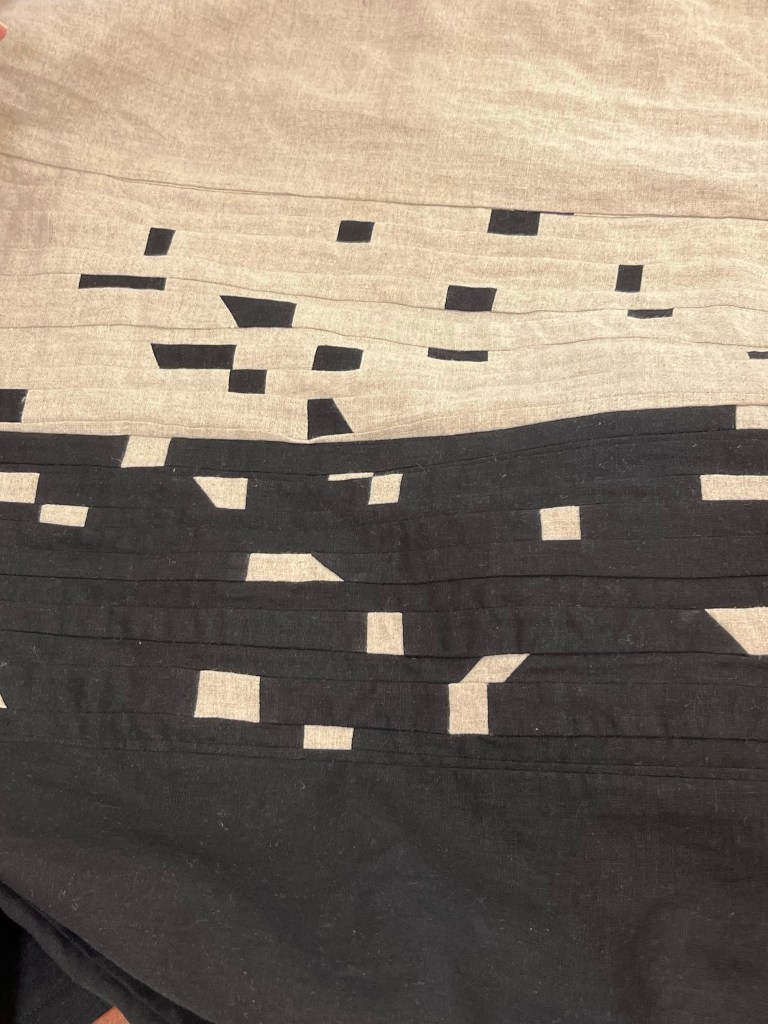
Victoria was busy last winter hand embroidering skirts-Vogue 1898 became Vogue 8577Part of mother of the bride ensembleNew Look 6145Fjord Cardigan/Friday Pattern CompanyZakopane Shirt/Itch to StitchCottage Shirt/Sewing WorkshopLondon Shirt/Sewing WorkshopPattern unknown/Ice dyed silkVogue 1312Love Notions Aurora DressStyleArc ShacketGinny’s Metallic Knit in favorite tee patternSelf drafted bag in corkLove Notions Caprice Skirt in rayon3-D Print on knit in favorite tee dress
Here is the last of the meetings for October-scroll down for Debbie and Kristin garments and notes:
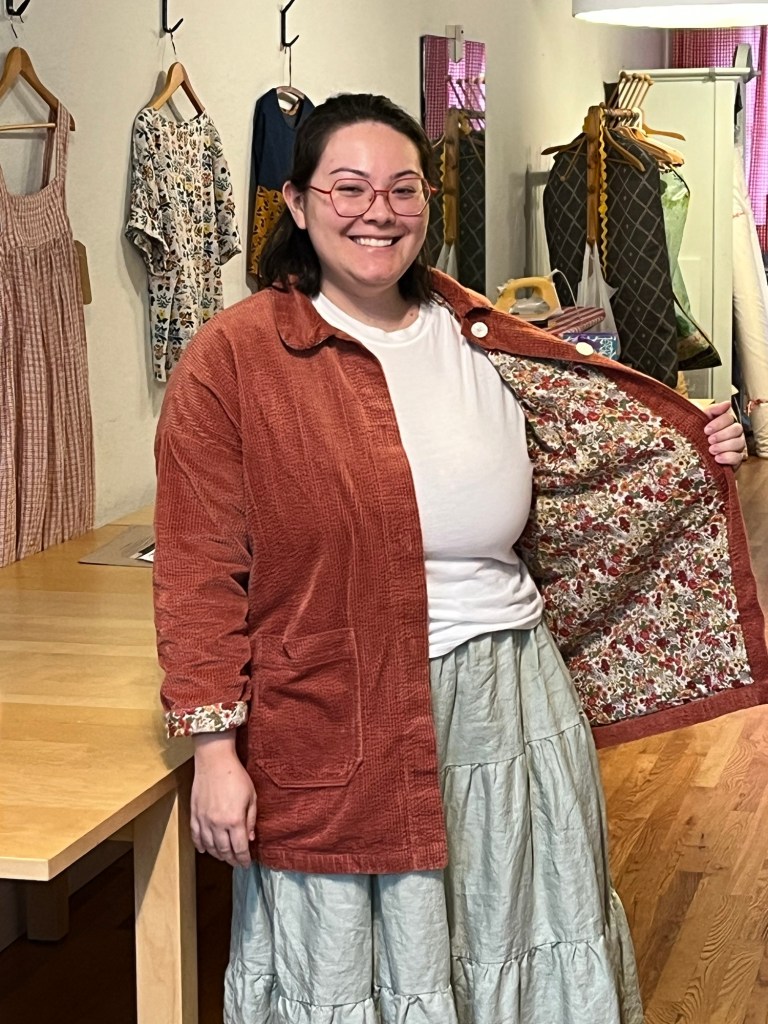
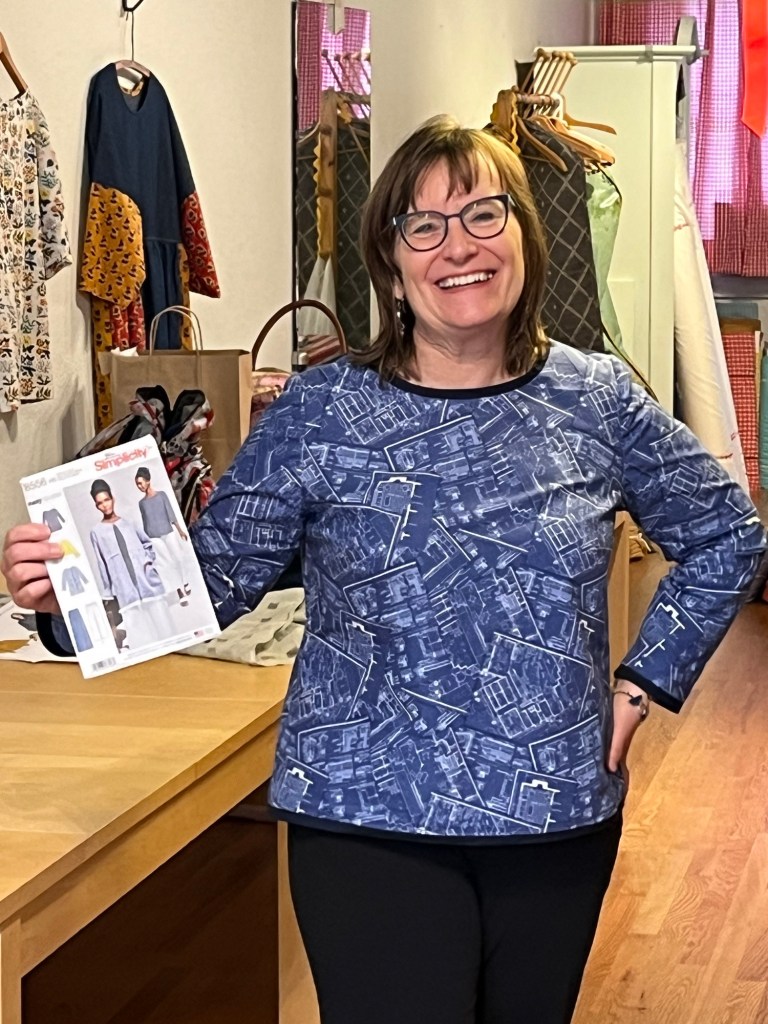
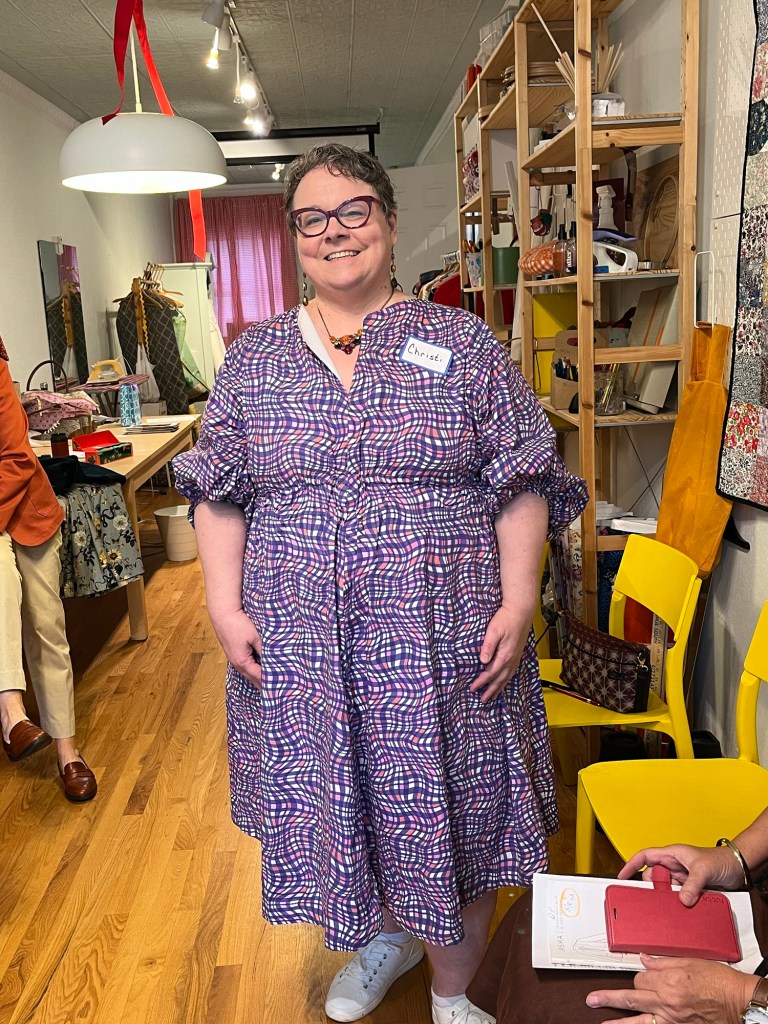
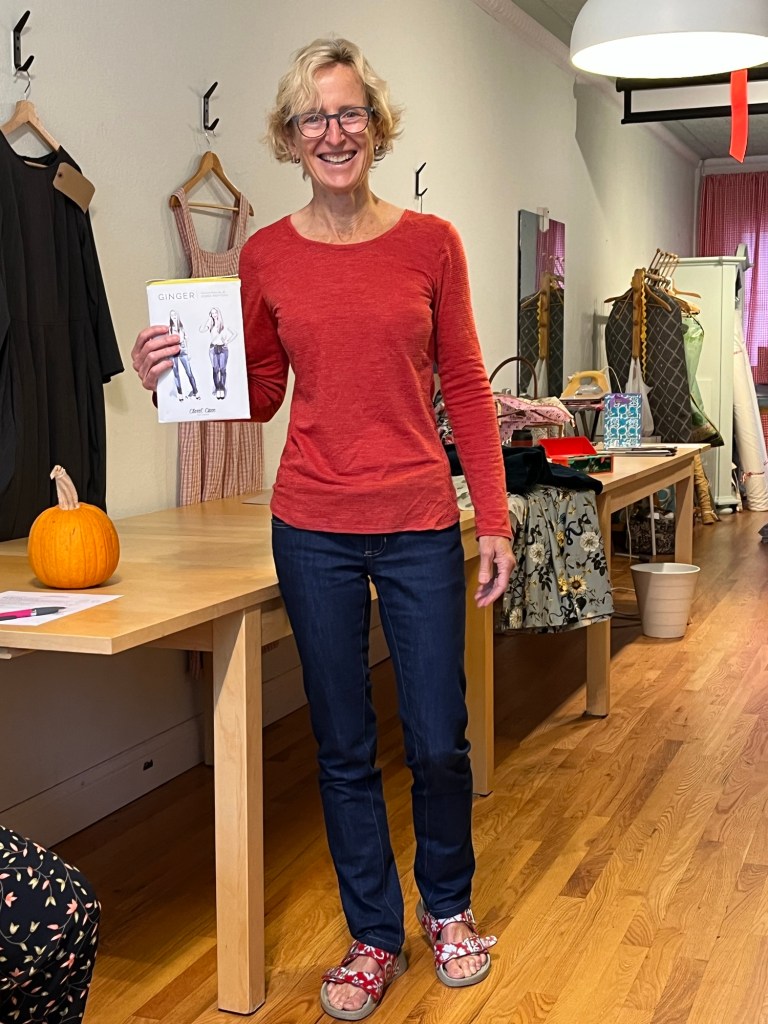
Ilford Jacket by Friday Pattern Company and self-drafted tiered skirtSimplicity 8556Terrazzo Dress by Closet Core CrewGinger Jeans by Closet CoreAnd then there was topstitching…Roscoe Top and Dress by True BiasEdie Top and Dress by Merchant and MillsSanda Jacket by Merchant and MillsPants by Tillie and the Buttons
October 2024
Garment Sewing Group
Debbie’s Garments:
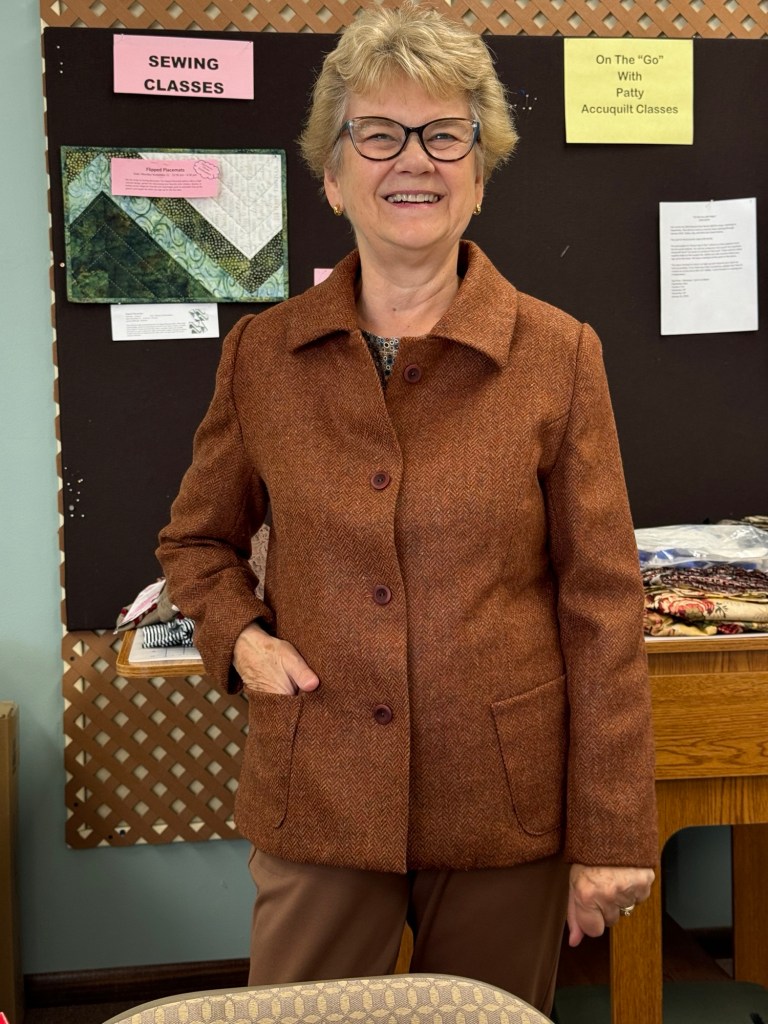
Burda 6461, view B-wool with silk lining
1. This fabric was gifted to me and I felt it was a great opportunity to use for fit and construction techniques for View A from the same pattern.
2. For fit I did not shorten between shoulder and bust but did shorten 1 inch between waist and hip and 1 inch between hip and hem. I shortened the sleeve length by 2 inches. I also did a narrow shoulder adjustment.
3. I used “soft” tailoring techniques only adding a sleeve head, shoulder pads and interfacing to all hems.
4. For my next make I will interface entire front, upper back and sleeve cap. I will also make a greater narrow shoulder adjustment. The sleeve cap has too much ease so I will also remove some of that before cutting out View A.
5. Although Burda patterns can be skimpy in directions, words, photos and notches, the jacket went together fairly easy and quickly.
6. I did enjoy the process and I am looking forward to making view A.
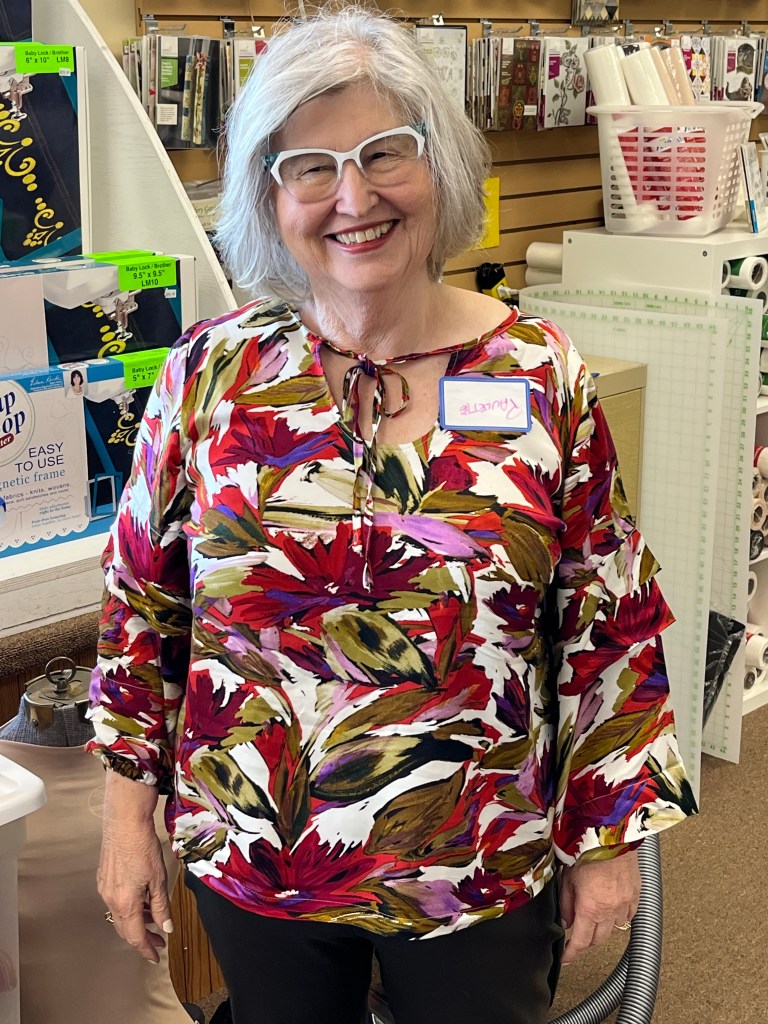
Jalie 3676 Vanessa Pants in linen/viscose and Jalie 2682 Women’s Tops in lightweight French terry
1. This is a TNT pant pattern for me and how much I like and wear these pants depends on the fabric. The linen/viscose fabric is okay but I think I prefer a more structured fabric.
2. I eliminate the pieced waistband and make it one piece. I also eliminate the faux zipper and waist tie.
Graphic Print V-Neck Top Jalie 2682
1. Another Jalie TNT pattern for me.
2. I raised the neckline on this make due to the fall weather.
3. Due to 1/4” sa and serging I topstitched the seams to prevent curling and more comfort while wearing.
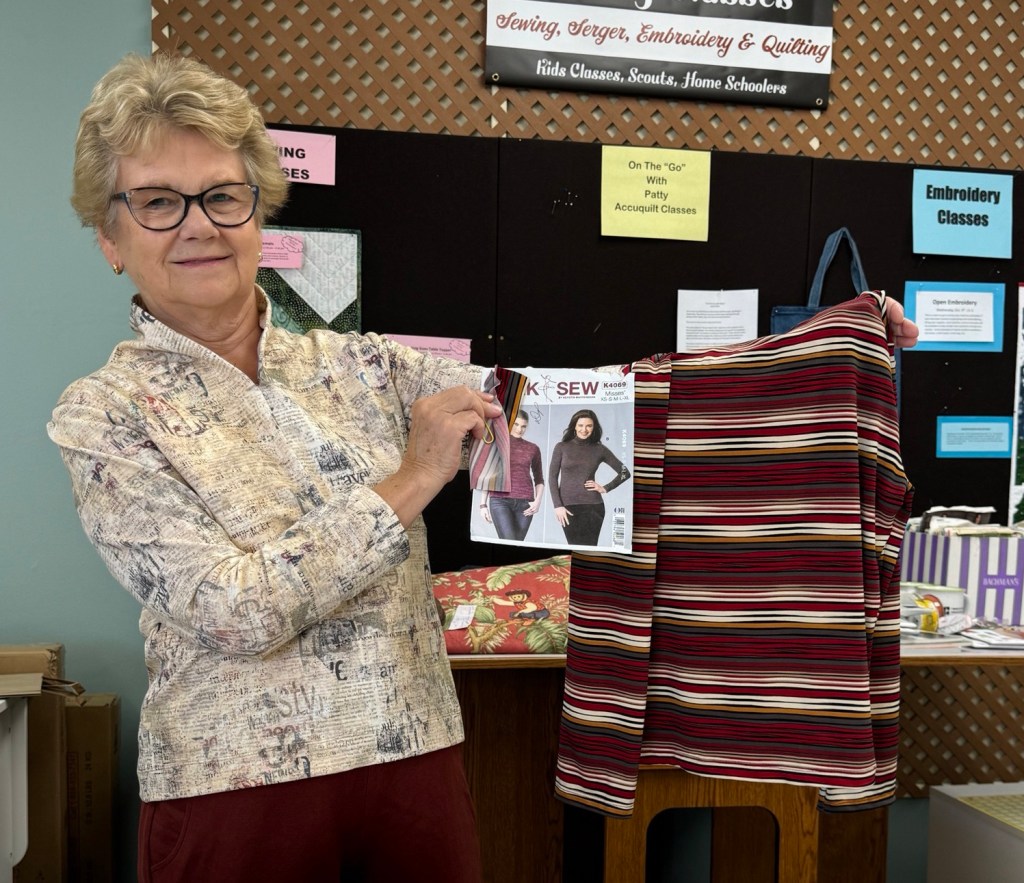
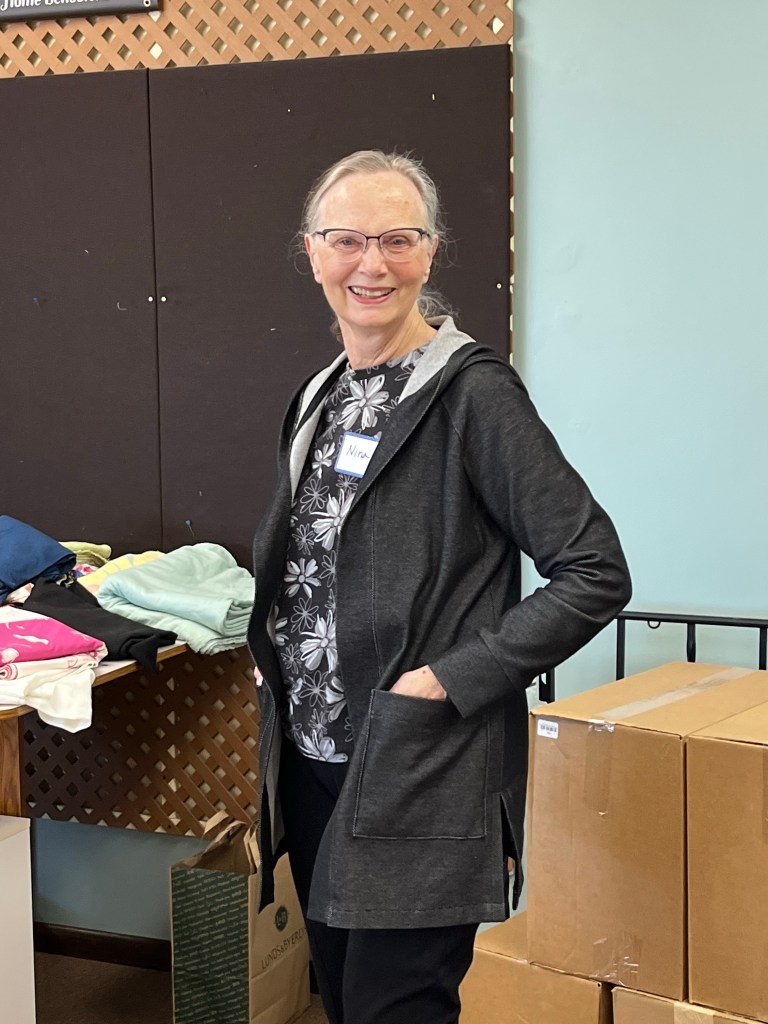
KwikSew 4069
1. Another TNT pattern. After making my wool jacket it was a nice break to stitch up a few basics to add to my wardrobe. Easy is quick and fun. Now I am ready for a more challenging garment make for November.
November Garment Sewing Group
Saturday, November 9, 10:30, Sewing Lounge, St. Paul
Wednesday, November 13, 10:30, Lakes Makerie, Minneapolis
Thursday, November 14, 10:30, Creative Sewing, Apple Valley
Sew Social this month: Oct. 10 and 24, 1-4 pm, Creative Sewing, Apple Valley
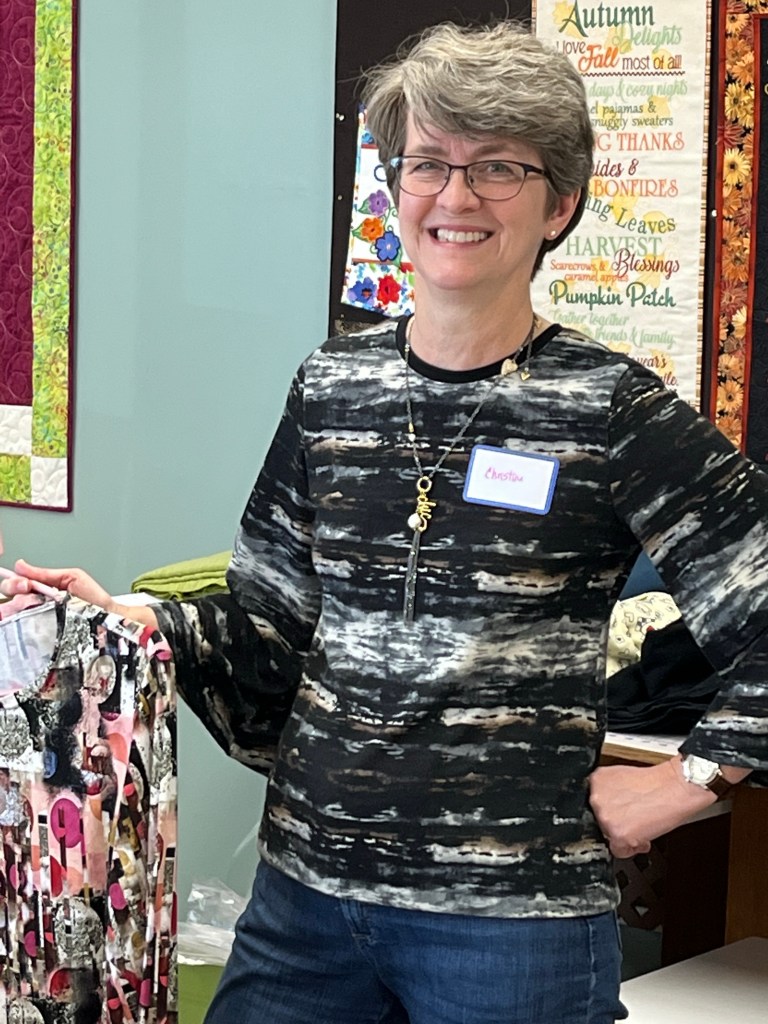
Kristin’s Garments:
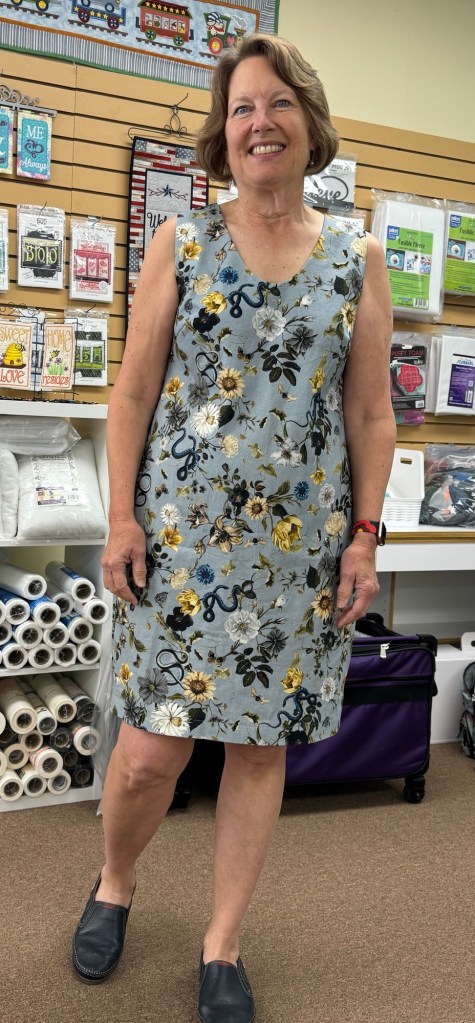
Burda 6773 in Lady McElroy stretch twill
1. Pattern has a lining that goes past bust so I made that first for a fit muslin. Cut out a size 16.
2. Decided to make seam allowance 3/8” instead of 5/8” at neckline and also cut for highest neckline (it wasn’t much of a difference between sizes). Kept the 5/8” seam allowance for armholes.
3. Omitted back zip but would stitch neck closed and put zipper below to keep things neat.
4. Adjusted for my hips. Back darts gave nice shaping but fit seemed problematic in lots of places.
5. Resewed the side seams at 1/4” and all problems went away-Yeay!!
6. Definitely a keeper pattern for wearing and fitting.
7. Wore the sheath with Vogue 9347 window pane jacket.
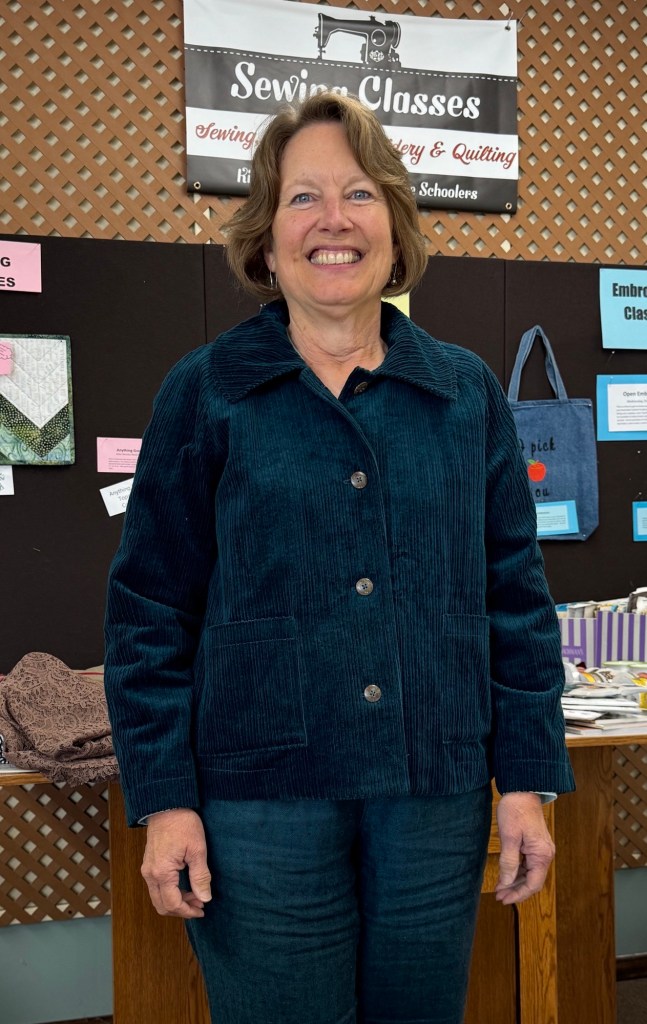
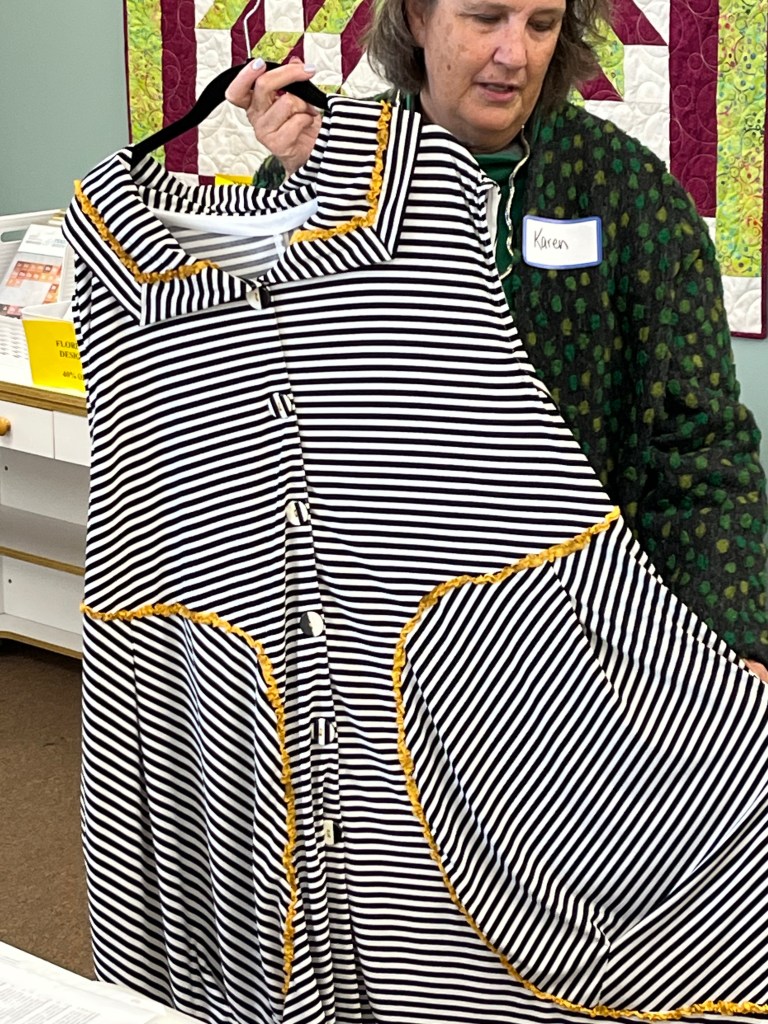
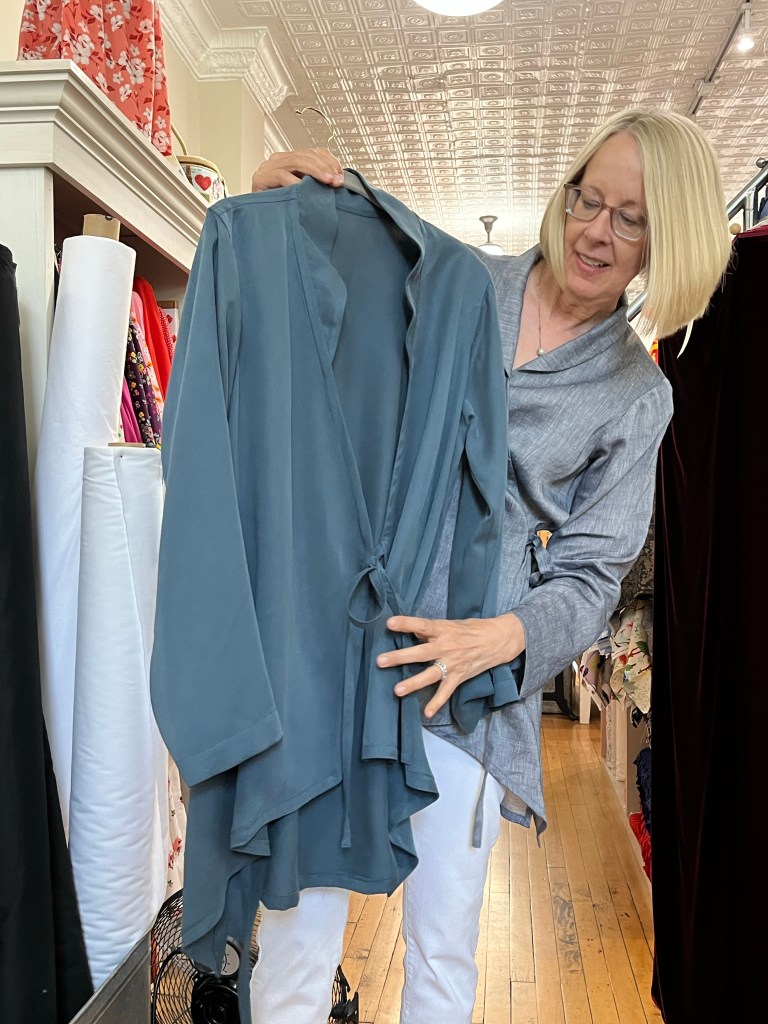
The Assembly Line Car Coat, shortened, in corduroy with Bemberg lining
1. Made size Medium to pattern except for length. Collar has a partial back stand. Pattern includes lining or facings for no lining.
2. Other than a few marking notches being off or nonexistent the pattern went together very well and instructions were good although some of the language isn’t what we’re used to: face to face instead of right sides together.
3. Added patch pockets instead of welt.
4. I chose to add a facing for the back neck and wish I would have assembled the lining separately so the garment wasn’t so bulky at neck seam-next time!
Zakopane Top Itch to Stitch in rayon knit
1. Caroline showed this top last month at Ginny’s and it looked like fun. I made an 8 at the bust and 14 at hip. Pattern calls for fluid knits-cotton knit probably wouldn’t twist.
2. Easy construction except for the piddliness of working with rayon knit. It’s always worth it when the garment is done.
3. Some techniques are overdone for knits-interfacing back neck and understitching neck binding. I didn’t understitch and the neck band was 1 1/2” too long but that could have been a cutting error on my part 🙂
4. Fit is great and it’s a nice vee for me. Twist is easy and looks good-no wrong sides peeking through. Might be a good scrap buster.
Explorer Tote/Noodlehead PatternsRedwood Tote/Noodlehead Patterns–all supplies from Twin City QuiltingSimplicity 9818Wimbourne Coat/Avid SeamstressBurda 6292Eureka Top and Plaza Pant/Sewing WorkshopMontana Midi Dress-adapted/StyleArc
Just catching up on April Garment Sewing Group pics-before next week when our May meetings begin at Ginny’s!!! Saturday’s meeting is at Sewing Lounge-not Lakes as we told you at April meetings!
Wednesday, May 8, Ginny’s Fine Fabrics, Rochester (let me know if you want to carpool)
Thursday, May 9, Creative Sewing, Apple Valley
Saturday, May 11, Sewing Lounge, St. Paul (this is a change from GSG sheet!!)
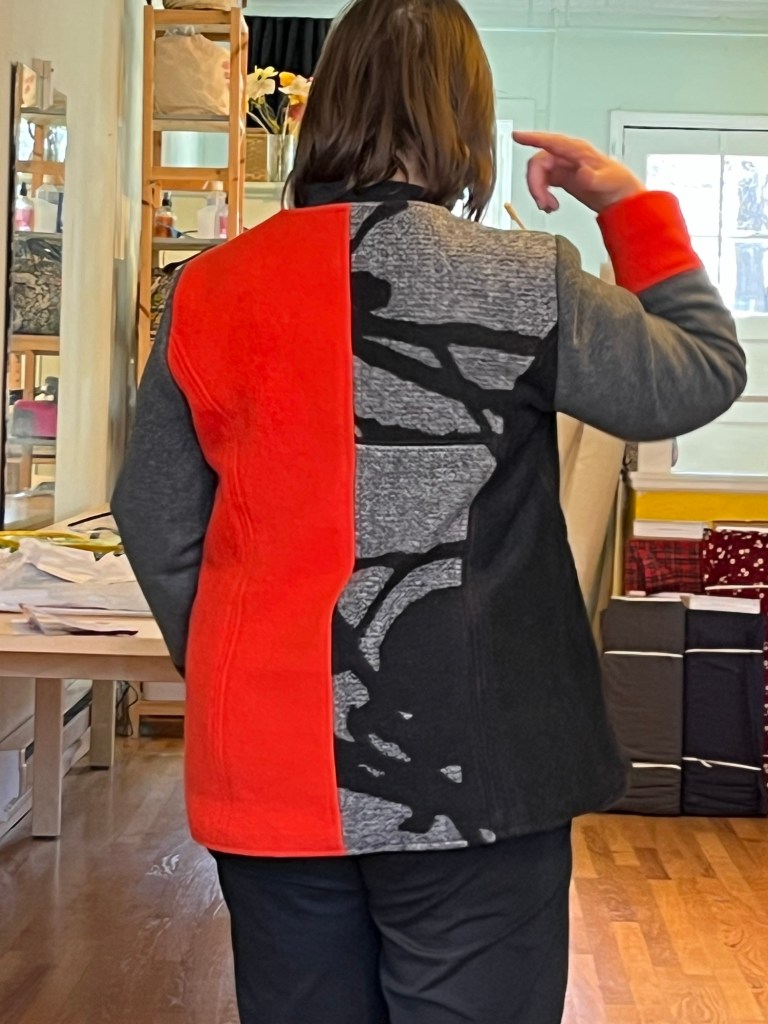
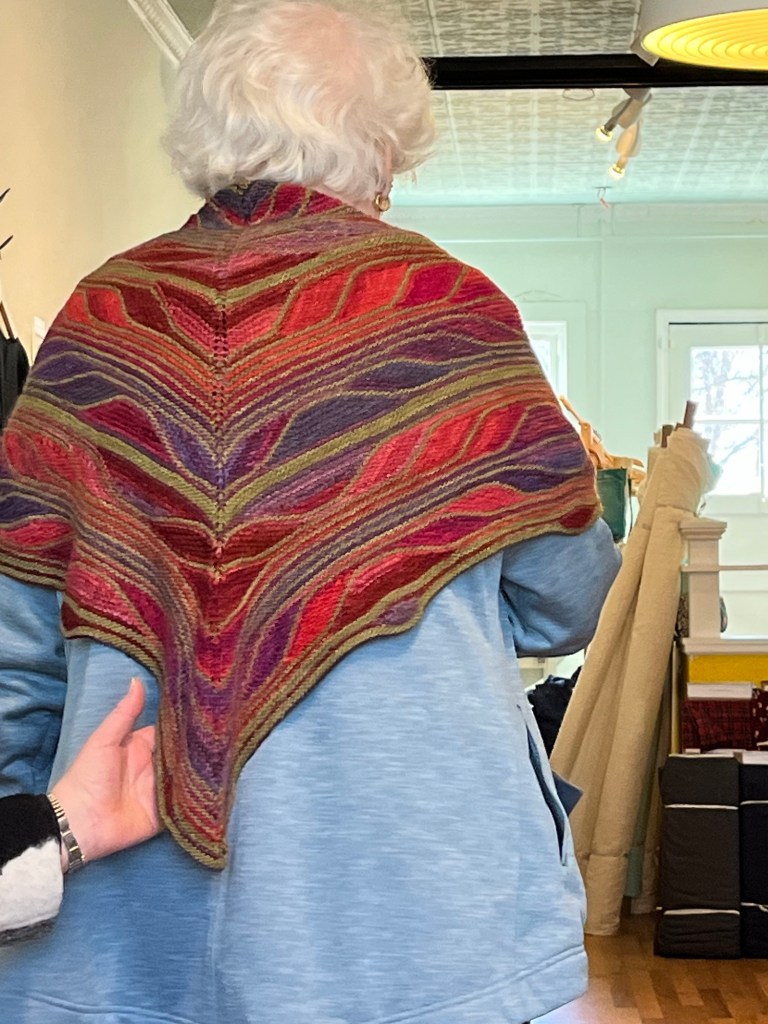
Power Sports Bra/Greenstyle PatternsFehrtrade Surf to Summit TopGrainline Studio Alder DressMcCalls 7360Butterick 5719Back view
And there’s one more meeting, Wednesday, Nov. 15, 10:30, at Lakes Makerie. Hope you can make it!!!
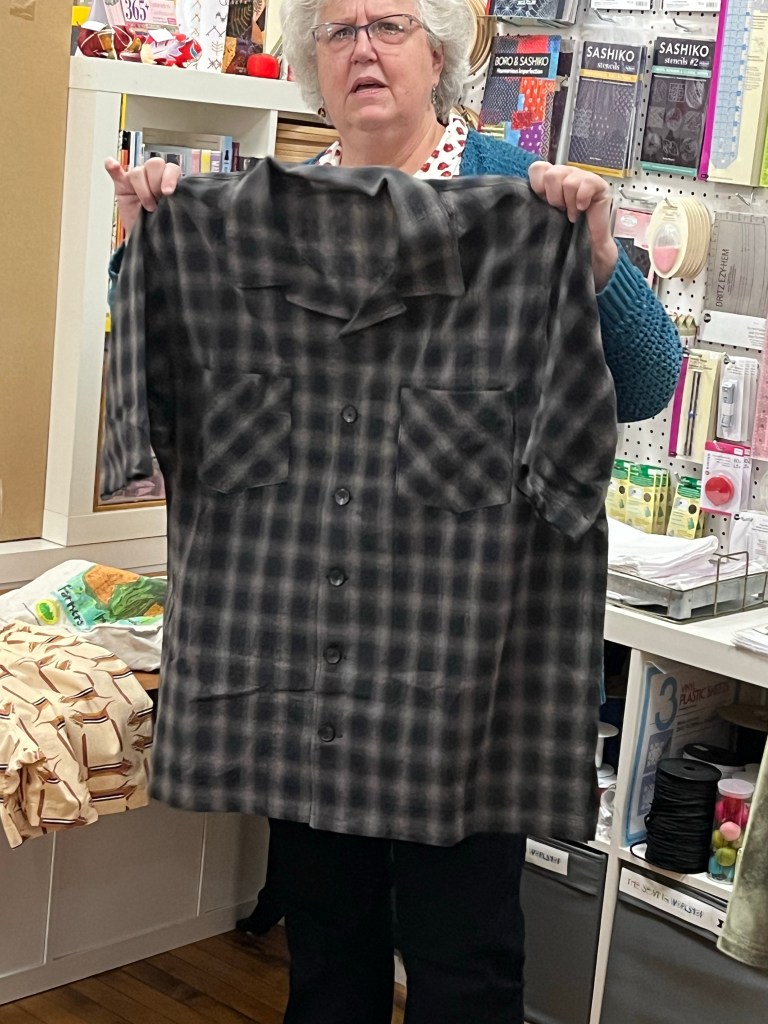
Vogue 1899Sew House Seven Toaster Sweater and Renee Pant/JalieWillow Wrap Dress and Top/Love NotionsSew Different Cocoon JacketTeddy Teen Jacket/StyleArcWhat happens when you let friends talk you into Barbie Halloween costumeRock on, Western Barbie!!Ballad Blouse/Love Notions in a knitKwikSew Men’s ShirtJaponesque Top/Sewing WorkshopMcCalls 8122Butterick 6328McCalls 8067New Look 6585 Coats, McCalls 8070 SweatshirtButterick 5891Sew Liberated Studio TunicLove Notions Samson Sweatshirt and Burda 5941 JacketLos Gatos VestJalie ReneePant on granddaughterCashmerette Alton TopFillmore Duster Sewing WorkshopItch to Stitch Castillo CardiganThread Theory Jutland PantSimplicity 8982Wiksten Shift Dress and handwoven scarfCashmerette Stanmore
September meetings will finish at Ginny’s Fine Fabrics in Rochester tomorrow, Sept. 20. Good times were had at Creative Sewing and Lakes Makerie as evidenced by the photos below:
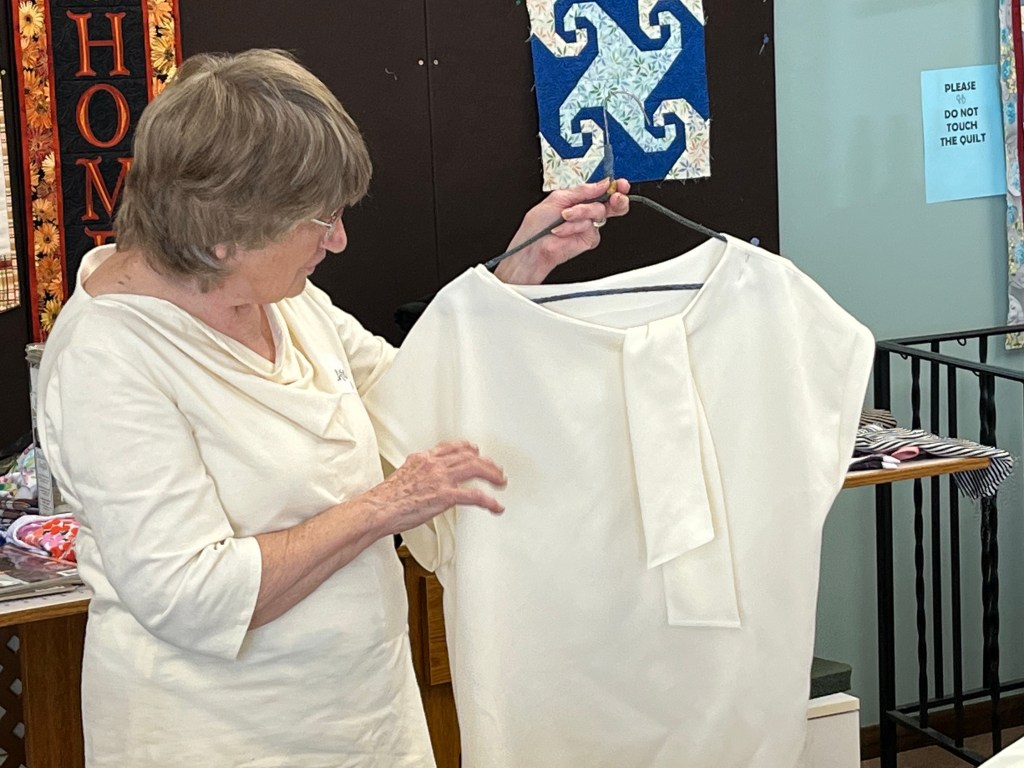
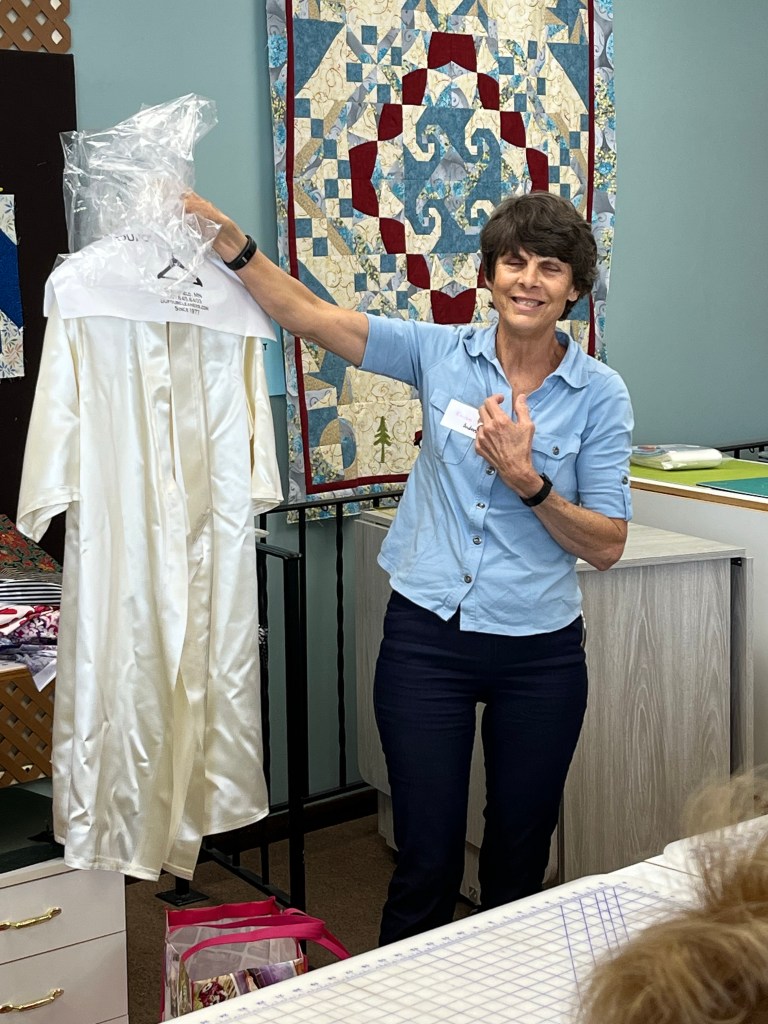
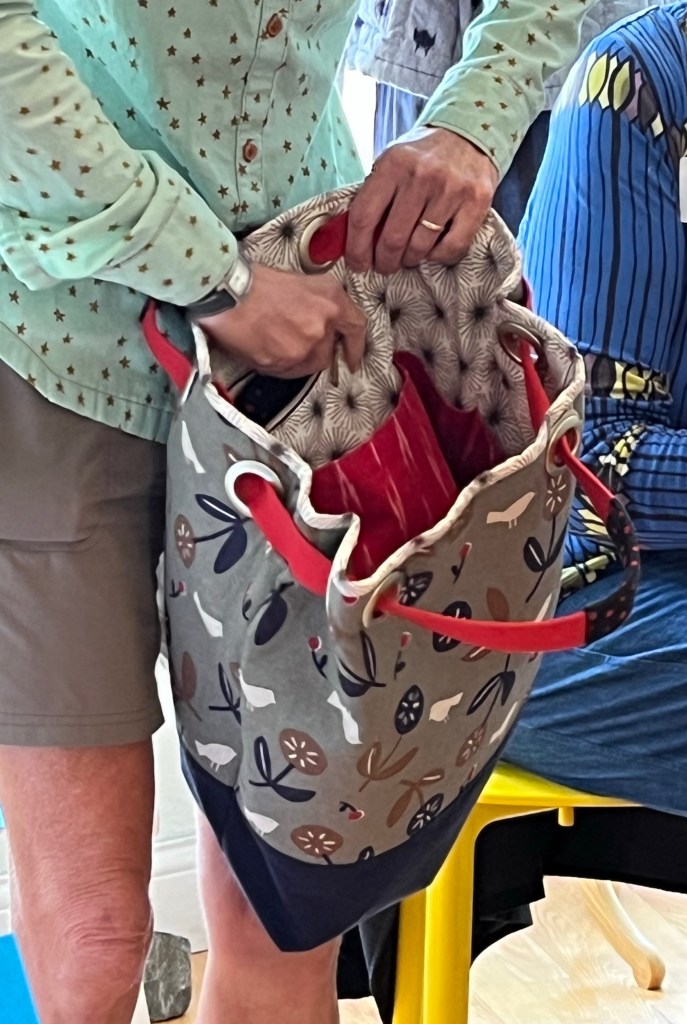
Lily Jacket from Decades of StyleKarine Cardigan from Jalie PatternsSimplicity 8878 blouse with faux tieFirst pattern from Nani Iro sewing bookCadence from Love NotionsVogue 9085 in cotton from Japan 🙂Jalie Dolman in dress lengthBride’s Robe-pattern copied from RTWTruly one of a kind-Kayla Shirt from Alexander Morgan PatternsSweepstakes Winner at the State Fair!!!KwikSew 3915-Matching chairs compliments of Lakes MakerieGreenstyle Boxers in cottonAnd technical active wear fabricBodobo Bags Pucker Up Project Bag from EtsyInside viewStretch and Sew 3036 with some upscale detailsTee with a difference-Concord Tee from CashmeretteVogue 1925 Marcy Tilton Jacket
We are at Lakes Makerie, Wednesday, June 14-last chance for the June meetings-come and see great sewing AND great fabric!!
Here are photos from Sewing Lounge and First Sewing meetings:
Grainline Studio Austin Dress-pattern available at Sewing LoungeOOP Jean jacket variationVogue 1773 in silk OOP pattern/modern day inspirationBog Coat (Ella Ramsey) in Kantha fabricWren Blouse by Chalk and NotchTrio Top by Sewing WorkshopWiksten Top (discontinued) used to copy Nature Shirt by Thread + SproutVogue 9112 Marcy TiltonVogue 1246 in two different fabricsEureka Top/Sewing Workshop used to copy Pinterest inspirationDetail of previous pic On hanger-Vogue 1614/wearing Simplicity 9328Chalk and Notch Fringe DressVogue 1212 Coat in vinyl
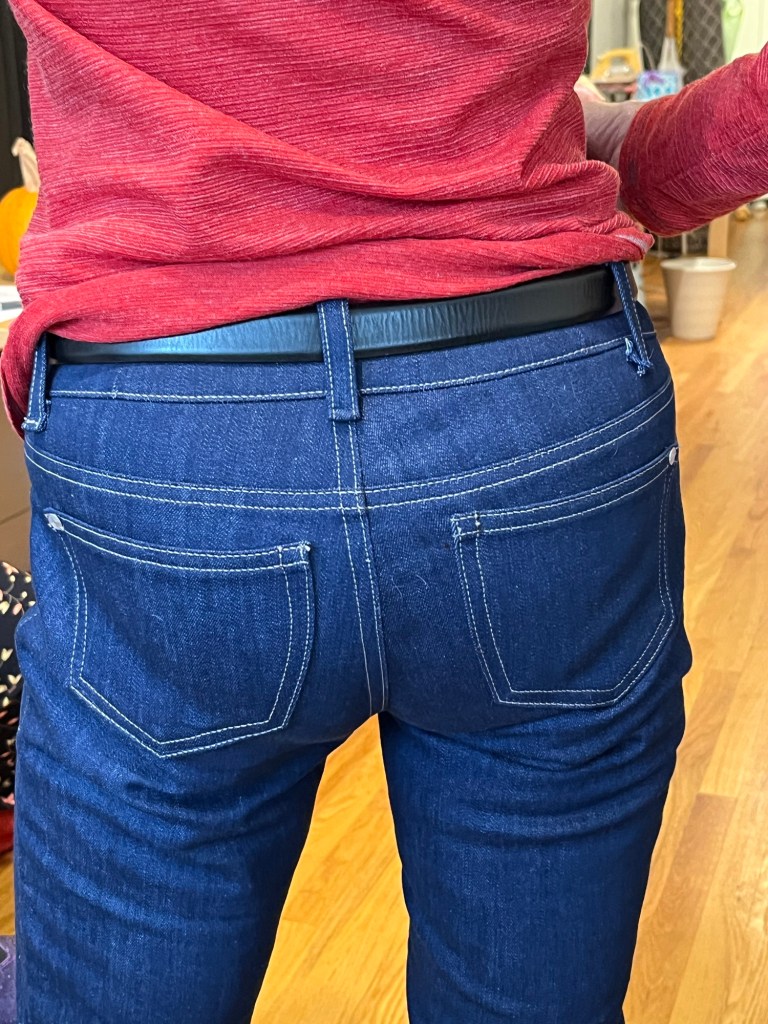
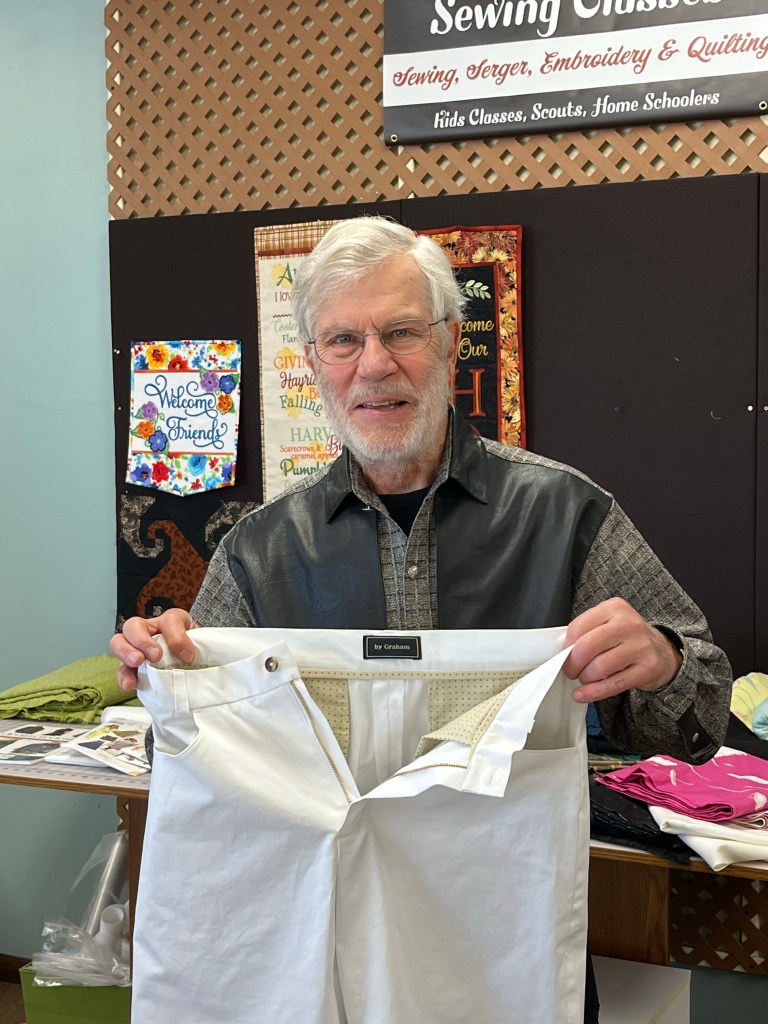
I knew that would get your attention 🙂
You just never know what you’re going to get at Show and Tell. The comment that made our day was, “If I wore those, my husband would have the big one…….I mean like heart attack!!”
This is a free pattern on Craftsy. Download link is here. Our sewist got her stretch lace at SR Harris for $.99 a yard. I think there is some at Joann’s too. She’s made a pair for herself (and loves them) and her niece. Maybe something to put in an Easter basket?
It’s our April bag of the month. Quick and easy to whip up and made inside and out from laminated cotton. Have fun making them at Chanhassen Vac Center on Thursday, April 17 or 24th, afternoons or evenings (see calendar below) or at one of our Sewing and Serging times at Hancock. Use your fabric or ours.
And then there’s the calendar: April Fashion Sewing Club Dates:
Saturday, April 12, 10:30 at Treadle Yard Goods
Classes:
Treadle Yard Goods: 651-698-9690,www.treadleyardgoods.com
Kids After School Sewing Club
Tuesday, April 8, 22, May 6, 20, 4:30-6:00
Basic Sergery and Beyond, April 26, May 3, 10, 1:00-3:00
First Sewing, Bloomington Hancock Fabrics
*Please register with Material Girls website or call us at 952-201-3863
Sewing and Serging with the Material Girls
Monday, April 14,10:00-12:00, 2:00-4:00 and 6:00-8:00
Monday, April 21, 10:00-12:00, 2:00-4:00, 6:00-8:00
After School Sewing
Monday, April 14, 4:30-6
Monday, April 21, 4:30-6
Serger Club, April 17, 10:30-12:30
Chanhassen Vacuum Center: http://www.chanvac.com
*Please register on Material Girls website or call us at 952-201-3863
Sewing and Serging with the Material Girls
Thursday, April 17, 1:30-3:30 or 6-8 pm
Thursday, April 24, 1:00-3:00 or 6-8 pm
Kids After School Sewing
Thursday, April 17, 4:30-6:00
Thursday, April 24, 4:30-6:00
Club sheets and garment photos have been posted but I thought I might give a more conversational overview-for more detail, you can go to the original sheets (click on Club Sheets heading above).
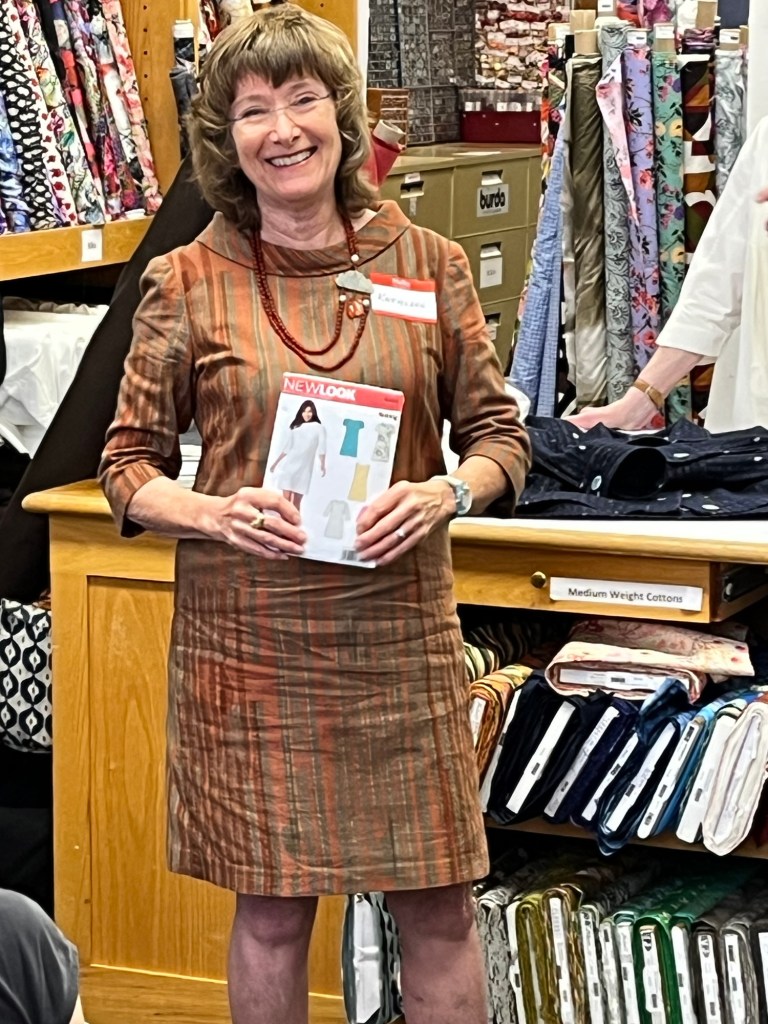
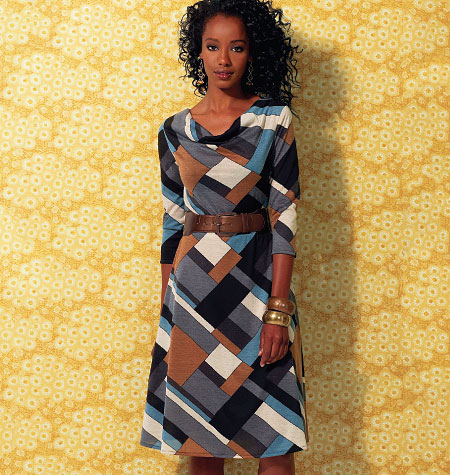
Debbie started out with a new KwikSew dress pattern (4026) KS4026but cowls can be finicky. She didn’t like the look and I remembered a Threads article on making a cowl from a regular neckline-you just make slits from the neck toward center bust and open the slits. I suggested she just sew the “slits” together as pleats-kind of like Katherine Tilton’s new blouse (Butterick 6026). Butterick 6026Debbie used New Look 0180 as a guide. New Look 6184/0180 The dress looks great-as Debbie said, “Lemons to lemonade”. Fabric is from Treadle Yard Goods.
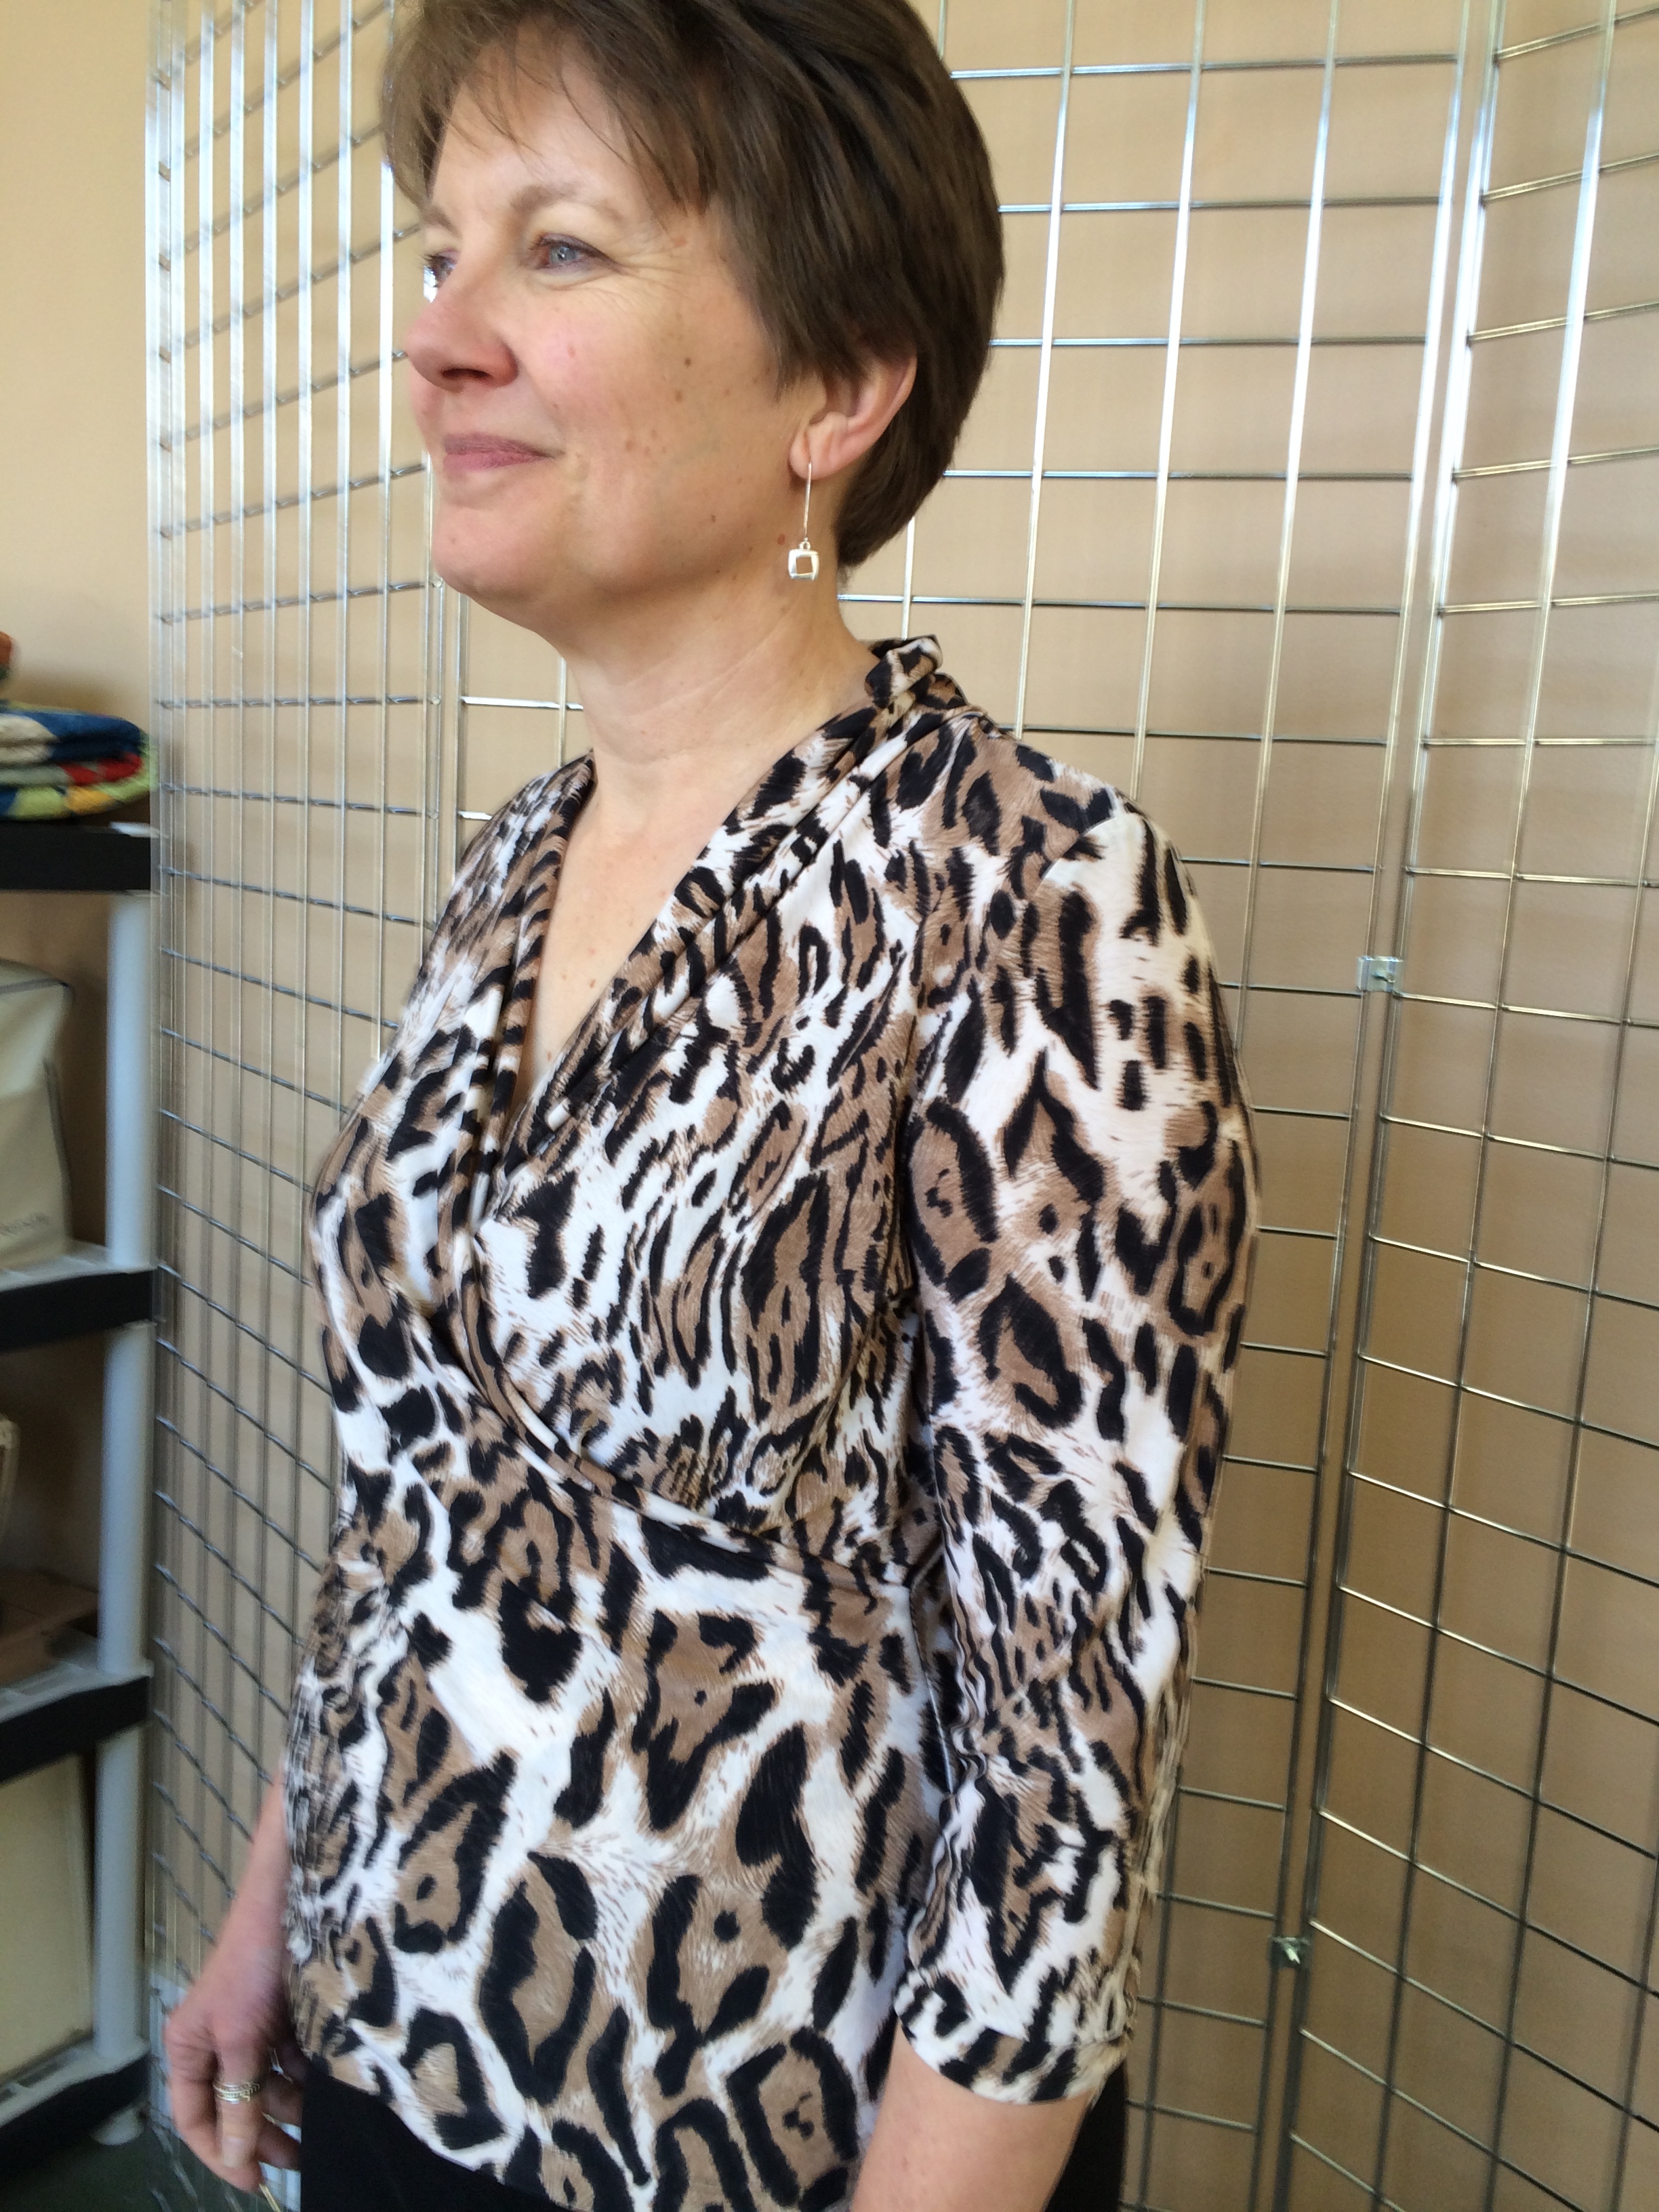
My favorite this month was a combination of MCCalls 6884 and 6513. McCalls 6884McCalls 6513 I started with the wrap dress (6884) and eliminated the vertical hem on the outer skirt by sewing it into the seam. Another essential change is to serge 1/4″ elastic in the the narrow hem on neck edge. This holds the neckline together and feels very secure.
I wanted a little more “noise” around my face so I compared McCalls 6513 to the dress pattern. The armhole was lower in 6513 and I really liked the fit of 6884 so I just copied the shirred neck and facing (all one piece) from 6513 and added it to 6884. Worked pretty much like a charm. The other great part about this wrap is that nothing shows when you bend forward!
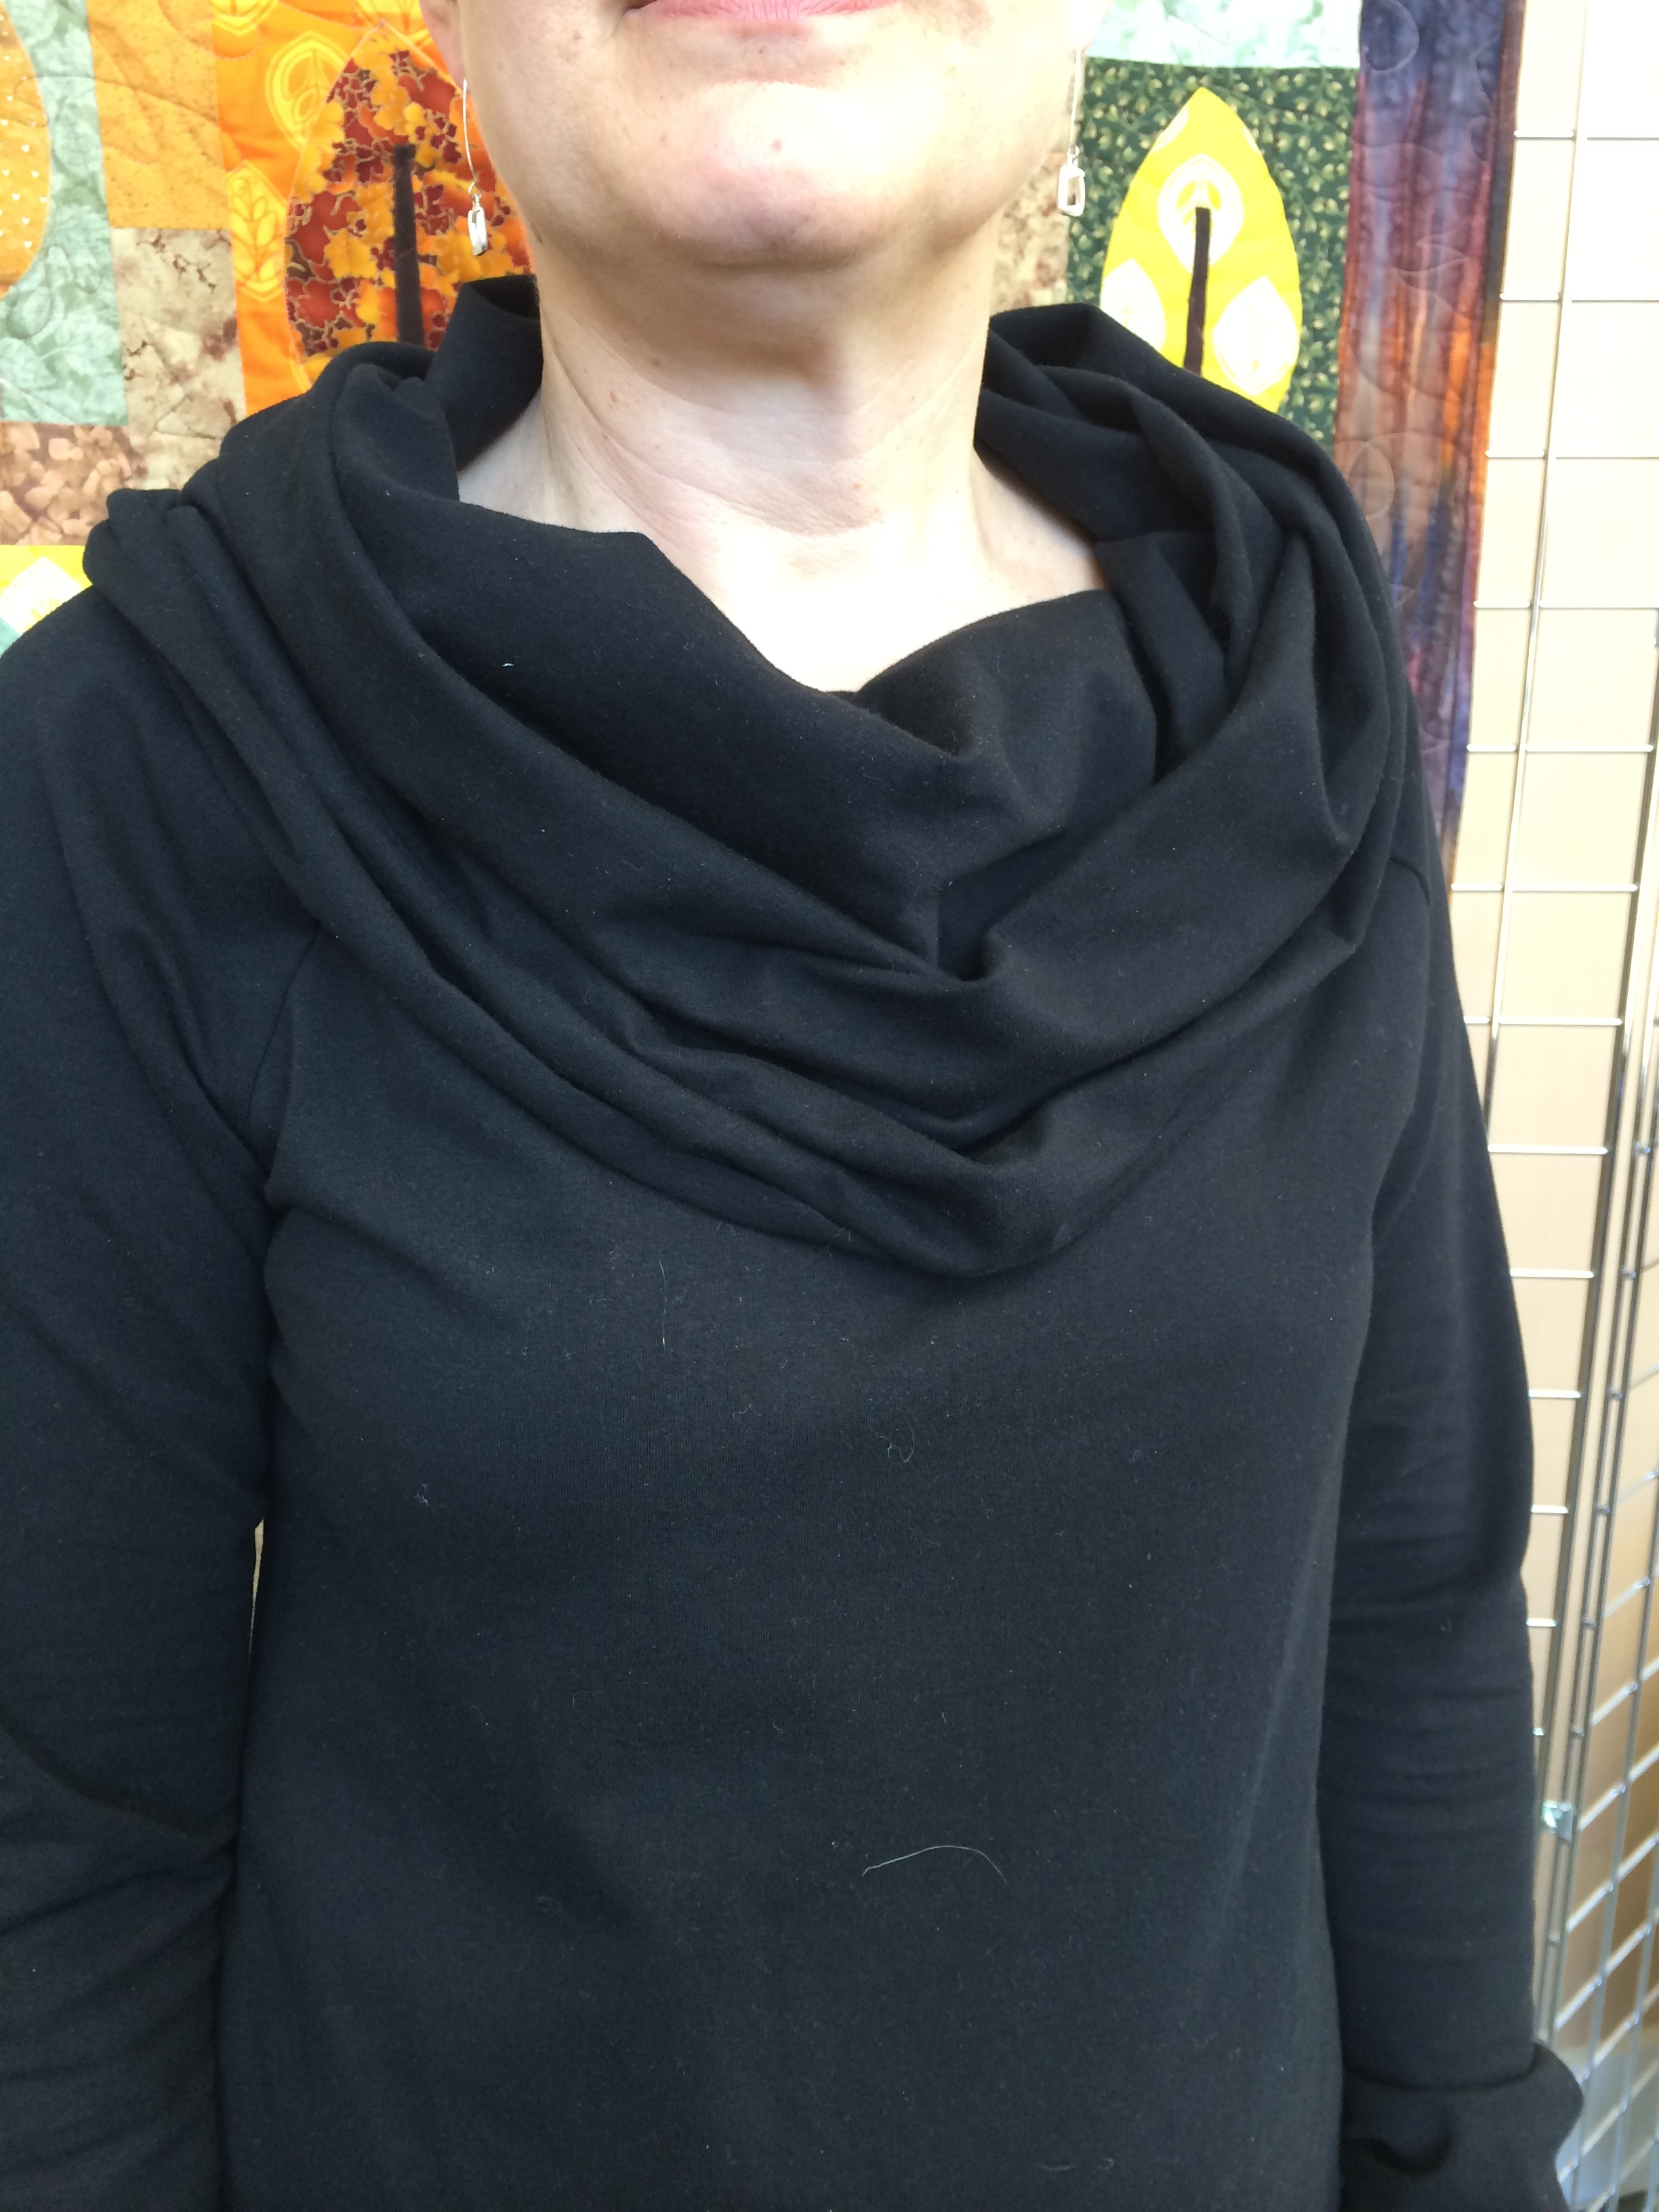
I also had to give Burda 6990 a try. Burda 6990Debbie made the funnel neck last month and I tried the big cowl-View E. It meant finding a 3 yd. piece of fabric in my stash but it was worth it! The fabric is a soft cotton knit and the cowl is big enough to stretch over my shoulders (like I see in the magazines :)) The cowl is sewn to a broad boat neck so no low neckline.
Check out more info on the Club Sheets or contact us if you have questions.
And thanks to all of you that attended and brought show and tell. Sew inspirational!!
Garment photos and Fashion Sewing Club sheets have been posted for both February and March. Both months were much fun and we want to thank all of you that attend. Show and Tell is always inspirational and just in case you need a little something to get you going, here are a few highlights- Marge sports Claire’s original coat design for Hearts for Fashion show Center for Pattern Design Spiral Top
The cutest undies a grandma could make! Pattern by that *darn* cat