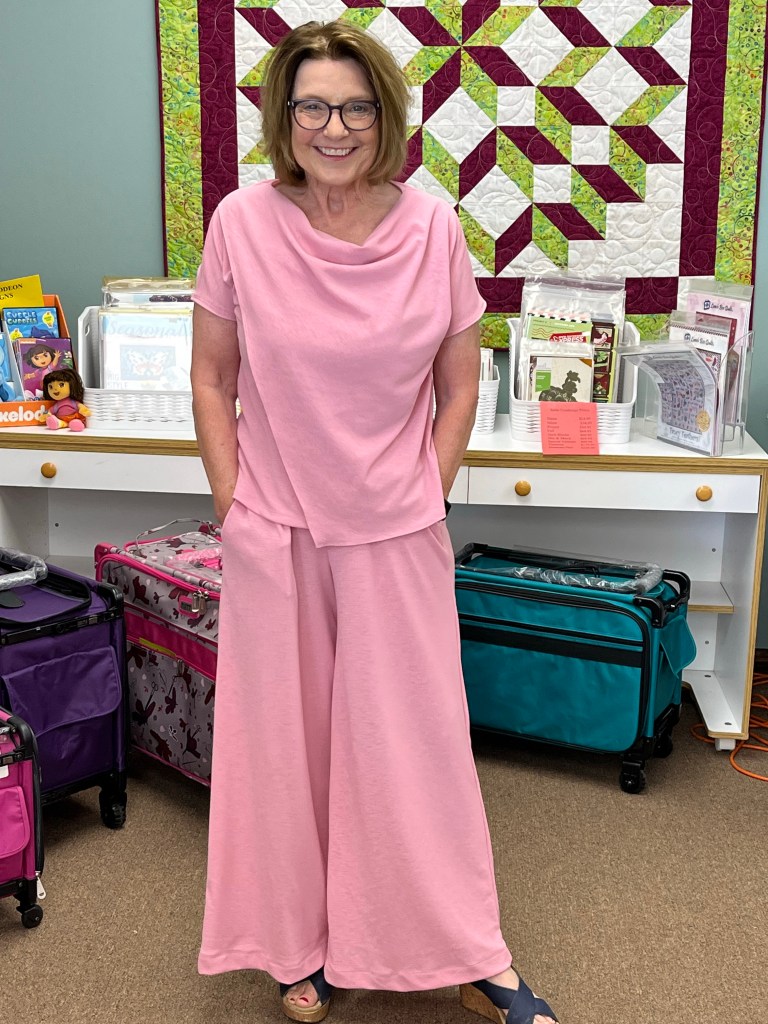
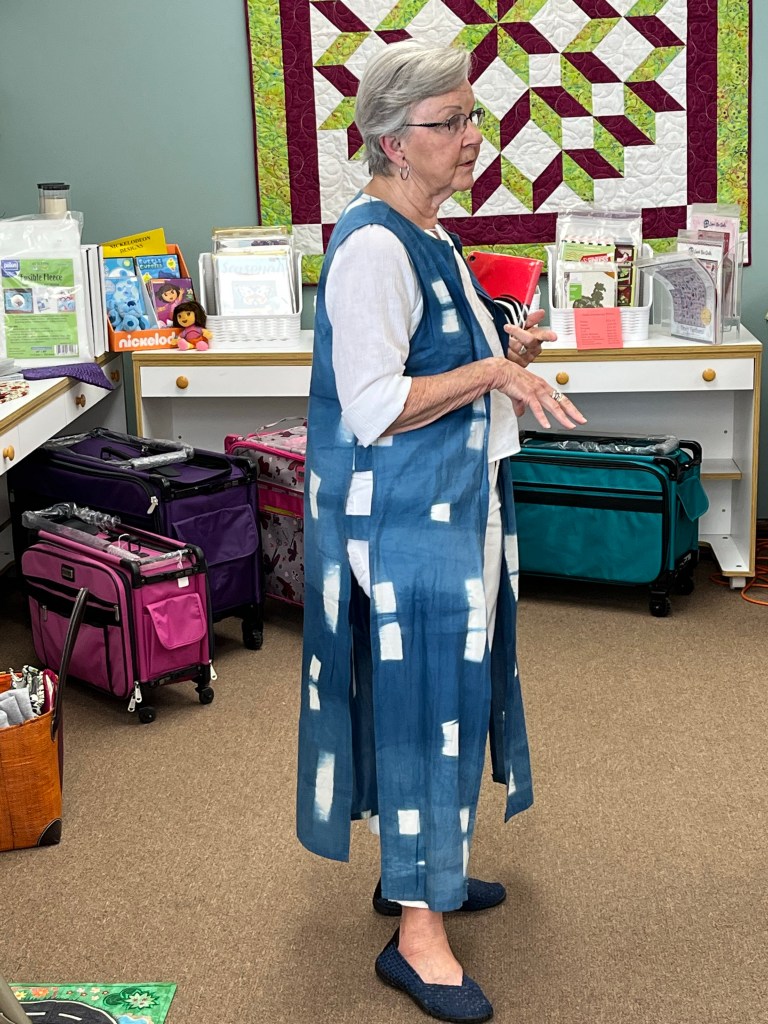
Today we meet at Creative Sewing in Apple Valley and Saturday at Ginny’s in Rochester. Carpool, anyone?
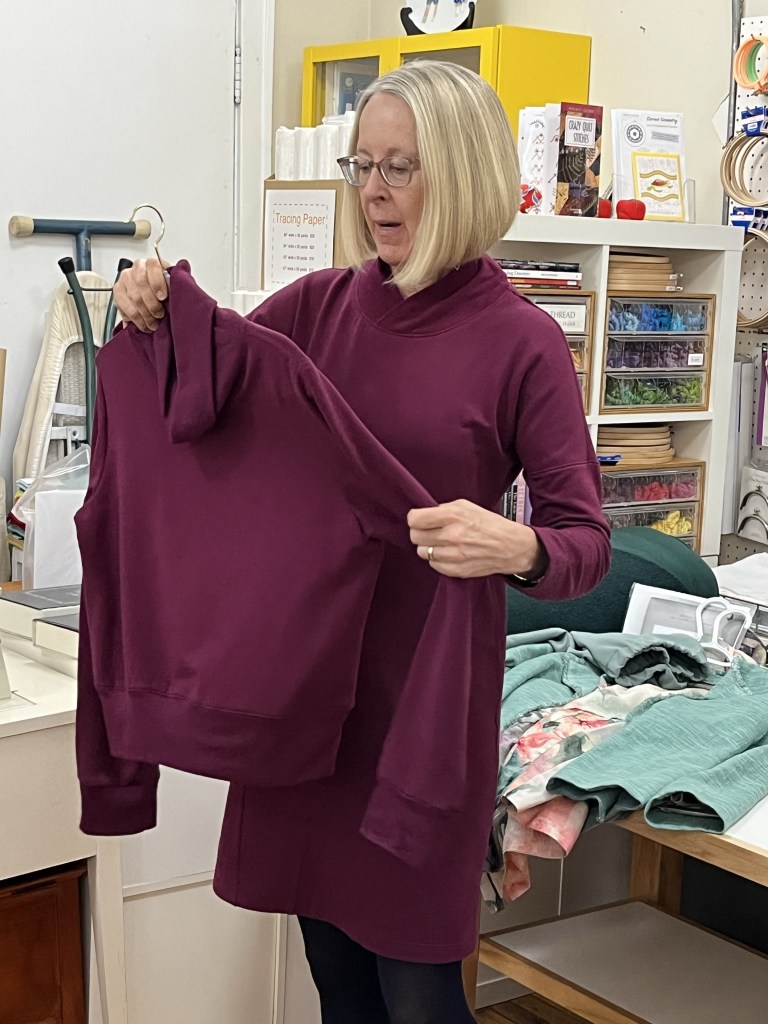
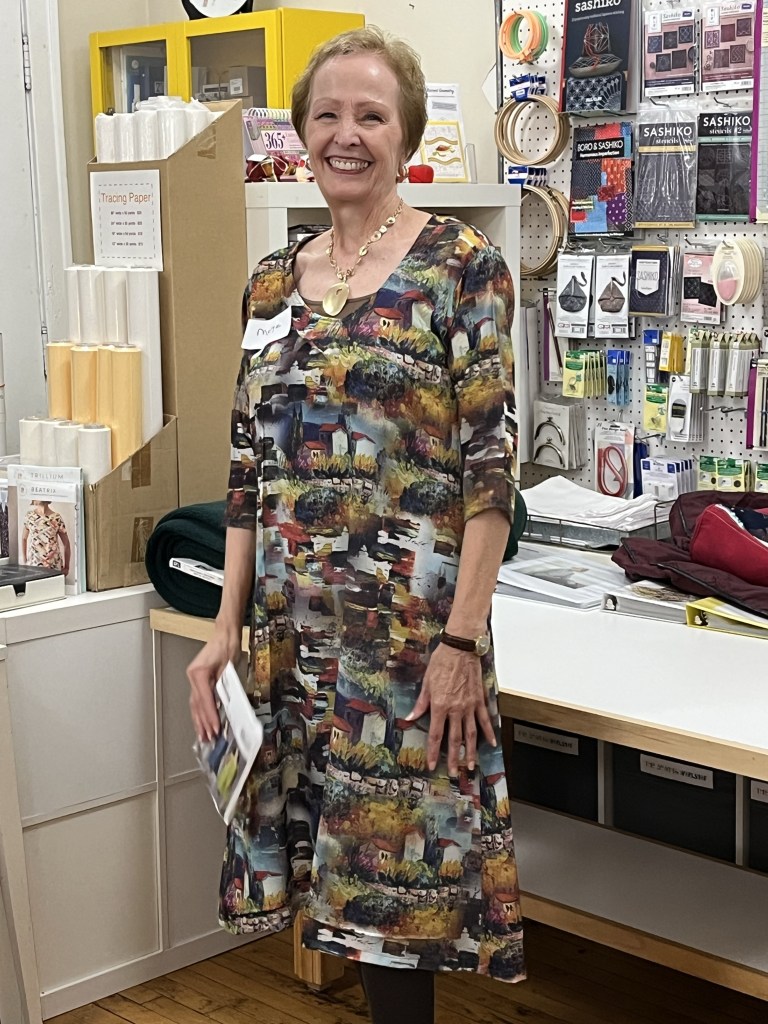
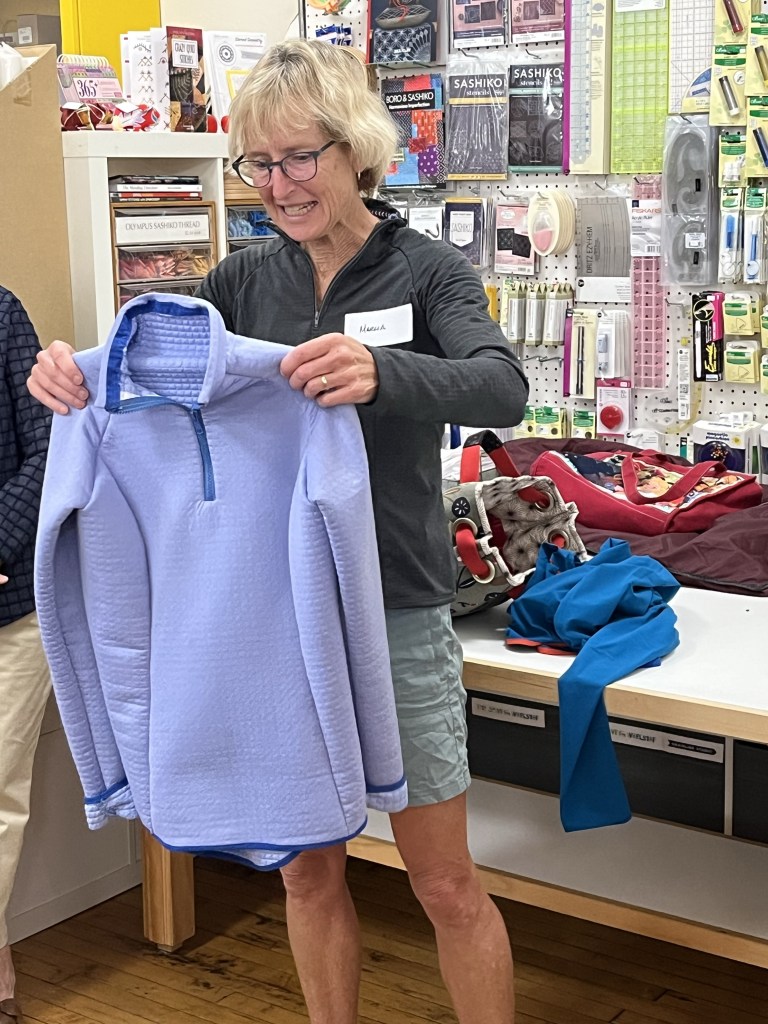
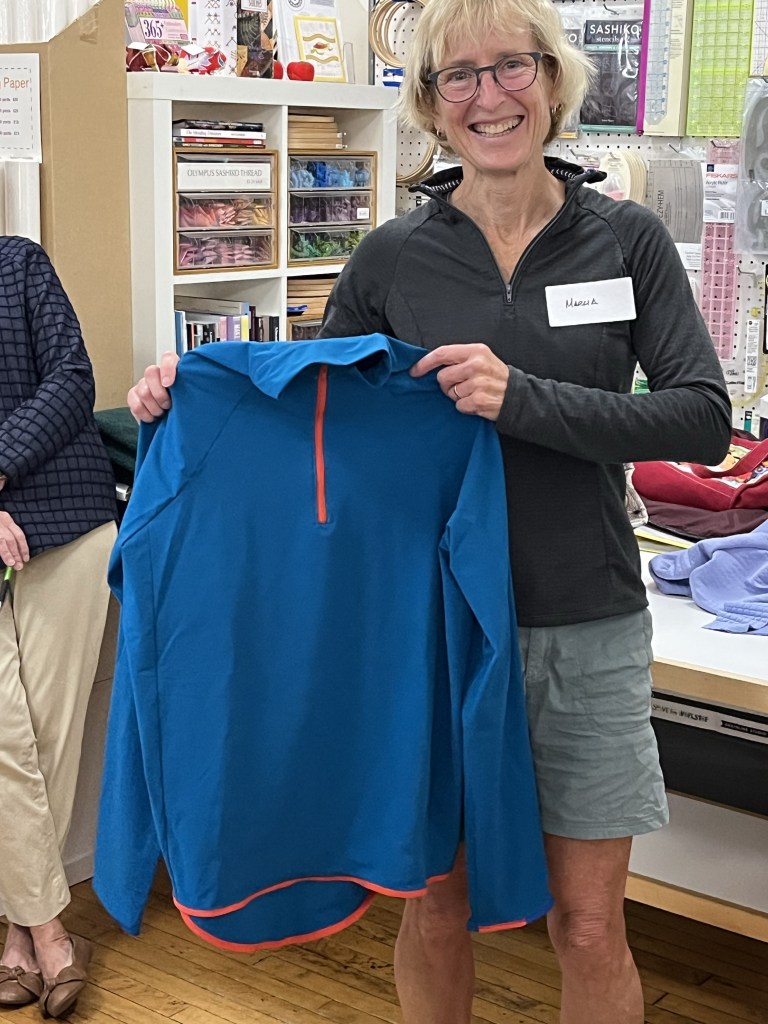
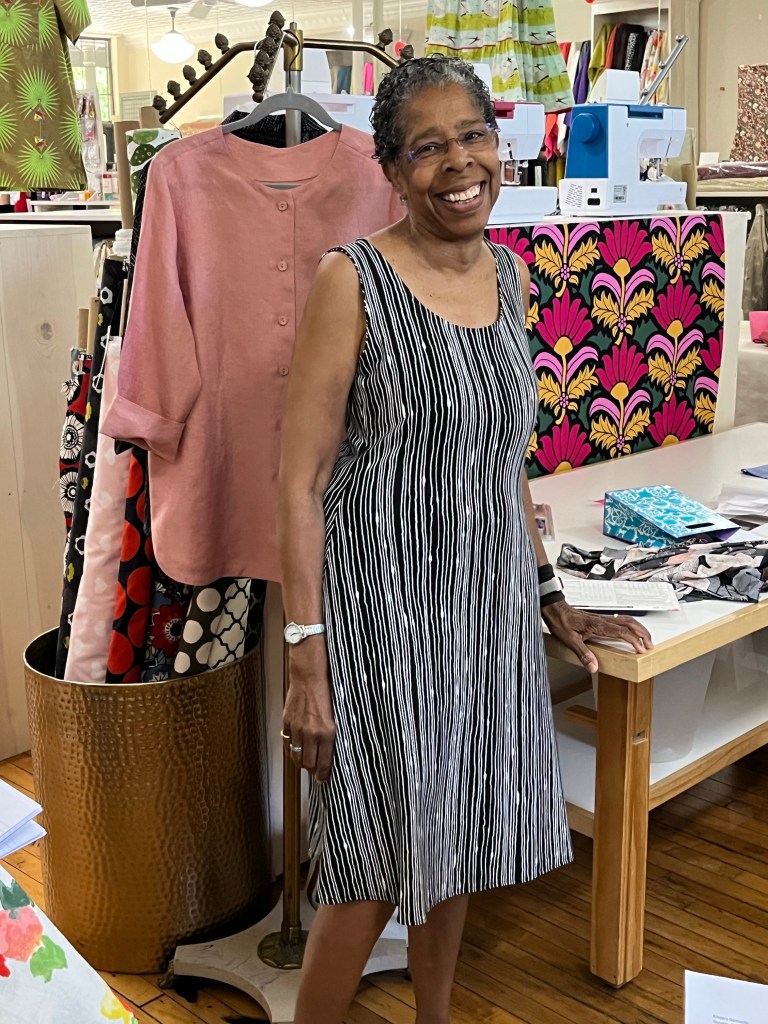
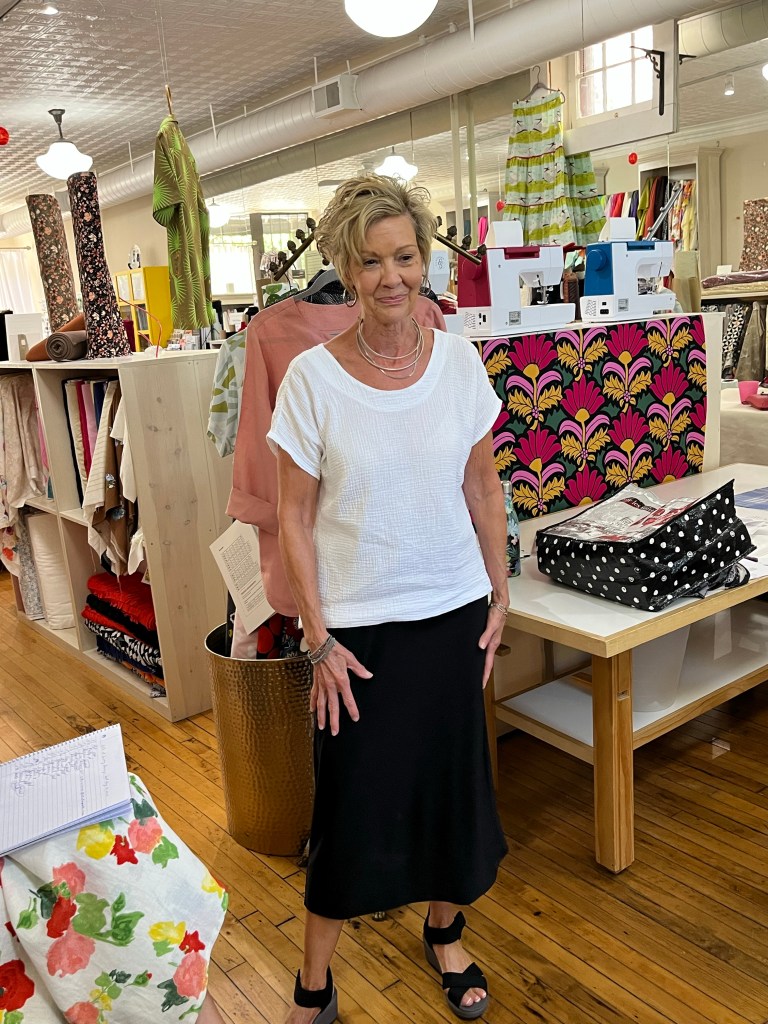
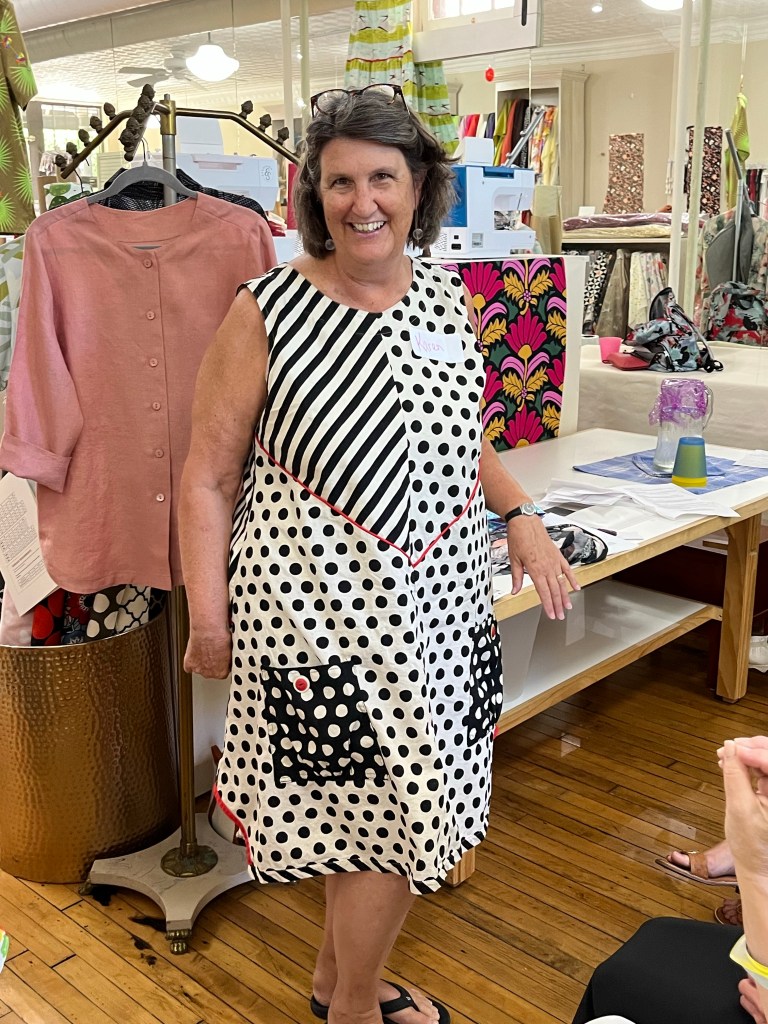
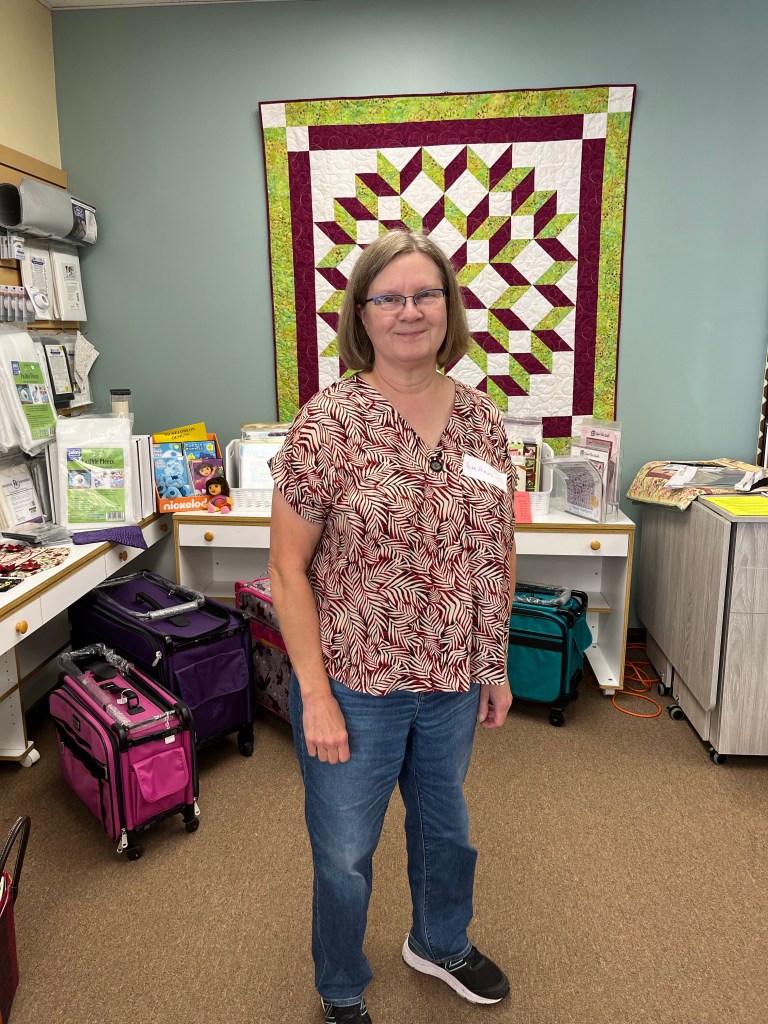
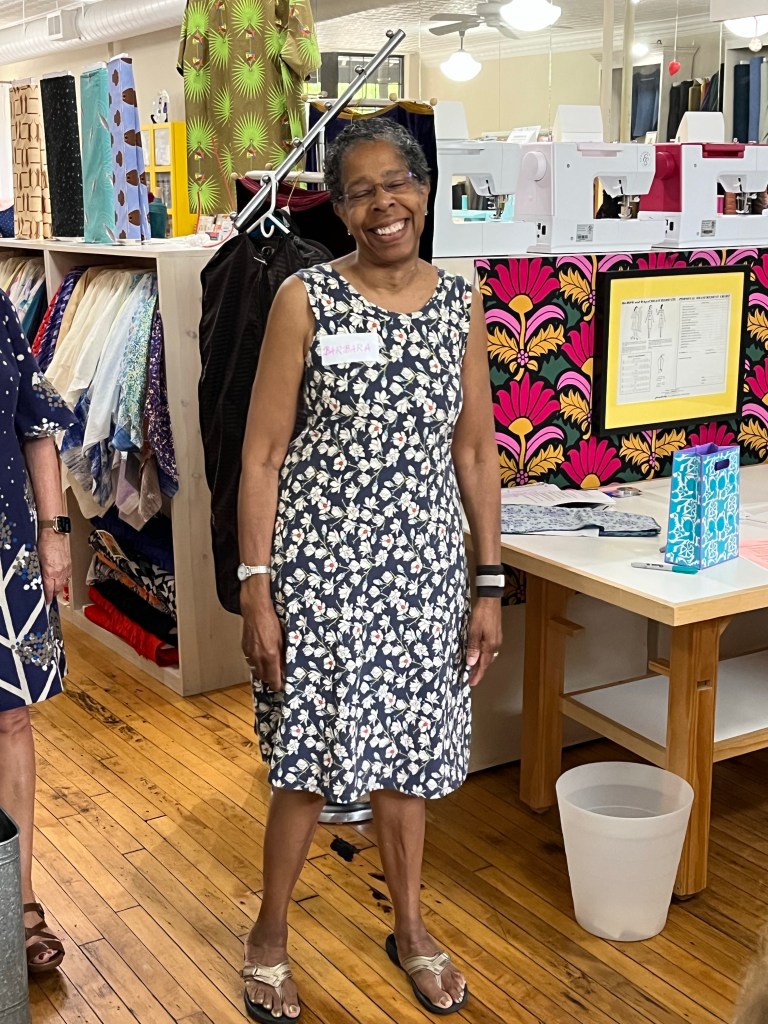
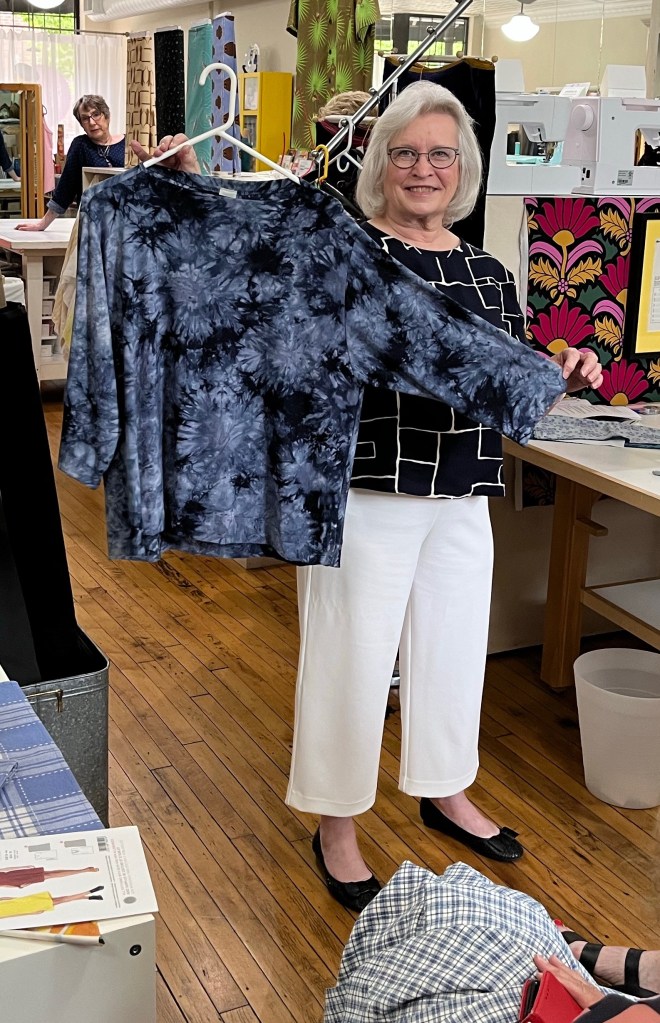
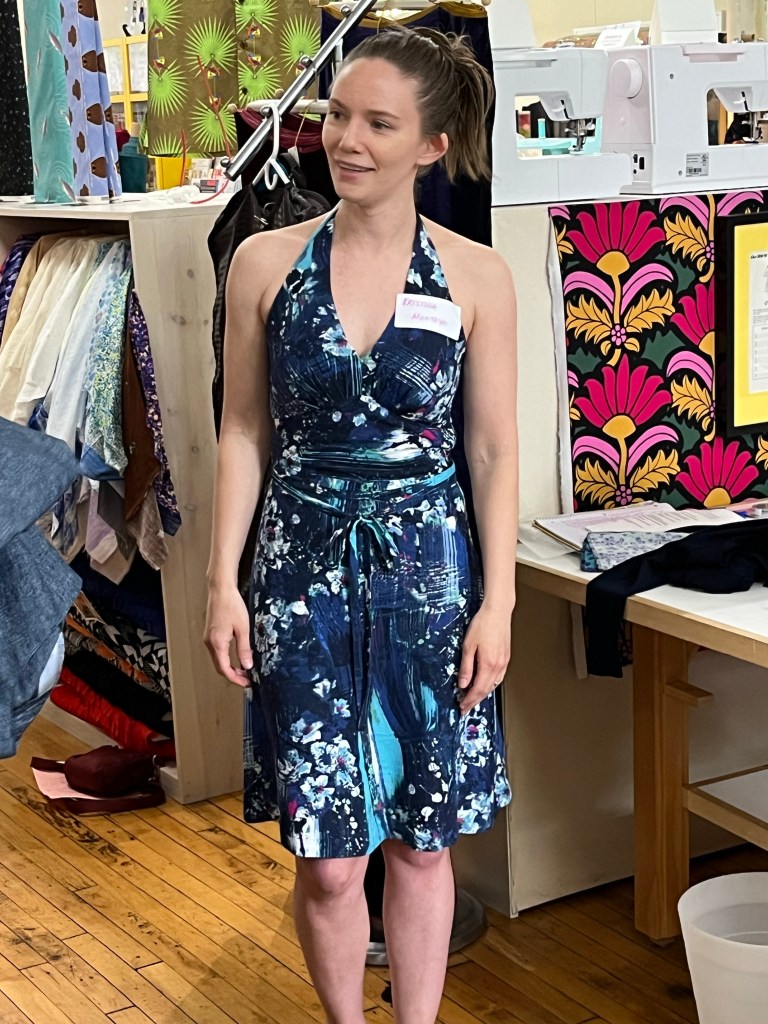
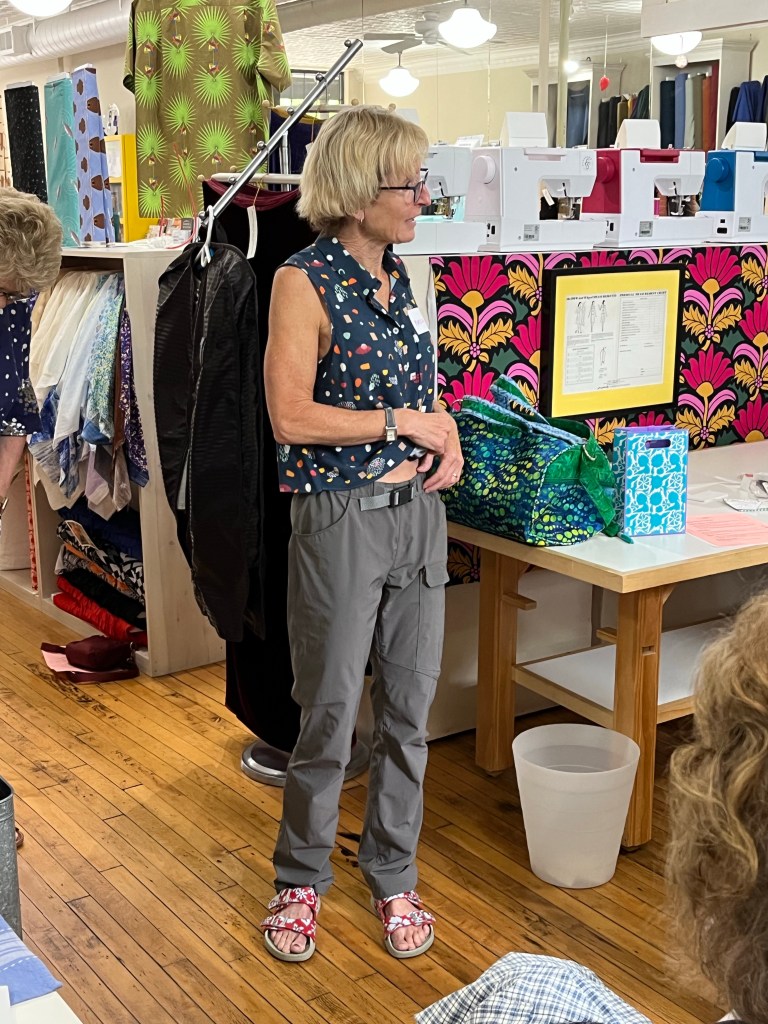
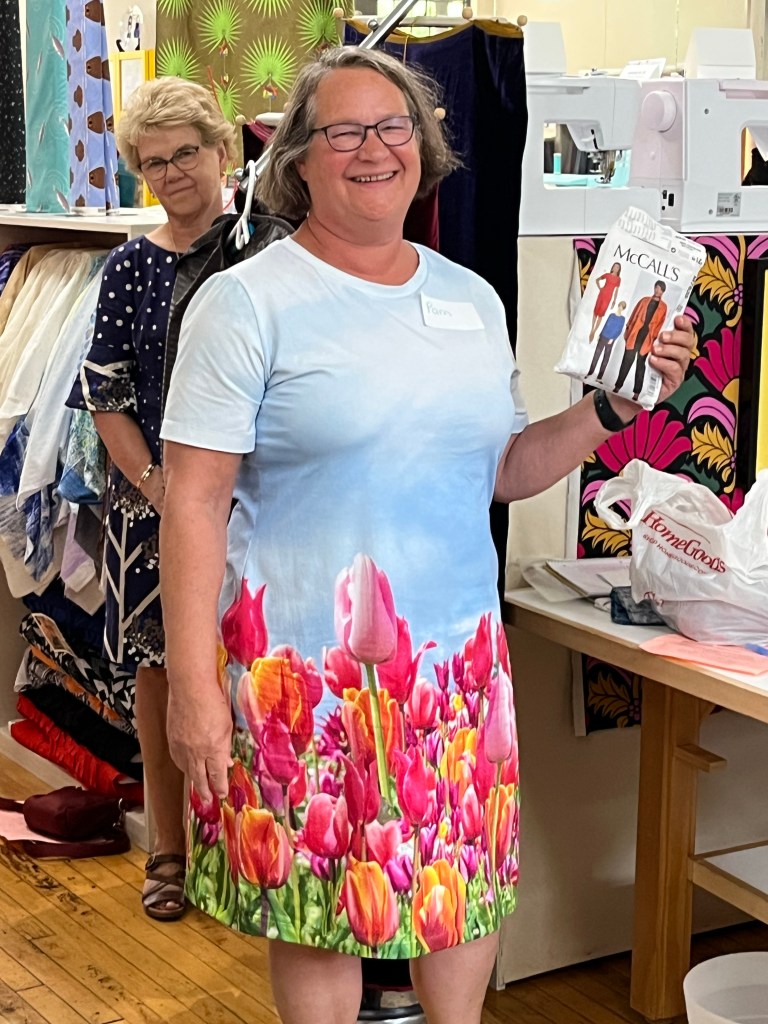
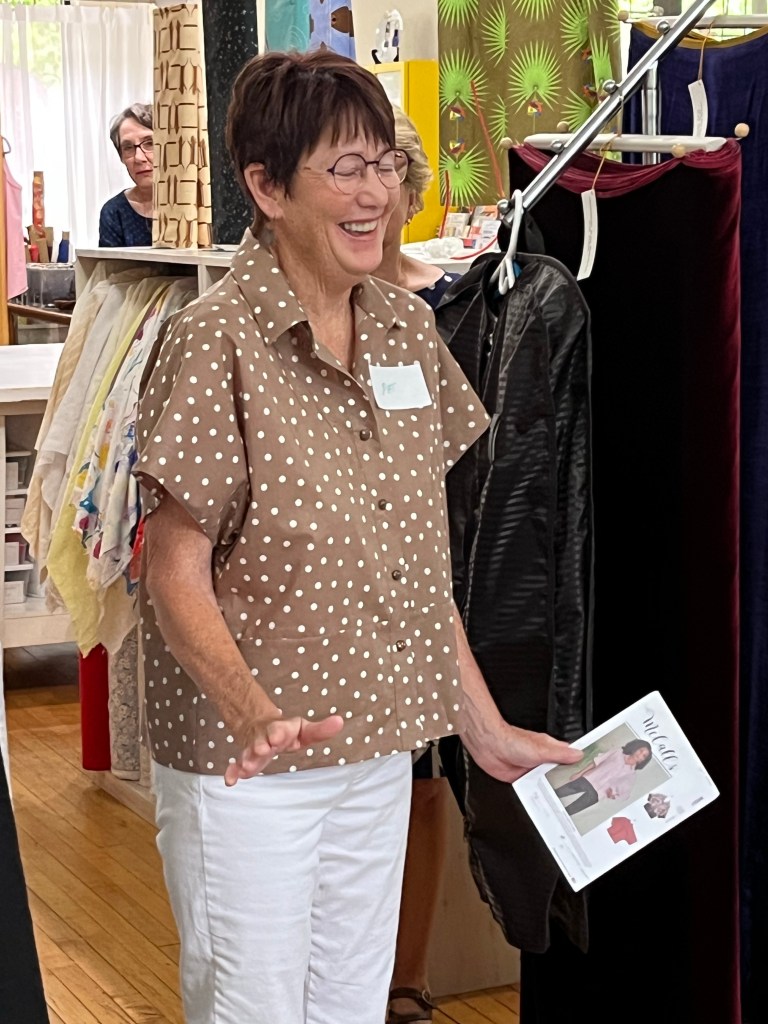
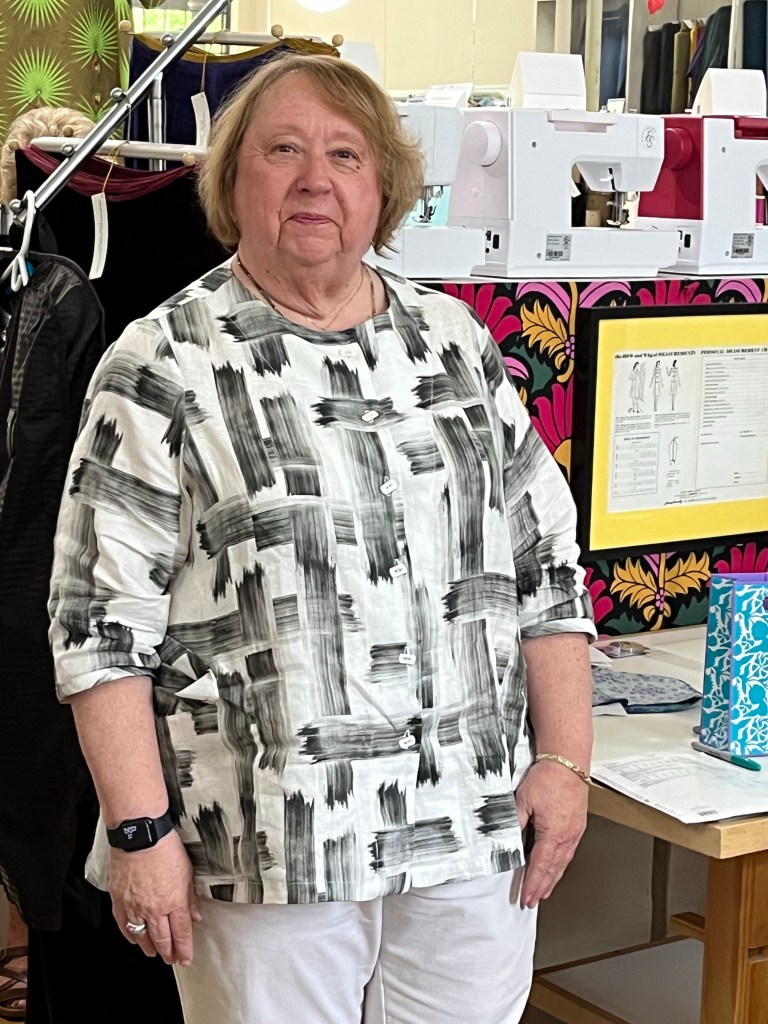
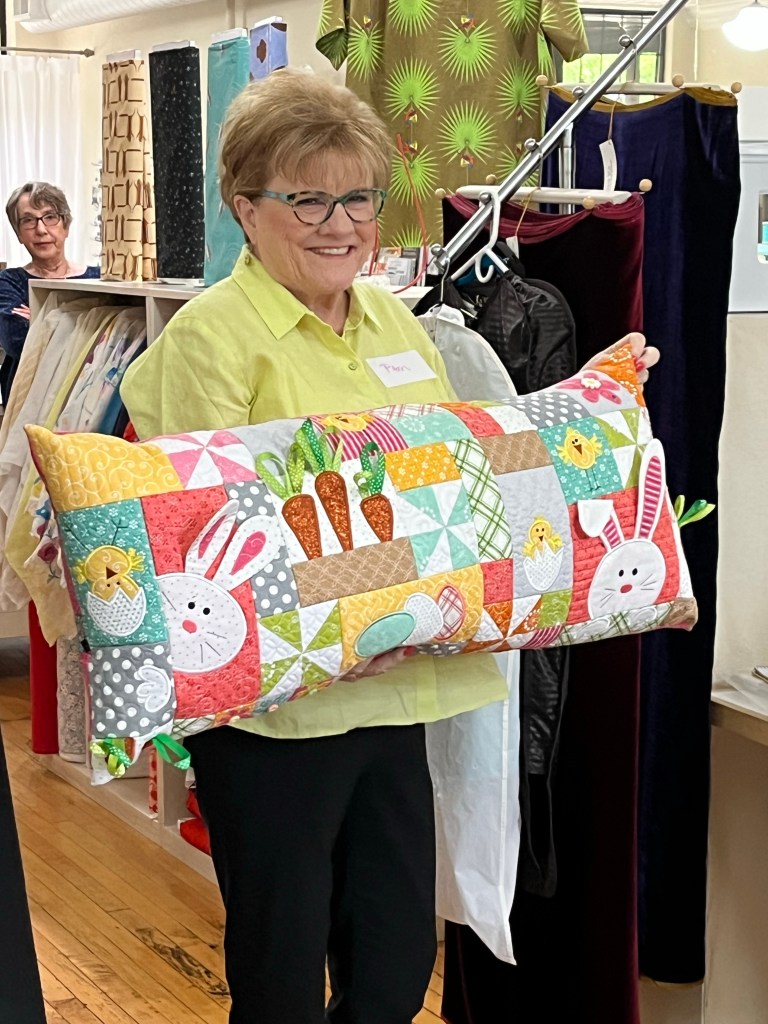
Here’s what we saw at Sewing Lounge for Wednesday’s Garment Sewing Group!





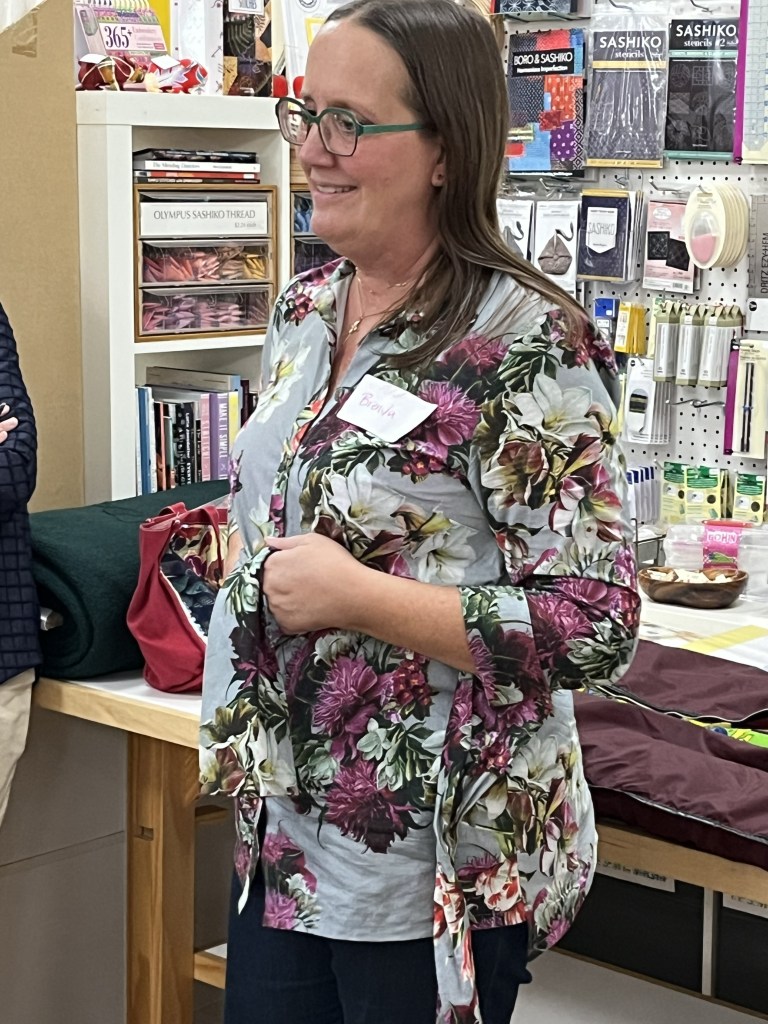
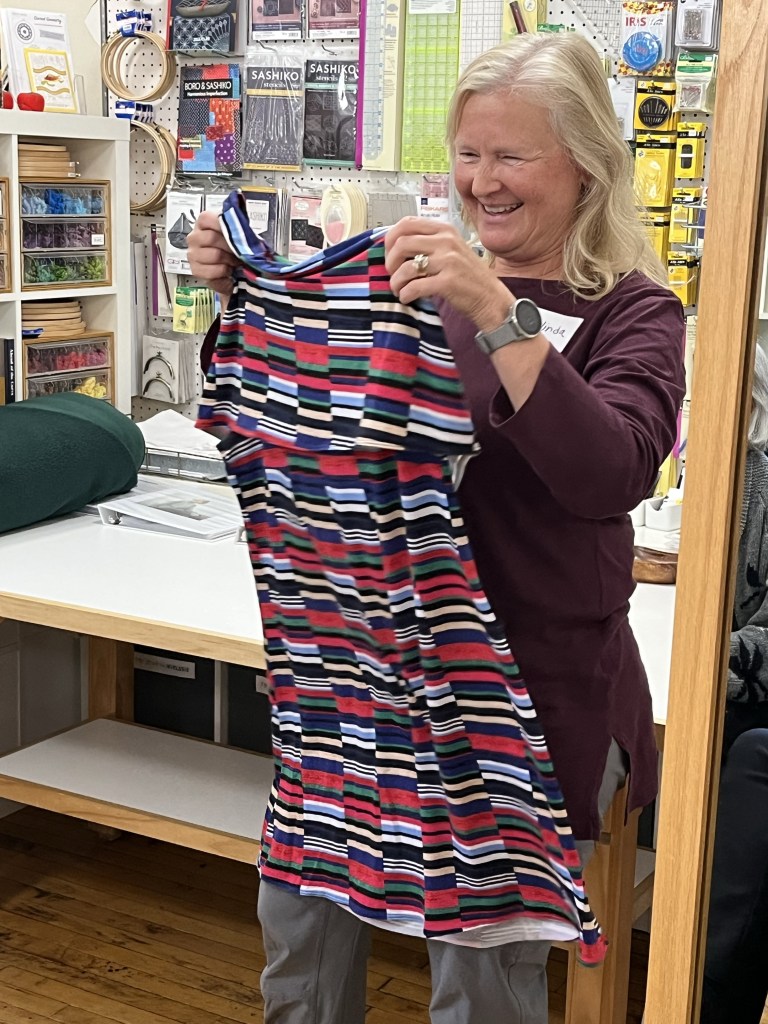


Today we meet at Creative Sewing in Apple Valley and Saturday at Ginny’s in Rochester. Carpool, anyone?
Here’s what we saw at Sewing Lounge for Wednesday’s Garment Sewing Group!
Basic & Beyond Sergery class starts on Thursday, October 5, 10-12 pm, at Creative Sewing in Apple Valley. Please contact the store to register-2 spots left! Phone is 952-431-6688.
Here are the last of the photos from September’s Garment Sewing Group meetings:
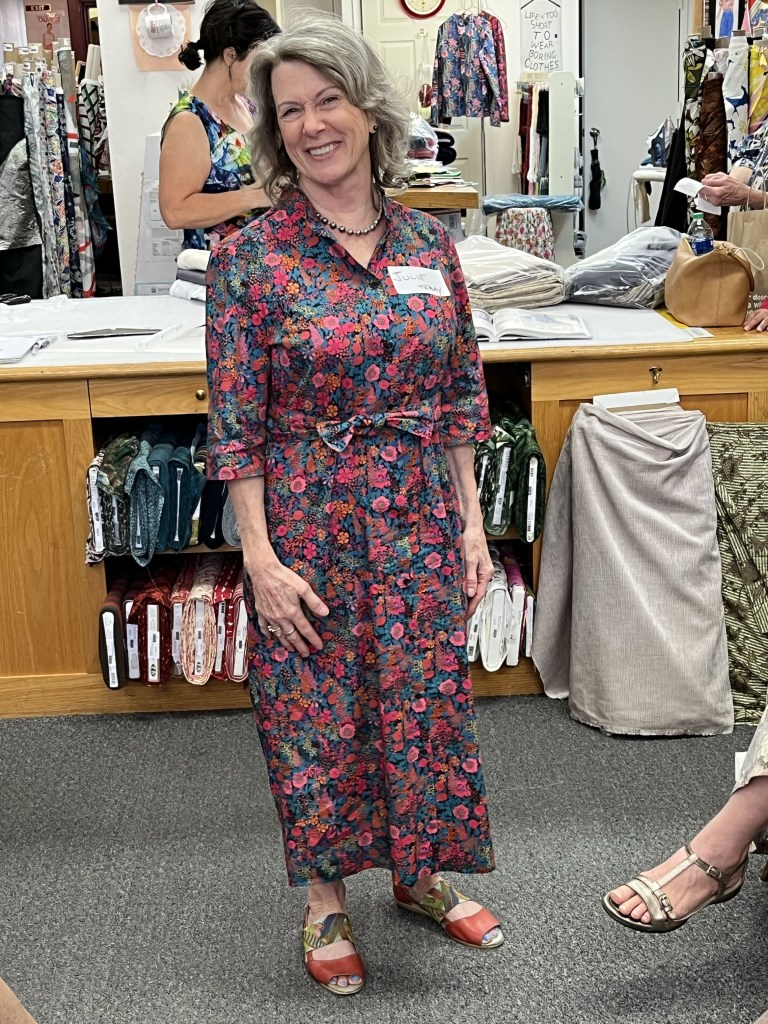


September 2023
Debbie’s Garments:

Burda 7062-I like the contour waistband, side zip and ankle slits.
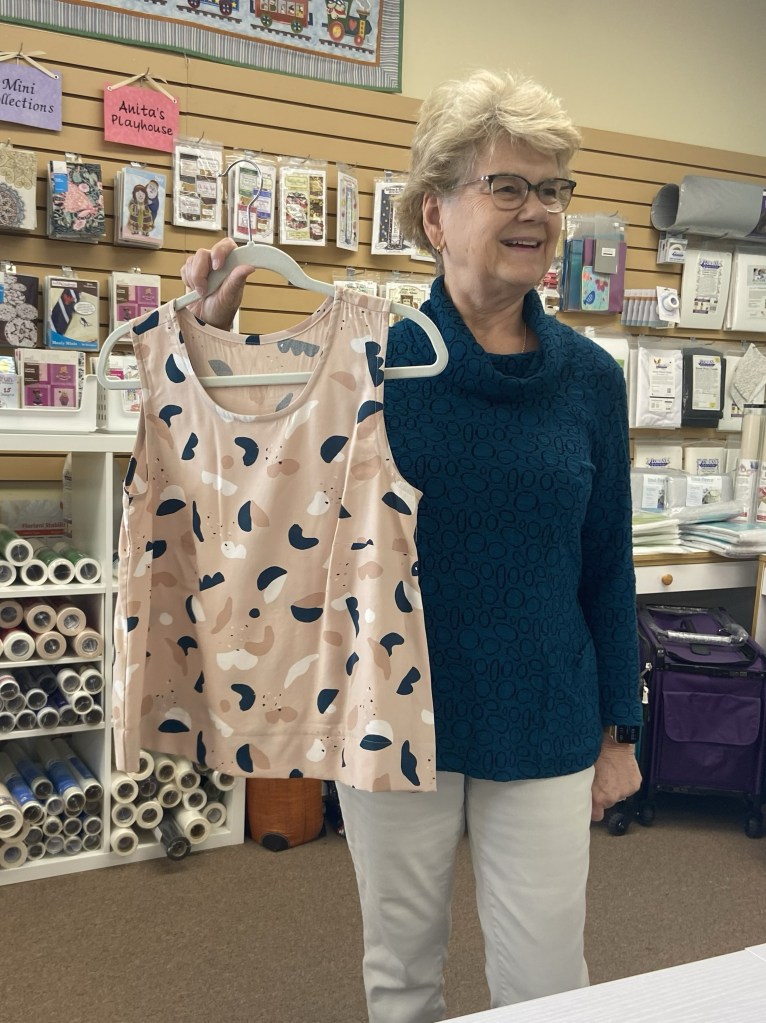
Simplicity 9275, View A, without pockets
1. Shortened between shoulder and bust and did a narrow shoulder adjustment.
3. Quick and easy make and the fabric was also easy to sew.
2. Due to weight of fabric I did a single layer hem versus a narrow hem as pattern instructs.
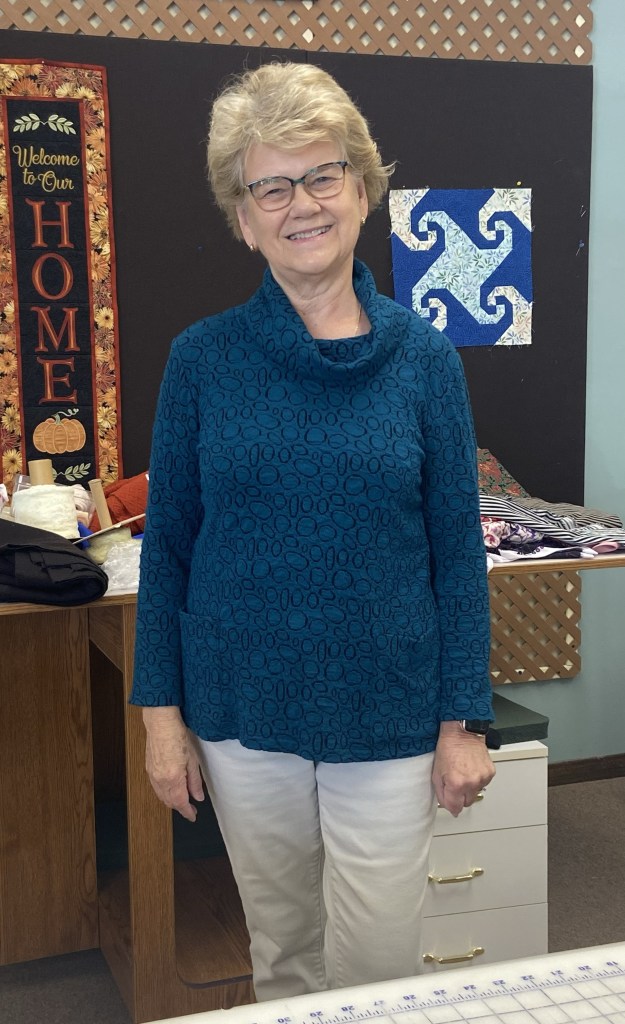
1. TNT pattern that is easily hacked. The fabric makes this Tee.

1. Shortened between shoulder and bust on front, back and sleeves. Also shortened sleeve length by one inch and length of body 2 inches.
2. I appreciated the pattern instructions regarding cutting interfacing – nice tip.
3. To create less bulk and to construct as much as the garment flat I changed the order of construction. I constructed the left sleeve with zipper first rather than what the pattern instructs. I also do shoulder seams, neck edge before any side seams if possible.
4. The pattern instructions lack any mention of clean finishing zipper edge. No mention of serger – instead you are instructed to double stitch.
5. It’s a fun pattern that puts a standard tee up a notch.
Last of my summer Makes:
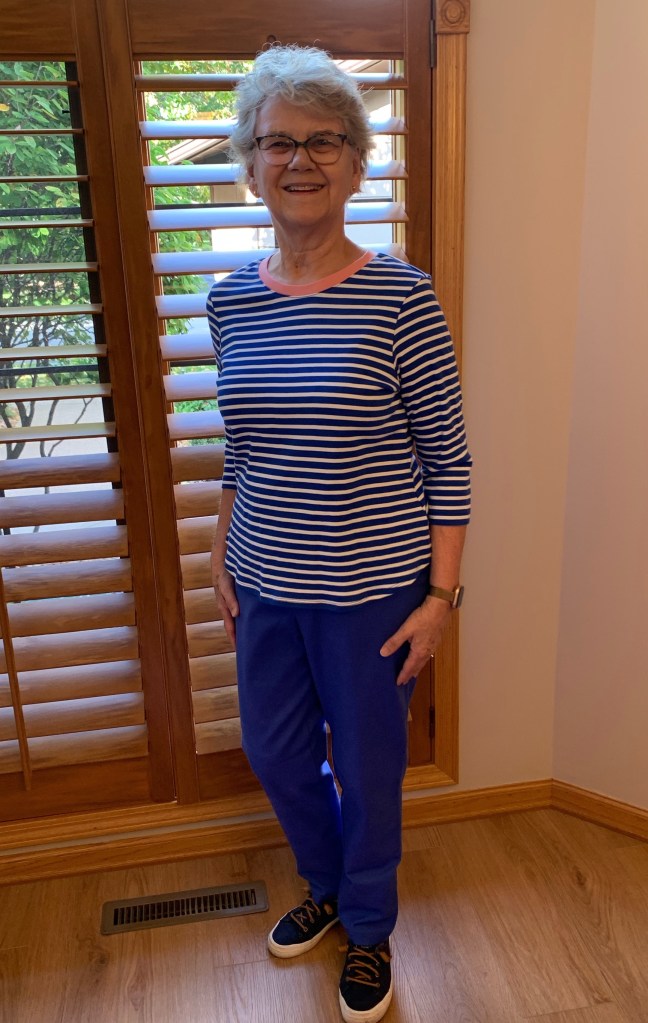
1. Shortened 1 inch between waist and hip.
2. Changed order of construction – Stitch one shoulder seam, apply first strip of bias binding, stitch other shoulder seam and complete binding construction. I used serged wrapped method of applying binding.
3. Great pattern – definitely will become a TNT.

Kristin’s Garments


1. Looking for an oversized, but not sloppy, tee.
2. Klimt fabric is cotton and neckband fit pretty close.
3. Navy is rayon and heavier and drapier.
4. Correct pattern, great basic.
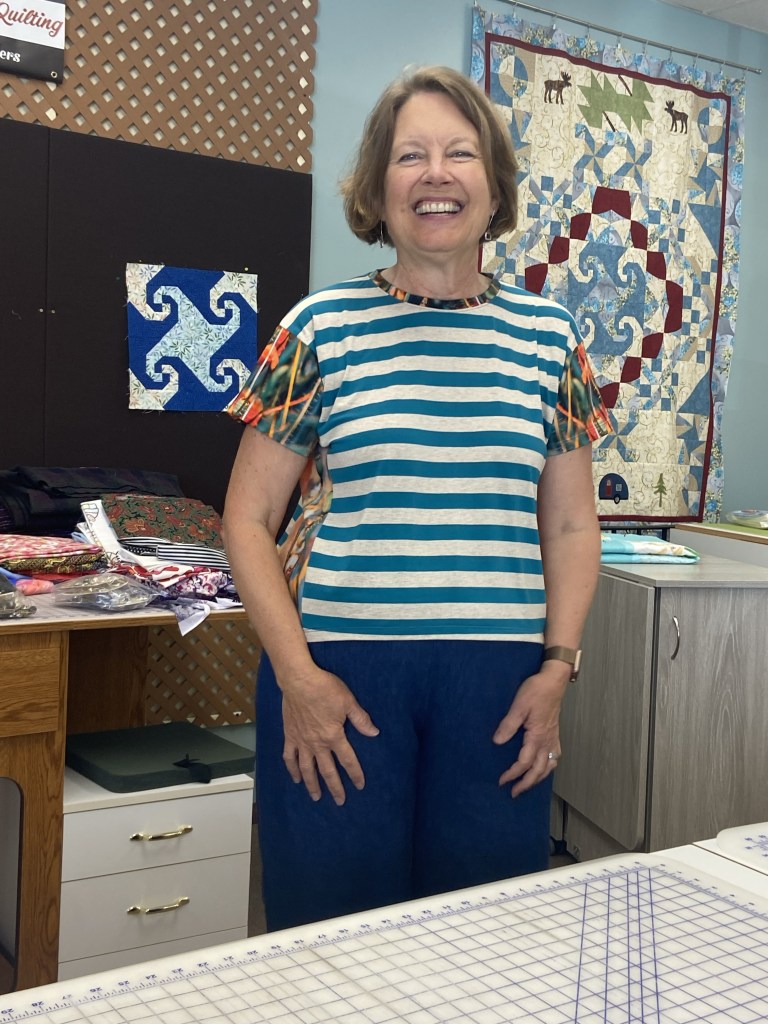
1. Stripe is rayon/botanical print is cotton. Fun pattern.
2. Front hem shorter than back.

1. Fun shirt pattern with back yoke and gathered back.
2. Instructions for front yoke are very good.
3. Hand stitched hems.

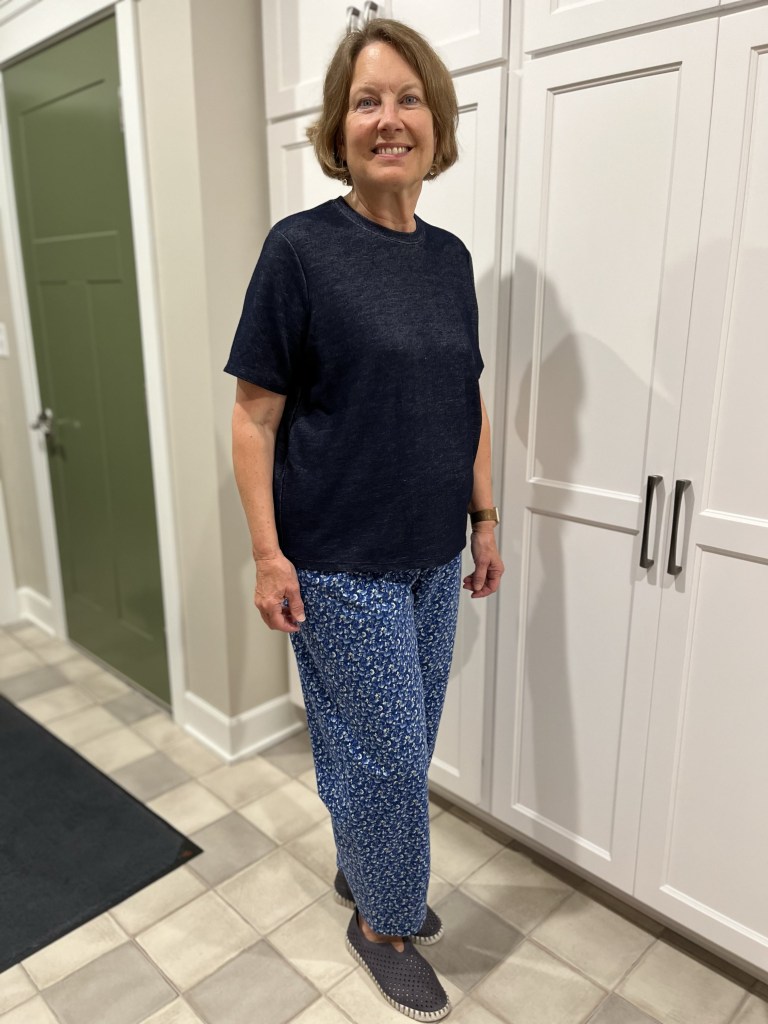
1. This pattern is a bit narrower than Barry Pant/Stylearc and not quite as bubbly.
2. Hem facing and 3 darts make the leg shape. I added 3” to length.
3. Lots of interesting sewing techniques, especially the pockets and paper bag waistband but I didn’t want those options.

1. Added 4” to length of skirt and pant underneath.
2. Fabric was good to sew on. Clips were easier than pins.
3. Made waistband half the width but the stretch of knit was different and wish I would have made it wider.
October Garment Sewing Group
Wednesday, October 11, 10:30, Sewing Lounge, St. Paul
Thursday, October 12, 10:30, Creative Sewing, Apple Valley
Saturday, October 14, 10:30, Ginny’s, Rochester
September meetings will finish at Ginny’s Fine Fabrics in Rochester tomorrow, Sept. 20. Good times were had at Creative Sewing and Lakes Makerie as evidenced by the photos below:


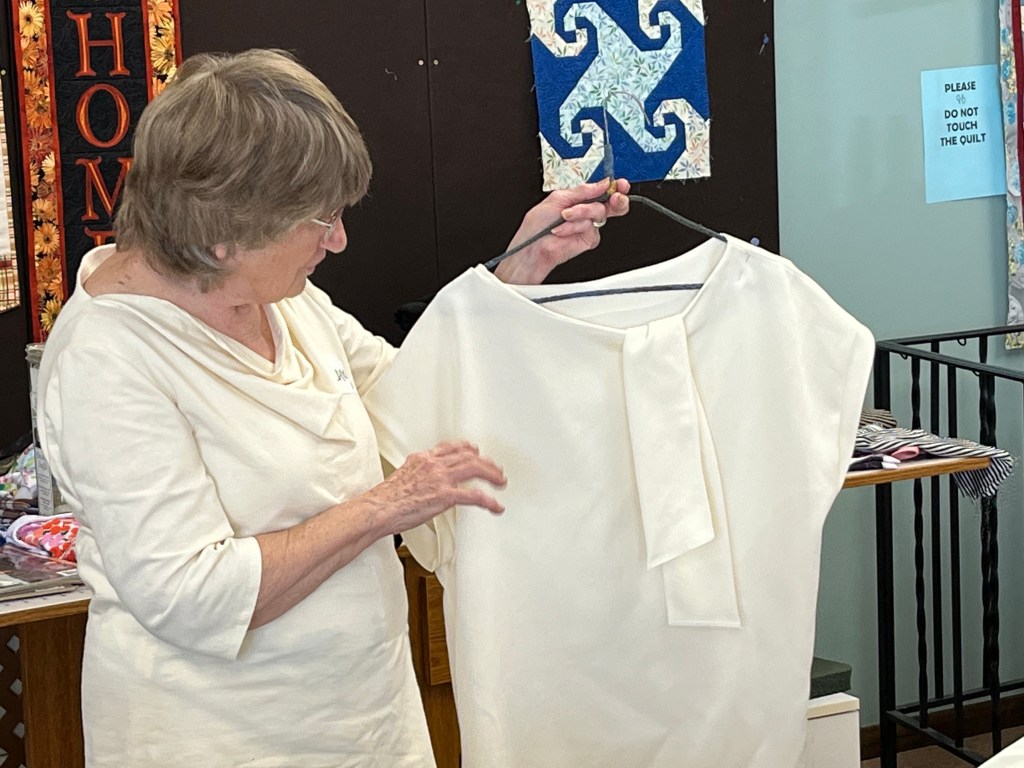

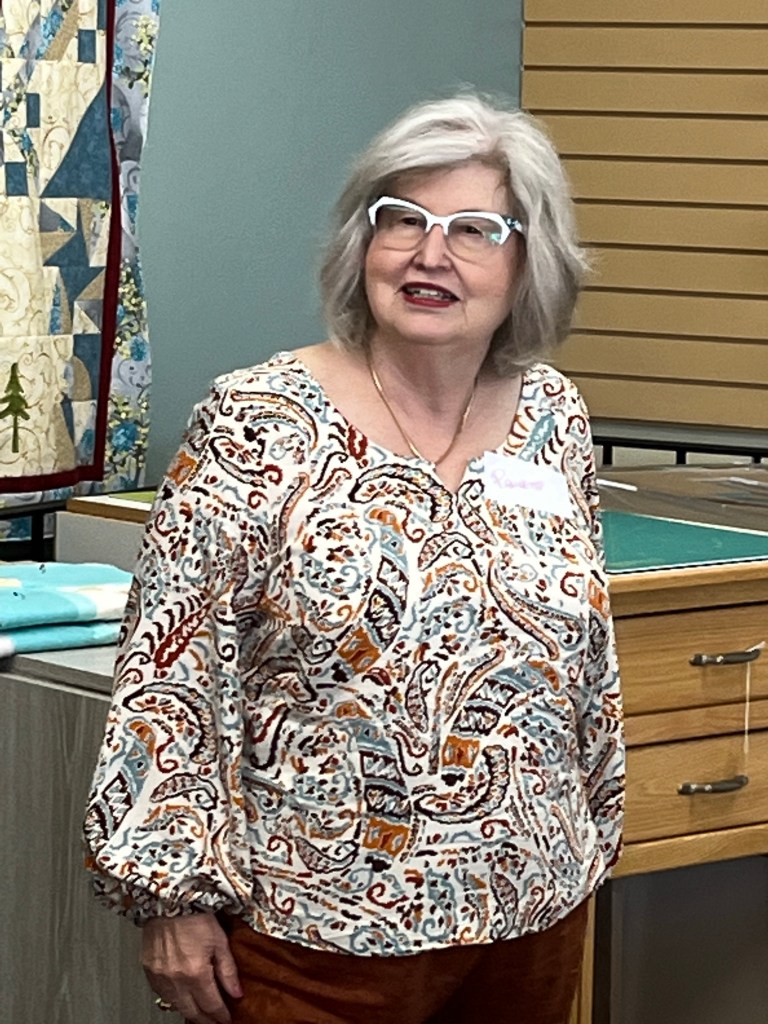


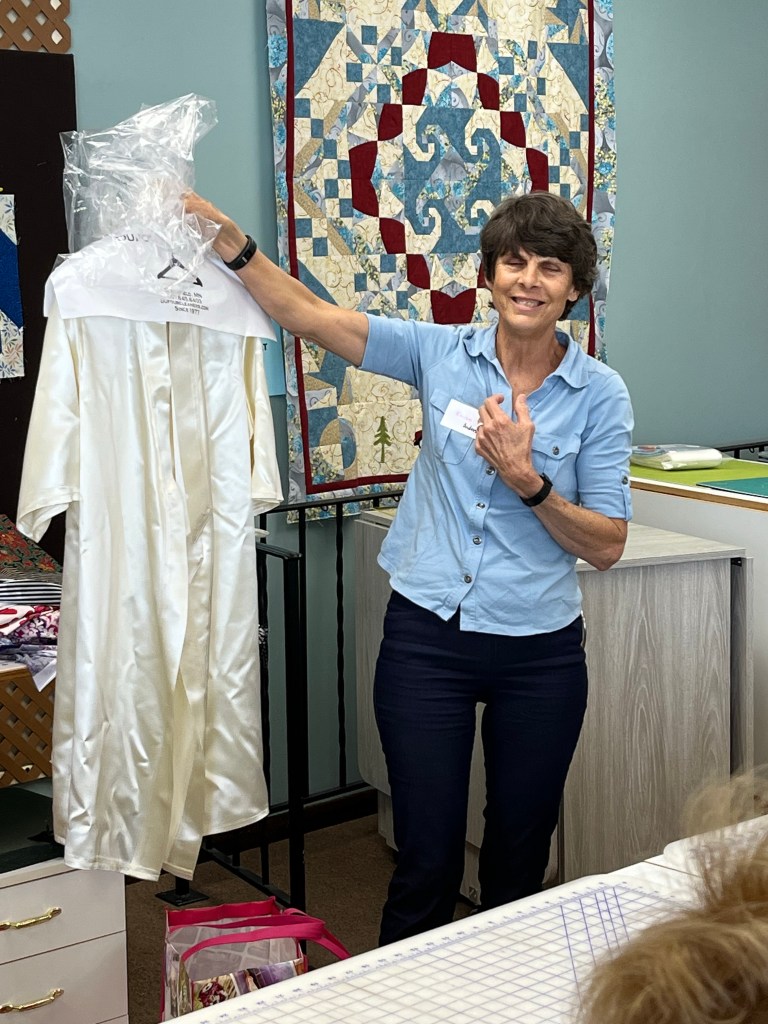

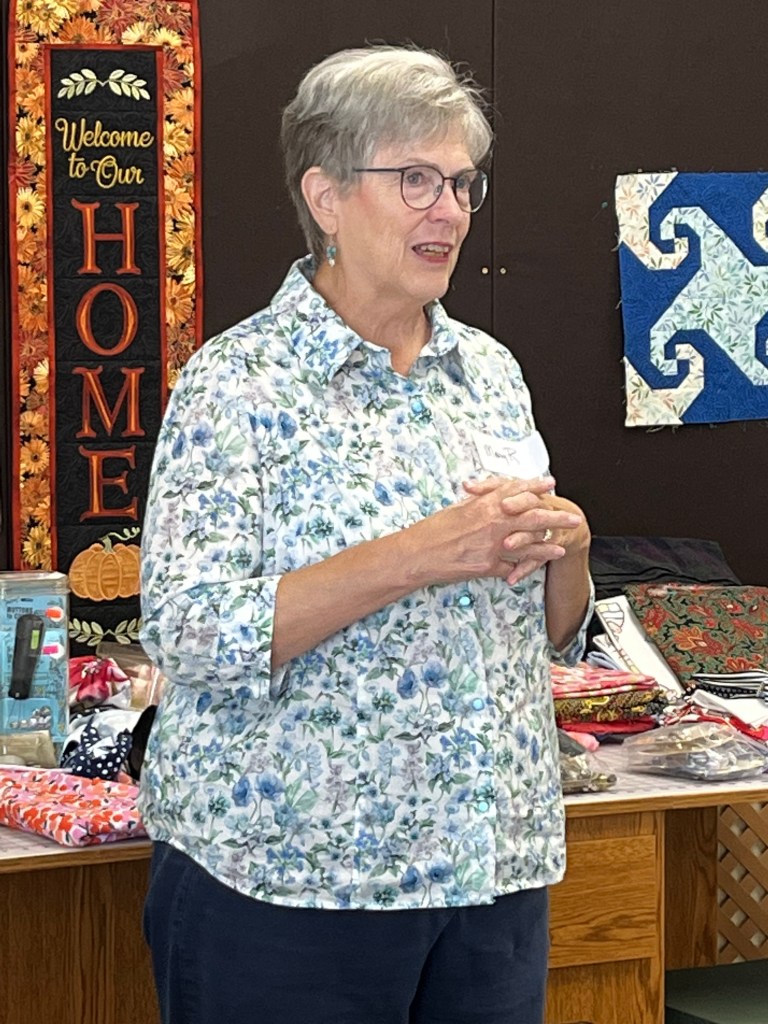


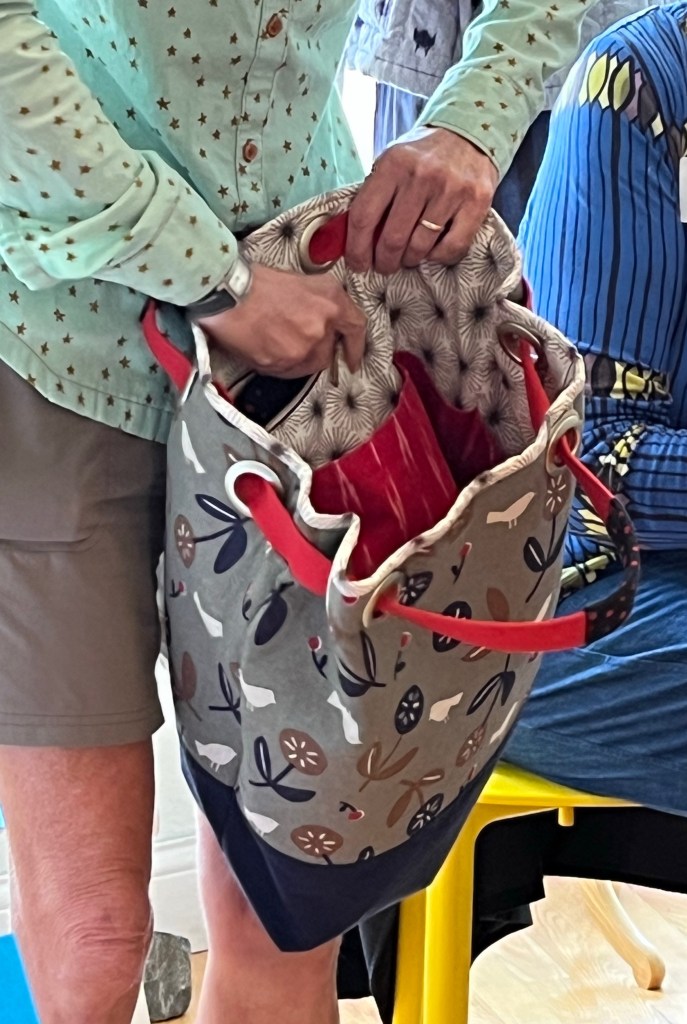

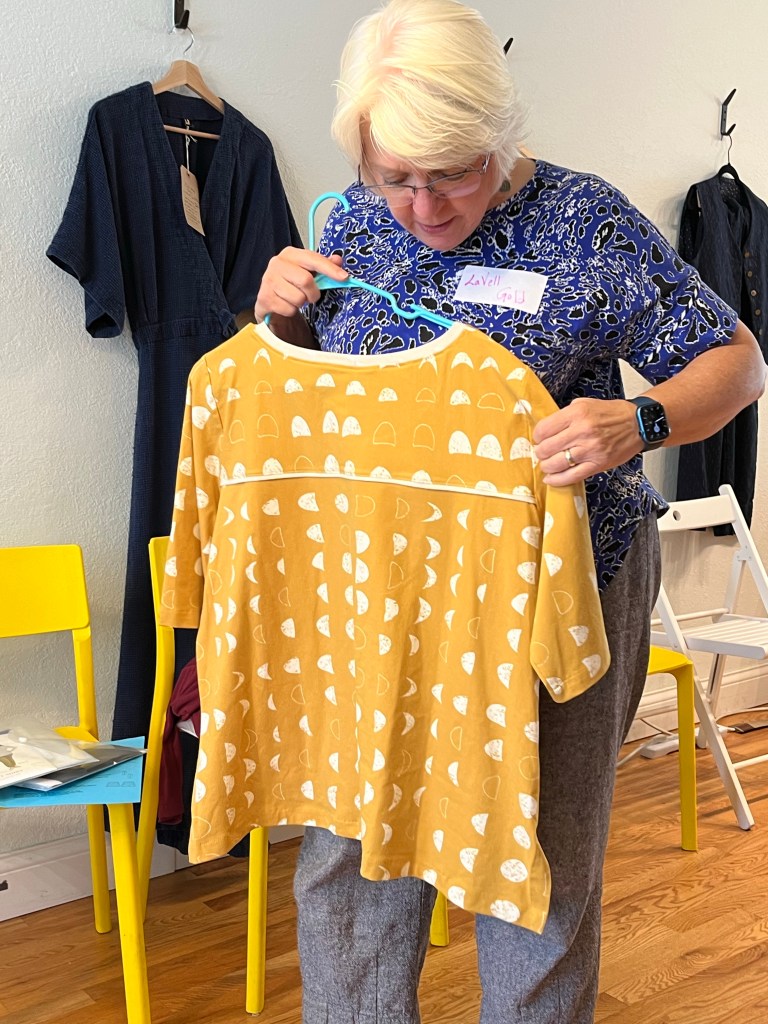

Let’s congratulate the state fair winners that we know of-if you have photos, please send and I will add to post-


Send me a photo and name if I’ve missed your winning entry!
Sewing Retreat 1.0
Ever since we built the “barn” I’ve wanted to host a retreat and last week presented a great opportunity. Nine brave sewists packed their bags (yes, they had to bring toilet paper 🙂 and joined me at the farm on Tuesday.

The weather was perfect and we sewed with the big doors open until the sun came around and started heating up our space. The evenings were cool so we slept with open windows.

Homemade pizza, sandwiches from the new local shop and dinner at Scarlet Kitchen in Red Wing complemented the goodies and snacks everyone brought to share.

Walks, tai chi, chair massages and, oh, and were we supposed to sew??

Did we ever! It was so quiet with the focused sewing that we had to play background music 🙂


Rated a great success by all involved, watch for the next offering as there will be a 2.0!

As you plan your fall sewing, here are photos from the remaining August meetings of Garment Sewing Group to inspire you-

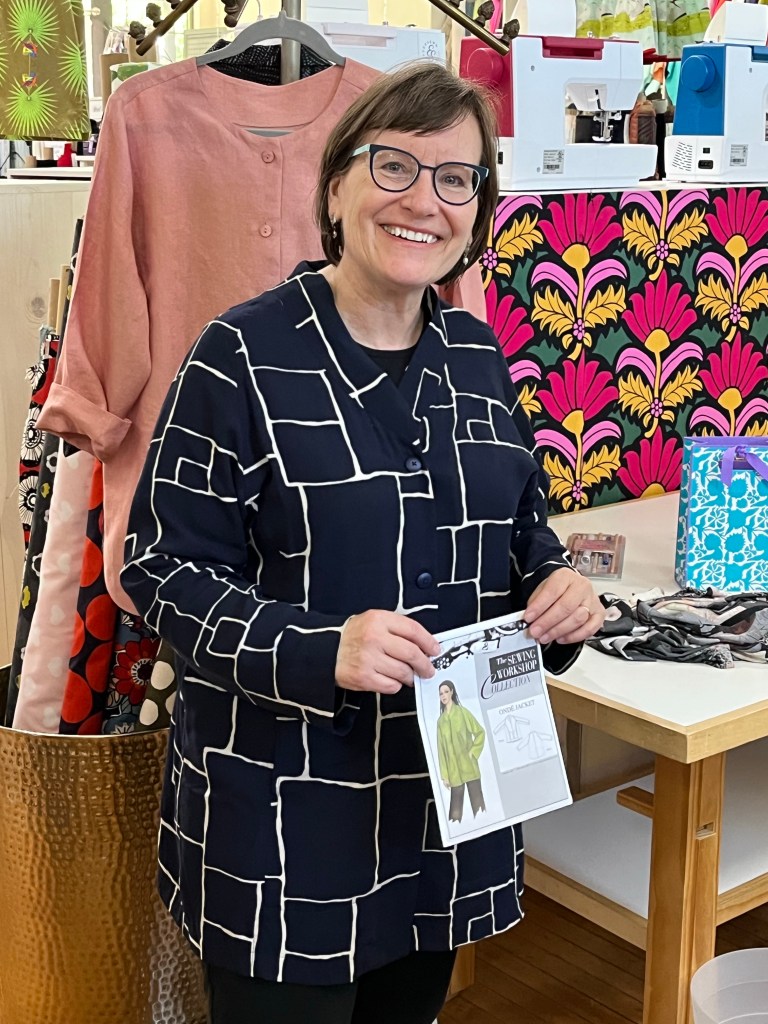
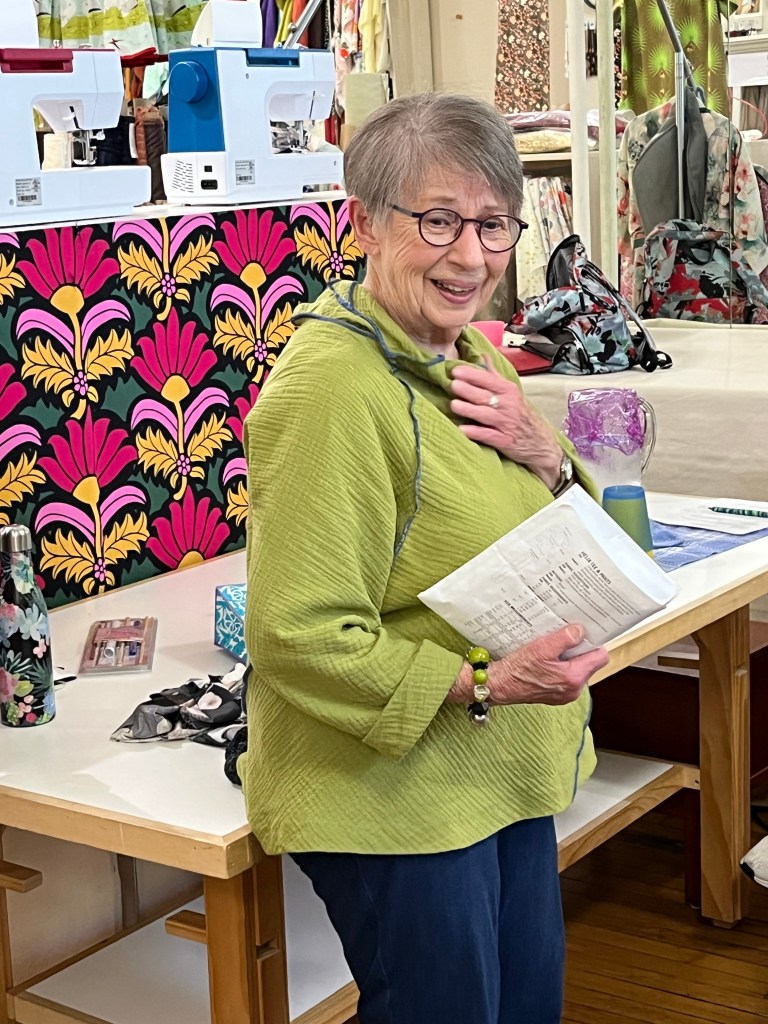

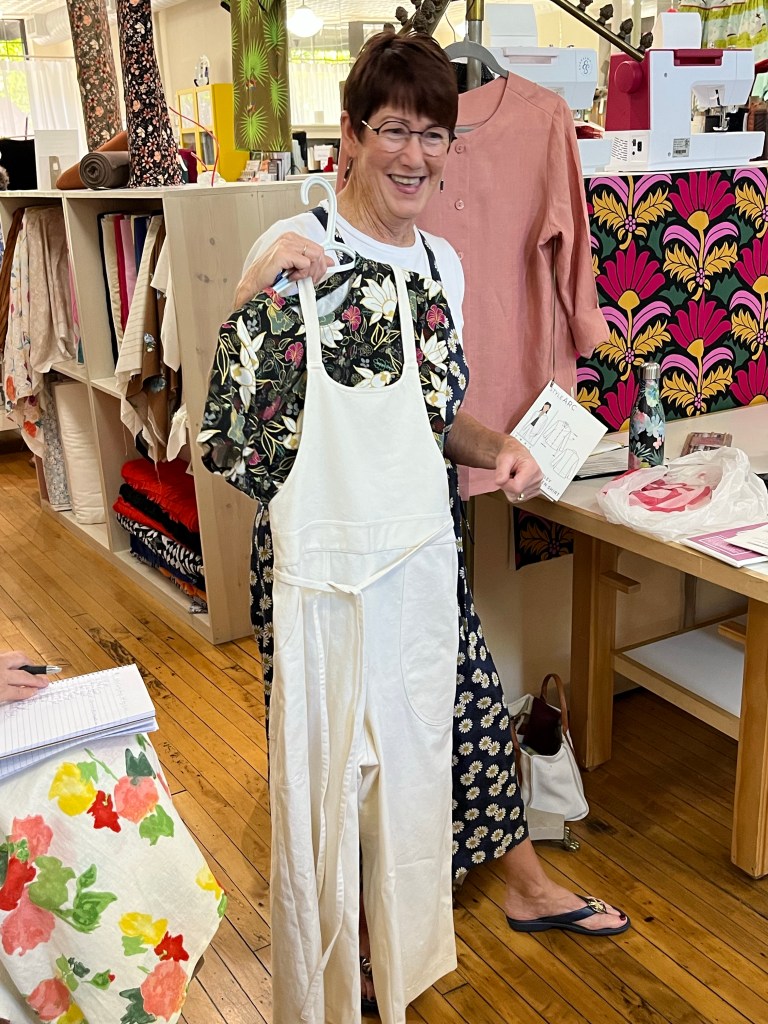
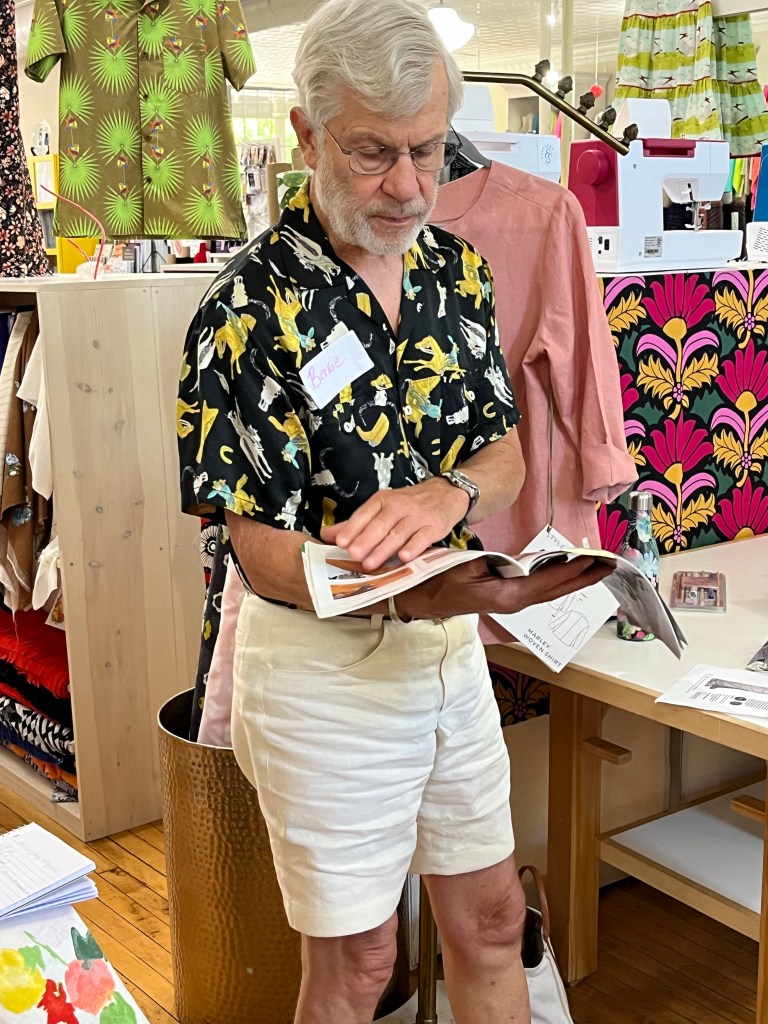

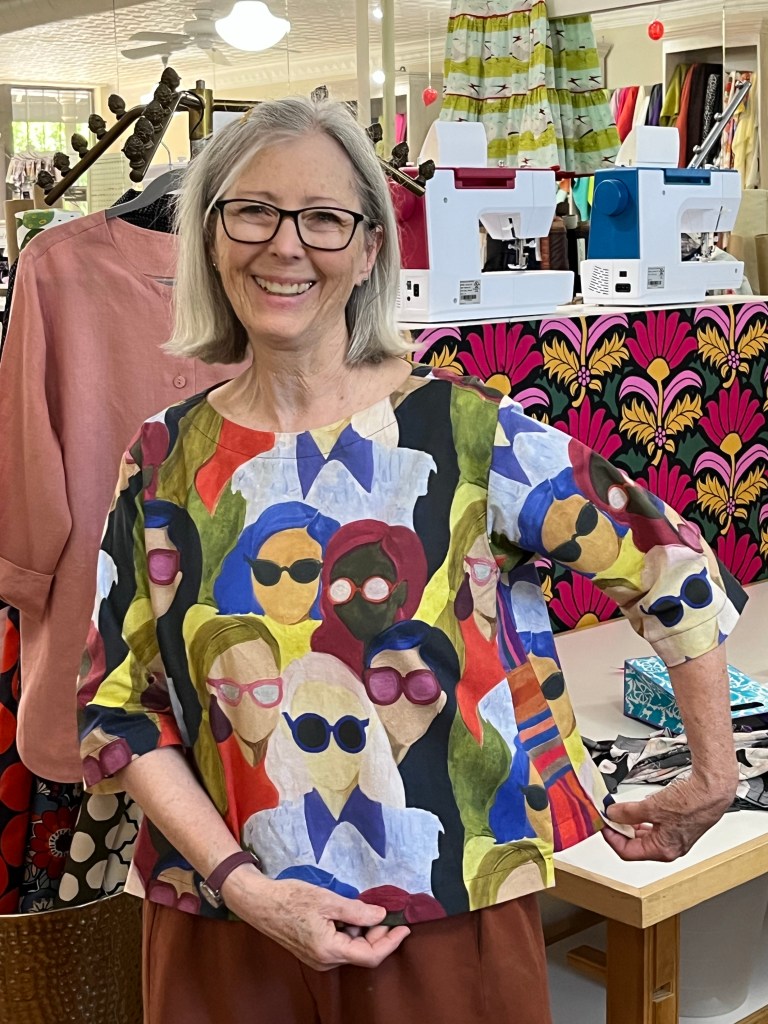
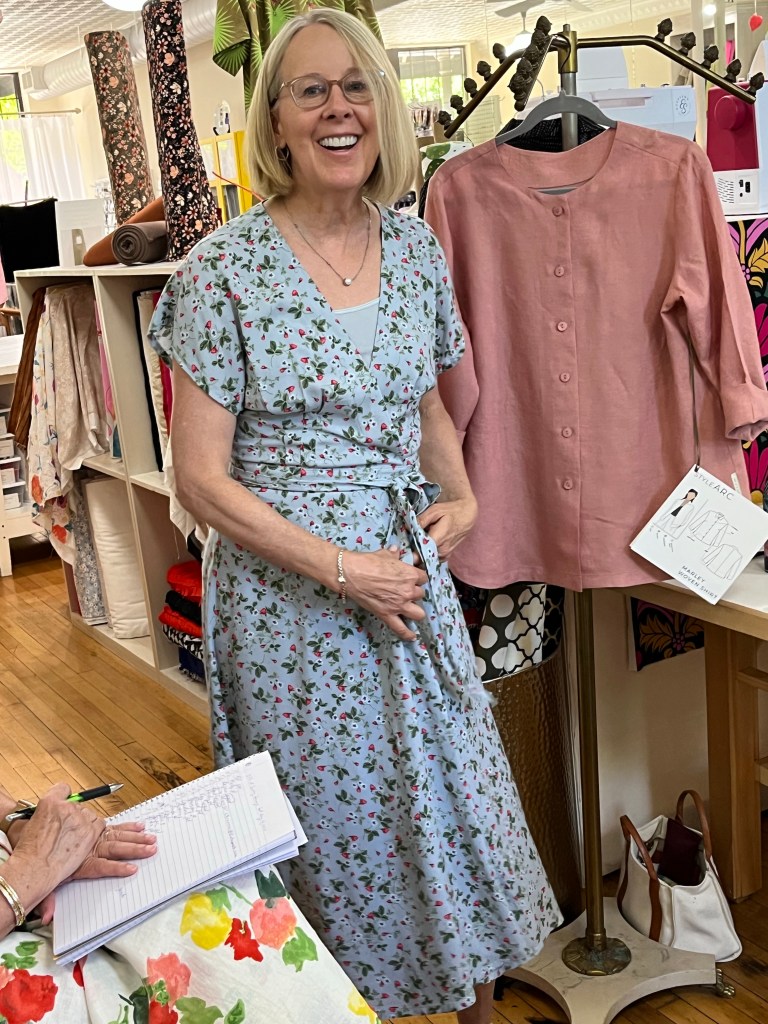



Here are the garments and pattern review made by Debbie and Kristin in August:
Debbie’s Garments:

Summer Blue Pants
Jalie Vanessa Pants
Cotton/linen blend
1. A favorite relaxed pant pattern due to the fit and comfort.
2. I do change the construction techniques. – I use a one piece waistband with no drawstring insertion. I also shorten the width of the band and use 1 and 1/2 inch elastic rather than 2 and1/2 that pattern calls for.
Copied RTW using McCalls 6964 (Butterick 6848)
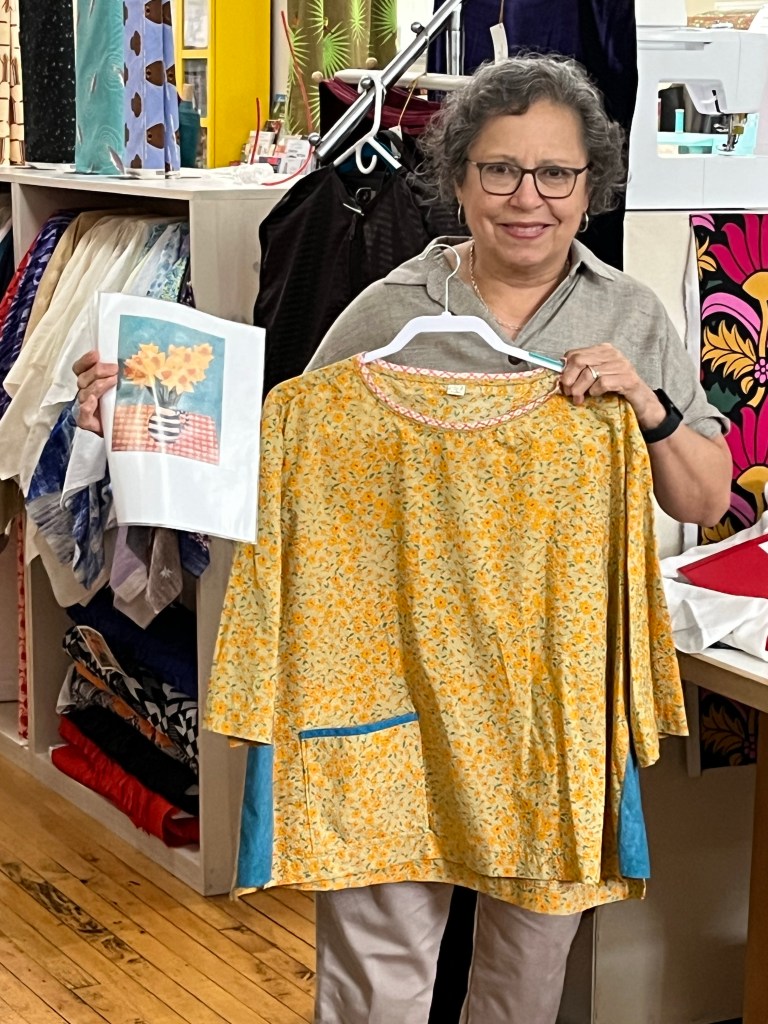
1. Tees are my summer staple and I am always looking for an added detail. In this case I added contrast cuffs and a side insert – it breaks up the print and adds some interest.
2. I removed 2 and 1/2 inches from front and back side seams starting at hem and going up to nothing 6 inches from armhole cut edge, including seam allowance.
3. I didn’t want black contrast at my face so I added interfaced neck facings instead of neckband.

1. Fit adjustments including shortening between shoulder and bust on front, back and sleeves, narrow shoulder adjustments and shortened the sleeves. I did not shorten length.
2. The construction techniques work as pattern directs but would do it different next time.
3. When it came time to construct the cuff I did it my way – the pattern does a very unusual placket insertion on sleeve- I felt I could make it easier and better looking. I also do not care for inside upper pocket finish.
4. Overall it is a good jean jacket pattern and if and when I make another I would use this pattern.

1. I made a tee first as my muslin to check out fit and drape. I was satisfied with the results and went on to make the dress with changes.
2. Shortened length one inch and use straight hem.
3. I raised the front neckline one inch.
4. Quick and easy make that could be a summer staple.
Itch to Stitch Lago Tank

Itch to Stitch Lago Tank (pictured 2 above)
1. I had left over fabric from Laundry Day Tee so I thought I would give this free pattern a try.
2. I raised the neckline 1 inch and shortened the length 1 inch.
3. I made the neckband and armhole bands wider than pattern.
4. Tanks are in my wardrobe to be worn under tops or as pj tops. For the little amount of fabric required and the ease in constructing the tank I will keep this pattern close and cut more of them to make good use of my left over knits.
Kristin’s Garments:

1. Great pattern for leftover narrow pieces-had to selvage this fabric!
2. Lots of seams make for easy fit adjustments at hip. Bias finishes at neck and armhole.
Knit Robe

1. Side tie is what drew me to the pattern. Basic assembly-attaching band at tie point is a bit fiddley but works well. I reinforced with fusible interfacing at front facing/band points.
2. Fabric print attracted me-fabric content should have stopped me 🙂

1. Old pattern/still in print. Always wanted to try the tank. Many fine tuning fit adjustments and I still didn’t look like the drawing (!)
2. Had fun making shell tuck edging on bias binding and applying to neck and arm edges.

1. The waistband was the draw on this pattern. Had an inspiration pic I wanted to copy.
2. Followed pattern with very few exceptions but eliminated left tie wrapping all the way around as waistband is close fitting. Attached band at left side seam and love it that way.
3. A straight skirt would be a great variation to this pattern.

1. Inspiration pic pointed to Chalk & Notch Fringe Dress or Lyric. I chose Lyric because of the set in sleeve and closer bodice fit. Fringe Dress pics always had a back tie or didn’t look like what I was after.
2. Shortened bodice two inches to change the look.
3. Construction went quickly with bias bindings on neck. I chose to let binding show instead of turning under which gave some sweet angles to the ending points. Turning under the center front facing made it easy and neat.
4. Eliminated the front vertical darts as bodice is close fitting. Added to front and back armscye based on previous experience with Love Notions patterns.
5. Skirt has two options-I chose the straight gathered option and used the width of the fabric instead of a more gathered skirt as suggested by pattern.
September 2023 Garment Sewing Group
Wednesday, September 13, 10:30, Ginny’s in Rochester
Thursday, September 14, 10:30, Creative Sewing, Apple Valley
Saturday, September 16, 10:30, Lakes Makerie, Minneapolis
Here are Wednesday/Lakes Makerie pics from Garment Sewing Group. We’re at Creative Sewing/Apple Valley today/Thursday and Sewing Lounge/St. Paul on Saturday! 10:30 am always 🙂


July saw our largest attendance for a very long time-thanks to everyone who follows us and makes garment sewing and the sharing of it a priority. It wouldn’t be as awesome without all of you!!
August meetings start on Wednesday, Aug. 9 at Lakes Makerie, Thursday, Aug. 10 at Creative Sewing and Saturday, Aug. 12, Sewing Lounge all starting at 10:30 am.
So here is some of what we saw in July (Saturday’s pics have been posted previously).
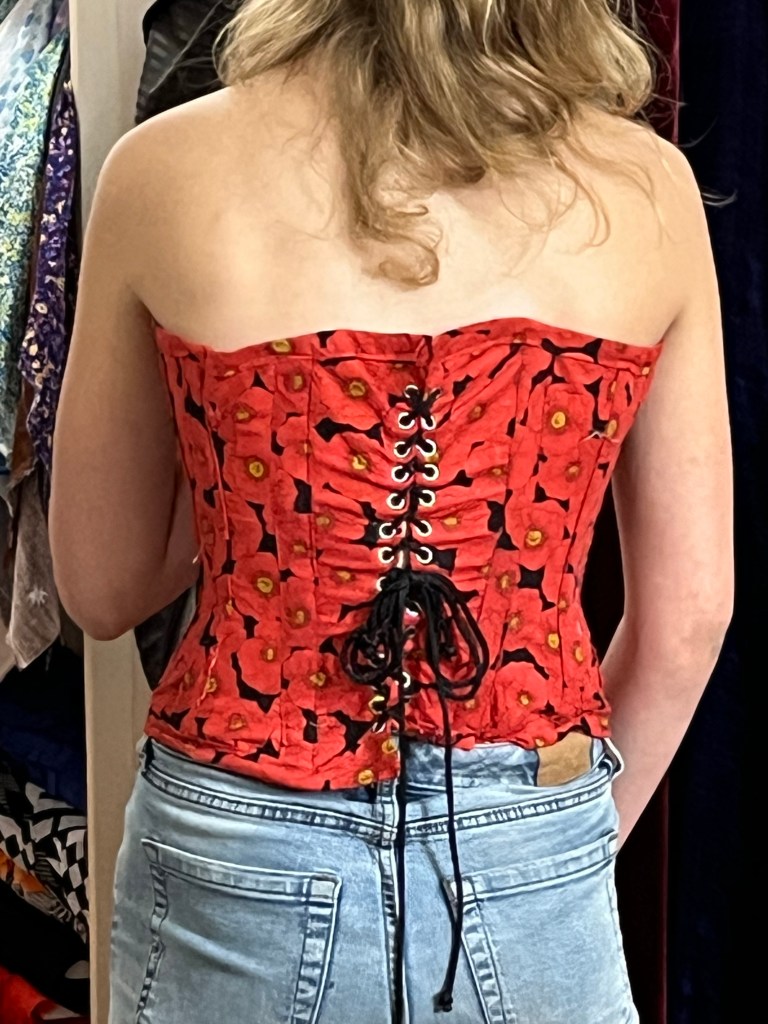
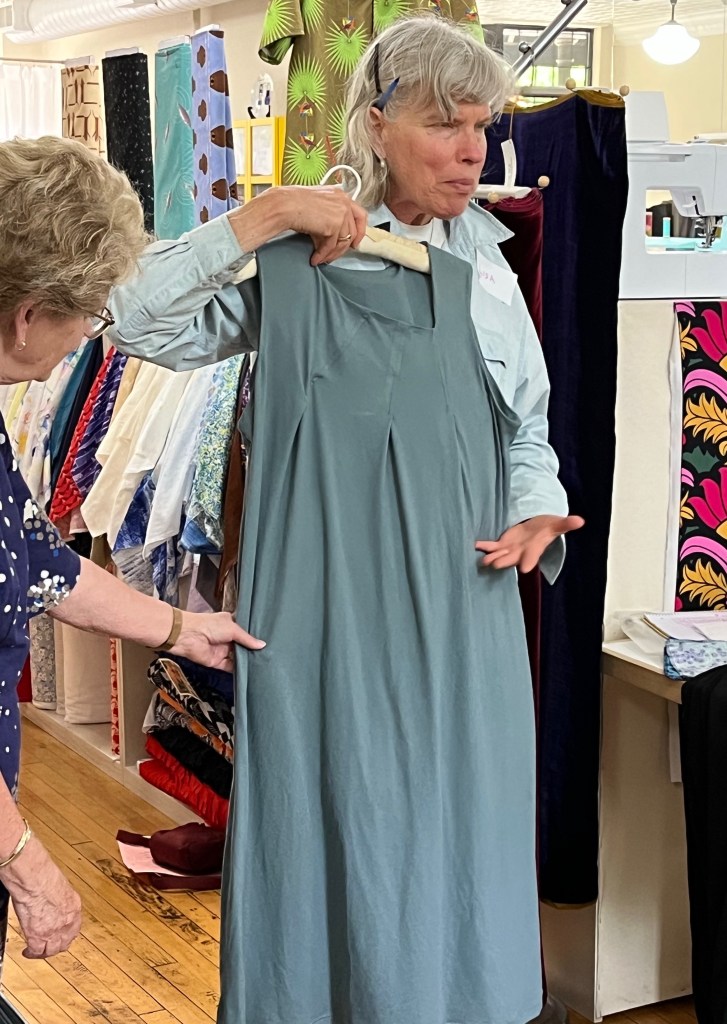
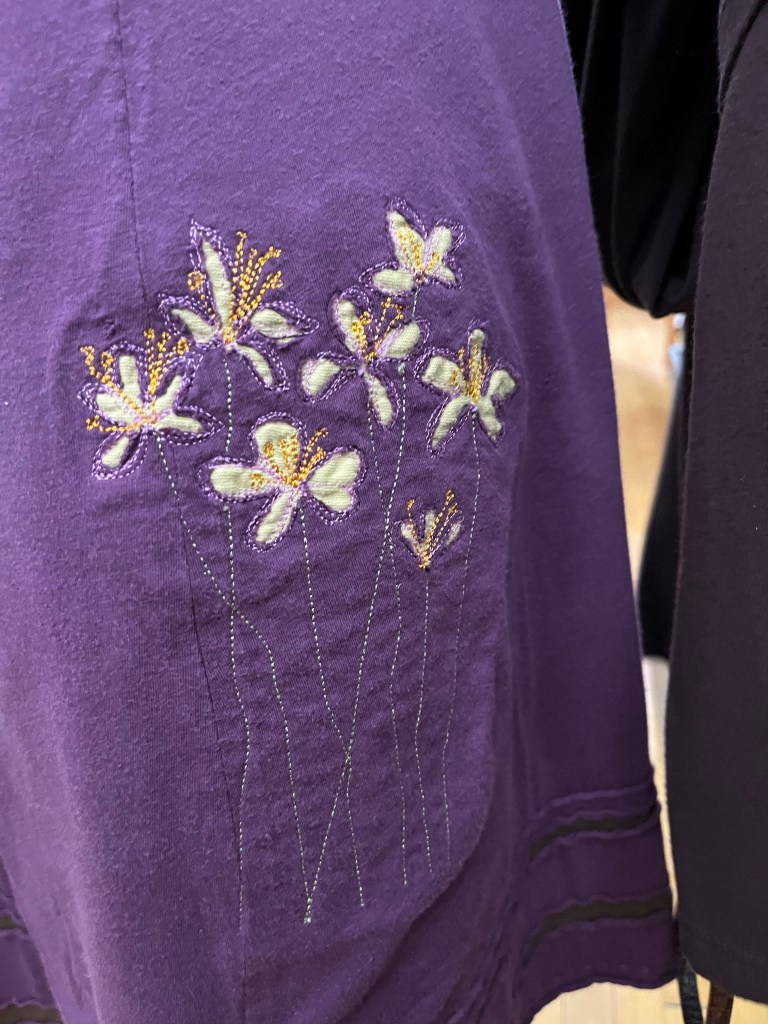
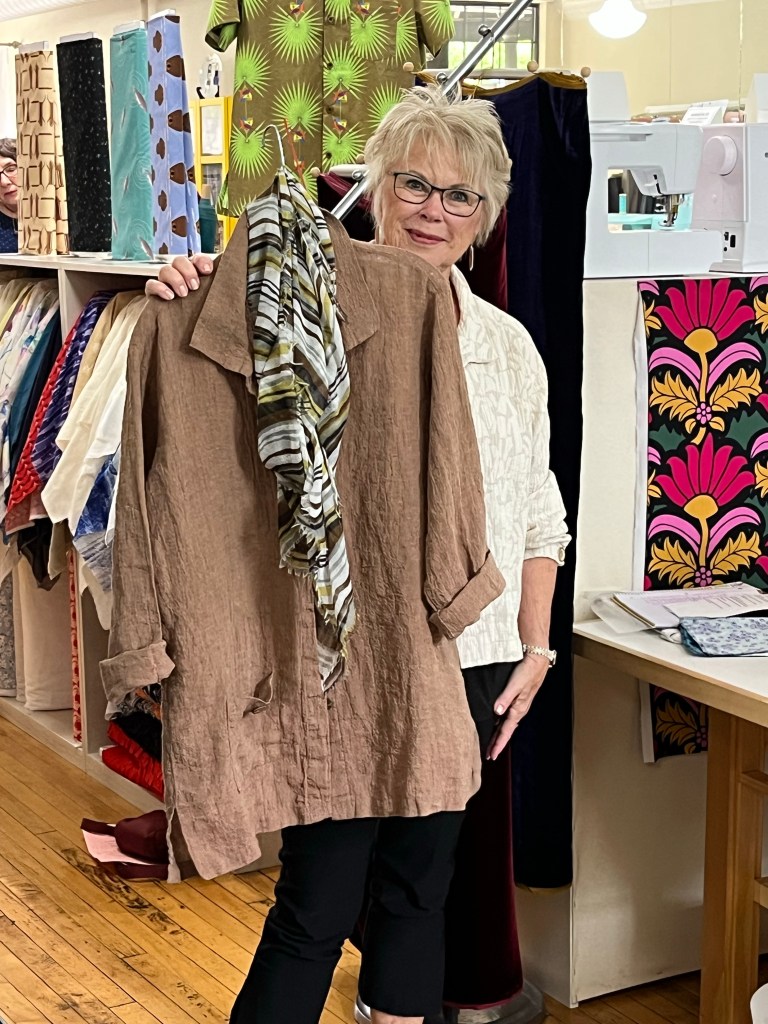
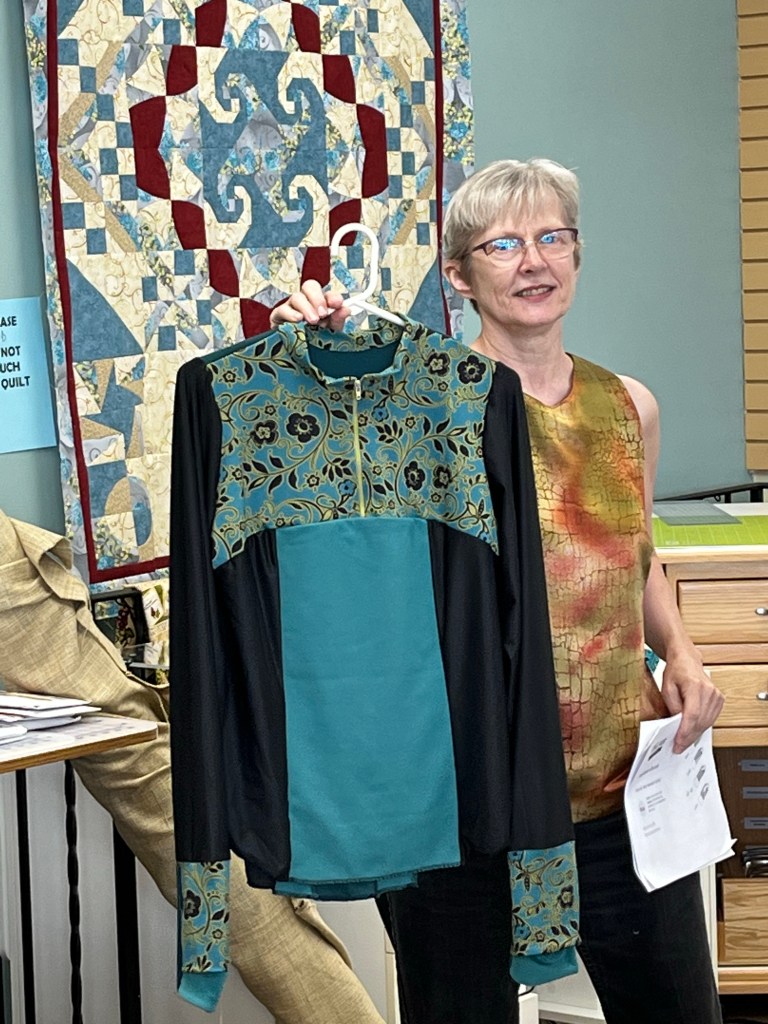
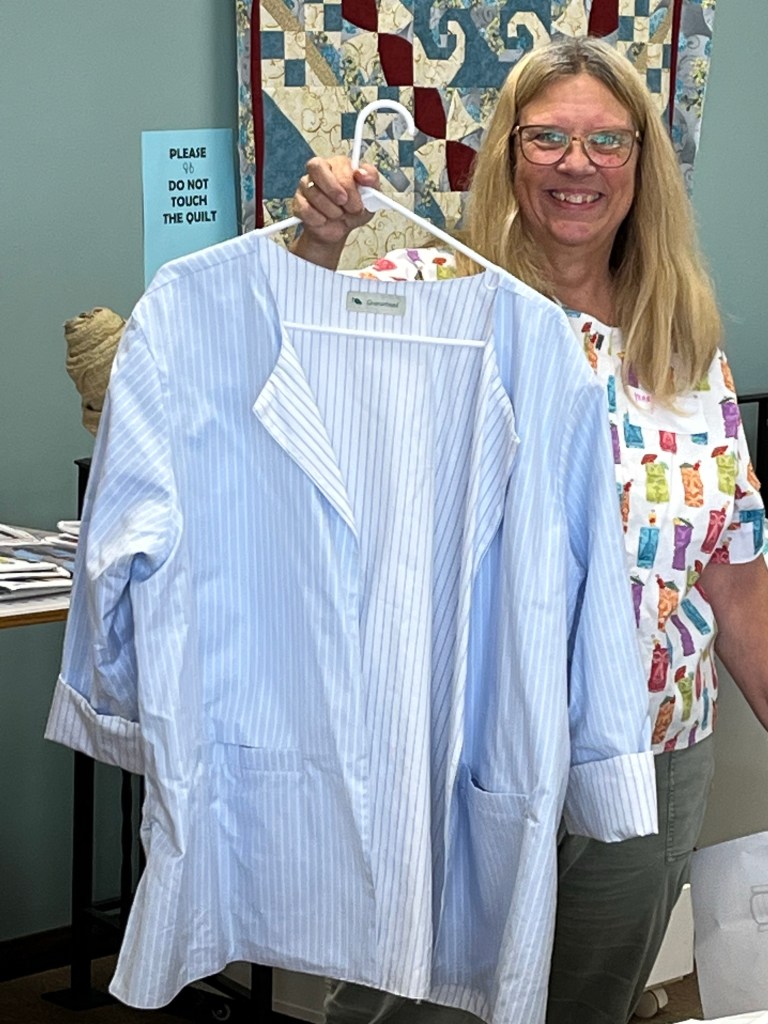
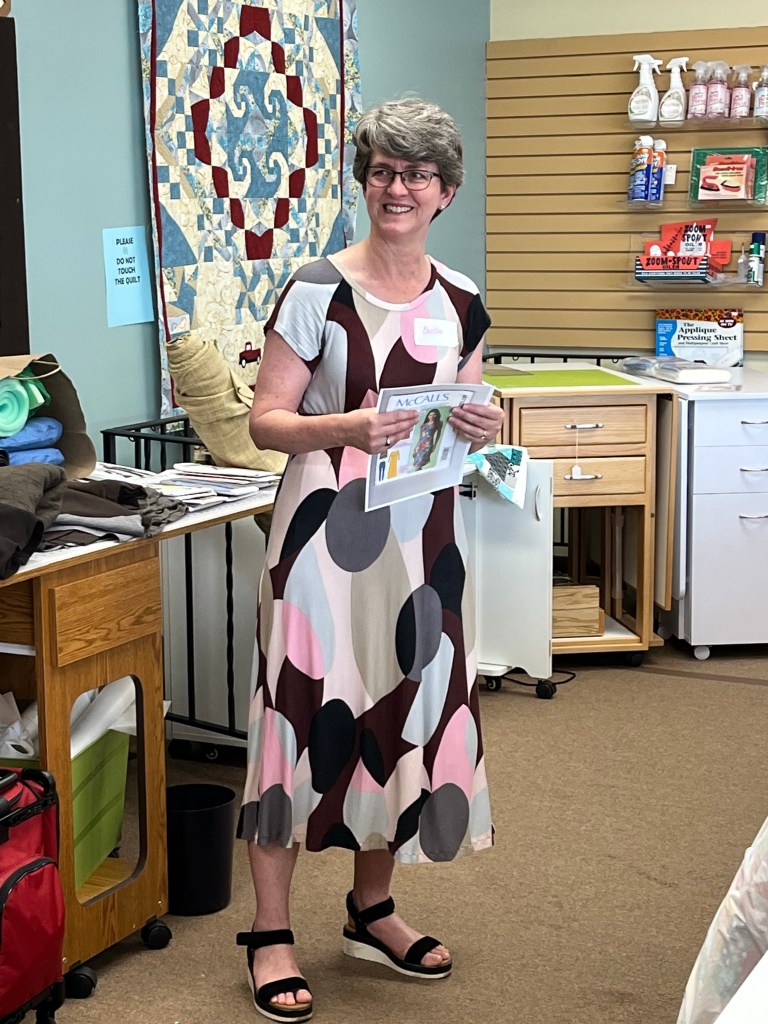
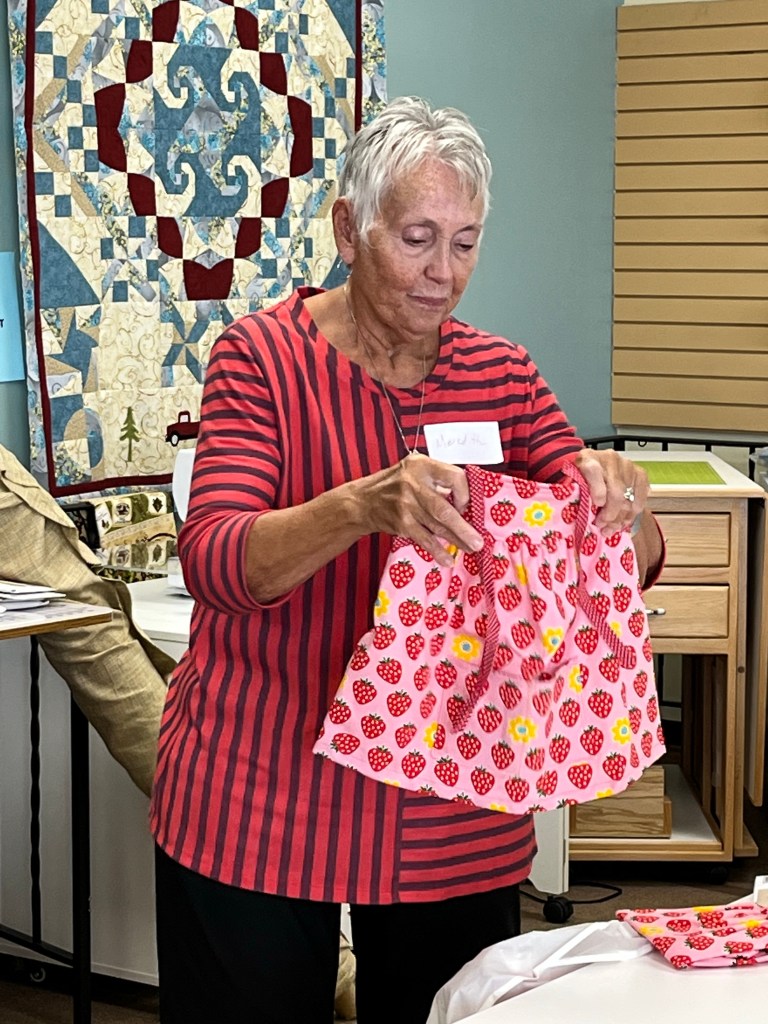
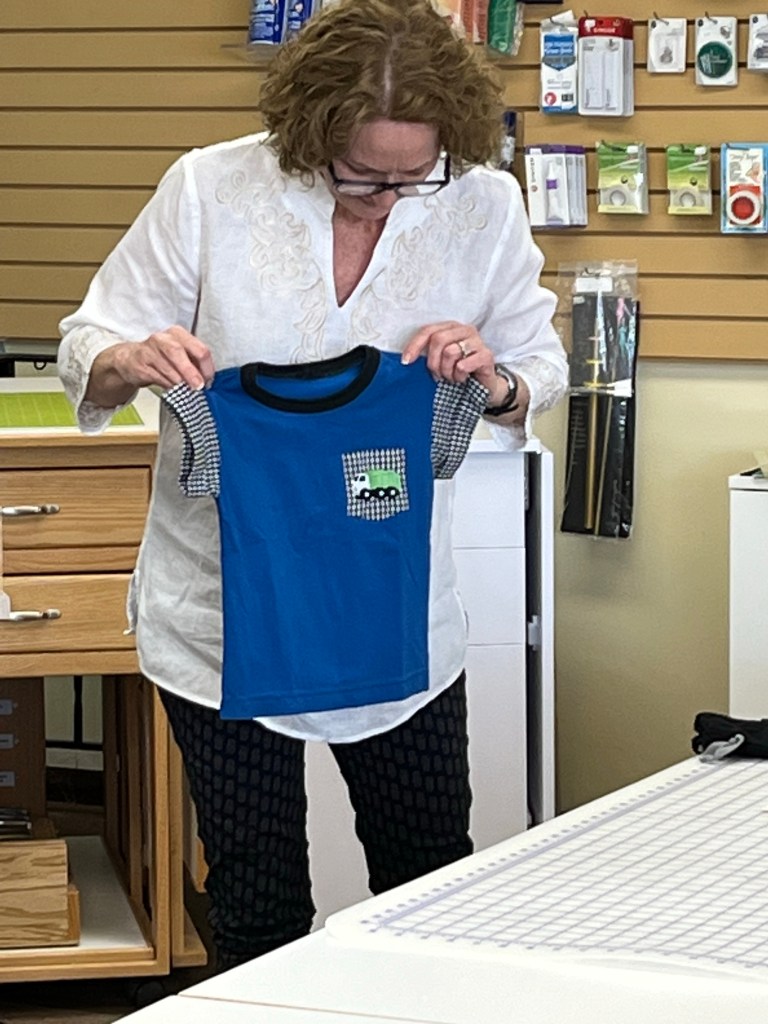
Garment Sewing Group
July 2023
Debbie’s Garments:
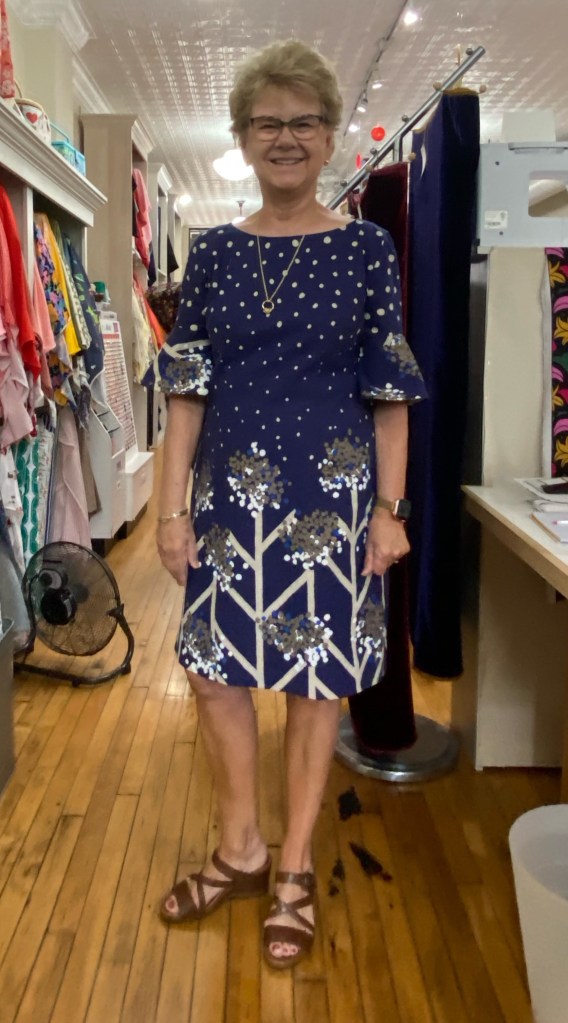
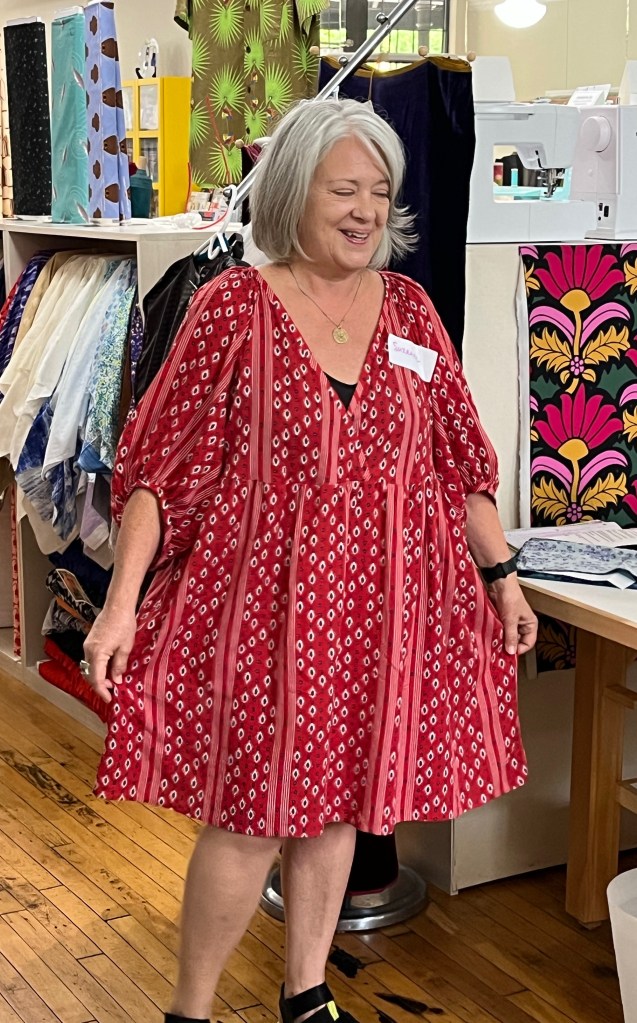
1. This is my TNT pattern for shift dresses. Petite adjustments are included in the pattern which is a timesaver for me.
2. The facing is eliminated – I used serged bias binding and added the flounce to sleeve. I especially like putting in the zipper using Becky’s method-
1. Interface seam allowances on zipper seam.
2. Clean finish seam allowances.
3. Stitch zipper seam 1 to 1 1/2 inches from the top of seam, stop and secure seam.
4. Leave an opening the length of the zipper minus one inch.
5. Continue to sew seam from bottom of zipper opening to bottom of garment seam, backstitching at start of the seam.
6. Insert zipper and stitch about one inch further than zipper opening.
7. You will need to wiggle the zipper pull up between both sides of zipper to close the first time.
8. Ta da! A beautiful zipper insertion without the fussiness at the top of the zipper and facing.
Navy Dot Jacket

1. Fitting adjustments includes petite between shoulders and bust, narrow shoulder adjustment and shortened sleeve length.
2. Optional to line jacket – I lined my jacket with Bemberg Rayon.
3. Typical Style Arc pattern as far as instructions go. I did change order of construction and button placement.
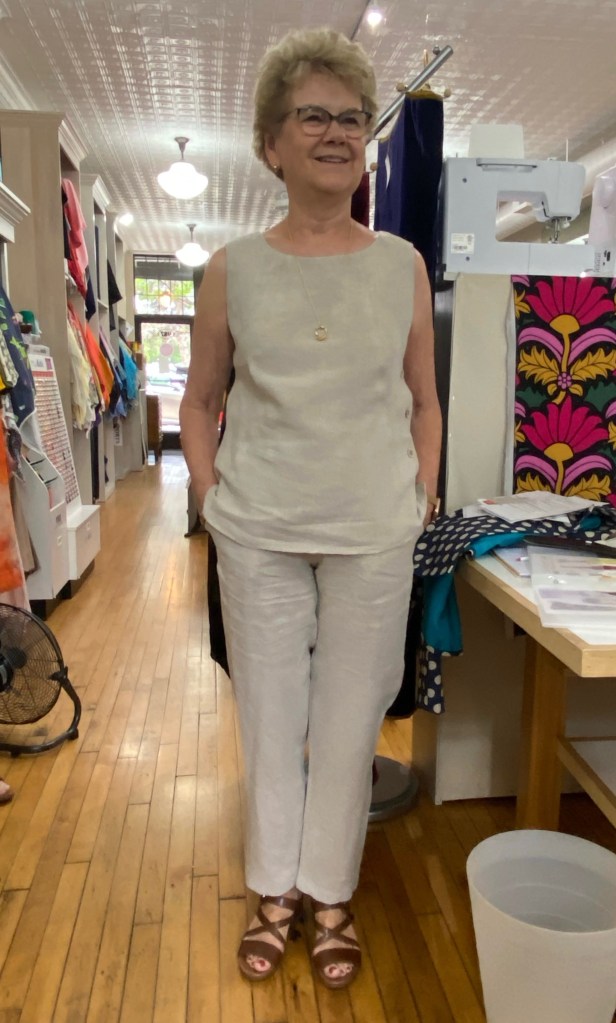
1. I shortened front and back between shoulder and bust and shortened body length at hem by one inch. Due to close fit I needed to go from small to larger from bust to hip but easy to do with pattern instructions.
2. This is a fun pattern. Lots of line drawings for excellent construction details, especially the Burrito method for facing.
3. Not necessary to do button placket but it is a great design feature.
Jalie Vanessa Pants
Another TNT pattern. I have made construction changes – the fly is eliminated and I use a one piece waistband – I am now able to sew them up in just a couple of hours.

I made this pattern last year and it has become a favorite.
Kristin’s Garments:
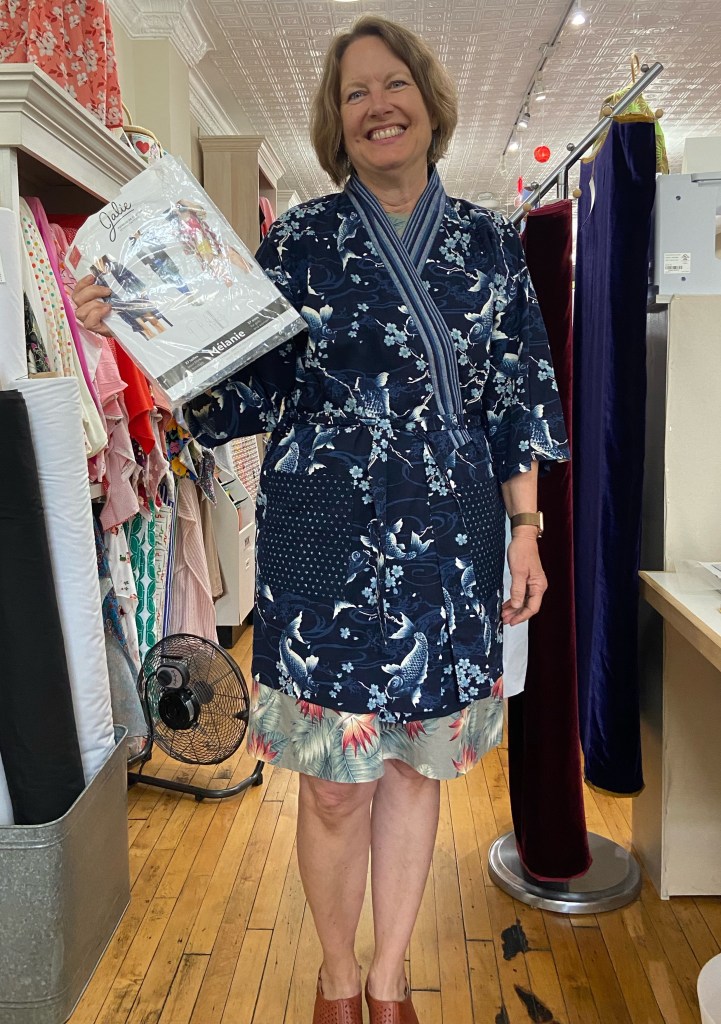
1. Pattern is very similar to a kimono-body pieces are perfect rectangles. By butting pieces to each other, cutting is streamlined and waste is minimal.
2. Because the seams are 3/8” I serged most of them. Underarm sleeve omits clipping to corner but it is necessary-I stitched it with straight machine first, clipped and then serged.
3. Good, basic kimono pattern and I love the fish-but are they right side up or upside down??
Klimt Summer Dress
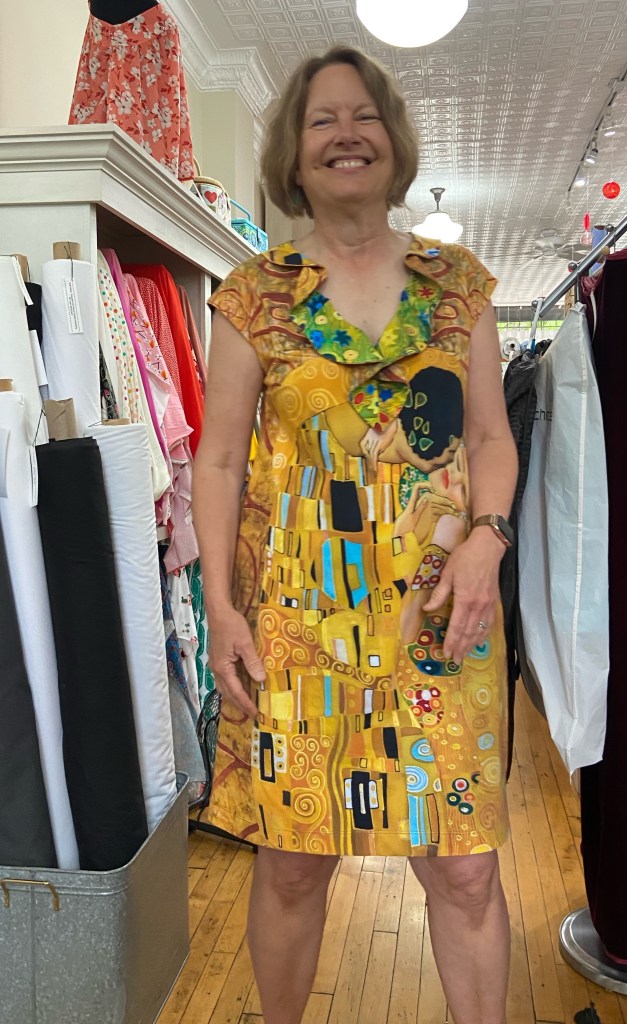
1. The pattern is for woven but I wanted to give it a try in a knit first. Bust dart and no interruption of my art work 🙂
2. Flounce is supposed to be single layer, which I tried first but the white “wrong” side of the fabric was too stark so flounce is doubled and stiffer than the single but looks better.
3. Knit fabric doesn’t support the flounce very well, if I make it again in a knit I will cut the facing from woven fabric-I don’t think a stiffer interfacing will do the trick.

1. Loved the color and print of the fabric. Have made the pattern before but wanted sleeveless this time. Also, pattern calls for double layered bodice and that got too heavy last time I made it.
2. Love the cut out in back. Finished edges with a 1” strip and sewed together instead of ties.
3. Messed around with fit and all. Will find a pattern closer to what I want next time.
4. Tried garment as a maxi as I had plenty of fabric but short was more fun.
August 2023 Garment Sewing Group
Wednesday, August 9, 10:30, Lakes Makerie, Minneapolis
Thursday, August 10, 10:30, Creative Sewing, Apple Valley
Saturday, August 12, 10:30, Sewing Lounge, St. Paul

