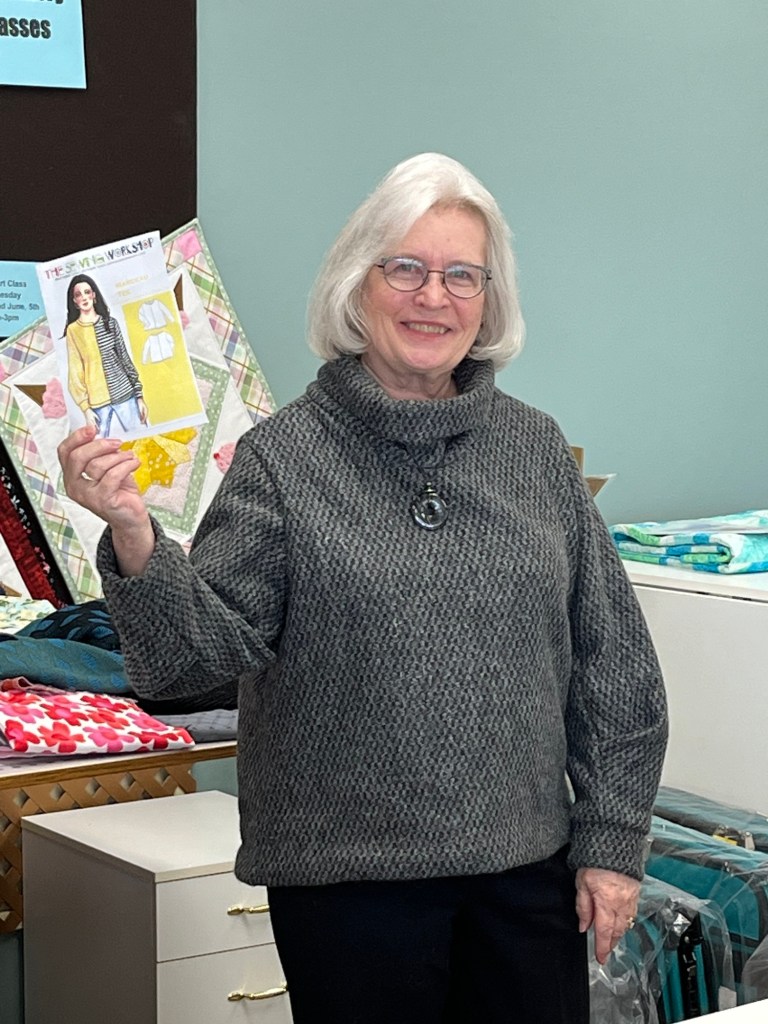
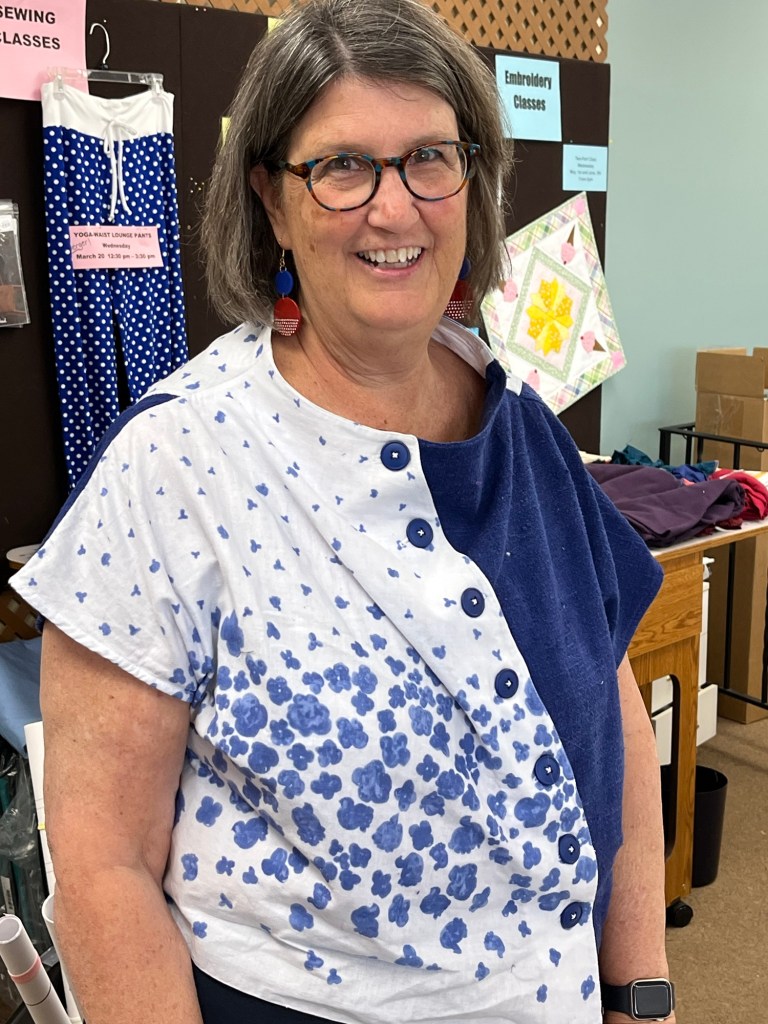
Debbie’s Garments:
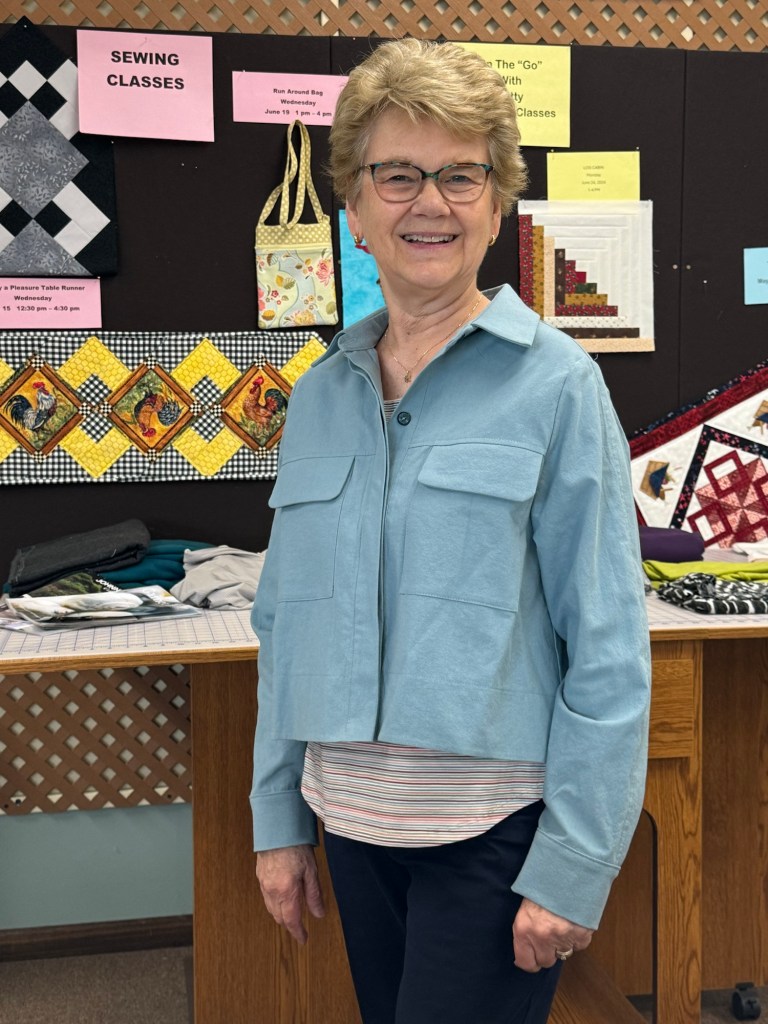
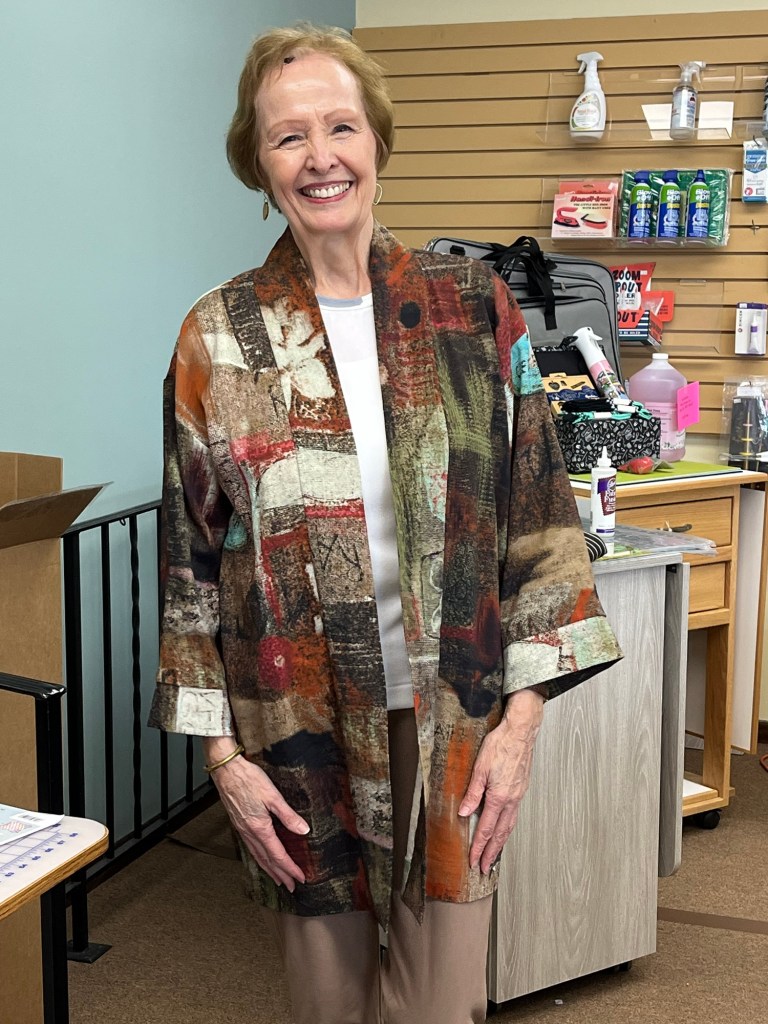
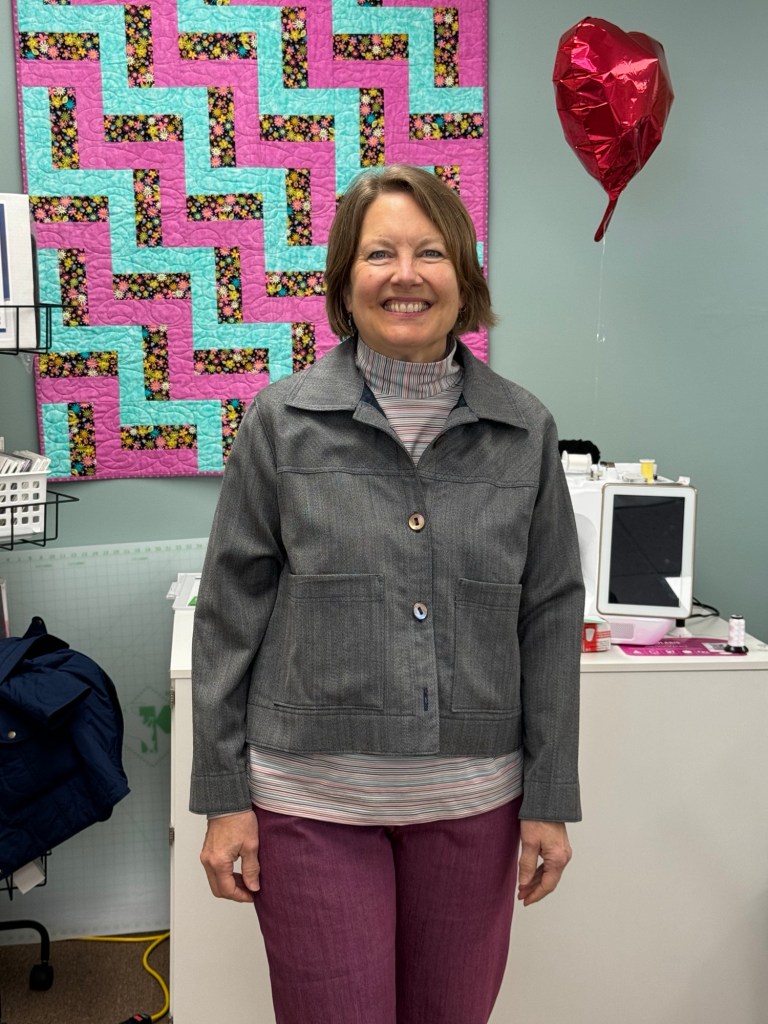
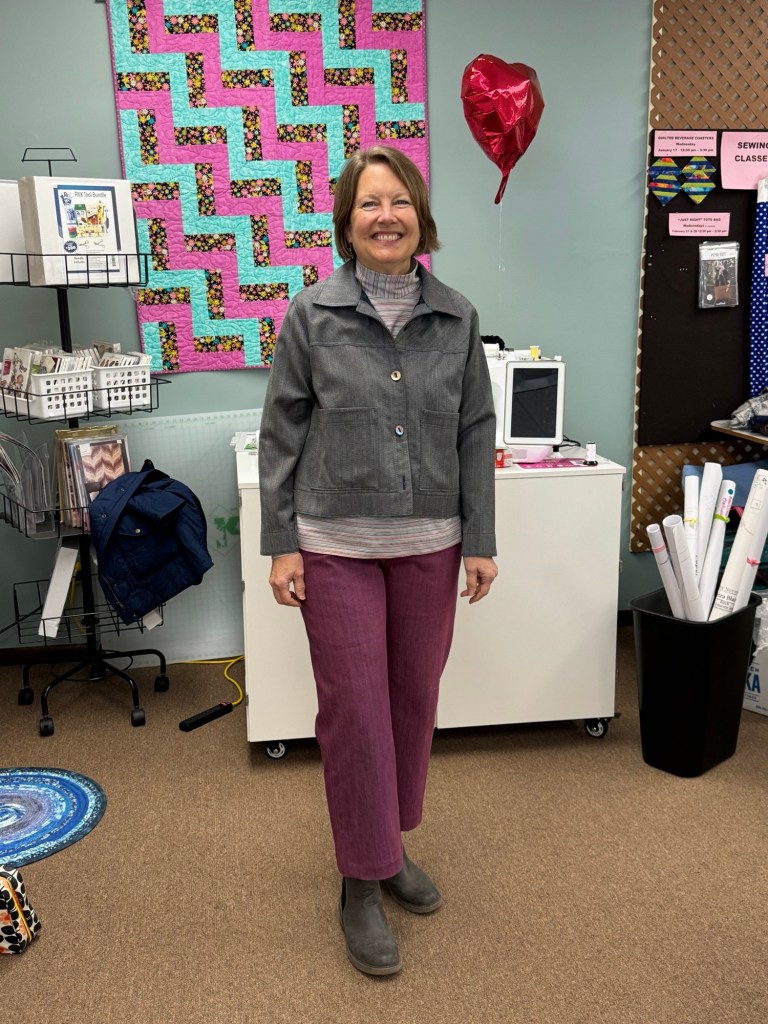
1. The design features on this jacket caught my eye. It has a front and back yoke, inverted pleat, hidden button placket, inverted flap on sleeves and a hefty hem.
2. I did my necessary shortening fit adjustments as well as a narrow shoulder adjustment.
3. The pattern instructions are clear but concise. However, top stitching widths were not consistent so I needed to pay attention or just do my own thing!
4. I would make this jacket again with a few changes, such as lengthening and lining the sleeves.

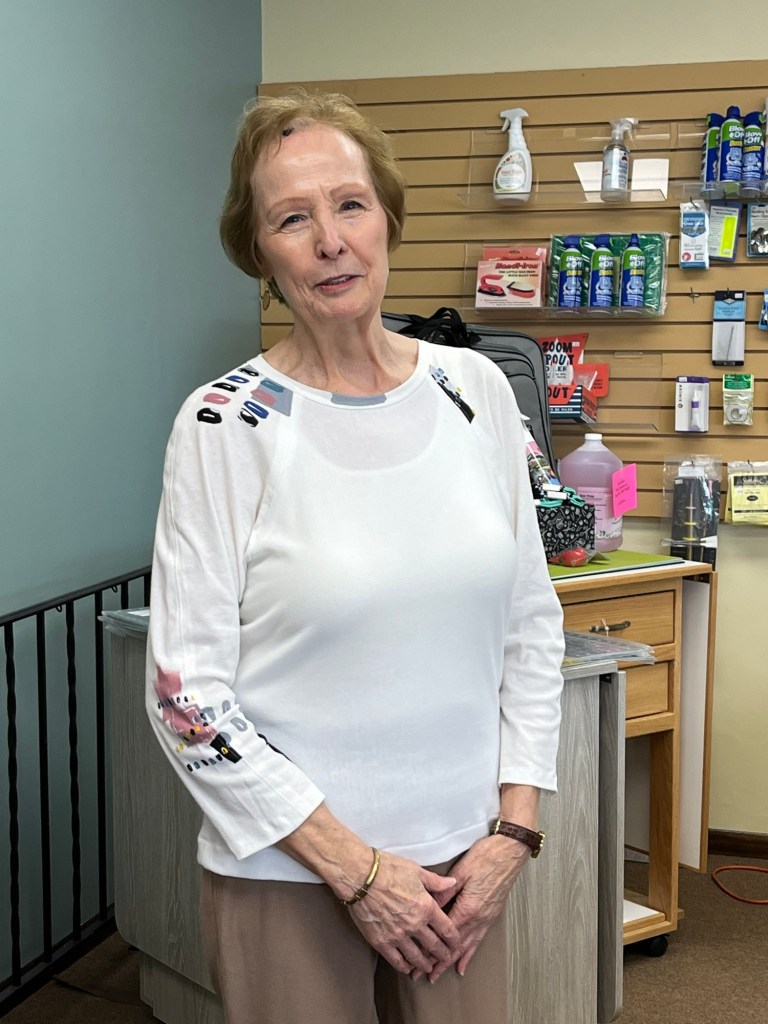
1. Besides my standard fitting adjustments I decreased the front and back neck width by putting in a dart on the paper pattern before cutting out fabric.
2. I enjoy using Itch To Stitch patterns. The fit, directions, and illustrations are great for beginners and seasoned sewists!
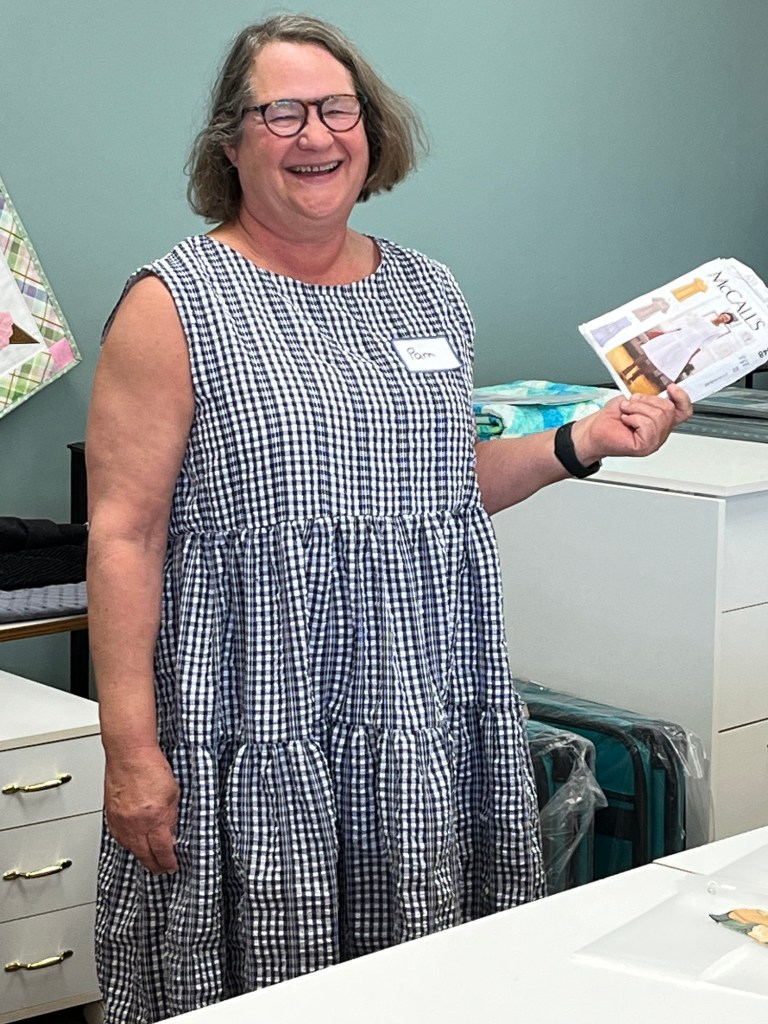
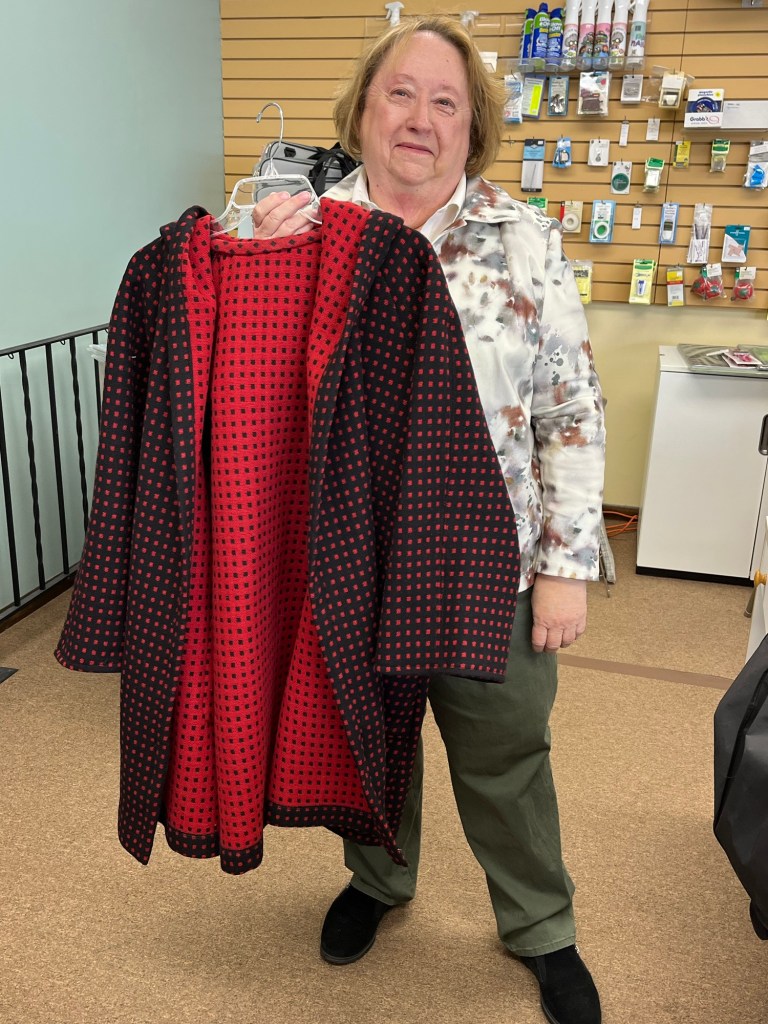
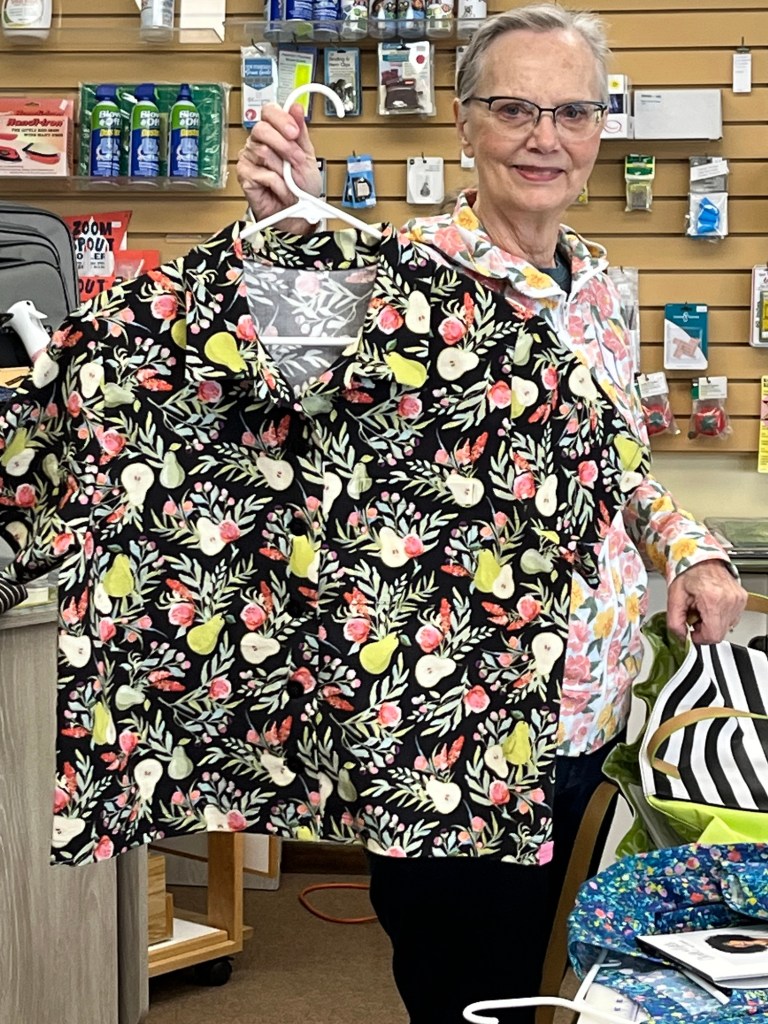
Lined Summer Vest, Butterick 6745, View C
Main fabric is cotton, lining is Liberty of London
1. I shortened the length between the shoulder and bust by 1/4 inch. I am thinking I should have used 3/8 to 1/2 inch for that shortening task.
2. I chose to topstitch entire vest – that tends to keep the lining from peeking out.
3. Not a quick make – you basically make two vests and then do lots of burrito methods to construct lining – patience is necessary.
4. Pants are the Jalie Vanessa made last year from same fabric as vest.
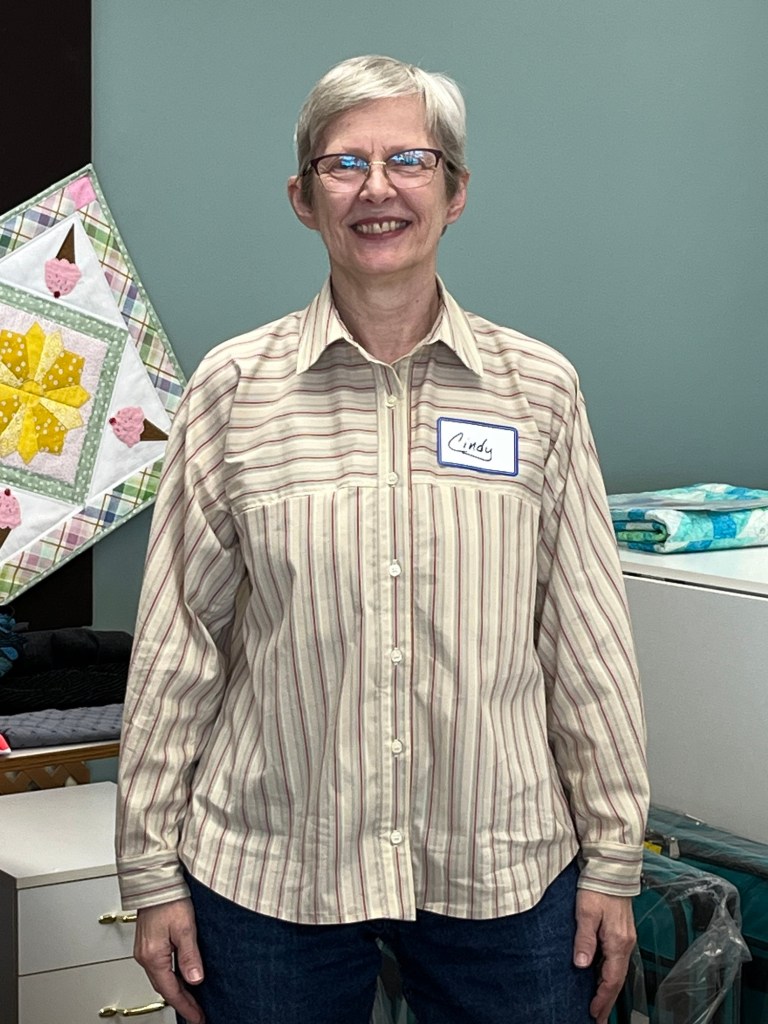
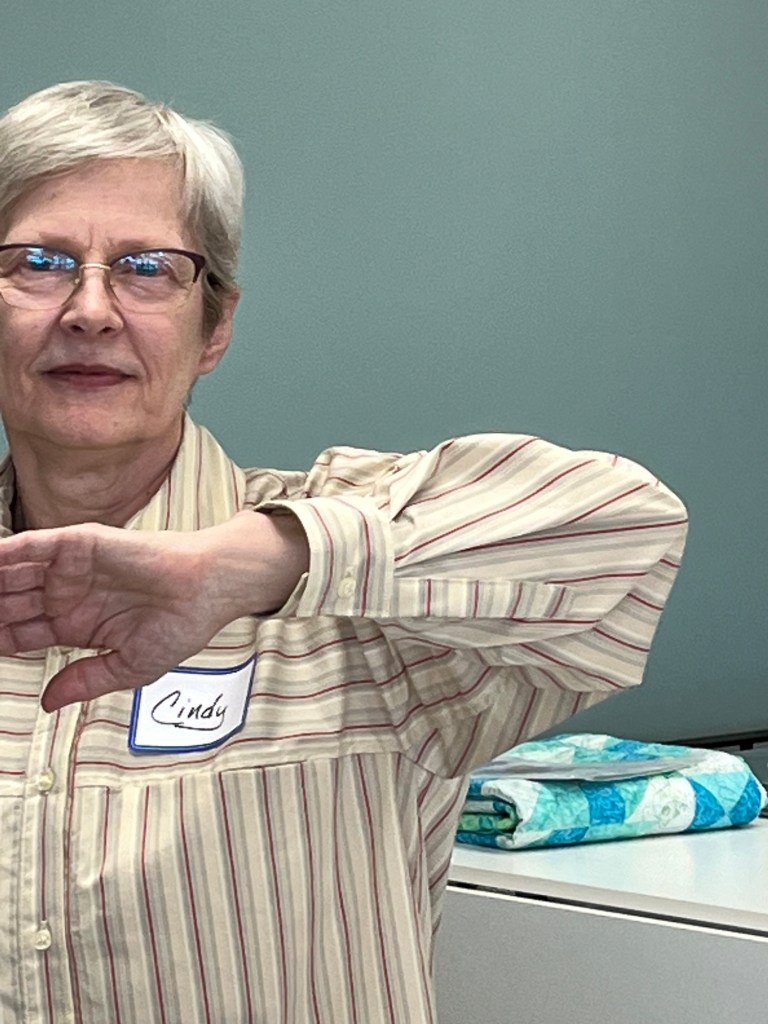
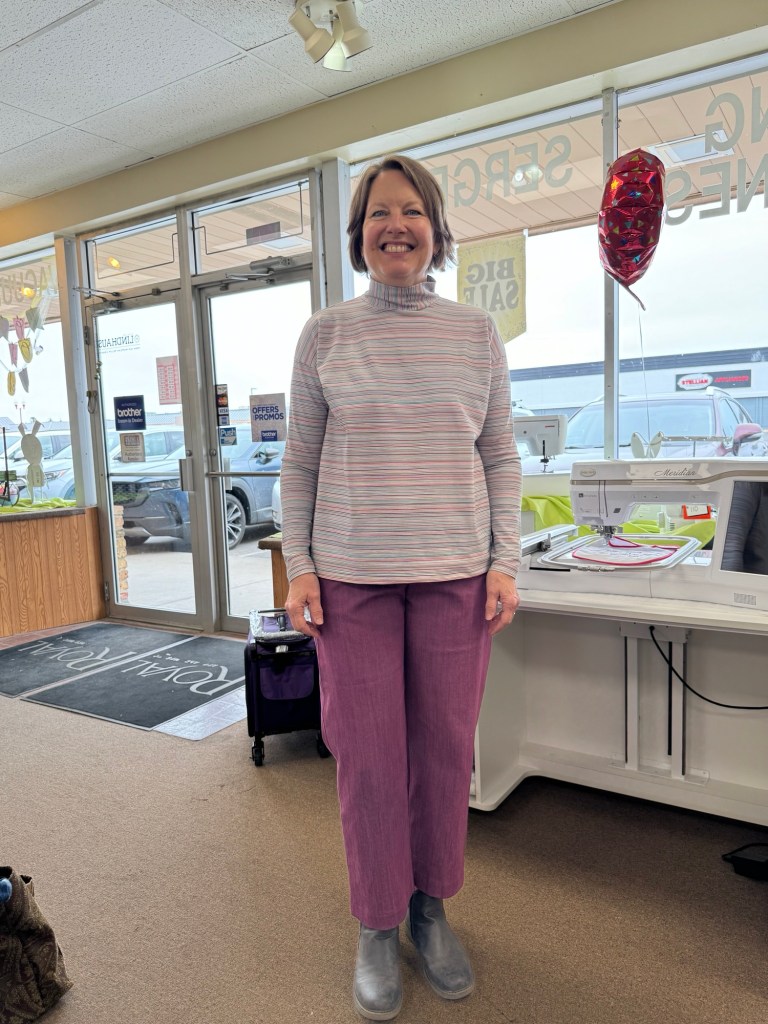
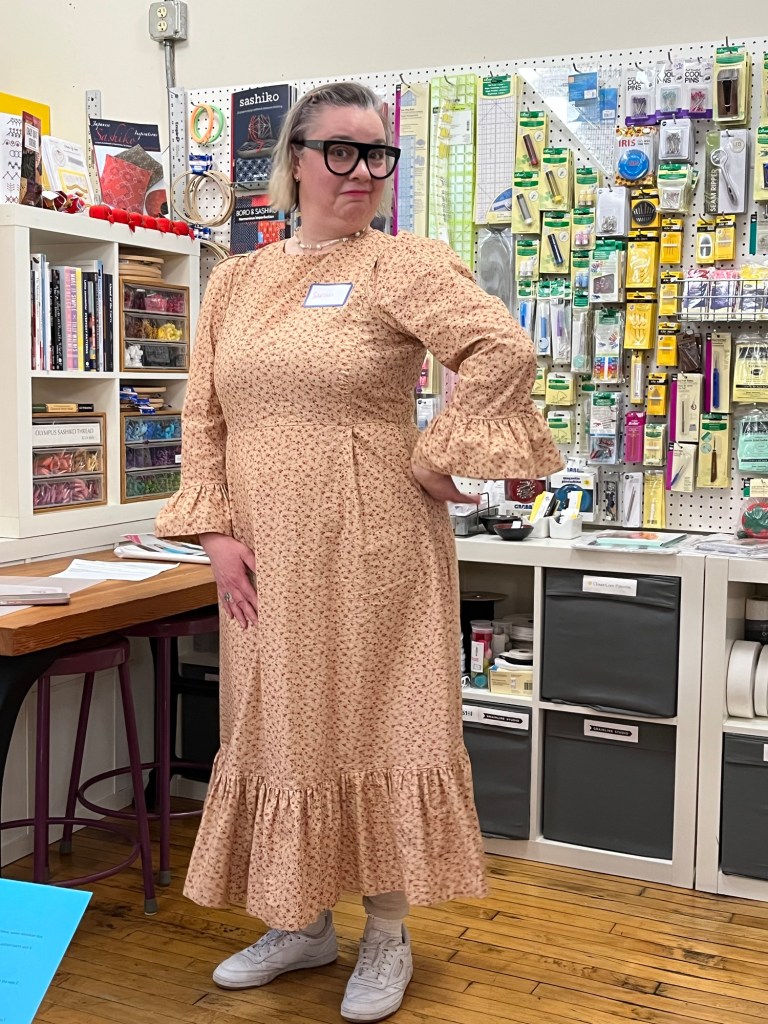
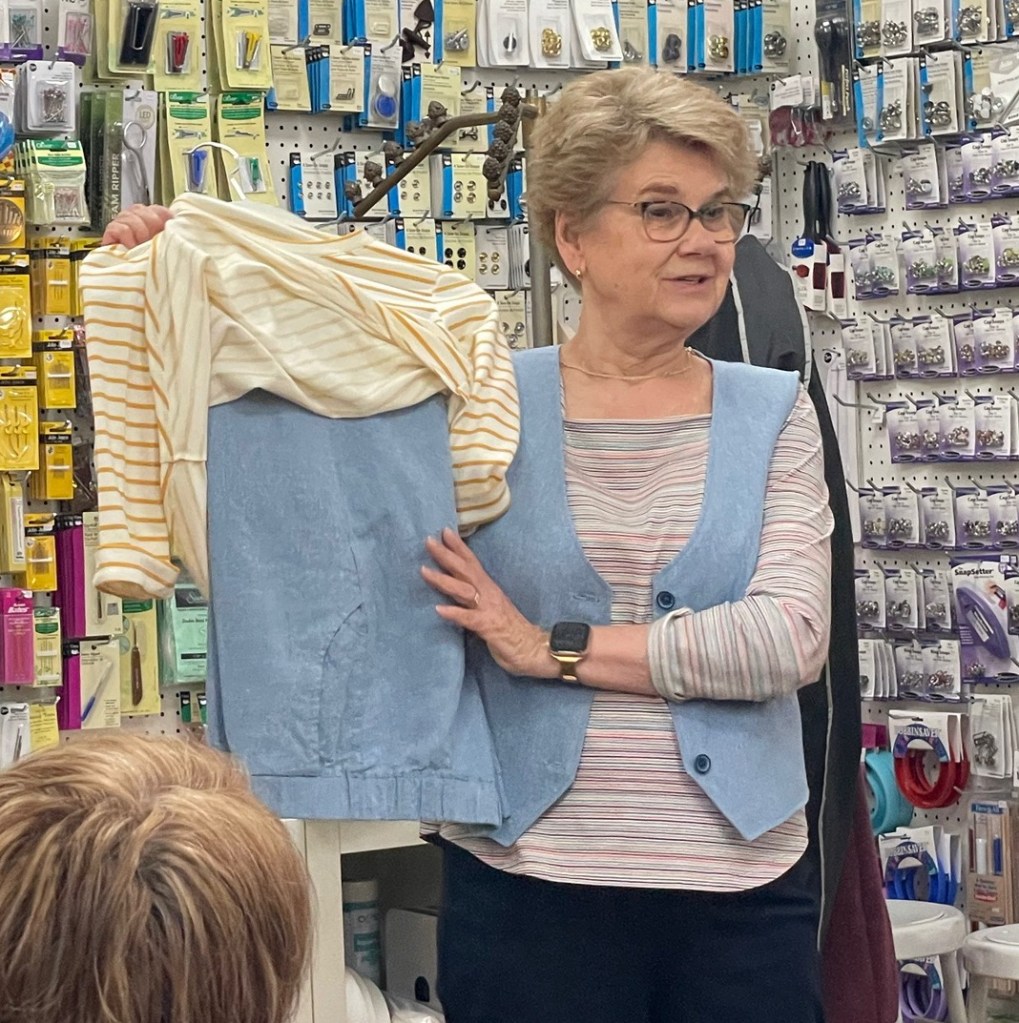
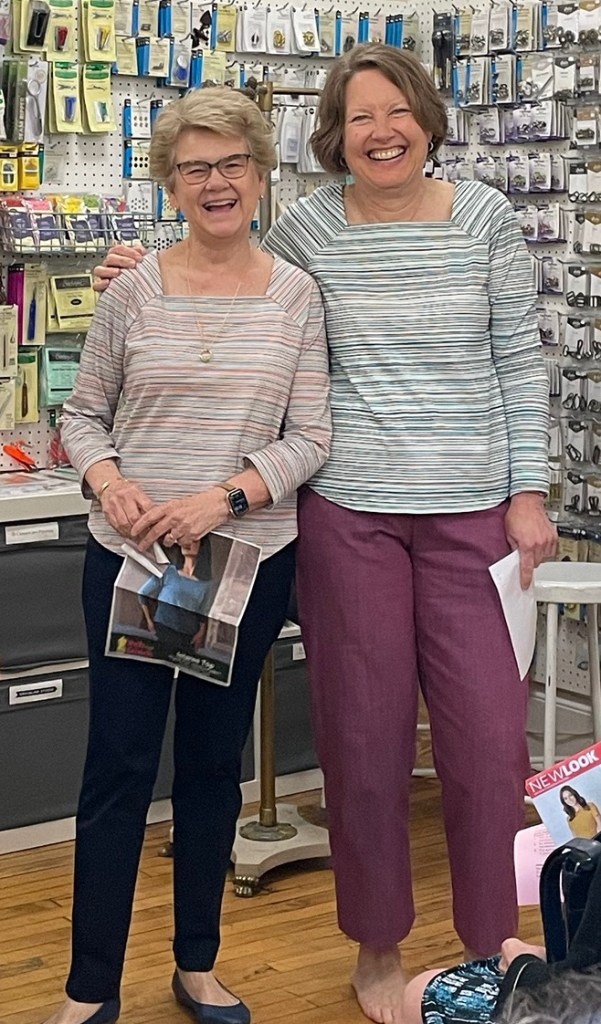
Cream/Camel Stripe Tee/Love Notions Classic Tee in French terry
1. This is a TNT pattern, especially for warmer months when I want a more relaxed fit but not oversized.
2. As always I did my shortening adjustments and did a shirt tail hem. I also added cuffs to the sleeves because I did not have enough fabric to make a 3/4 sleeve length.
3. Fun and easy make with lots of versatility. Also the fabric doesn’t have a lot of stretch but it is yummy to work with and wear.
June Garment Sewing Group
Wednesday, June 12, 10:30, Lakes Makerie, Minneapolis
Thursday, June 13, 10:30, Creative Sewing, Apple Valley
Saturday, June 15, 10:30, Ginny’s, Rochester
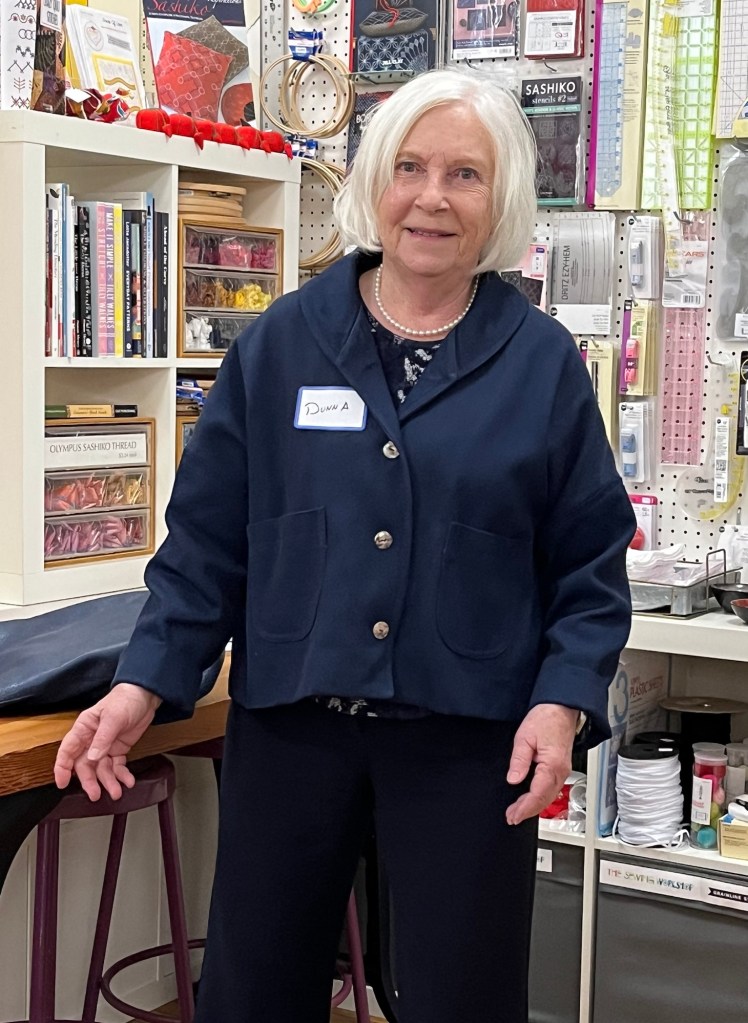
Kristin’s Garments:
1. Great directions and drafting. Widened at hips and took in the shoulder dart for a less sloped shoulder.
2. All neck edges and facing are interfaced per pattern.

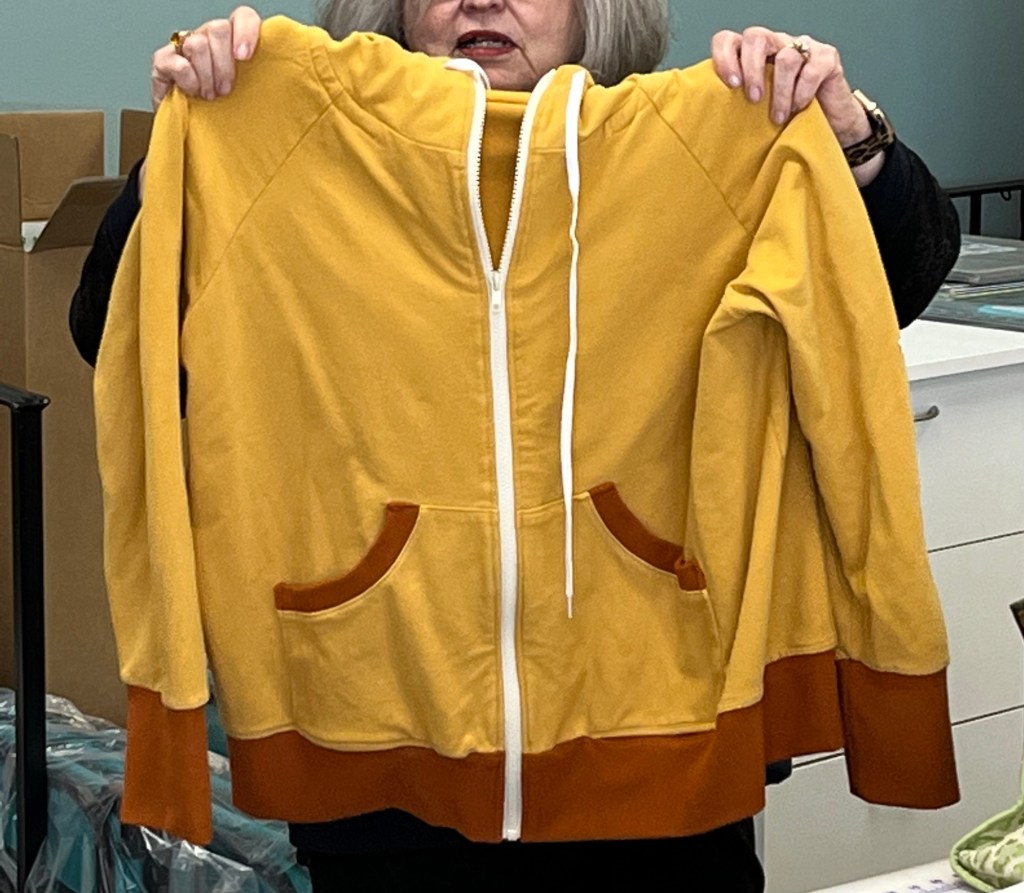
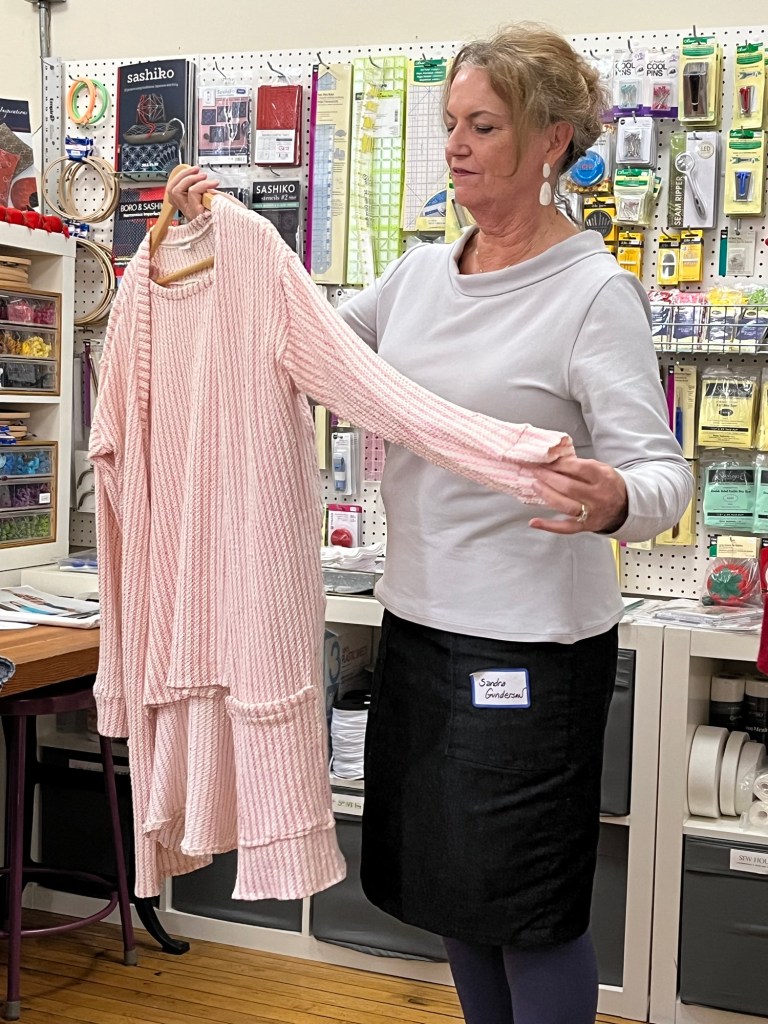
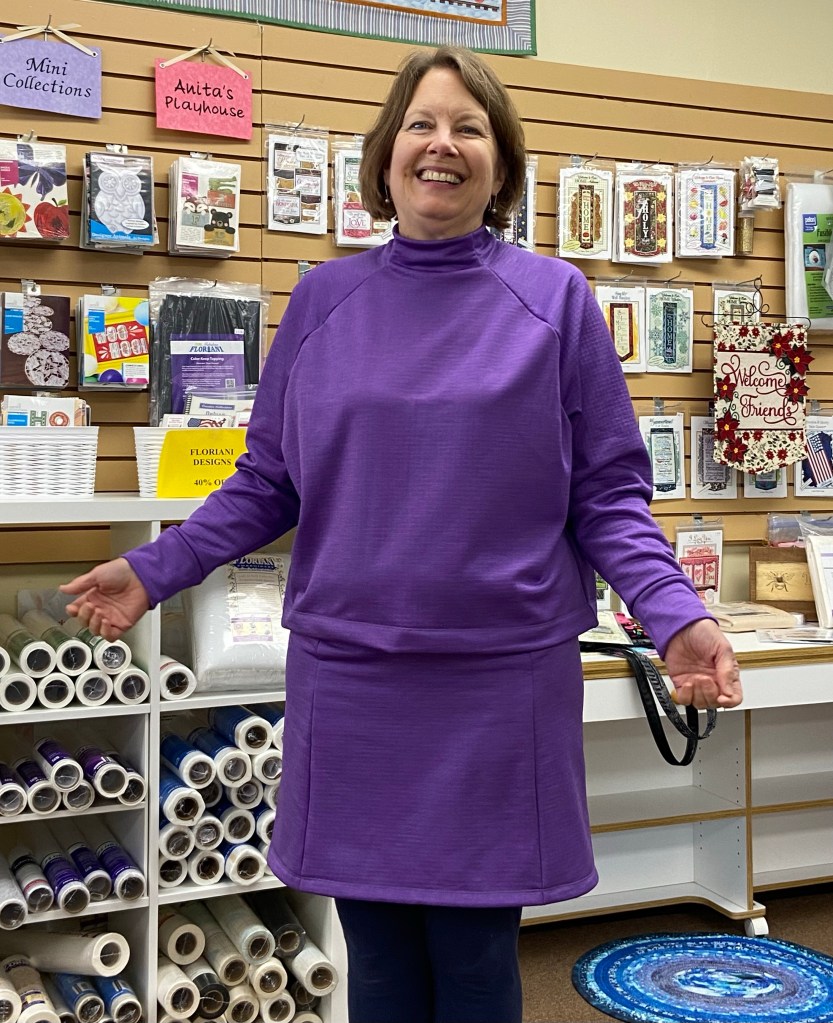
1. I’ve made the pattern before but not the hoodie. As I was folding the cuff to sew, I realized how little stretch the fabric had!! Assumptions always get me in trouble! So it’s a bit more close fitting than I was thinking but a perfect solution.

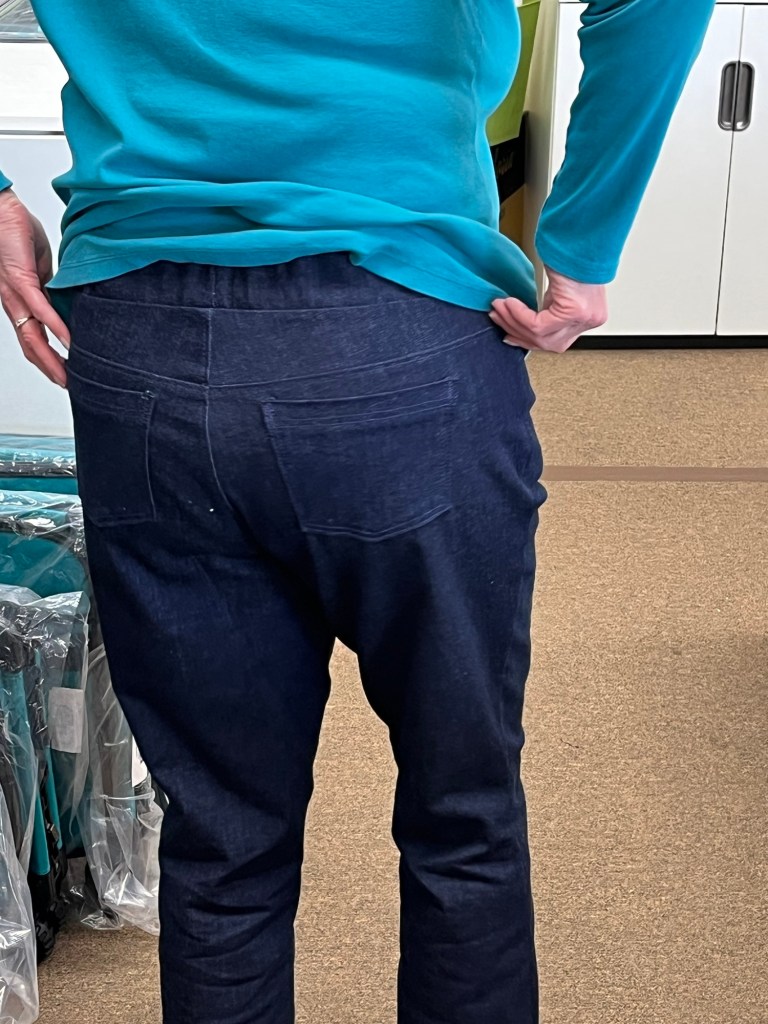
1. New pattern from Love Notions. Made for knits or wovens-just size up or down.
2. Went together well. I didn’t put the elastic in channels, just used 1.5” elastic. Length is to pattern. She has a 3” gap between sizes so I took in the back after trying on.
3. Had to try the mesh for the biker shorts. Added a hem band to leg to lengthen and stretch better. Much cooler and lighter in weight than other options. But I’d have to do a test run before endorsing wholeheartedly 🙂
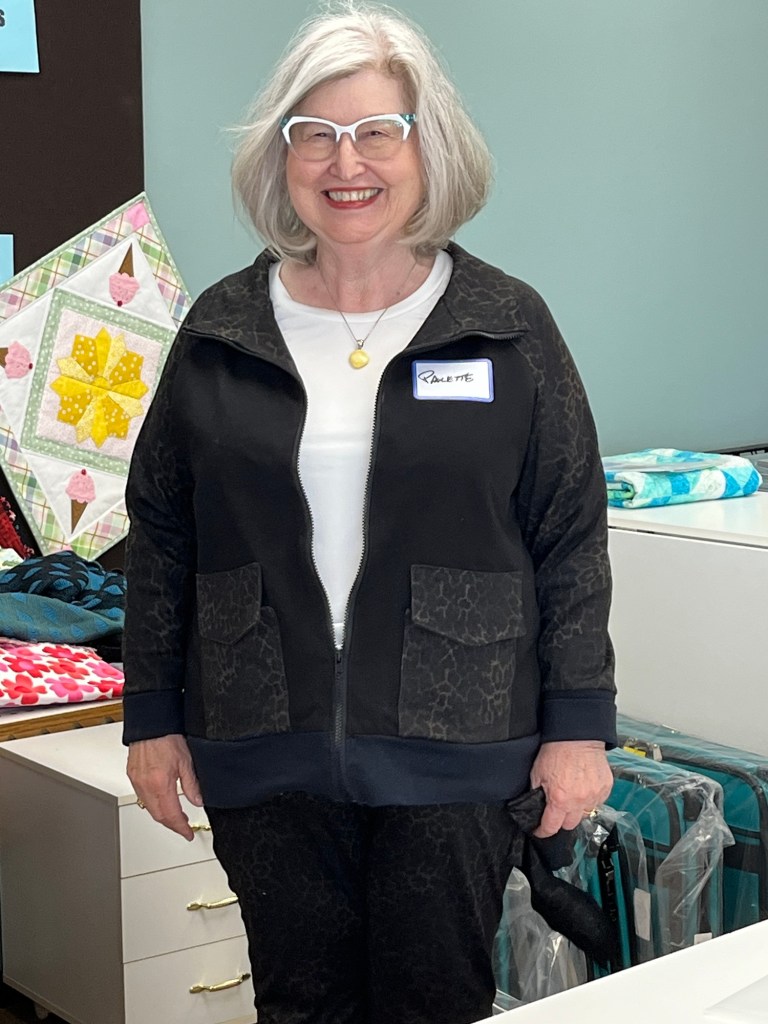
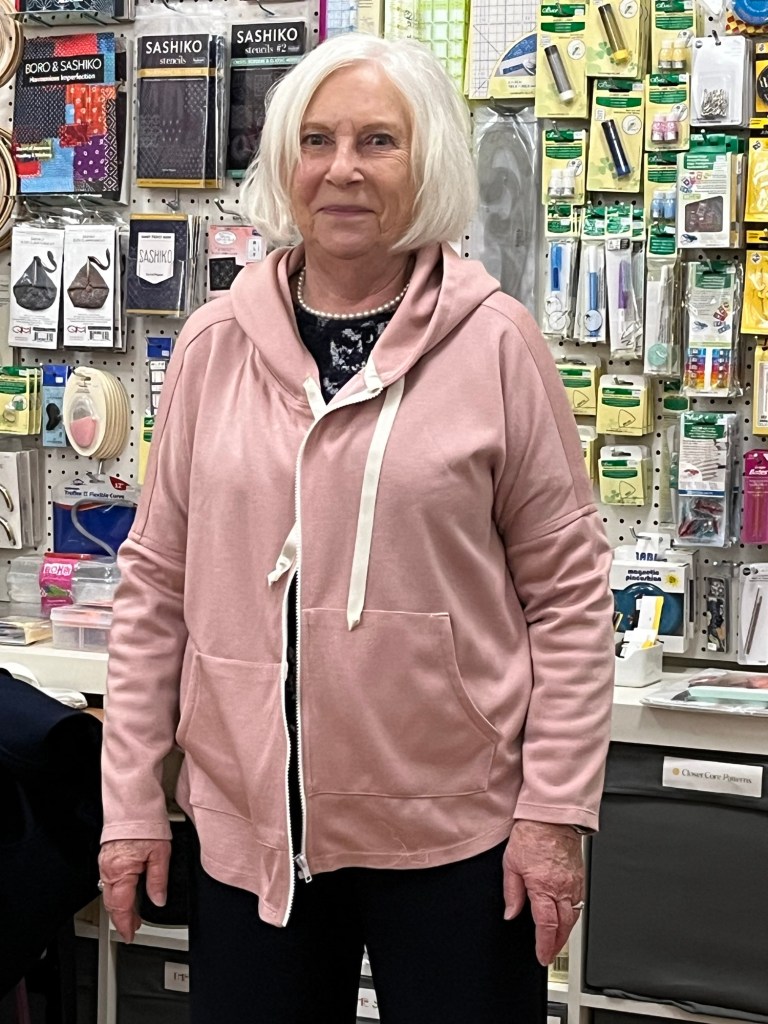
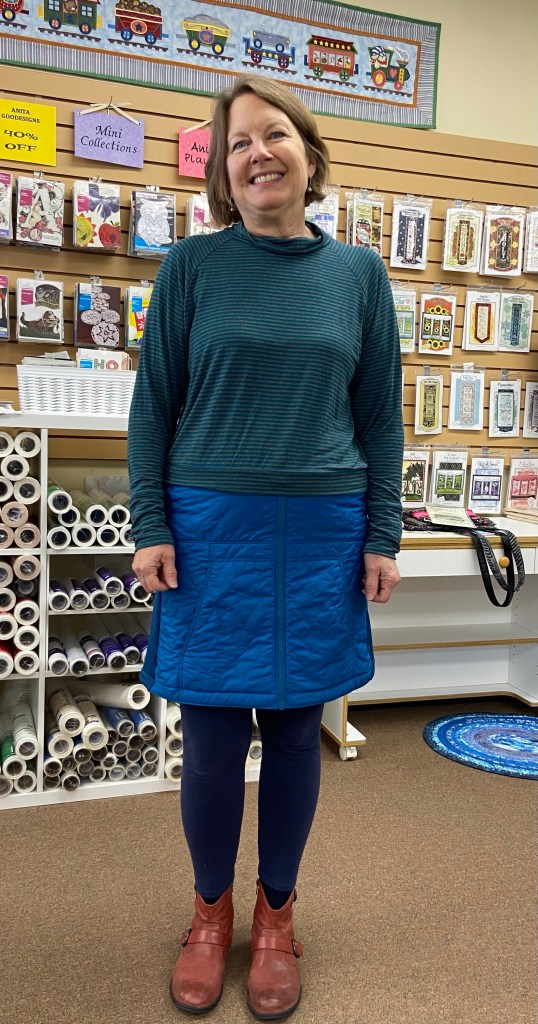
1. After last month’s experience with the Work Shirt I sized up 3 sizes as I wanted a loose fit. I kept the shaping in side seams and center back.
2. Great details in the front zip-guard at the top and tab at the bottom. Lots of pocket options again but I chose the kangaroo but made it smaller for my cell phone. Great pocket with flap.
3. Happy with sizing. Pattern calls for drawstrings at hem but I omitted. I’d make this again!

1. Love the fabric but it is very stretchy-which is good-and sometimes difficult to manipulate. So I chose a more simple woven pattern that would take advantage of the stretch across the back. I have made the view with the ruffled neck and heard that the vee neck was great.
2. I agree! The vee is modest and the wide elastic gathered cuff band is perfect. Can’t wait to make more of these!