Last of summer sewing??? We’ll see…
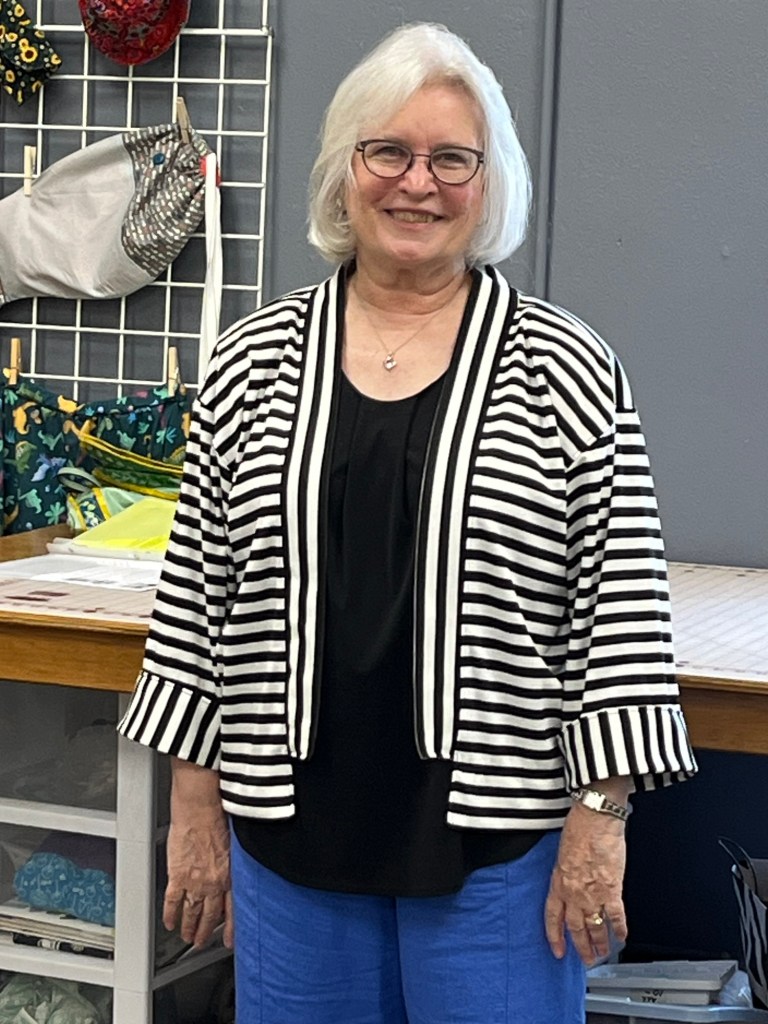
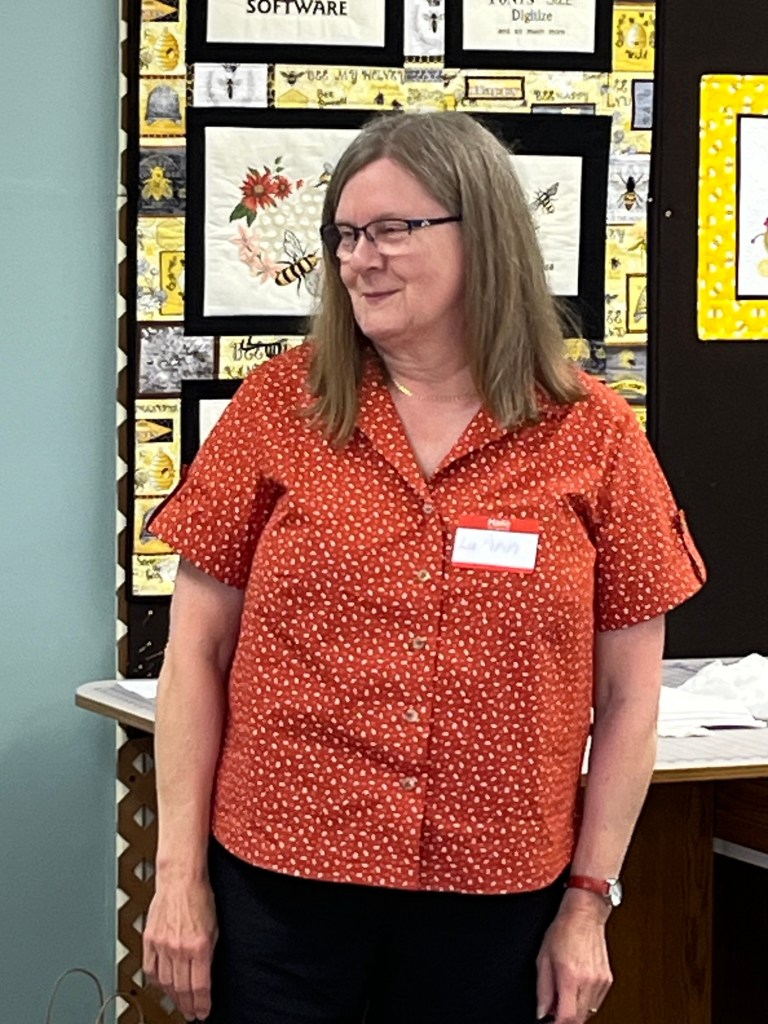
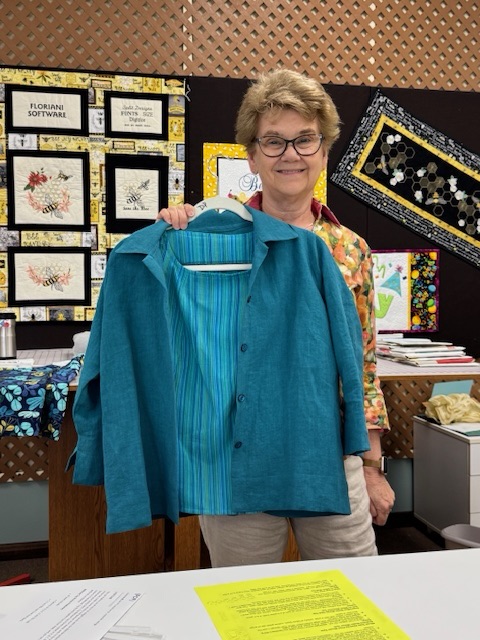
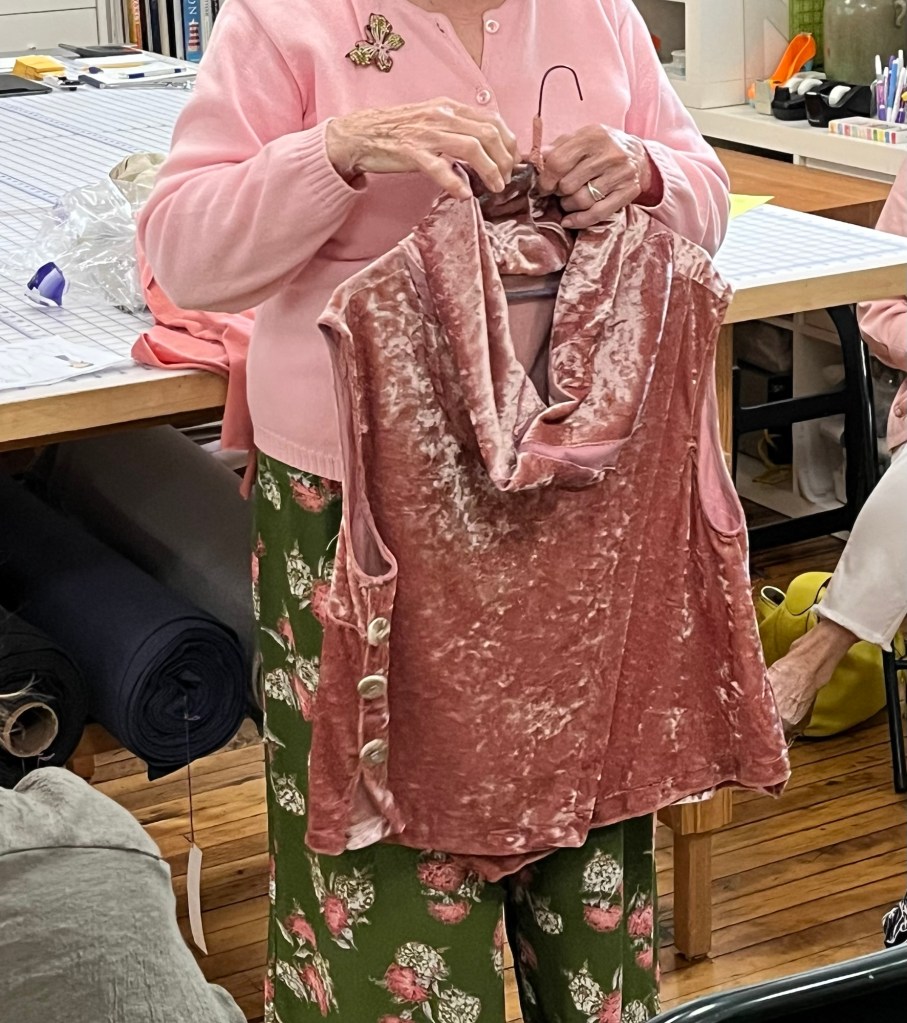
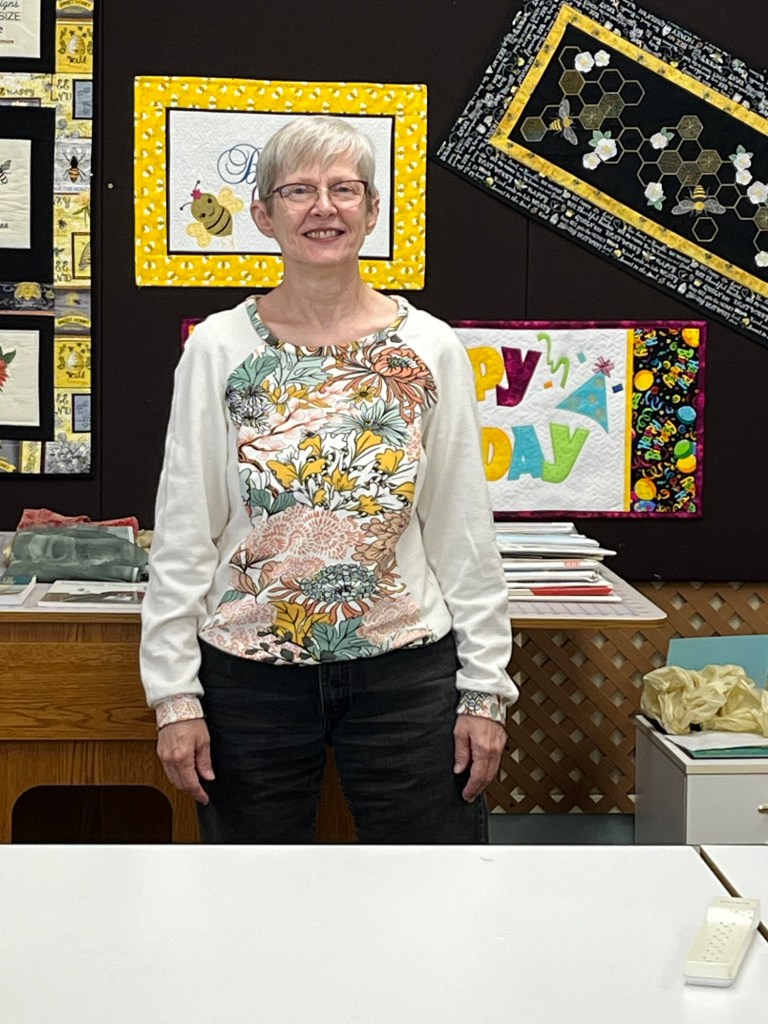
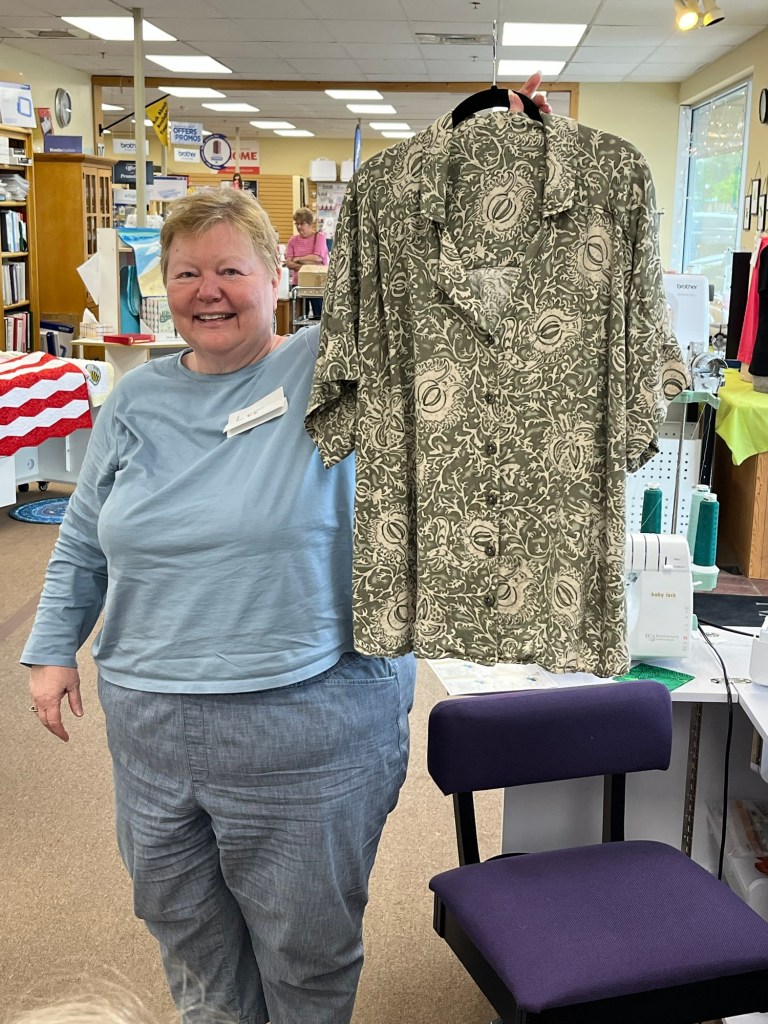
Debbie’s Garments:

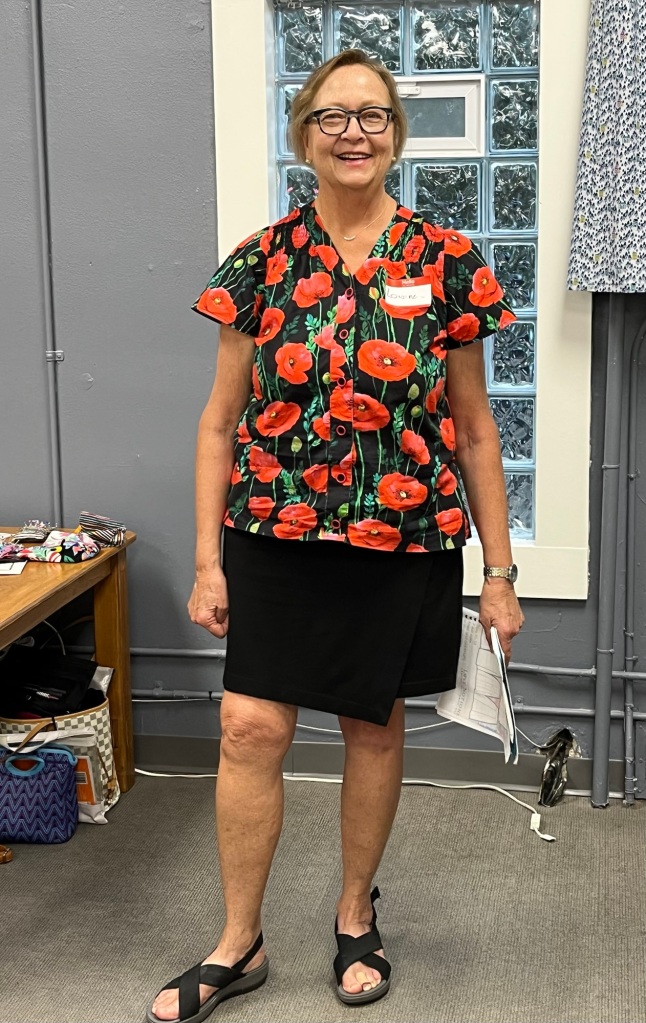
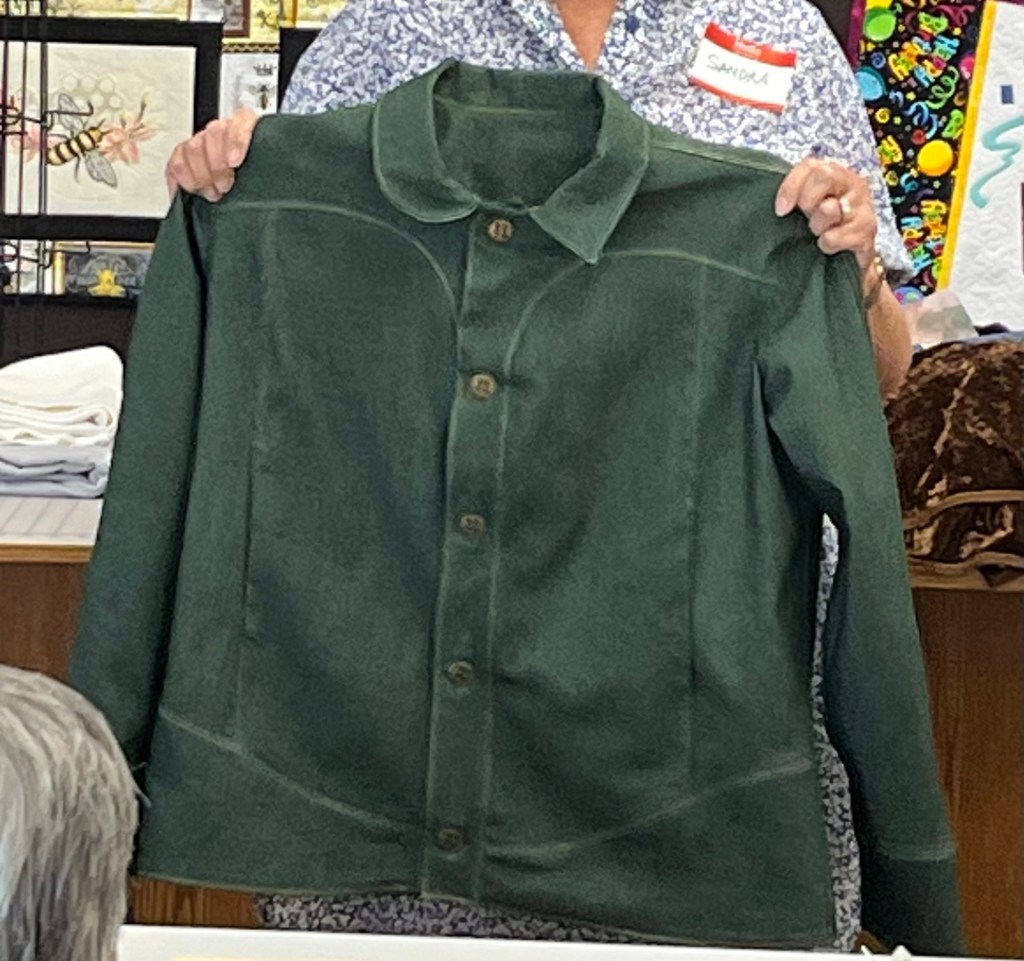
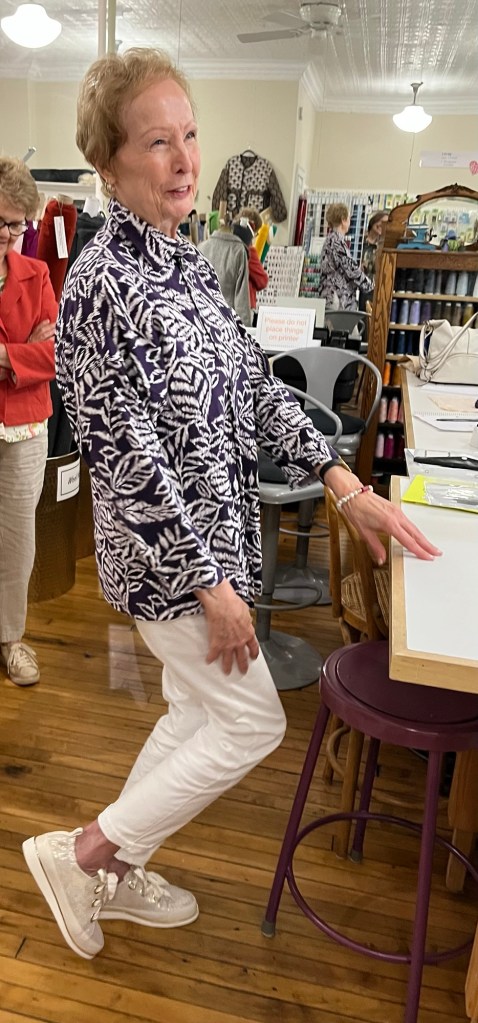
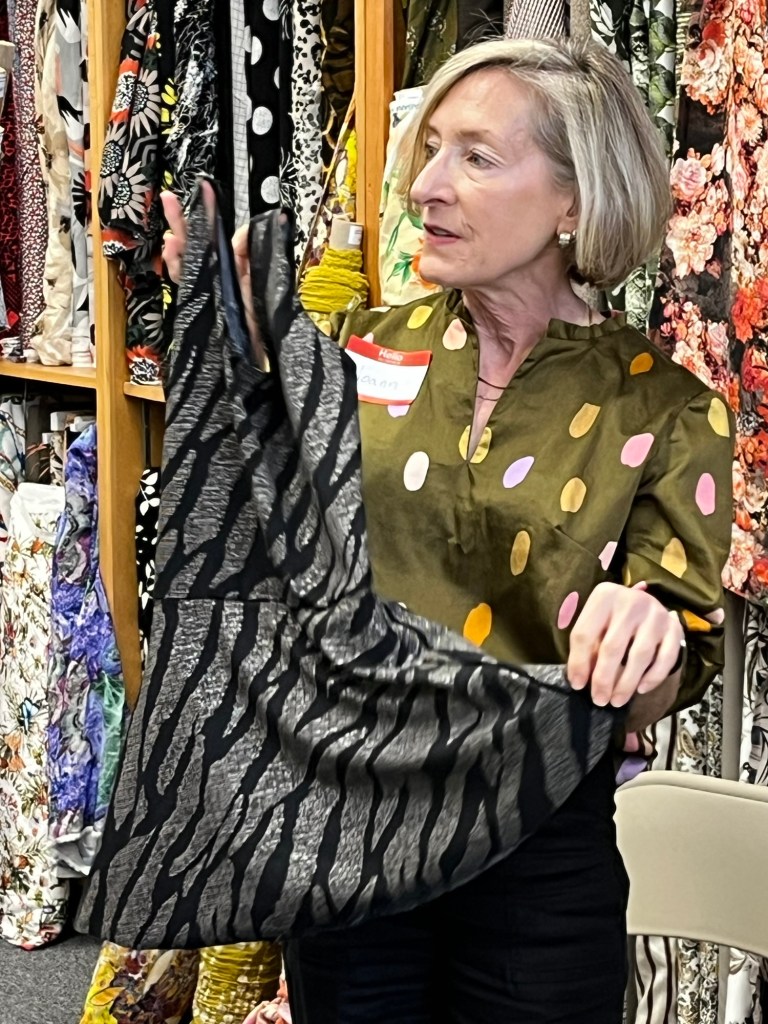
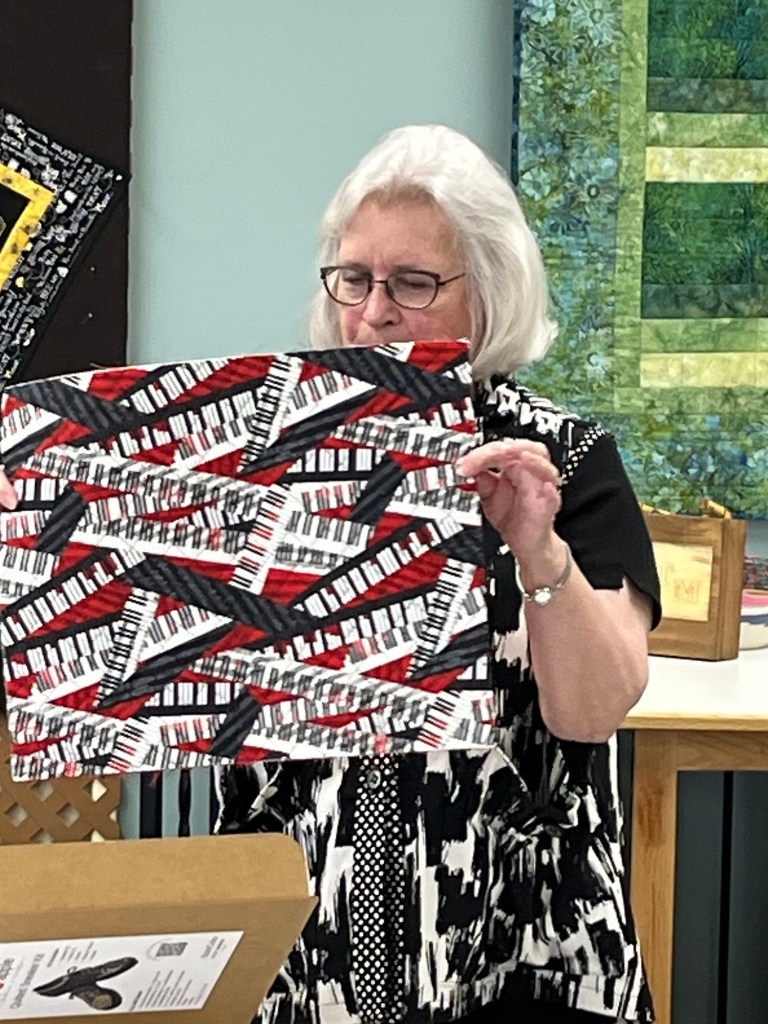
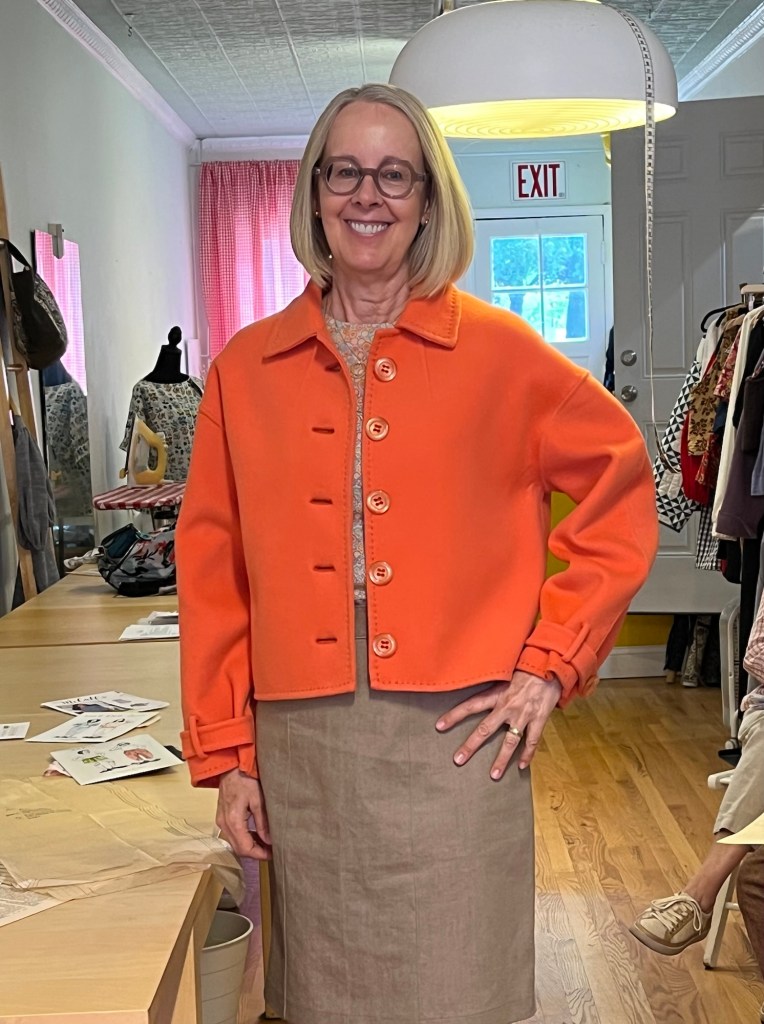
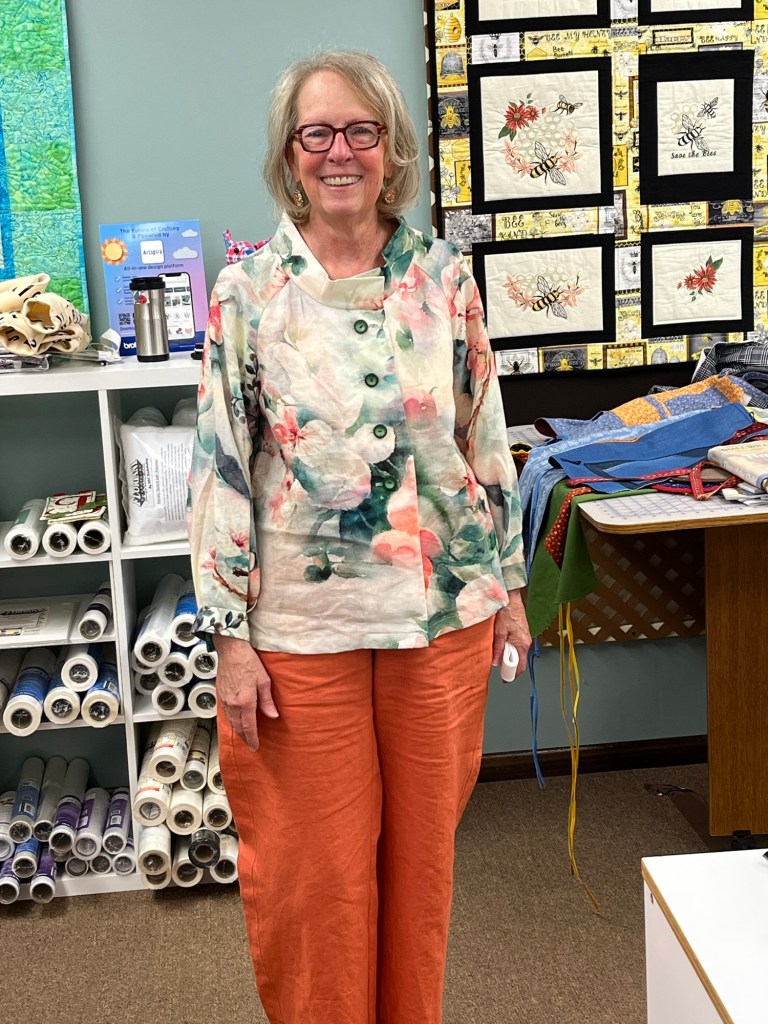
The only fit adjustment I needed to make on the vest was narrowing the shoulder.
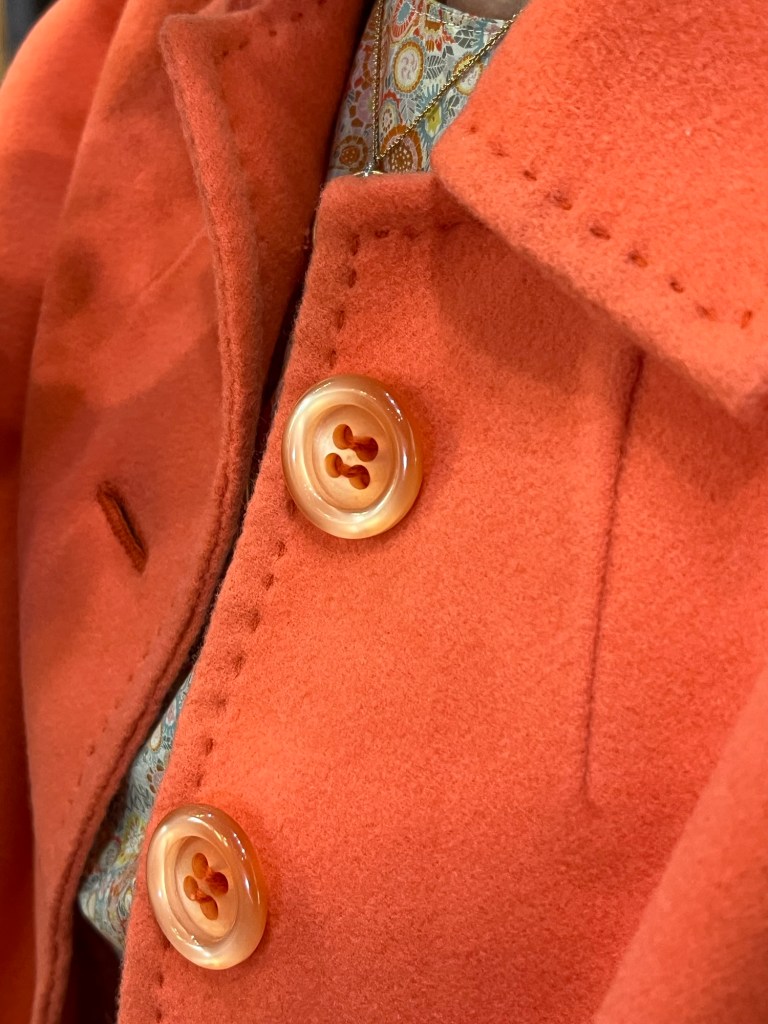
The pattern calls for interfacing the entire front-I just interfaced the buttonhole area at center front due to the weight of my fabric.
I especially like the shaping of the vest and the faux welt pockets. I eliminated the back ties – too fussy for me.
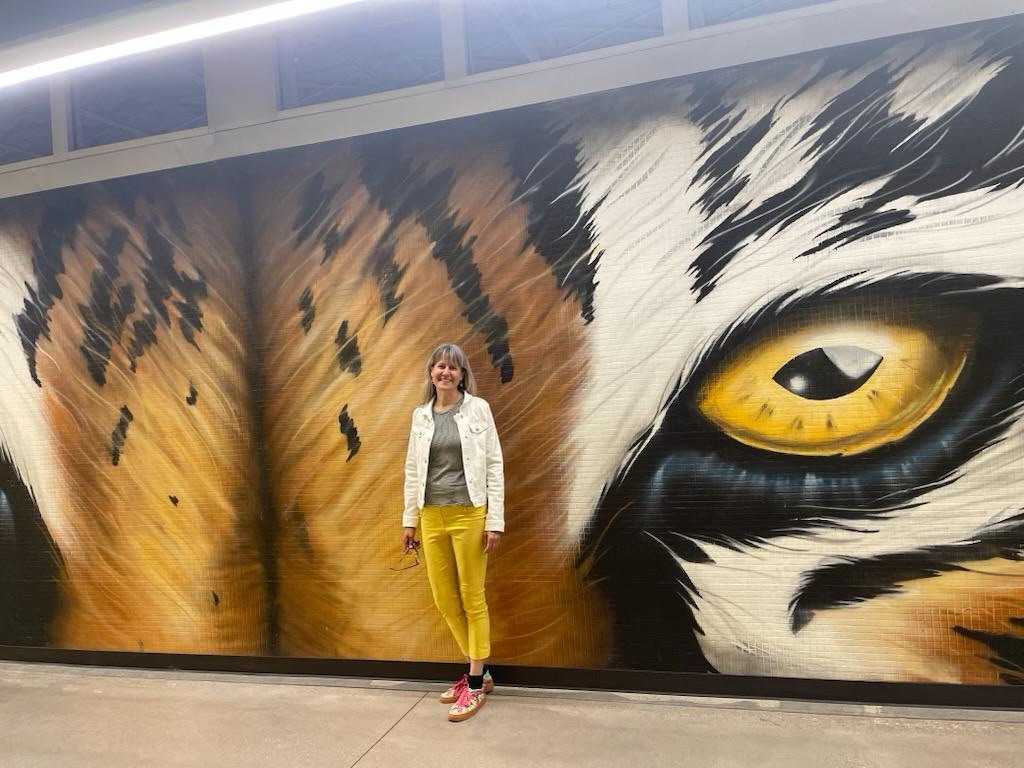
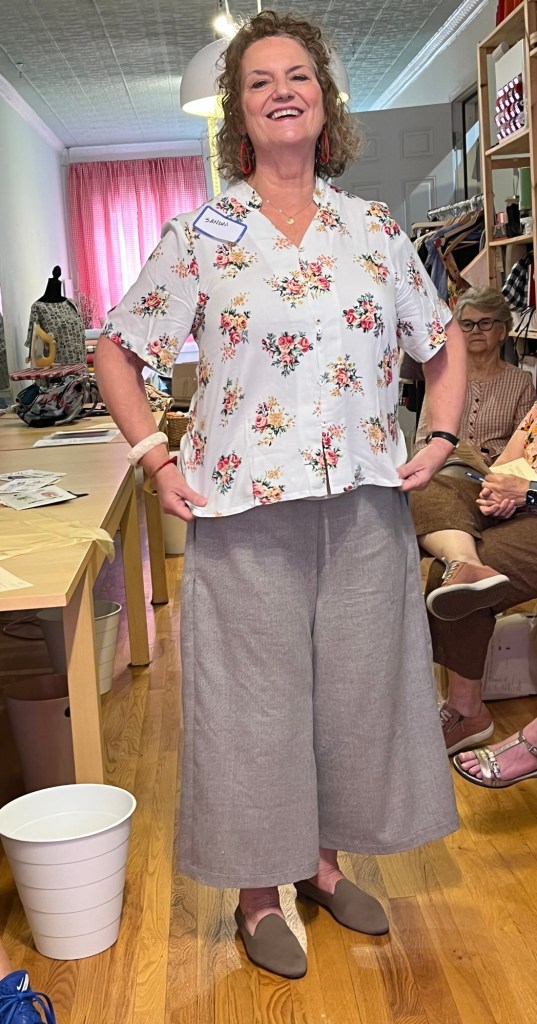
Summer Coral Pants
Burda 7062, View A
This is a TNT pattern. Since I had plenty of fabric left from my vest I knew I had to follow up with matching pants.
I like the slits at leg hem and the contour faced waistband.
Pants can be boring but can feel pretty especially when bias binding is used on bottom edge of waistband.
The vest and pants were a fun and easy make.

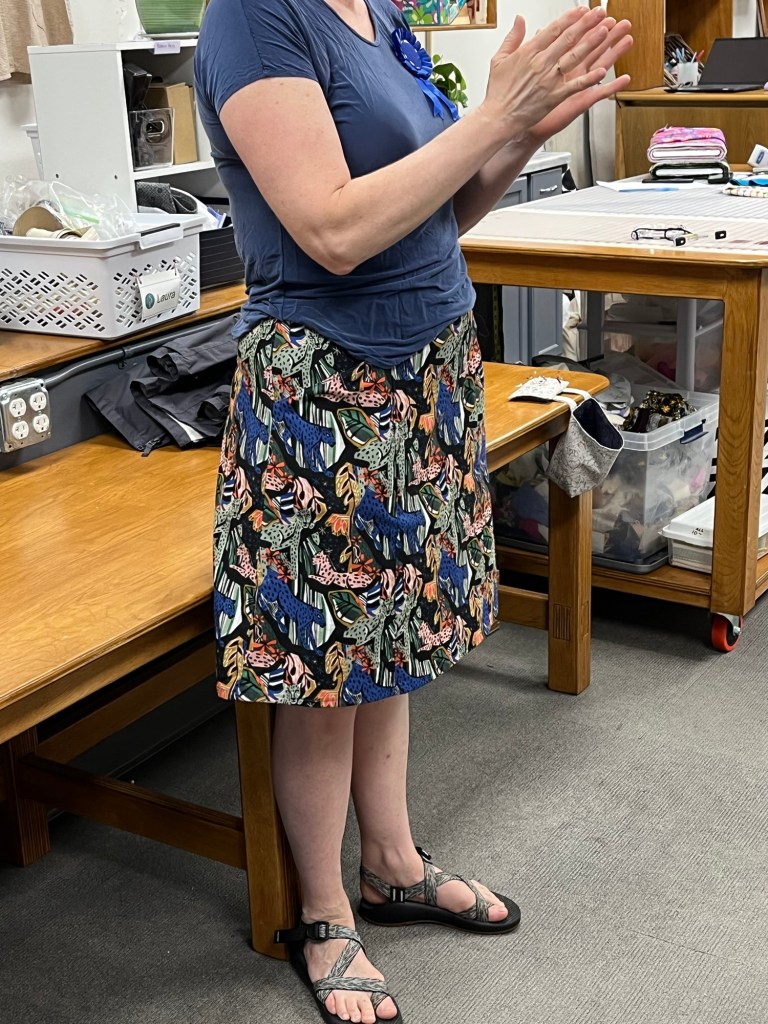
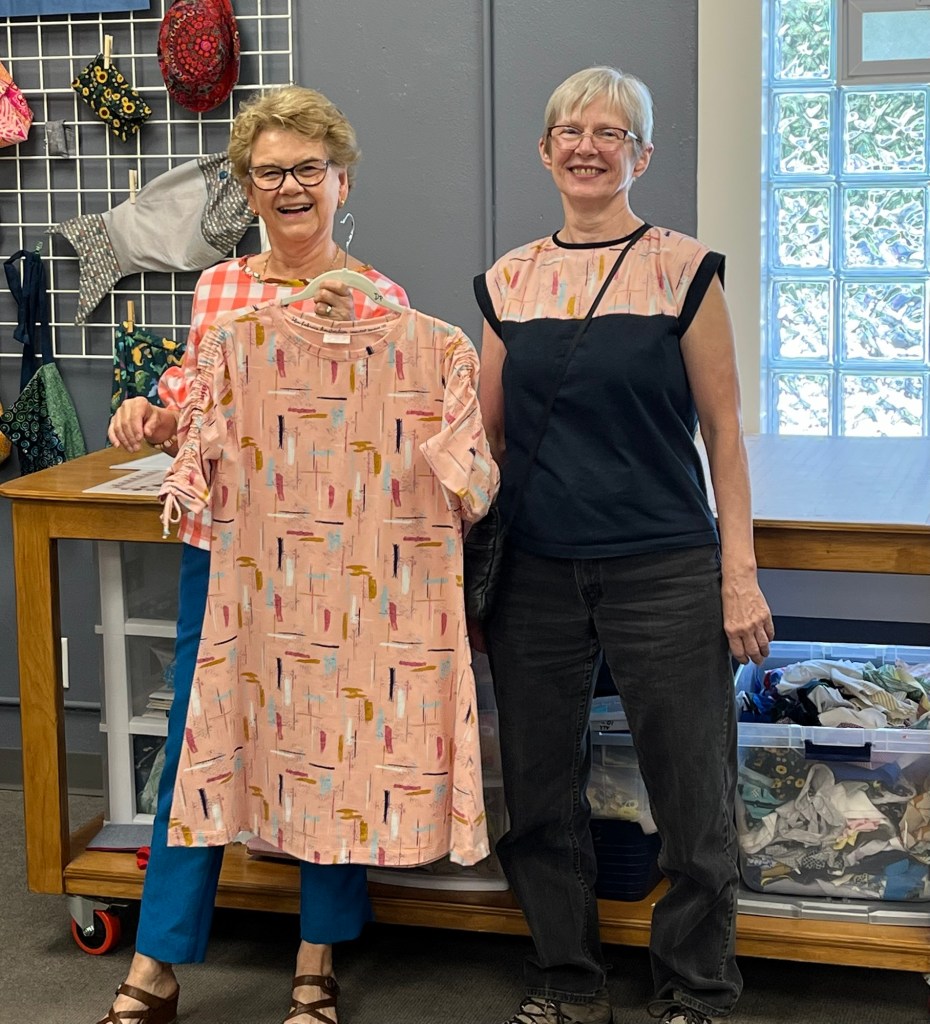
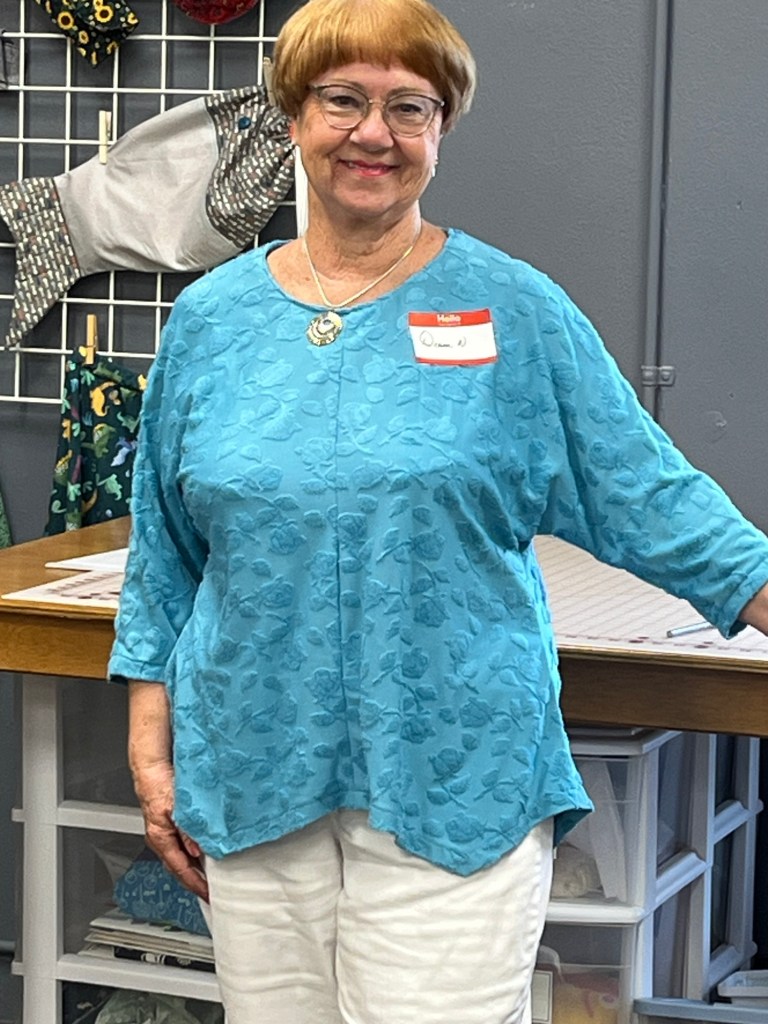
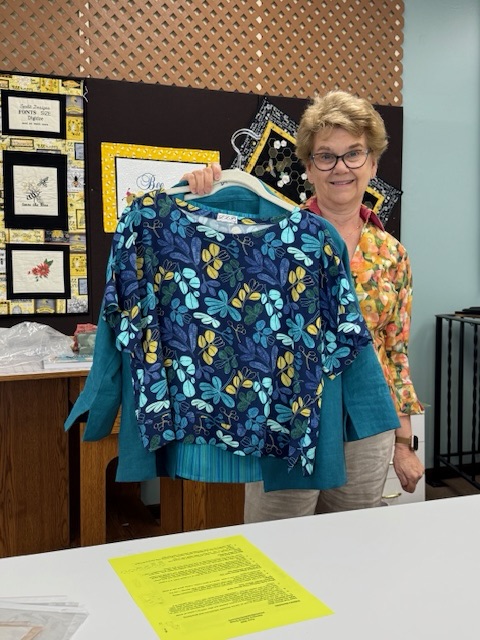
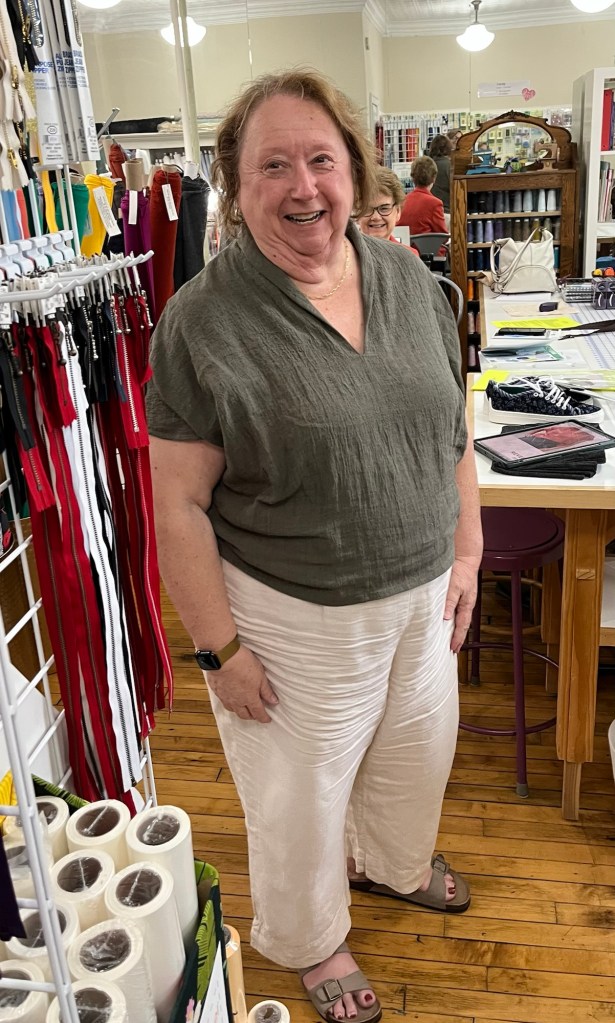
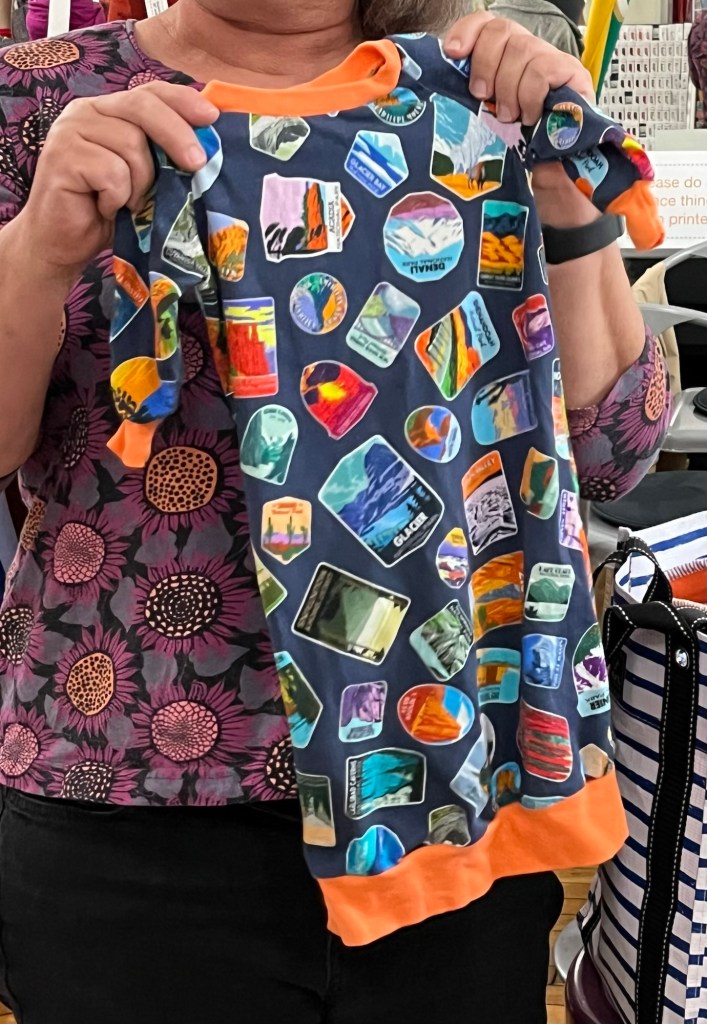
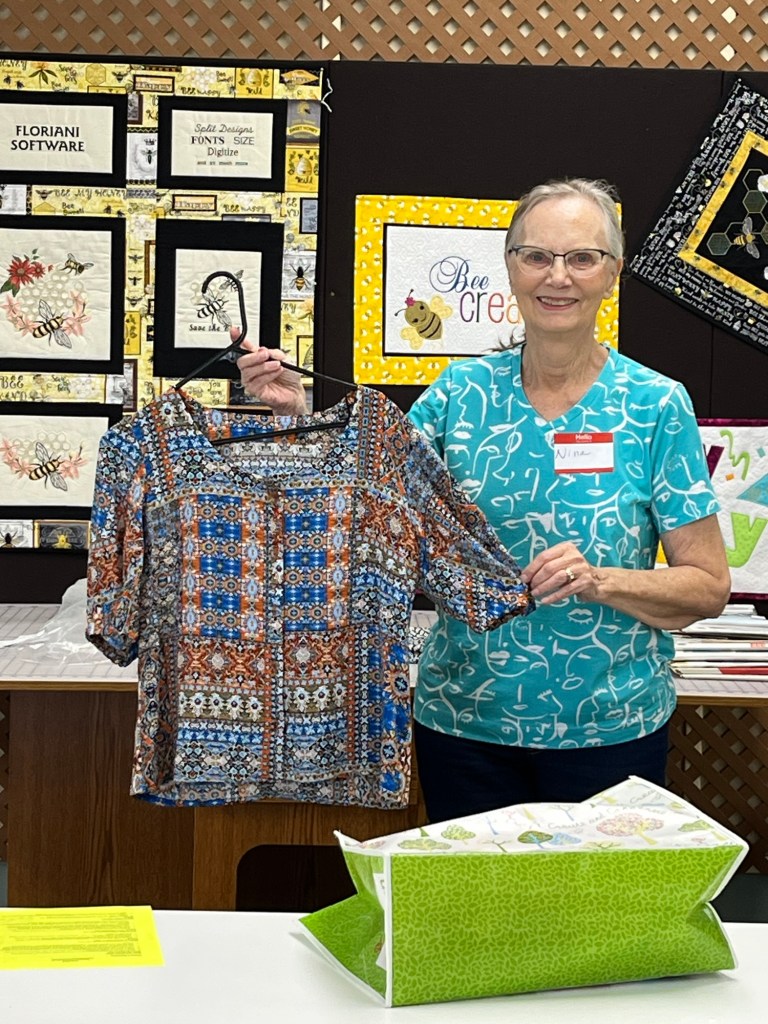
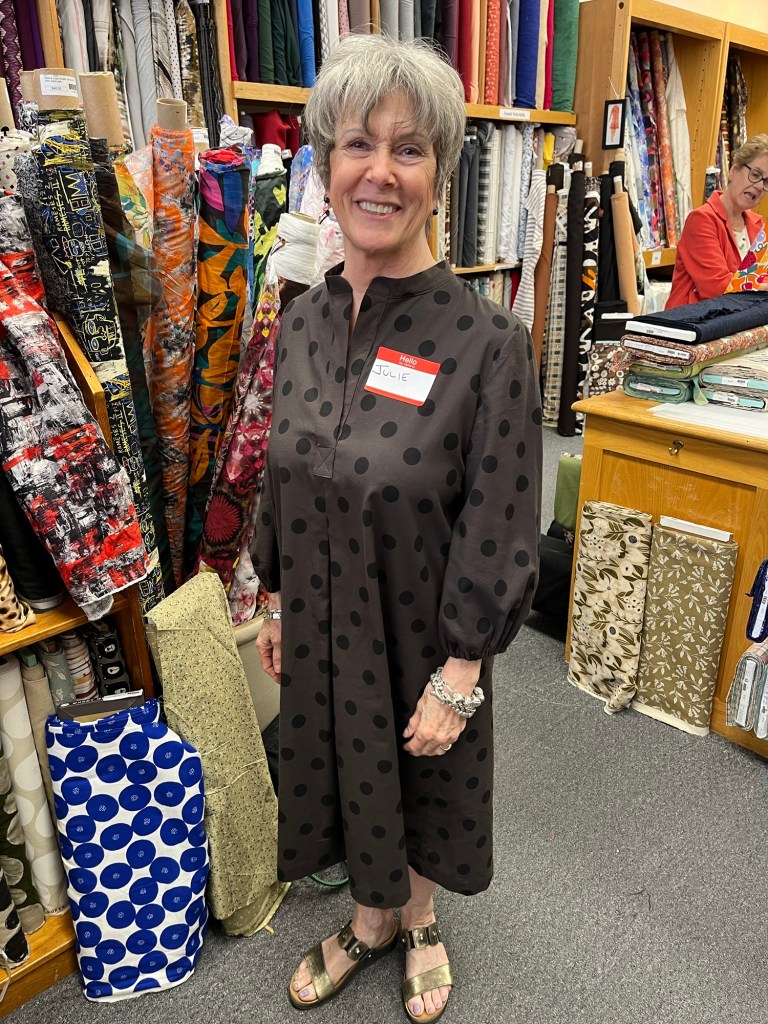
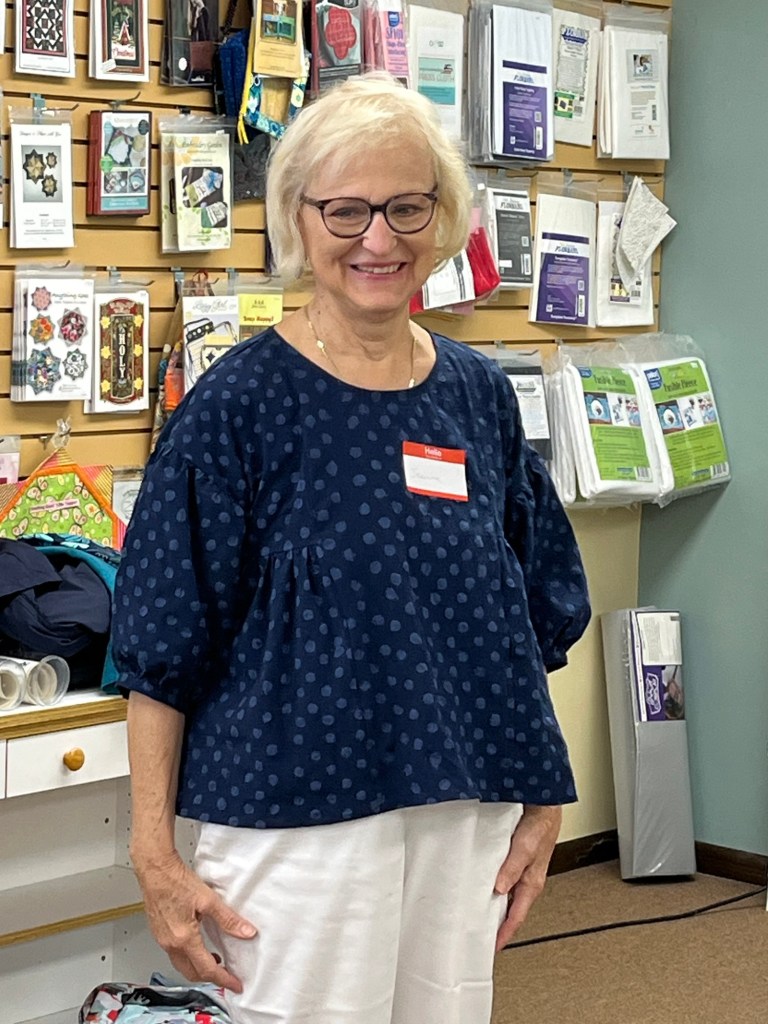
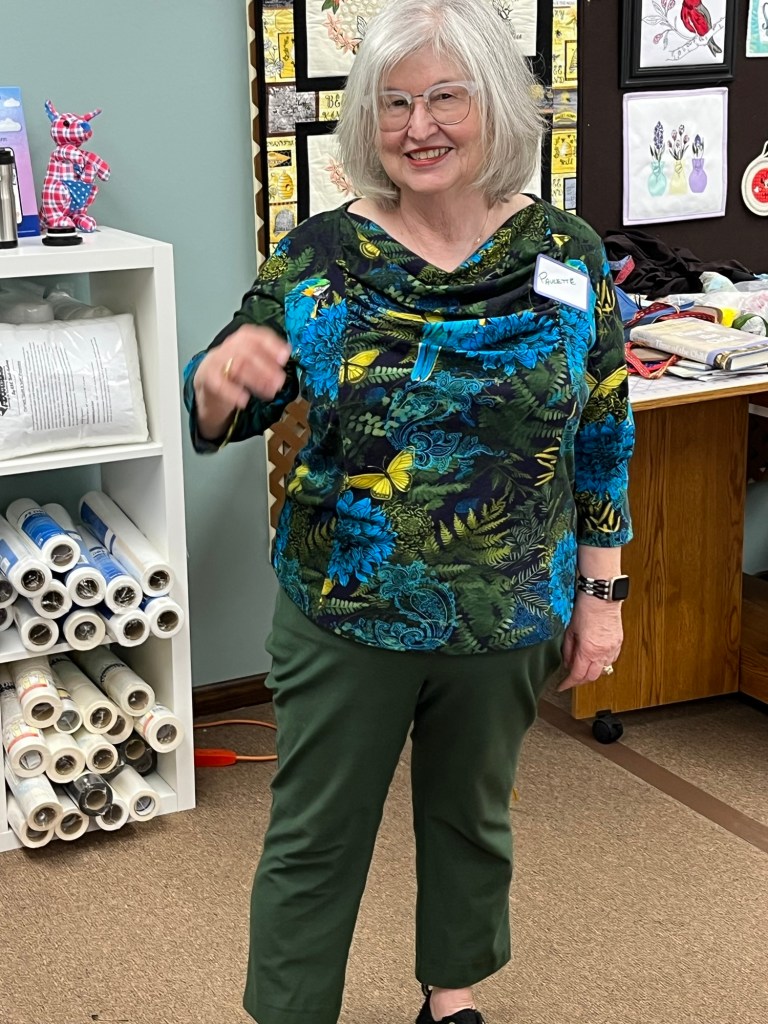
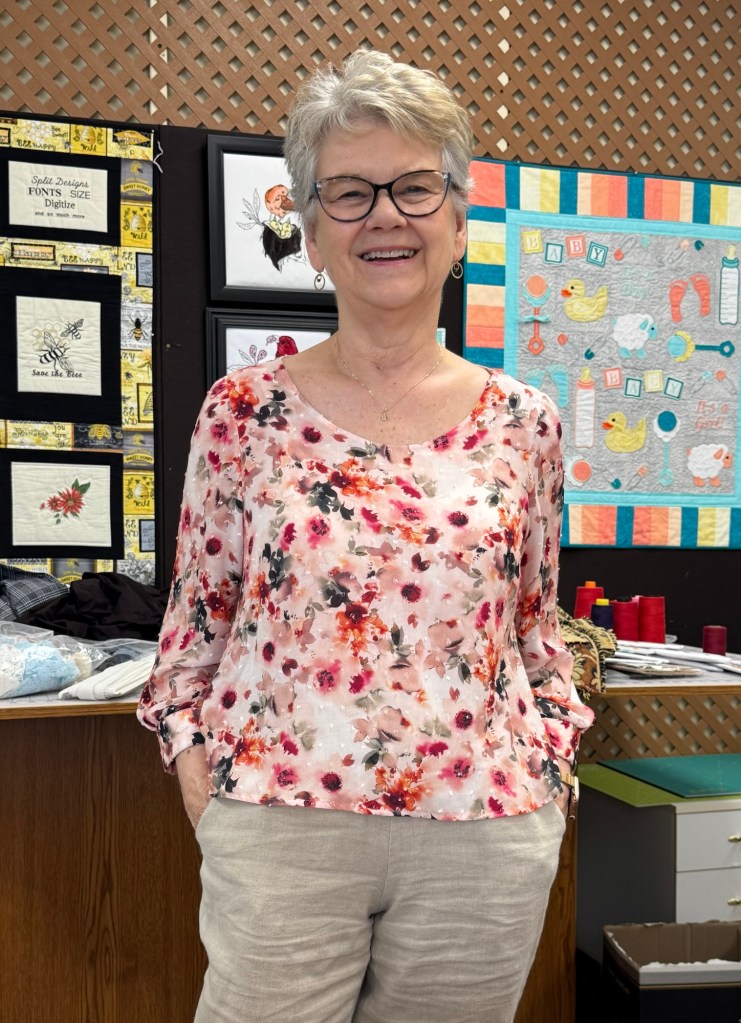
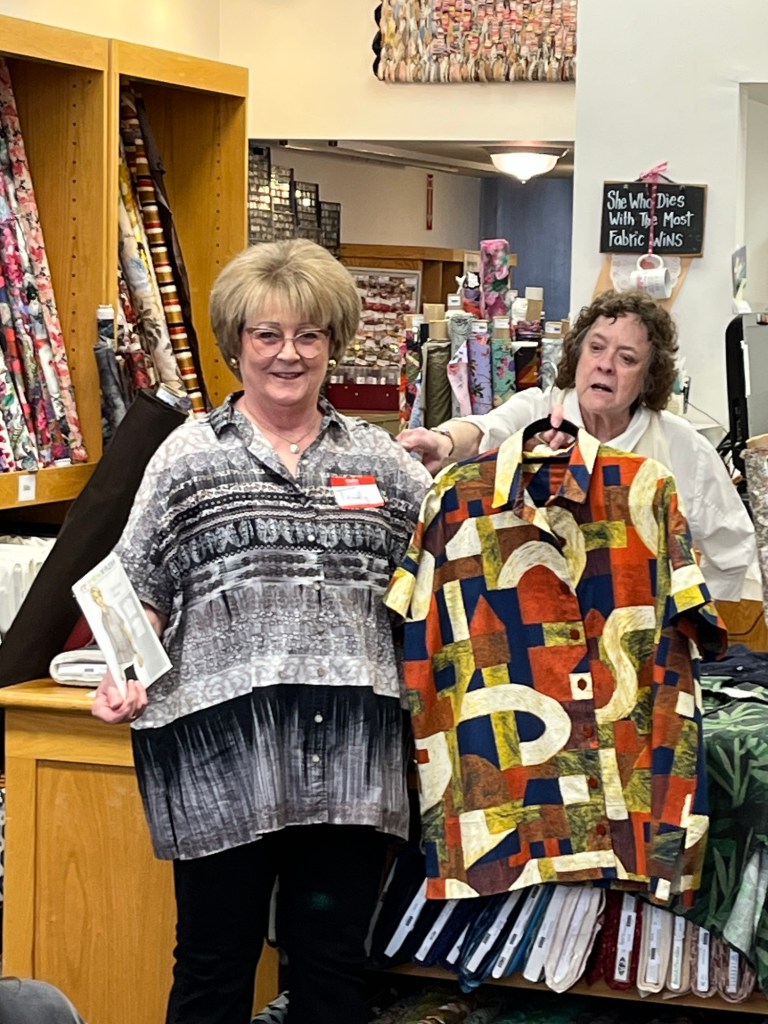
I shortened the length of the tee 1” between the bust and waist and 1” from hem length.
The pattern comes with neck variations, long, 3/4 or short sleeves, cuffs and modesty panels.
Very easy and quick make.
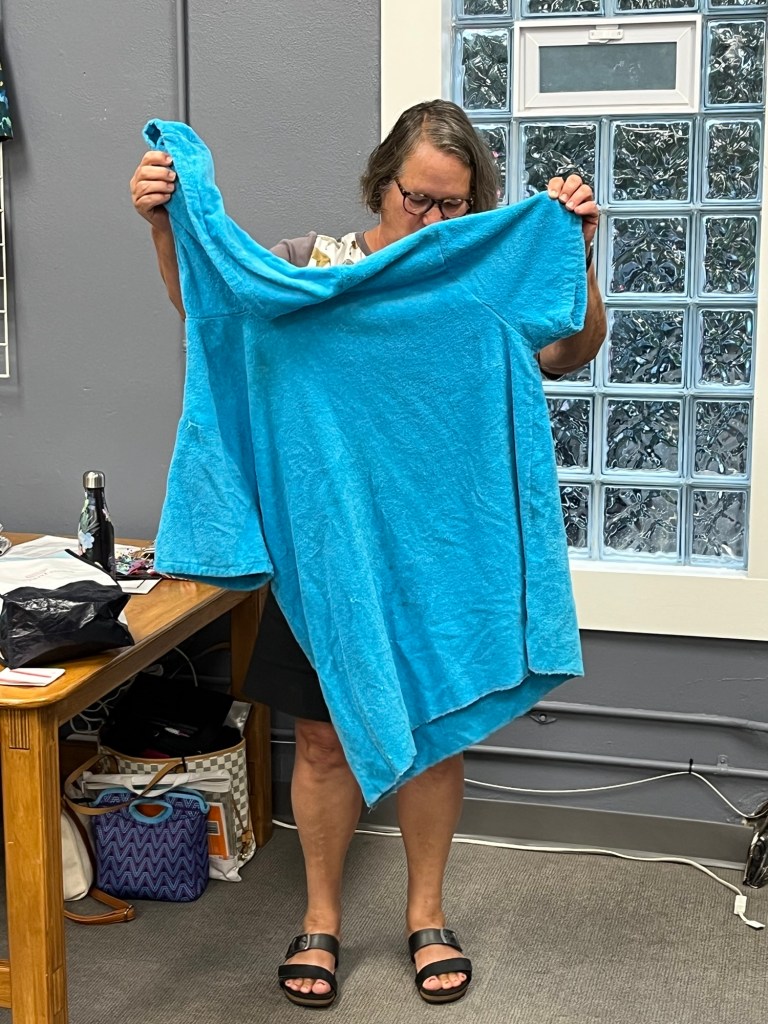
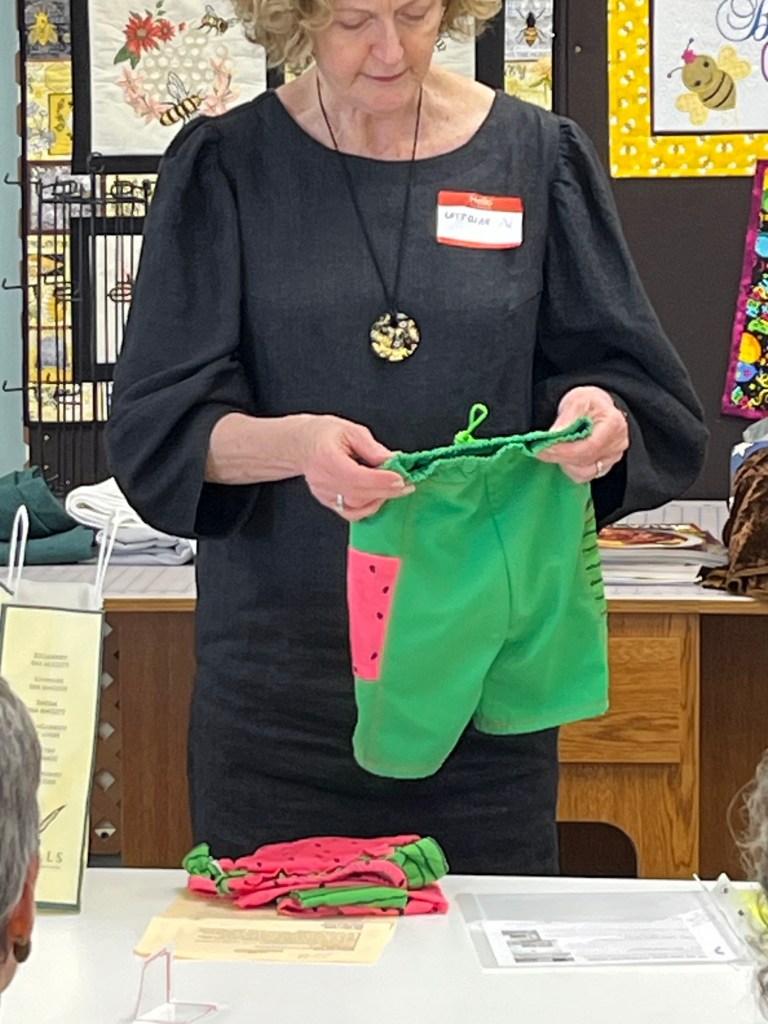
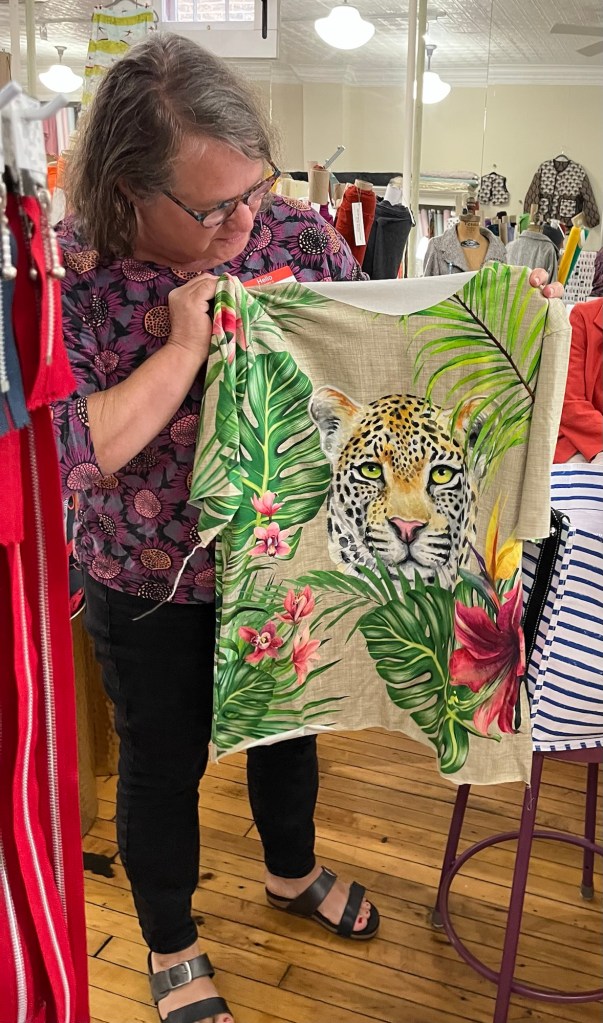
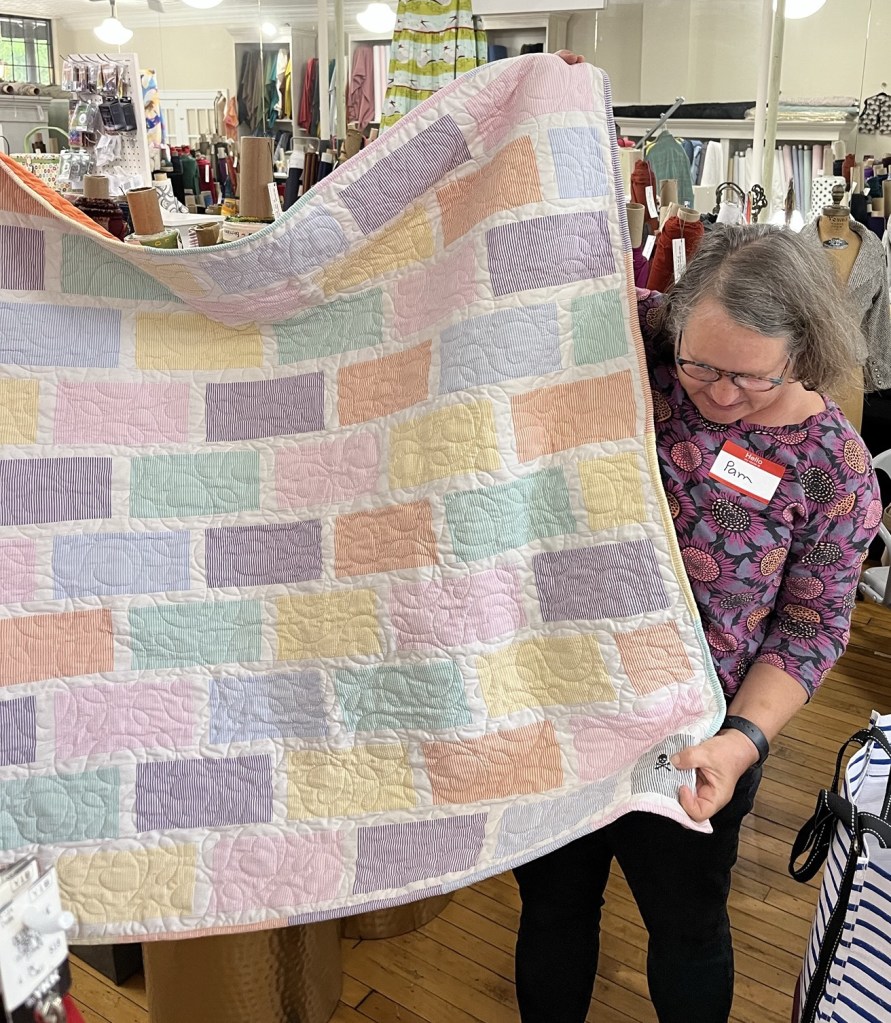
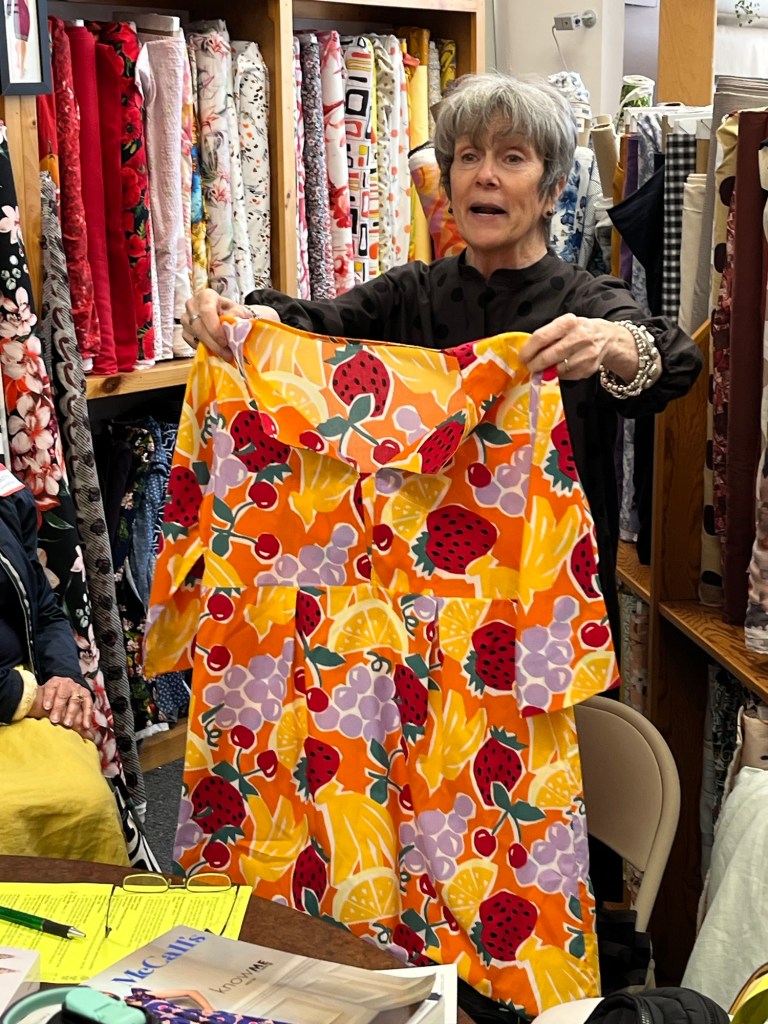
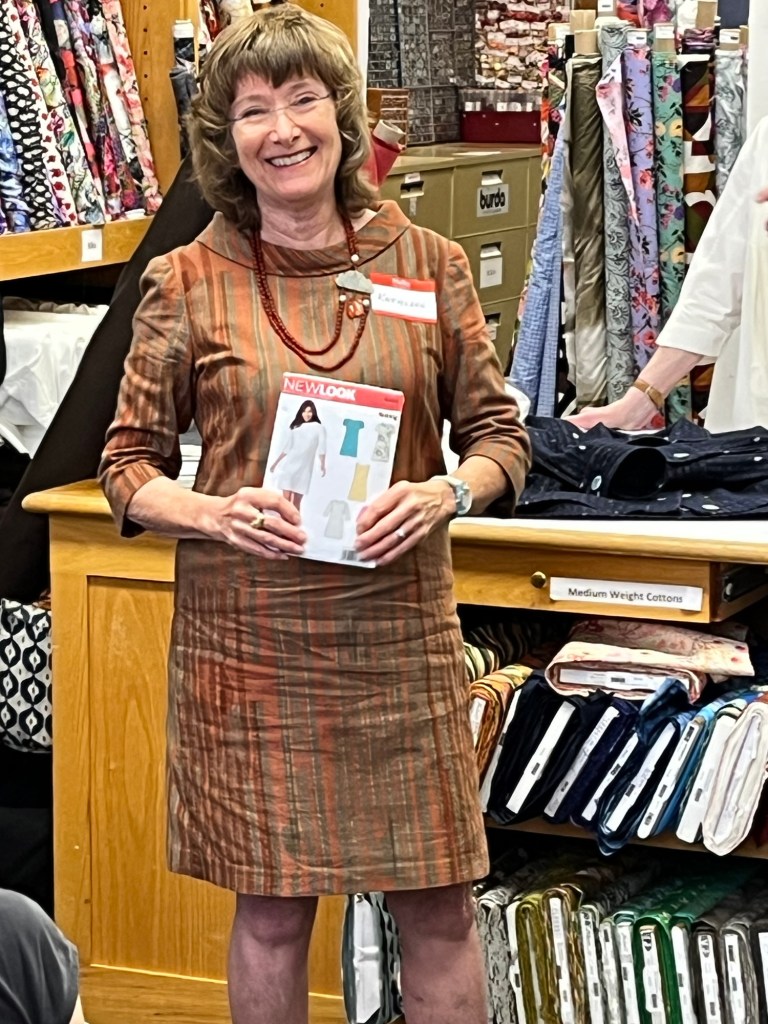
Length adjustments included petiting between the shoulder and bust on fronts, back and sleeves. I chose to do the knee length and shortened that length 2 inches.
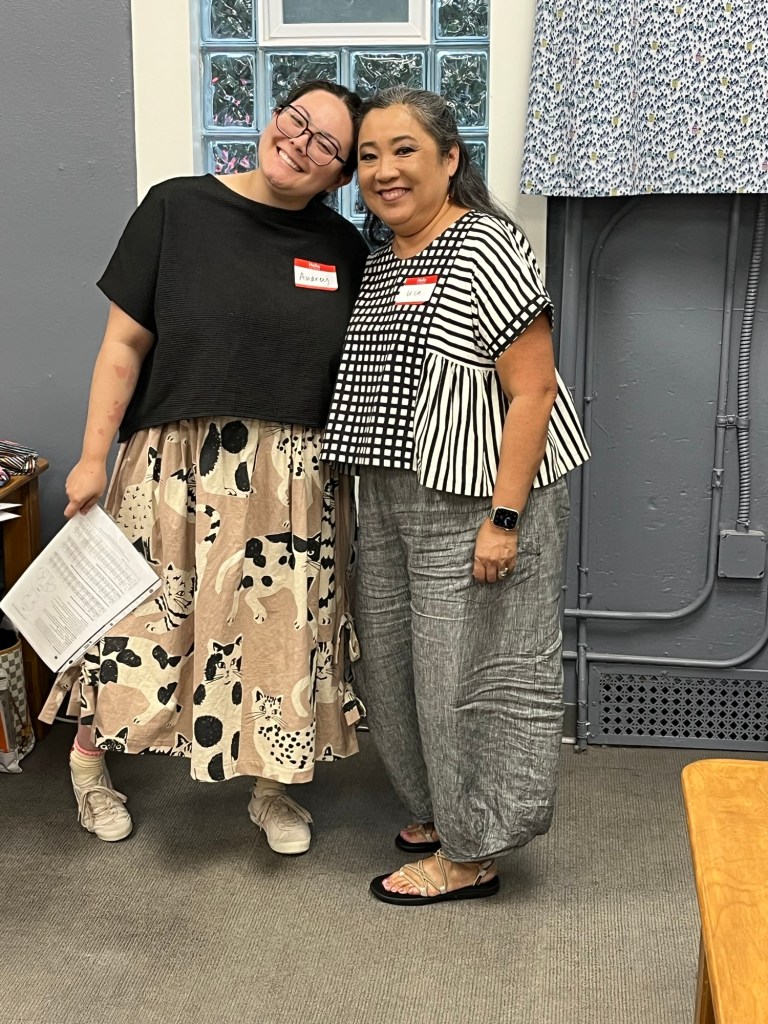
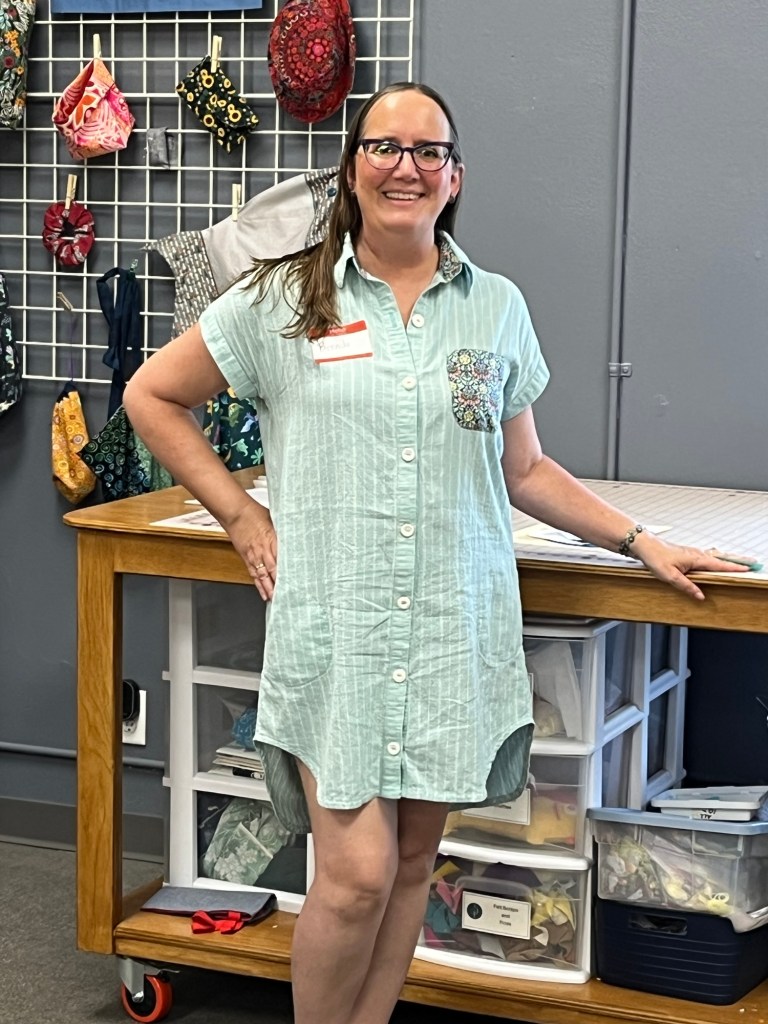
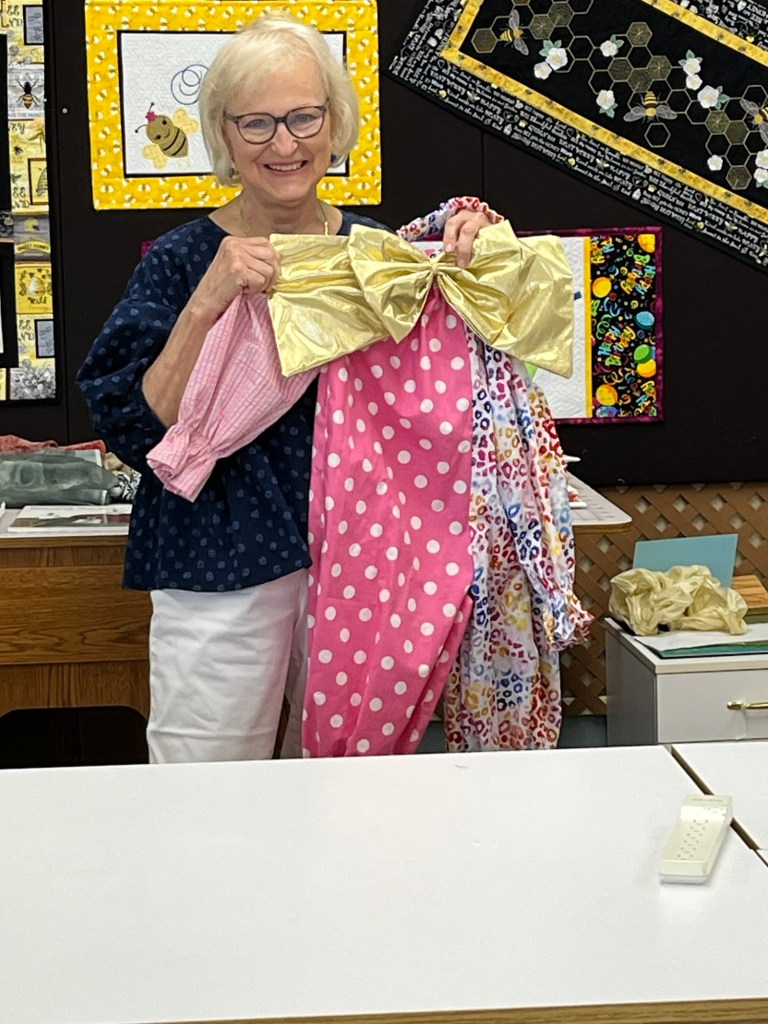
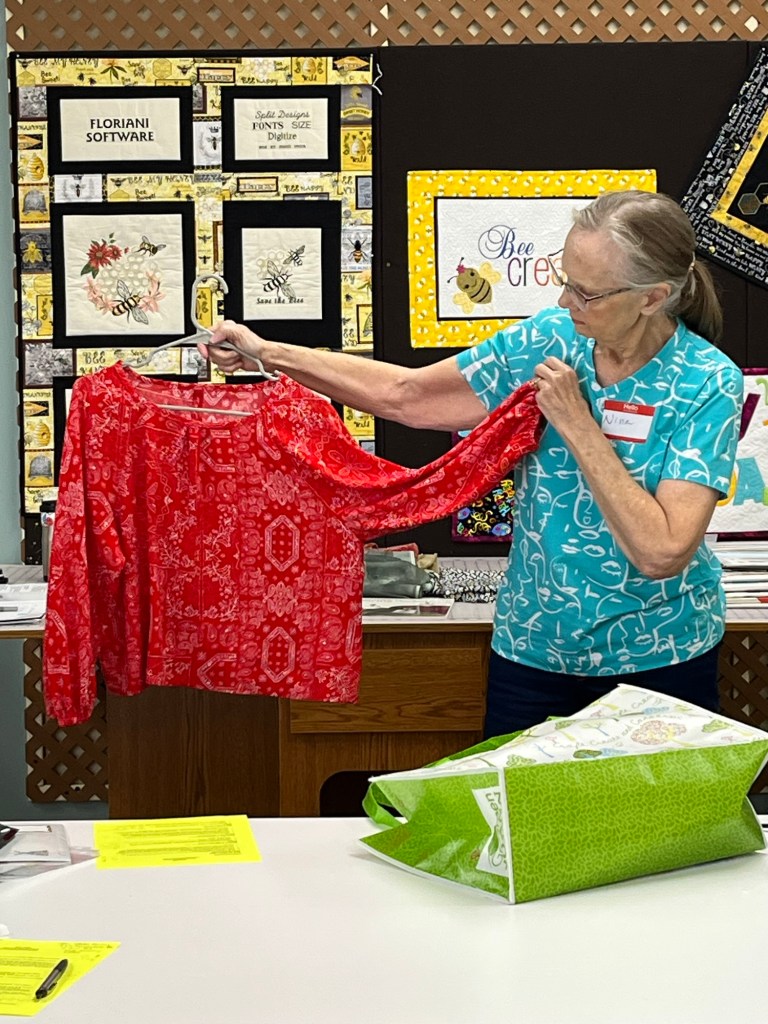
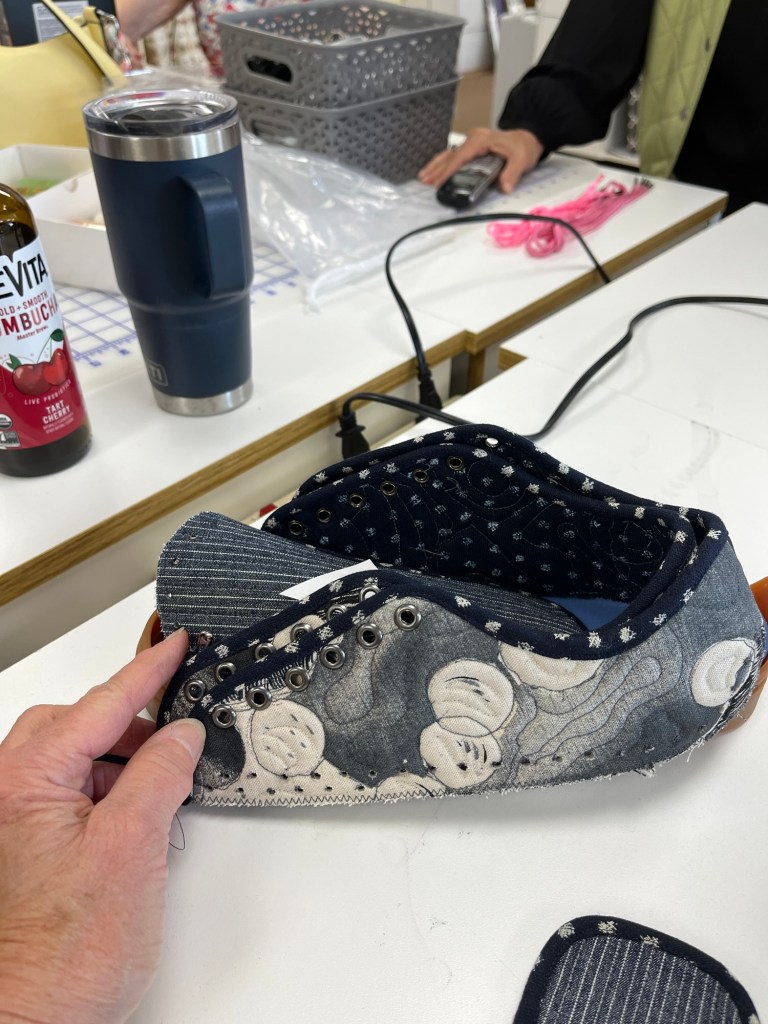
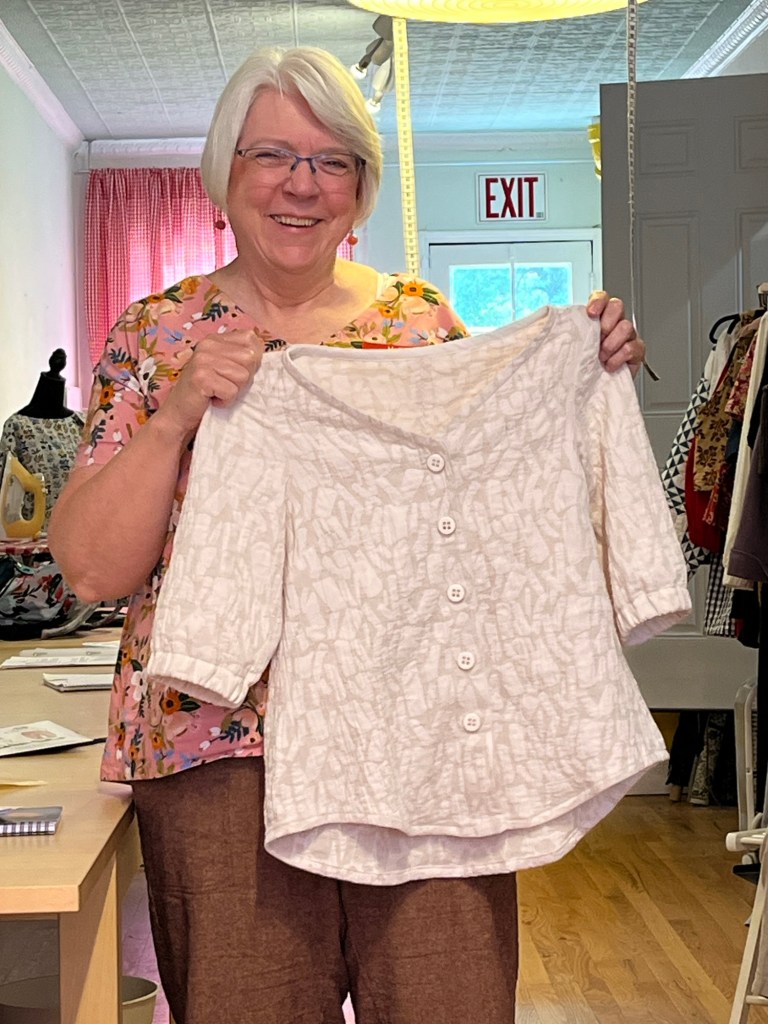
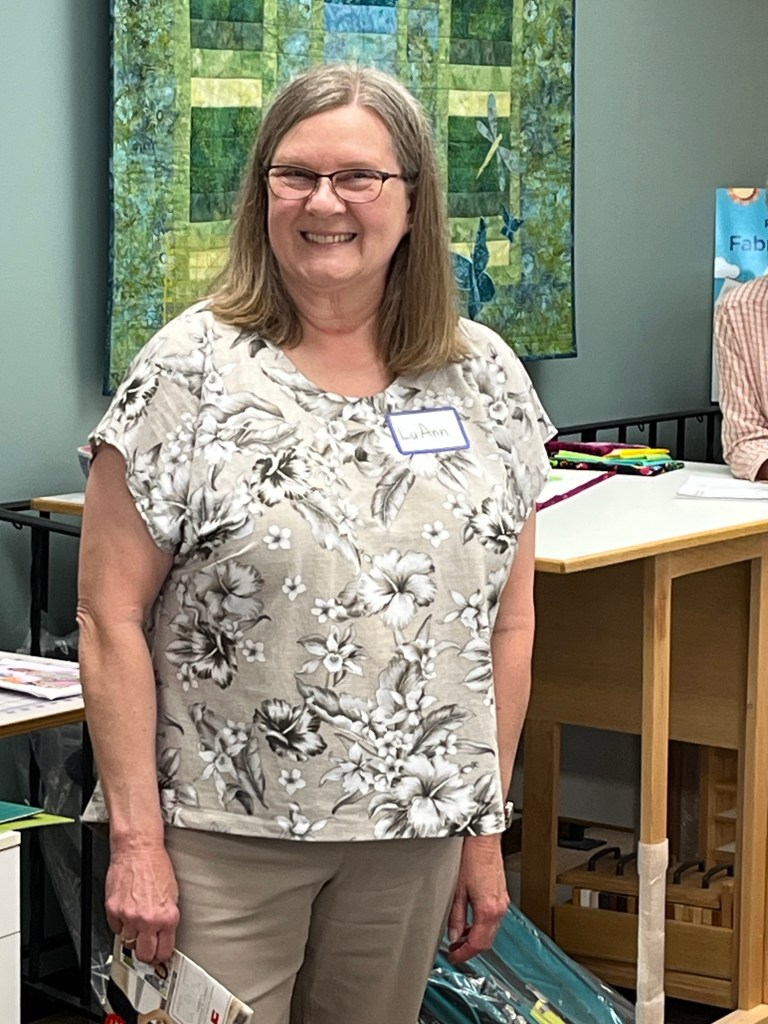
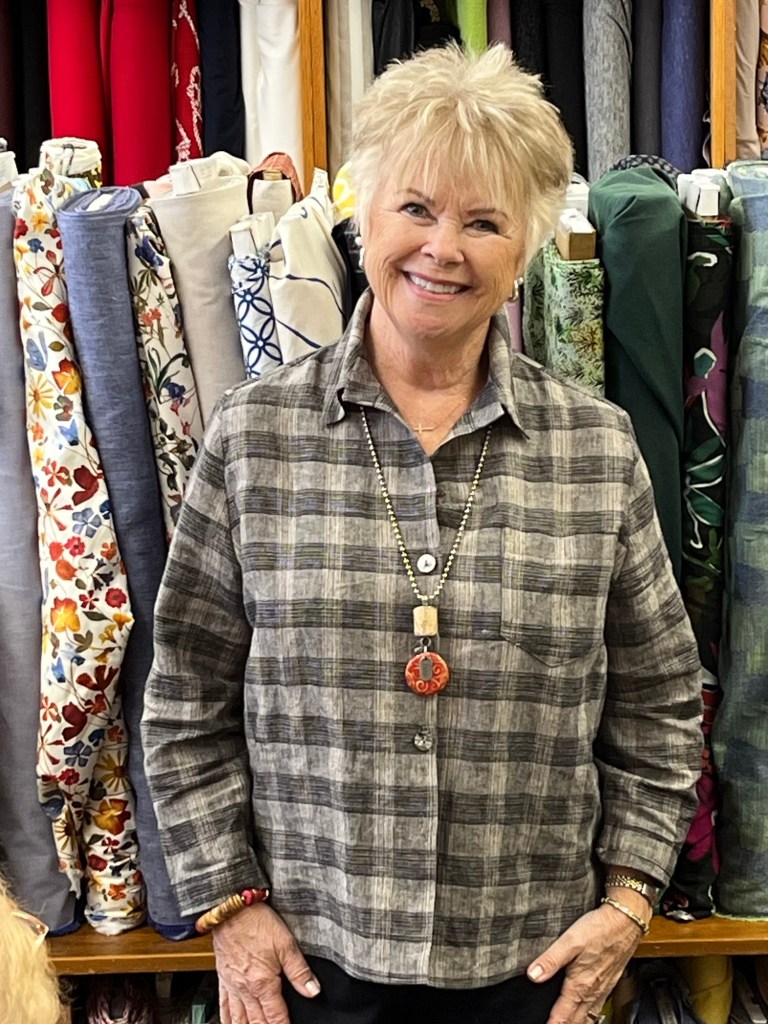
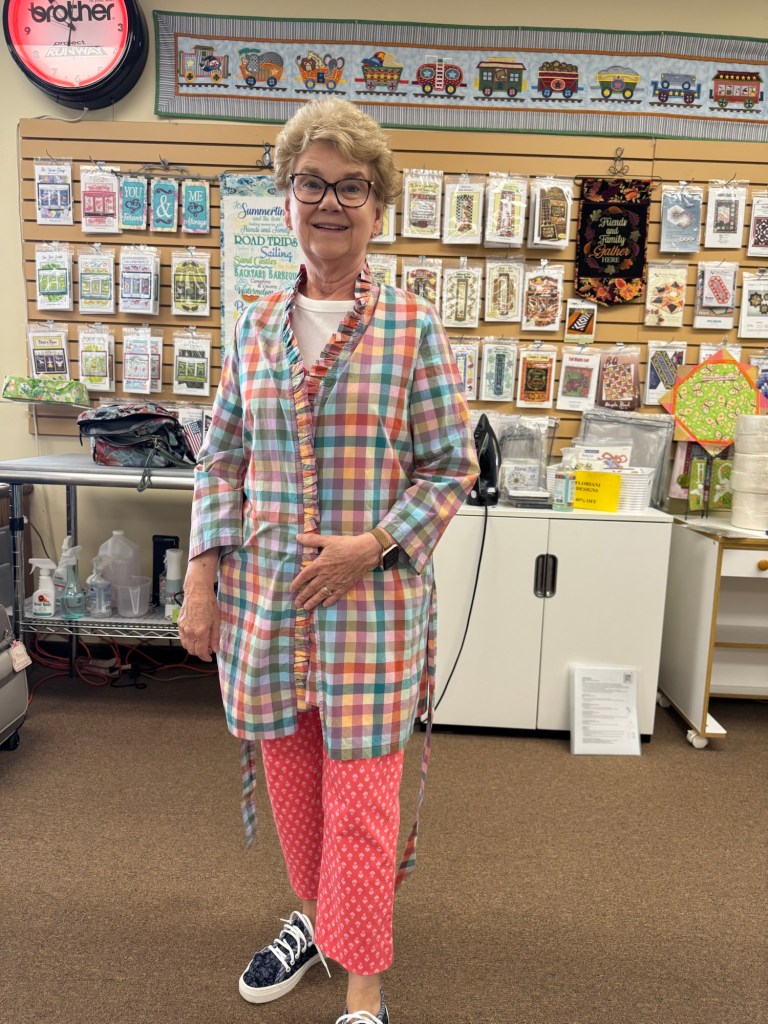
Due to the fabric, pattern and construction methods I chose this make became a bit of a challenge.
The fabric has no right or wrong side. It’s a plaid/check that needed matching and my machine needles did not enjoy stitching through fabric that wasn’t just one layer.
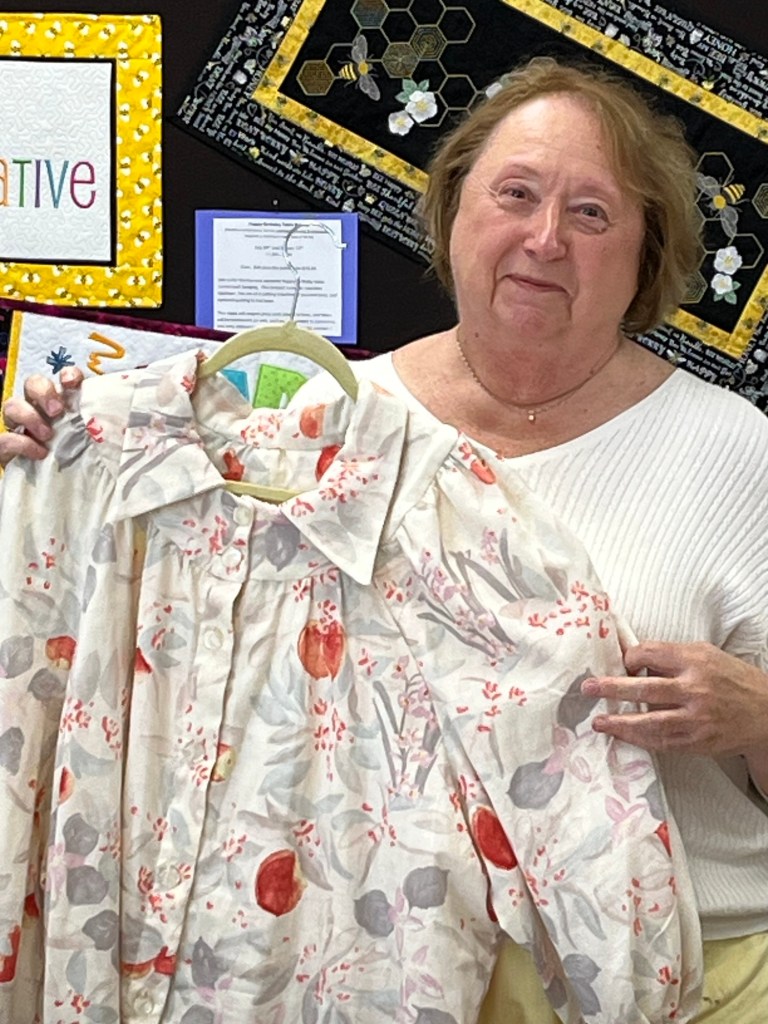
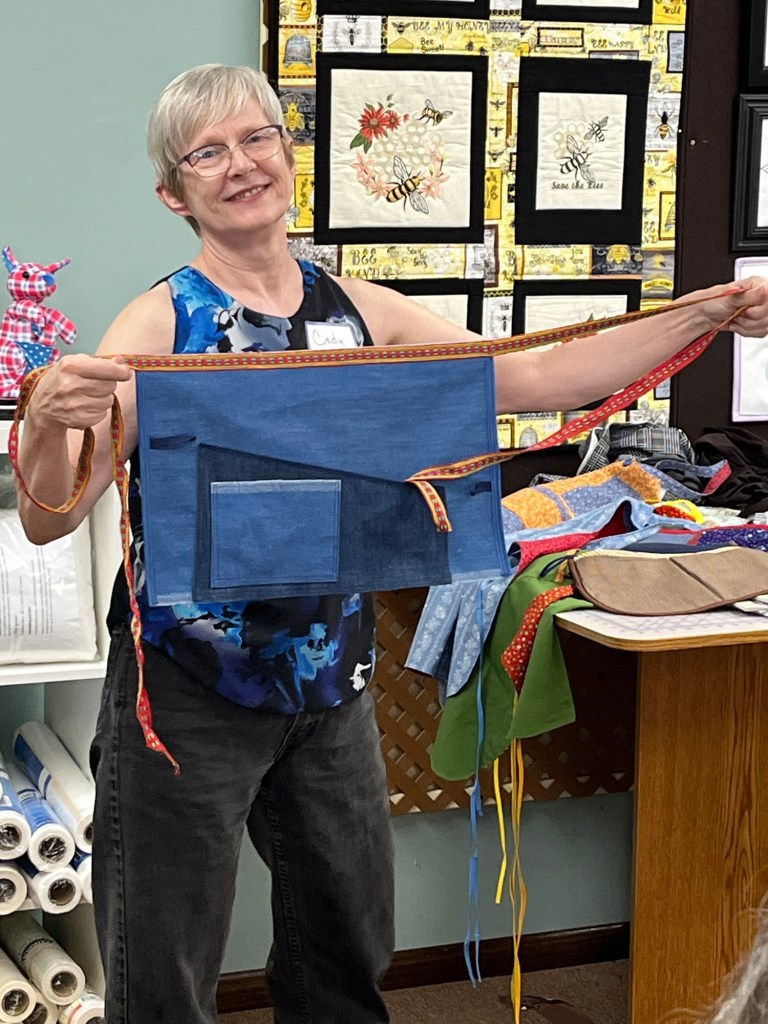
I cut the width of the band in half, gathered it, and serge finished that with self made bias – my needles/machine did not like the thickness of the seam. Also I didn’t have quite enough fabric to go around the robe opening.
Instead of patch pockets I made inseam pockets and used French seaming everywhere except for inserting sleeves into armhole. It got too confusing keeping track of right and wrong side. The sleeves were serged into armhole.
I gathered about 6 inches on the center back of robe. Then I attached the center of the tie to the back of the robe on the gathered stitching. The ties are secured with that stitching and with belt loops at side seams.
This was a good learning make for me, especially the french seam pockets – a new skill for me that I will try again.
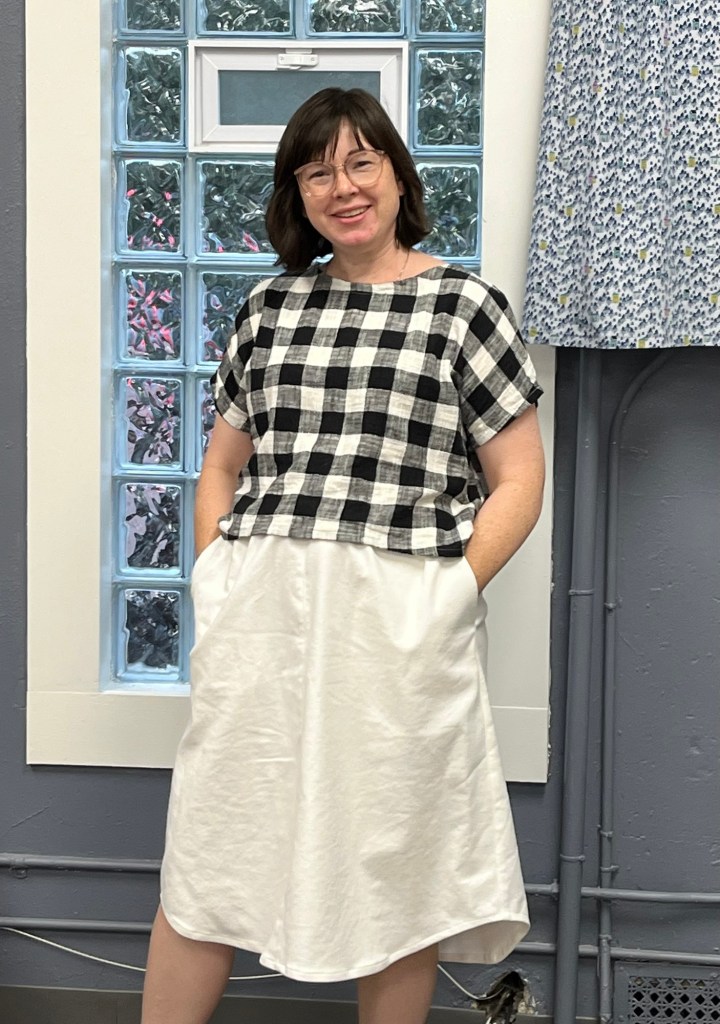
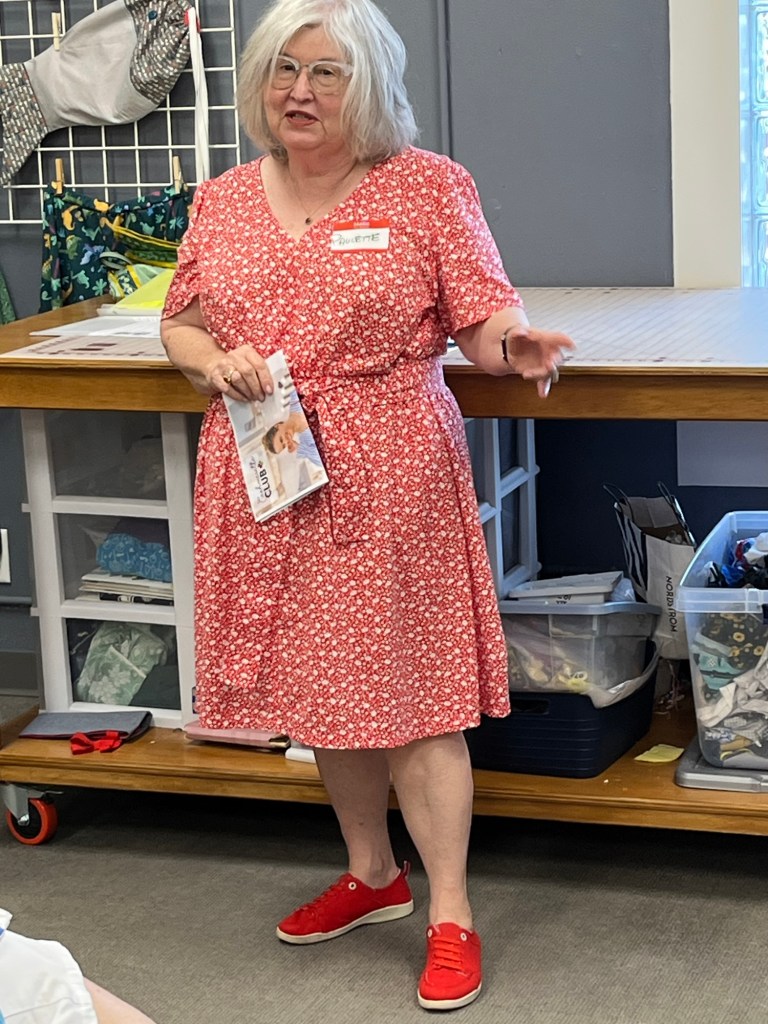
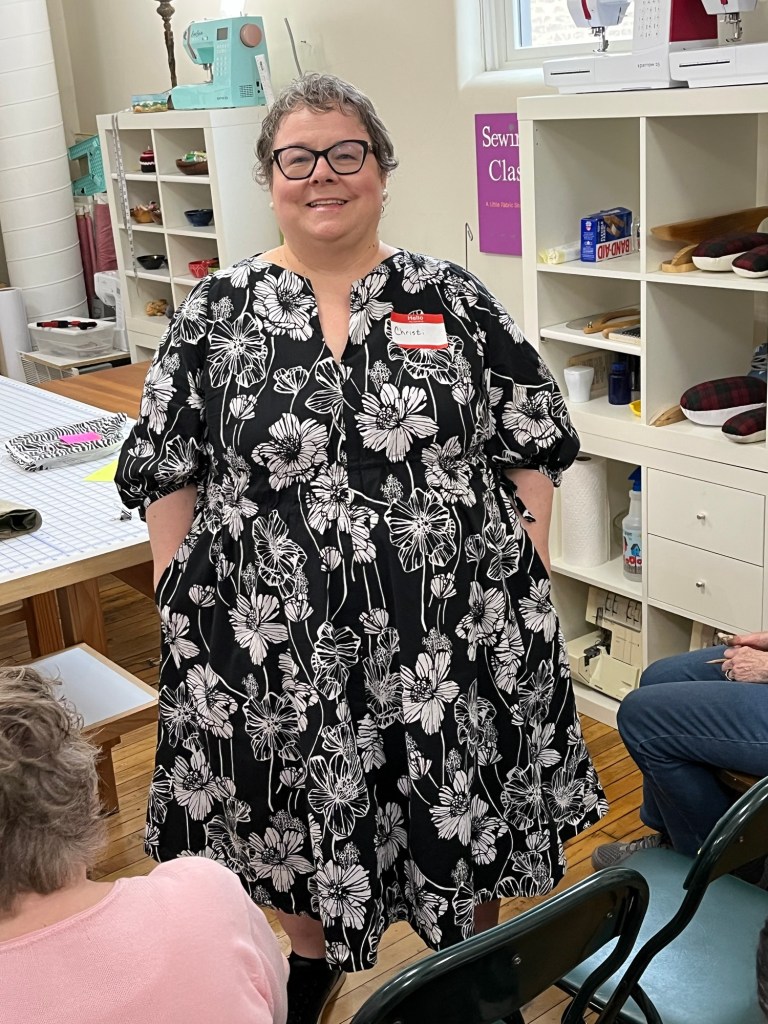
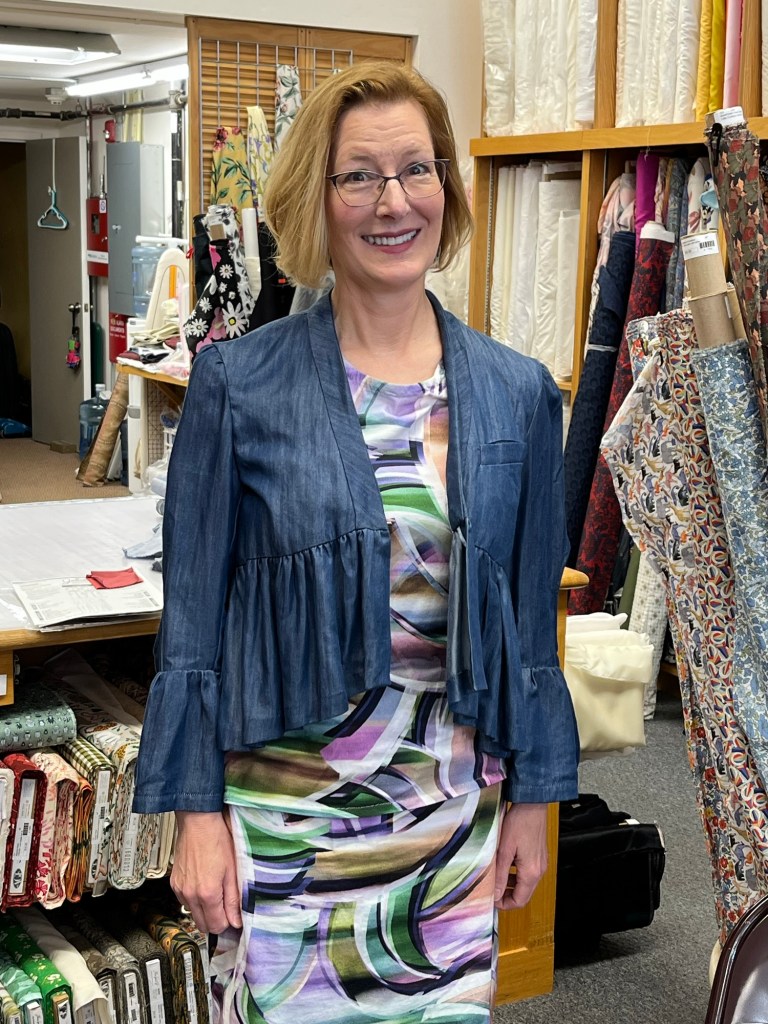
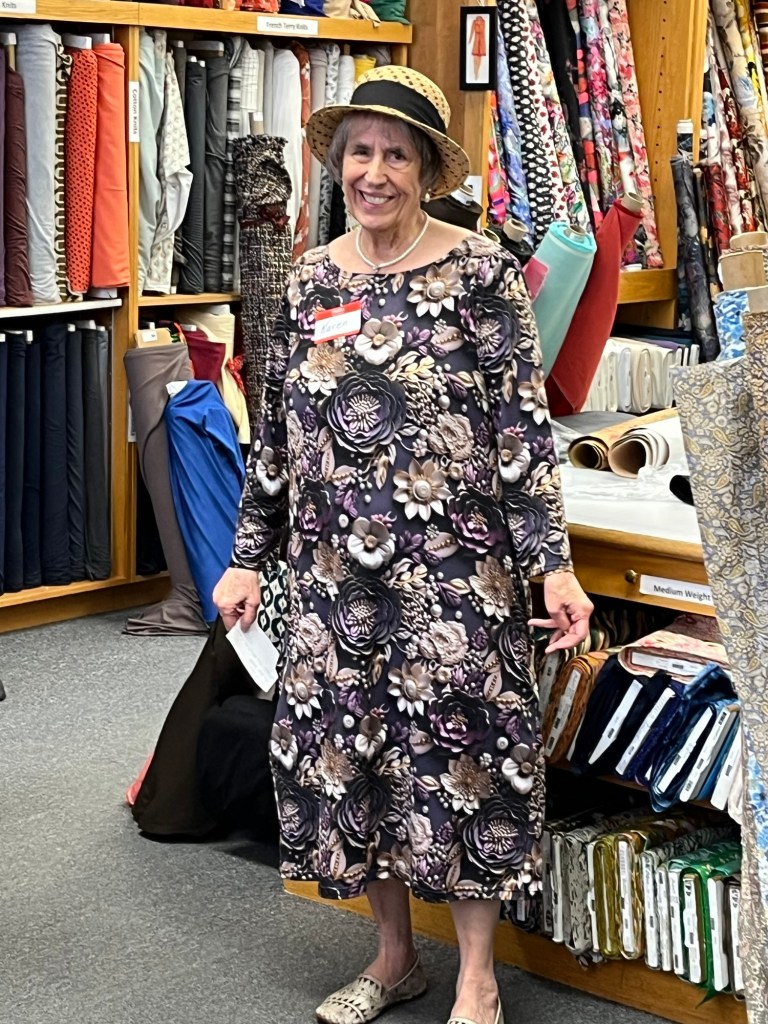
Kristin’s Garments:
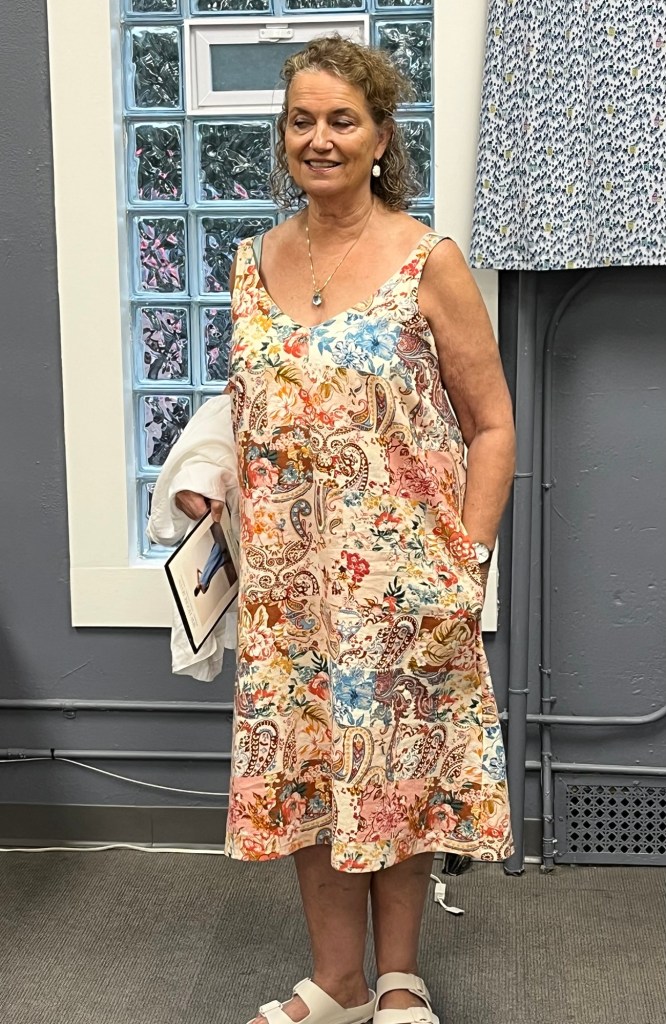
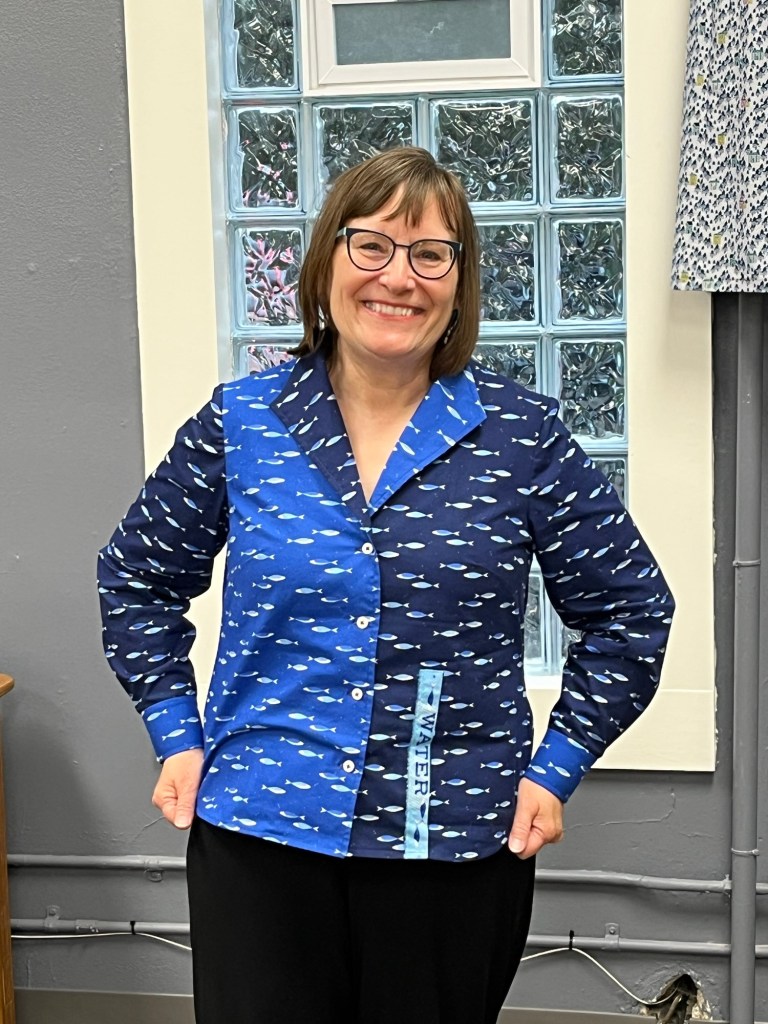
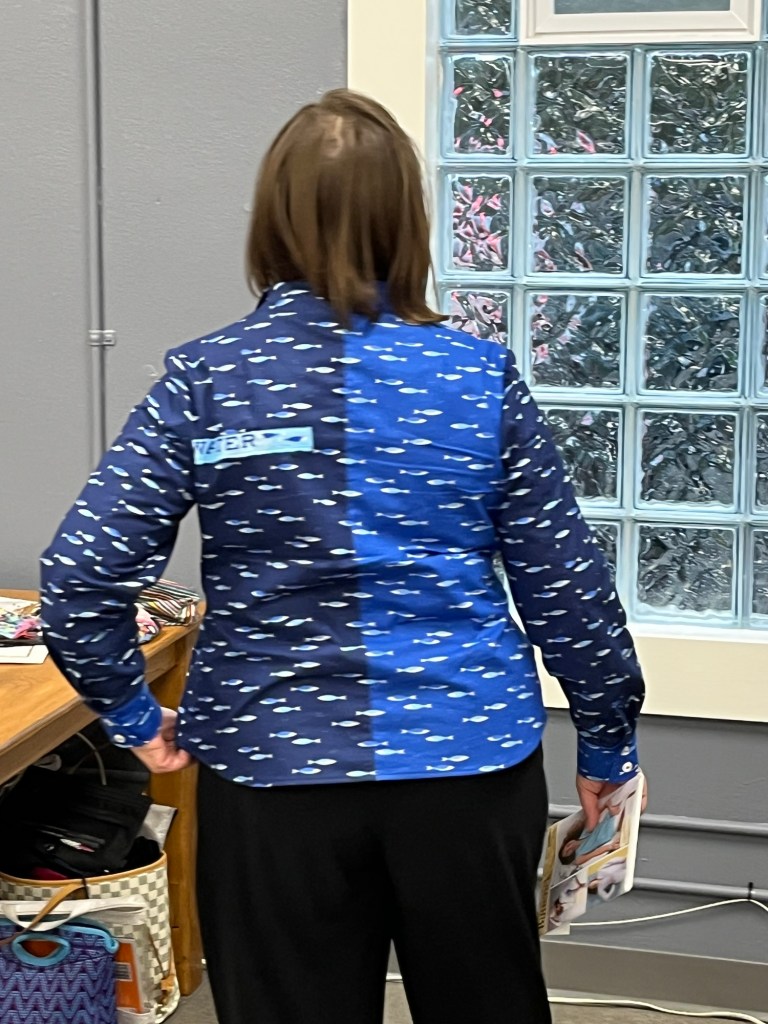
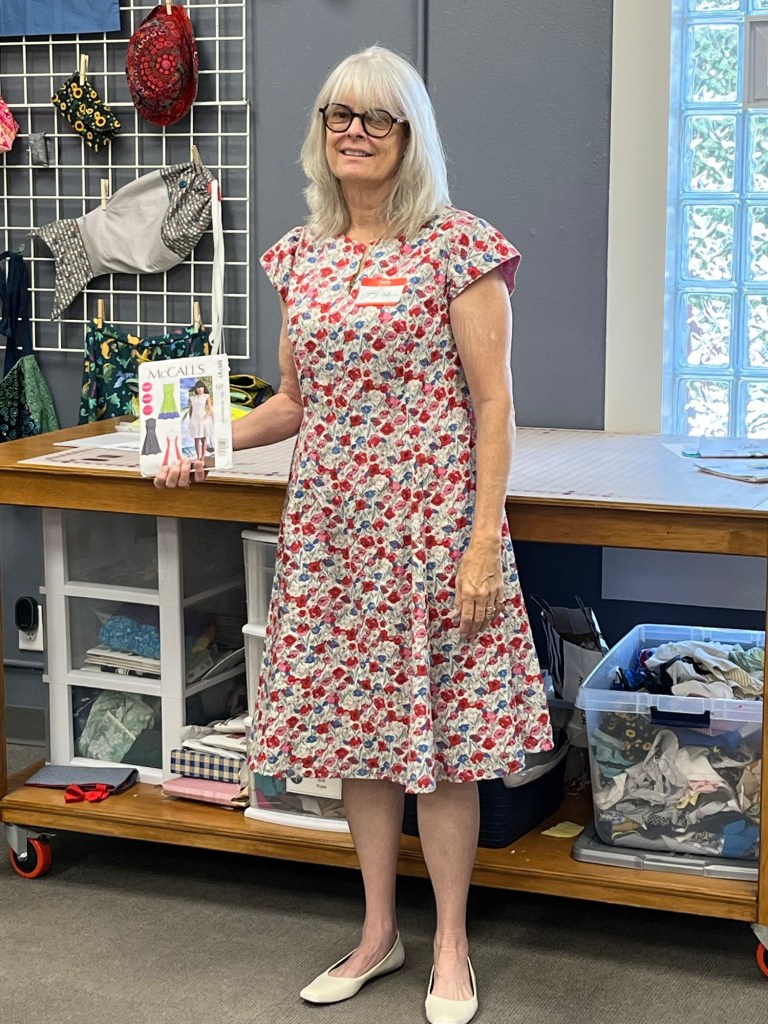
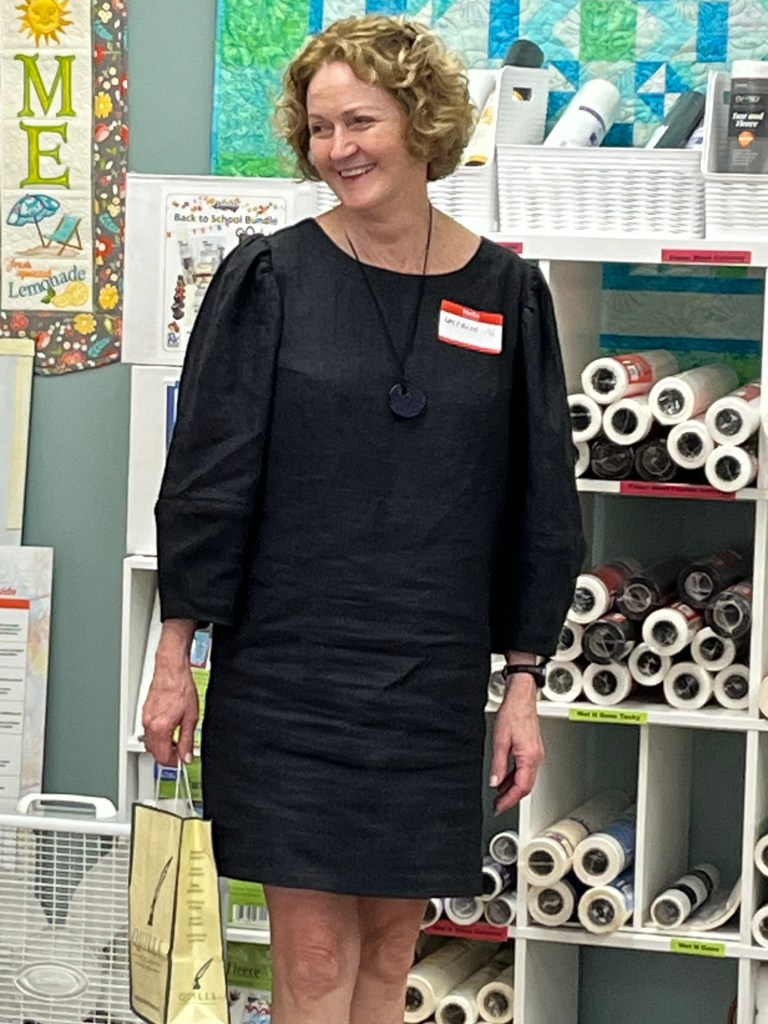
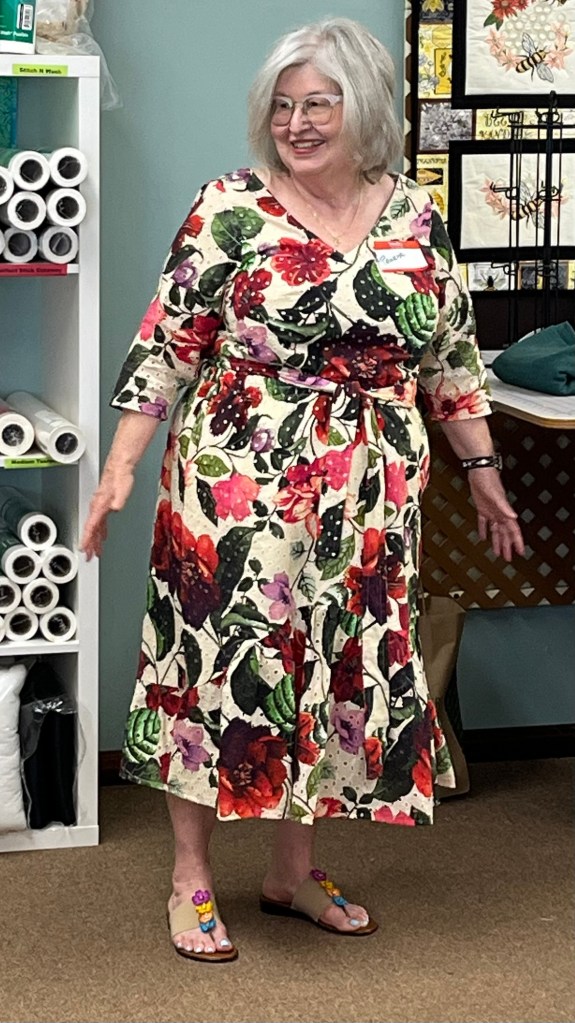
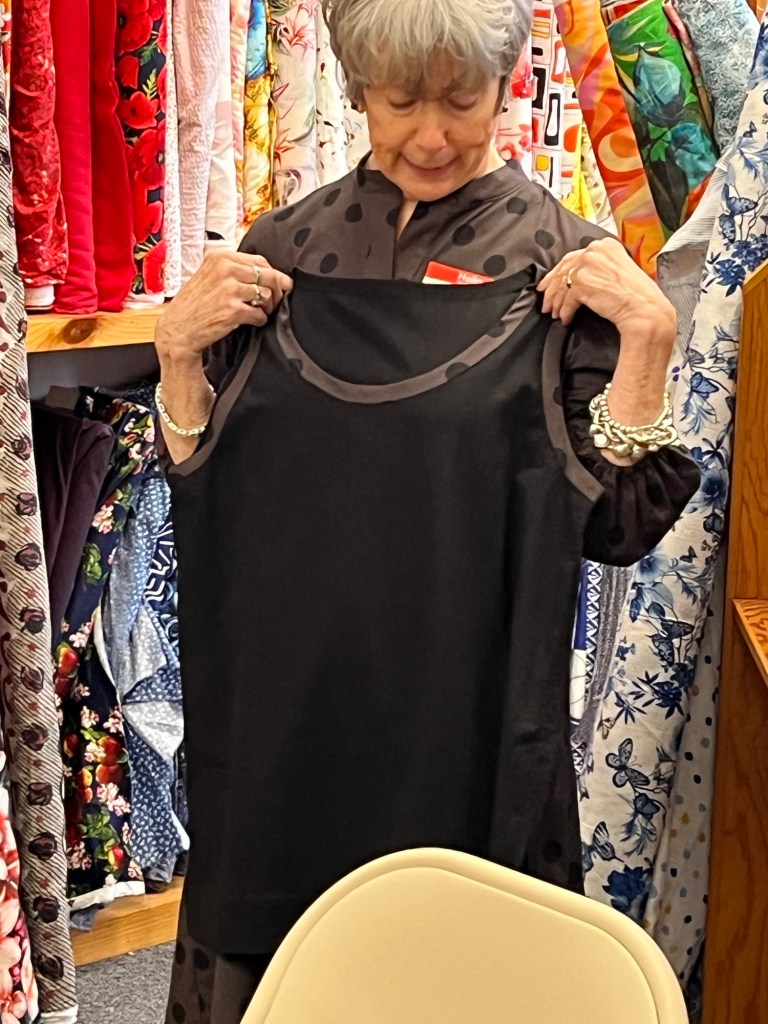
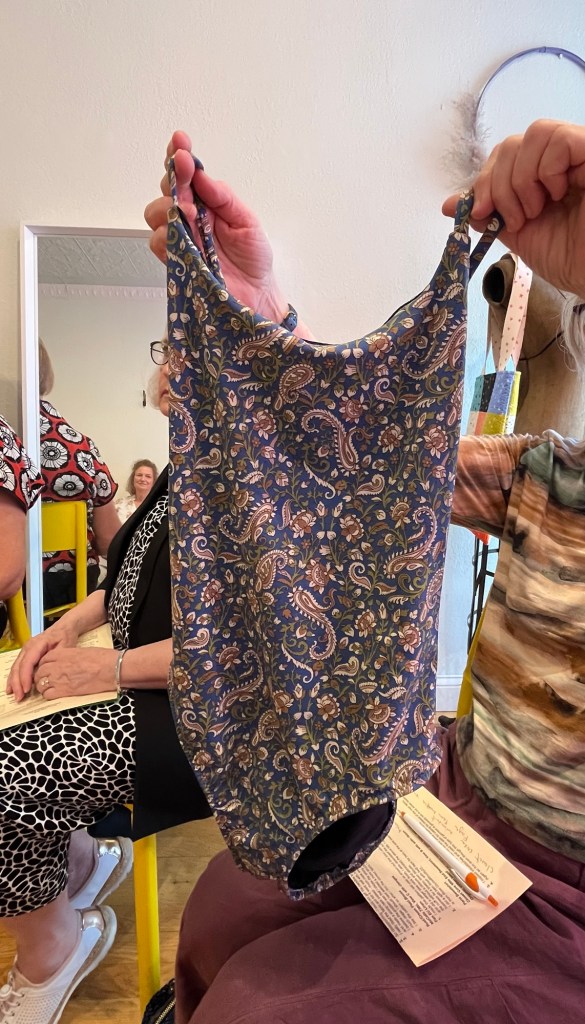
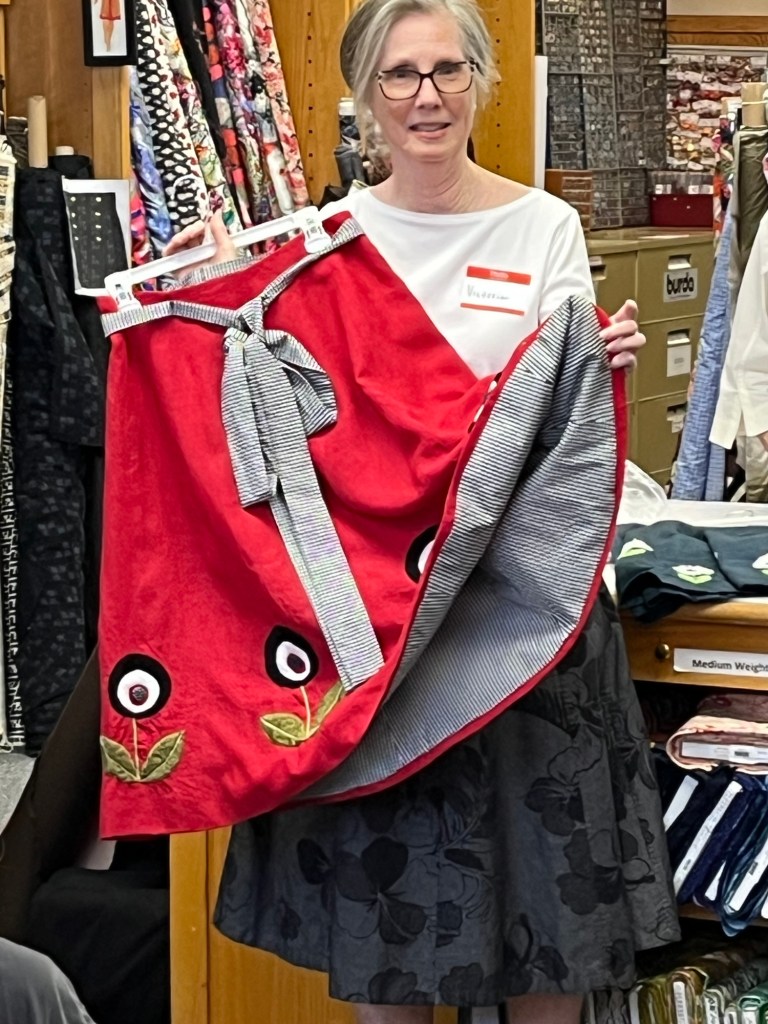
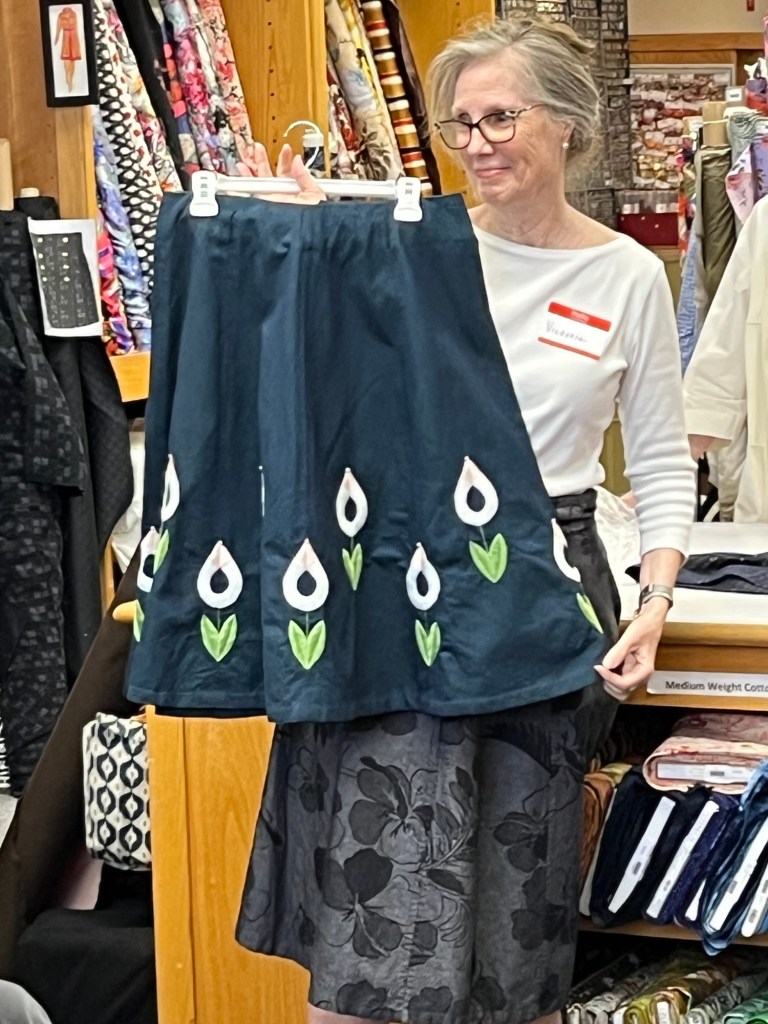
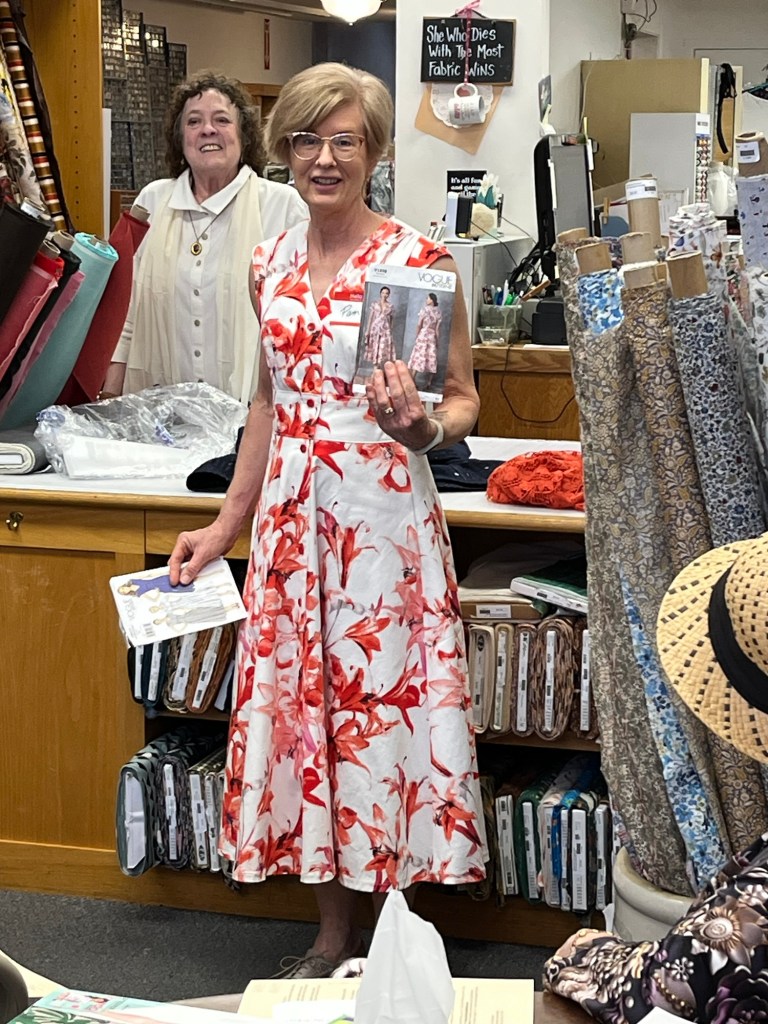
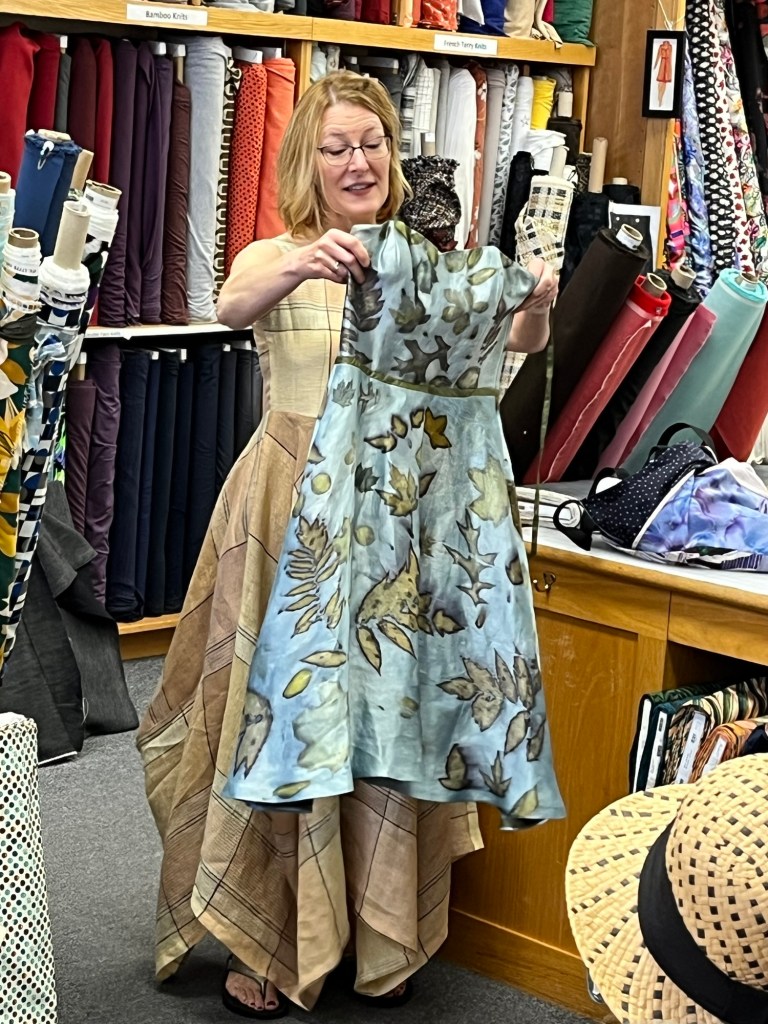
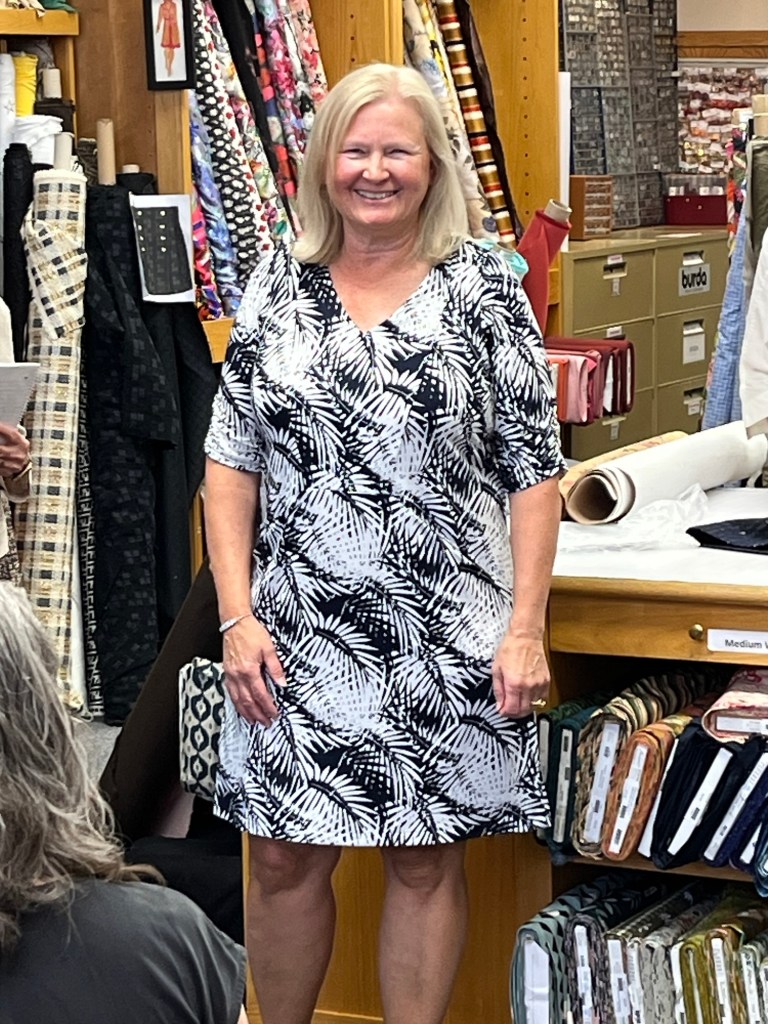
My go-to summer dress is a Vogue out of print/fussy pattern so tried this one to see if I can get the same effect with less fuss.
Shortened the waist by 1” and then ended up changing waist shaping even more.
Found a fun trim in my stash and when it wasn’t quite enough, I made do.
Decreased collar depth by 3/8”.
Too late for August but Closet Core just came out with the Edith Dress which is similar.

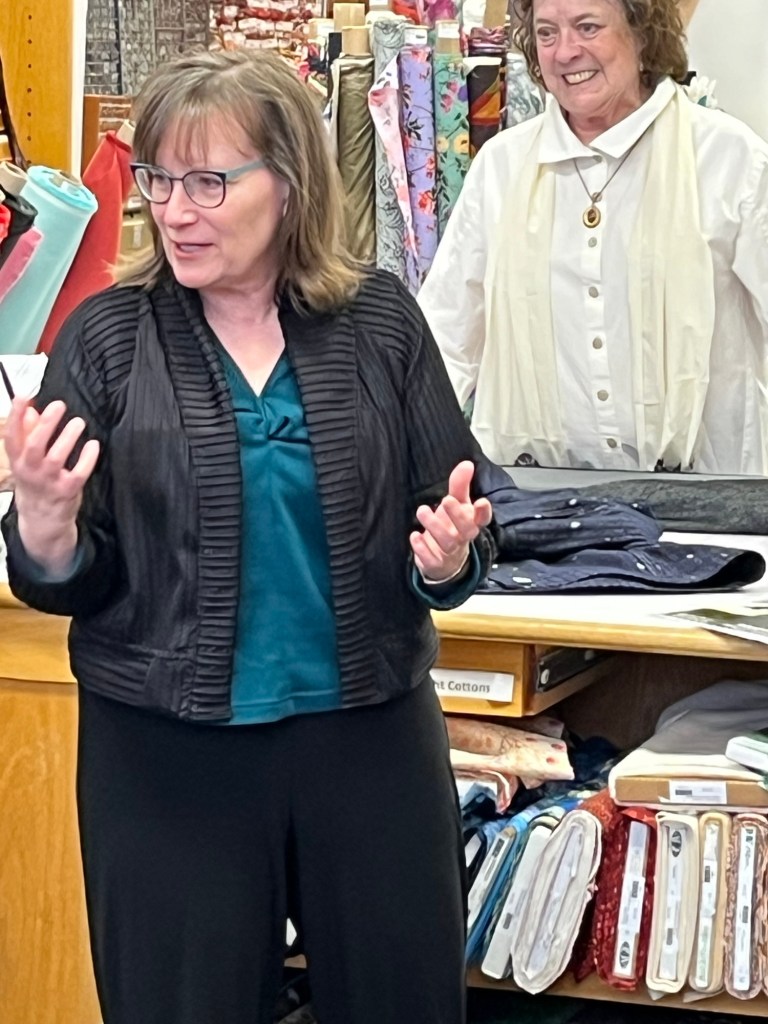
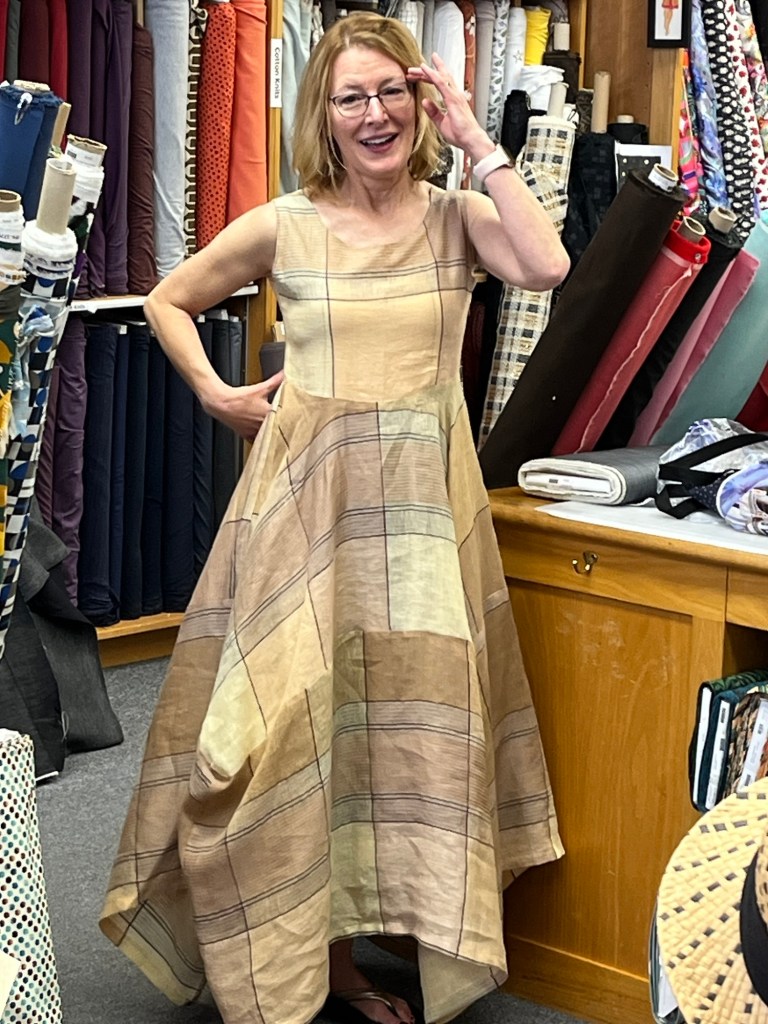
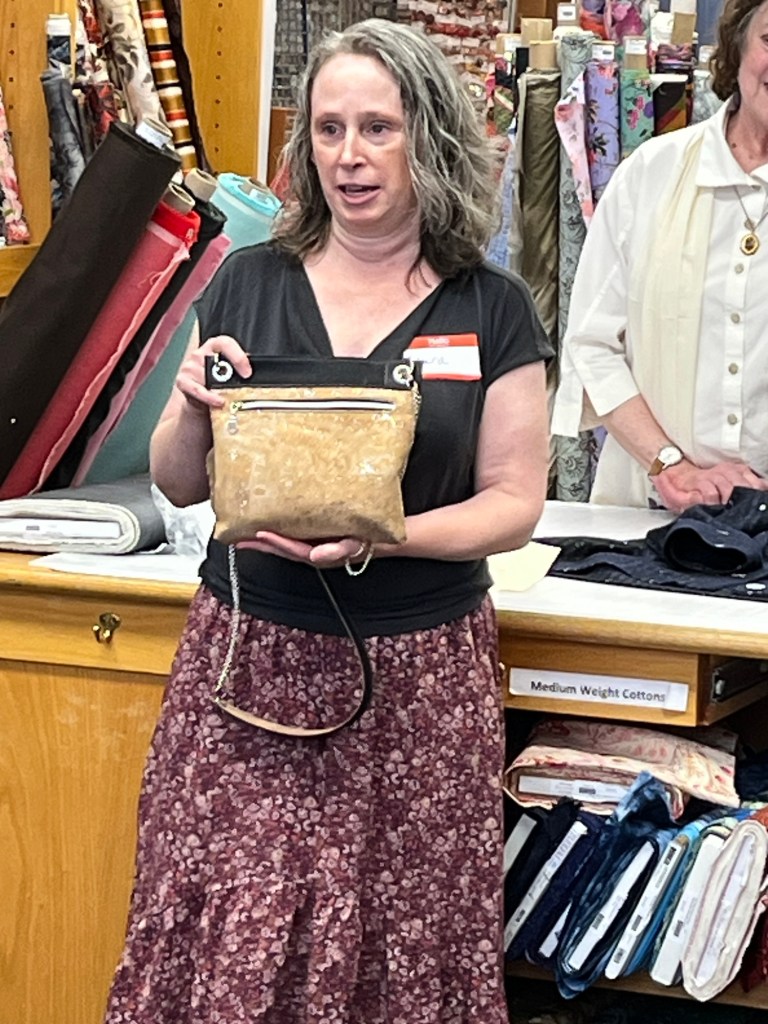
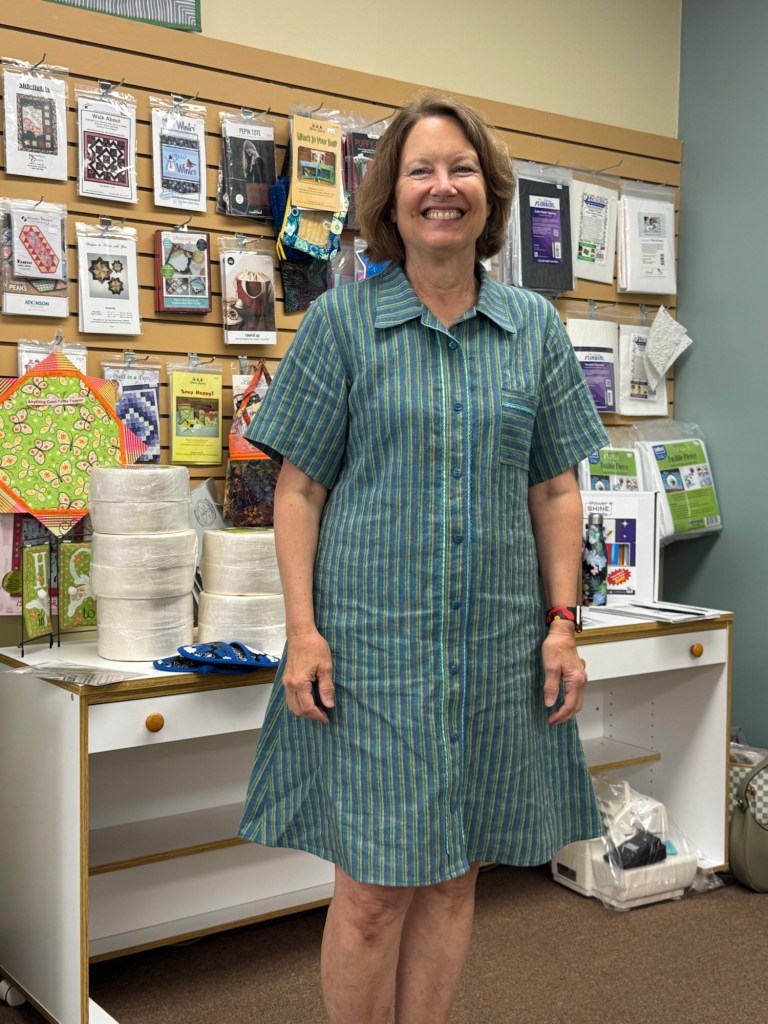
Cut out a size 12 going to 14 at hips. Another sewist had warned me that it was close fitting and she wasn’t wrong-I let out side seam allowances as far as 5/8” seam would let me.
Love the half facing for armholes and neck. Burrito roll is explained very well.
Pattern called for a 1.25” hem-I used a piece of bias facing to keep it longer.

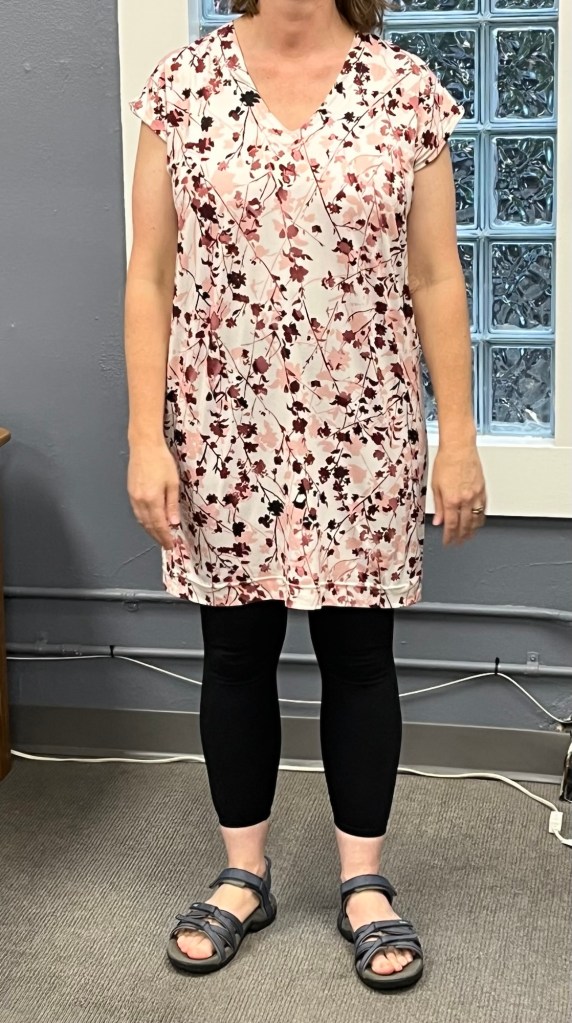
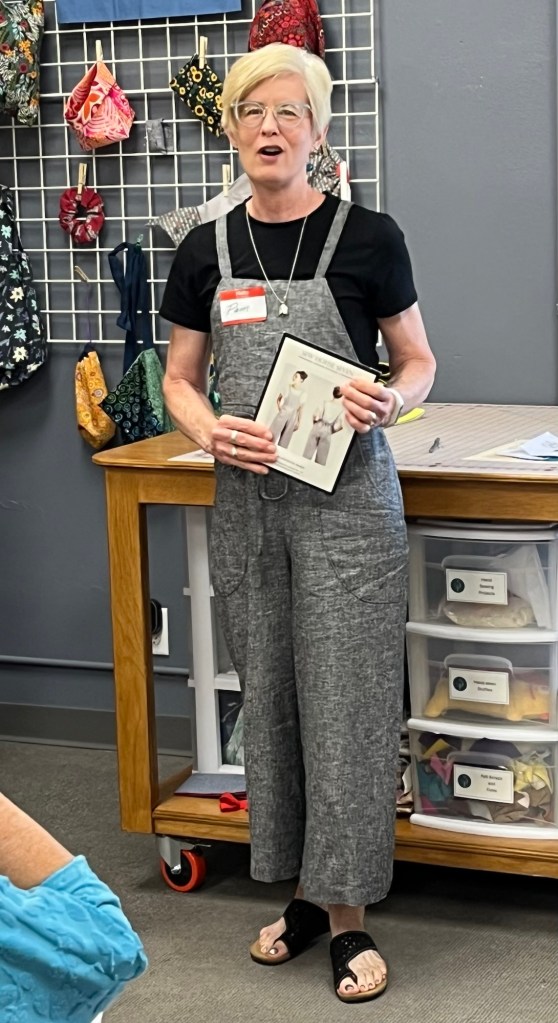
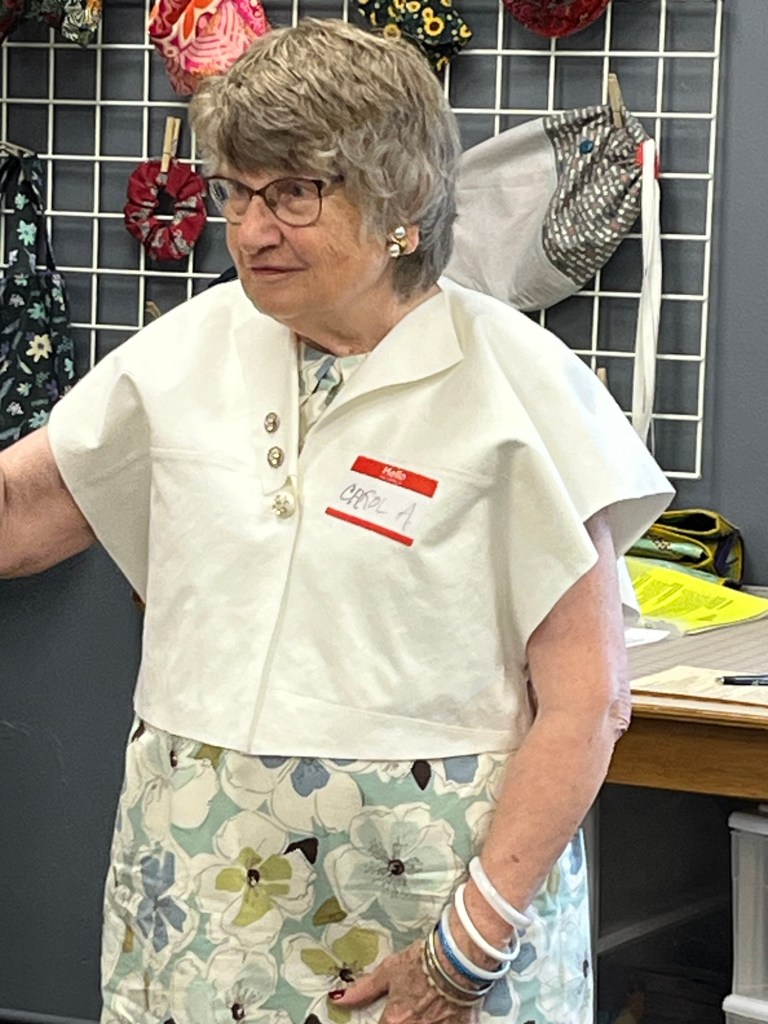
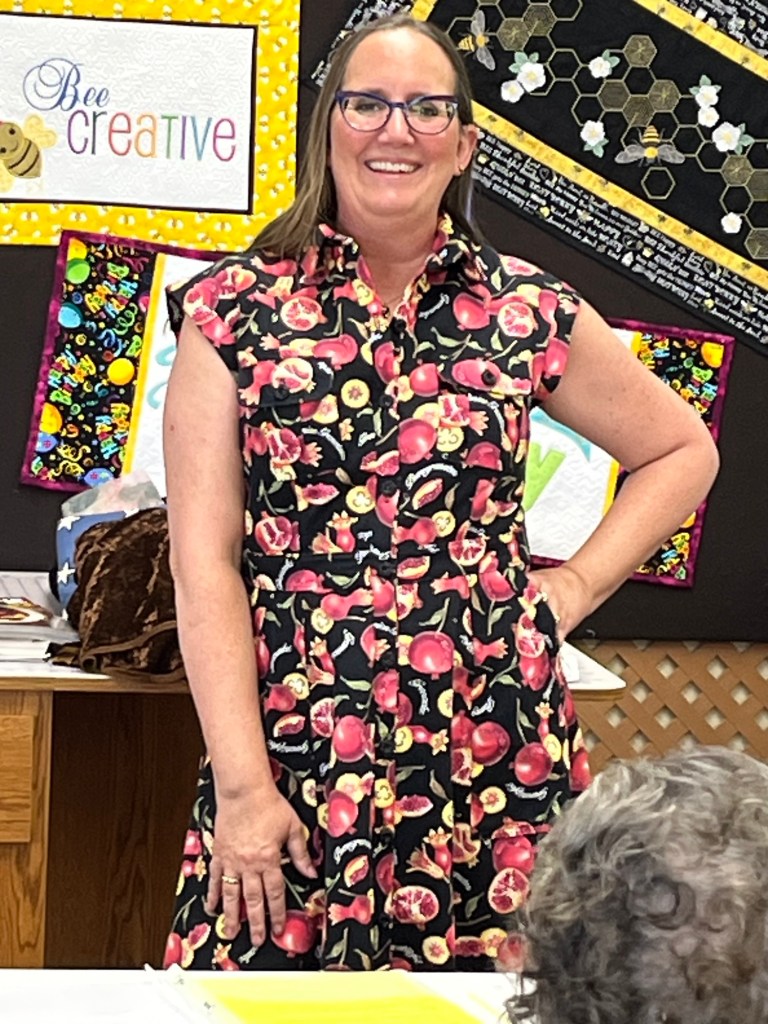
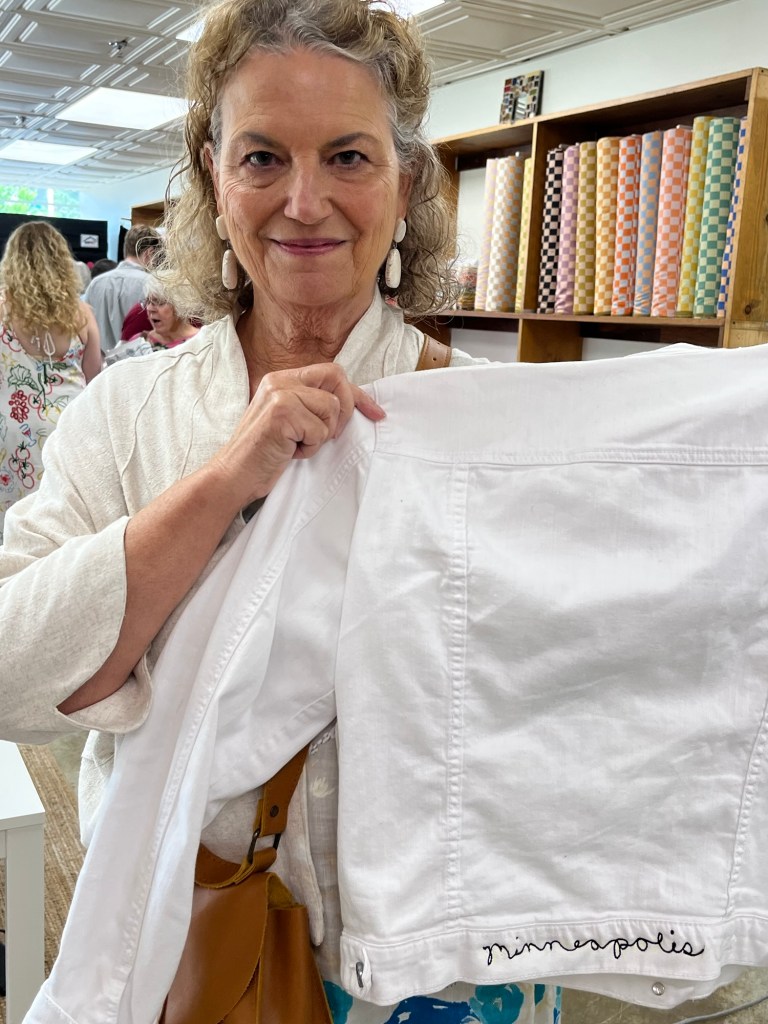
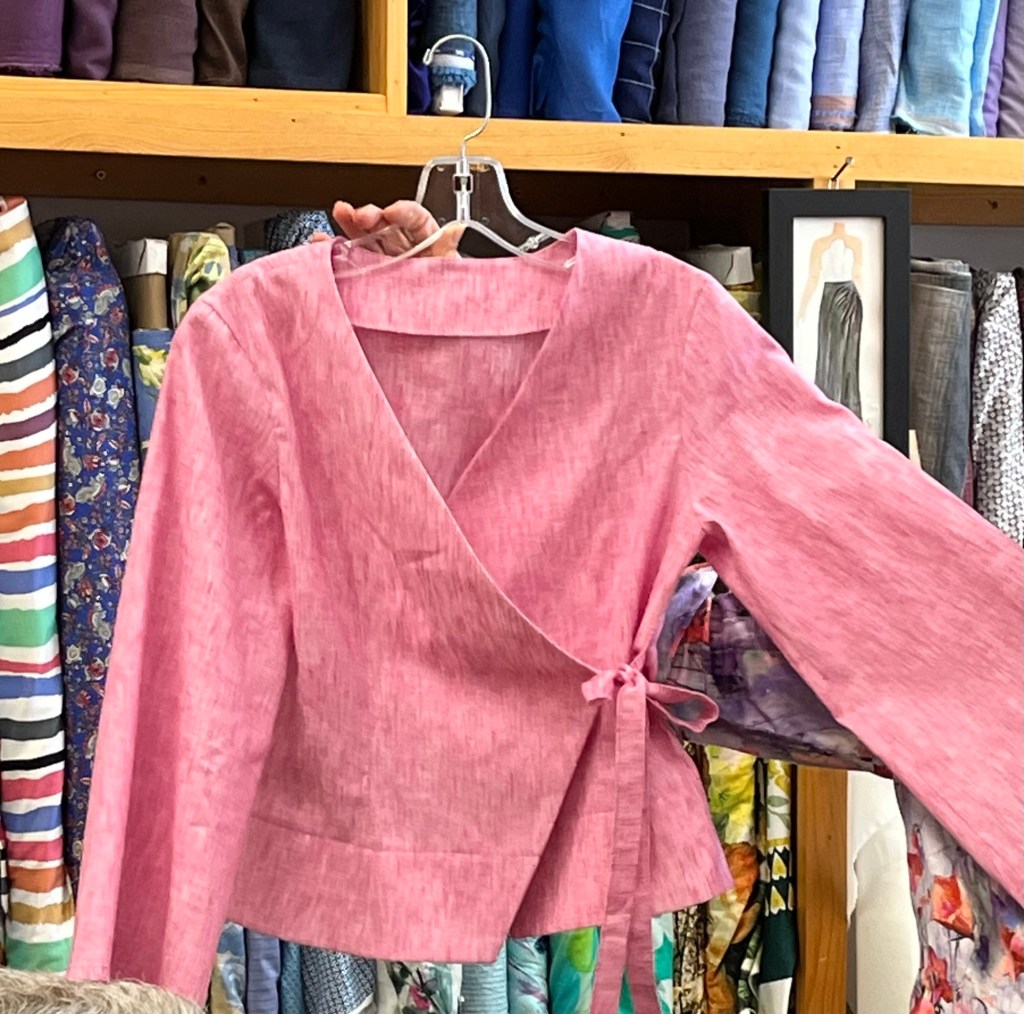
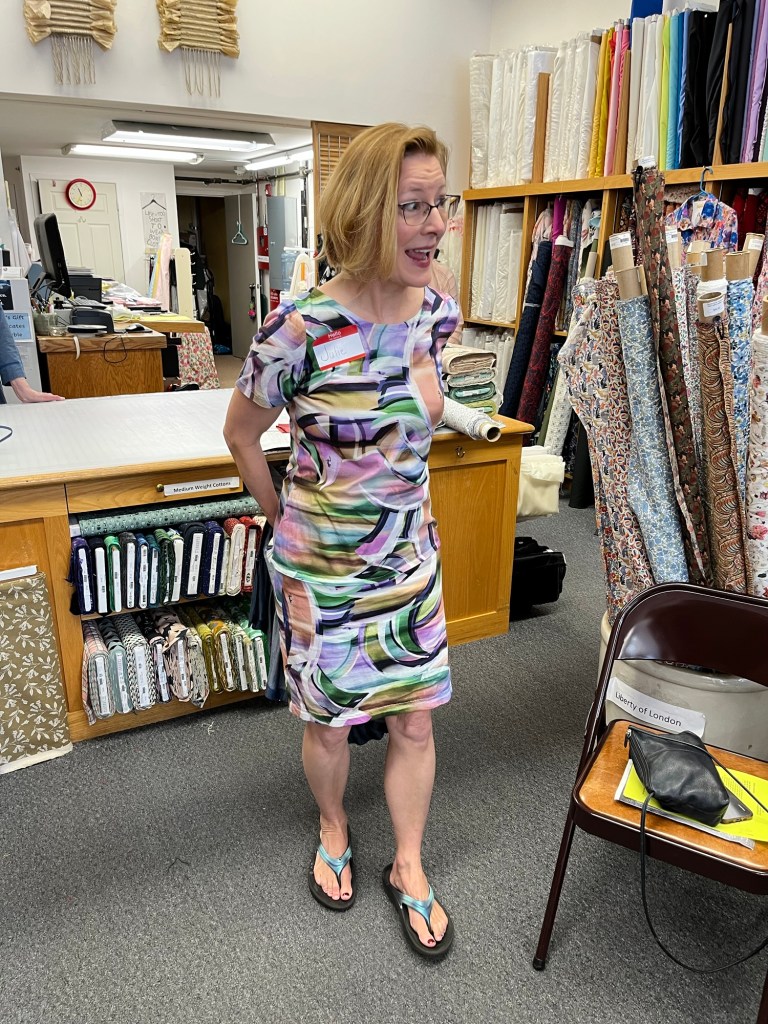
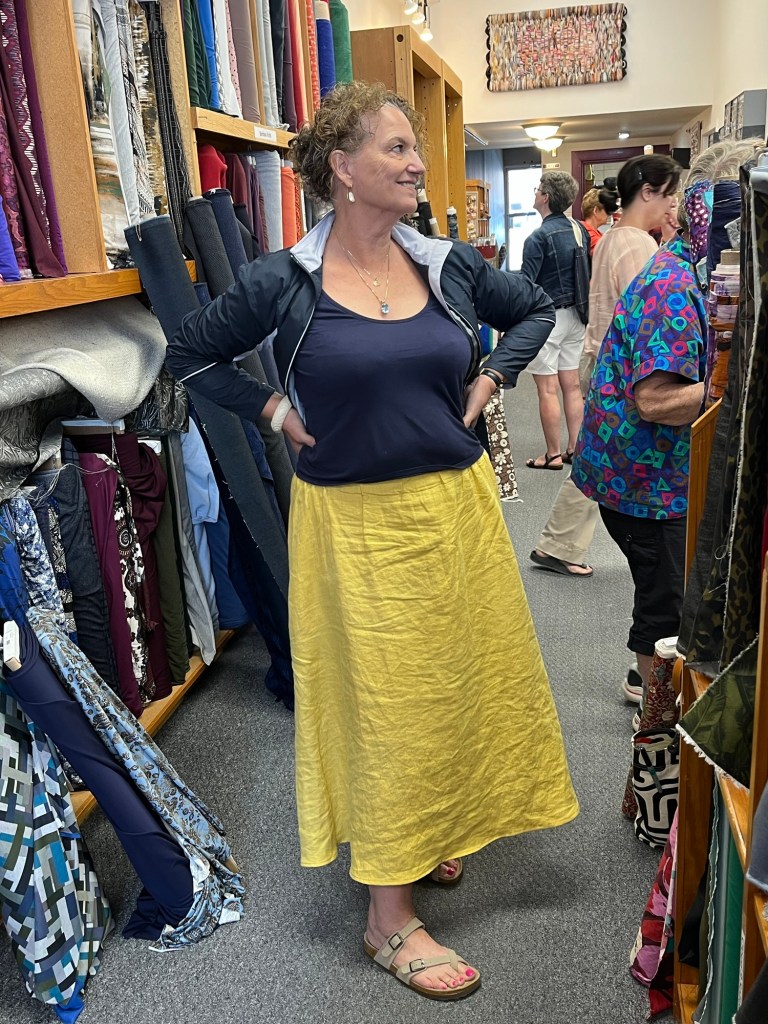
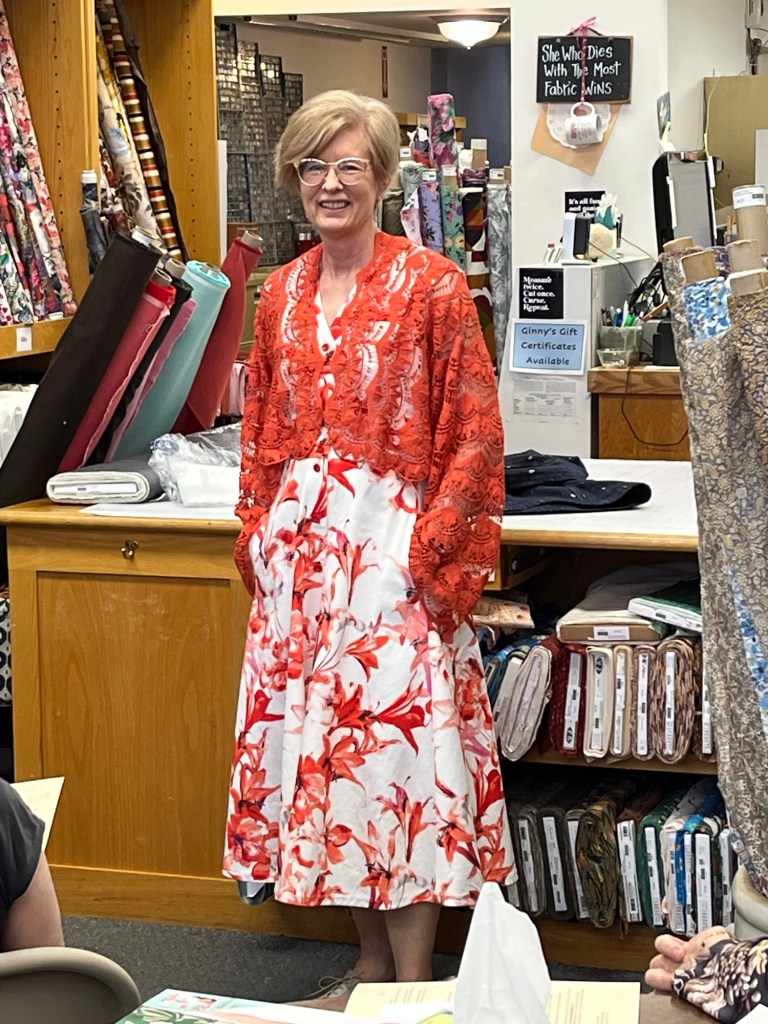
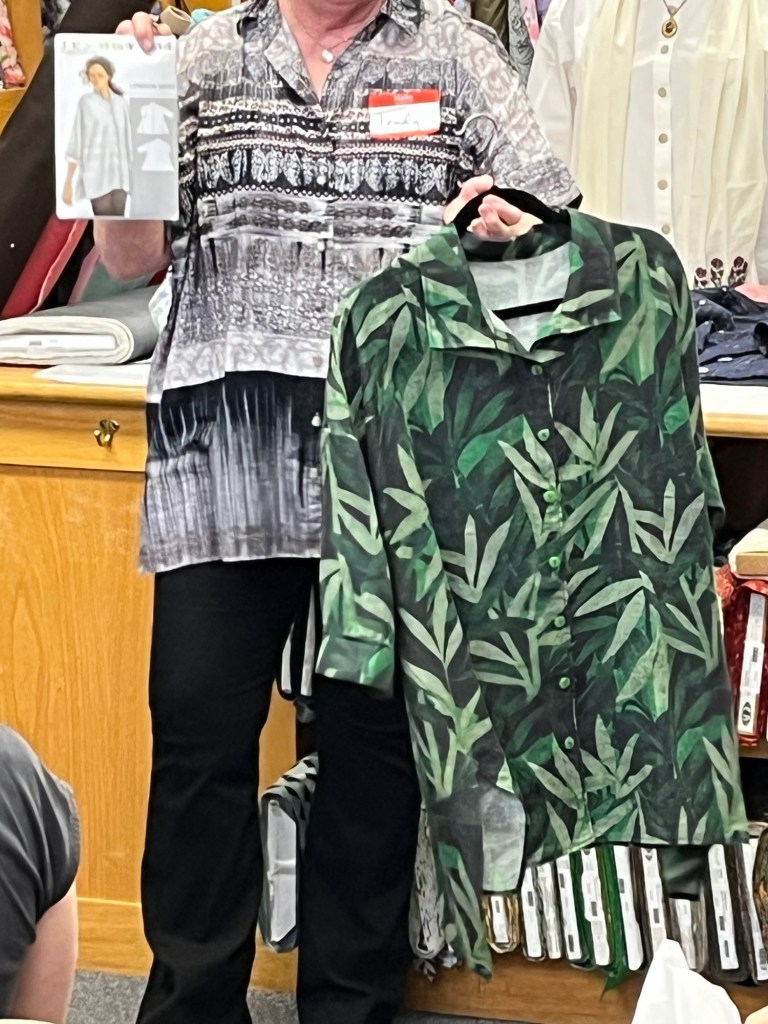
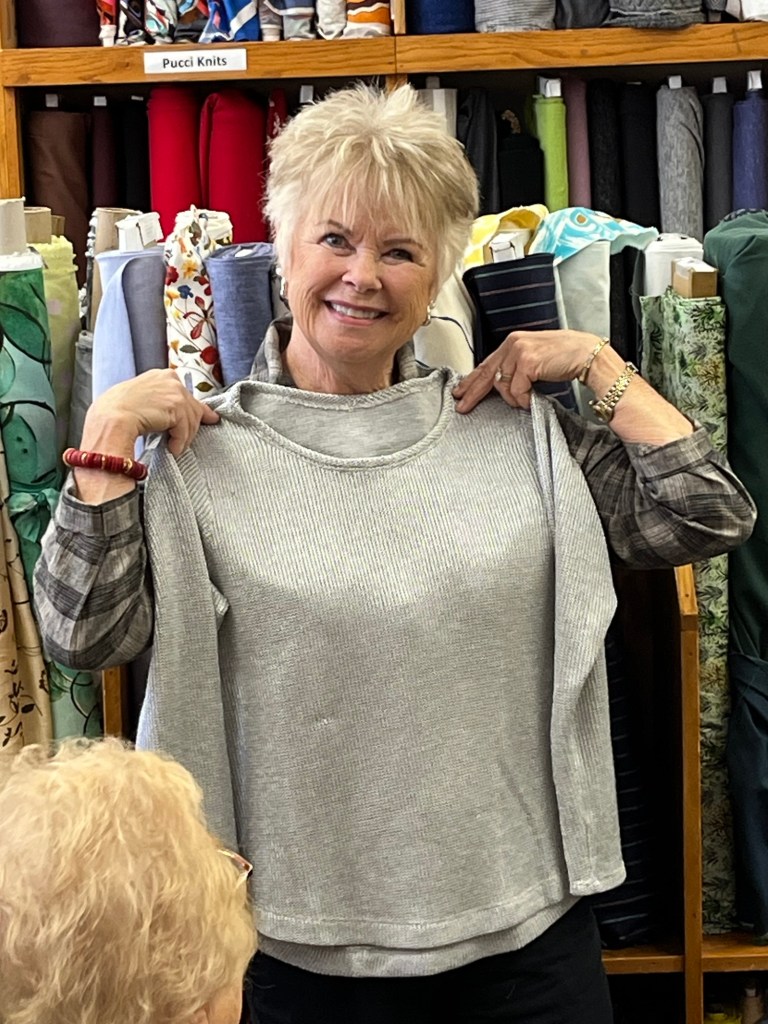
Had to give this one a try as it’s a look I like. Cut out a size large and am happy with the fit.
Pattern includes three sleeve lengths and three necklines.
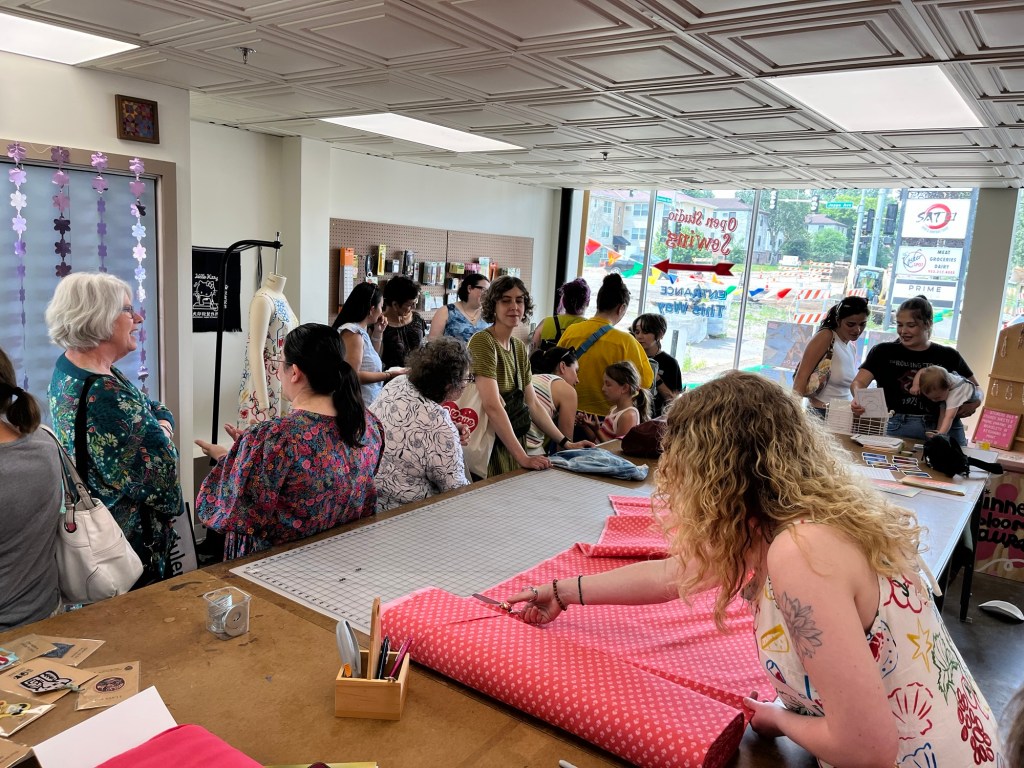
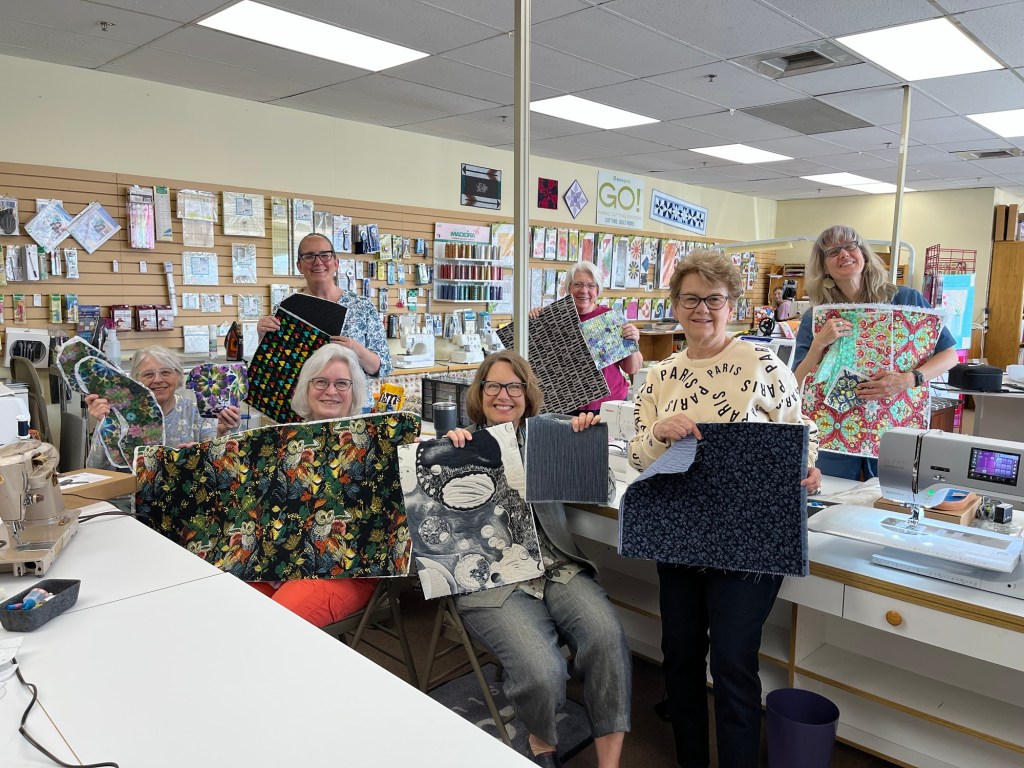
August Garment Sewing Group
Wednesday, September 10, Lakes Makerie, Mpls.
Thursday, September 11, Creative Sewing, Apple Valley
Saturday, September 13, Ginny’s Fine Fabrics, Rochester