And there’s one more meeting, Wednesday, Nov. 15, 10:30, at Lakes Makerie. Hope you can make it!!!


And there’s one more meeting, Wednesday, Nov. 15, 10:30, at Lakes Makerie. Hope you can make it!!!
We finished October meetings at Ginny’s in Rochester. Won’t return till the snow is over 😦
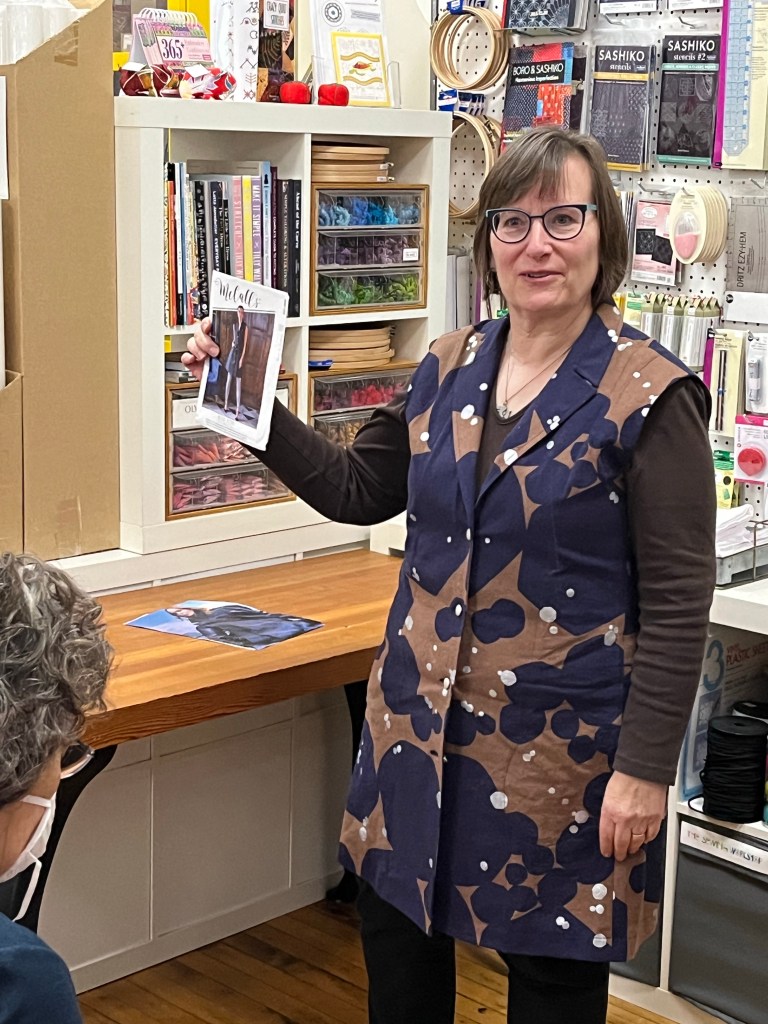
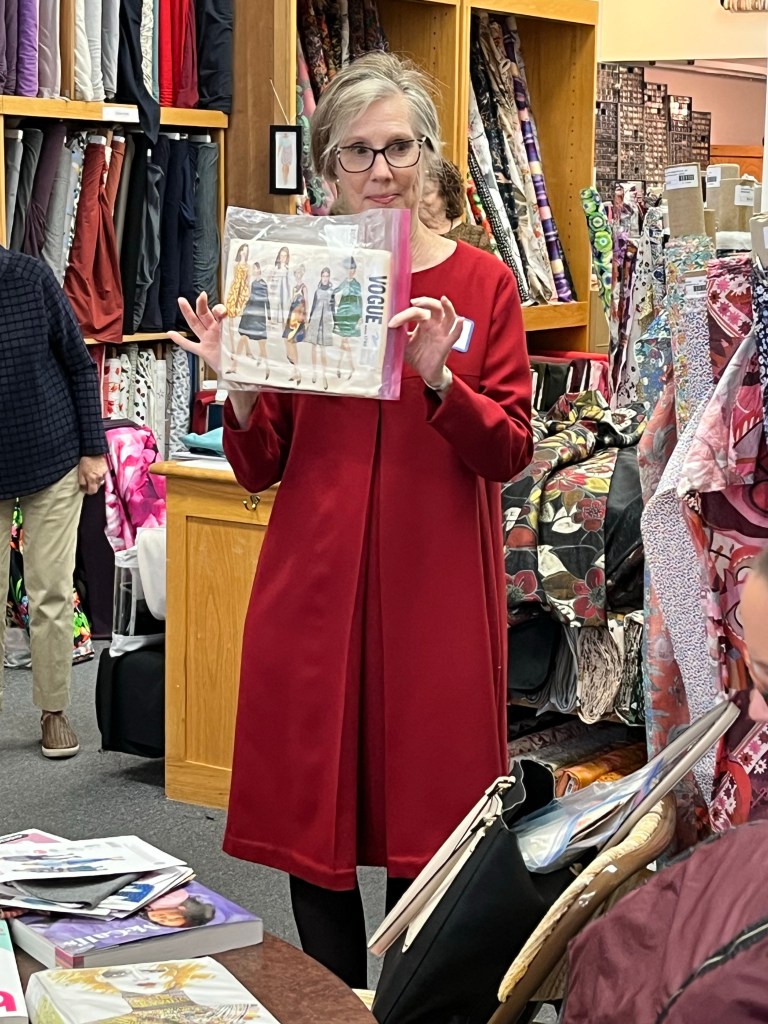
New class starting Thursday, November 2-Garment Sewing 2.0, 10-12 pm at Creative Sewing in Apple Valley. Meant for those of you coming back to sewing for yourself and not sure where to start-indie patterns, new fabrics, changed body!!! Make a garment while brushing up on skillzzzz.


Missing two pics but someone is across the Pond :))
New class starting Thursday, November 2-Garment Sewing 2.0, 10-12 pm at Creative Sewing in Apple Valley. Meant for those of you coming back to sewing for yourself and not sure where to start-indie patterns, new fabrics, changed body!!! Make a garment while brushing up on skillzzzz.
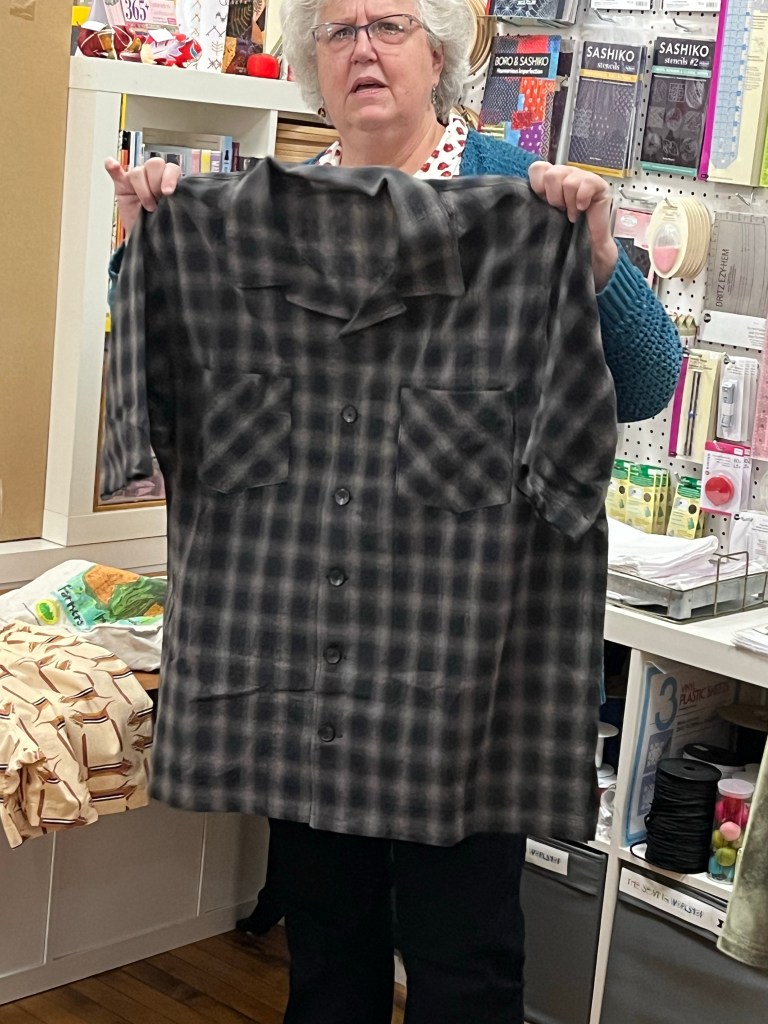
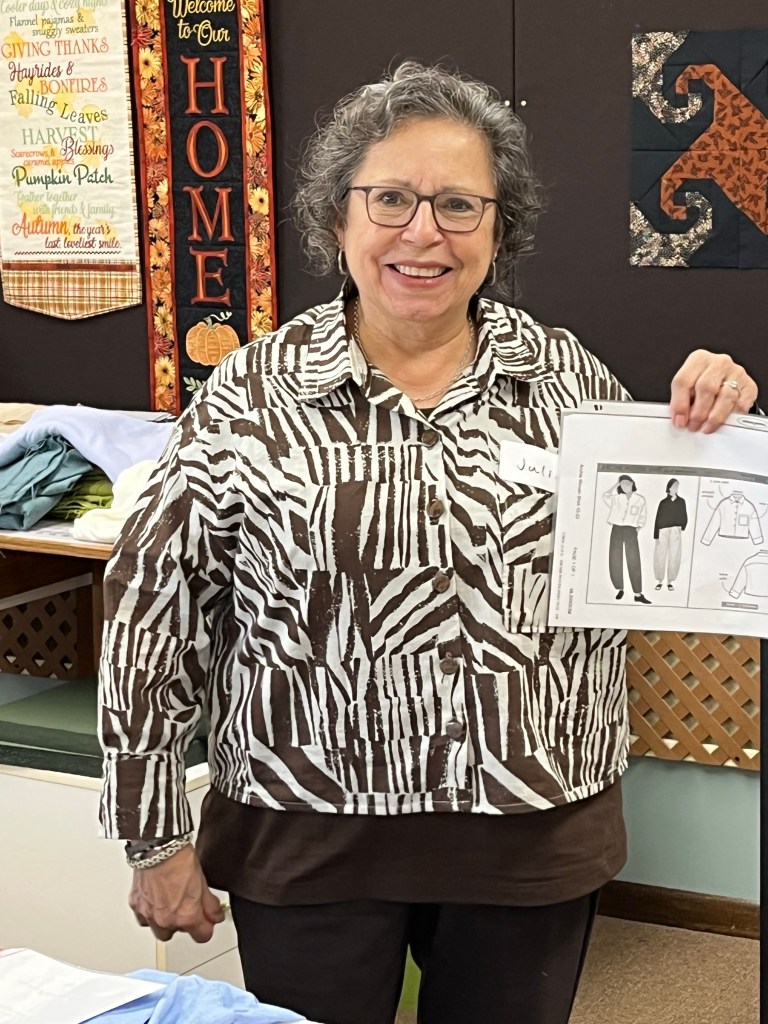
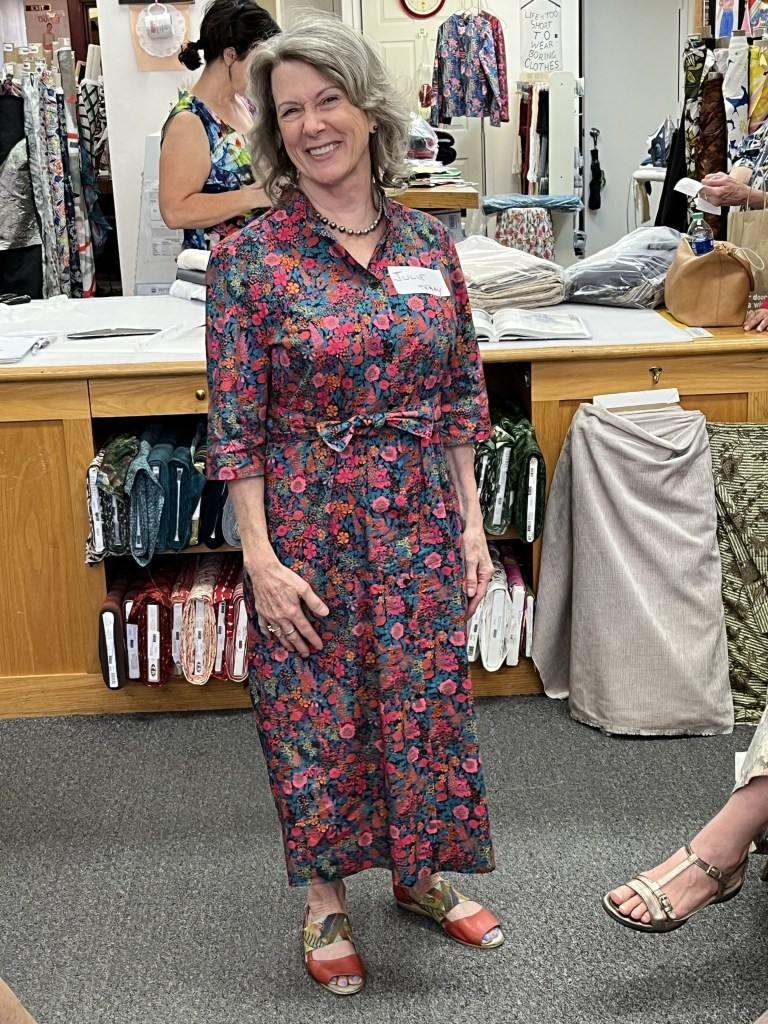
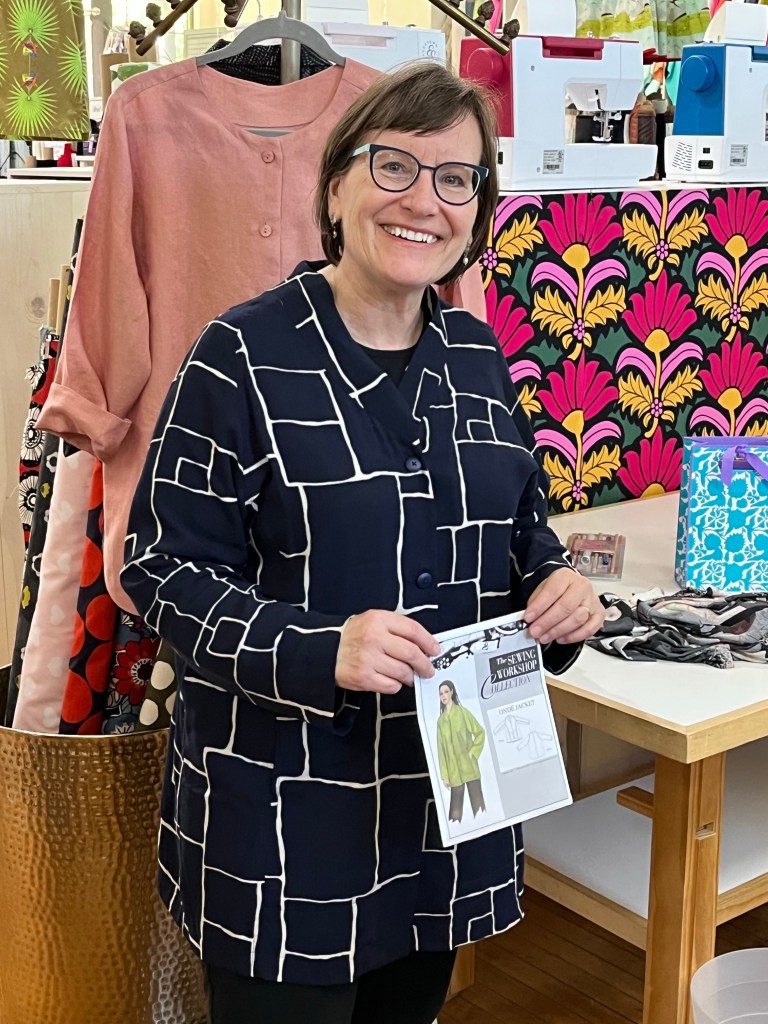
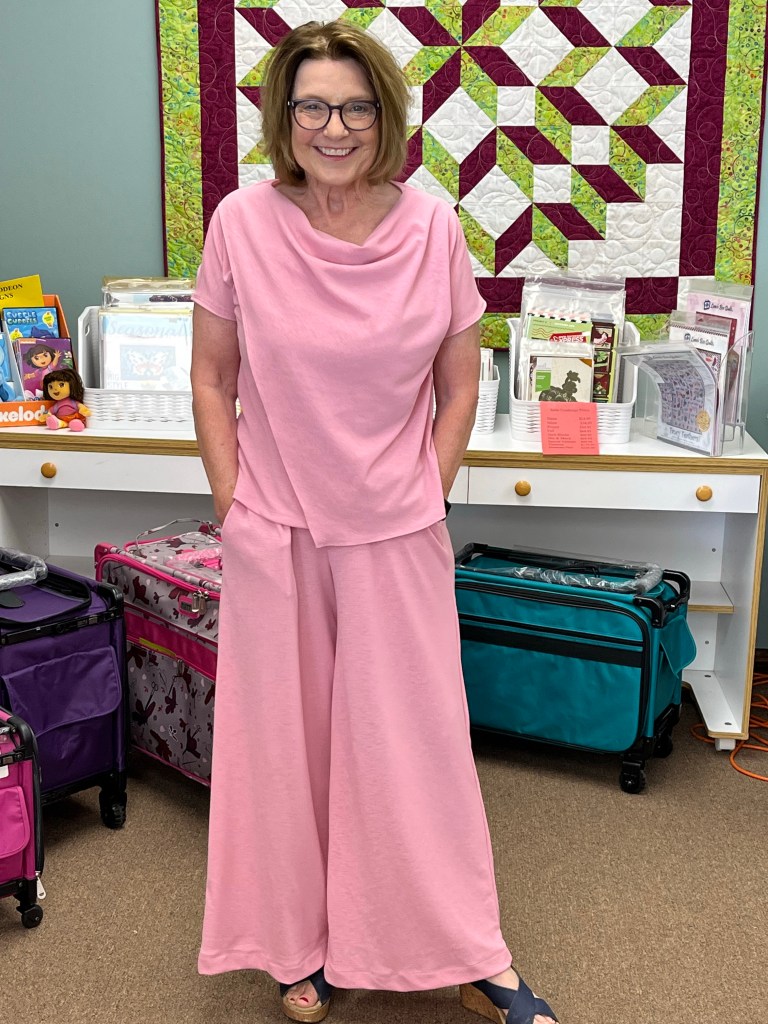
Debbie’s Garments:
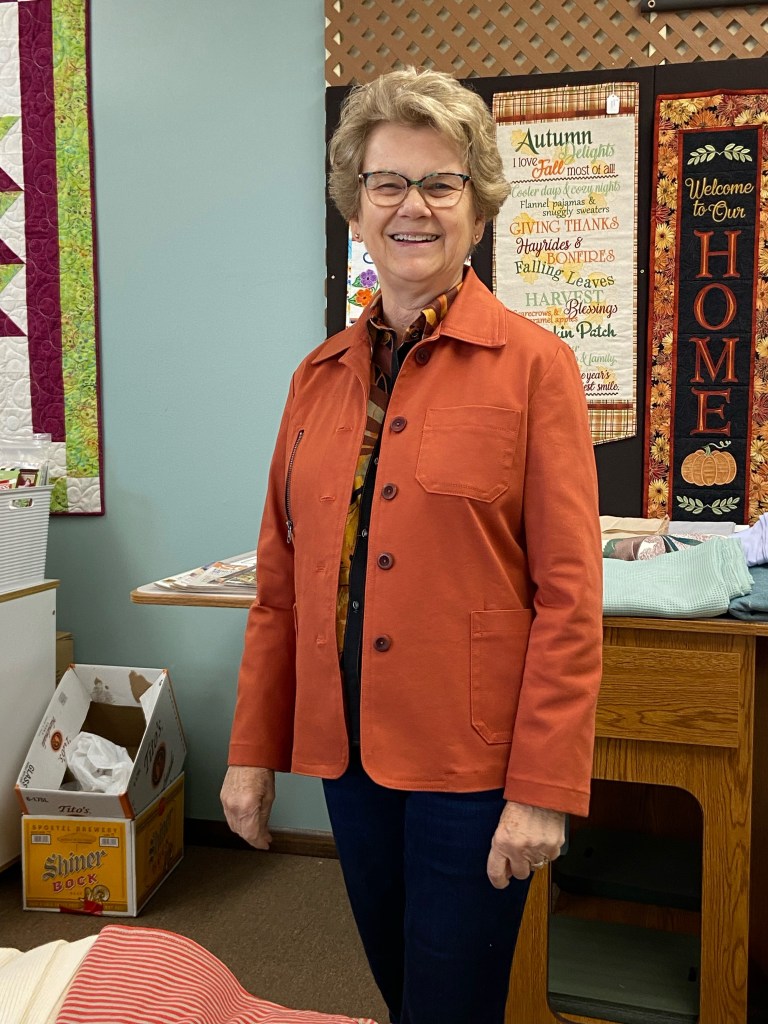
1. The only fit adjustment I made was a narrow shoulder.
2. I interfaced the collar and facings – pattern does not use interfacing. However I was surprised how often the serger was mentioned for seam finishes.
3. The construction method is done while most of the jacket is flat except for sleeves. I did set in sleeves, buttonholes and then the hem.
4. Other than putting the buttonholes too far in from center I am really happy with it, especially the pockets. The jacket is a fun make and the directions are very good.
Brick/Tan Raglan Tee
Butterick 6207, view A with curved hem
1. This is my favorite pattern for a Raglan tee. Great for layering under my utility jacket.
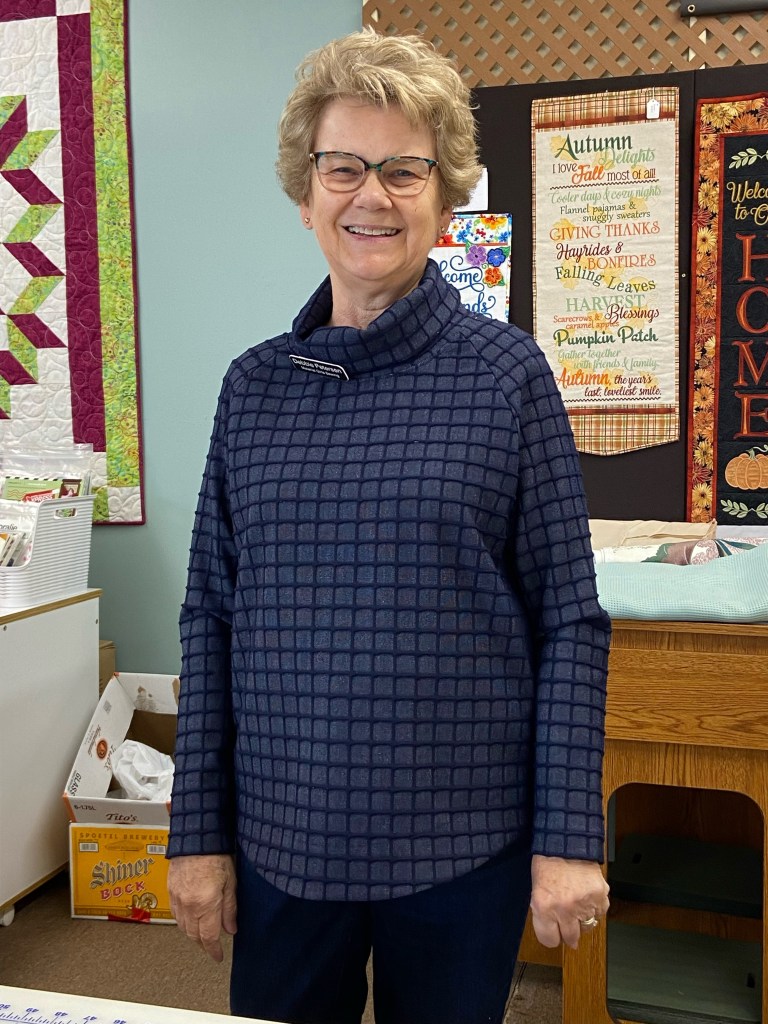
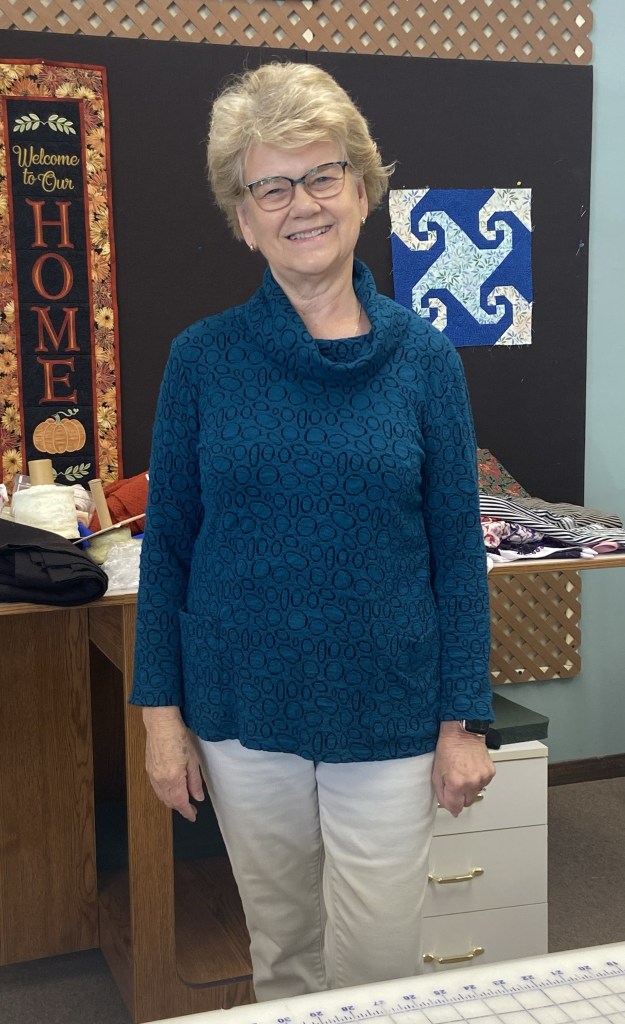
Cream Banded Turtleneck
Simplicity 9385, View D
Ribbed sweater knit blend
1. Another TNT pattern.
2. The knit is very drapey so I added the band to prevent the length of the fabric to grow.
3. As the weather gets cooler I will layer this under my utility jacket.
4. I was pleasantly surprised to find two classic shirts in my closet that with also layer well with this jacket. I have a mini capsule!
Tartan Plaid Peplum Shirt

1. I adjusted fit by narrowing shoulder, shortened between shoulder and bust, shortened 1 inch between waist and peplum hem and shortened sleeve 1 inch.
2. The sleeve calls for a basic 1 inch hem but I did a split cuff instead.
3. Instead of adding belt loops for belt I secured belt at center back just below peplum seam.
4. Matching the plaid for this pattern was difficult. I let the pattern photo fool me. I would make this again but definitely not in a plaid!
1. Did not do any fit adjustments.
2. Instead of using facings for the hood I lined it with a lightweight ponte knit. Nixed the hood and added a cowl/turtle neck instead. I also faced the hem with the same ponte.
3. I did not add draw strings to bottom hem.
4. It’s a fun top and easy to make.
5. A lighter weight and more pliable fabric would work better for the hood.
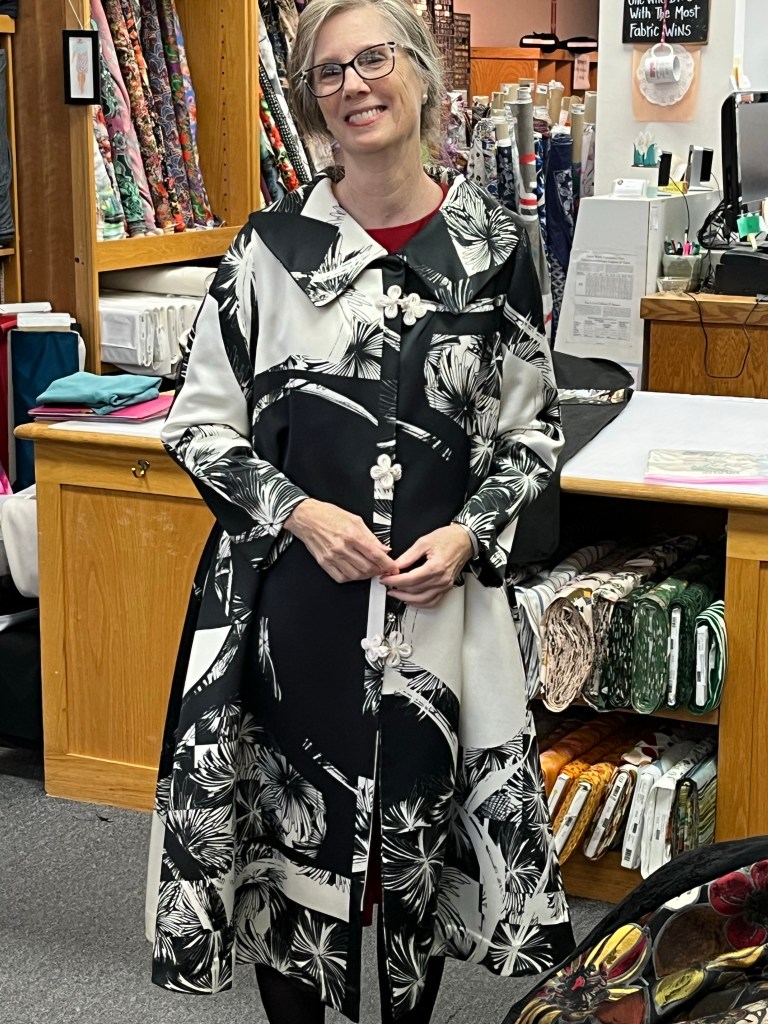
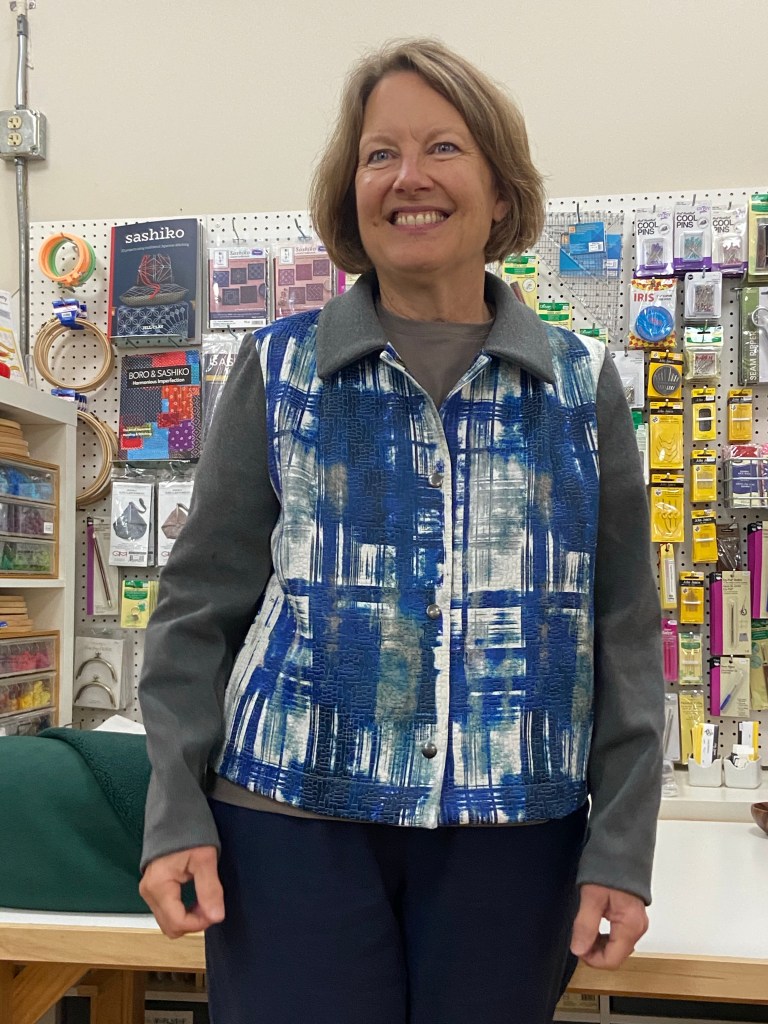
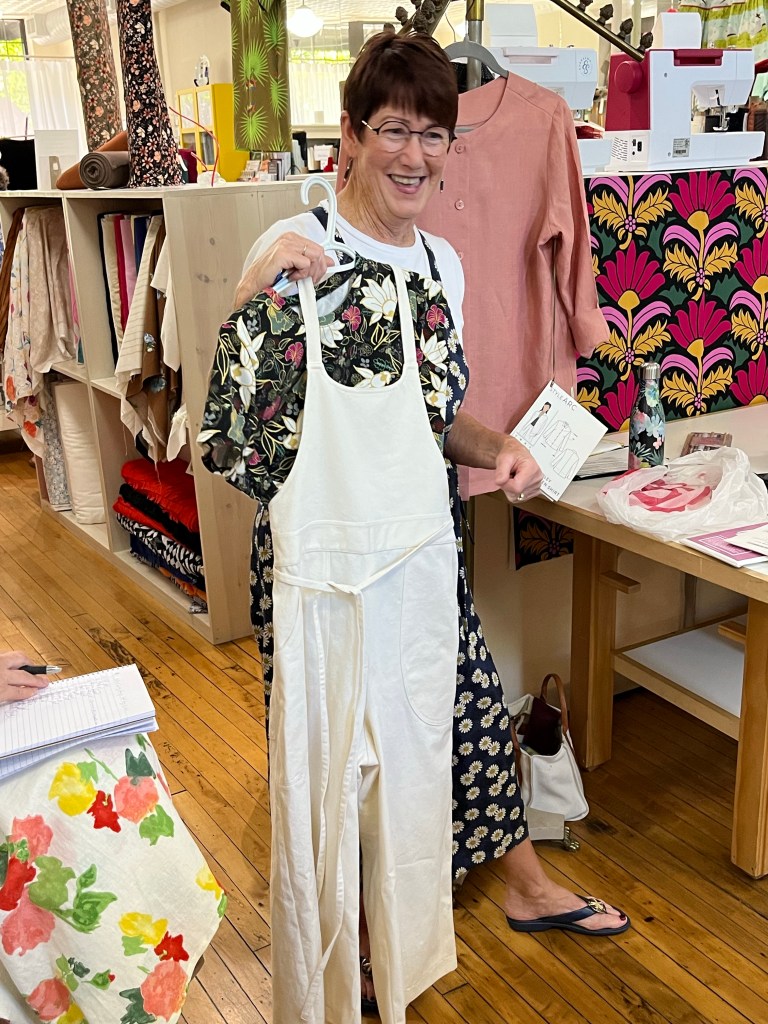
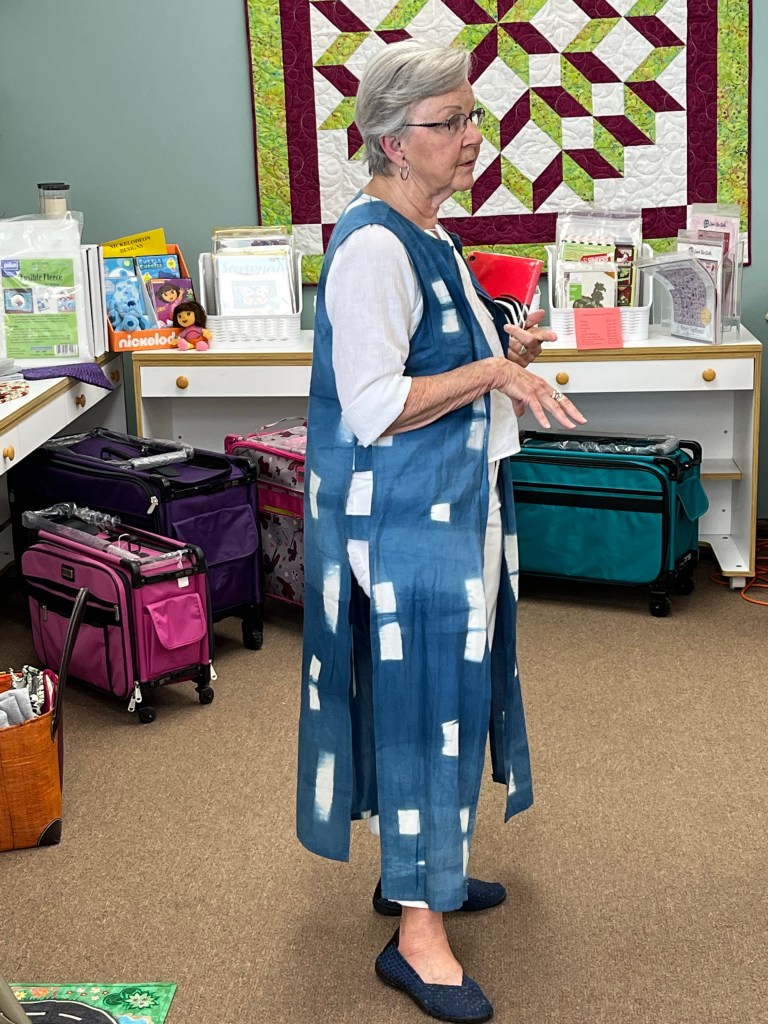
Kristin’s Garments:

1. Cut shoulders, neck, armhole and sleeves as Small-remainder in Medium.
2. Pattern has lining pieces. I cut a back neck facing instead of lining. Used ponte fabric for facing.
3. Used lining fabric for pockets for slipperiness.
4. Topstitching made the berber look cheap and crushed so I handtacked in numerous places to keep facing in place.
5. Went together well, collar’s inside corner turns well. Serged most seams but curves and collar sewn on sewing machine. Snuggly coat!
1. Pattern is made for wovens or faux fur-I subbed rib knit for sleeves and collar.
2. I was attracted to the vertical “bust” dart. It is trimmed after sewing. Fabric frayed so I zigzagged.
3. Pattern calls for interfacing both upper and under collar which I did since it was a knit. Pattern directions show a corner on the collar but the pattern piece is definitely rounded and the photos also show a rounded corner.
4. I didn’t originally interface the front facing but after pinning the heavy collar into the flimsy main fabric I added a wide strip to center fronts.
5. Sleeve is two pieces which I kept even tho it was a knit. Sleeve head went in well-didn’t need to cut down and it isn’t a sloppy fit.
6. Pocket seemed small and not useful and I didn’t have any of the woven fabric left so no pocket.
7. Another Burda winner pattern for me!
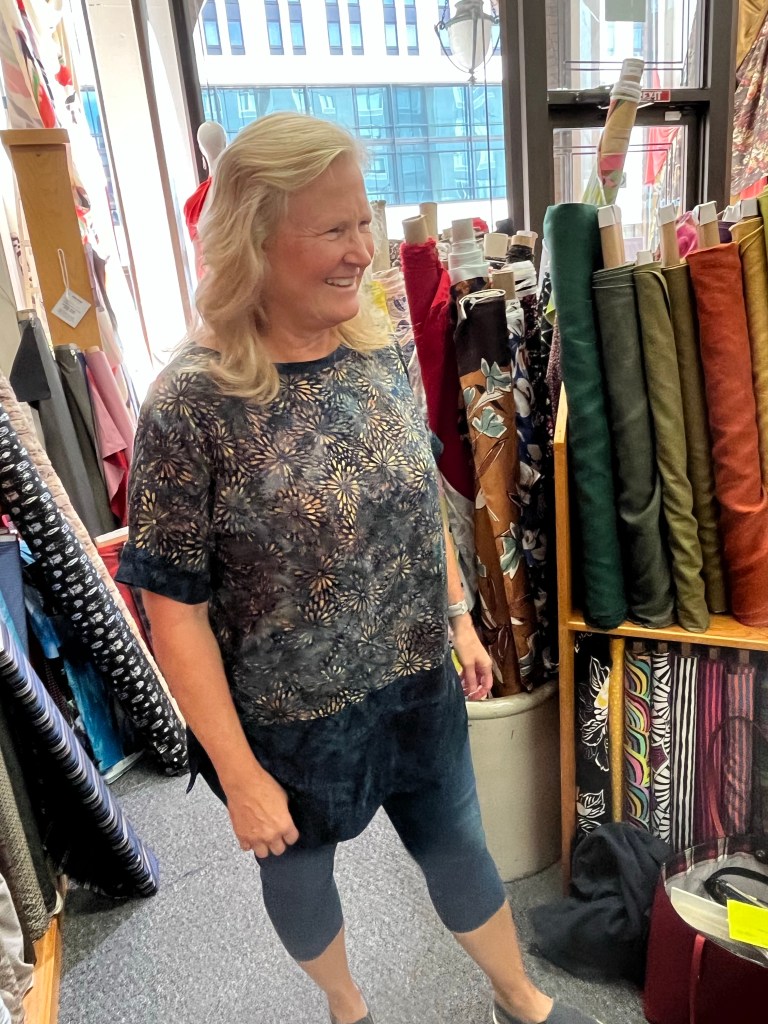
1. Had to make it once more-comfy tee-boxy fit.

1. Looking for the perfect tee-not sure this one is it. Very high sleeve cap that makes for sloppy armhole.
November Garment Sewing Group
Thursday, November 9, 10:30 at Creative Sewing, Apple Valley
Saturday, November 11, 10:30 at The Sewing Lounge, St.Paul
Wednesday, November 15, 10:30 at Lakes Makerie, Minneapolis
Today we meet at Creative Sewing in Apple Valley and Saturday at Ginny’s in Rochester. Carpool, anyone?
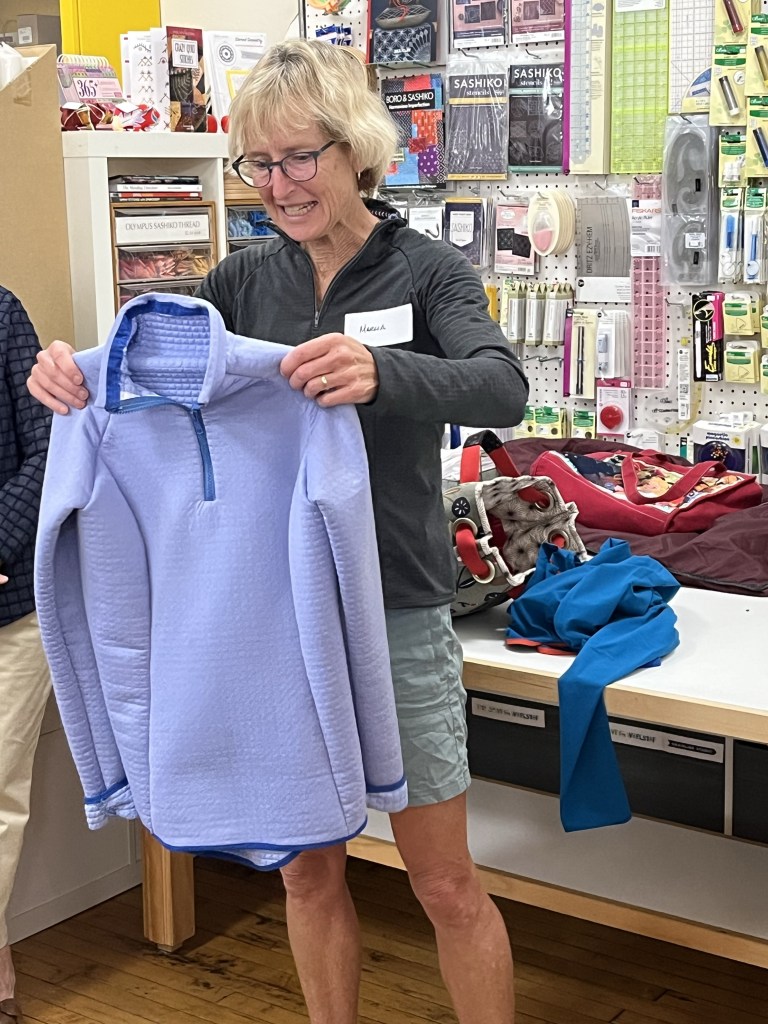
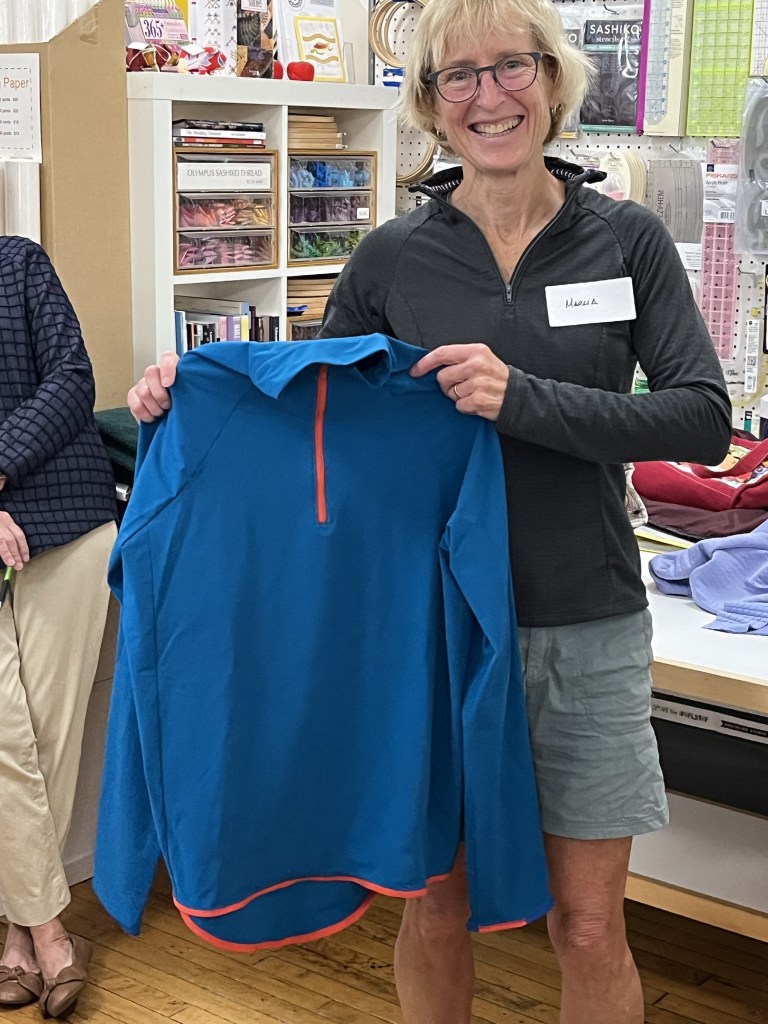
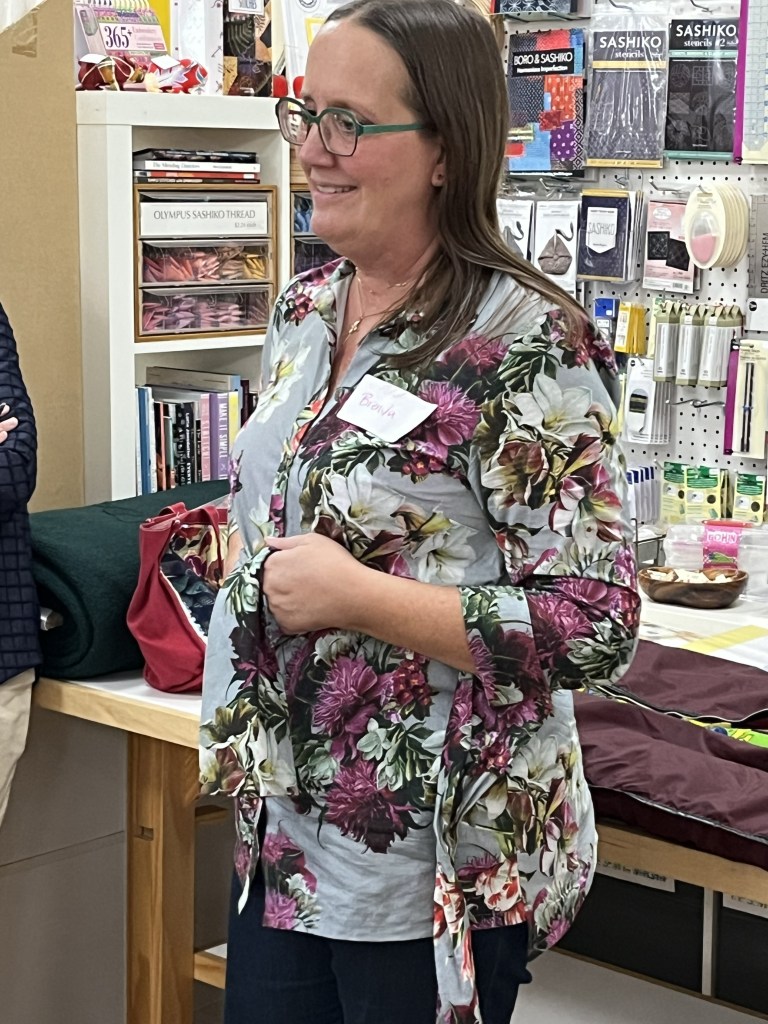
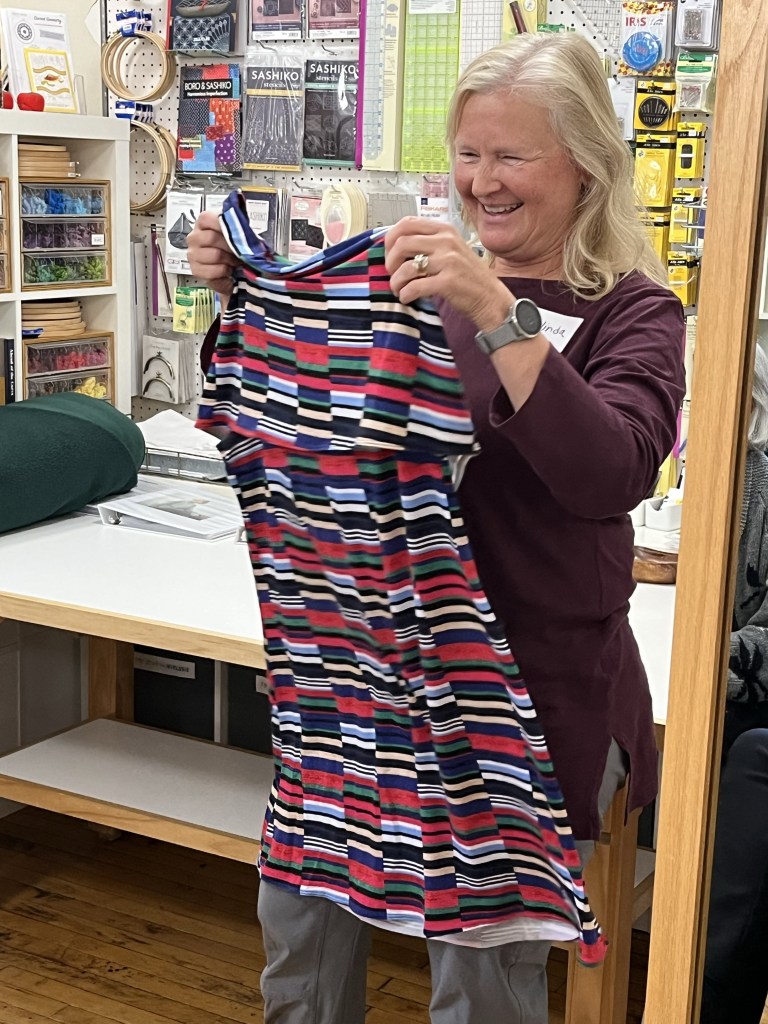
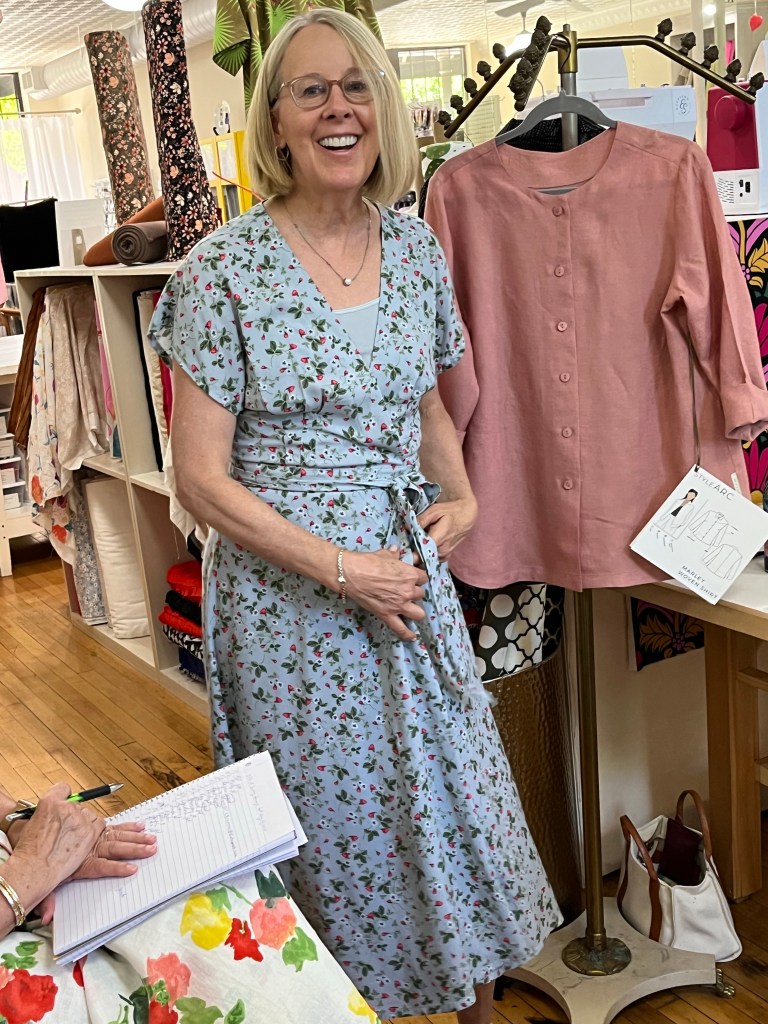
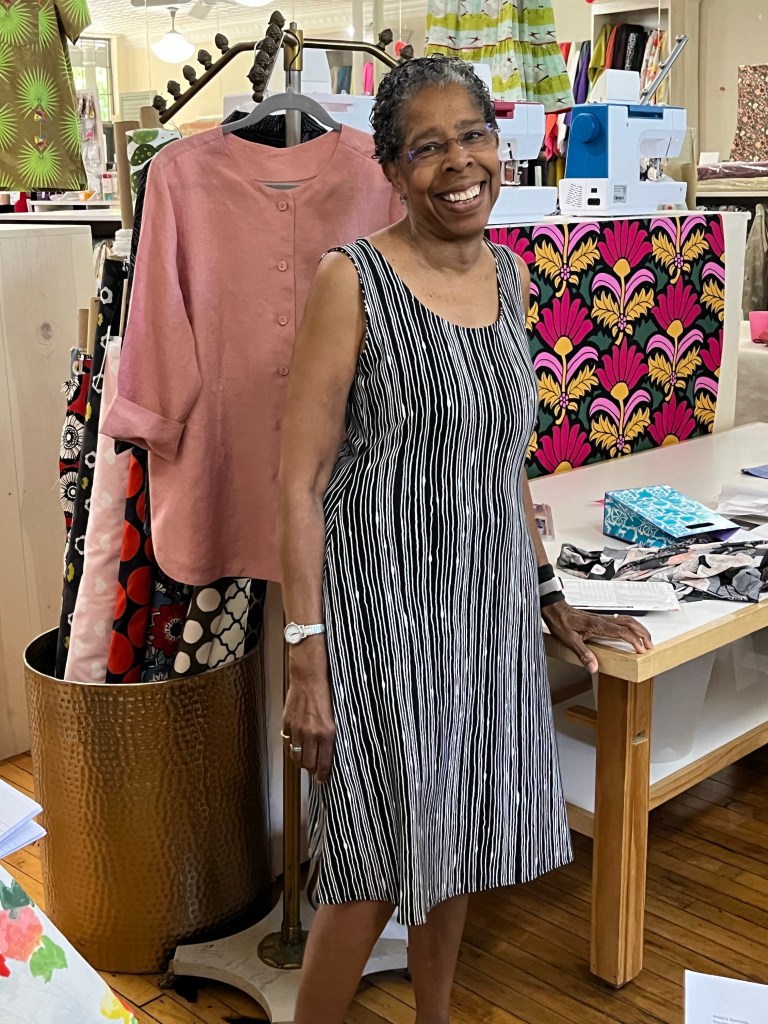
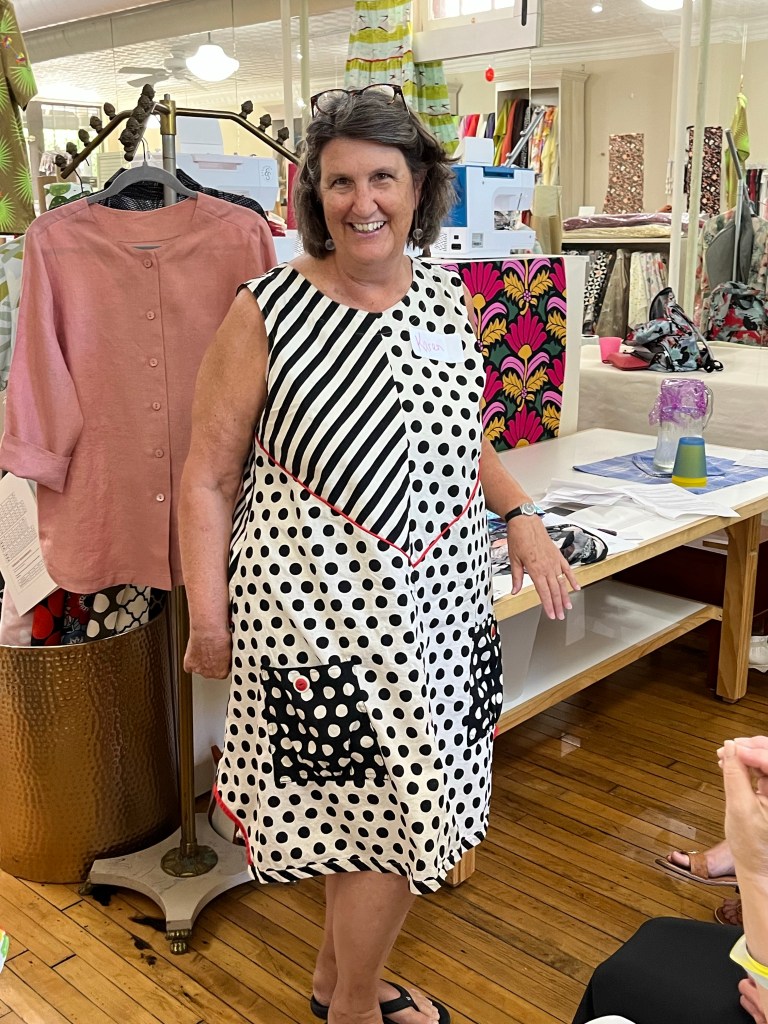
Here’s what we saw at Sewing Lounge for Wednesday’s Garment Sewing Group!


Basic & Beyond Sergery class starts on Thursday, October 5, 10-12 pm, at Creative Sewing in Apple Valley. Please contact the store to register-2 spots left! Phone is 952-431-6688.
Here are the last of the photos from September’s Garment Sewing Group meetings:


September 2023
Debbie’s Garments:

Burda 7062-I like the contour waistband, side zip and ankle slits.
Simplicity 9275, View A, without pockets
1. Shortened between shoulder and bust and did a narrow shoulder adjustment.
3. Quick and easy make and the fabric was also easy to sew.
2. Due to weight of fabric I did a single layer hem versus a narrow hem as pattern instructs.
1. TNT pattern that is easily hacked. The fabric makes this Tee.

1. Shortened between shoulder and bust on front, back and sleeves. Also shortened sleeve length by one inch and length of body 2 inches.
2. I appreciated the pattern instructions regarding cutting interfacing – nice tip.
3. To create less bulk and to construct as much as the garment flat I changed the order of construction. I constructed the left sleeve with zipper first rather than what the pattern instructs. I also do shoulder seams, neck edge before any side seams if possible.
4. The pattern instructions lack any mention of clean finishing zipper edge. No mention of serger – instead you are instructed to double stitch.
5. It’s a fun pattern that puts a standard tee up a notch.
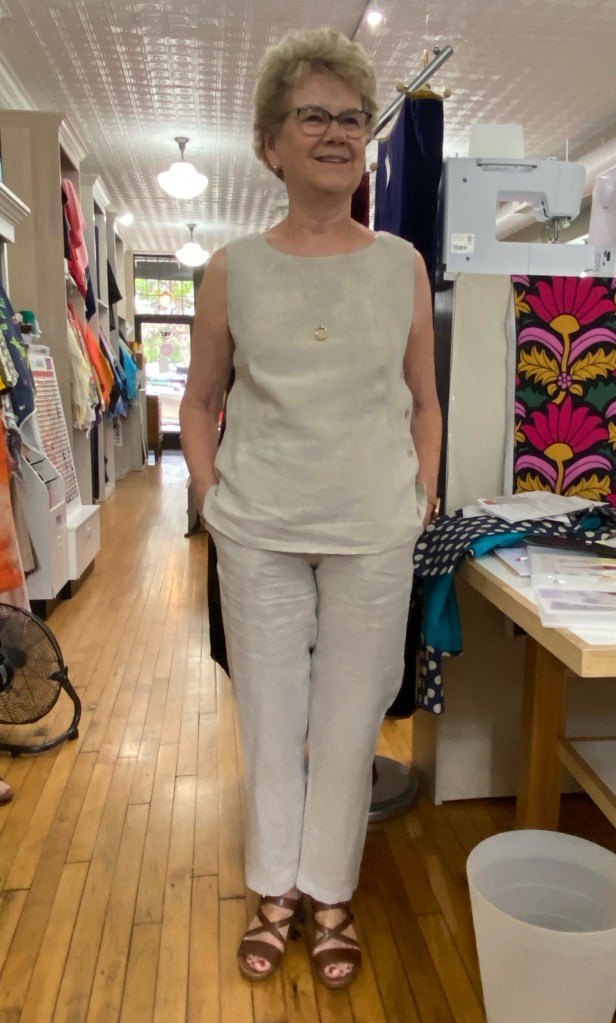
Last of my summer Makes:
1. Shortened 1 inch between waist and hip.
2. Changed order of construction – Stitch one shoulder seam, apply first strip of bias binding, stitch other shoulder seam and complete binding construction. I used serged wrapped method of applying binding.
3. Great pattern – definitely will become a TNT.

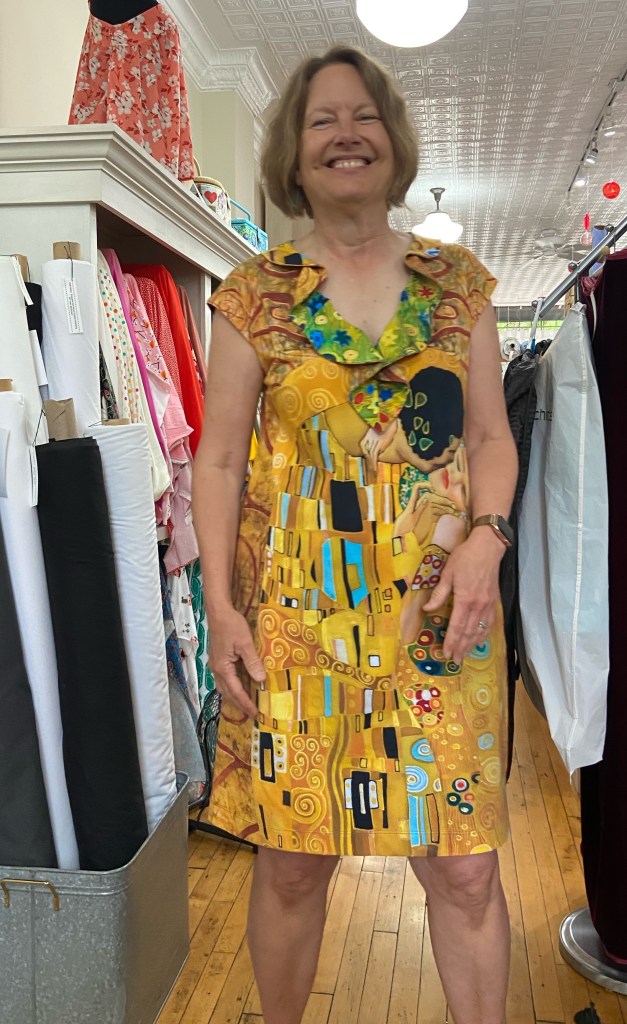
Kristin’s Garments


1. Looking for an oversized, but not sloppy, tee.
2. Klimt fabric is cotton and neckband fit pretty close.
3. Navy is rayon and heavier and drapier.
4. Correct pattern, great basic.
1. Stripe is rayon/botanical print is cotton. Fun pattern.
2. Front hem shorter than back.

1. Fun shirt pattern with back yoke and gathered back.
2. Instructions for front yoke are very good.
3. Hand stitched hems.

1. This pattern is a bit narrower than Barry Pant/Stylearc and not quite as bubbly.
2. Hem facing and 3 darts make the leg shape. I added 3” to length.
3. Lots of interesting sewing techniques, especially the pockets and paper bag waistband but I didn’t want those options.

1. Added 4” to length of skirt and pant underneath.
2. Fabric was good to sew on. Clips were easier than pins.
3. Made waistband half the width but the stretch of knit was different and wish I would have made it wider.
October Garment Sewing Group
Wednesday, October 11, 10:30, Sewing Lounge, St. Paul
Thursday, October 12, 10:30, Creative Sewing, Apple Valley
Saturday, October 14, 10:30, Ginny’s, Rochester
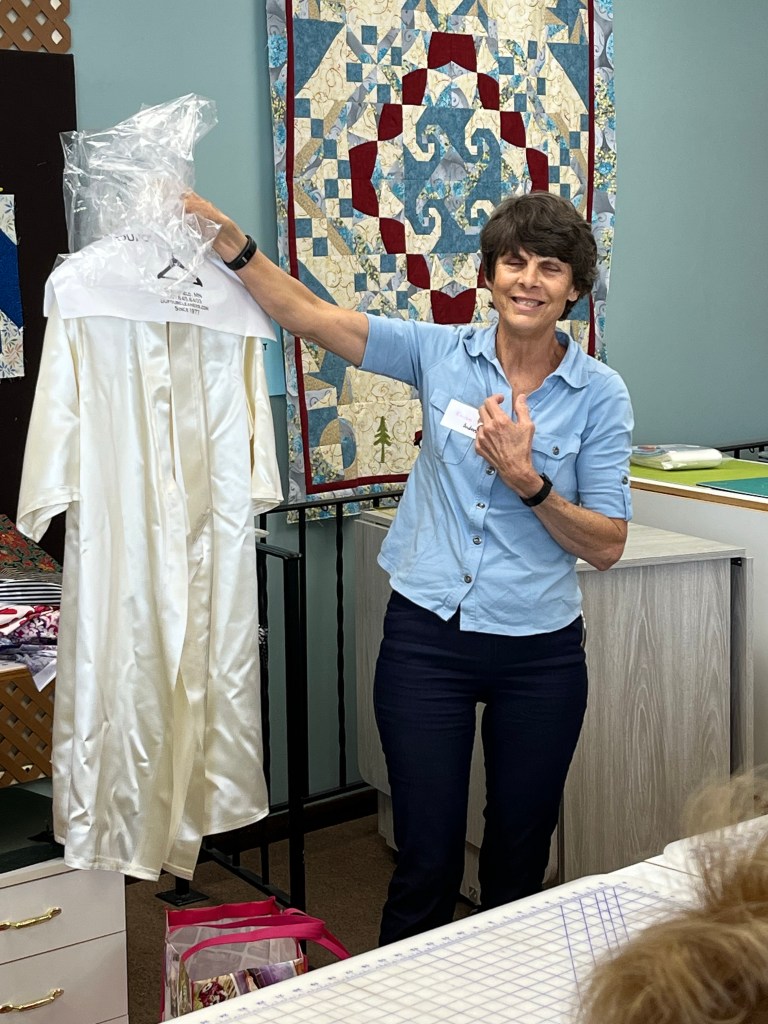
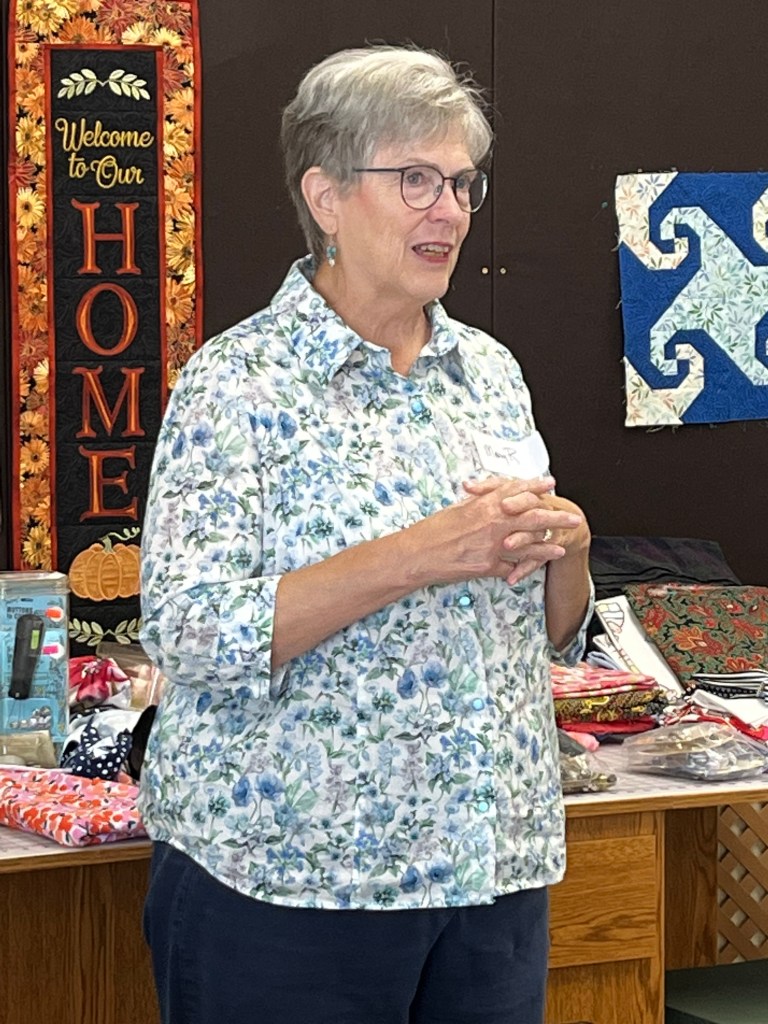
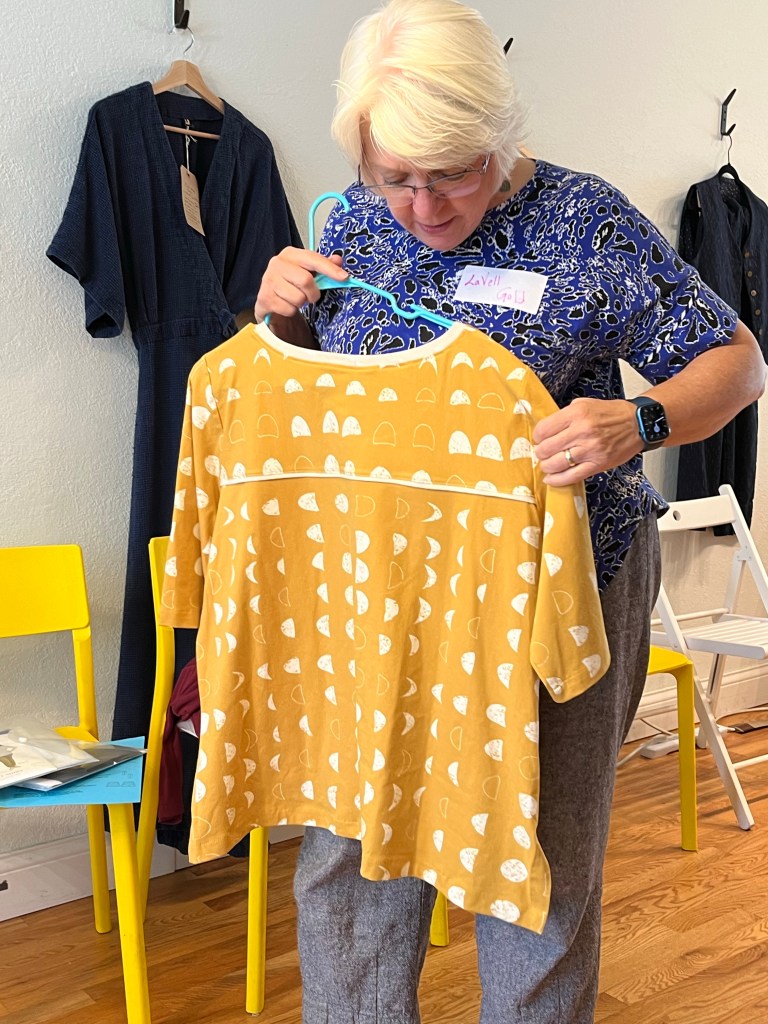
September meetings will finish at Ginny’s Fine Fabrics in Rochester tomorrow, Sept. 20. Good times were had at Creative Sewing and Lakes Makerie as evidenced by the photos below:


As you plan your fall sewing, here are photos from the remaining August meetings of Garment Sewing Group to inspire you-

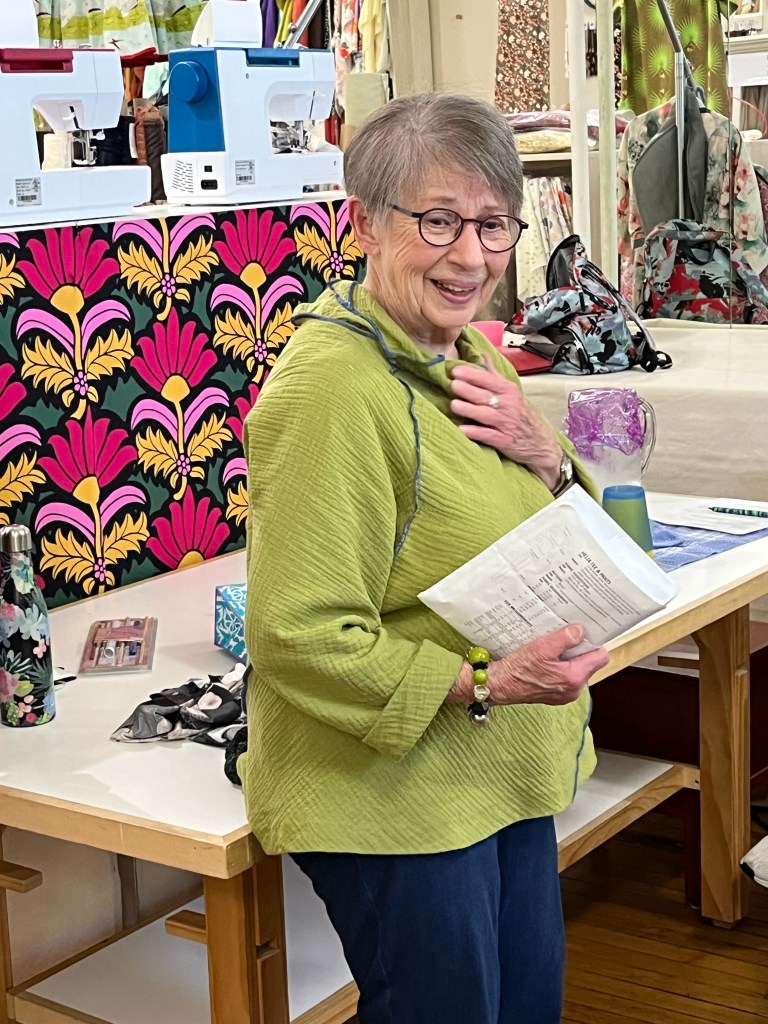


Here are Wednesday/Lakes Makerie pics from Garment Sewing Group. We’re at Creative Sewing/Apple Valley today/Thursday and Sewing Lounge/St. Paul on Saturday! 10:30 am always 🙂


Garment Sewing Group
July 2023
Debbie’s Garments:

1. This is my TNT pattern for shift dresses. Petite adjustments are included in the pattern which is a timesaver for me.
2. The facing is eliminated – I used serged bias binding and added the flounce to sleeve. I especially like putting in the zipper using Becky’s method-
1. Interface seam allowances on zipper seam.
2. Clean finish seam allowances.
3. Stitch zipper seam 1 to 1 1/2 inches from the top of seam, stop and secure seam.
4. Leave an opening the length of the zipper minus one inch.
5. Continue to sew seam from bottom of zipper opening to bottom of garment seam, backstitching at start of the seam.
6. Insert zipper and stitch about one inch further than zipper opening.
7. You will need to wiggle the zipper pull up between both sides of zipper to close the first time.
8. Ta da! A beautiful zipper insertion without the fussiness at the top of the zipper and facing.
Navy Dot Jacket

1. Fitting adjustments includes petite between shoulders and bust, narrow shoulder adjustment and shortened sleeve length.
2. Optional to line jacket – I lined my jacket with Bemberg Rayon.
3. Typical Style Arc pattern as far as instructions go. I did change order of construction and button placement.
1. I shortened front and back between shoulder and bust and shortened body length at hem by one inch. Due to close fit I needed to go from small to larger from bust to hip but easy to do with pattern instructions.
2. This is a fun pattern. Lots of line drawings for excellent construction details, especially the Burrito method for facing.
3. Not necessary to do button placket but it is a great design feature.
Jalie Vanessa Pants
Another TNT pattern. I have made construction changes – the fly is eliminated and I use a one piece waistband – I am now able to sew them up in just a couple of hours.

I made this pattern last year and it has become a favorite.
Kristin’s Garments:

1. Pattern is very similar to a kimono-body pieces are perfect rectangles. By butting pieces to each other, cutting is streamlined and waste is minimal.
2. Because the seams are 3/8” I serged most of them. Underarm sleeve omits clipping to corner but it is necessary-I stitched it with straight machine first, clipped and then serged.
3. Good, basic kimono pattern and I love the fish-but are they right side up or upside down??
Klimt Summer Dress
1. The pattern is for woven but I wanted to give it a try in a knit first. Bust dart and no interruption of my art work 🙂
2. Flounce is supposed to be single layer, which I tried first but the white “wrong” side of the fabric was too stark so flounce is doubled and stiffer than the single but looks better.
3. Knit fabric doesn’t support the flounce very well, if I make it again in a knit I will cut the facing from woven fabric-I don’t think a stiffer interfacing will do the trick.

1. Loved the color and print of the fabric. Have made the pattern before but wanted sleeveless this time. Also, pattern calls for double layered bodice and that got too heavy last time I made it.
2. Love the cut out in back. Finished edges with a 1” strip and sewed together instead of ties.
3. Messed around with fit and all. Will find a pattern closer to what I want next time.
4. Tried garment as a maxi as I had plenty of fabric but short was more fun.
August 2023 Garment Sewing Group
Wednesday, August 9, 10:30, Lakes Makerie, Minneapolis
Thursday, August 10, 10:30, Creative Sewing, Apple Valley
Saturday, August 12, 10:30, Sewing Lounge, St. Paul
