Whirlwind Week; June Club Sheets Online

June Fashion Sewing Club began on Saturday at Treadle followed by a full class of beginning sergers. Mary, the owner at Treadle started the day off right with the announcement that they will be offering Butterick, Vogue, McCalls and KwikSew at a discounted price all the time! You’ll have to check on the start date as there were a few bookkeeping kinks still to be worked out. What a good deal for all of us. Basic Sergery is so satisfying for Debbie and me because students, for the most part, learn a lot and leave feeling much smarter.

A new pattern line you may want to check out

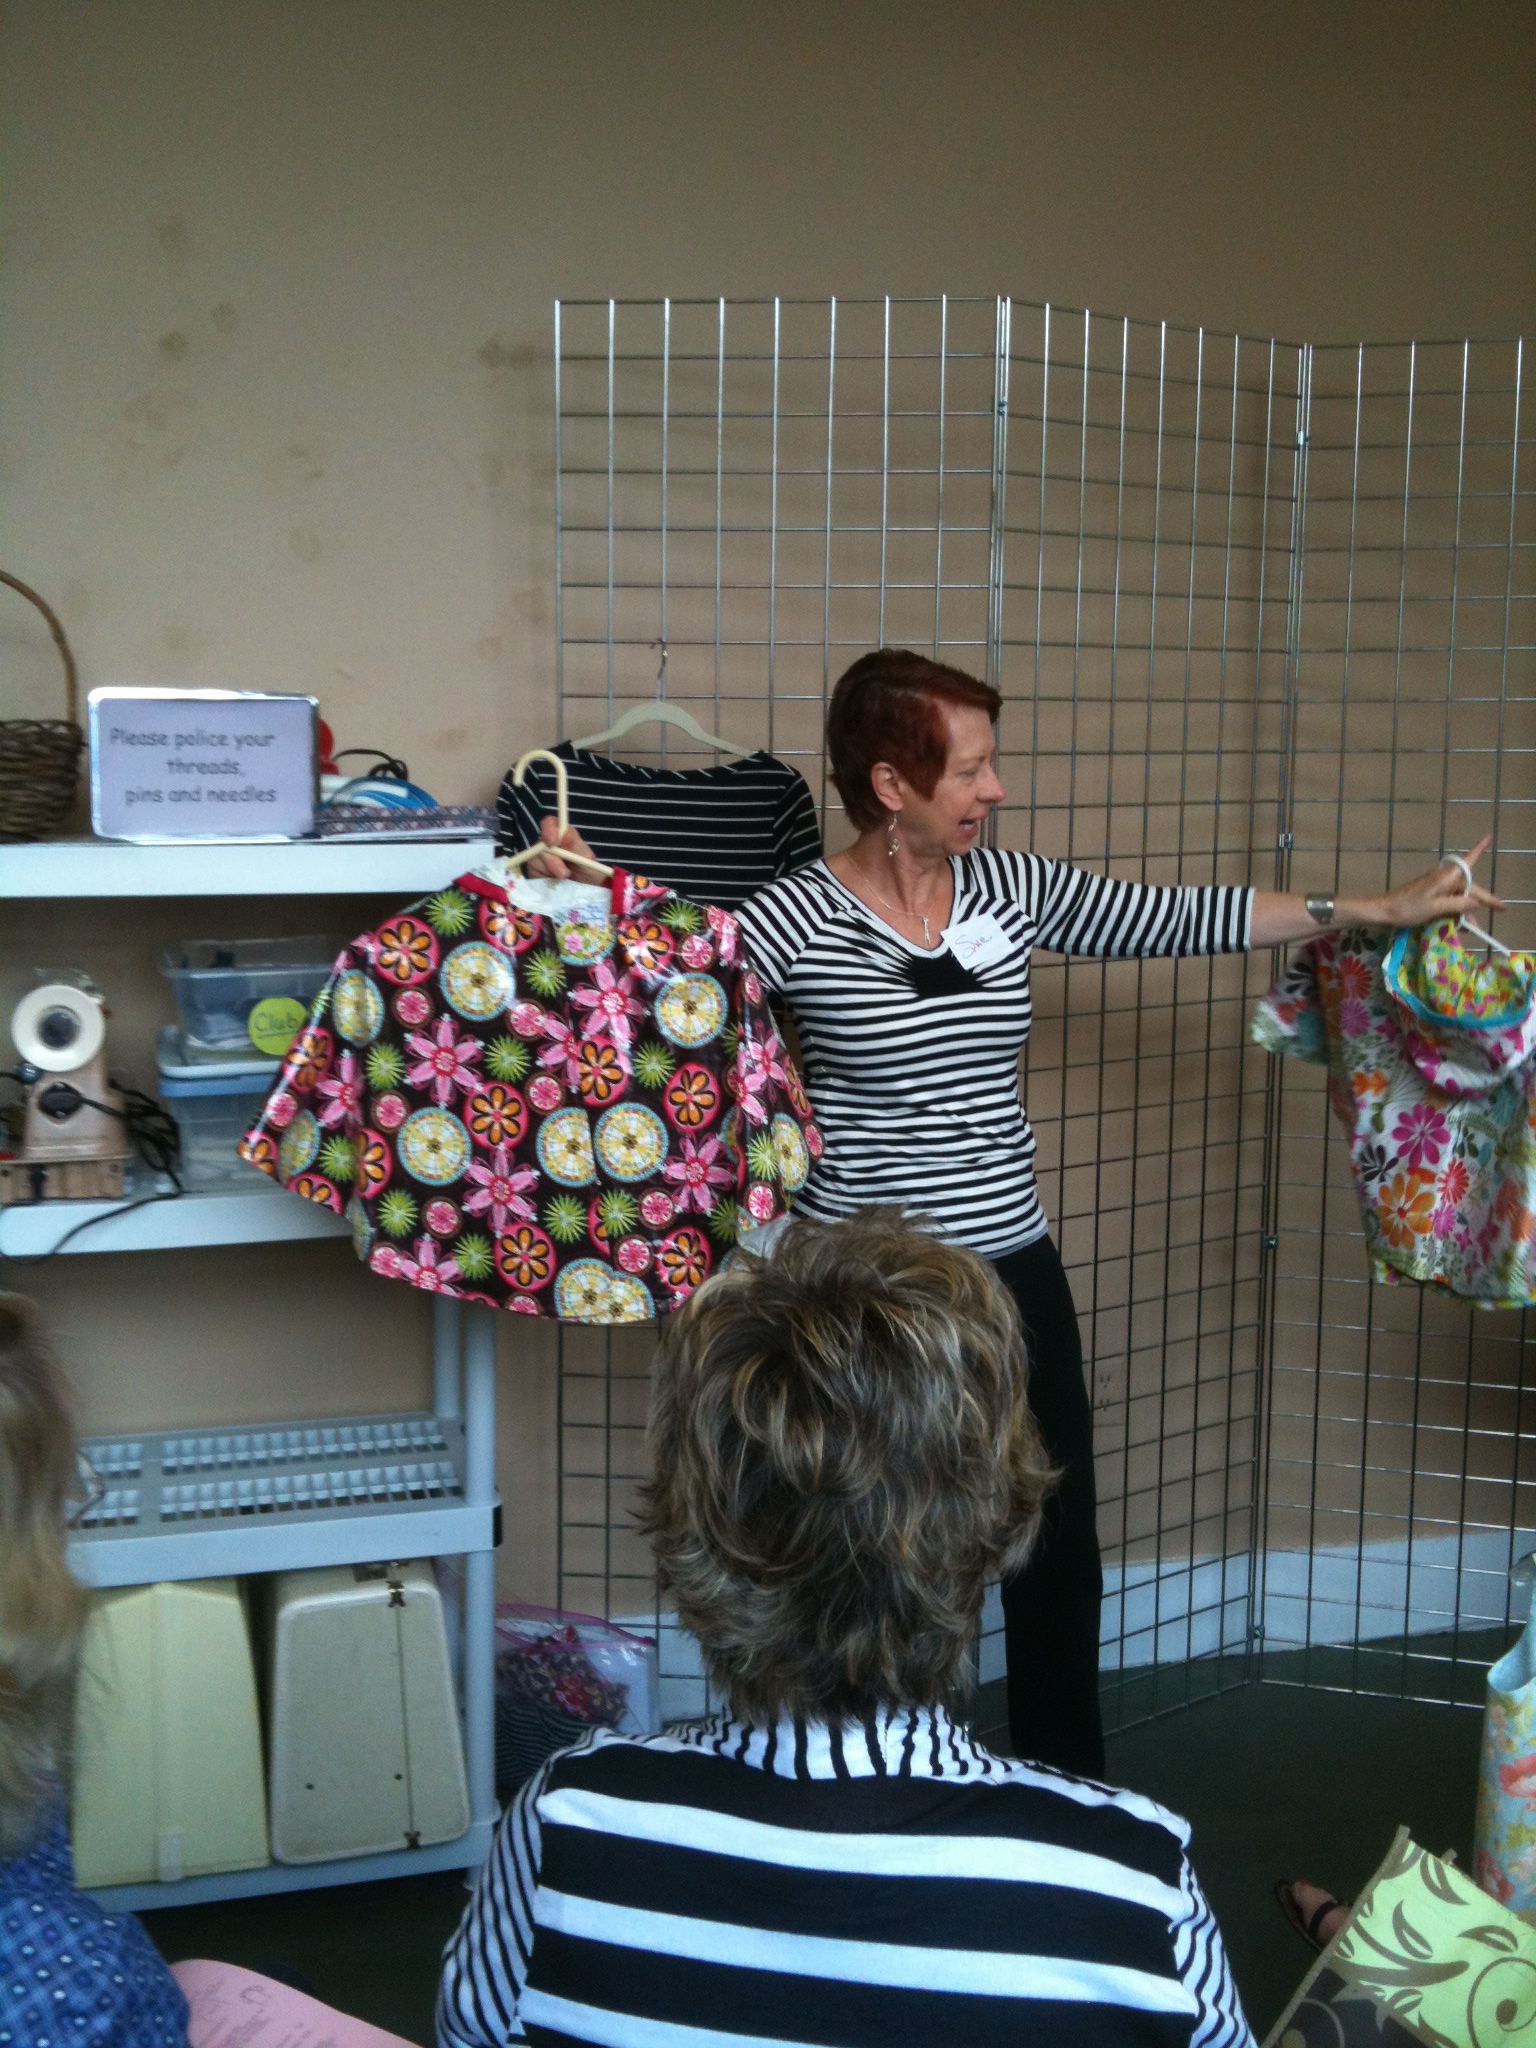
Sunday we drove to Truman, MN (Iowa, as one Club member insisted 🙂 to stay overnight at The Whittler’s Lady Bed and Breakfast so we’d be near Fairmont for our class and trunk show on Monday with the Prairie Star Quilters. The class, Summer Coats, was held in a church and no one did the same thing! We had one Sophia Trench and lots of upcycling of favorite or “too good to get rid of” garments. That might be a good class to try up here.


Tuesday we had a packed house at Treadle. Wednesday we “Focused on Fit” with a basic shell-several full bust adjustments and nips here/tucks there. Thursday was Fashion Sewing Club at Make It Sew; Friday, Sewing With Sheers and Saturday, a full class of Sophia Trenches at Eagle Creek.
All Sophia Trenches except one student made a pillow for her future nursery-and my grandbabies 🙂

Whew! Doing lots of what we love to do. Hope all those who were part of our week had as much fun as we did. Club Sheets are online if you missed it.

I don’t wear ruffles!

From our California Material Girl…

That’s what I told Kristin when she suggested that I try on a dress that had been made for club. The dress had a large ruffle that went around a scoop neckline – Kristin may remember better than me the details. But all I saw was a large ruffle and being 5′ 3″ – it looked like I could be swallowed up by it! What would have been more accurate for me to say is, I don’t wear large ruffles – I know, silly rule – but don’t we all have some clothing rules? So, now that I’ve confessed to putting my foot in my mouth – here are a couple of garments where I’ve recently added ruffles to necklines.
I feel like there have been two large trends out there for awhile now – ruffles or the drape front look. I’m not much of a drape girl – again small in stature, I feel a bit enveloped by too much drape. I figure I can add a ruffle to any garment and keep it within my comfort level.

So, the first is a cardigan. This is the basic Kwik Sew pattern – once you get it fitted to your shoulder, arm and torso length – you’re good to go, add or change whatever you want- it’s easy with this pattern. I pulled the ruffle piece from Simplicity 2256. I had in mind this lush, double sided, purple knit that I picked up on the Sillouette NYC Fabric trip. I wanted some way to show off both shades of the fabric and I thought a ruffle could do that nicely. The ruffle from the Simplicity pattern was the perfect length and shape, the only adjustment I made was I wanted the edges to be left raw. I followed the pattern’s direction for construction of the neckline ruffle and I have to say – it was very difficult to gather two layers of knit fabric with a seam down the middle. If the fabric was any thicker I don’t know how you would do it. The instructions basically have a seam down the middle of the ruffle and your gathering stitch goes right along side that. After several attempts using a basting stitch on my machine, which kept breaking when I would try to gather the ruffle – I finally hand basted a gathering stitch. This was the most difficult part of the project. Once I had the gathering done, I just had to sew the ruffle to the finished neck line. Easier said than done – again I hand basted the ruffle to the neckline because it got “squirly” with the thickness of the ruffle – and not being able to see where you were attaching the ruffle to the neckline as you were sewing. My finished stitch line along the neck line is not so straight on the inside of the garment – but on the outside you can’t tell. In the end, I’m very happy with the finished cardigan. (the shell underneath is another NYC fabric. I used McCalls 5818- and turned the dress into a shell)

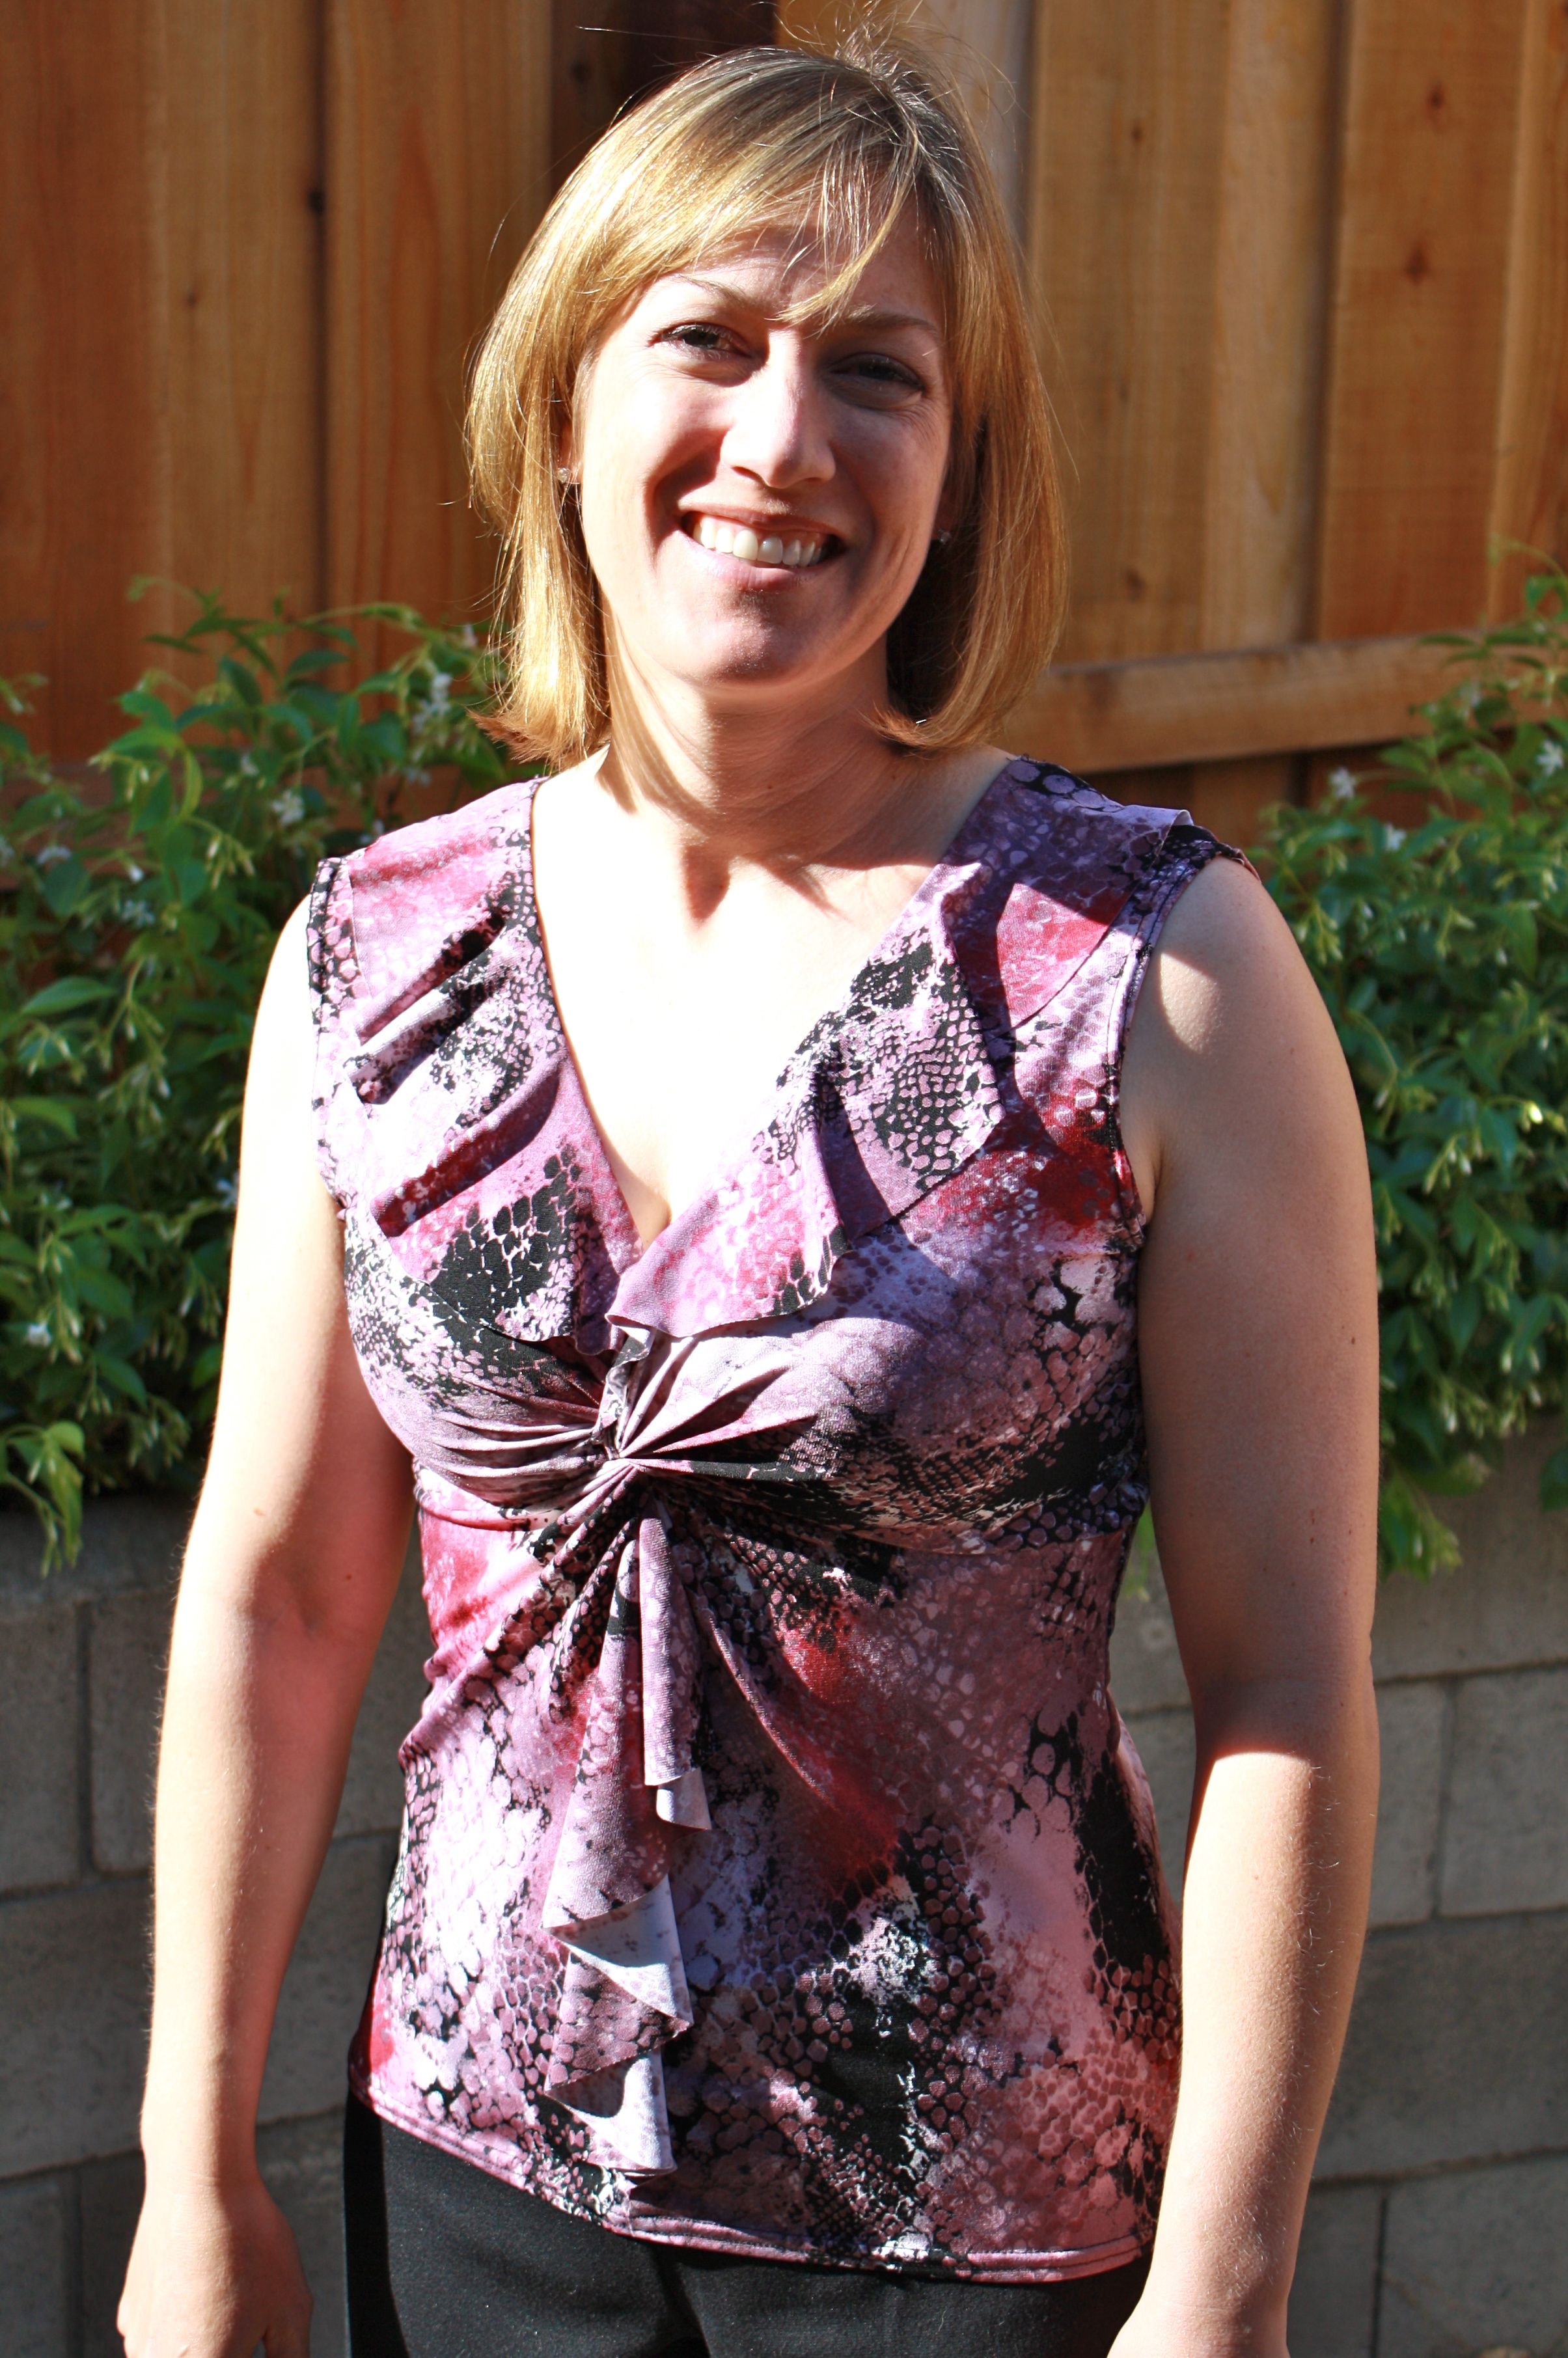
Next is a great tried and true Jalie pattern. I found this crazy fabric online – the description noted that it had a snake skin pattern – when it arrived it didn’t look exactly as I remembered. It was a bit crazier with pattern and color than I expected. I saw a top in a catalog with the flounce bottom and a ruffle around the top. I thought it would be easy to add a ruffle to this Jalie neckline. Well, the first thing I noticed after making up the top is that the Jalie version has a twist neckline and the RTW version did not have this added complexity. The other big difference I realized was that the Jalie pattern has a dipping neckline in the back – unlike the RTW which had a normal round neckline in back. Since I planned to use the Simplicity ruffle pattern again – it would not fit around the back neckline – it was too small and I had already cut it out leaving not enough fabric left over. So I figured I’ll just run a ruffle from the neck to the bustpoint – that didn’t work out so well. In the end I think the ITY jersey I used was too heavy to create a nice full ruffle – it just wanted to lay flat. So, I decided flat it is, and I made my ruffle into a flounce. I used the same pattern piece that is used to create the flounce down the midriff – cut it down a bit in width and added it to the neckline. I had to take out my shoulder seams and top stitching to have the ruffle start at the shoulders. I like the top and now I would be able to make this again quickly. I’d still like to make a version close to the RTW inspiration – but that will have to wait, other projects already ahead of that idea!
P.S. one little tip – lately I’ll carve out some sewing time and cut out 2 or 3 patterns in one setting. Then I have projects ready to go when I have the time to sew – I’ve found that helpful ; )
Both tops were inspired by Cabi – here is the inspiration and my version:

May Club Notes

First there were girls’ dresses and such-


The rain capes are Raindrops by Fig Tree http://www.figtreeandco.com and fit sizes 4 – 10. Very popular.

and then there were shoes 🙂

and if one pair isn’t enough, here’s an article featuring the ten best low heels you need to own.
and wonderful garments (and not all at Treadle either but I didn’t do a very good job of capturing them on camera…

We promoted Bundles of Love and would like to pass on a quote from Opie, who never quite seems to make it to Club but is a faithful online follower (the May Club Sheets and Garment Photos have been added to the website.)

“Re “Bundles of Love” – as a nurse in one of the intensive care nurseries at Children’s Hosp of Minneapolis, I can attest to the wonderful benefit of these contributions – the mothers are truly touched – for many babies, these will be the only new – and certainly the only handmade – items they will ever receive! On behalf of the other nurses, I want to say Thank You to the women (and men?) who make this possible! Opie”

Thanks to all who attended Club and happy sewing!!

April Club Show and Tell

Club sheets and photos for April have been posted to the website under”Club Sheets/Garment Photos”. We were so pleased with attendance this month, given the fact that we made our major change from Hancock to Make It Sew. Make It Sew had coffee brewed Thursday morning and a cut of their wonderful knit for door prizes. Show and Tell was also robust at Make It Sew. Thanks for being so loyal to the 16 of you who came!

Treadle attendance on Tuesday morning hit a high of 28 and the Saturday morning meeting has caught on with 14 attending.

Here are a few highlights from Show and Tell. We also saw beautiful garments but they’re not as easy to catch on camera. I’ll try to get better at that.

Wool Coat Class Participant

What to do with husband's old football jersey-a bag!

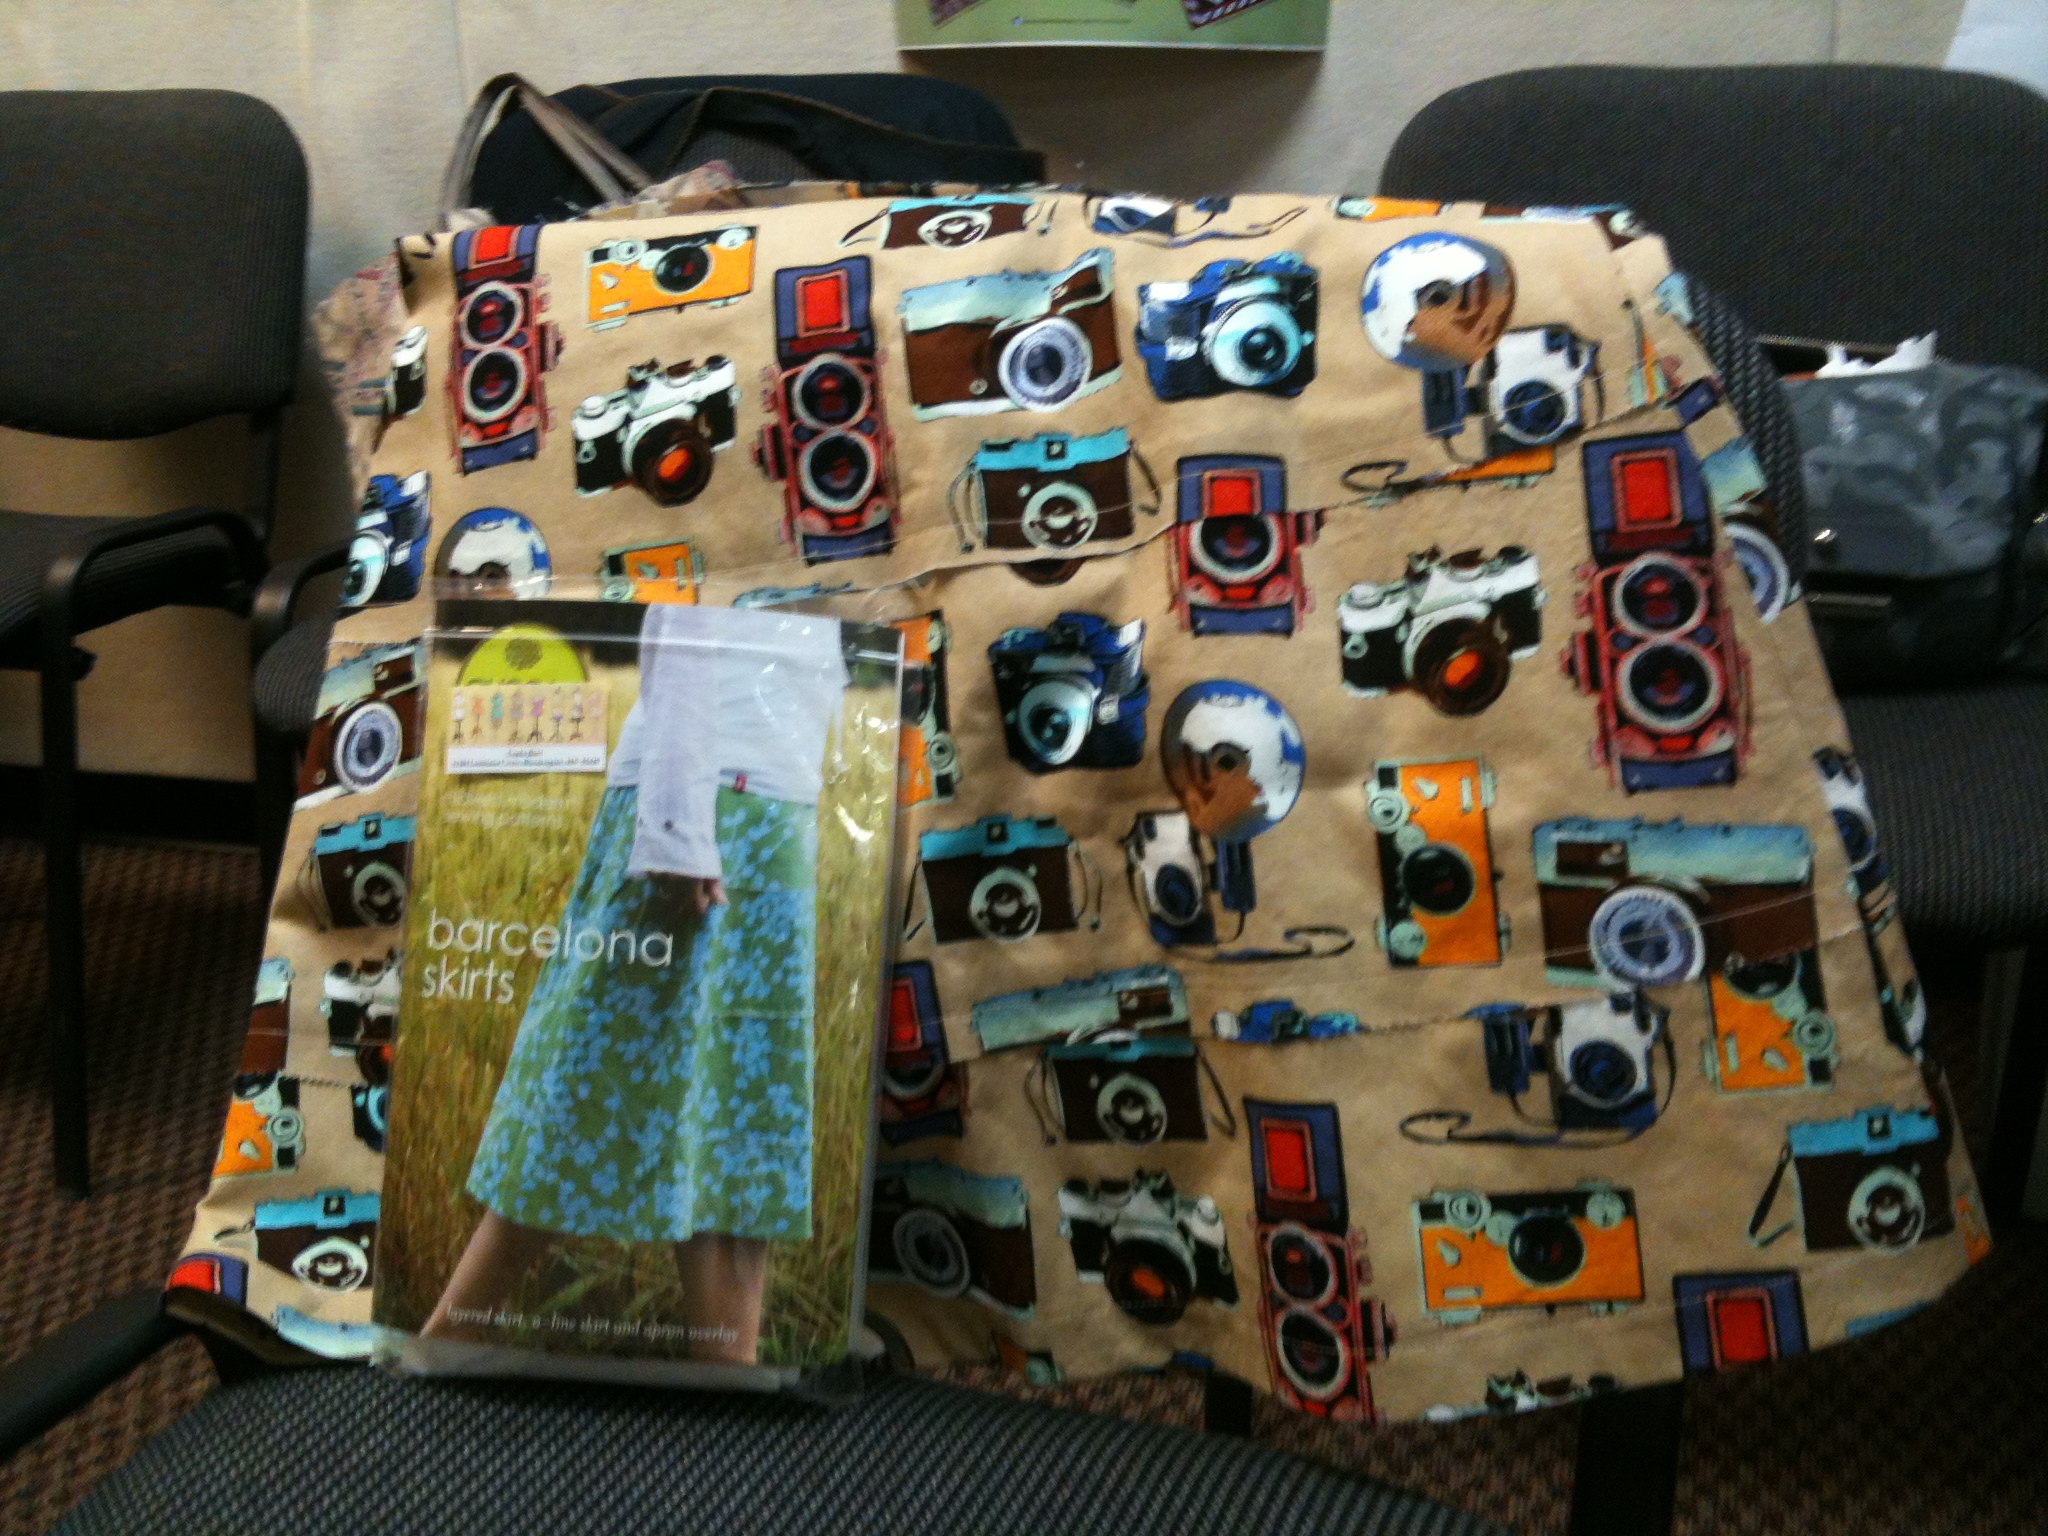
Amy Butler Barcelona Skirt made 3 times!

Many of you are sewing for babies

Happy Sewing!

The Link to Bapron

Fashion Sewing Club Show and Tell at Treadle was awesome yesterday. While it was fresh in my mind I went looking on pinterest for the instructions for a “bapron” (as in baby + apron). Just a small piece of oilcloth or laminated cotton and some bias seam binding. I was unsuccessful at getting a picture into the blog so you’ll just have to go to the link to see how cute and simple a bapron is.

Or maybe you want to send me a picture, Margo, and I can put it in the blog 🙂

Fun With Colorblocking

Contributed by Carrie Diamont

This idea started after I went through my fabric stash and started categorizing by color. I found a nice gray knit and another knit that was gray with purple stripes (Debbie had given it to me-some of her scraps). The two fabrics just looked great together but both were only about 1/2 a yard or so. I’m not very creative when it comes to color blocking so I wanted to find a pattern that basically offered me the creativity I wanted with out having to think about how to do it myself.

I found Kwik Sew 3842 awhile ago and loved the lines in this pattern -I think this pattern can be used for a great slimming affect. I decided my two gray knits would be a great muslin opportunity to try out this pattern. I admit I have a phobia of wearing anything with horizontal stripes – even very thin stripes! So to counteract any girth that could be added by the horizontal stripes, I kept the solid gray on the outside to create a column effect. The pattern went together quickly-very simple- the triangles were not difficult to sew on my serger at all. I made no adjustments to the pattern. I’m very pleased with the result and I hope to play around with some other color block combinations in the future. The pattern also comes with an attractive v-neck, long sleeve option.

Zen Sewing

Well, that was my idea for approaching a fair number of pleats. Fourteen to be exact. That’s less than the 28 pleats which the other view featured. Knowing that I would never get the pleats pressed into their original shape after the first wearing, I felt I had to stitch the pleats in place (that means four seams per pleat or 56 to be exact, but who’s counting). Which is why the idea of zen sewing occurred to me. Just start stitching and be in the moment. Each pleat is just another pleat, breathe.

I got through the stitching and made friends with my 1/4″ foot which had the added advantage of being a straight stitch foot. That meant that when I did my few back stitches at the end, the fabric didn’t jam down in to the feed dogs. Previously, I thought I just had to live with that irritation. (I just have to remember not to try zigzagging with that foot.)

One other new technique I tried was using the knee lifter that came with my machine. (Is that what going on vacation does to you-make you want to try new things-disturb your status quo?) You will only understand the humor here if you know that I have an old Singer with a knee lever that pushes against the foot feet clamped inside the machine cabinet. This means that on the Singer, when I press my leg against the lever, the machine stitches, but when I do the same motion on my Babylock, the presser foot raises. Needless to say, late into the night as I stitched my 56 pleat seams there were times when my machine was so confused-oh, that’s right, only a person can be confused-the machine was just doing as it was told. Many times I waited for the feed dogs to move fabric but the only thing that happened was that the presser foot lifted. I tried different techniques-deliberately taking my foot off the presser foot, actually trying to think while I sewed (what a concept), but ultimately I ended up using my left foot to make the machine go and my right leg to lift the presser foot. I’m confused, my legs are confused but I feel like I’ve learned a lot AND I love how the skirt turned out.

I went outside and sat in the sun, clipping (black!!!) threads off my new garment. A perfectly zen ending.

Of Doors and Windows

Sorry to keep you hanging-if you didn’t make it to a Fashion Sewing Club meeting in March-but here’s the scoop:
After much heartfelt consideration Laurel has decided to move on to the next phase of her life and no longer be an integral part of Material Girls. She has thoroughly enjoyed all the people and will continue to attend Club meetings (she already has fabric and ideas for April) but wanted to cut down on the late night sewing and last minute pressure of the monthly meetings. We will miss her contributions but will continue to call on her for fit and tailoring consultations-she pins a mean dart!
Anyone who would like to send an email to Laurel can do so at lely10@comcast.net

The other big door that closed this month is our Hancock/Bernina/Southtown location. As of March 9th the corporate Bernina store is no longer. However, a private Bernina (and Elna) dealer is supposed to be opening up sometime in April.
That leaves us at Treadle Yard Goods in St. Paul and Make It Sew in Chanhassen.
The Fashion Sewing Club calendar will stay the same for the Treadle meeting on the second Tuesday (continues to be the largest group) and the second Saturday (15 attendees in March!!)
The Thursday meeting (still the second Thurs. of the month) will now take place at Make It Sew at regular times of 10:30 and 6:30. No need to preregister-the meeting will always happen just like at Hancock. There will be no more Monday Club meetings at Make it Sew.
And for the month of April, the Make It Sew meeting will be free-just to make it a bit easier to find the store the first time 🙂
We hope these changes are easy to follow-if not, ask questions. Show and tell at all meetings is picking up and that means you are being inspired to sew. That has been our goal all along.
Have a happy Easter and we’ll see you in April!

PS-March Club pictures and sheets have been posted under Club Sheets/Garment Photos.

He’s gone country!

My husband is very supportive of my sewing, in fact he likes to hound me to make things for him. This year for his birthday, Dave asked me to make him a western shirt. So, to encourage my husband’s country songwriting and guitar playing, I decided to find a pattern for a western shirt. My husband was really excited when he saw the pattern I bought and even came with me to pick out the material. I tried to encourage him to go with a fun contrasting fabric for the yoke, but he was too nervous. However, I did manage to talk him into adding a nice trim. Of course, Dave wanted this shirt to become my number one priority so I reminded him that he could speed up the production process by helping to prep the fabric and cut out the pattern. I have to say he did a great job and even put on the pearl snaps when the shirt was finished. BTW we bought extra snaps which was a good idea- because as careful as we were – we still messed up a few snaps.

I used McCall’s M6044. It went together easily. The only adjustment I made was to lengthen the cuff (and shorten the sleeve accordingly) so it would fit three snaps. Well, Dave’s excited to wear this shirt when we go see Garth Brooks in March!

Late breaking news!!! What Carrie doesn’t say is that she entered the shirt in a Pattern Review contest and won 2nd place!!! Check it out here.

From Princess Wrap to Princess Dress

Recently in an active wear catalog I found a dress with a center panel and ruching at the midrift area along both sides of the center panel. I thought – now that’s a clever way to hide a stomach pouch! I already had the Christine Jonson Princess Wrap Top which has a center front with ruching on one side.

First I made the top to try out the fit. The fit was fine – but the v-neck was a bit deep for me. To make the dress I added an inch to the neckline to give me more coverage. I also added a back center seam which gave me the ability to add shaping to the back. In order to create ruching on both sides, initially I tried to follow the model of the pattern which – because it is gathered on only one side- the pattern bows out along the gathered side to create a nice drape on the opposite side. Well, trying to create this on both sides of my center panel piece just wasn’t a good idea. A much simpler path would have been to keep both edges of the center front straight and then extend the length of the panel to account for the gathering. (The reason my initial idea didn’t work is because it created a ‘drape’ of extra material in the front area. You don’t want drape across your stomach – that added to the pouch.)

To determine the appropriate width and line of the skirt I followed the skirt pattern from Christine Jonson’s Wrap Dress. I found the key to ensure the gathering around the midriff is flattering is to keep the ruching under the bust and not too far down into the stomach region. Also – keep the gathering even on both sides and fairly tight across the front – if it looks to loose, it looks sloppy and like extra weight. Sorry the pictures with the pattern fabric I used make it a bit difficult to see the ruching.