It never fails to surprise me when I look back at the pics from our Garment Sewing Group meetings-so much fun and creativity!


It never fails to surprise me when I look back at the pics from our Garment Sewing Group meetings-so much fun and creativity!
But let’s catch up on last year’s final GSG meeting-
December 2024
Garment Sewing Group
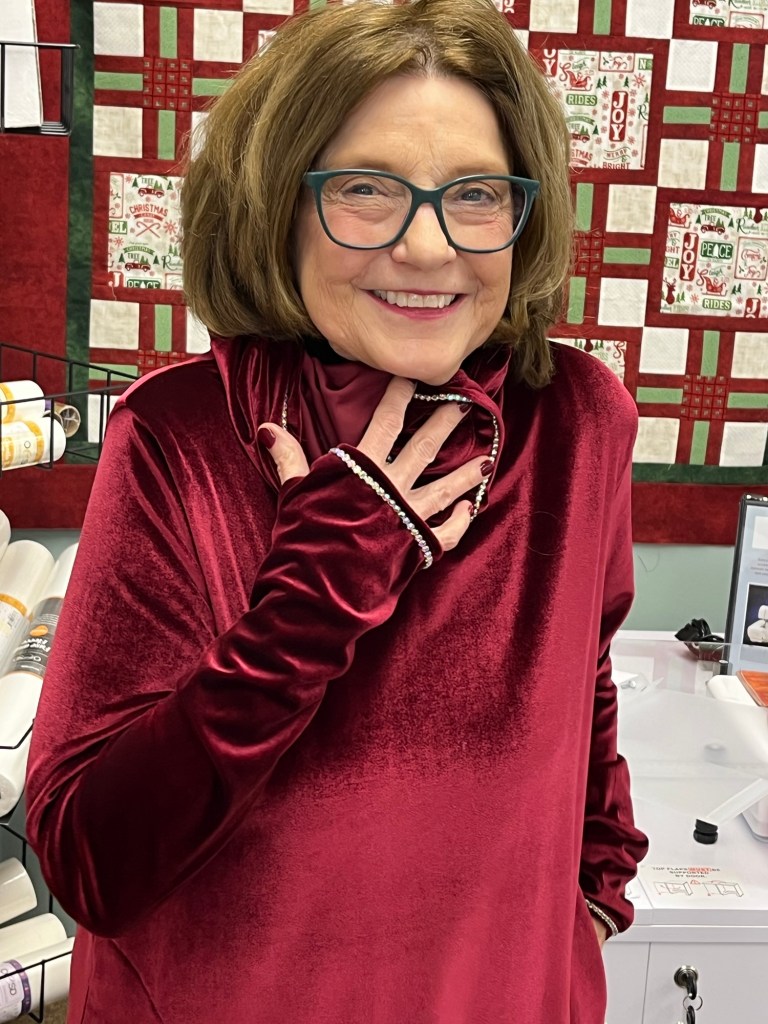
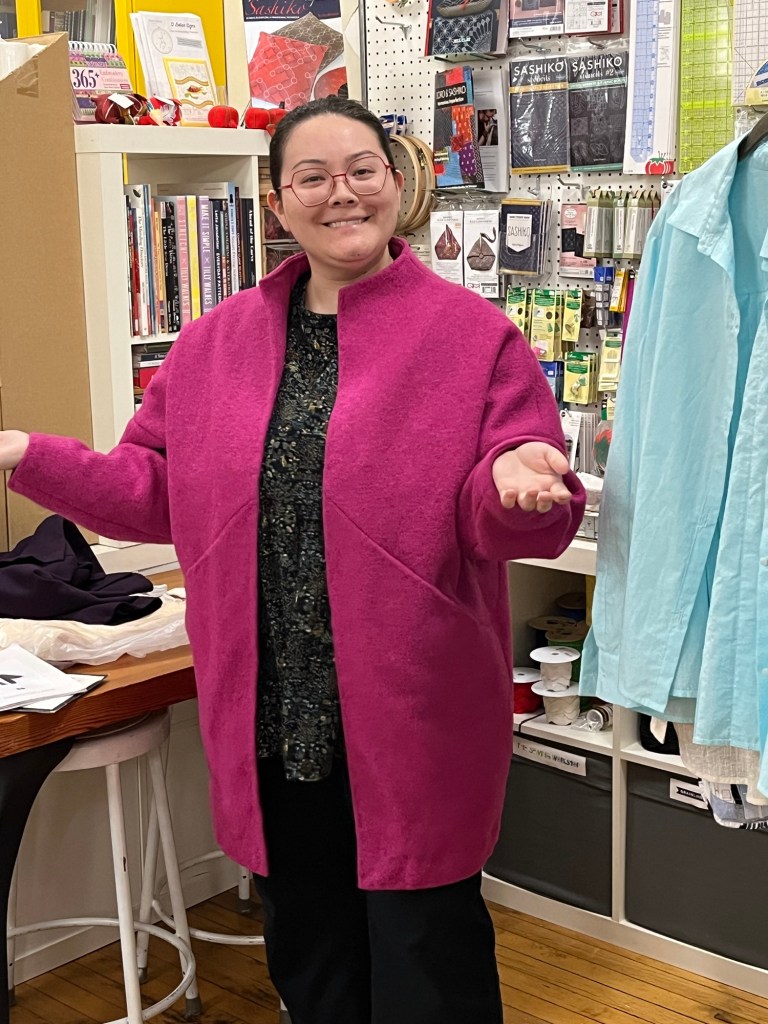
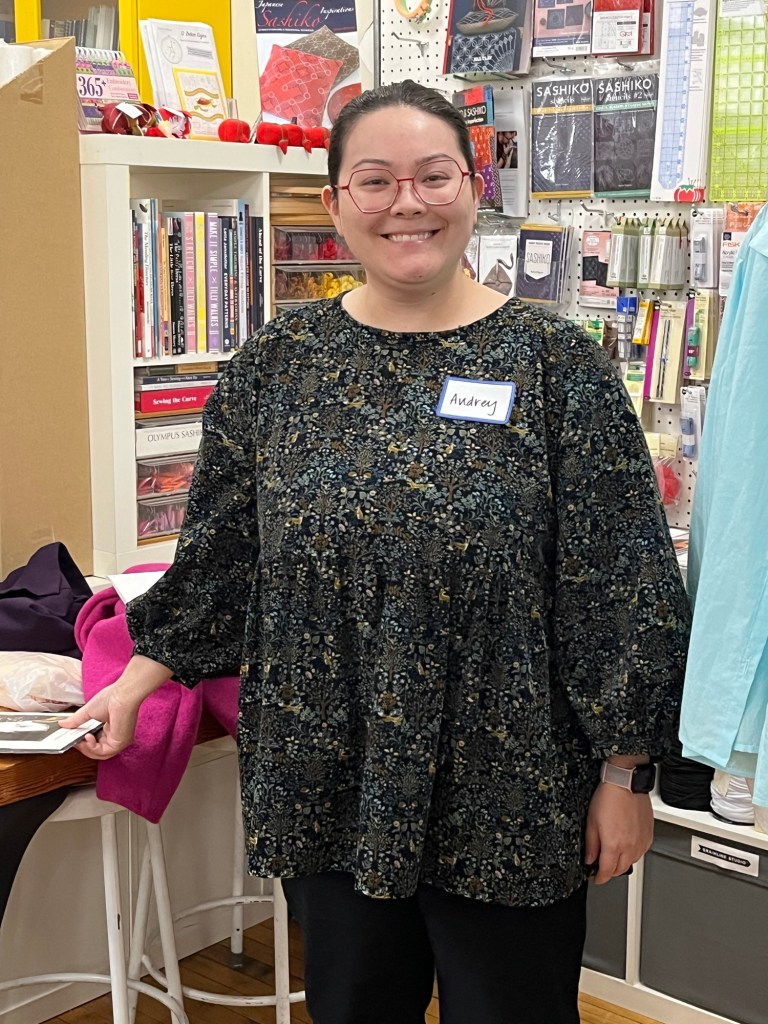
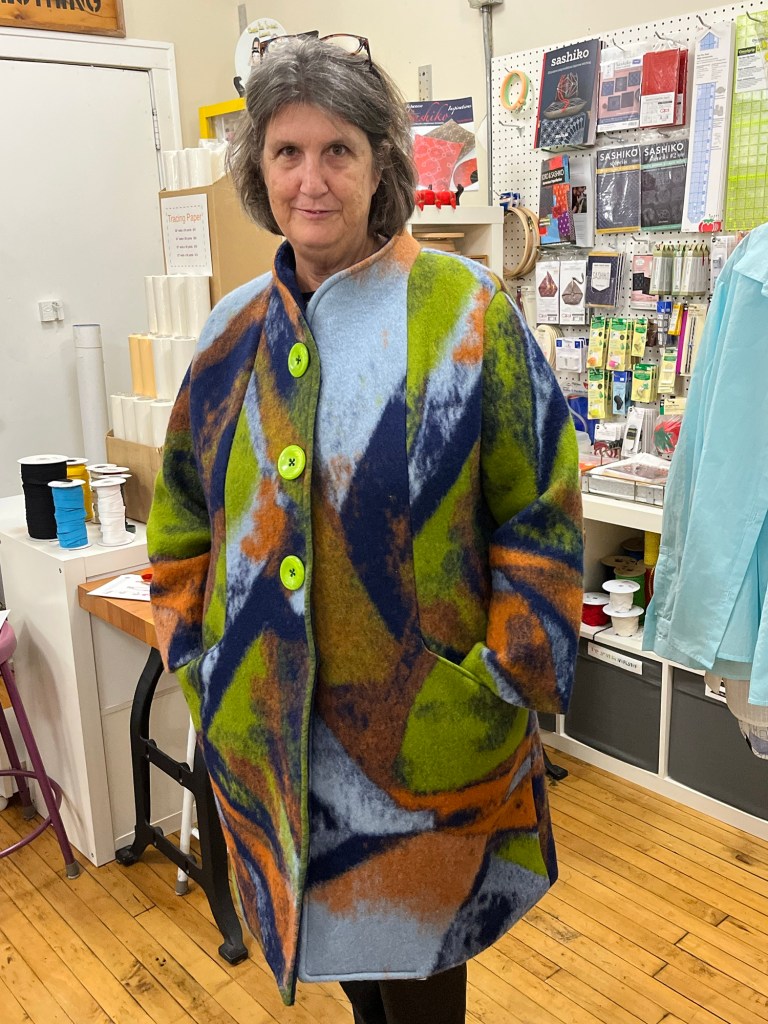
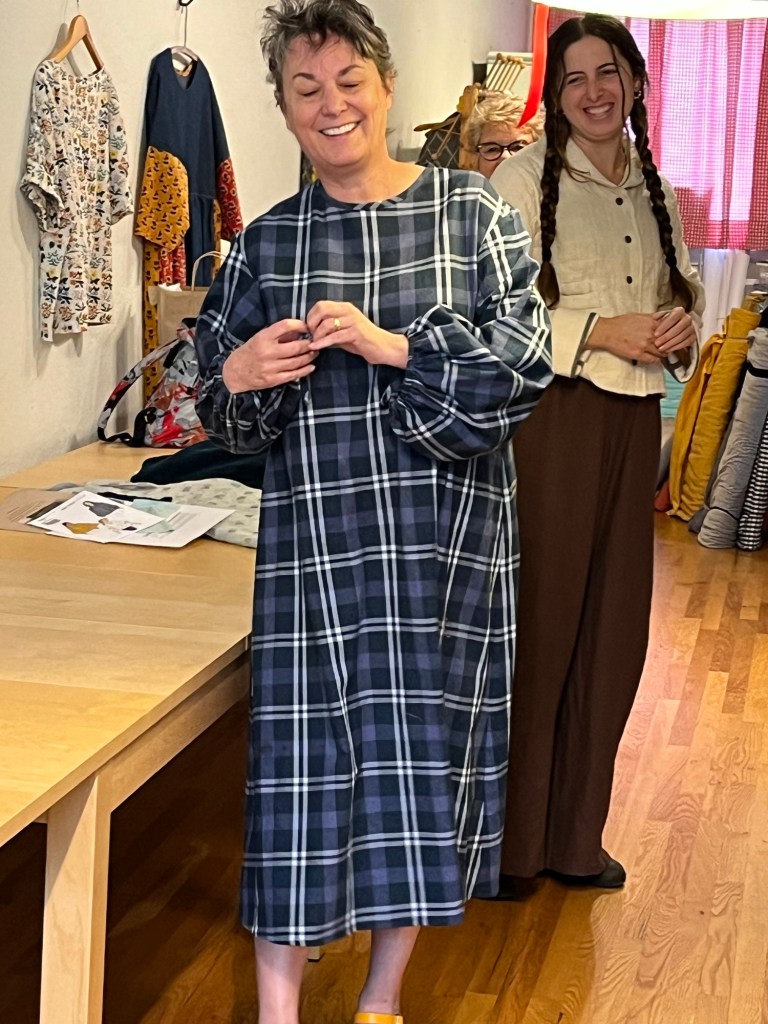
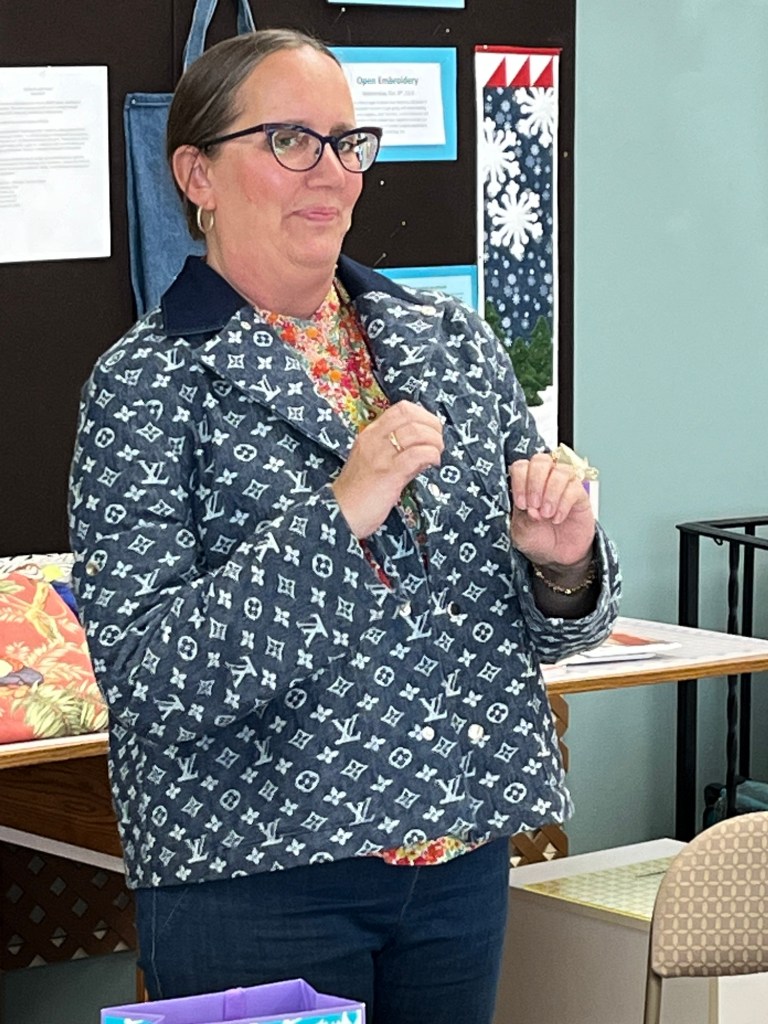
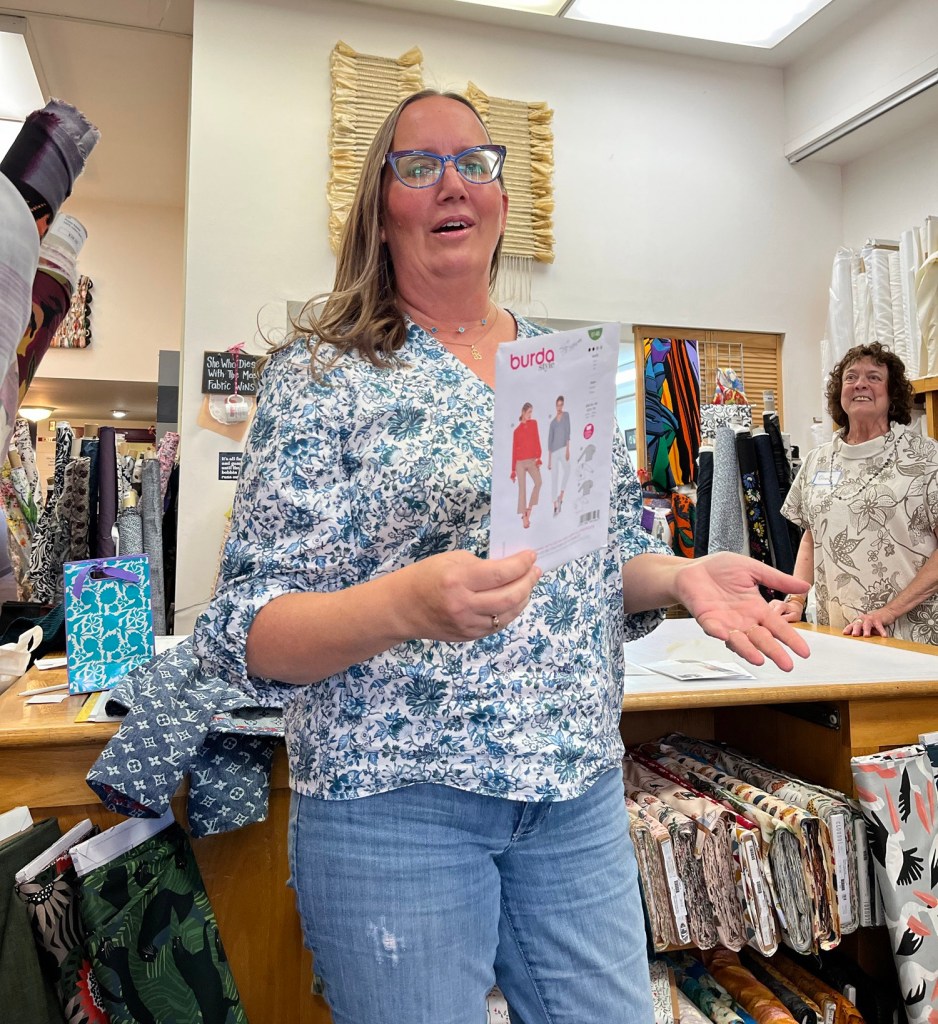
Debbie’s Garments:

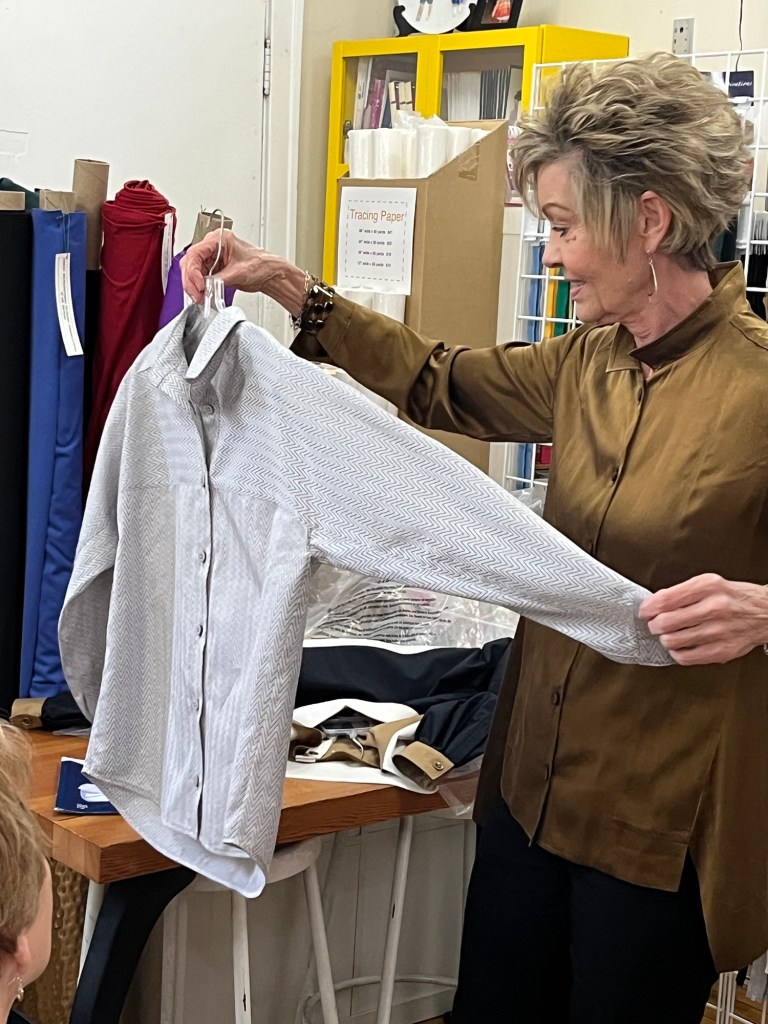
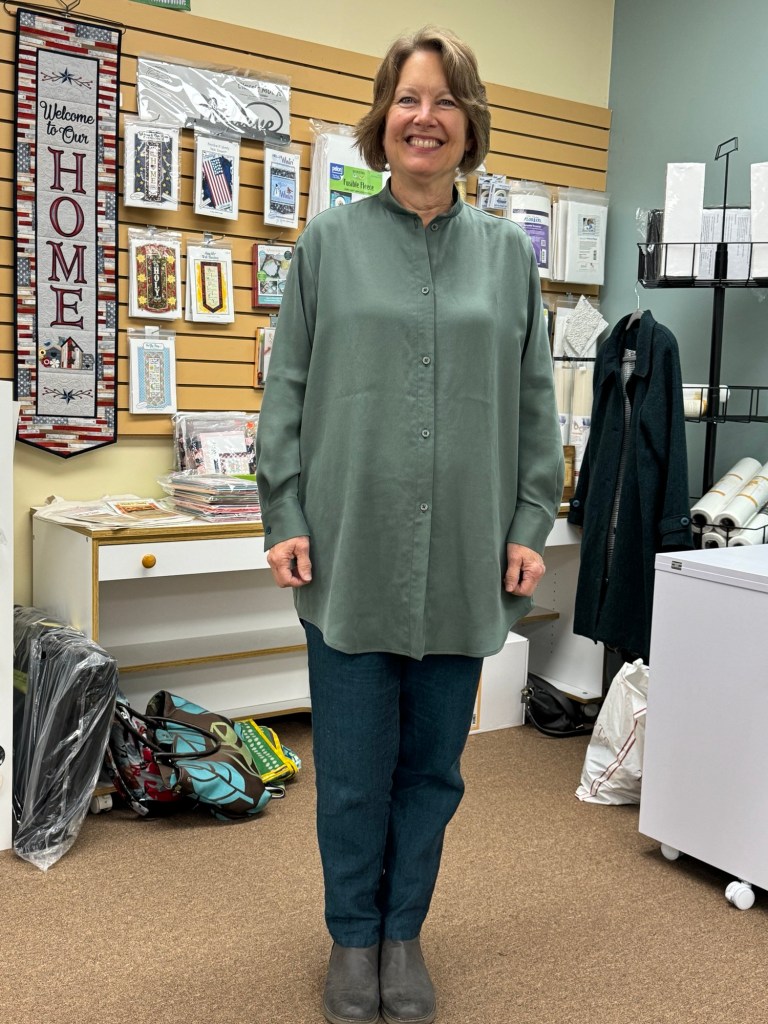
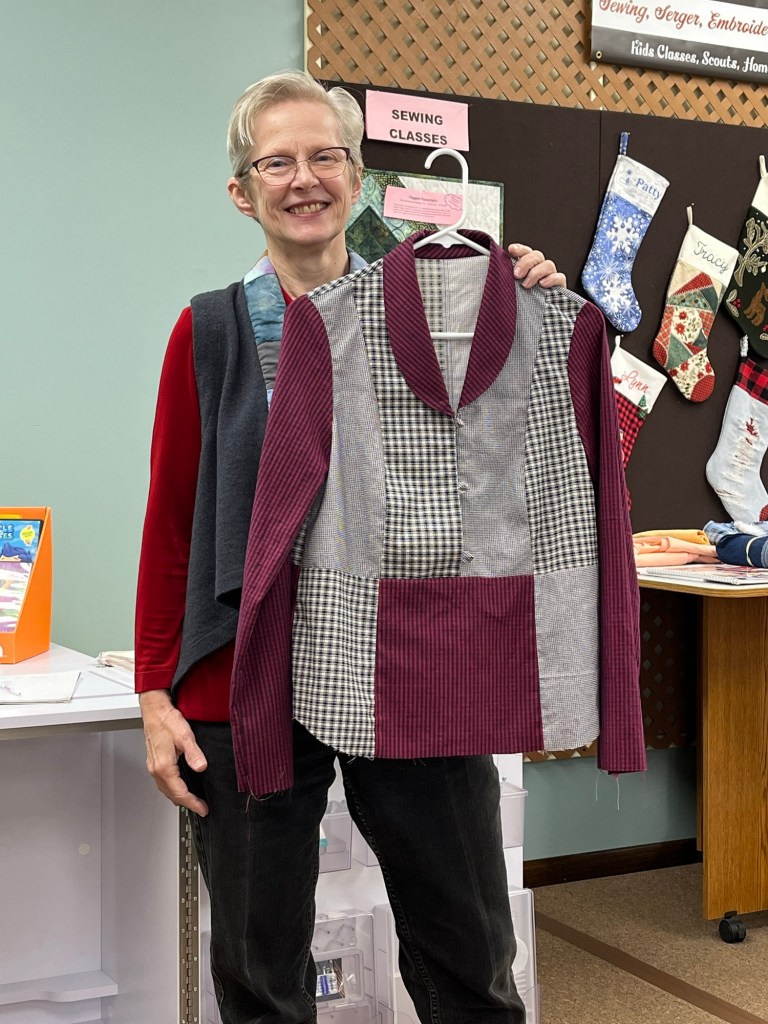
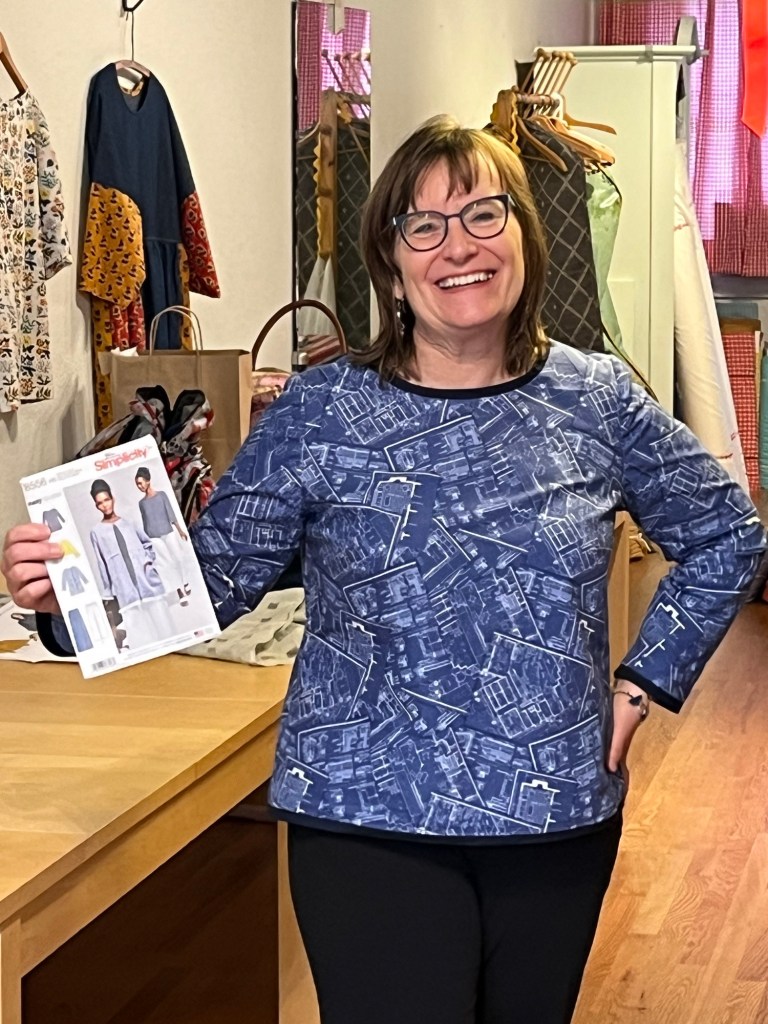
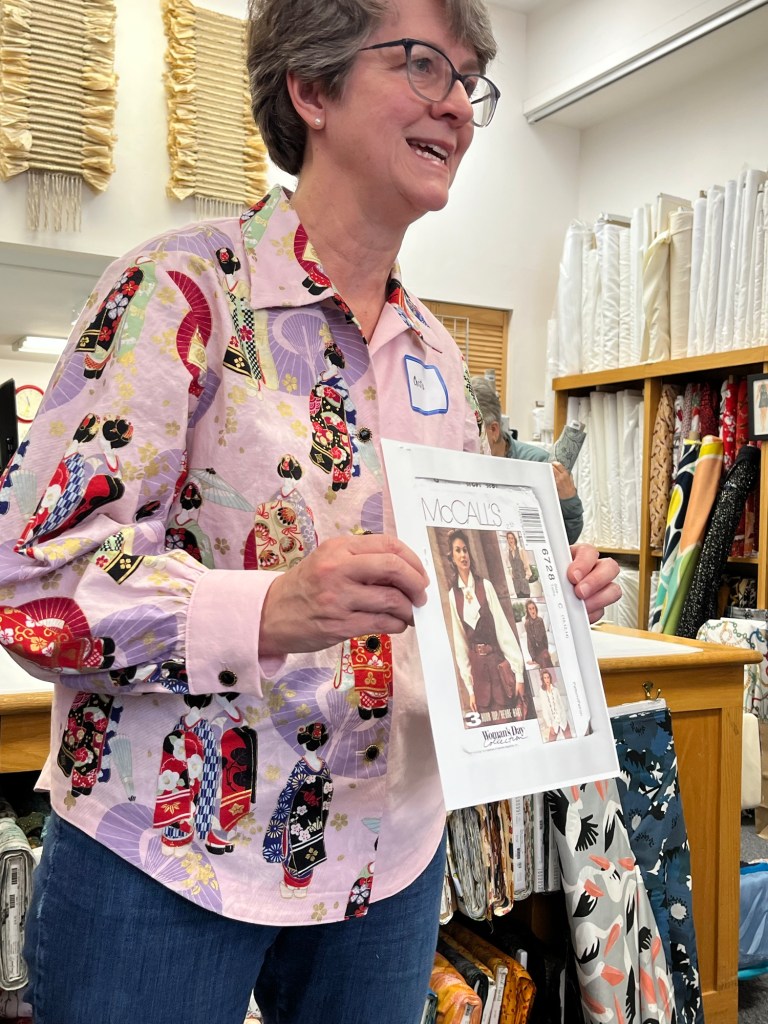
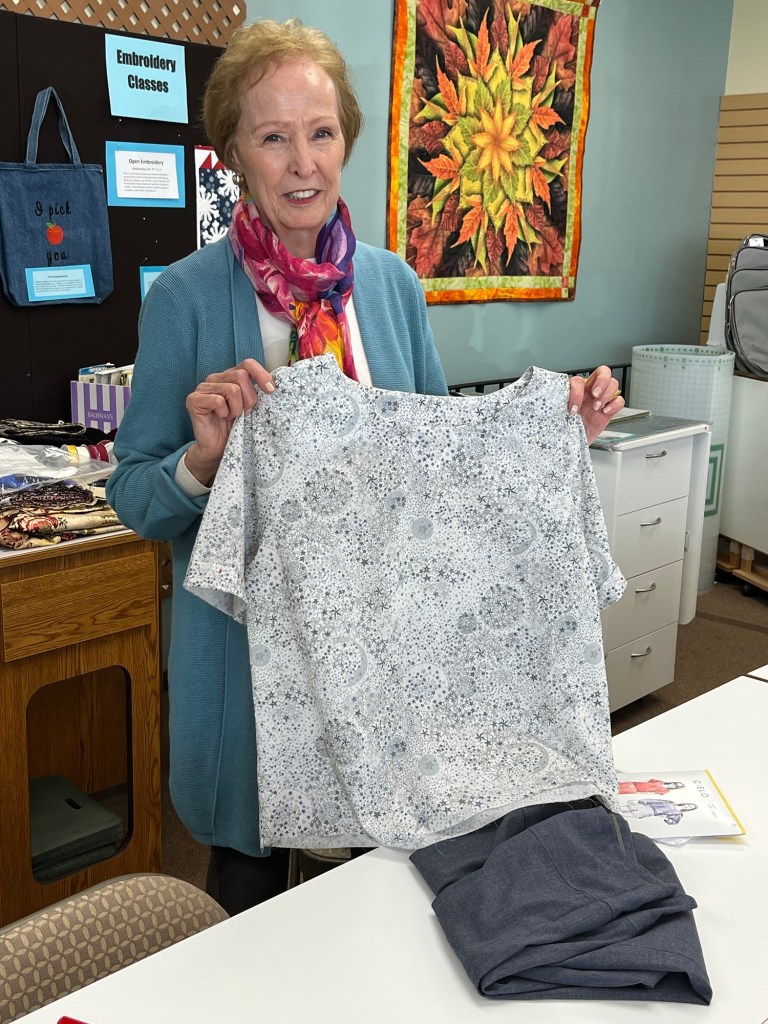
This is one of my favorite shirt patterns. I have made it 3 times and I am always pleased with the fit and construction process.
I made a few changes this time making a long sleeve version and adding a fun cuff.
The sleeves are meant to be constructed flat but I did the set-in method.
I like the smaller collar, the fitted design and length. I especially like the fabric.

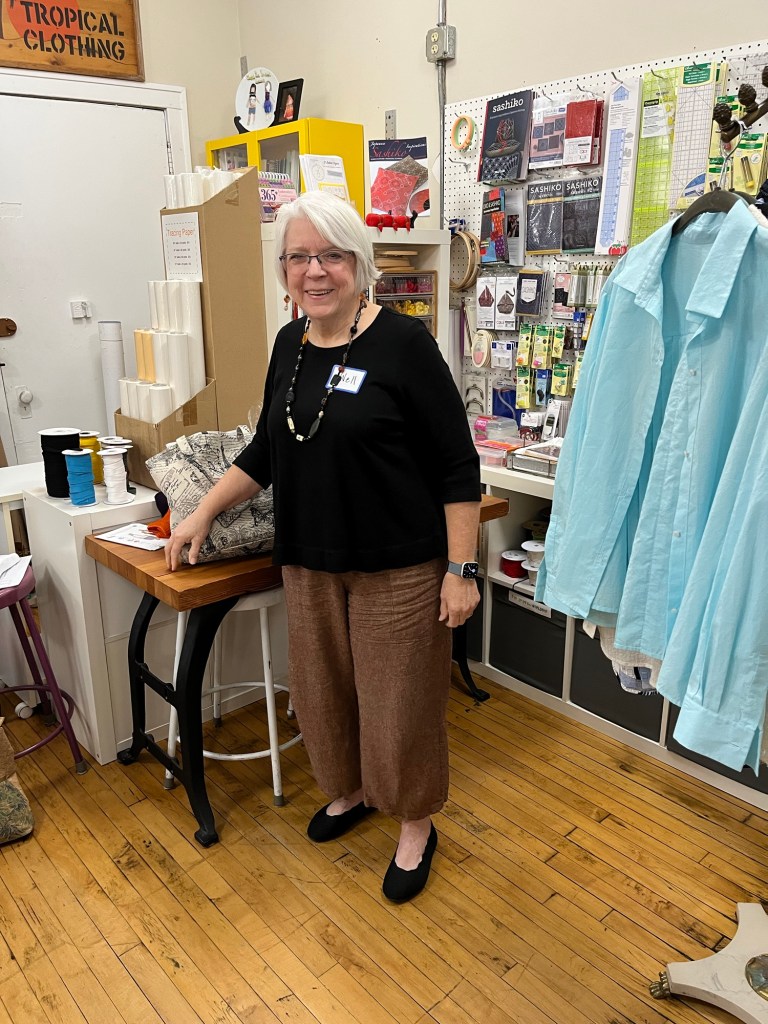
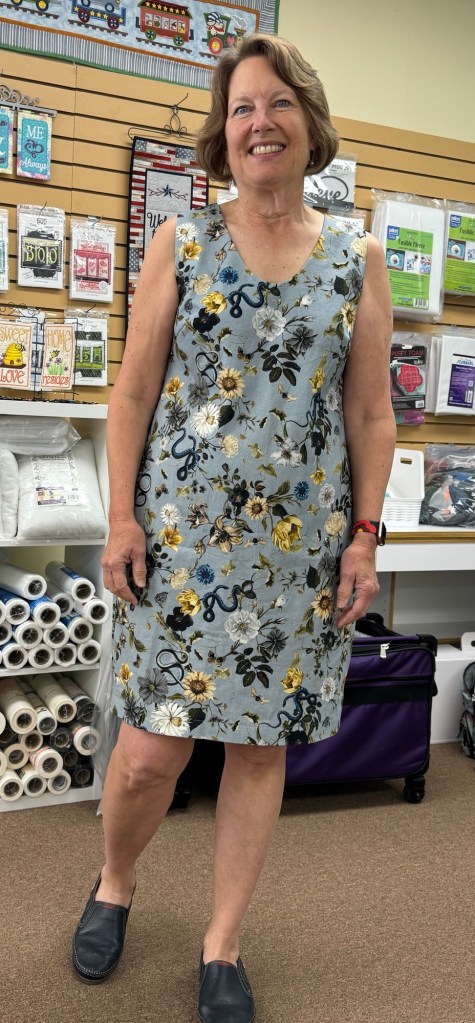
A simple A-line skirt pattern would have been a better choice due to the fabric, contour waist and curvy side seams – oh well!
The only fit adjustment I made was to straighten the side seams.
It was a challenge to match the plaid at contour waist and get it to fit around my body while keeping the plaid from getting funky.
I thought this would be a simple quick make but it was more of a challenge and took more time than I planned for!
I needed and wanted a skirt to go with a RTW Knit jacket – this skirt fits the bill and I am sure it will get worn often during our cold weather.
Leftovers –
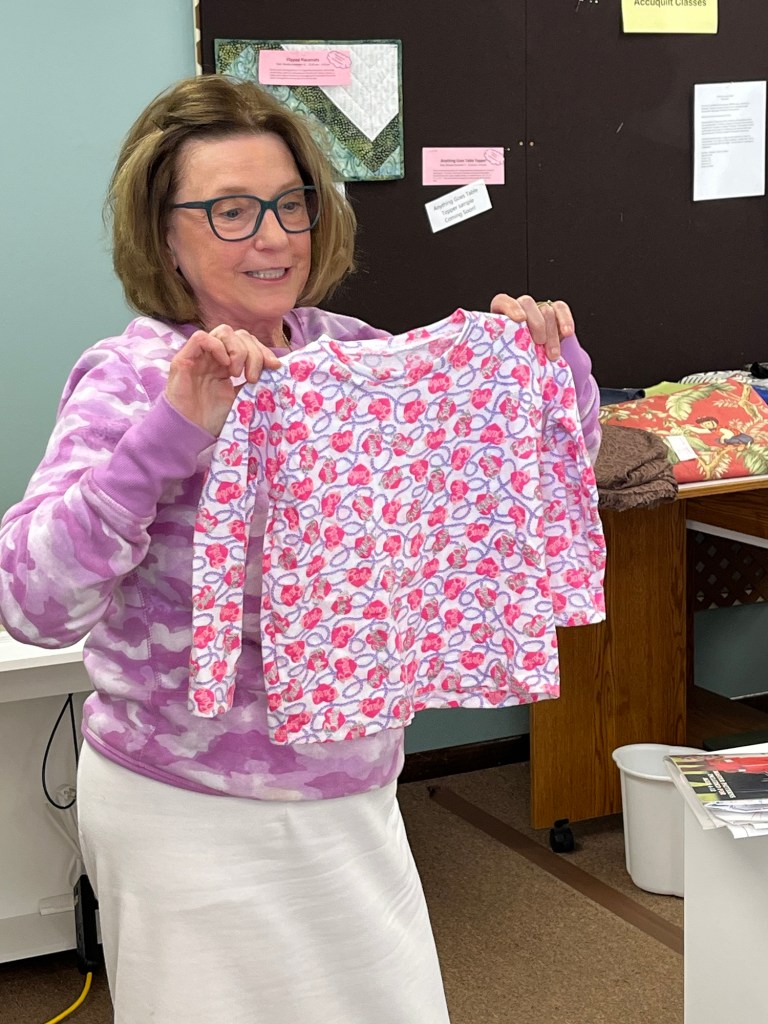
I had difficulty sewing this month due to lack of inspiration and a basket of “leftover” projects that I couldn’t ignore before moving on. Finally I worked through the basket starting with making a Tee shirt dress into a tee-shirt and then using the leftover from the dress I made a scrappy tee. I also changed out snaps, adjusted cuffs on a blouse and refashioned another blouse from last month.
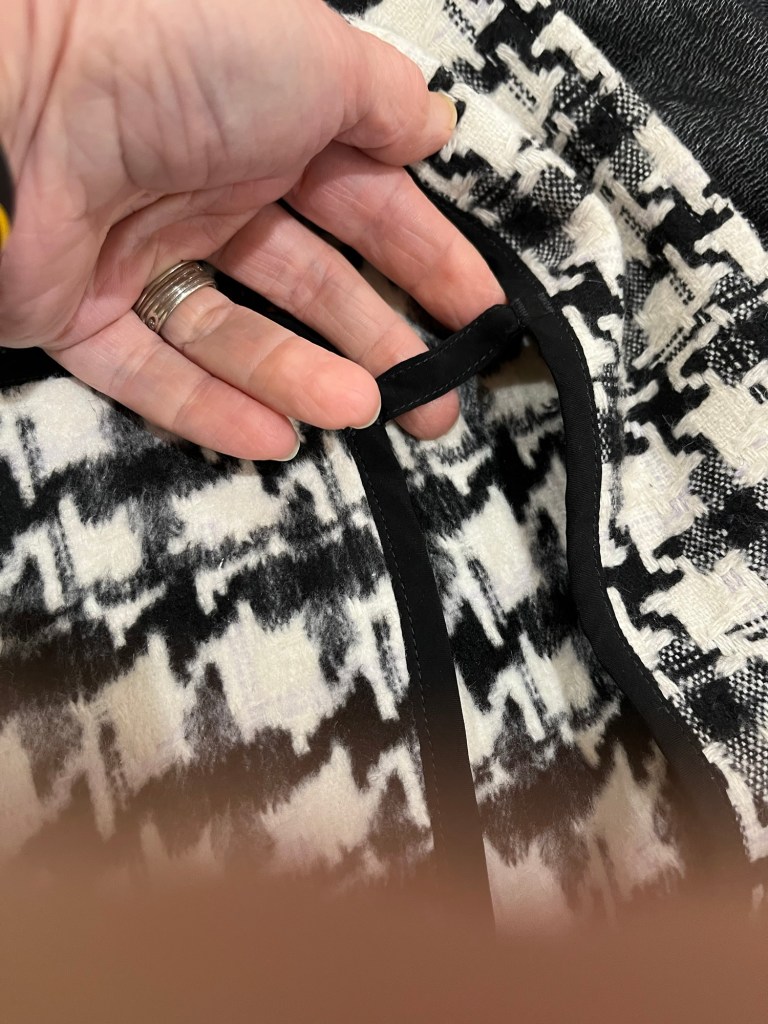
For the refashioned blouse, Burda 6146 – I didn’t care for the front slit and ruffles. I removed the ruffle and using a technique new to me I replaced the slit with a fun band. I will definitely use the band technique again.
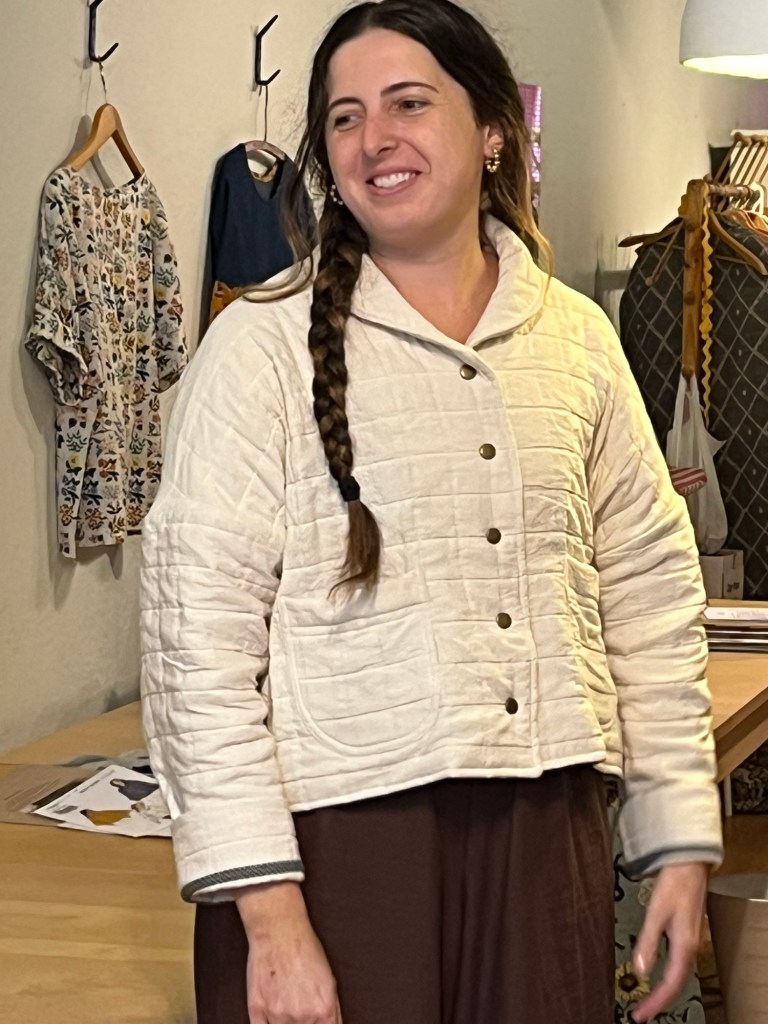
Kristin’s Garments:

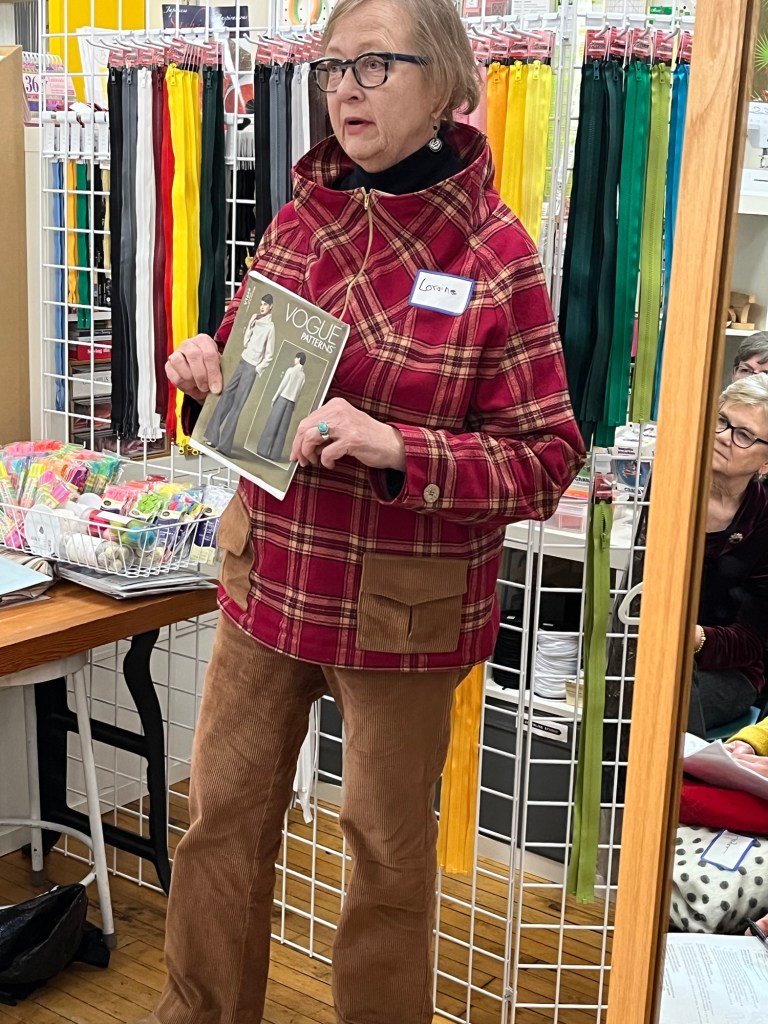
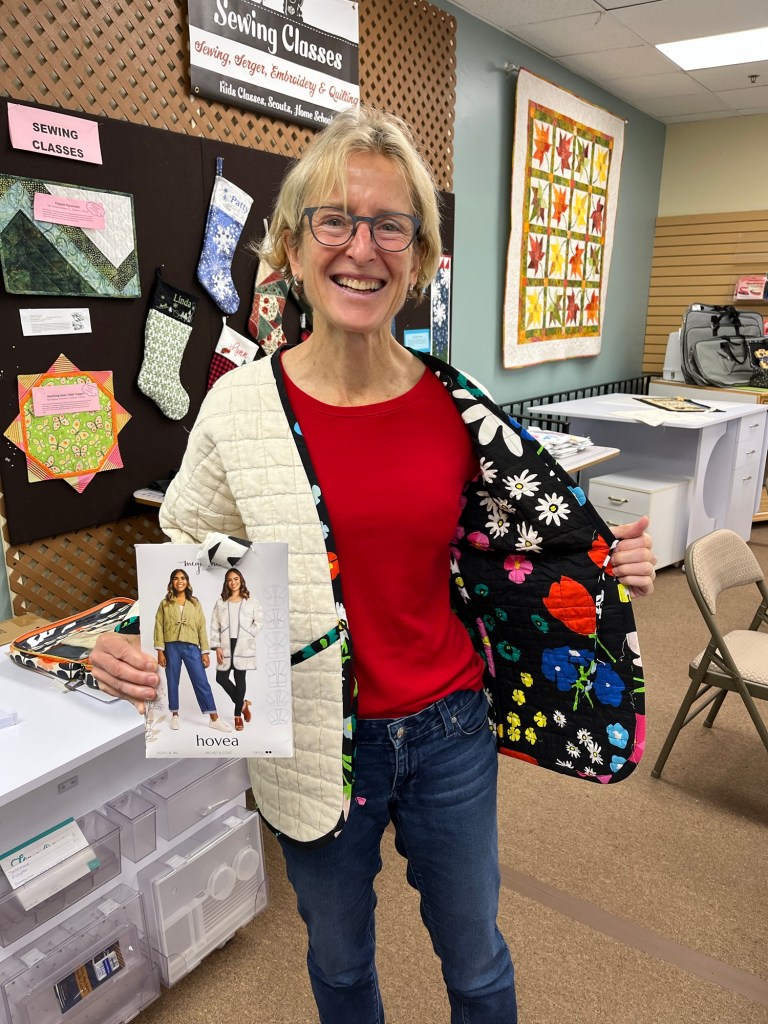
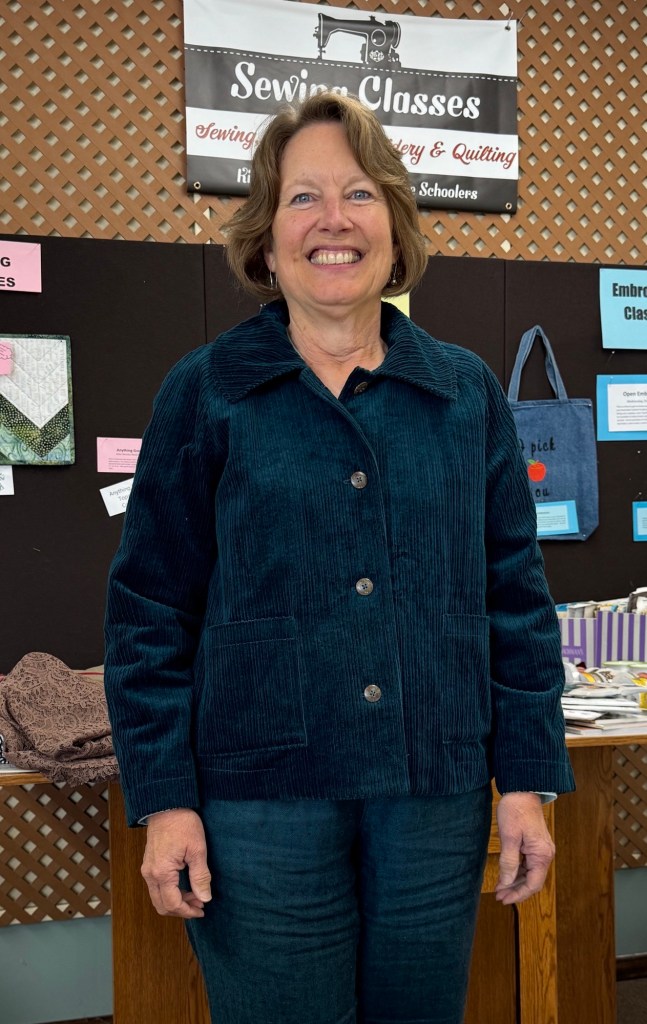
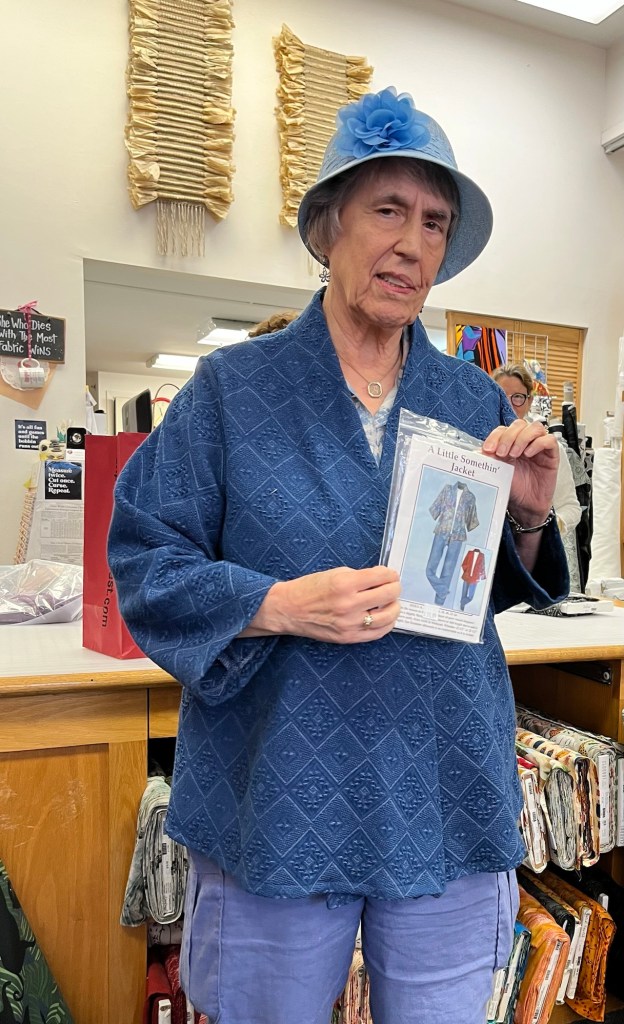
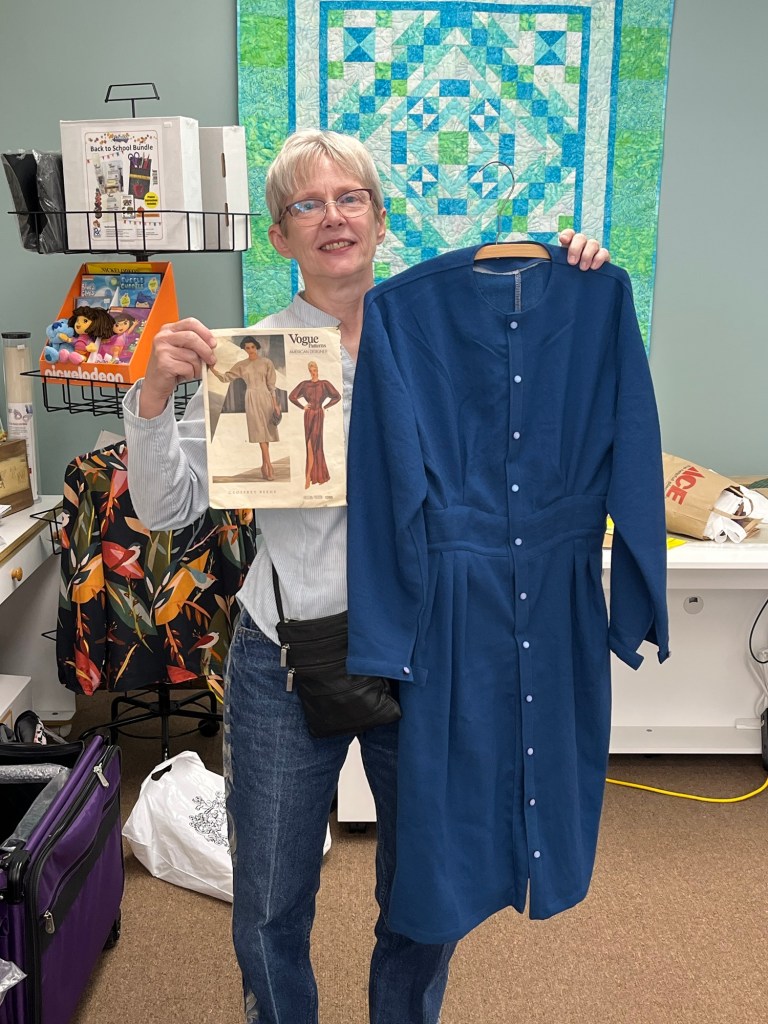
Like Debbie, there were a few UFO’s that were asking to be useful! This was a mock up for an outdoor jacket.
Used Vogue 1356 closure instead of putting in a zipper and installed snaps.
Faced the hem, neck and front.
Added cuffs trim to tie in the navy seersucker.

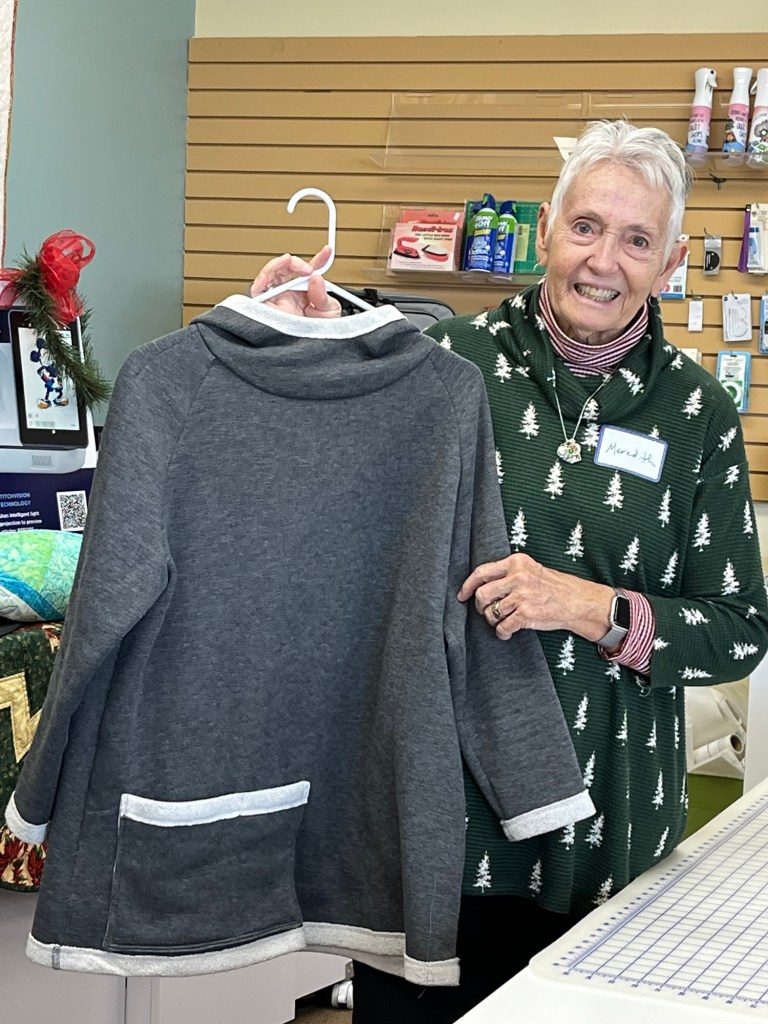
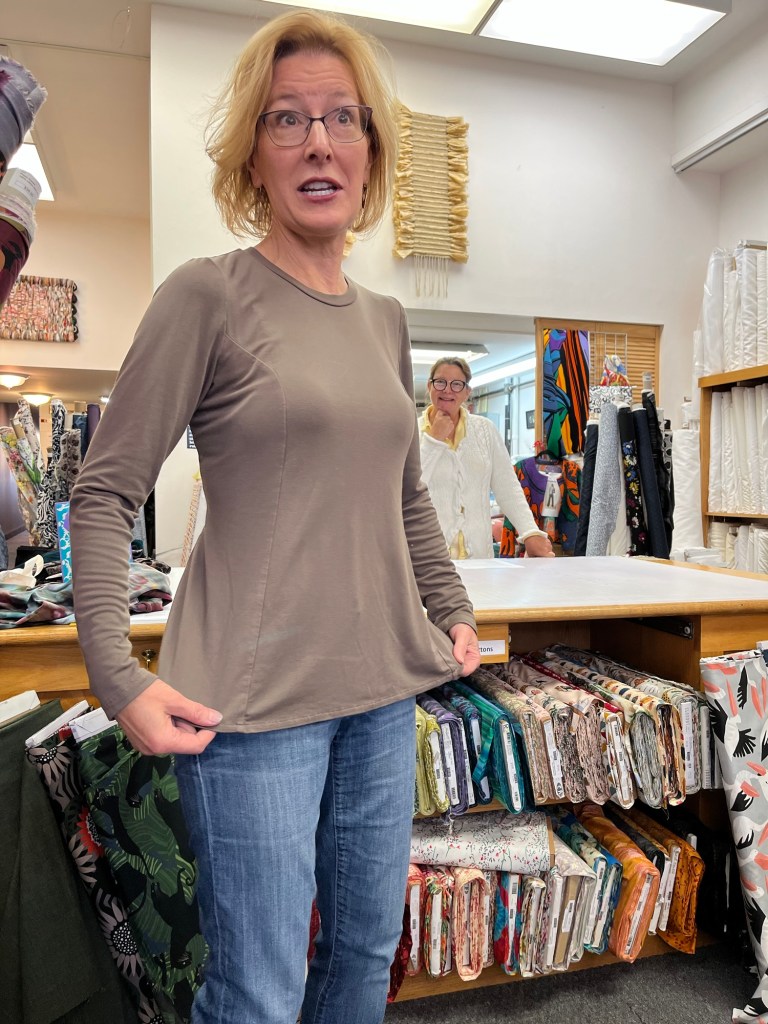
Favorite pattern that I haven’t had out of the envelope for a while. It did not disappoint!
The rayon behaved very well-love the neck of this pattern. Added cuffs to sleeves because they wear the best (IMHO).
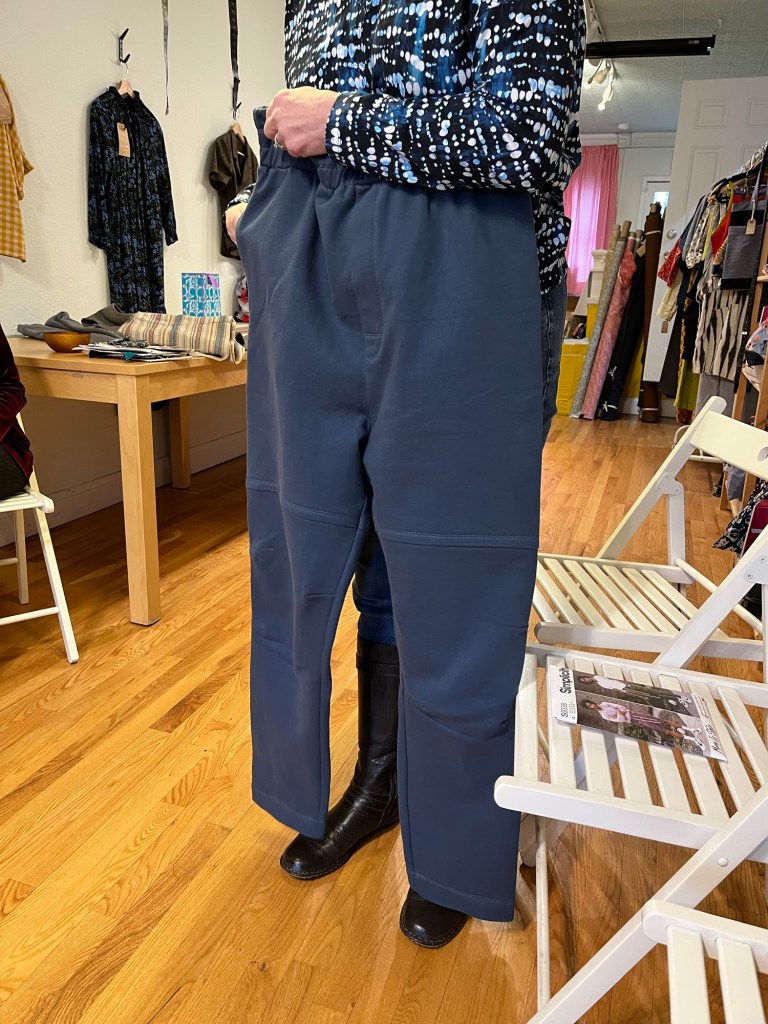
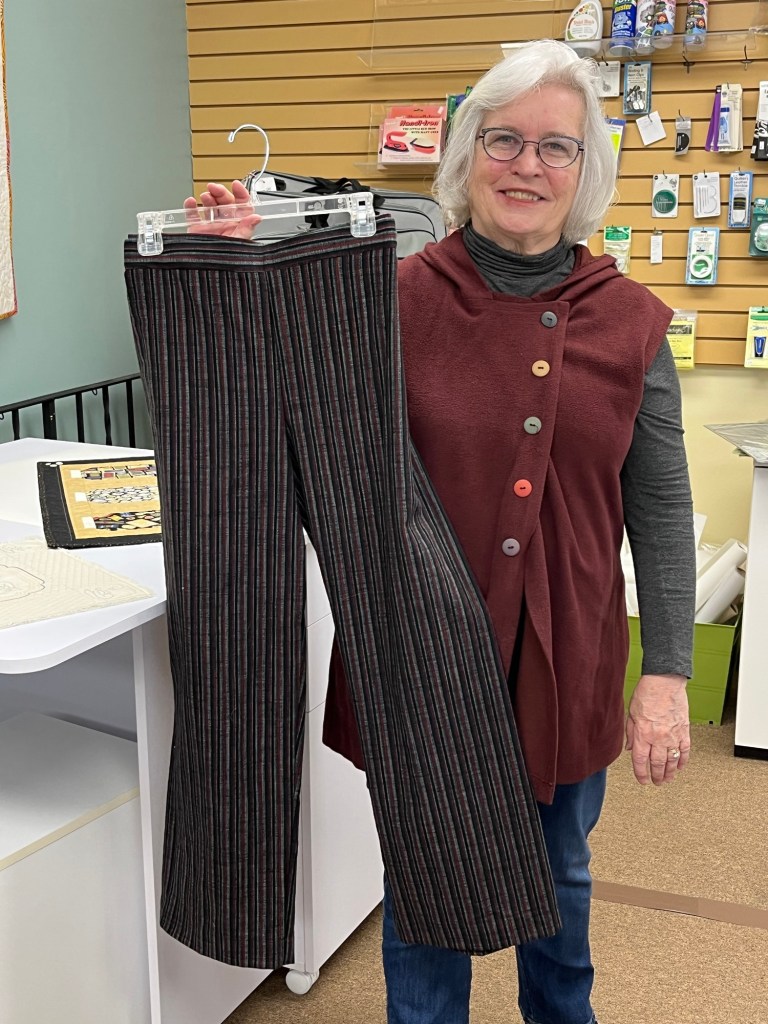
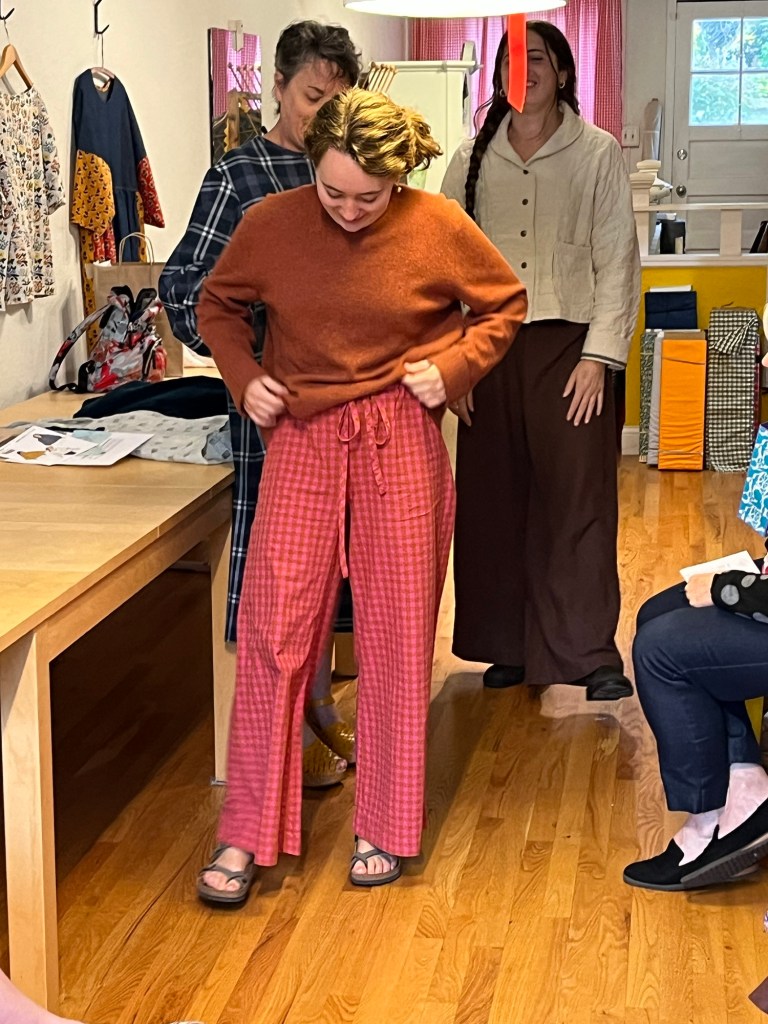
Love these TNT pants! Pocket facing and waistband in light cotton. Omitted the flat front and tie.

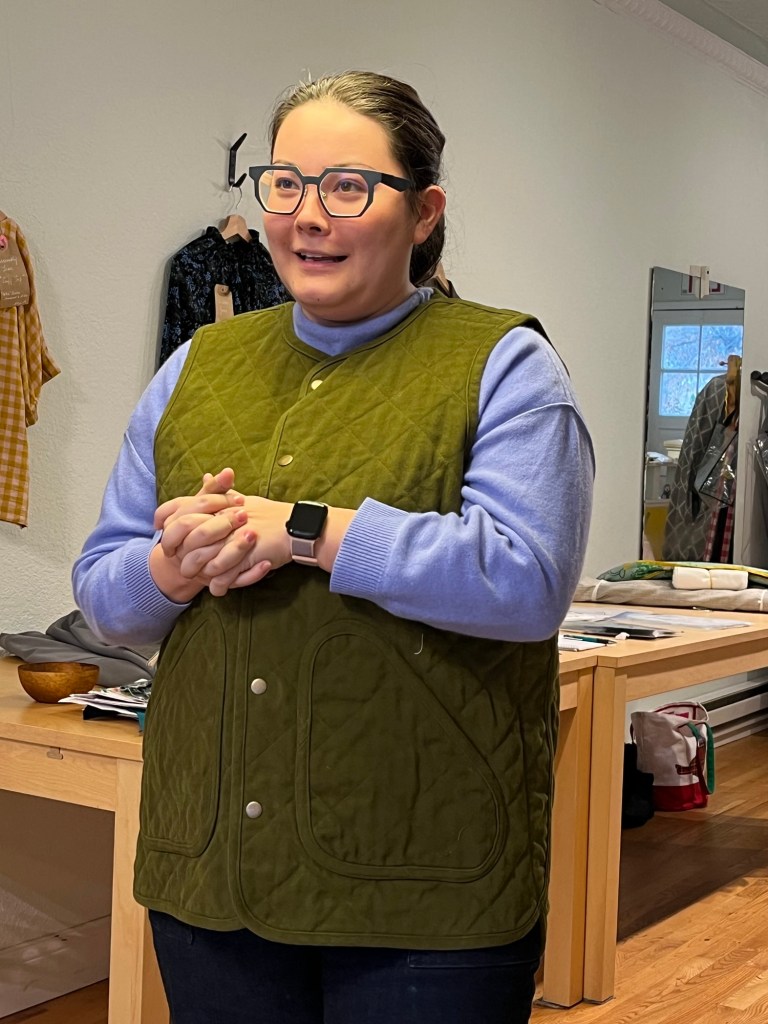
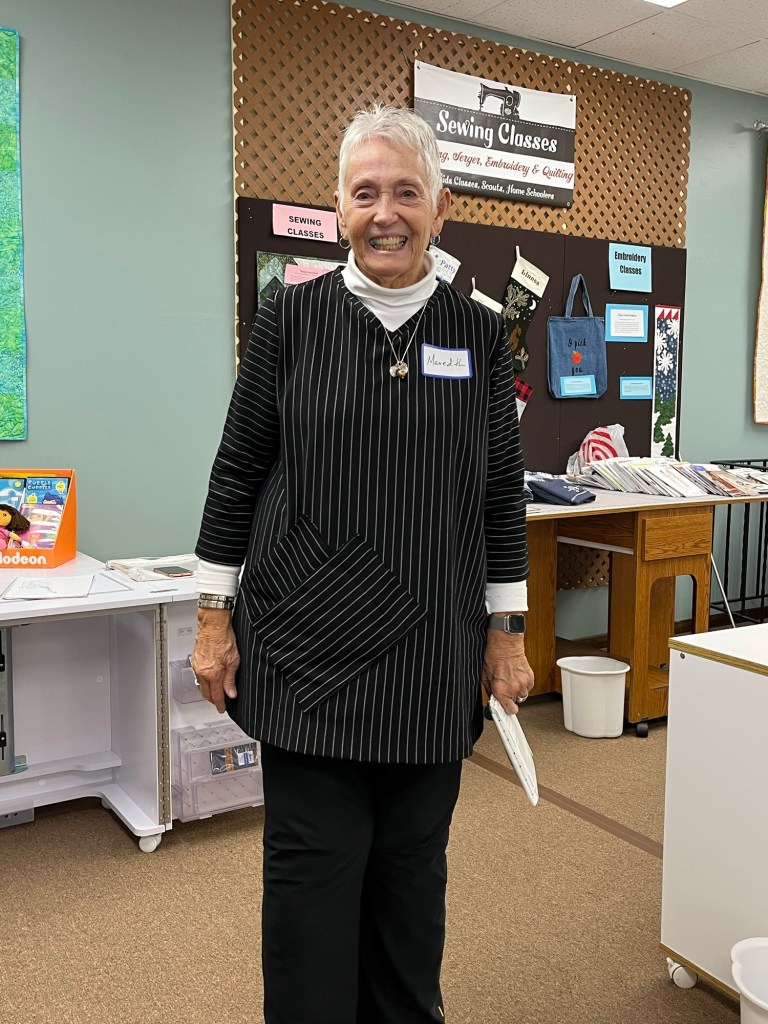
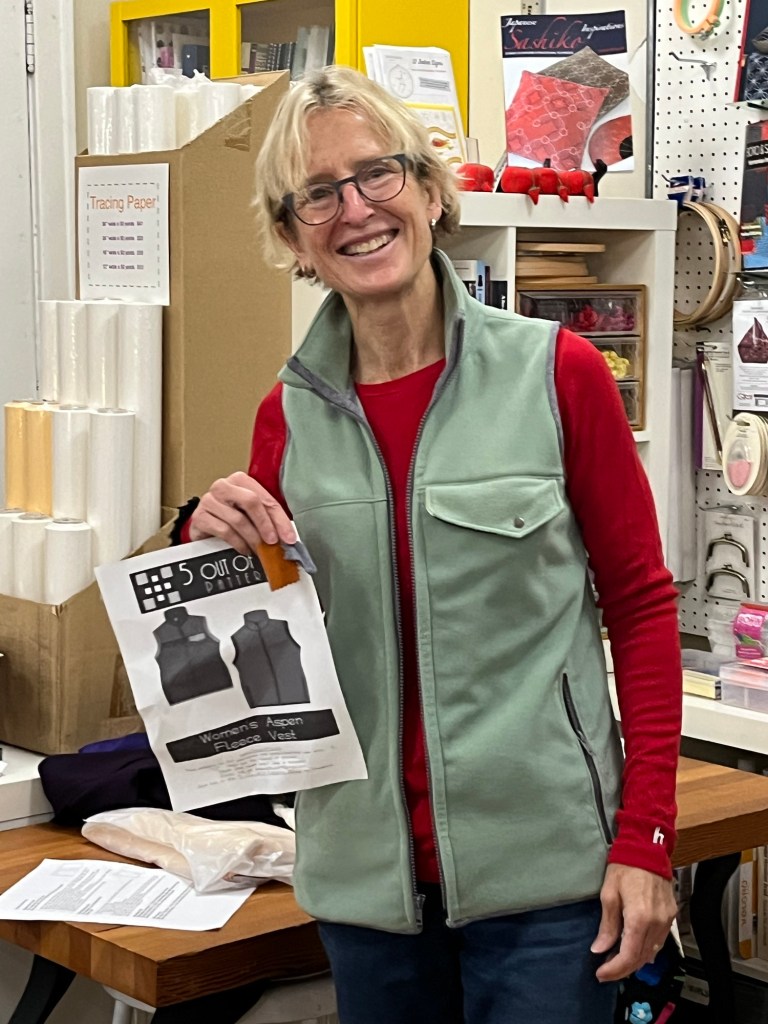
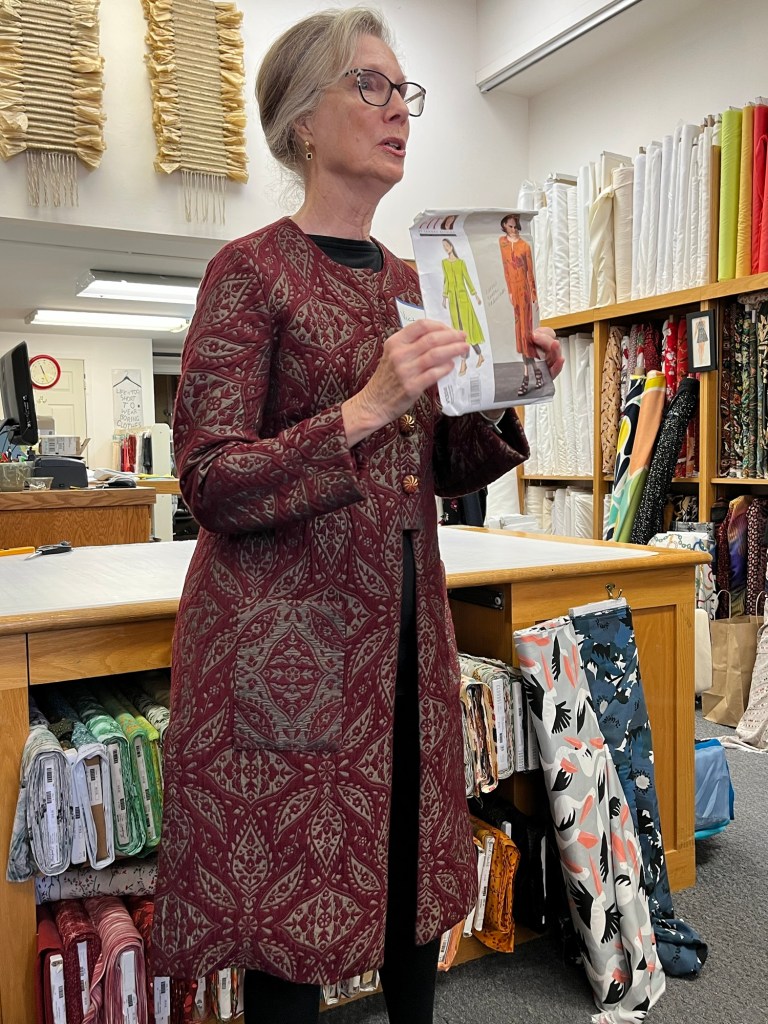
Vests are every “wear” in RTW but the patterns for sewists are skimpy. I started with two Simplicity patterns, one with a shoulder dart and one a bust dart. Made a muslin and looked at all the changes needed so instead of reinventing the wheel I pulled out Burda 5869.
Omitted the stand collar. Used the sleeve facing as armhole facing. Pattern includes lining with a back facing. Omitted zip.
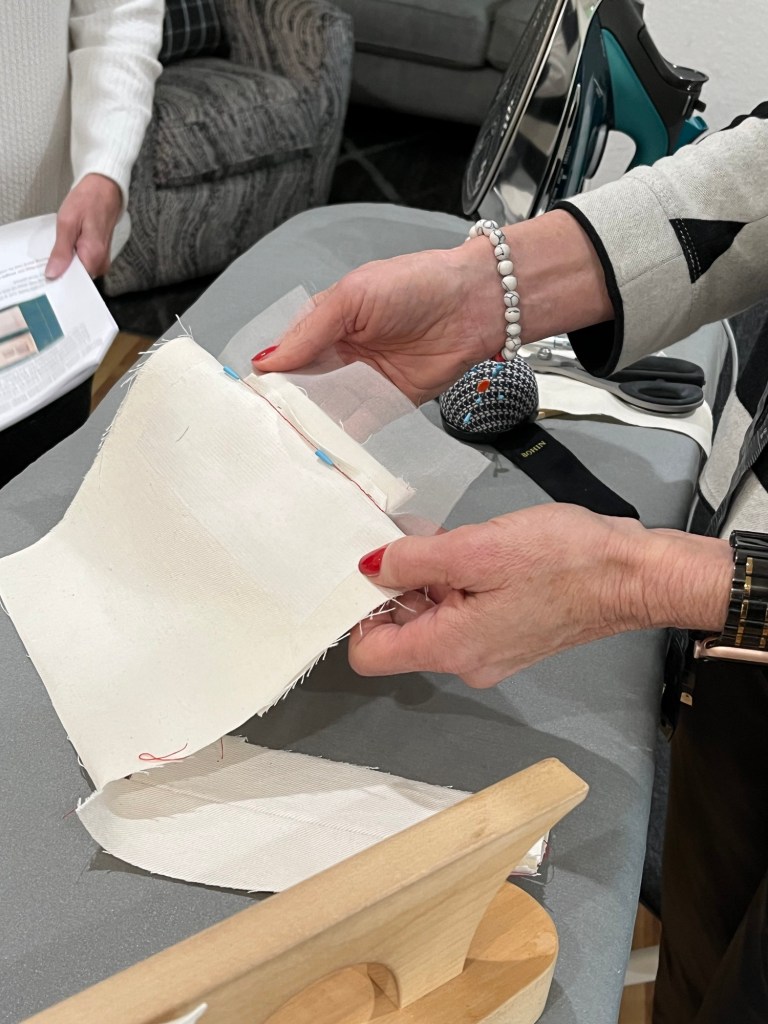
What I learned (I think):
keep the main fabric equal or heavier than the lining
Interface the hem when using the elenapatternstudio method. It was fun to do it again-it came a bit easier.
Garment Sewing Group January 2025
Wednesday, January 8, 10:30, Lakes Makerie, Minneapolis
Thursday, Thursday, January 9, 10:30, Creative Sewing, Apple Valley
Saturday, January 11, 10:30, Sew Inviting , St. Paul (Sewing Lounge is closed first two weeks of January)
Well, maybe just Debbie and Kristin in their cars but…see you this morning at Lakes Makerie for Garment Sewing Group!
Debbie and I flew to Seattle to take the Stylemaker Coat Class in October. It filled up quickly-thanks to Debbie for getting us signed up early! The class was taught by Karen Dolen of #intostitches fame.
Our goal was to get our coats as close to finished as possible so we had already cut out and interfaced our coat pieces. Debbie and I made wearable muslins in October so we were pretty confident that fit wouldn’t be an issue.
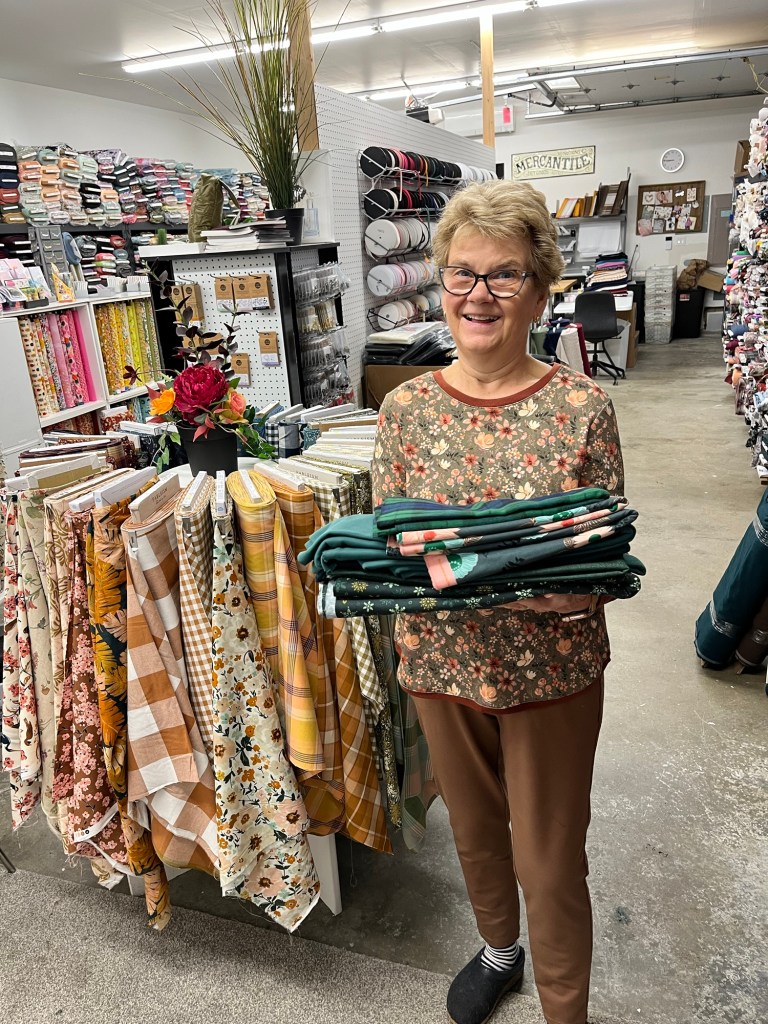


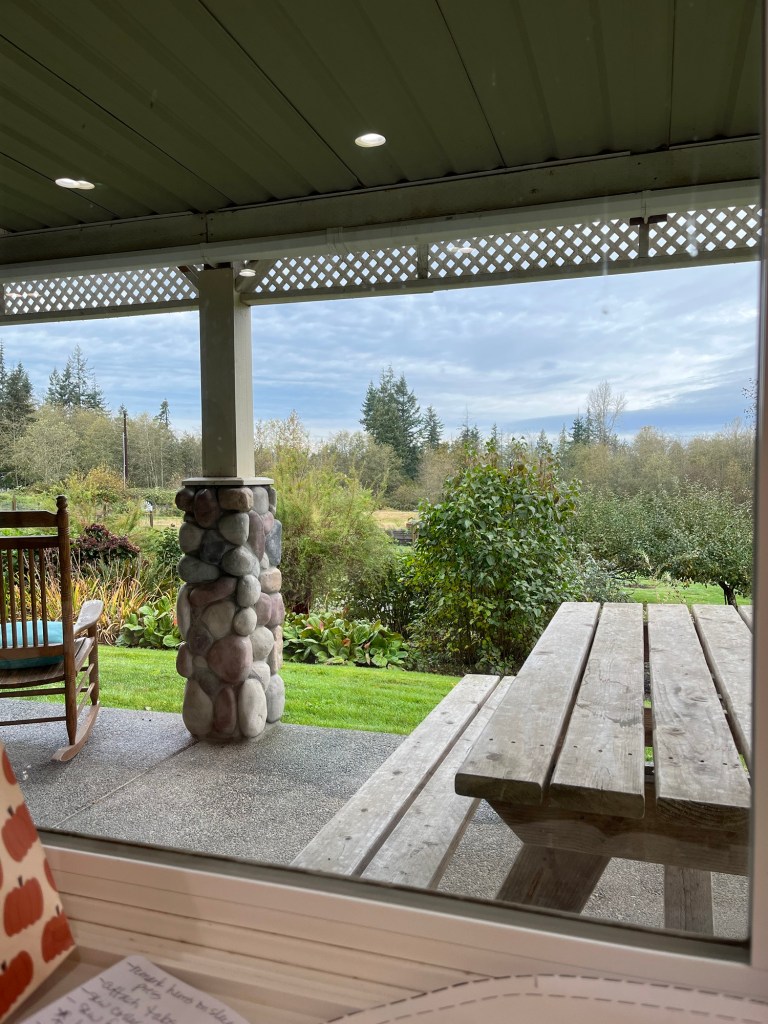
Did I say we ate well, slept well and wanted for nothing?!?! It was a wonderful retreat, couldn’t have asked for better teacher, peers, food, lodging, etc. We both got our coat linings bagged and returned to Minnesota to add buttons, buttonholes, press and snip threads. Success!

Here is the write up from Garment Sewing Group sheets:
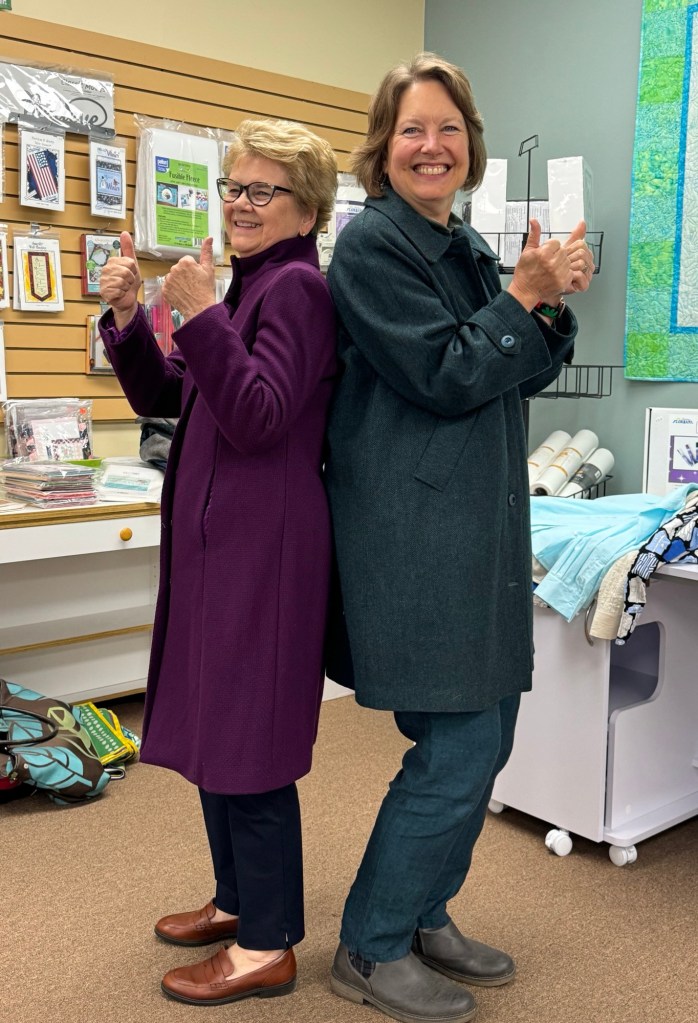
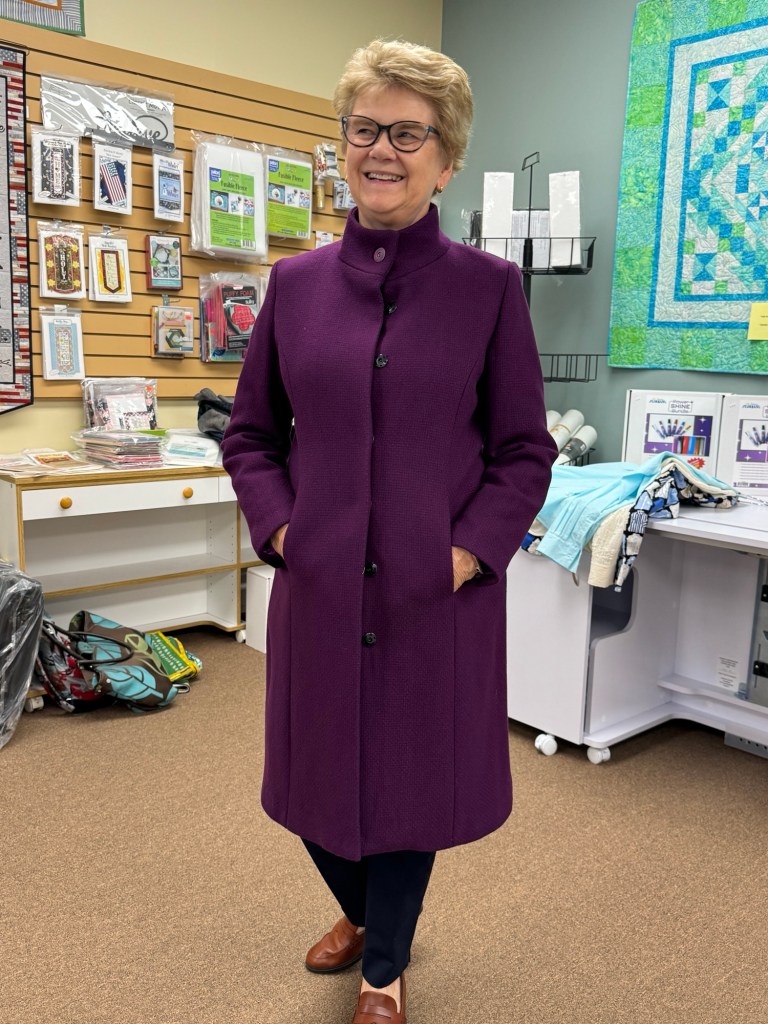
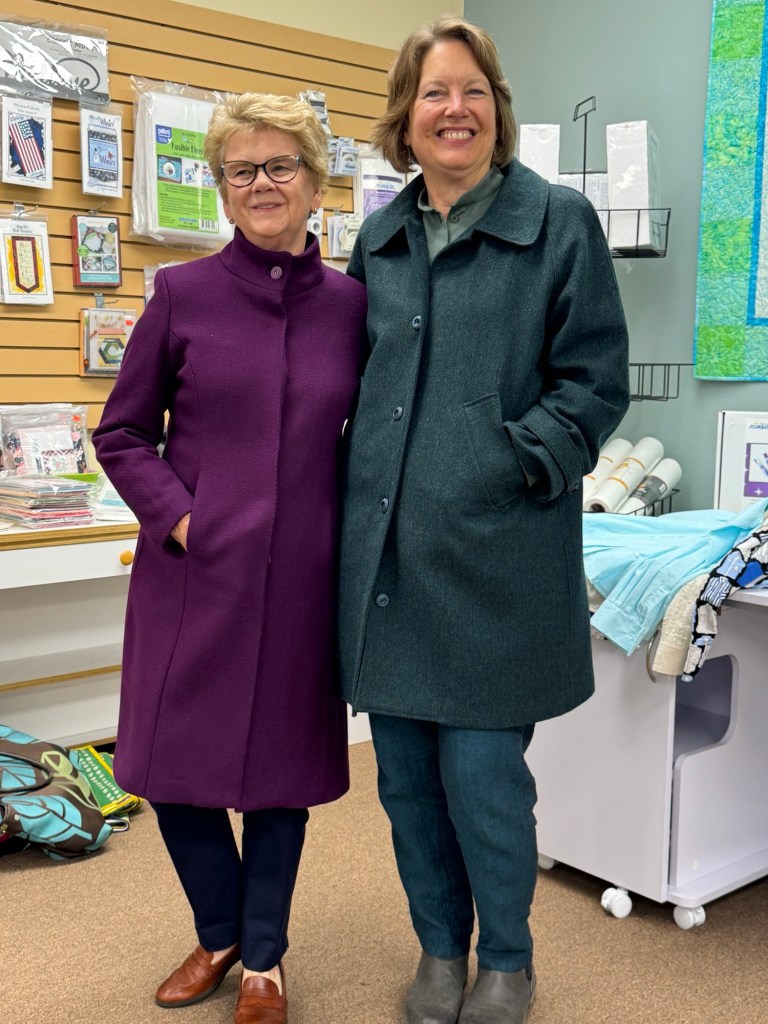
Debbie’s Garments:
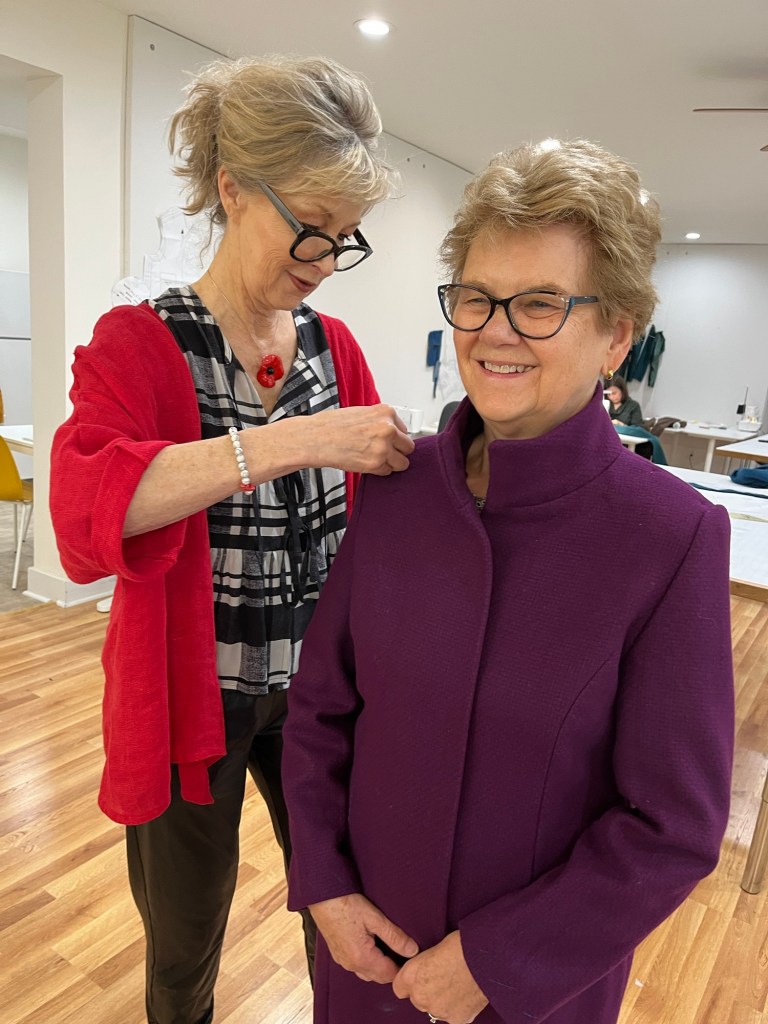
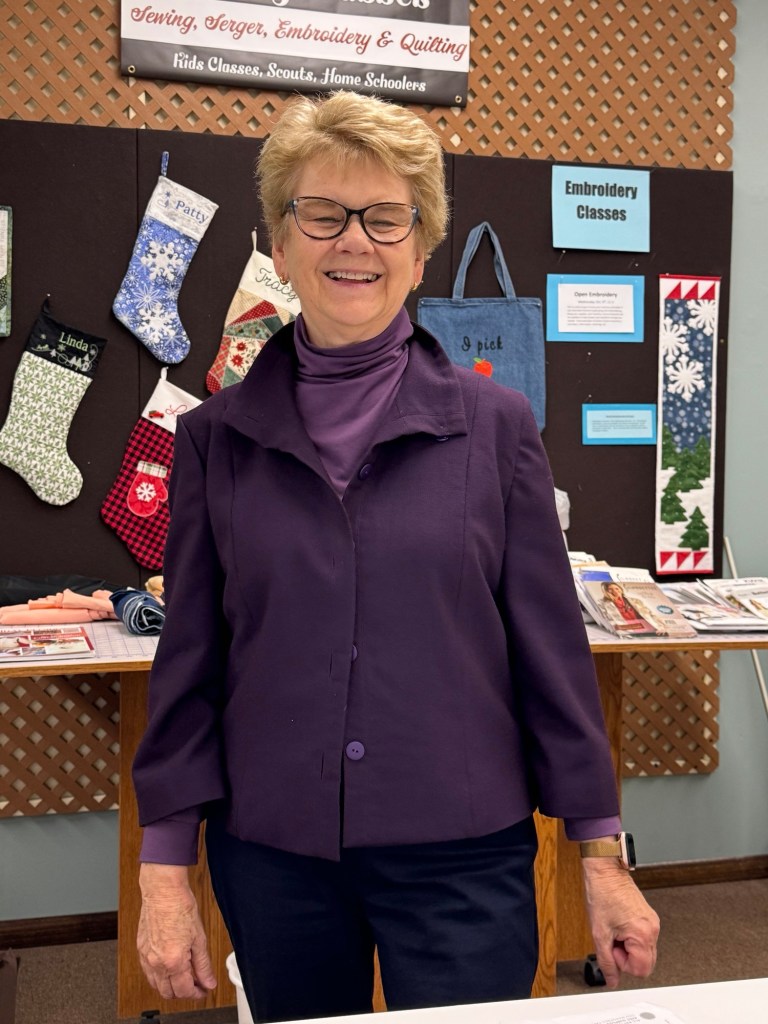
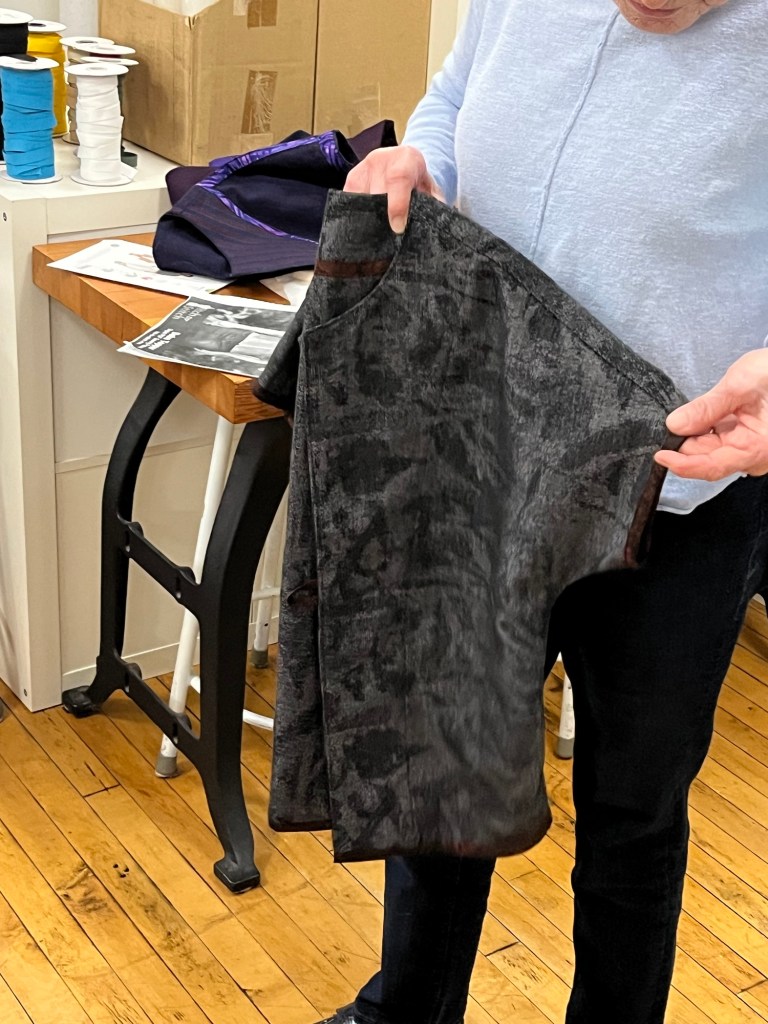
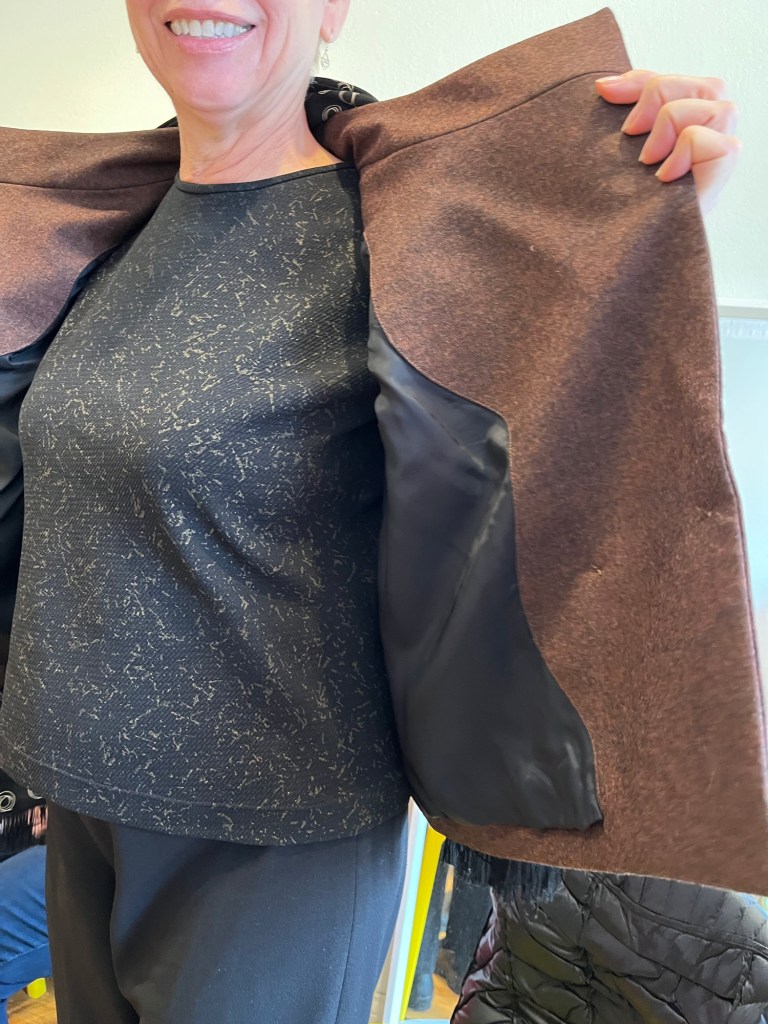
Purple Winter Coat
Burda 6461, View A
Textured wool with silk/wool lining
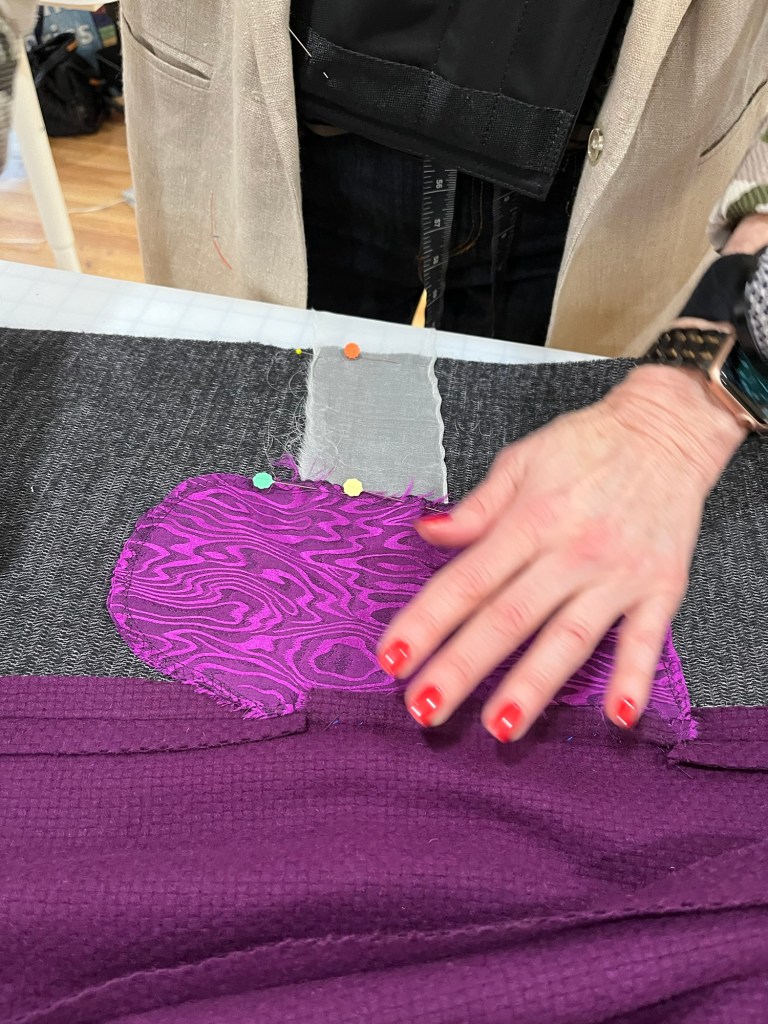
1. The majority construction for this coat was done at Style Maker’s Retreat. Before the retreat I cut out the main fabric, applied all the interfacing and carefully marked all pattern pieces.
2. For October GSG I made view B from this pattern – short jacket with different collar – as a wearable muslin. This allowed me to tweak some fitting issues and focus on new and challenging construction techniques such as bound buttonholes, welt pockets, hem and facing lining, tabs and anchoring pockets while at the retreat. I learned so much!
3. If I made this coat or another one anytime soon I would make a few changes:
1. Add a hidden button placket – not fond of the snaps.
2. Change fold over front facing to sew on – I think the center front would be more “crisp.”
3. Increase the size of the pocket bag.
4. The coat retreat was a great experience.
*Hem/Lining finish link: elenapatternstudio – also found on Pinterest
*Continuous Binding link: https://www.youtube.com/watch?v=j4NHseVkF30&t=153s
*Tab Construction: Pinterest – henim0702
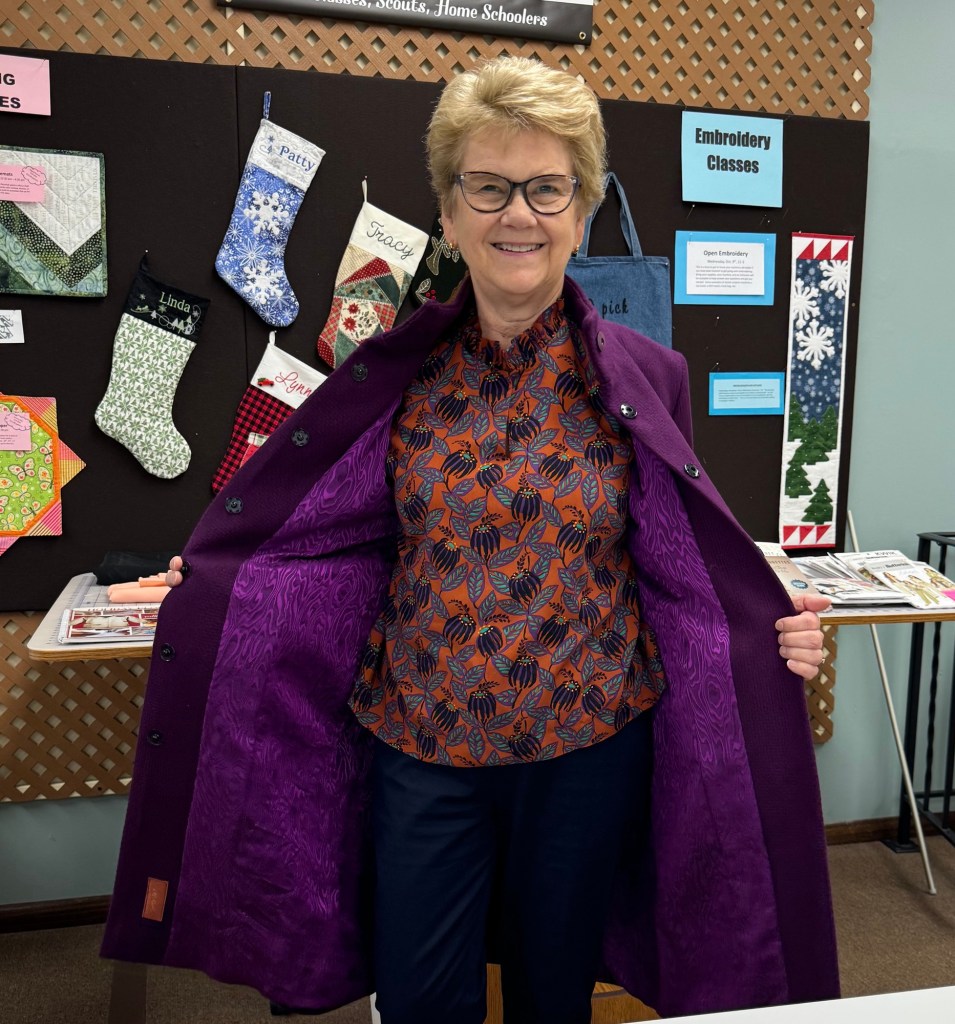
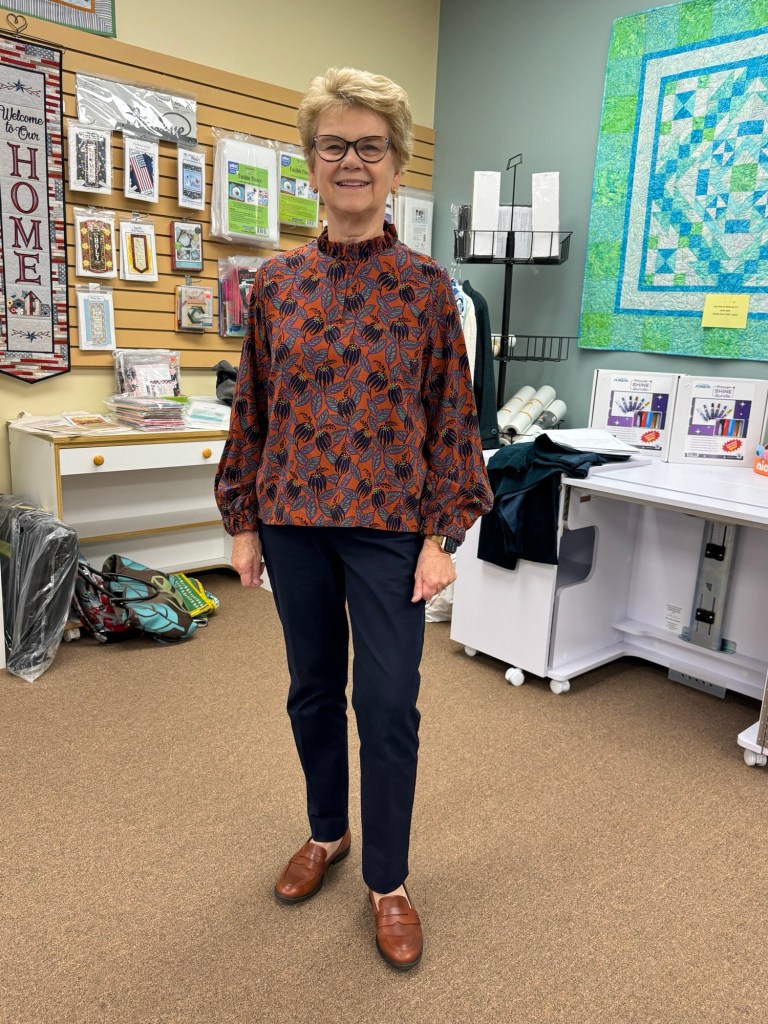
Purple Print Frill Blouse
Burda 6146, View A neckline with view B sleeves
Rayon
1. I petited between shoulder and bust on front, back and sleeve. The front and back were shortened one inch between bust and waist. I shortened the sleeves two inches in length.
2. I omitted the front neck tie and added a snap for closure.
3. I found the pattern and directions frustrating at times. The pattern piece for the frill was too short to get a decent gathering look so I increased the length. The front facing is too long from the front opening and as a result it doesn’t want to stay put – too fussy.
4. I will make this again with some changes – I love the fabric.
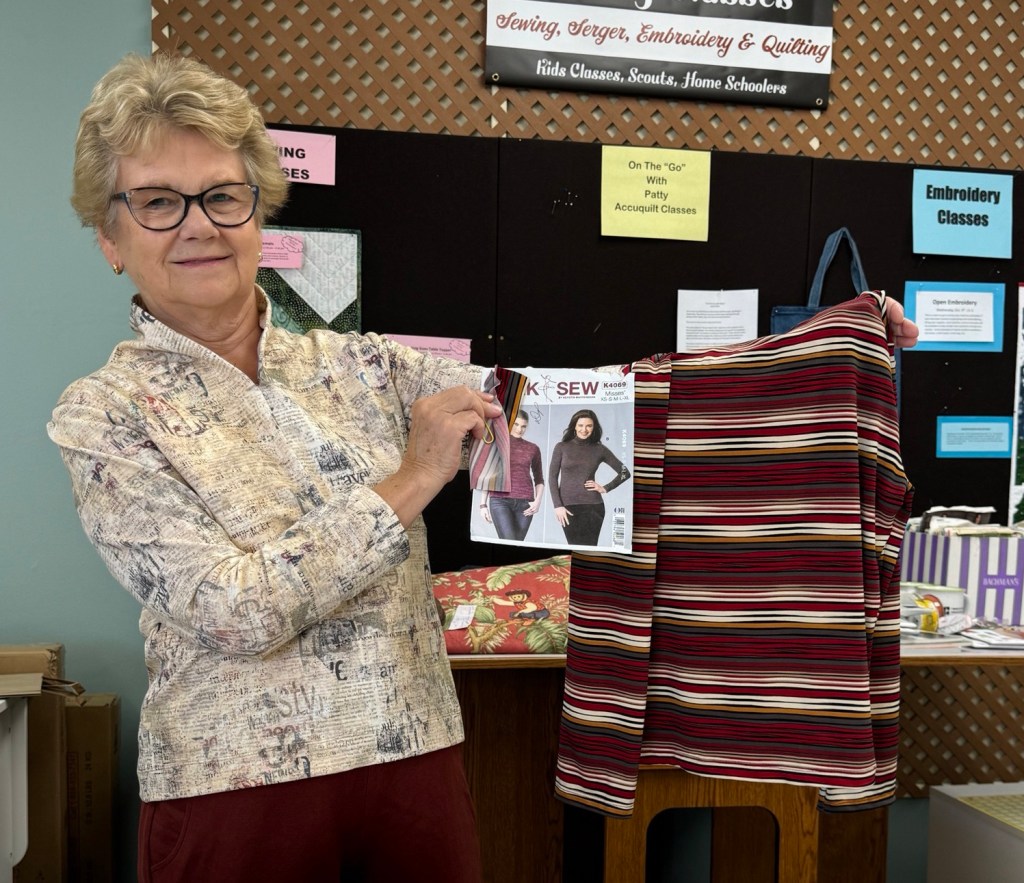
Purple Turtleneck
Christine Johnson Travel Trio #331
94% Bamboo and 10%D (Fibers which are dyeable with disperse dyes, e.g. , polyester, nylon, acrylic, secondary acetate and cellulose triacetate.). In other words be sure to wash your fabric!
1. Another TNT pattern for me, especially when I am short on fabric and time!
2. I have petited this pattern between shoulder and bust, bust and waist – it is a curvy fit. I also removed two inches from length.
3. I had enough fabric to make the sleeves long which works for me for layering and the colder weather.
4. I am finding that I am not a fan of bamboo for garments due to too much wrinkling and pilling. I will continue to use this pattern but not the fabric.
Kristin’s Garments:
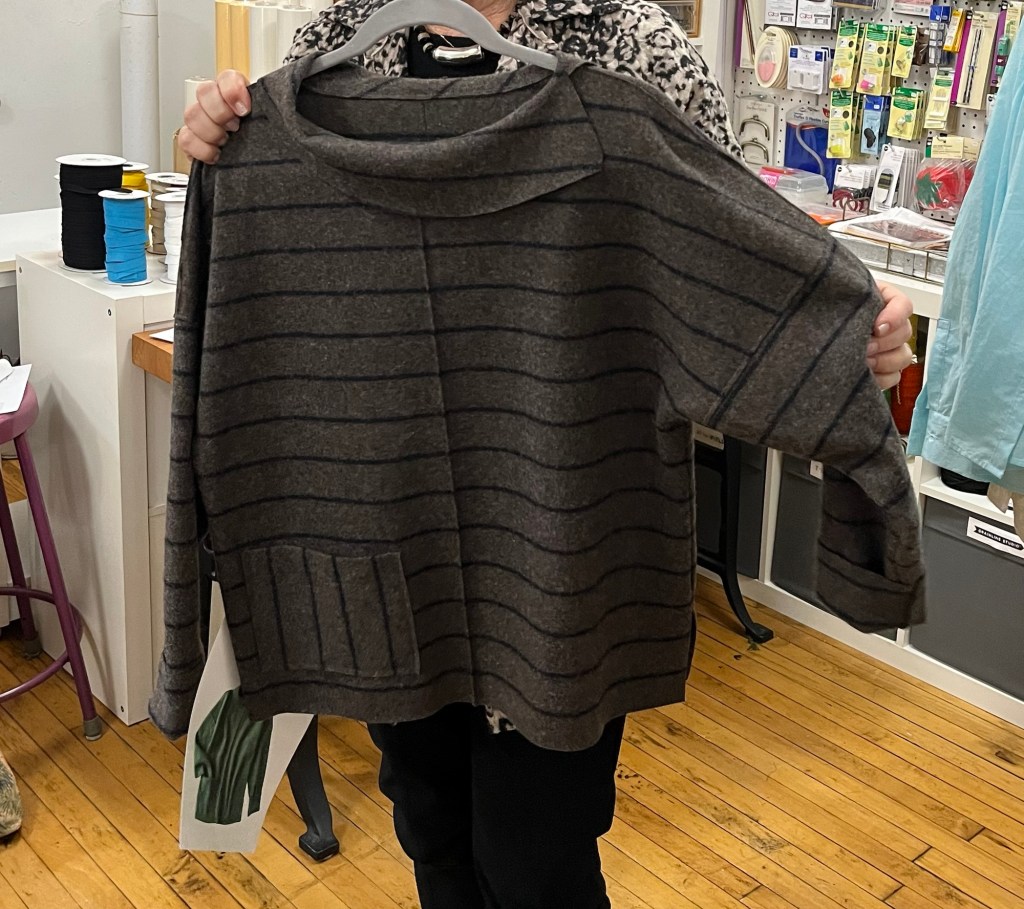
Raglan Wool Coat
The Assembly Line Car Coat
Wool with silk stretch lining (and flannel lined pockets!)
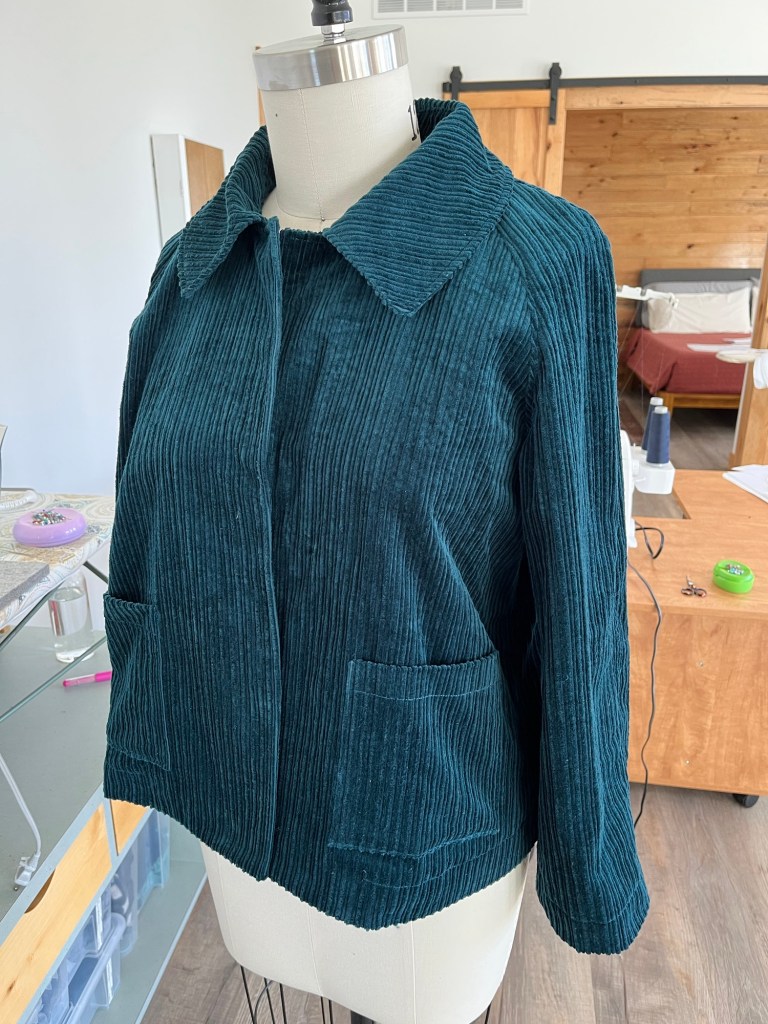
1. After making a short corduroy version last month I went up a size to give me more room for layering. Also added a center back seam and more length in the upper back with some success but could have used even more length.
2. As Debbie did, the coat was cut and interfaced throughout when I left for the retreat.
3. The wool was wonderful to work with if not a little thick at some turned corners. The silk lining was slippery but that’s what I needed.
4. Welt pockets were great. Added tabs to close sleeves a bit.
5. I didn’t change construction of collar to coat as planned because I got a crisper corner with the method in the pattern.
6. Making a coat makes almost every other garment seem simple!!
Final Boyfriend Shirt
The Assembly Line Oversized Shirt
Rayon twill
1. First off, I love the fabric. This was the third in a trio of patterns that came out all about the same time-
1. Closet Core Jenna Shirt
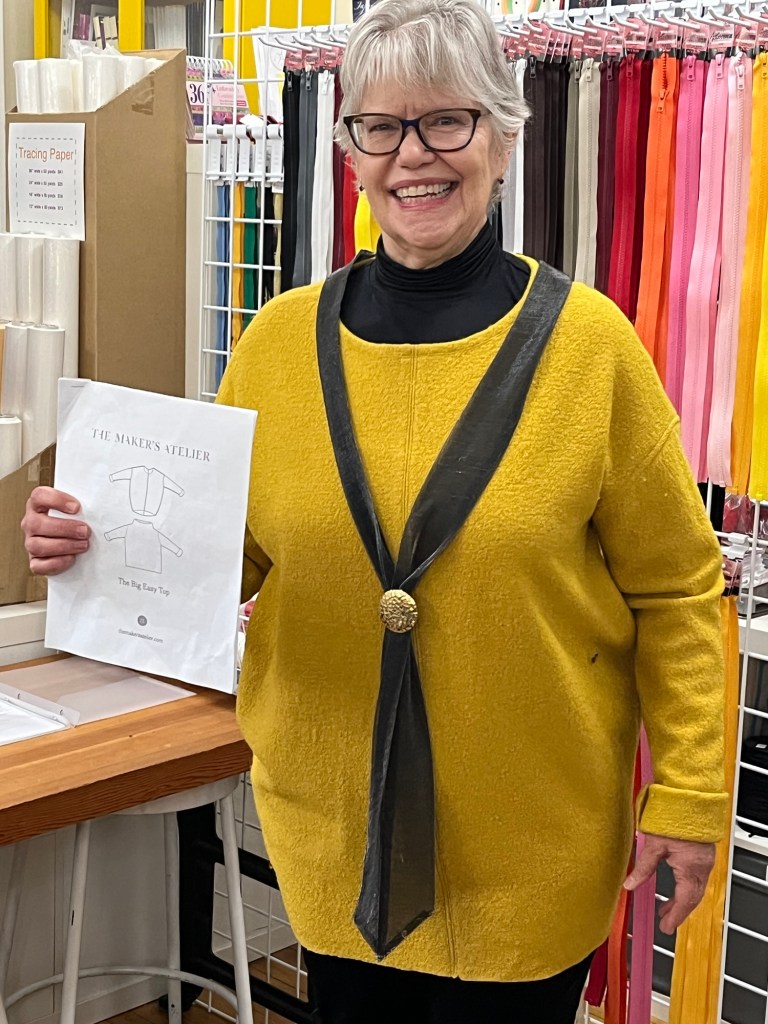
2. Maker’s Atelier The Shirt
3. Assembly Line Oversized Shirt
2. Pattern directions were good but not without error. Some words used are awkward but I am a fan of some of their patterns. The fabric gives this a great drape. I made just a stand collar with this pattern and omitted side seam pockets.
3. It was fun to make so many different looks with a change in fabric for these shirts. You may see one of them in a shacket soon!
December GSG
Wednesday, December 11, 10:30, The Sewing Lounge, St. Paul
Thursday, December 12, 10:30, Creative Sewing, Apple Valley and Fabric Swap
Saturday, December 14, 10:30, Lakes Makerie, Minneapolis
Other Classes:
Sew Social: Thursdays, 1-4 pm, Creative Sewing, Apple Valley, Nov. 14, 21, Dec. 5, 12
Open Studio: Wednesdays, 1-4 pm, Lakes Makerie, Mpls., Nov. 13, 20, Dec. 4, 11
Here’s the rest of the inspirational sewing we saw in November!


Here’s some of what we saw at Sewing Lounge on Saturday!
Join us on Wednesday at Lakes Makerie or Thursday at Creative Sewing in Apple Valley

Here is the last of the meetings for October-scroll down for Debbie and Kristin garments and notes:

October 2024
Garment Sewing Group
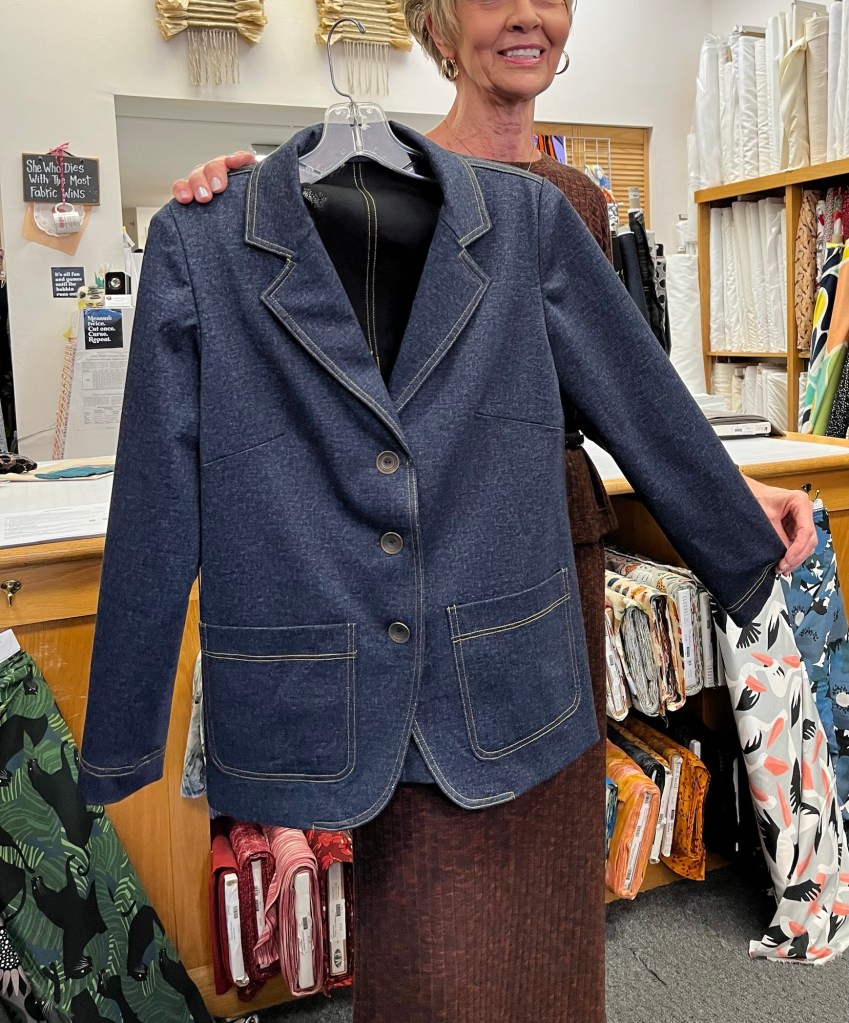
Debbie’s Garments:

1. This fabric was gifted to me and I felt it was a great opportunity to use for fit and construction techniques for View A from the same pattern.
2. For fit I did not shorten between shoulder and bust but did shorten 1 inch between waist and hip and 1 inch between hip and hem. I shortened the sleeve length by 2 inches. I also did a narrow shoulder adjustment.
3. I used “soft” tailoring techniques only adding a sleeve head, shoulder pads and interfacing to all hems.
4. For my next make I will interface entire front, upper back and sleeve cap. I will also make a greater narrow shoulder adjustment. The sleeve cap has too much ease so I will also remove some of that before cutting out View A.
5. Although Burda patterns can be skimpy in directions, words, photos and notches, the jacket went together fairly easy and quickly.
6. I did enjoy the process and I am looking forward to making view A.

1. This is a TNT pant pattern for me and how much I like and wear these pants depends on the fabric. The linen/viscose fabric is okay but I think I prefer a more structured fabric.
2. I eliminate the pieced waistband and make it one piece. I also eliminate the faux zipper and waist tie.
Graphic Print V-Neck Top Jalie 2682
1. Another Jalie TNT pattern for me.
2. I raised the neckline on this make due to the fall weather.
3. Due to 1/4” sa and serging I topstitched the seams to prevent curling and more comfort while wearing.
1. Another TNT pattern. After making my wool jacket it was a nice break to stitch up a few basics to add to my wardrobe. Easy is quick and fun. Now I am ready for a more challenging garment make for November.
November Garment Sewing Group
Saturday, November 9, 10:30, Sewing Lounge, St. Paul
Wednesday, November 13, 10:30, Lakes Makerie, Minneapolis
Thursday, November 14, 10:30, Creative Sewing, Apple Valley
Sew Social this month: Oct. 10 and 24, 1-4 pm, Creative Sewing, Apple Valley
Kristin’s Garments:
1. Pattern has a lining that goes past bust so I made that first for a fit muslin. Cut out a size 16.
2. Decided to make seam allowance 3/8” instead of 5/8” at neckline and also cut for highest neckline (it wasn’t much of a difference between sizes). Kept the 5/8” seam allowance for armholes.
3. Omitted back zip but would stitch neck closed and put zipper below to keep things neat.
4. Adjusted for my hips. Back darts gave nice shaping but fit seemed problematic in lots of places.
5. Resewed the side seams at 1/4” and all problems went away-Yeay!!
6. Definitely a keeper pattern for wearing and fitting.
7. Wore the sheath with Vogue 9347 window pane jacket.
1. Made size Medium to pattern except for length. Collar has a partial back stand. Pattern includes lining or facings for no lining.
2. Other than a few marking notches being off or nonexistent the pattern went together very well and instructions were good although some of the language isn’t what we’re used to: face to face instead of right sides together.
3. Added patch pockets instead of welt.
4. I chose to add a facing for the back neck and wish I would have assembled the lining separately so the garment wasn’t so bulky at neck seam-next time!

1. Caroline showed this top last month at Ginny’s and it looked like fun. I made an 8 at the bust and 14 at hip. Pattern calls for fluid knits-cotton knit probably wouldn’t twist.
2. Easy construction except for the piddliness of working with rayon knit. It’s always worth it when the garment is done.
3. Some techniques are overdone for knits-interfacing back neck and understitching neck binding. I didn’t understitch and the neck band was 1 1/2” too long but that could have been a cutting error on my part 🙂
4. Fit is great and it’s a nice vee for me. Twist is easy and looks good-no wrong sides peeking through. Might be a good scrap buster.
One more meeting for you to get your sewing inspiration for the month! Saturday, Oct. 12 we’ll be at Lakes Makerie, 10:30.
Here is what we saw at Ginny’s in Rochester and Creative Sewing in Apple Valley:


First off-Garment Sewing Group meetings:
Wednesday, Oct. 9 at Ginny’s Fine Fabrics, Rochester (let me know if you want to carpool)
Thursday, Oct. 10 at Creative Sewing, Apple Valley (and fabric swap!)
Saturday, Oct. 12 at Lakes Makerie (beginning serger class offered at 1 pm following GSG)
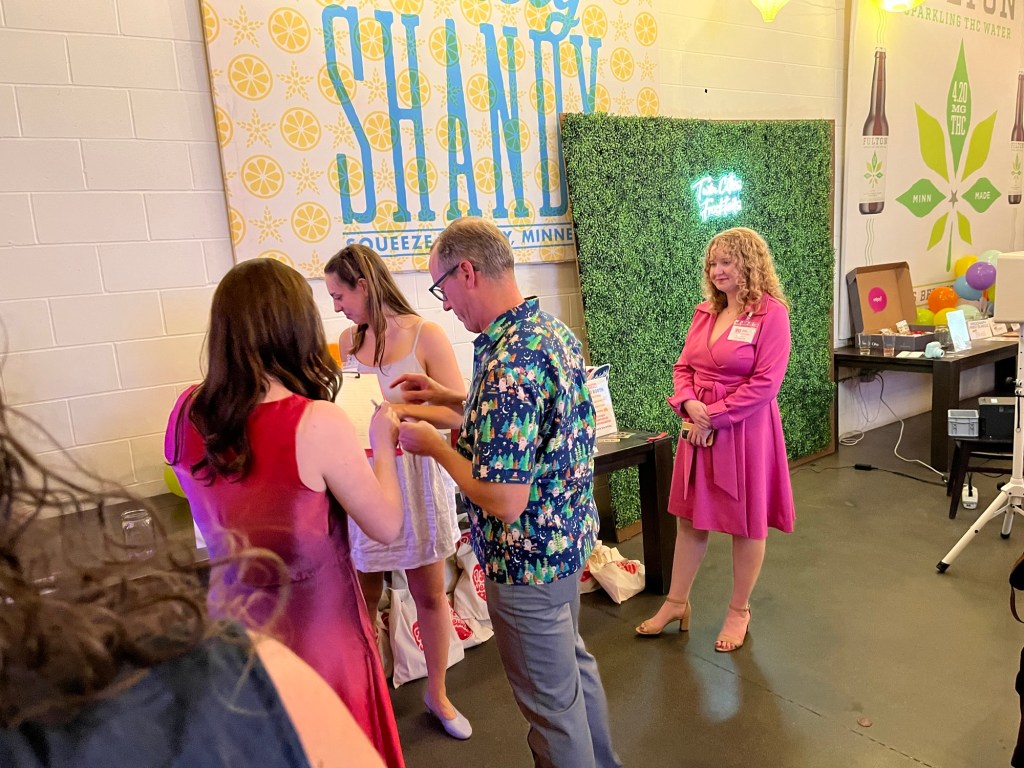
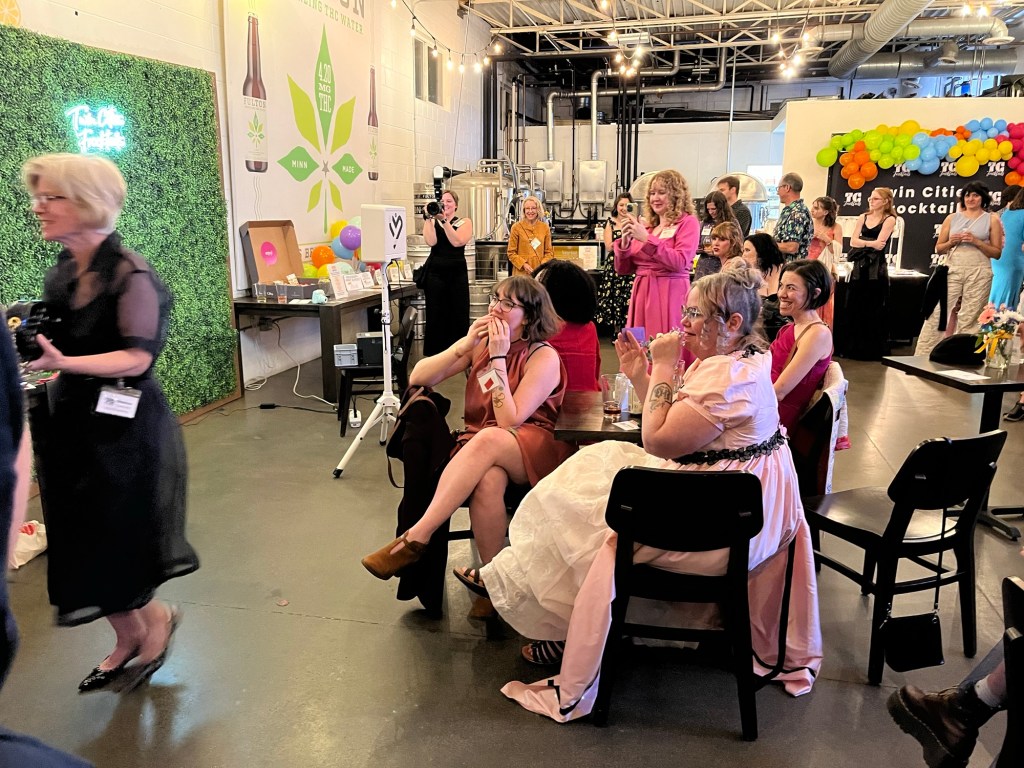
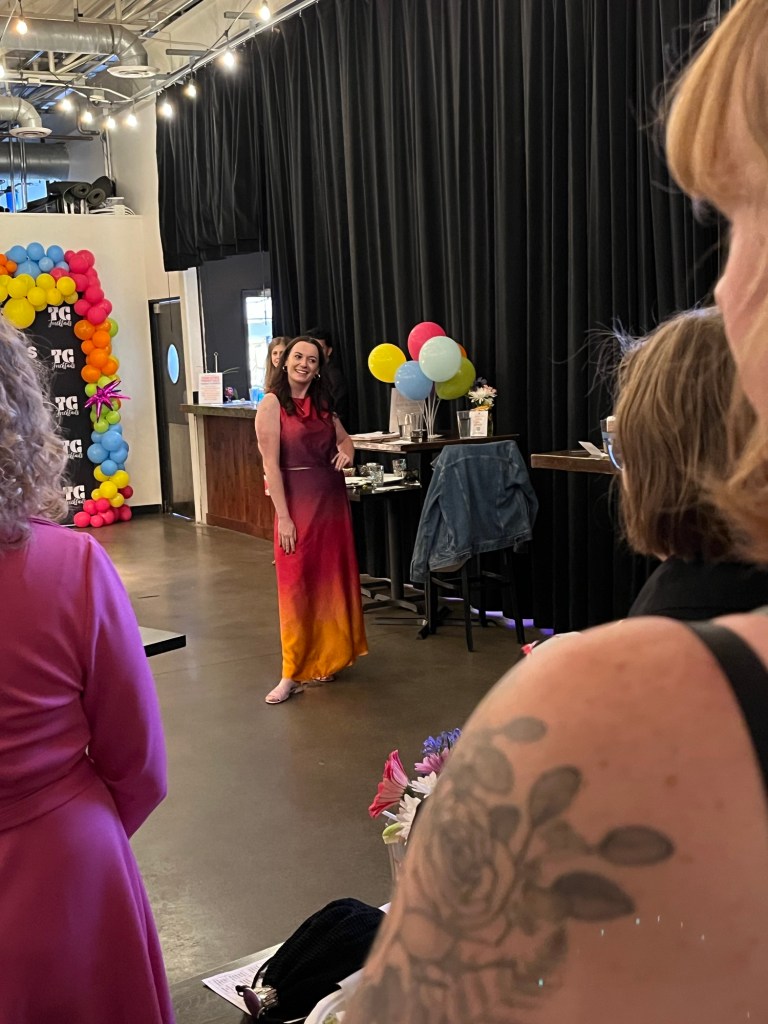
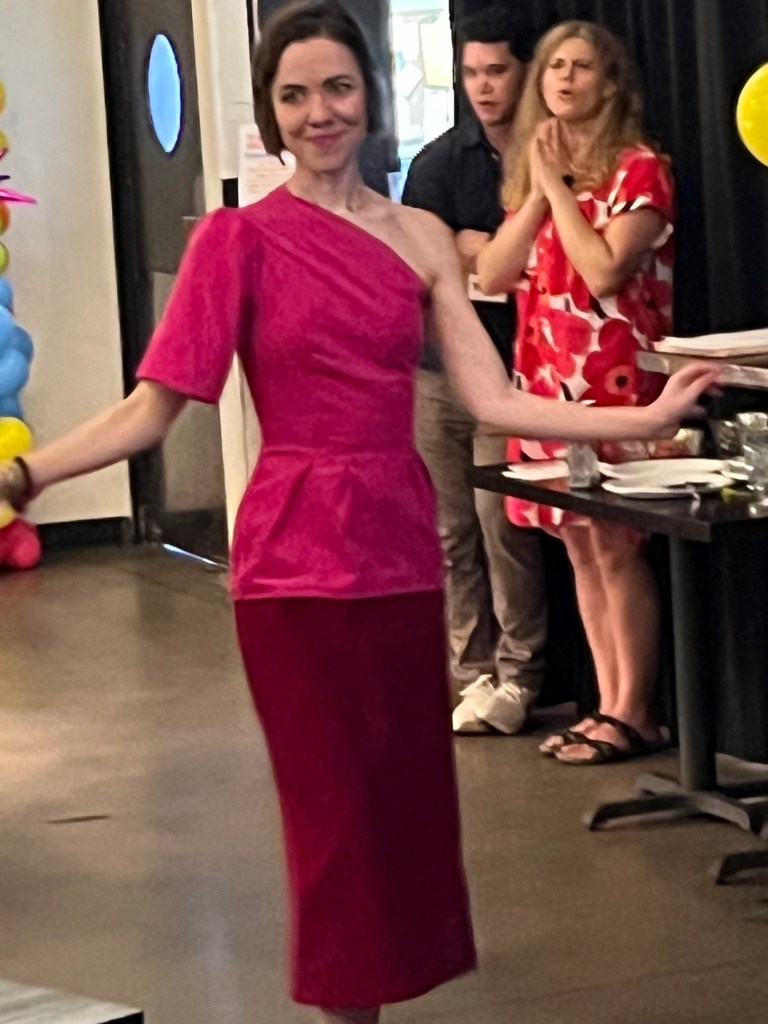
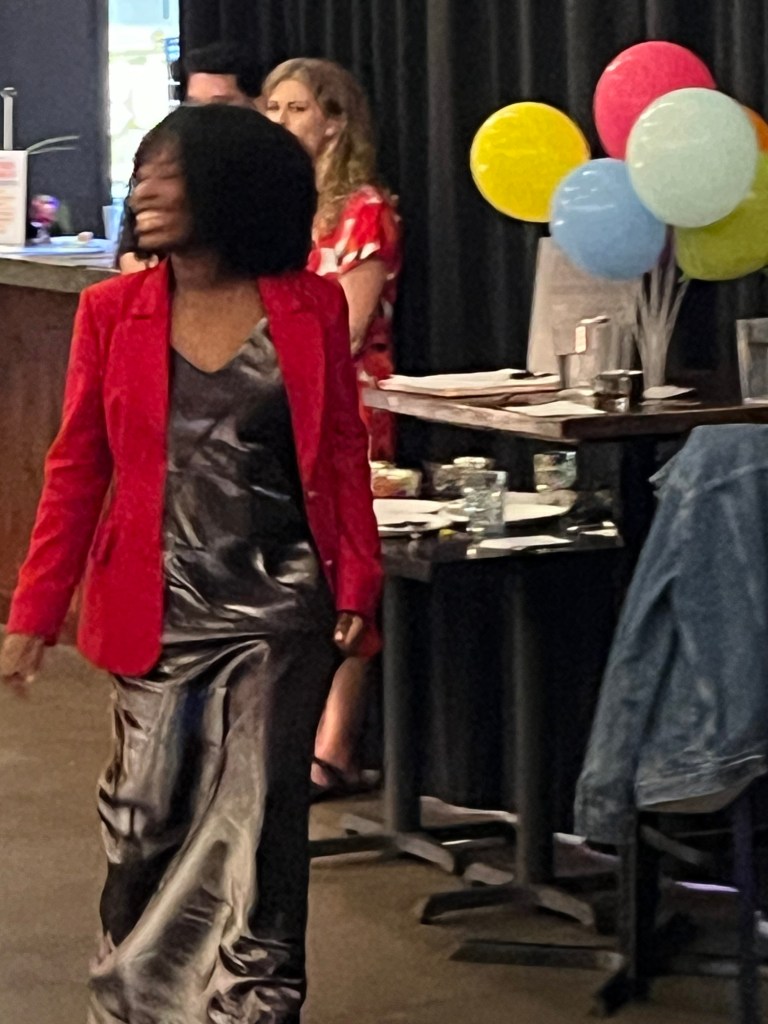
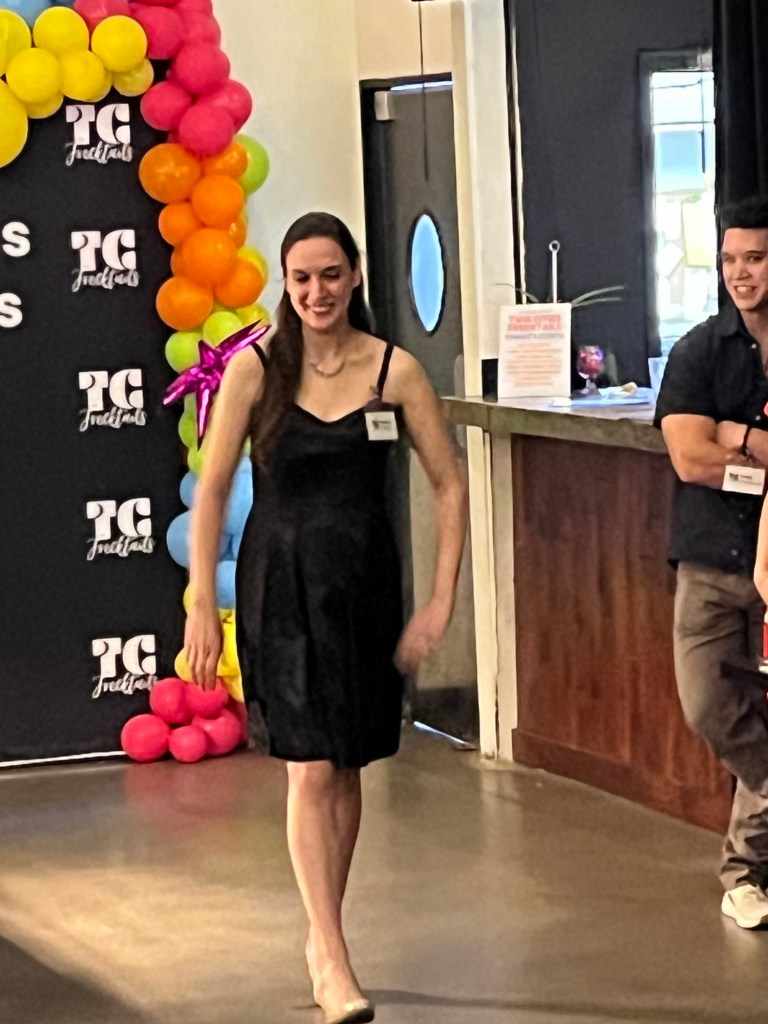
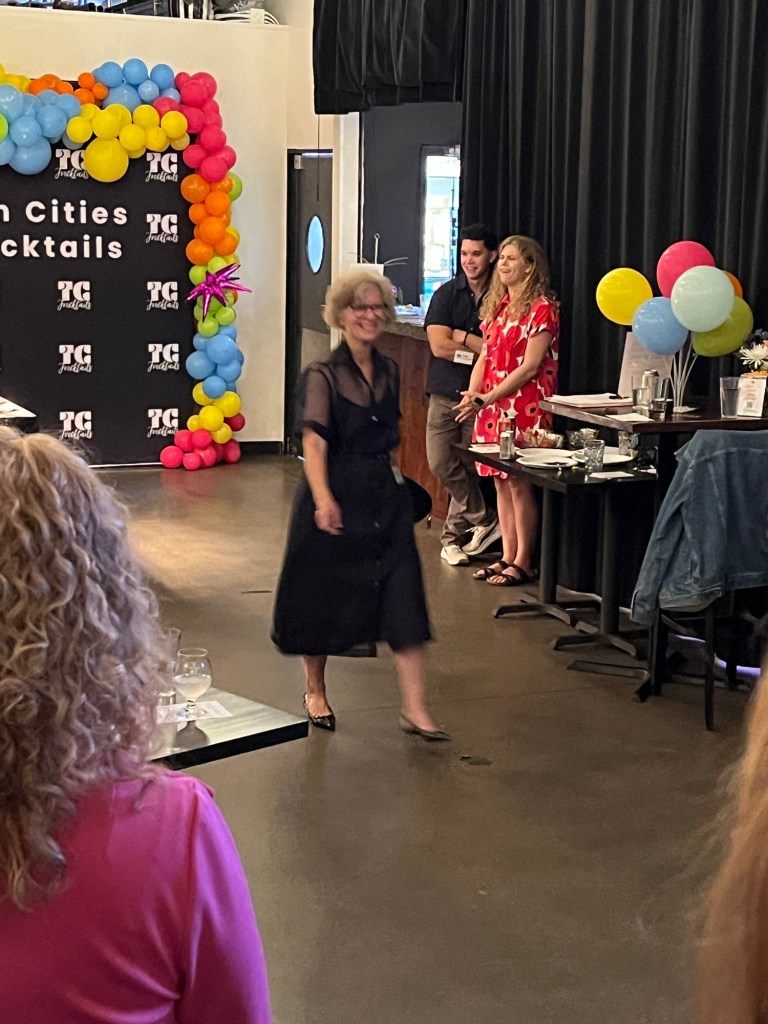
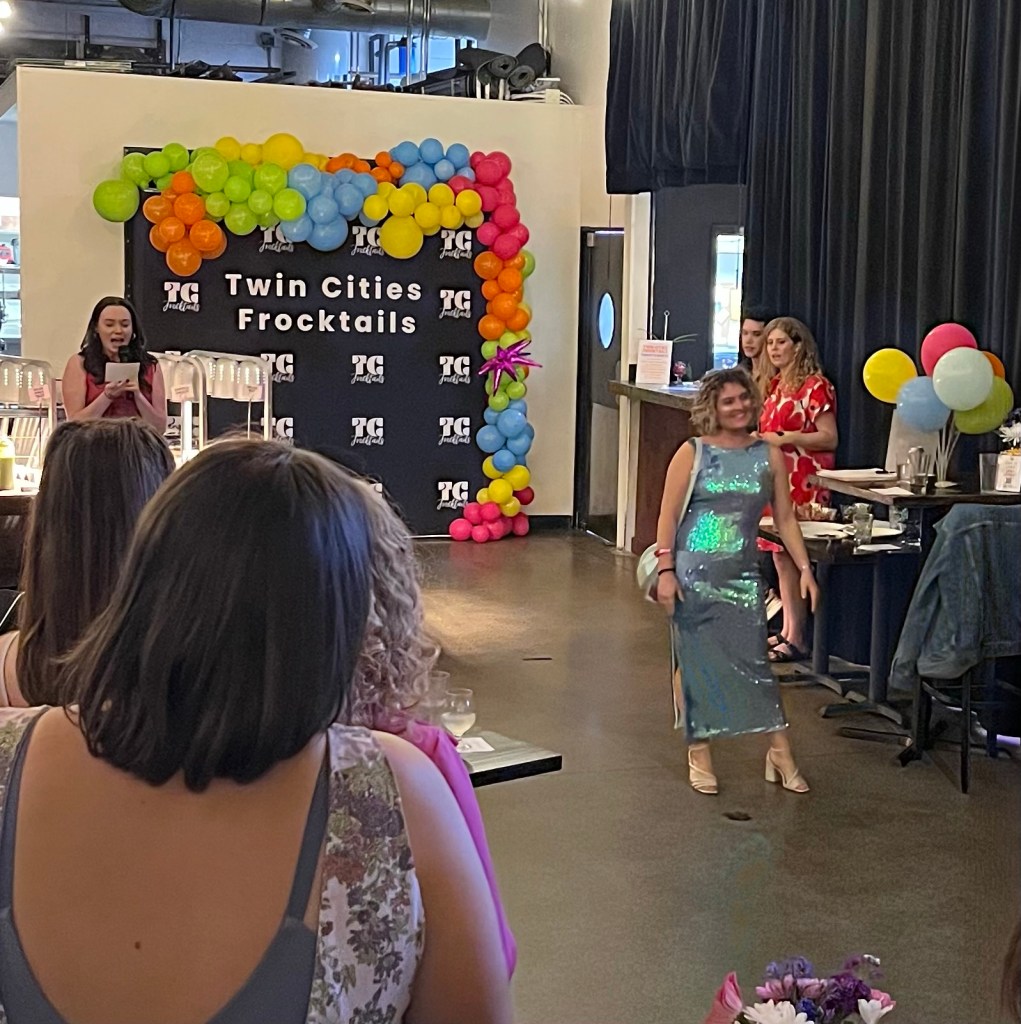
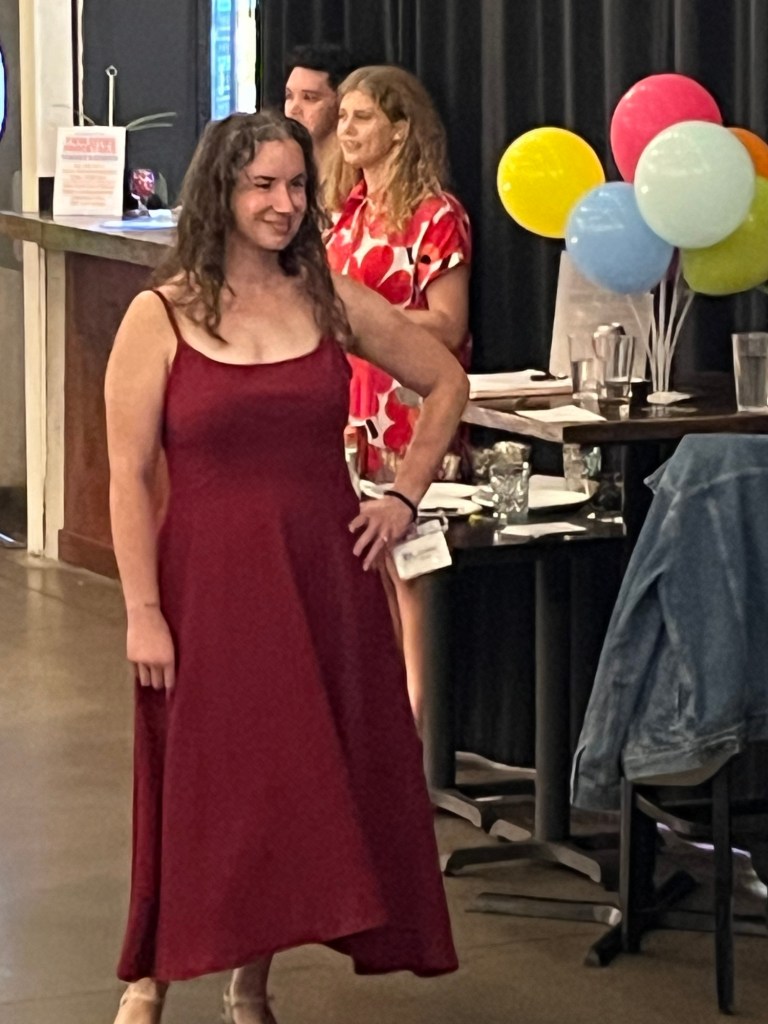
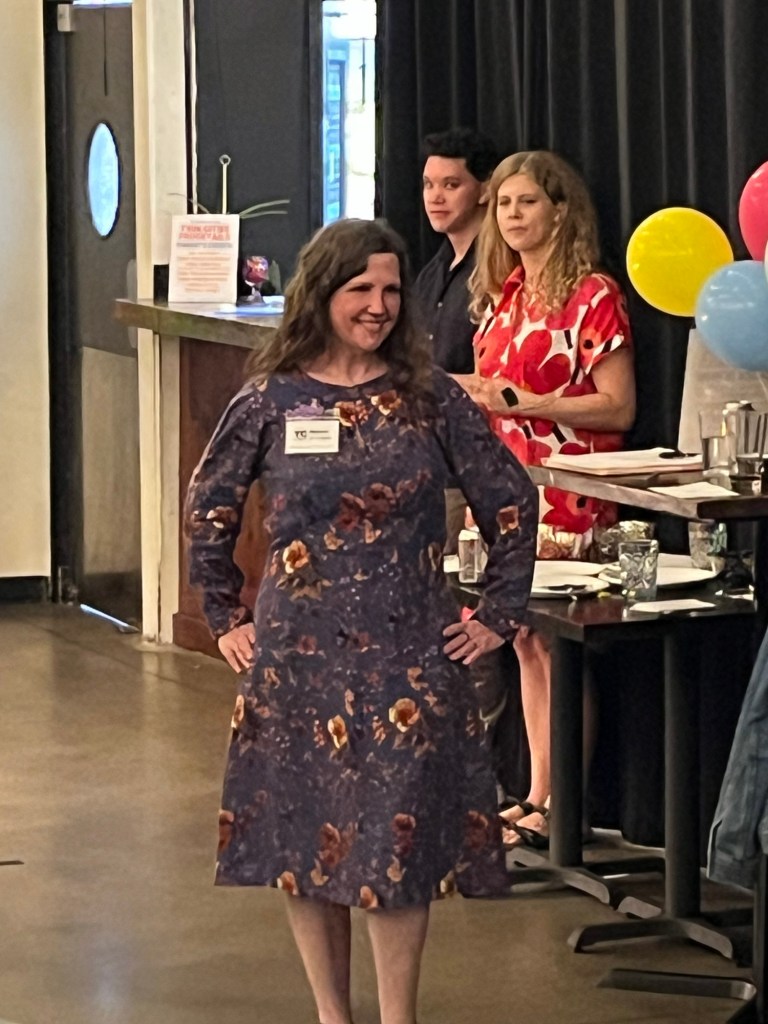
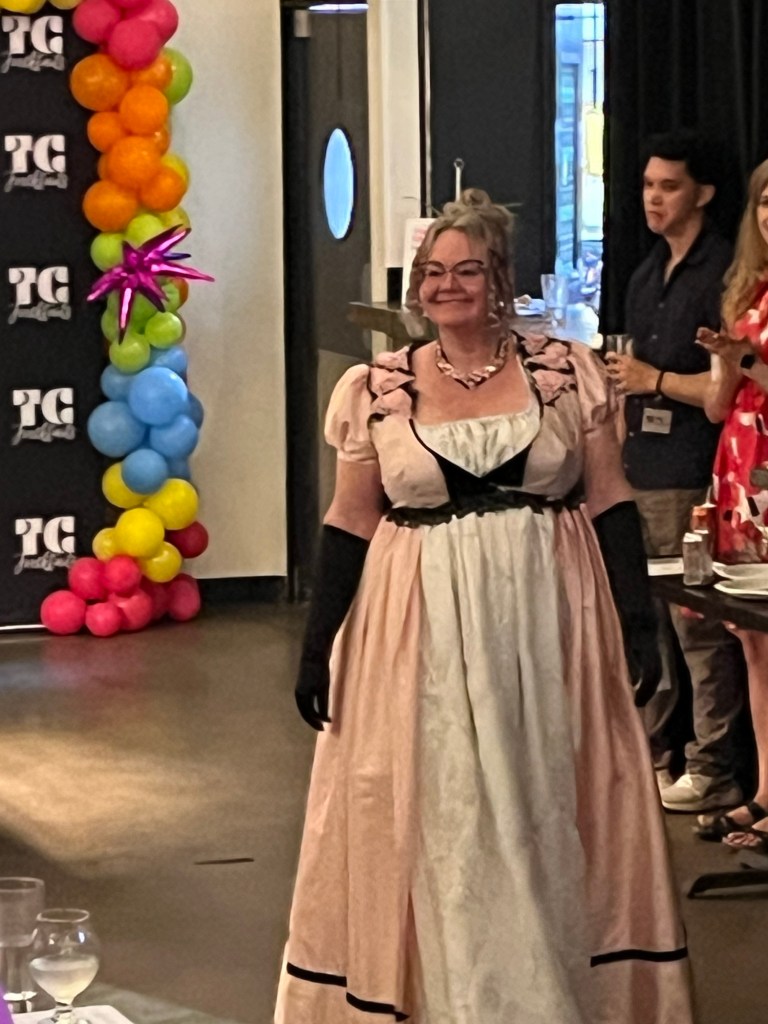
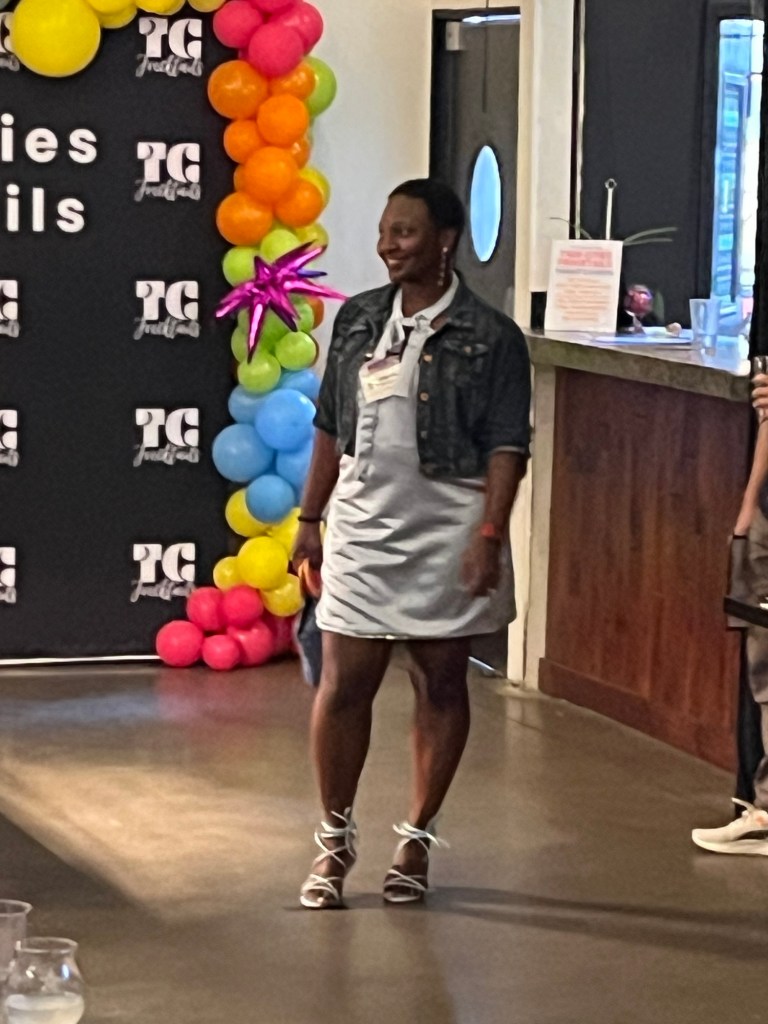
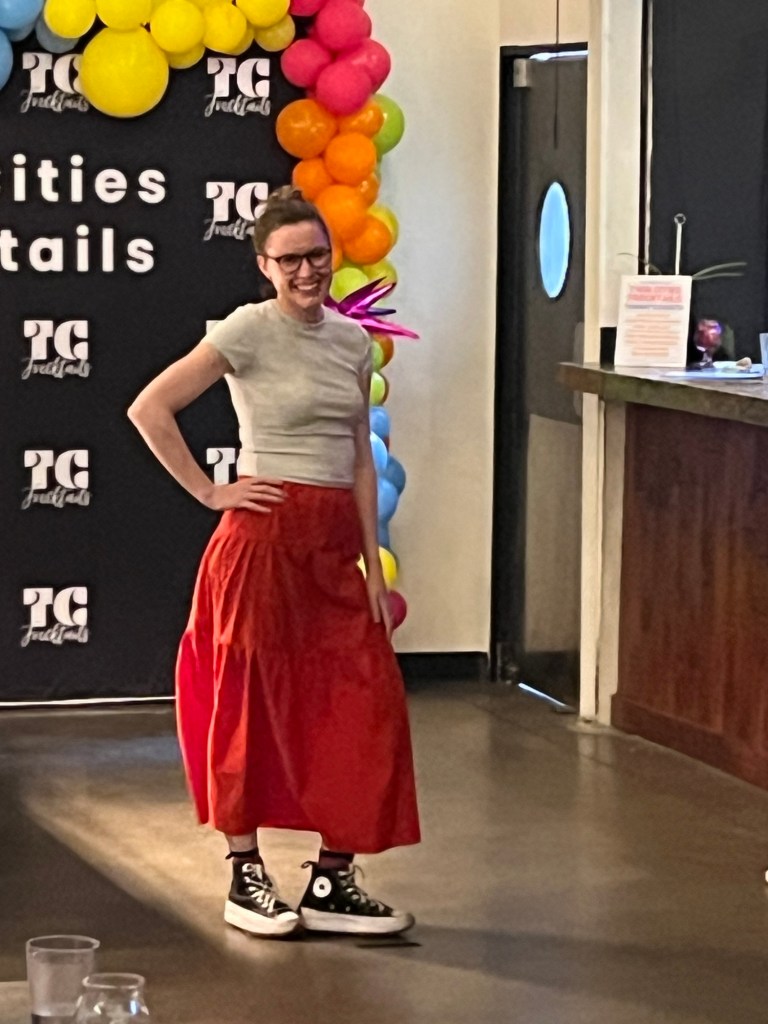
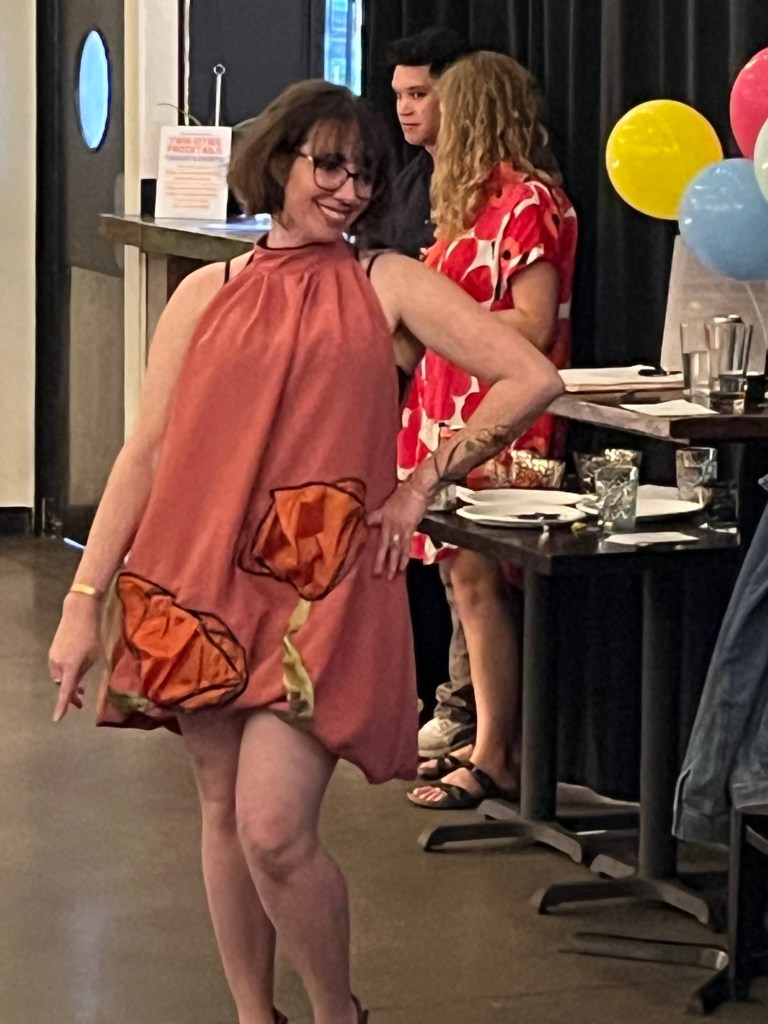
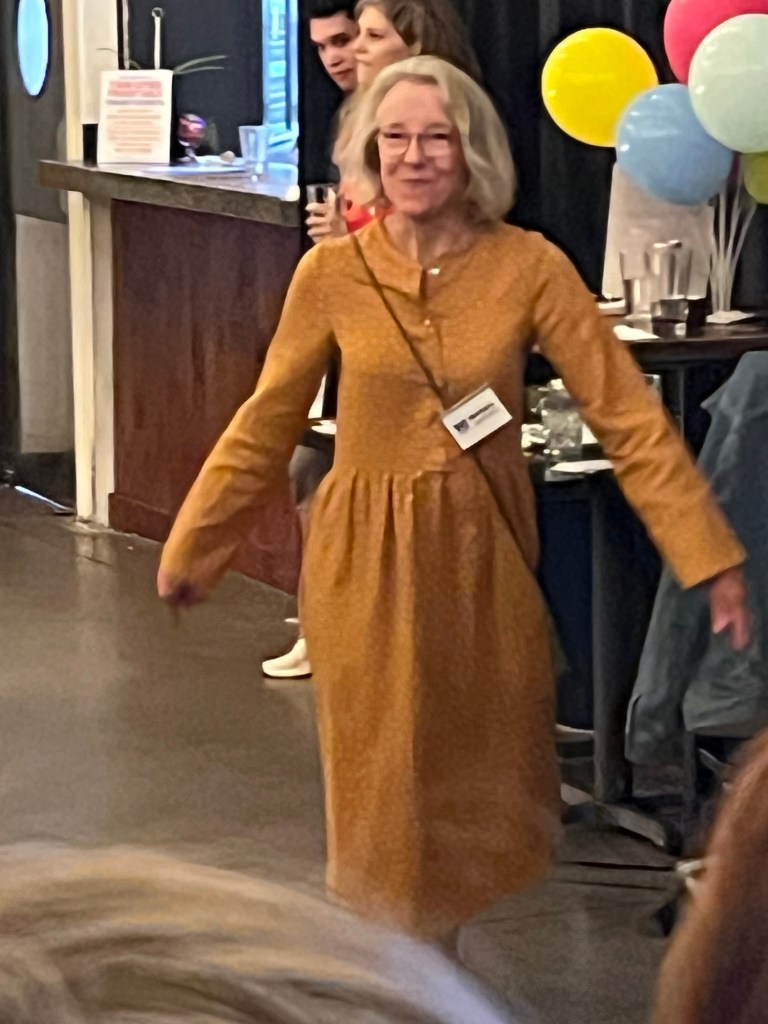
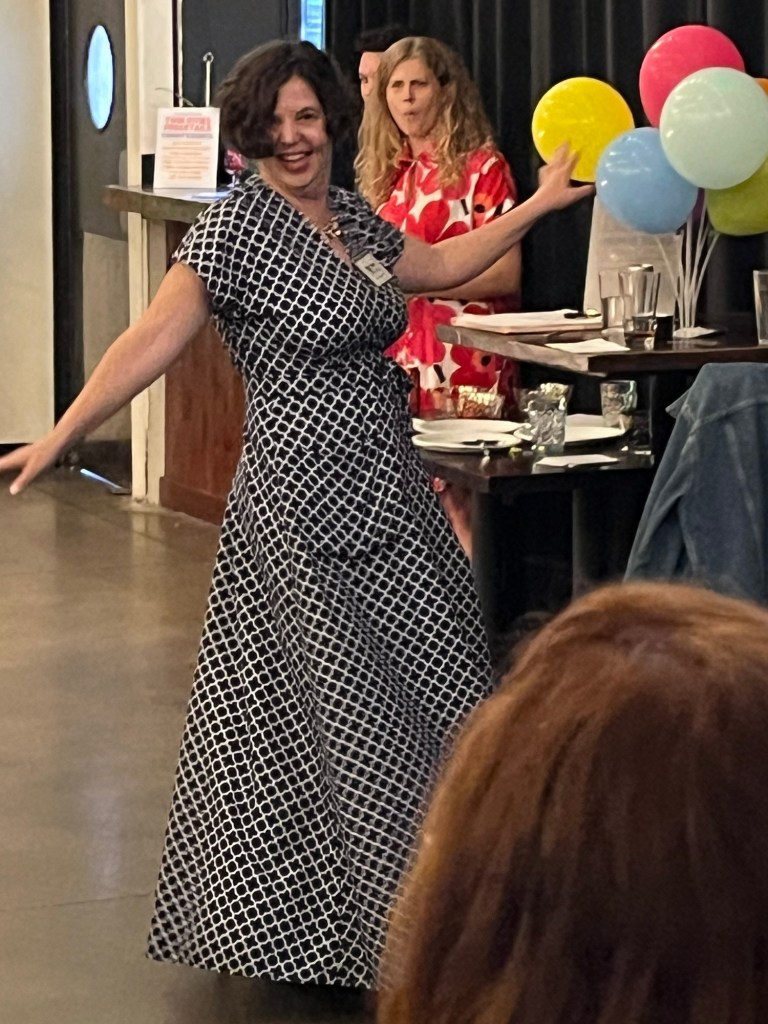
And then Frocktails!!!! Thanks go to organizers Hannah, Madee and Elin!! Food, beverages, venue, decorations, mixers, raffle…awesome!
I’m almost positive you can see that YOU fit in to this group-make sure you are there next year!!


September 2024
Garment Sewing Group
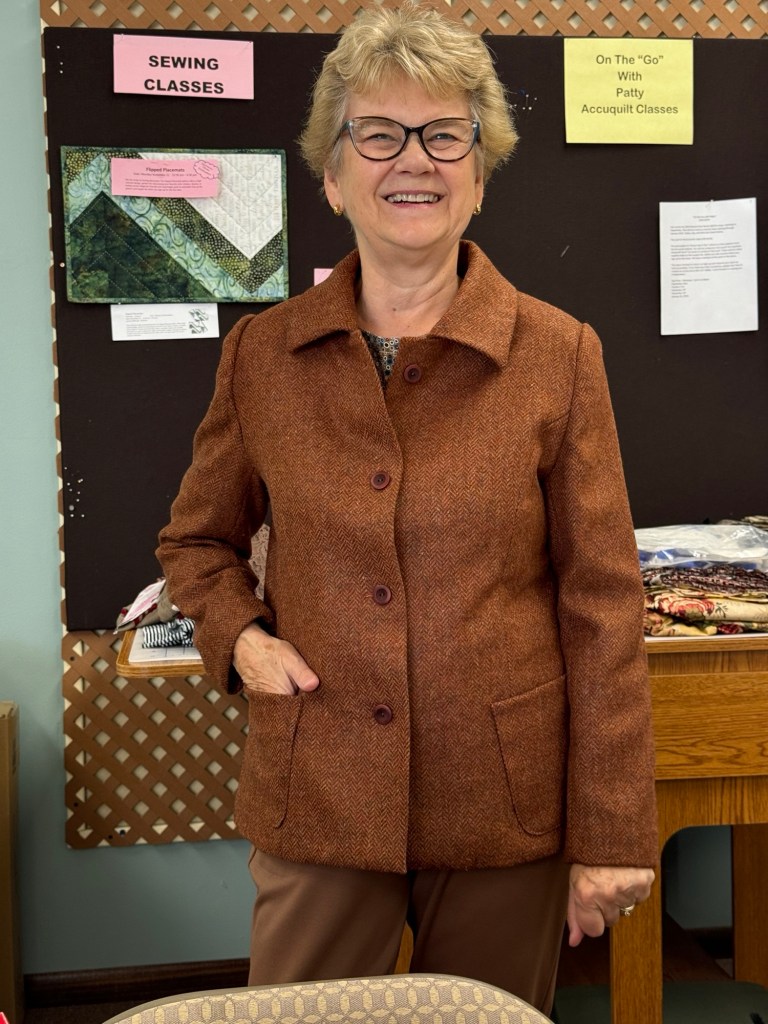
Debbie’s Garments:

1. Fitting – shortened between shoulder and bust and 3 more inches proportionally from length on front, back and sleeves. I also narrowed the width of the collar one inch.
2. I needed to shorten the jacket so much that the pocket placement was altered too much so I eliminated them.
3. The thickness of the fabric, intersecting of seams, dark color and herringbone design made topstitching a challenge. I used strong topstitching thread and tried a walking presser foot but found my standard foot to work the best.
4. I could not find the correct size of zipper – so once again I needed to shorten the zipper at neckline – bummer!
5. I like the jacket but would not make it again.

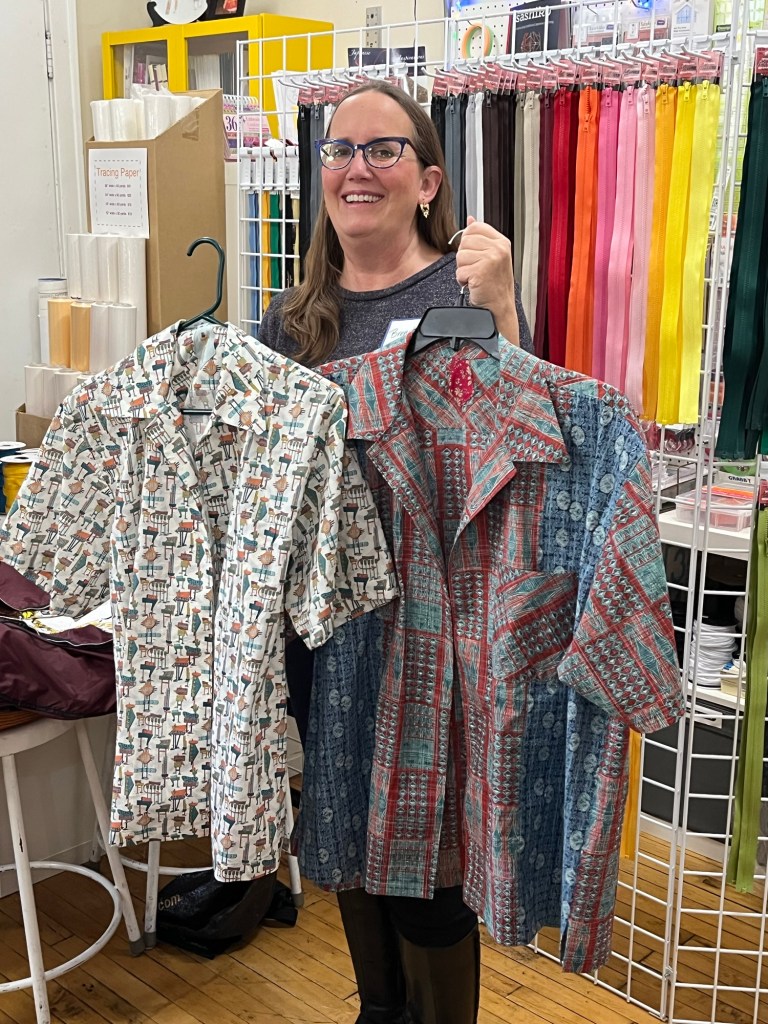
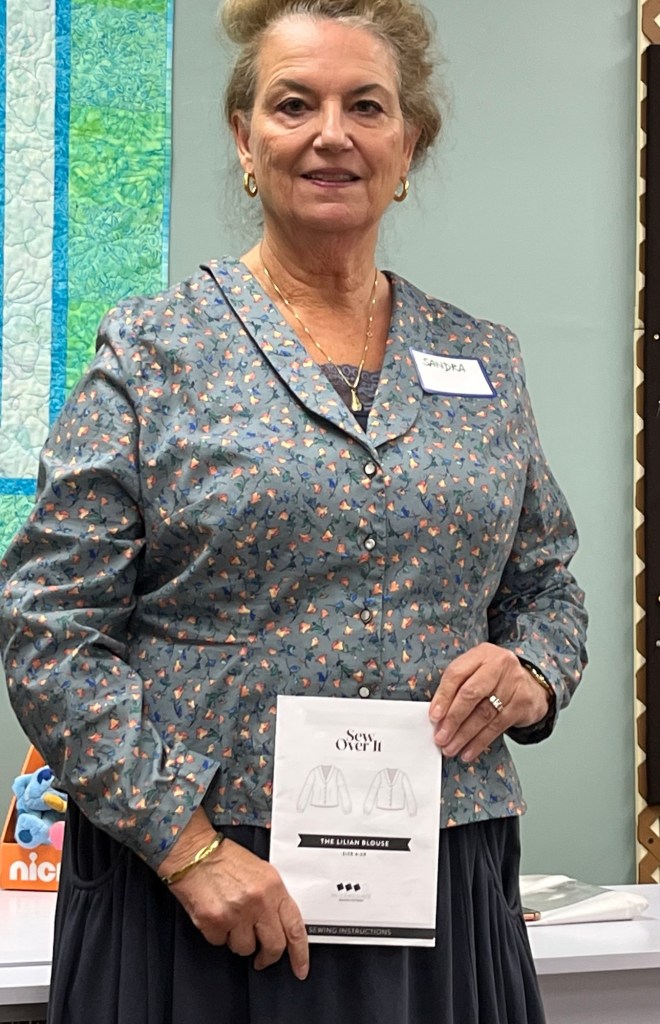
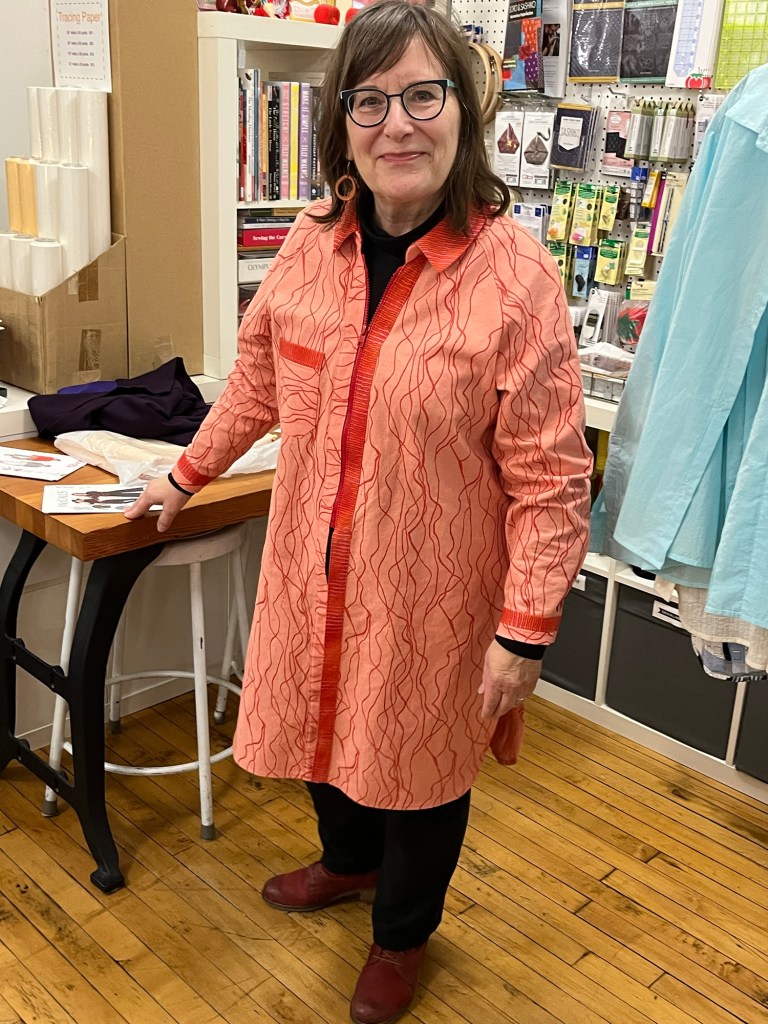
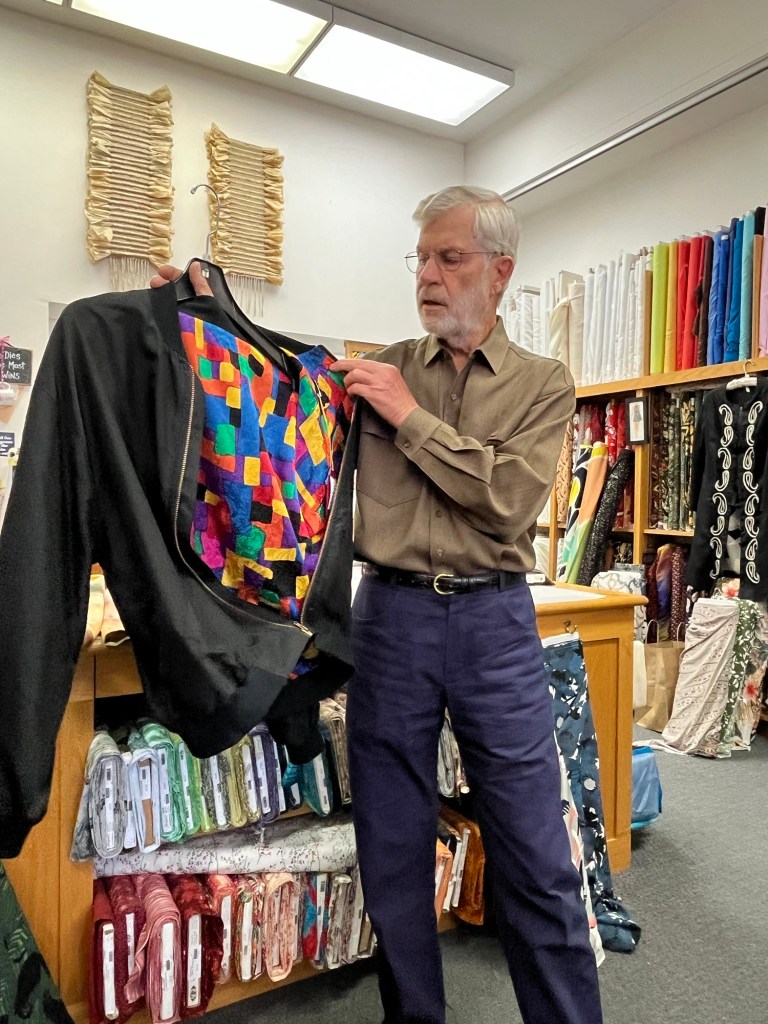
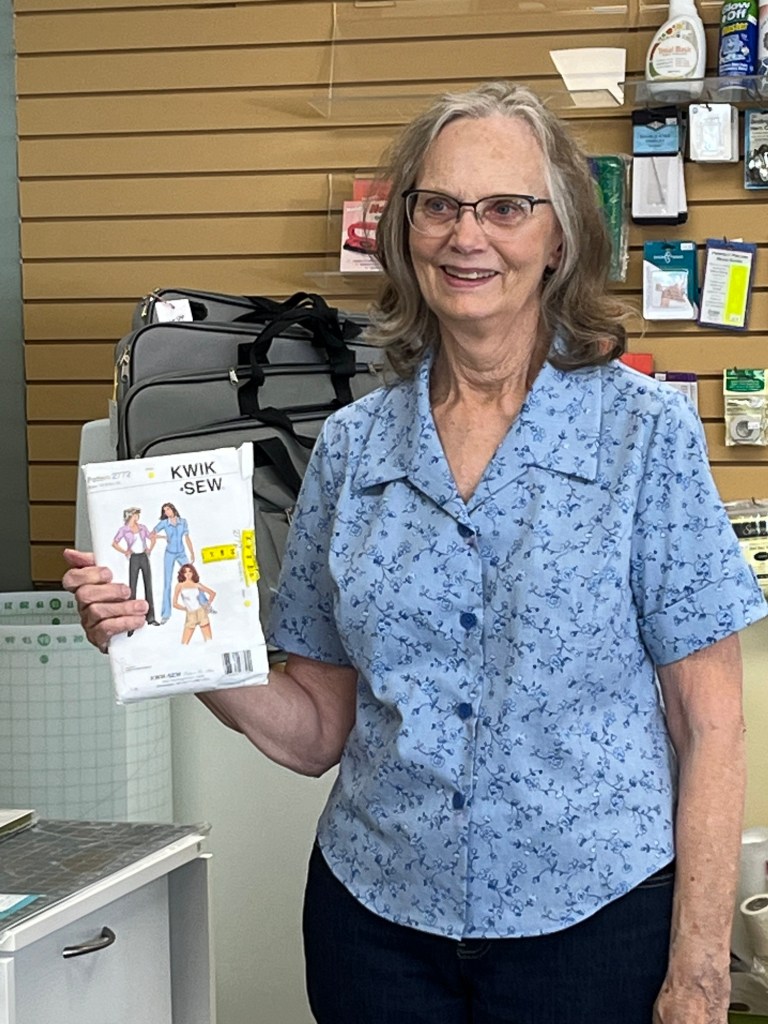
1. I named this blouse switch-a-roo because the end result doesn’t look like what is pictured on the pattern envelope!
2. I was drawn to this pattern because of the collar. It appears to be what I thought was a Revere collar. Doing some research I found a camp shirt collar with notches and a wing collar labeled as Revere collars. Oh well – no matter the name, I like how the collar on this pattern is constructed with the grown on facing and attached collar. I feel it lays better than the one piece collar I have used in the past.
3. The pattern is described as over sized and it certainly is – I went down 2 sizes.
4. View B is too short. No where in the pattern is the term cropped used.
5. To add more length I added a bias strip along the hem with the small amount of leftover fabric I had.
6. The edge of the cuffs were rounded – I squared them off. Once constructed and attached to the sleeve they felt and looked too bulky. I cut off the cuffs and added a bias strip cuff to the sleeve hems.
7. Many changes were made to this pattern-thus the name switch-a-roo. I would make it again my way just like Old Blue Eyes!

1. I liked the causal style of a RTW blouse and tried to copy the fabric and style . The fabric worked well but I may have made the blouse too short – again!
2. I eliminated the pocket but added contrast with buttons and bias tape added to button and cuff placket.
3. A fun fall make.
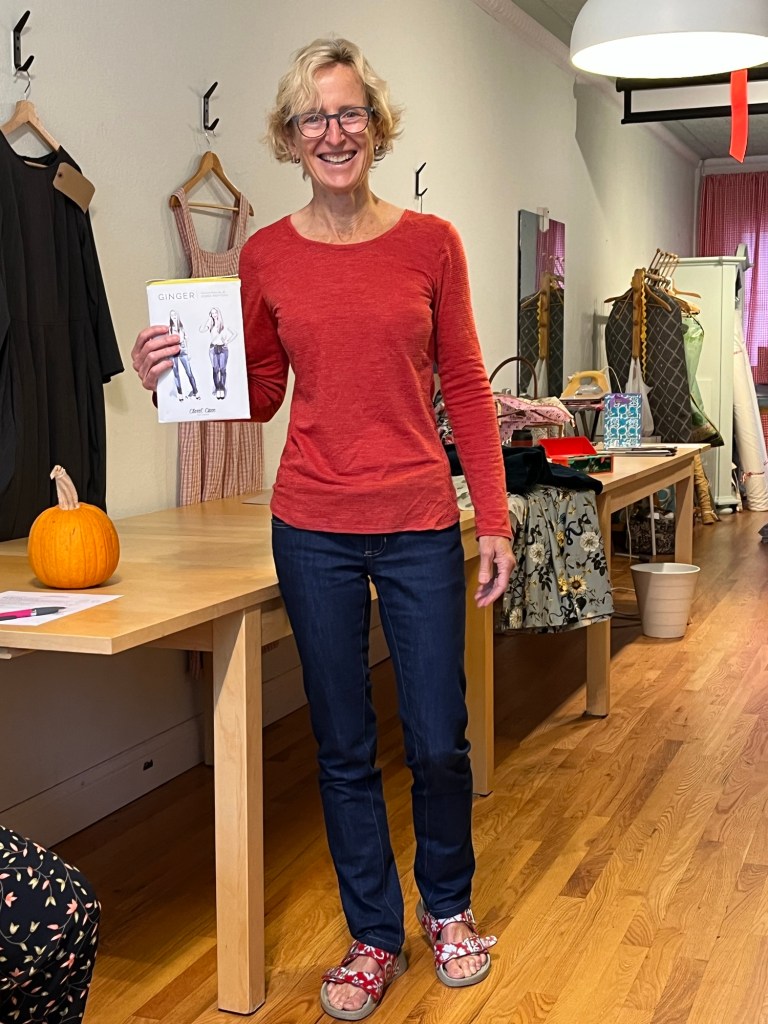
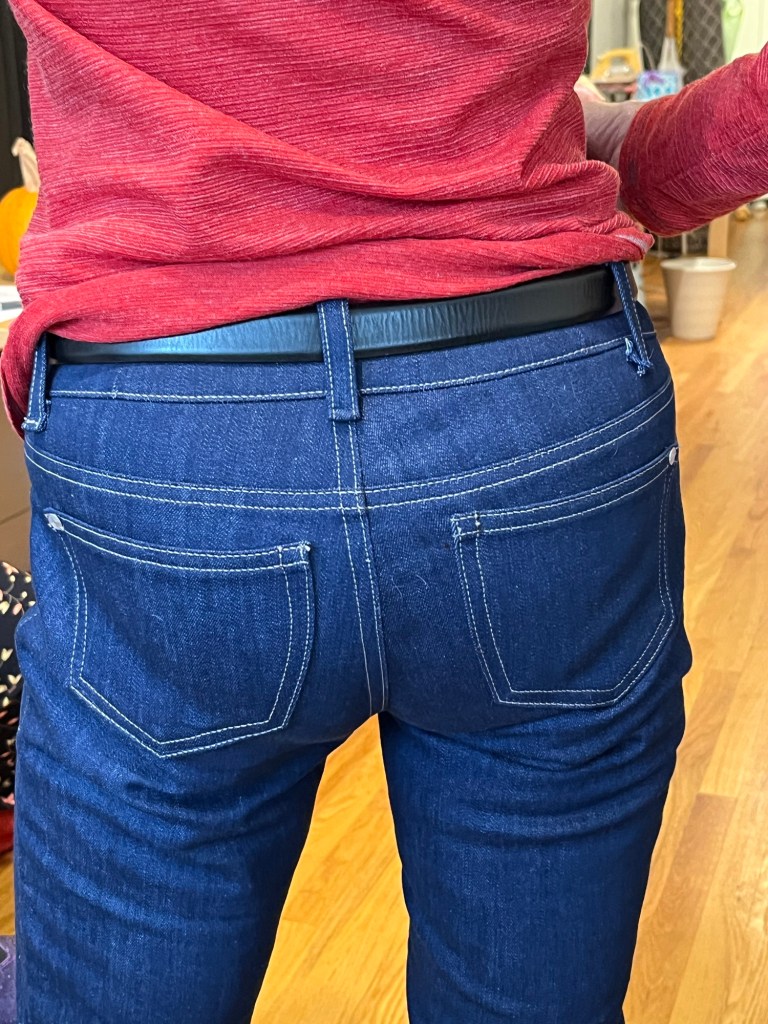
Olive Jeans -Jalie Eleanore , TNT pattern that I have made several times.
Kristin’s Garments:
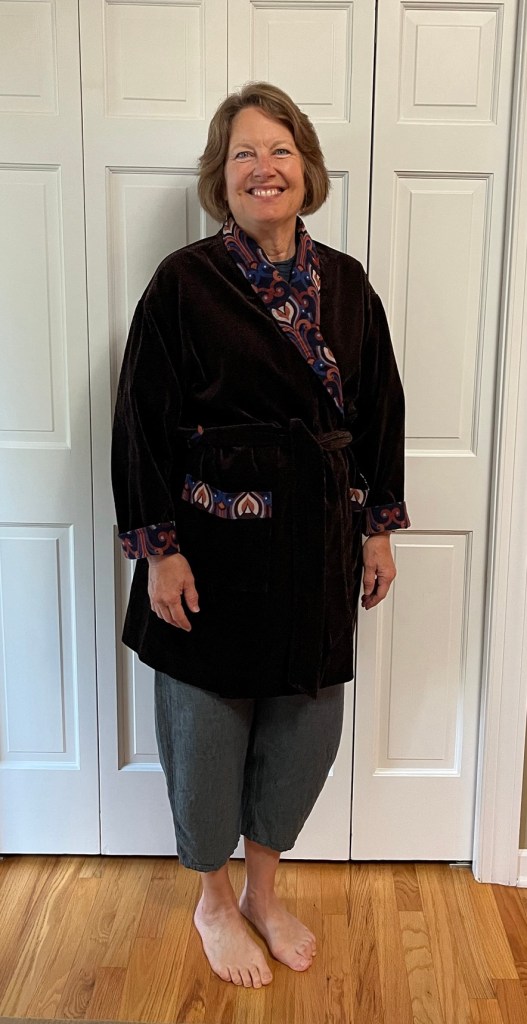
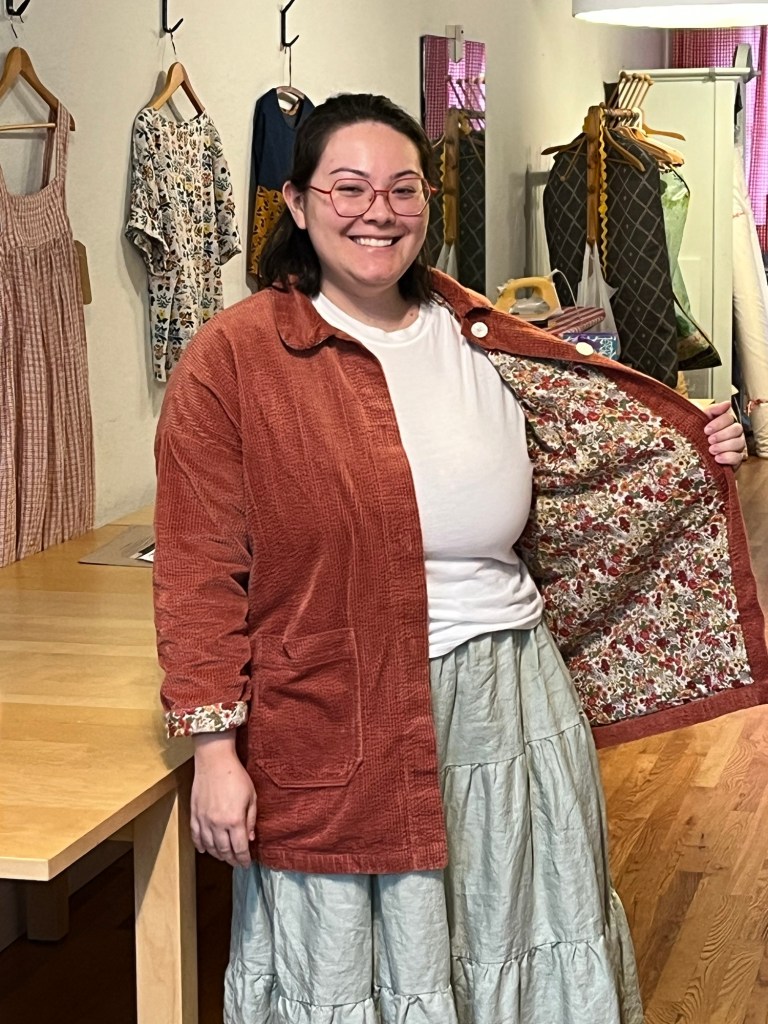
1. This is clearly advertised as a unisex pattern which usually makes me think the pattern will tend toward the male body proportions. After making the pattern twice now, that is not true.
2. Pattern directions and drafting are great. Other than the challenge of sewing on heavier wale corduroy, the sew went well. Collar seam is finished with Hong Kong finish and Liberty of London.
3. The eye opening came when I tried the robe on my husband-shawl collar and sleeves too short, waist and pocket placement too high. I had already gotten rid of the A-line of the side seams.
4. Bottom line: I like the robe for me but it doesn’t fit a man and there were no allusions to this in pattern directions. If only I had seen the robe on the body of the first receiver!!
One Pattern Three Ways

1. Pretty much to pattern in linen-other than the collar being half the height of the pattern, it is made to pattern. The front neck is rather low, the overlap at center front is 3” to accommodate large buttons. I think the combination of the low neck and overlap give the collar an asymmetric drape.

1. Raised the neck all around to nothing at the back
2. Straightened and shortened the short sleeve
3. Used the pattern piece for sleeve detail but pleated to achieve the look and then released pleats at elbow
4. Omitted collar and made the front facing sewn on and ended at center front
5. Fabric was a joy to work with-so many ways to highlight the window pane effect and it was on grain so very easy to match!!

1. Used the pattern pieces as above but placed center front on fold
2. Gathered the sleeve piece at wrist and finished with a band
3. Finished neck with bias strip
Places to go-people to see:
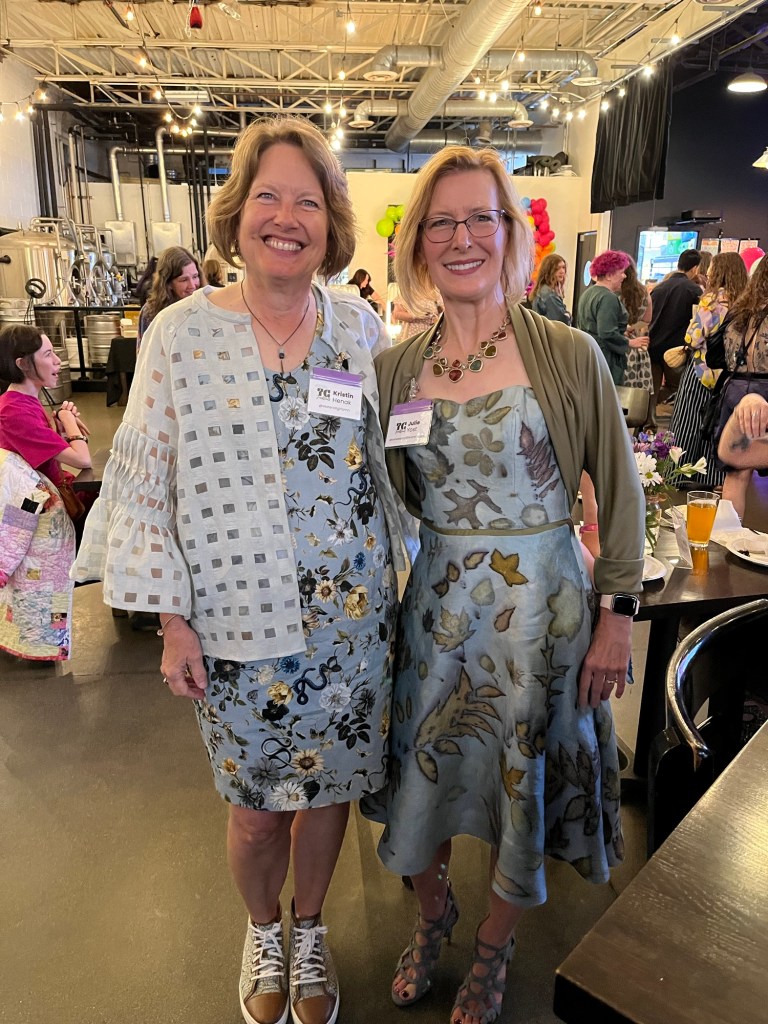
Frocktails! A great reason to dress/sew your best and see and be seen 🙂
Saturday, October 5, 6-10 pm, Fulton Brewery, 414 N. 6th Ave., Mpls, $125 use materialgirls10 for discount
Road Trip to Kansas City/Topeka-October 28-31
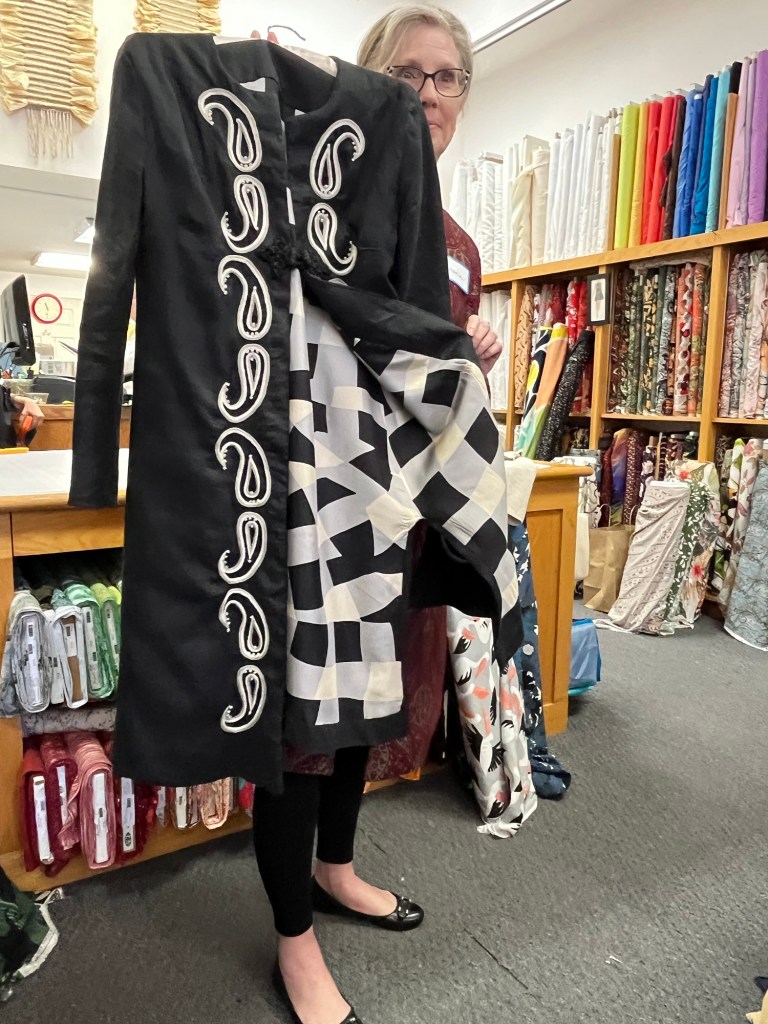
Get out of town and visit Asiatica (an amazing company that upcycles vintage kimono) and The Sewing Workshop/Linda Lee. We’ll schedule the visits and let you know hotels, etc. You will need to organize your carpool or fit in with another. Not a handholding/we’ll take care of all the details trip-more of an “I’m going, would you like to go at the same time? This is where I’m staying and where I’ll stop.”
October Garment Sewing Group
Wednesday, October 9, 10:30, Ginny’s, Rochester
Thursday, October 10, 10:30, Creative Sewing, Apple Valley
Saturday, October 12, 10:30, Lakes Makerie, Mpls.
