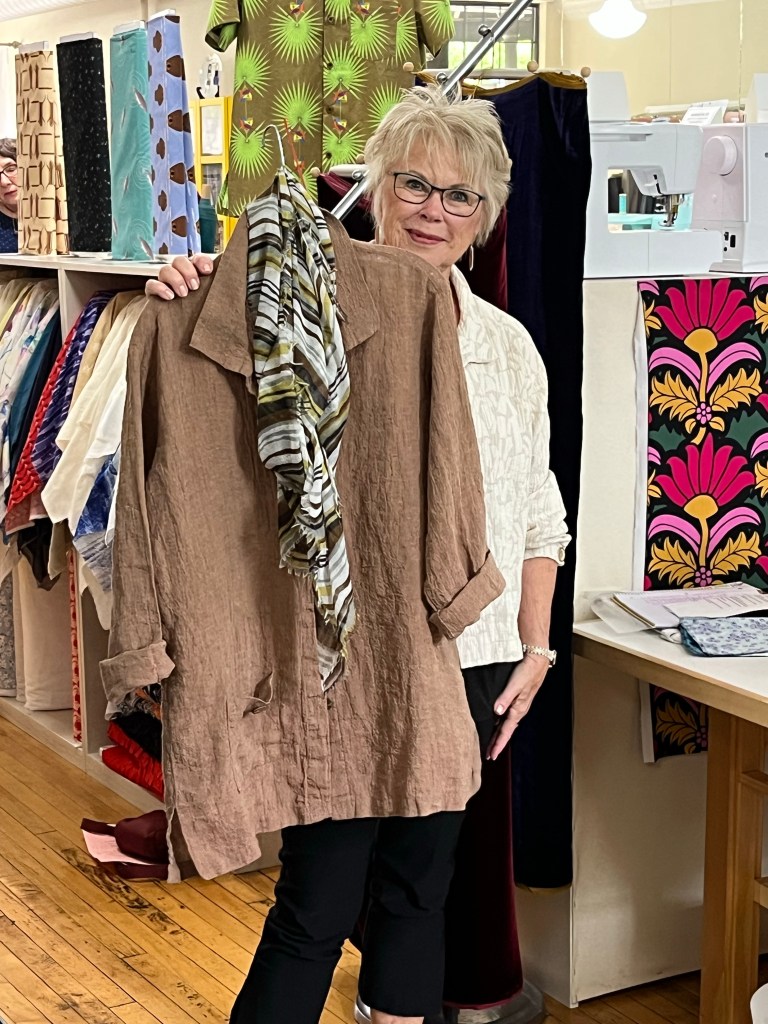
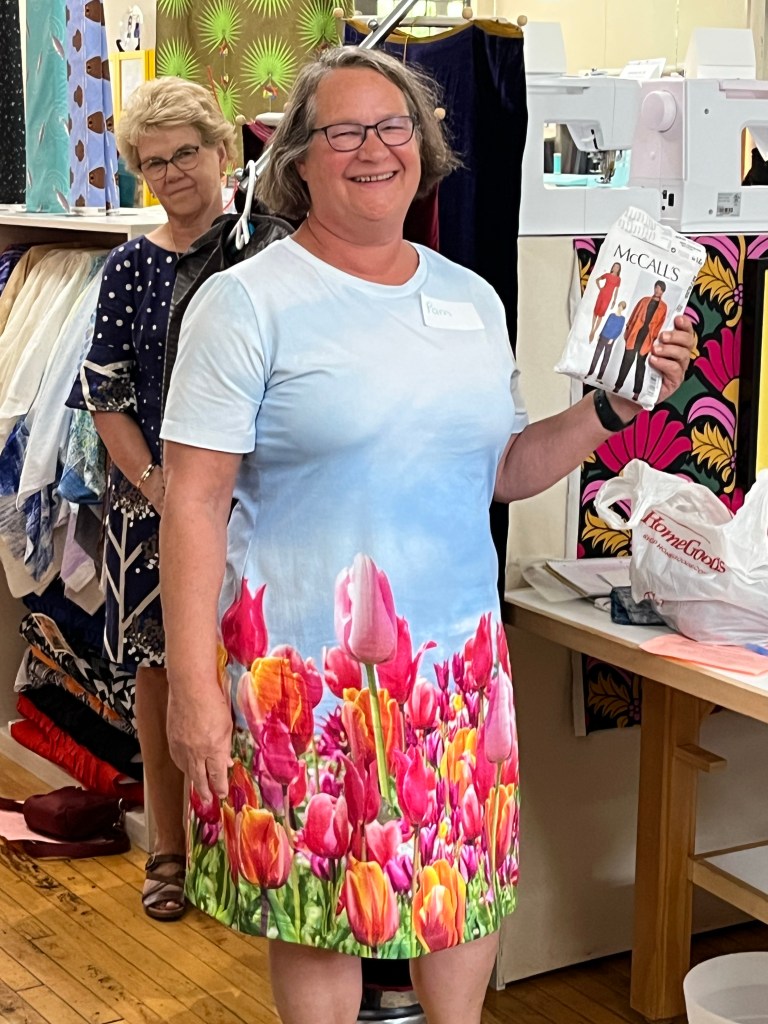
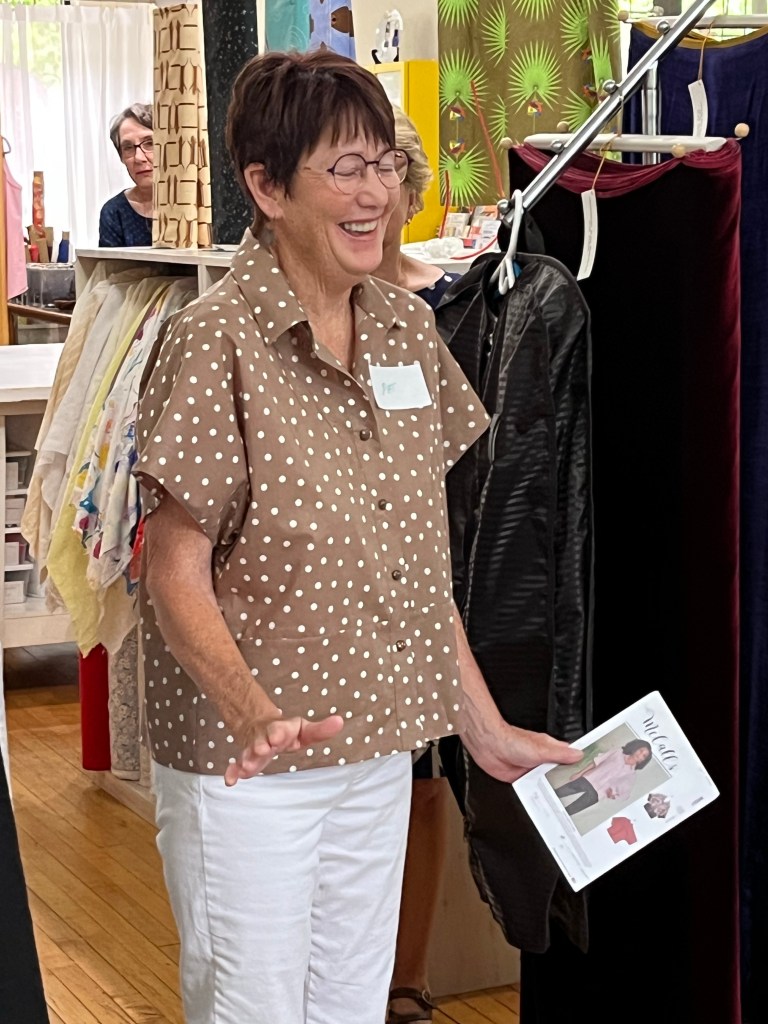
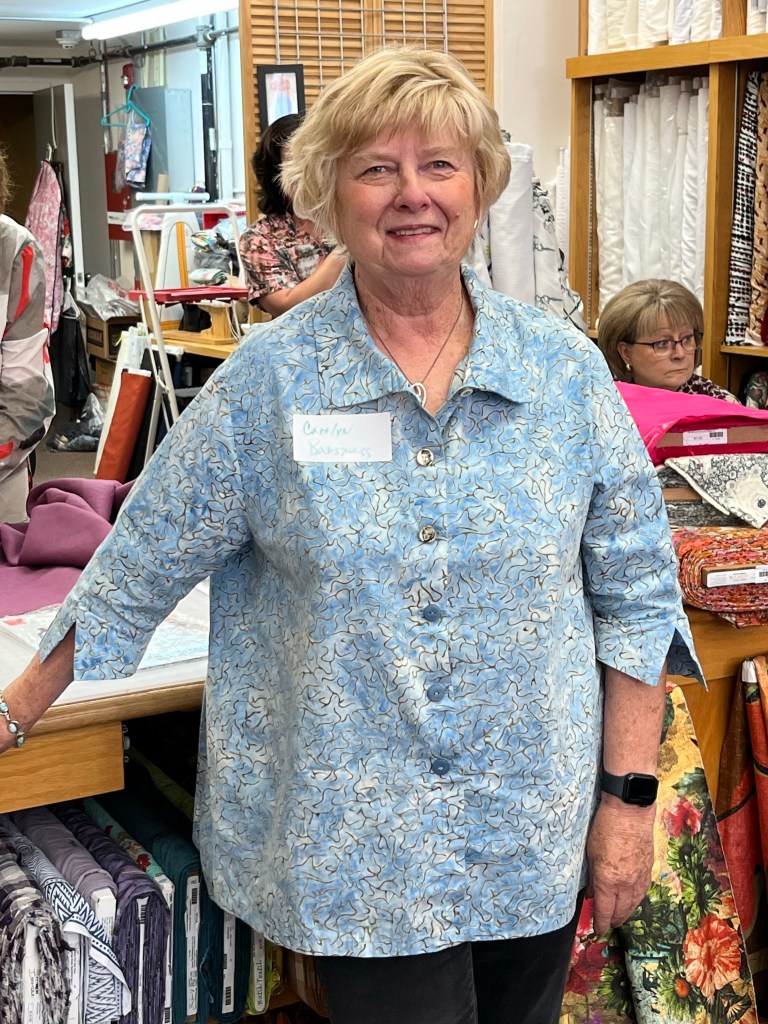
As you plan your fall sewing, here are photos from the remaining August meetings of Garment Sewing Group to inspire you-


As you plan your fall sewing, here are photos from the remaining August meetings of Garment Sewing Group to inspire you-
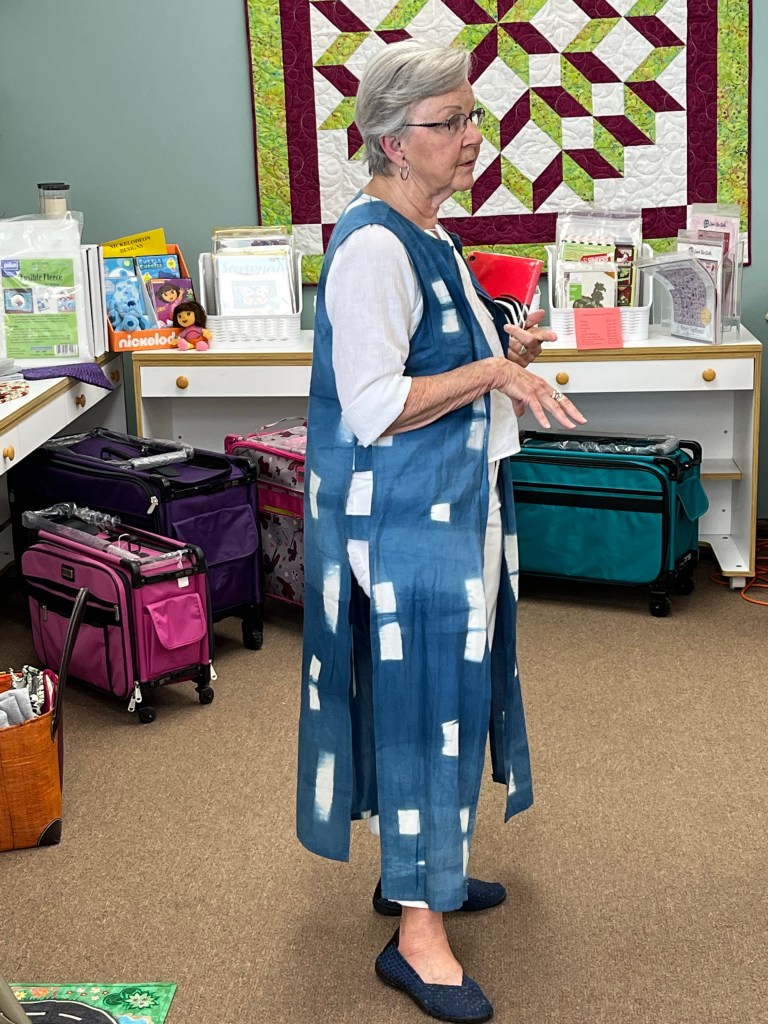
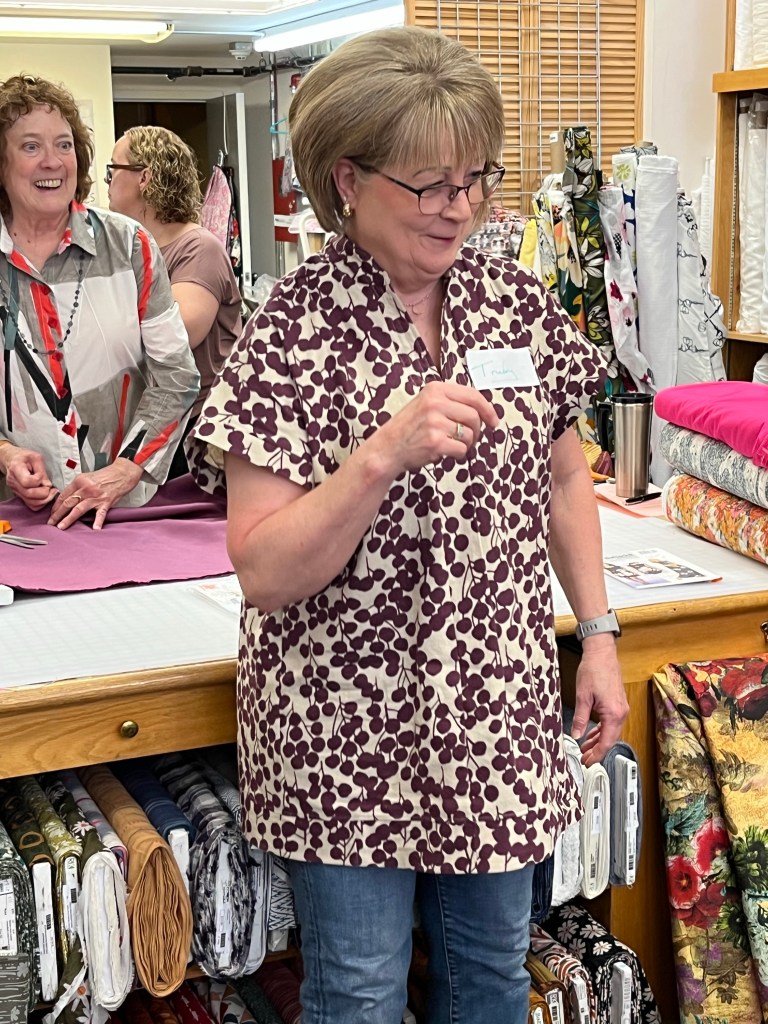
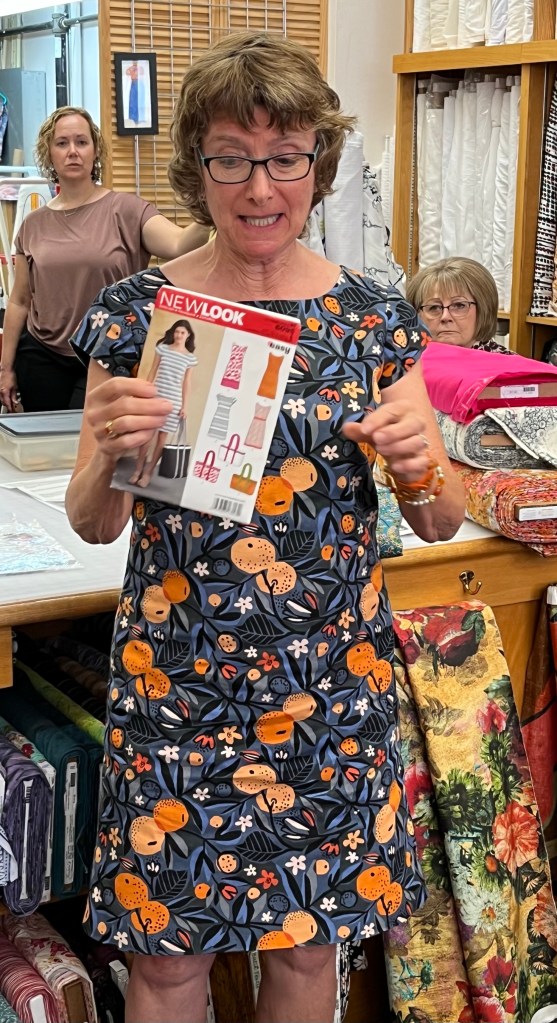
Here are Wednesday/Lakes Makerie pics from Garment Sewing Group. We’re at Creative Sewing/Apple Valley today/Thursday and Sewing Lounge/St. Paul on Saturday! 10:30 am always 🙂


July saw our largest attendance for a very long time-thanks to everyone who follows us and makes garment sewing and the sharing of it a priority. It wouldn’t be as awesome without all of you!!
August meetings start on Wednesday, Aug. 9 at Lakes Makerie, Thursday, Aug. 10 at Creative Sewing and Saturday, Aug. 12, Sewing Lounge all starting at 10:30 am.
So here is some of what we saw in July (Saturday’s pics have been posted previously).


Garment Sewing Group
July 2023
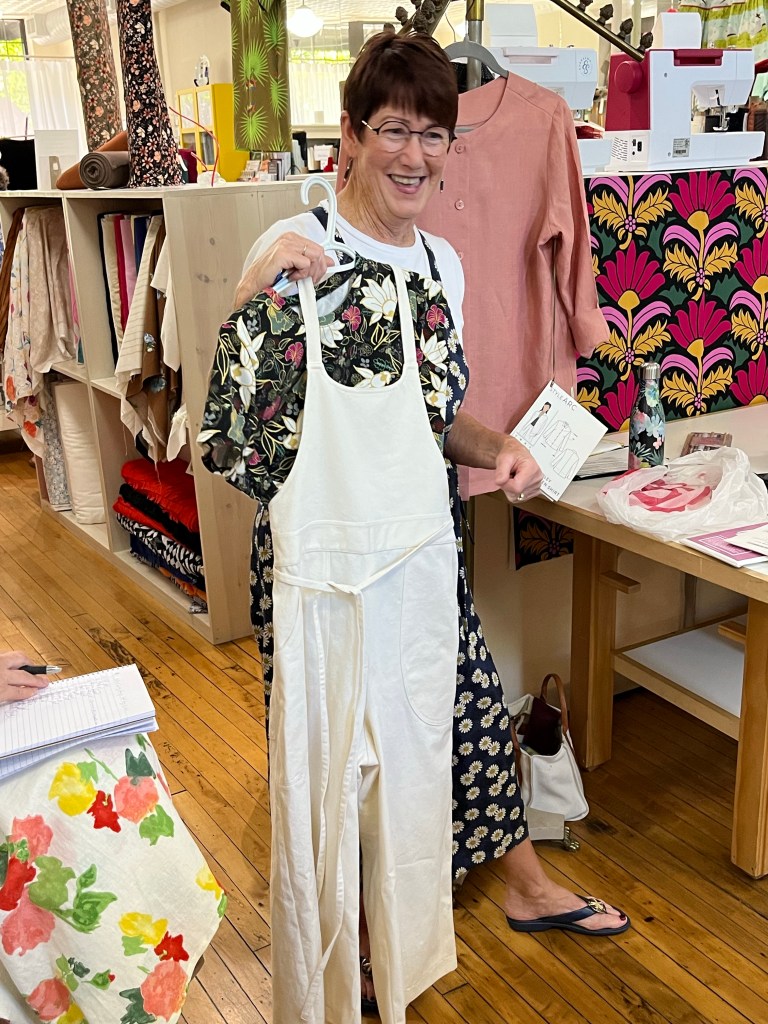
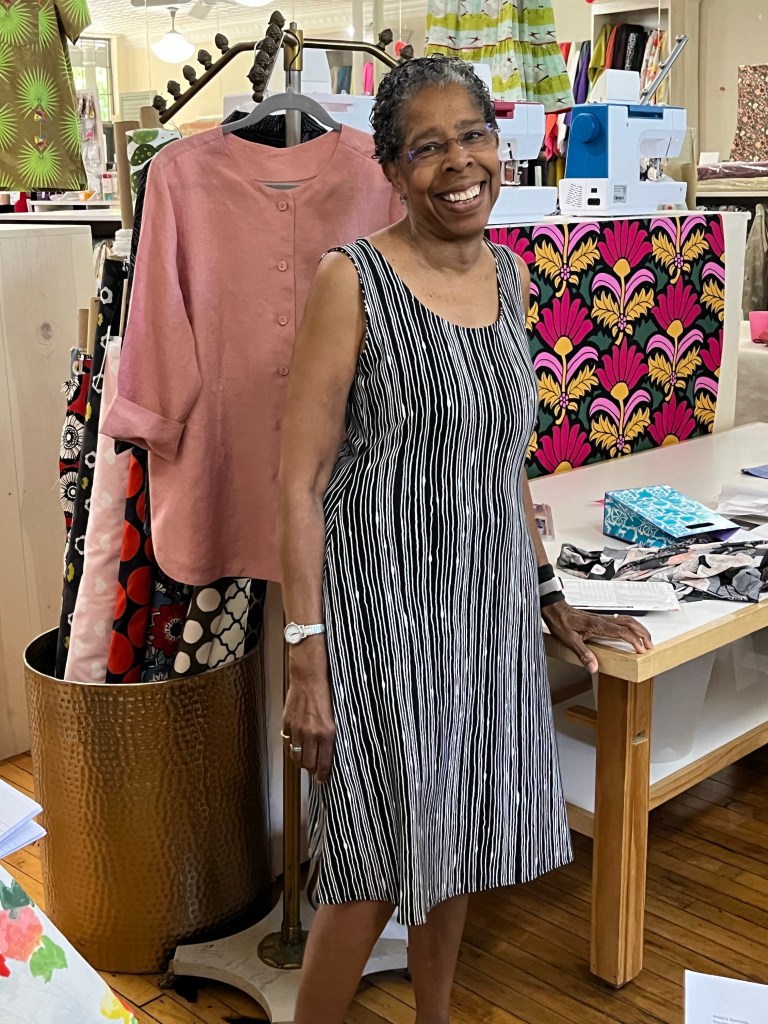
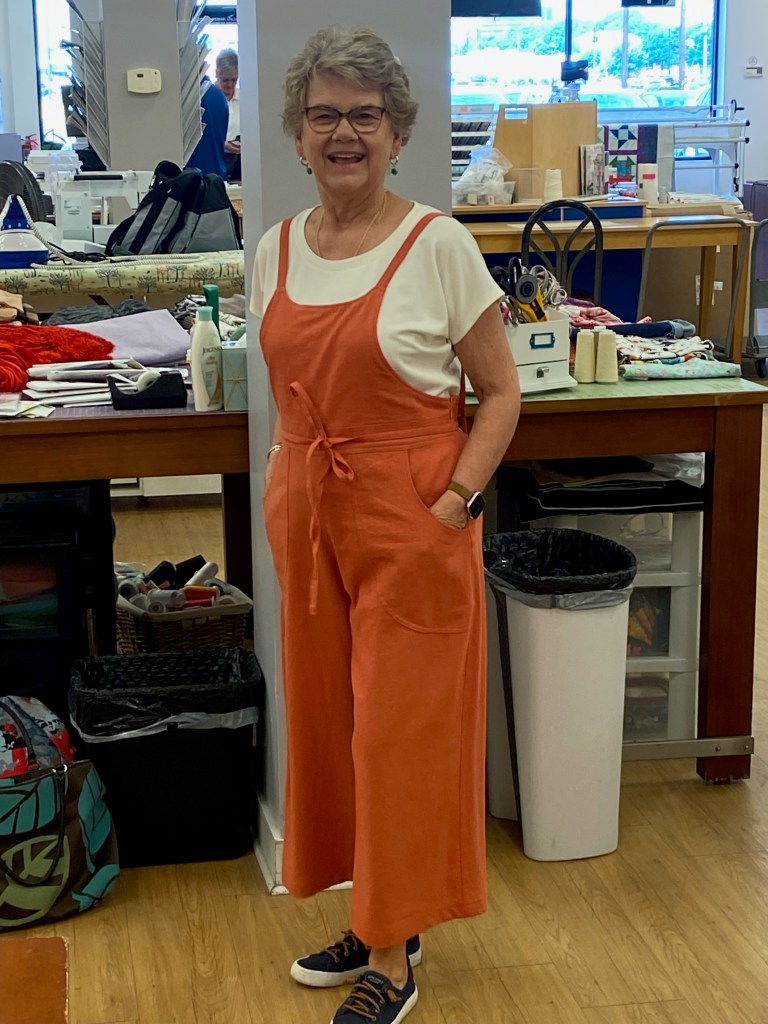
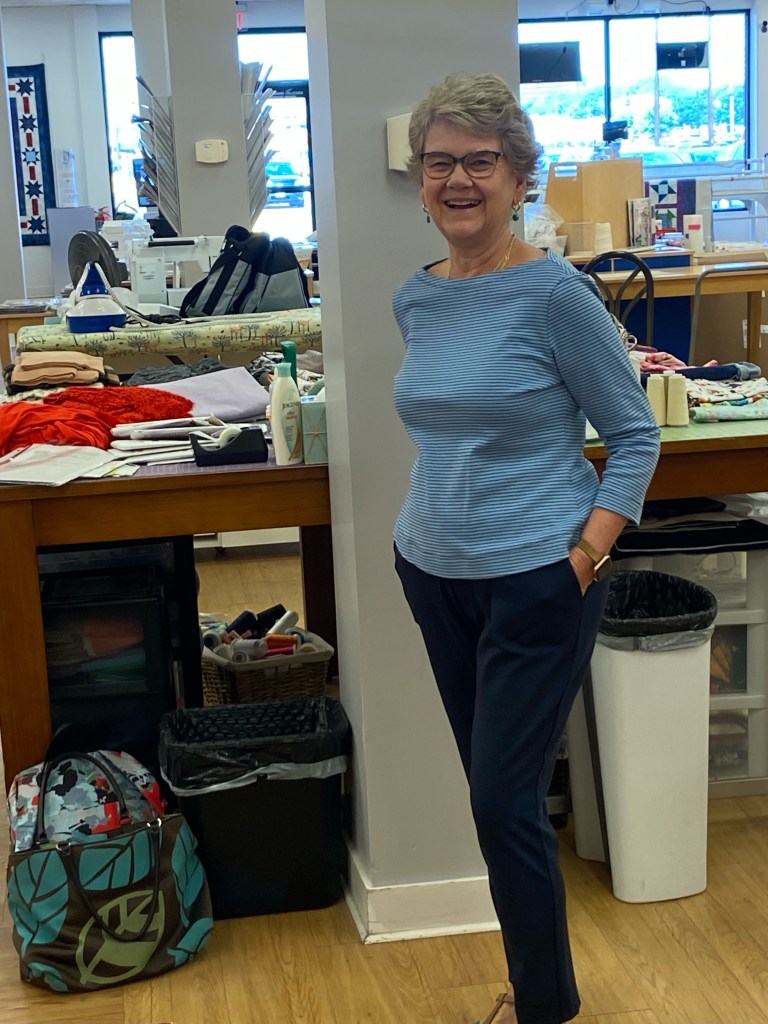
Debbie’s Garments:
1. This is my TNT pattern for shift dresses. Petite adjustments are included in the pattern which is a timesaver for me.
2. The facing is eliminated – I used serged bias binding and added the flounce to sleeve. I especially like putting in the zipper using Becky’s method-
1. Interface seam allowances on zipper seam.
2. Clean finish seam allowances.
3. Stitch zipper seam 1 to 1 1/2 inches from the top of seam, stop and secure seam.
4. Leave an opening the length of the zipper minus one inch.
5. Continue to sew seam from bottom of zipper opening to bottom of garment seam, backstitching at start of the seam.
6. Insert zipper and stitch about one inch further than zipper opening.
7. You will need to wiggle the zipper pull up between both sides of zipper to close the first time.
8. Ta da! A beautiful zipper insertion without the fussiness at the top of the zipper and facing.
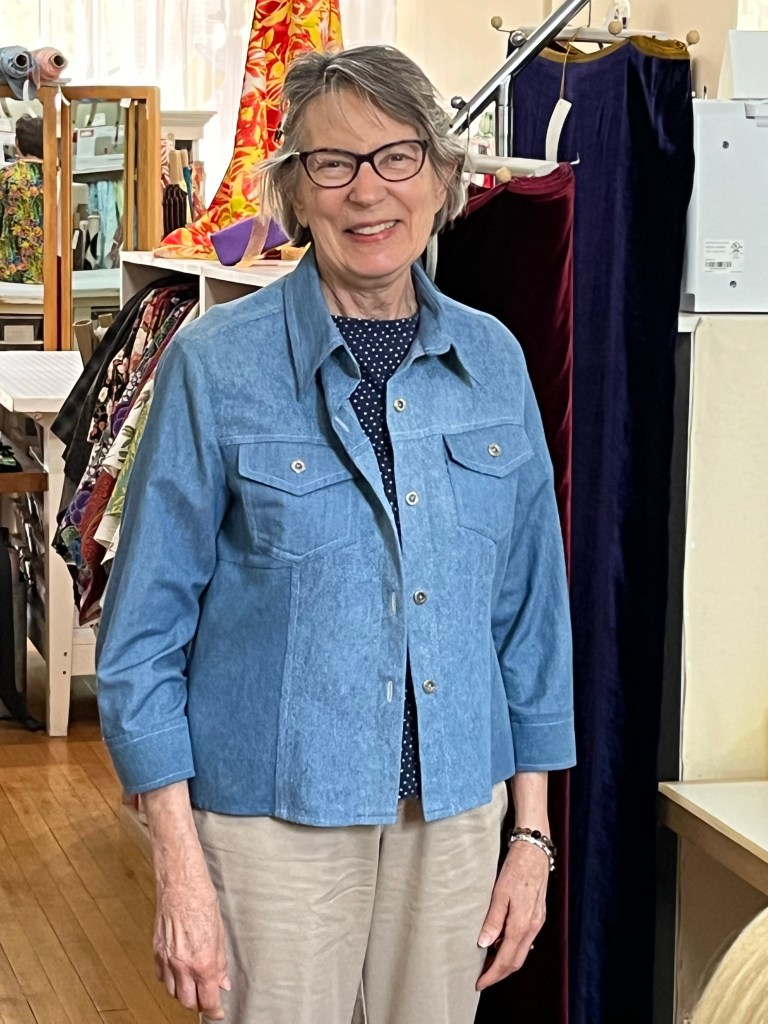
Navy Dot Jacket

1. Fitting adjustments includes petite between shoulders and bust, narrow shoulder adjustment and shortened sleeve length.
2. Optional to line jacket – I lined my jacket with Bemberg Rayon.
3. Typical Style Arc pattern as far as instructions go. I did change order of construction and button placement.
1. I shortened front and back between shoulder and bust and shortened body length at hem by one inch. Due to close fit I needed to go from small to larger from bust to hip but easy to do with pattern instructions.
2. This is a fun pattern. Lots of line drawings for excellent construction details, especially the Burrito method for facing.
3. Not necessary to do button placket but it is a great design feature.
Jalie Vanessa Pants
Another TNT pattern. I have made construction changes – the fly is eliminated and I use a one piece waistband – I am now able to sew them up in just a couple of hours.

I made this pattern last year and it has become a favorite.
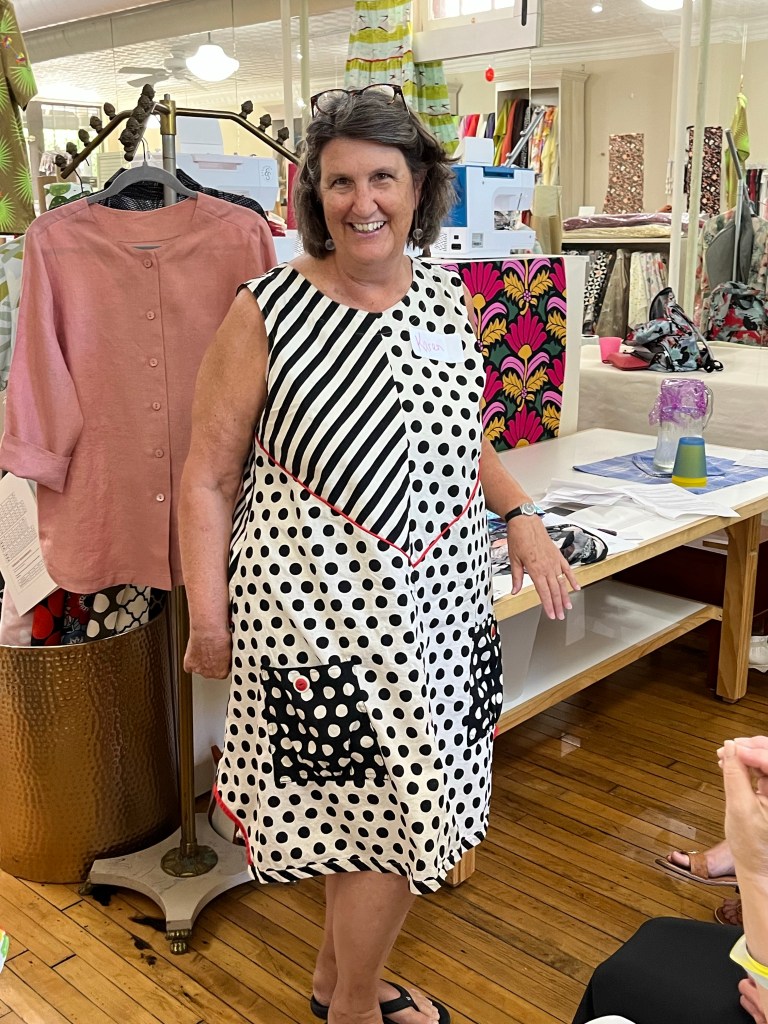
Kristin’s Garments:
1. Pattern is very similar to a kimono-body pieces are perfect rectangles. By butting pieces to each other, cutting is streamlined and waste is minimal.
2. Because the seams are 3/8” I serged most of them. Underarm sleeve omits clipping to corner but it is necessary-I stitched it with straight machine first, clipped and then serged.
3. Good, basic kimono pattern and I love the fish-but are they right side up or upside down??
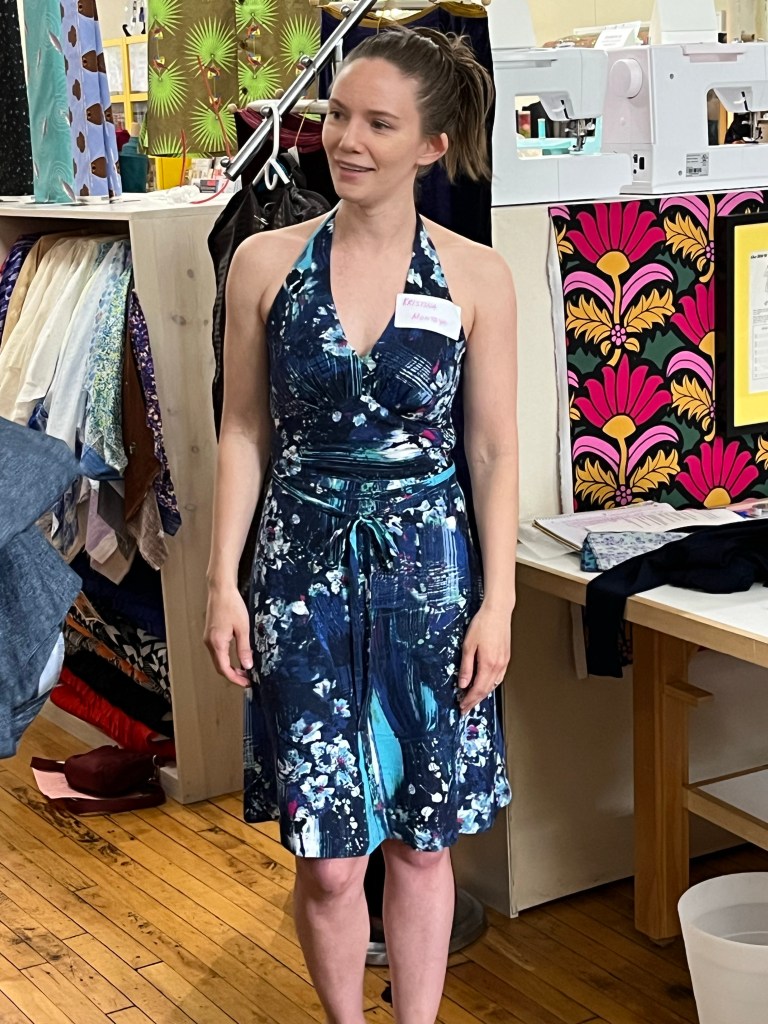
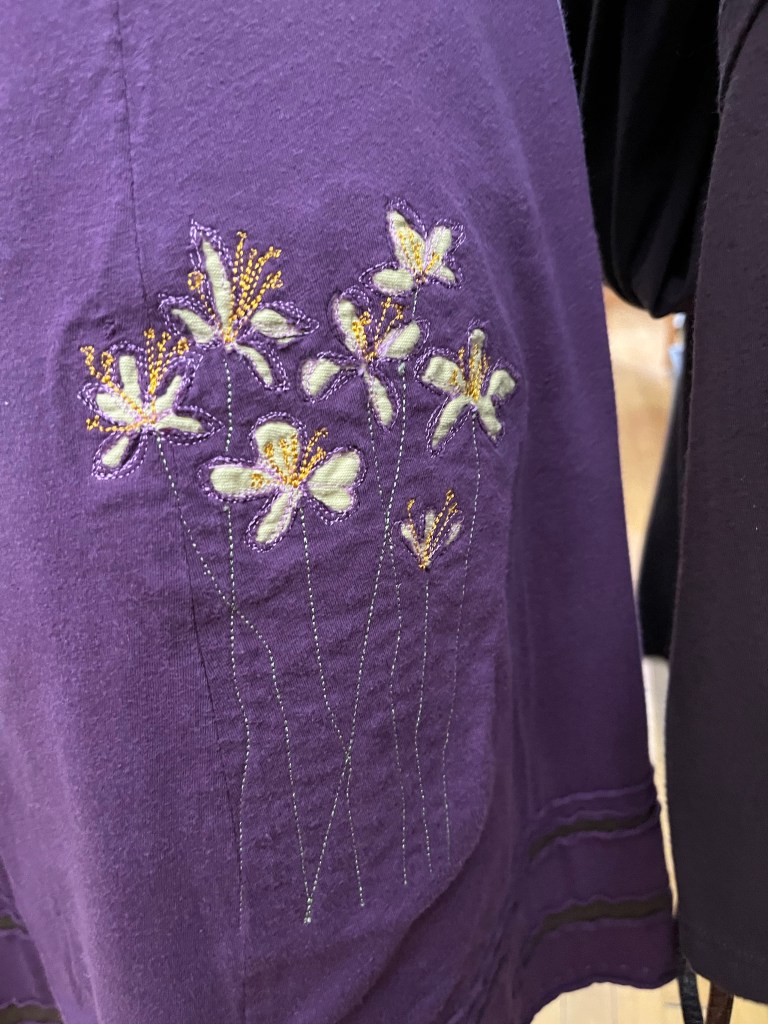
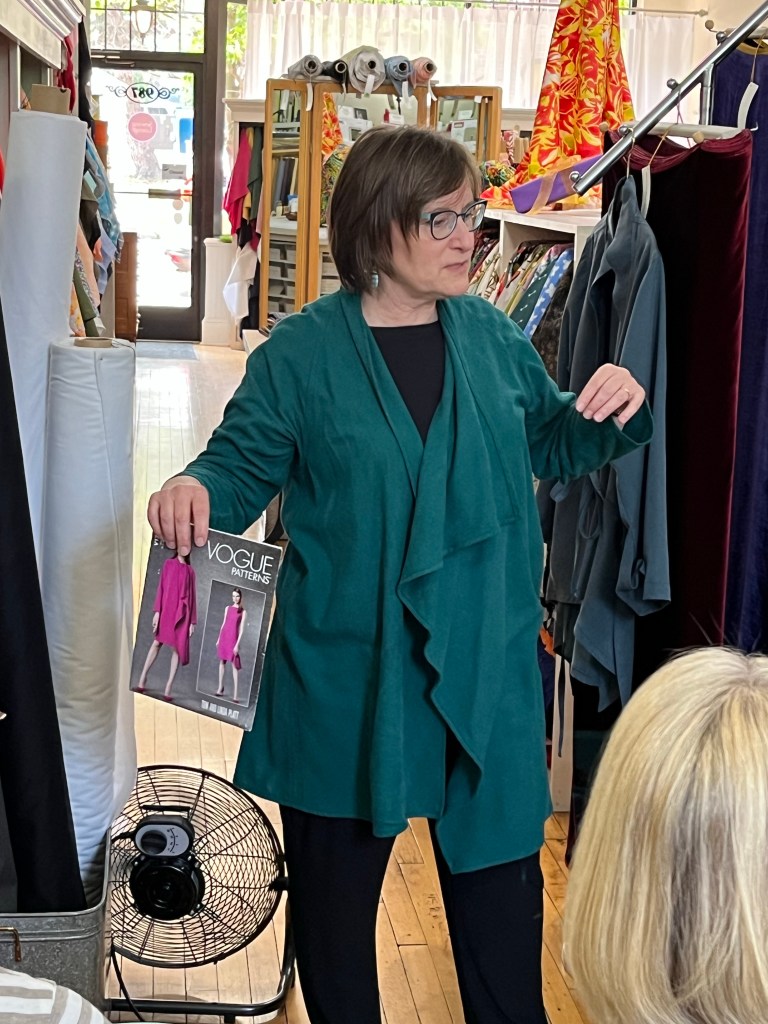
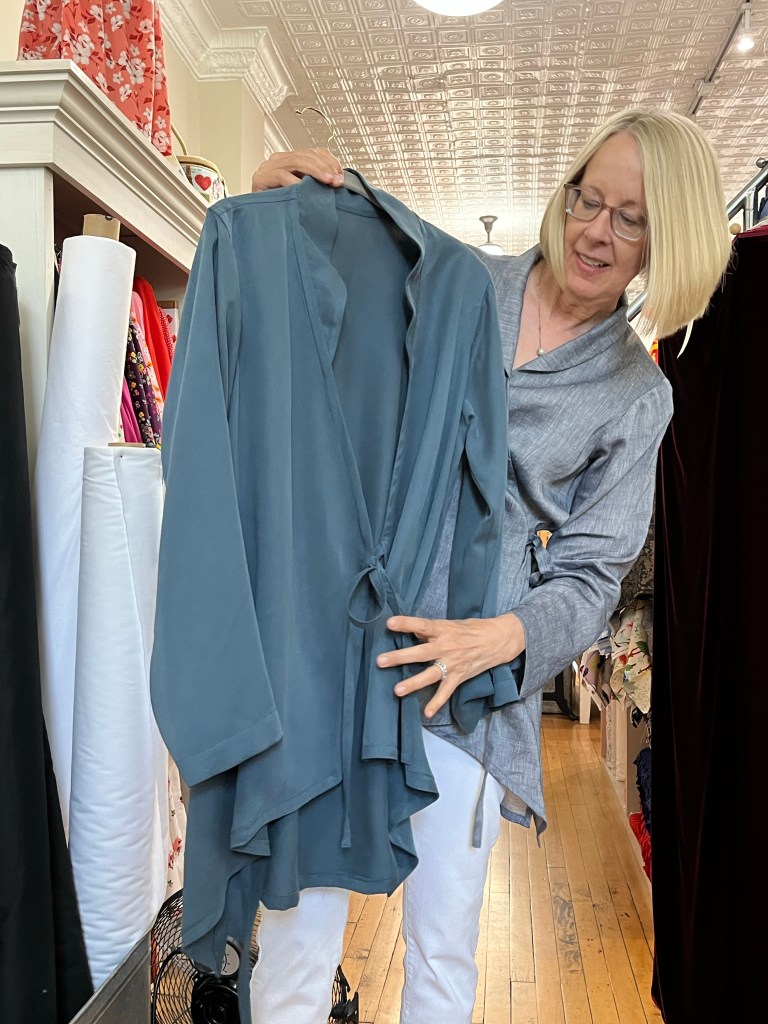
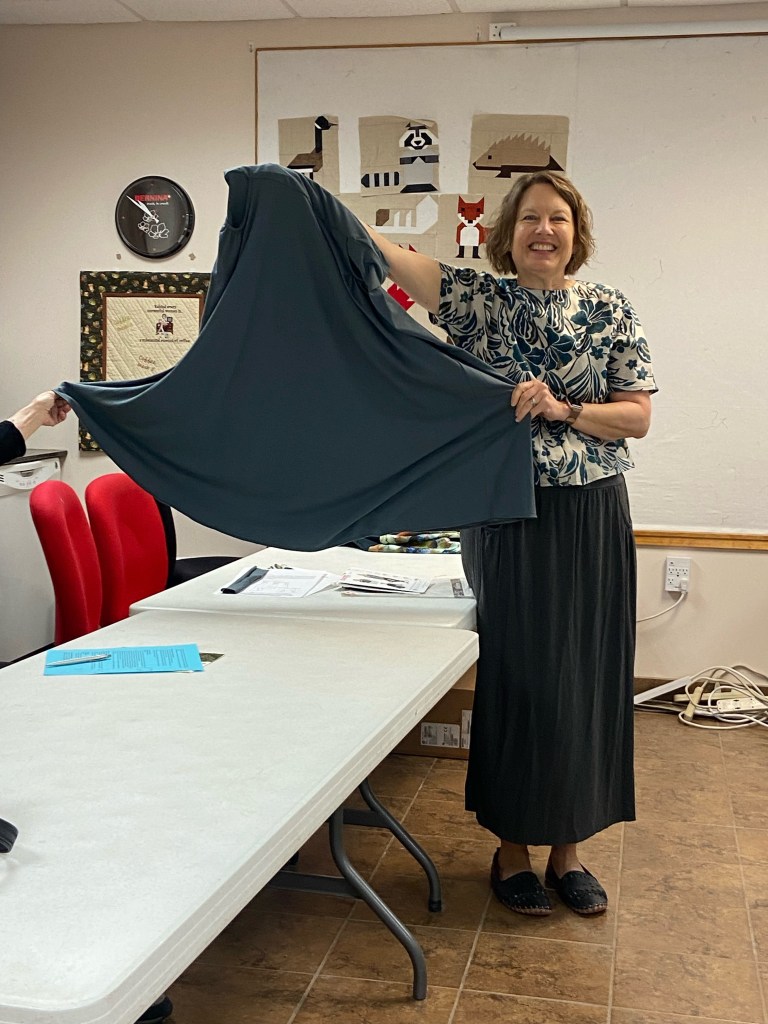
Klimt Summer Dress
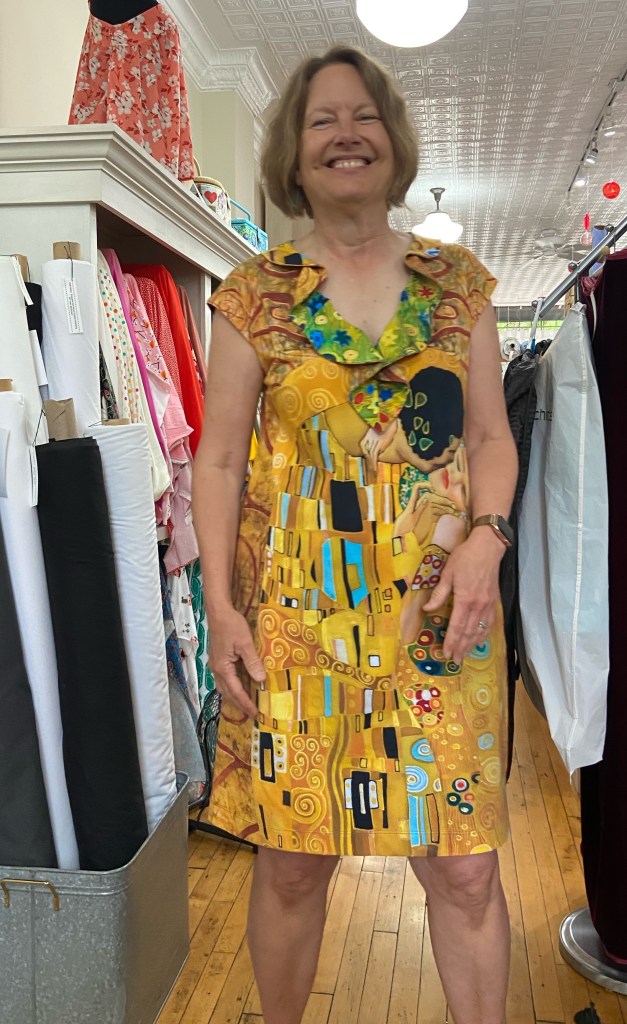
1. The pattern is for woven but I wanted to give it a try in a knit first. Bust dart and no interruption of my art work 🙂
2. Flounce is supposed to be single layer, which I tried first but the white “wrong” side of the fabric was too stark so flounce is doubled and stiffer than the single but looks better.
3. Knit fabric doesn’t support the flounce very well, if I make it again in a knit I will cut the facing from woven fabric-I don’t think a stiffer interfacing will do the trick.

1. Loved the color and print of the fabric. Have made the pattern before but wanted sleeveless this time. Also, pattern calls for double layered bodice and that got too heavy last time I made it.
2. Love the cut out in back. Finished edges with a 1” strip and sewed together instead of ties.
3. Messed around with fit and all. Will find a pattern closer to what I want next time.
4. Tried garment as a maxi as I had plenty of fabric but short was more fun.
August 2023 Garment Sewing Group
Wednesday, August 9, 10:30, Lakes Makerie, Minneapolis
Thursday, August 10, 10:30, Creative Sewing, Apple Valley
Saturday, August 12, 10:30, Sewing Lounge, St. Paul
July’s meetings started with a bang at Ginny’s-29 people for a Saturday meeting was AWESOME!! And then Ginny gave everybody 20% off!
Wednesday we meet at Sewing Lounge in St. Paul at 10:30.
Thursday meeting is at Creative Sewing in Apple Valley at 10:30 with a fabric swap.
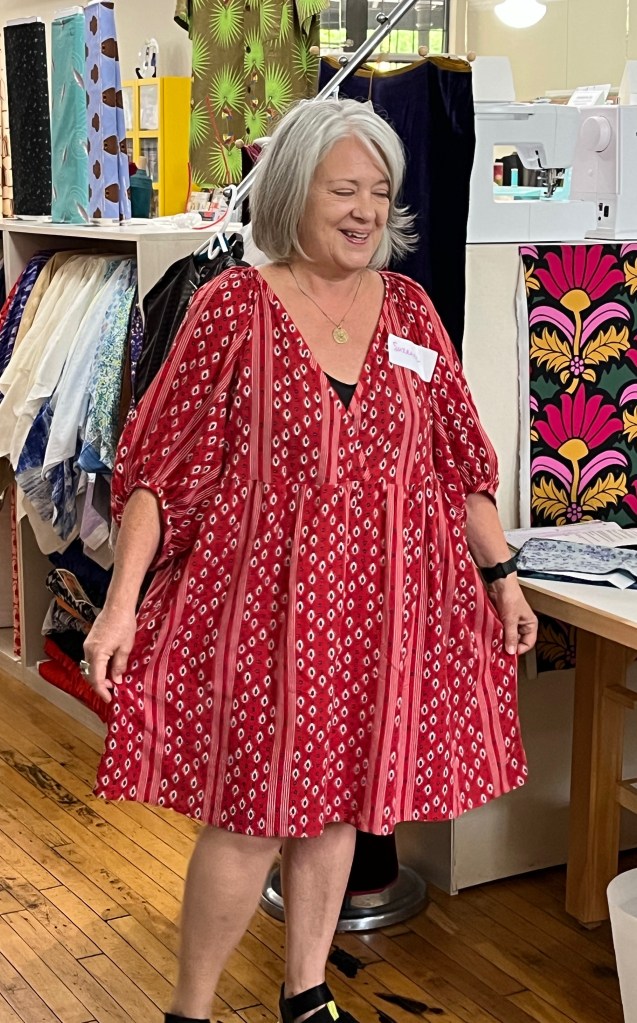
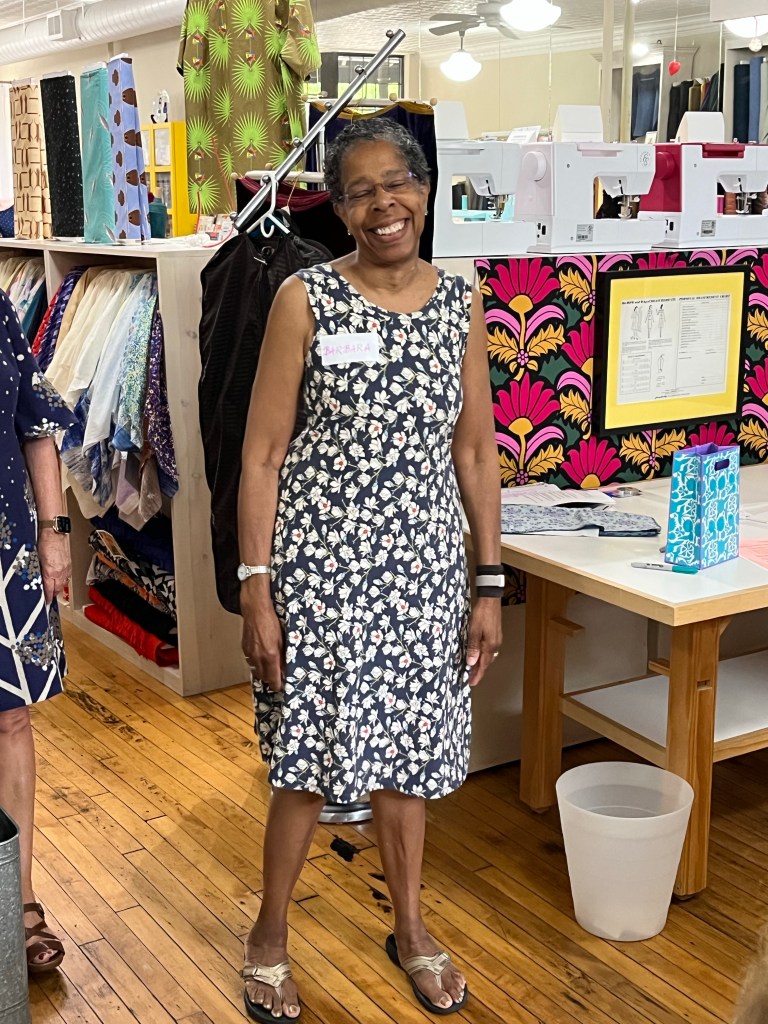
Here are some highlights from Saturday:


First off, Saturday, July 8th, is our July Garment Sewing Group meeting at Ginny’s Fine Fabrics in Rochester. If you’d like to carpool please email or text Kristin @ materialgirlsewing@gmail.com/952.201.3863
Secondly, Wednesday, July 12th, we are at the Sewing Lounge in St. Paul.
Here’s the change: Thursday, July 13, we will meet at Creative Sewing, 14861 Granada Av., Apple Valley. Fabric swap will continue!
We’ve had a long and wonderful run at First Sewing but feel it’s time for a change-just when you thought you knew the schedule!!
Creative Sewing has agreed to let us rent their classroom space on Thursdays for Garment Sewing Group and Sew Social. We will also teach serger classes there on Thursdays.
We tried to stay a bit more central but churches didn’t seem a good fit as we’d have to bring more supplies. Most stores have small classrooms (JoAnn/Edina converted theirs into an order processing center). On the other hand, it is more south and we always had new people come to the SR Harris meeting-we assume it was a location thing?
The store is just off Cedar and 42. We hope you’ll give it a try if Thursday is your favorite meeting to attend.


First, highlights from Wednesday’s meeting at Lakes Makerie-


Garment Sewing Group
June 2023
Debbie’s Garments:
1. This is a great pattern in that it offers many choices for pockets, bibs and length. Also the construction directions are clear, easy to understand and the illustrations are helpful. Construction goes quickly up until the straps. At this point I took my time and followed directions carefully but also doing my own thing to eliminate some steps I felt were not needed or I had a better way.
2. I shortened the length between knee and hip one inch, the front pocket length one inch, hem length one inch and the crotch length/depth one inch.
3. I did interface the the top of the bib and the side seam zipper areas . I would also interface the pocket facing – the pattern directions do not include interfacing.
4. The directions do tell you to remark notches after finishing raw edges and it gives you 2 methods to do the straps. I found this to be very helpful.
5. I did not topstitch the back waistband. Attaching the belt loops and stitching in the ditch secured the facing just fine.
Jalie Dolman Tee in viscose ponte (picture above with bibs)
1. This is one of my TNT patterns. This time I added a neckband rather than turn under binding and straightened the hem on front and back.
Navy Joggers
1. Shortened length of pants a total of 4 inches between hip and knee and knee and hem.
2. I made the straight leg and no cuffs.
3. The pattern goes together quickly due to excellent directions. I enjoy everything about the Itch to Stitch pattern company.
Somerset Maven Tee in cotton spandex interlock (picture above)
1. Another TNT pattern for me.
2. I did narrow the neckline pattern piece by taking in 1/8 inch tucks on front and back necklines.
3. I chose 3/4 sleeves this time around.
Kristin’s Garments
Summer Bibs

1. My linen was very linen-y (a bit unstable, very pressable) so I interfaced wherever they suggested and added interfacing to front pocket facing. Probably should have done the same for back pockets.
2. Cutting out was a process but all part of the pattern. Fun to assemble if a little time consuming. Topstitching was all good. Nice to have Debbie sewing ahead of me so I could ask questions.
3. I managed to do the tube method for turning the straps but used fold method for the ties-faster and easier :))
4. Fit was pretty spot on. They do a good crotch for my body. Looking forward to lots of summer wear!
Lenox Tee by Love Notions, square neck in cotton interlock (in photo above with bibs)
1. Great assembly directions for a square neck. Love the princess seams.
2. The band for the horizontal strip had to be stretched but the longer “around the neck” part did not. I would change that next time and make the long band shorter to bring it in around the neck.
1. Fun assembly-a bit like a puzzle but understandable. Not something I’d wear every day but very summery and light.
2. Zipper starts from waist instead of underarm. Well drafted.

1. Added length but kept waist level to pattern. Sized up for hips.
2. Fussy cut the skirt and was able to use less fabric than called for.
3. Fun make, fabric was great to work with.
4. Raised the vee by 3/4” by extending the center seam when I sewed it-didn’t change pattern piece. Vee instructions different than usual but very effective.
5. Omitted the side zip but may go back and put one in.
July Garment Sewing Group Meetings
Saturday, July 8, Ginny’s, Rochester
Wednesday, July 12, Sewing Lounge, St. Paul
Thursday, July 13, First Sewing, Bloomington
We are at Lakes Makerie, Wednesday, June 14-last chance for the June meetings-come and see great sewing AND great fabric!!
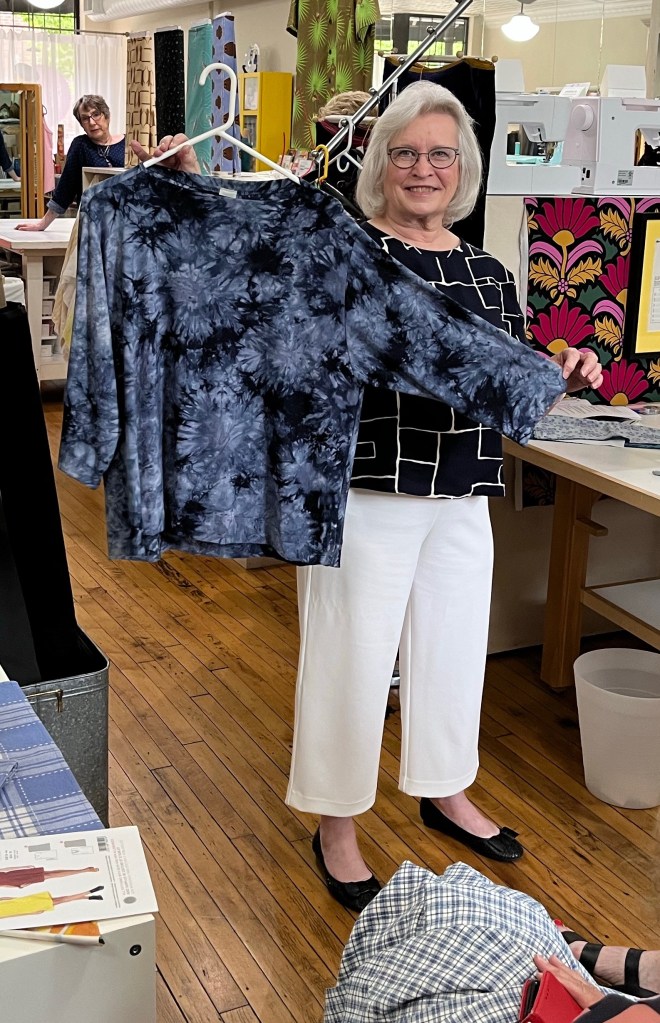
Here are photos from Sewing Lounge and First Sewing meetings:


A few photos from the Saturday meeting at Quilter’s Haven-


And Debbie and Kristin’s garments-
Debbie’s Garments:
Shirt Dress
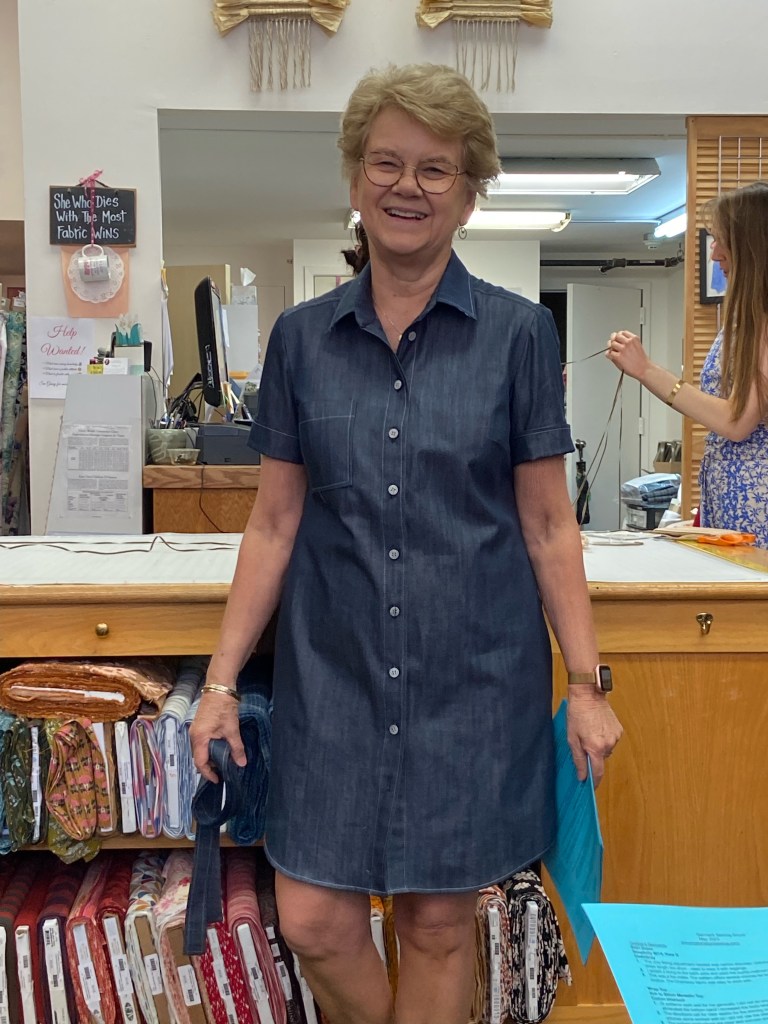
1. The only fitting adjustment needed was narrow shoulder. Unfortunately I cut the dress length too short – need to wear it with leggings.
2. I added a lining to the back yoke and used the burrito method to construct.
3. This was a fun make. The pattern offers several choices for length, sleeves and bodice. The Chambray fabric was easy to work with.

1. IS patterns work well for me generally. I did not do any petite adjustments. Since I eliminated the bottom band I increased the body length pattern pieces by one inch.
2. The directions call for clear elastic for the shirring on side. I found that the gather stitches alone worked well so I did not use the elastic.
3. The pattern instructions are clear and concise and the fabric was great to work with.
Love Notions Duet Trousers, Stretch Denim
1. This is my second try at this pattern. The fabric choice makes a difference in sizing. The stretch denim I used was poor quality and shrunk 4 inches when I washed it. Live and Learn!
2. I eliminated the front pockets due to lack of fabric. I used the curvy waistband pattern piece instead of the straight piece.
3. The pattern can be used for stretch woven and stable knits.
4. I am not thrilled with this make. I will try a stable knit next time and then move on.


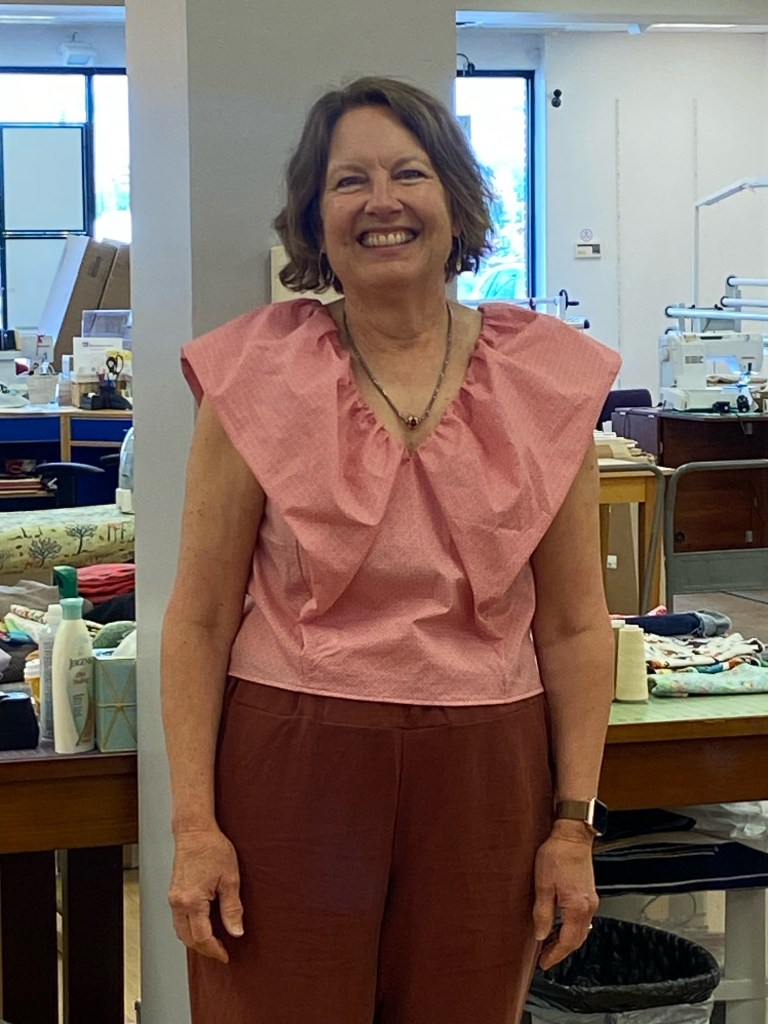
1. I petited the pattern between shoulder and bust and shortened the length by 2 inches.
2. The pattern has great construction techniques. There is an option for vertical darts which I chose to do. I also shortened the width of the cuff.
3. The pattern is a little out of my comfort zone but I am glad I gave it a try. I think it would be a fun special occasion top.
Kristin’s Garments

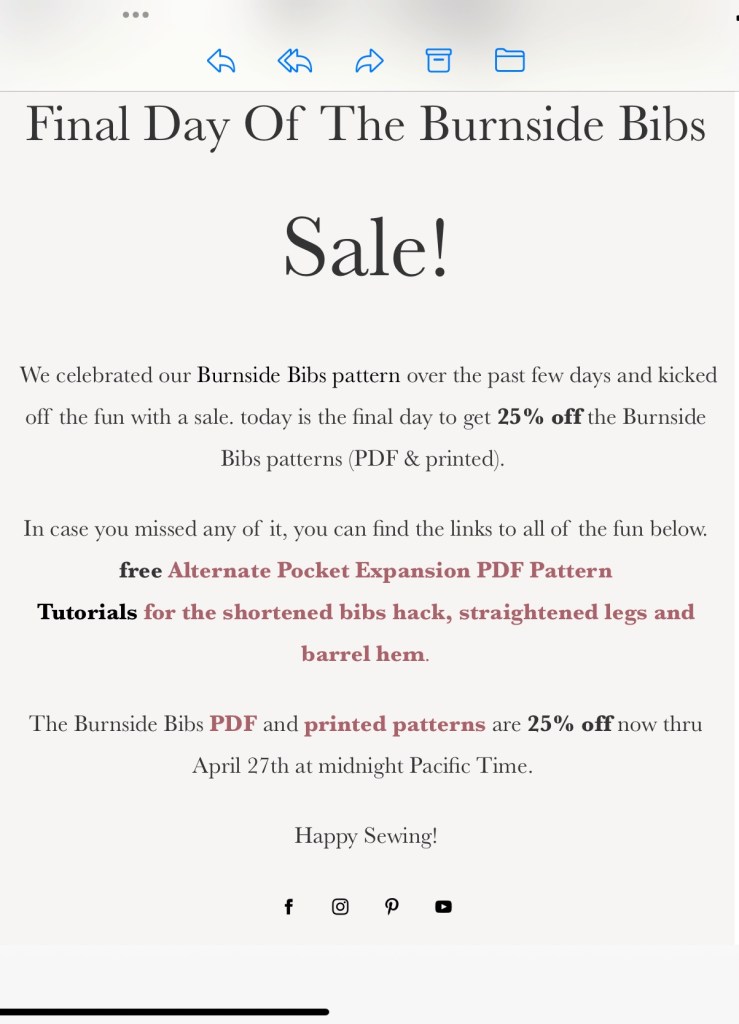
Jacket, Burda 6114
1. Made size 16/18 at hip. Sizing seemed great.
2. Folded 3/4” out of collar lengthwise. Collar is taller in front, probably would change that in future jackets as it just stands up and doesn’t seem to want to lay in a “collarly” fashion. Didn’t interface.
3. Pockets according to pattern were just a passing thought-instead cut 6×9” rectangles and 3 layers so that anywhere the pocket showed would be my knit print. Pockets went from seam to seam and were topstitched through outer fabric across the top. Very happy with them.
4. Changed up zipper installation-folded collar and hem over zip, stitched and turned right side out. Very important (I think): handbasted from pocket top up and down to ensure all meeting points were happy.
5. Left sleeve hems very deep (sleeves were 2”+ too long) so white wrong side of scuba doesn’t show.
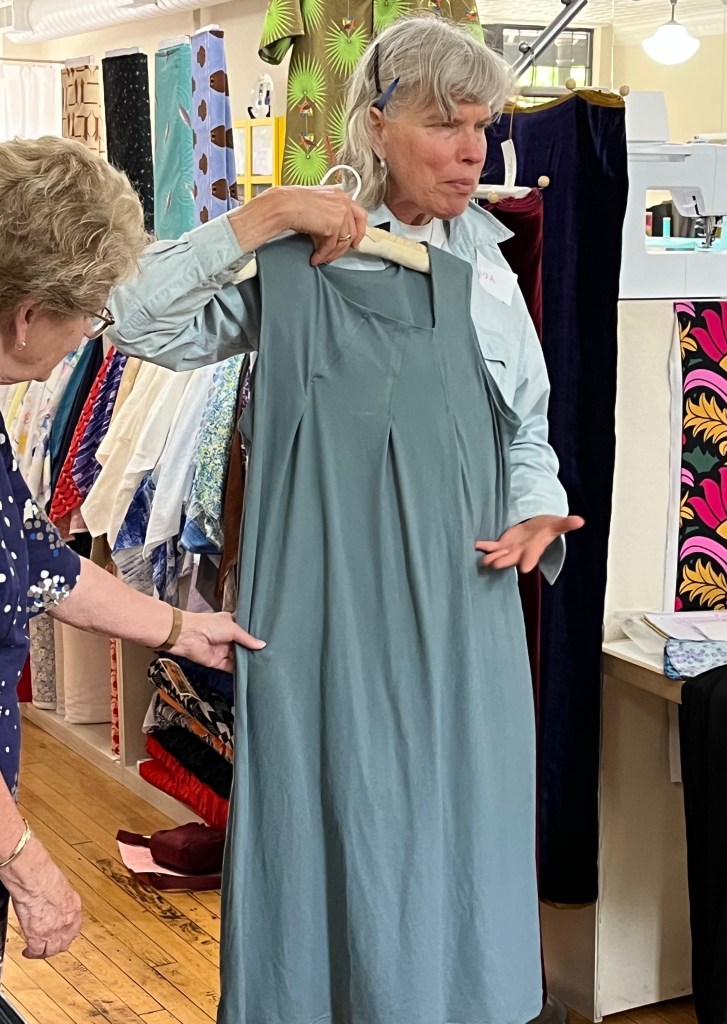
Midi Length Knit SkirtRavinia Skirt/Love NotionsCotton knit
1. Oh, my, how could I have been so blind!! I had traveled down the Instagram/email rabbit hole and saw this pattern which matched a picture I had cut out of a catalog numerous times!! How could I have missed the photos of the test garments?
2. But the skirt was already cut out so sew it I must. It isn’t so bad-I knew it was an a-line skirt and that the waist band had negative ease (5-7”) but I didn’t understand that the waist edge of the skirt also had the same negative ease. I was hoping for a few tucks and pleats as the waistband was stretched to meet the skirt. Nope-I had to stretch the skirt to fit the waistband that I cut out two sizes larger to accommodate the fact that my waist was larger than the pattern measurements (not a problem if the skirt is gathered into the negative ease waistband!)
3. The gathered pocket went in well and to be fair there are some funny puckers in my inspiration picture where gathers go all the way to waist.
4. I added 4” to the calf length of the skirt. A narrow elastic is applied to the top waistband seam for extra security.
5. If I make this again, I will get rid of the A-line and add fabric at waist so it has gathers all around 🙂
6. So I went home Wednesday night and made another skirt, this time using the full 60” width of the fabric as my skirt and applying the pockets and gathering the 60” to the negative ease waistband. Now that’s what I had in mind!!

1. Made size medium to pattern except for a few construction changes.
2. Seam allowances are 3/8” which makes it a little trickier to serge seam allowances and sew seams but I wanted a nice flat press.
3. Pattern instructions assume you will do things and doesn’t tell you to-understitching facing, finishing facing edges, pleats should have been basted to make pressing easier, etc.
4. There’s a tiny slit in sleeve opening (cuff edge) that may be to allow for more ease but it’s pretty small and not shown on pattern.


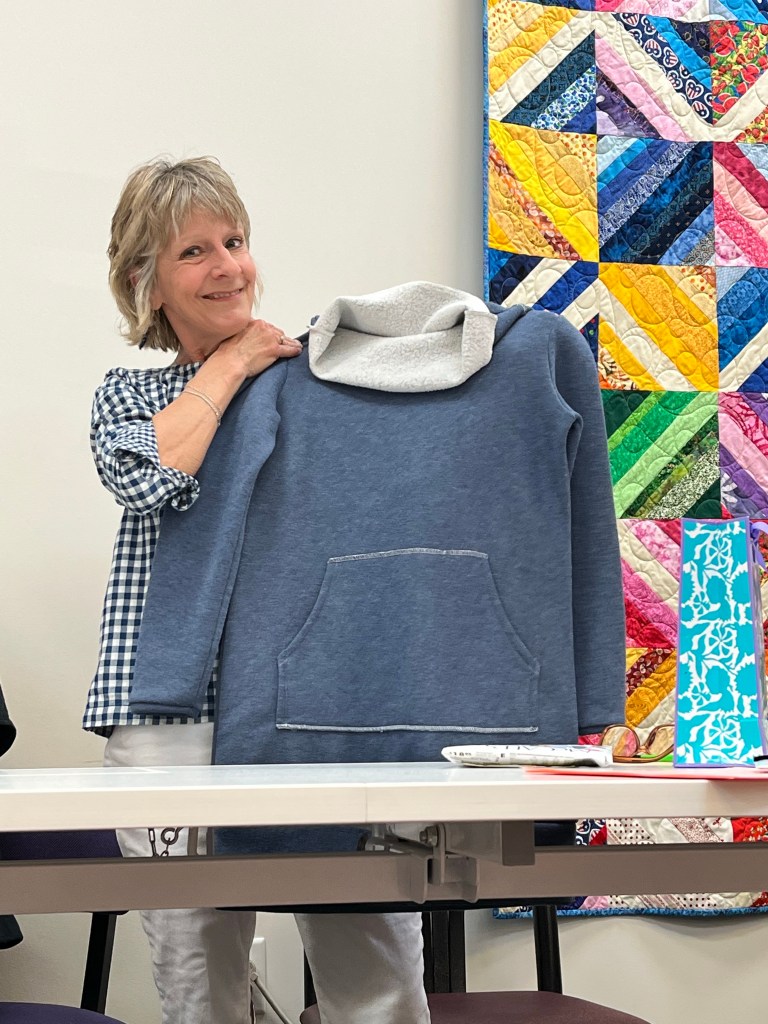
1. Both are patterns I’ve made before. The Vogue pattern was quite recent-this time I cut off the folded facing and banded the whole opening. Much better and less fussy than the folded facing.
2. The Burda pattern always feels like home to me-shoulders are a bit dropped but not too much. The whole thing feels like a cozy sweatshirt that wears a bit more like a long sleeve tee.
Wool Sweater
1. Had to try this pattern again in something a bit more basic than the other patch work one. Still like it. No changes. Goes together well.
June Garment Sewing Group
Thursday, June 8, 10:30, First Sewing, Bloomington
Saturday, June 10, 10:30, Sewing Lounge, St. Paul
Wednesday, June 14, 10:30, Lakes Makerie, Minneapolis
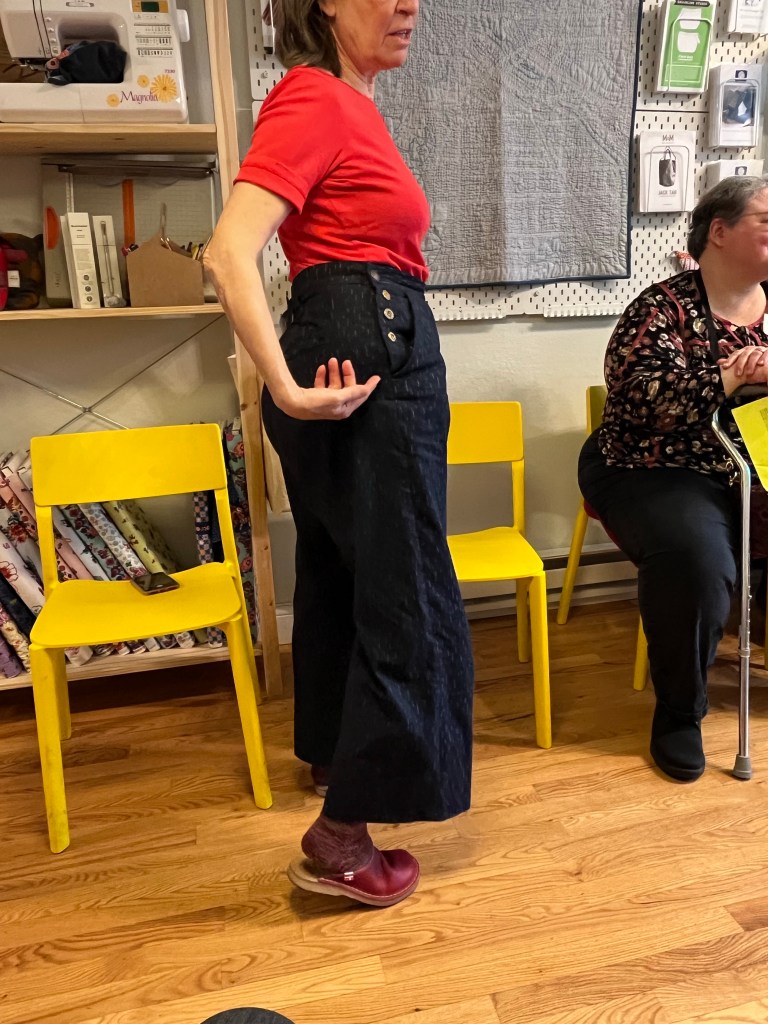
This is the Lakes Makerie owner’s daughter in Burnside Bibs from Sew House Seven. Several of us bit hard and bought the pattern (I have the fabric in my stash-still some in the store when we were there. We left a few patterns at the store for you to buy or it is now on sale and they have some fun free extensions for the pattern. Hmmm…might have to get busy 🙂